 |
(139) 13 Aug,
2009
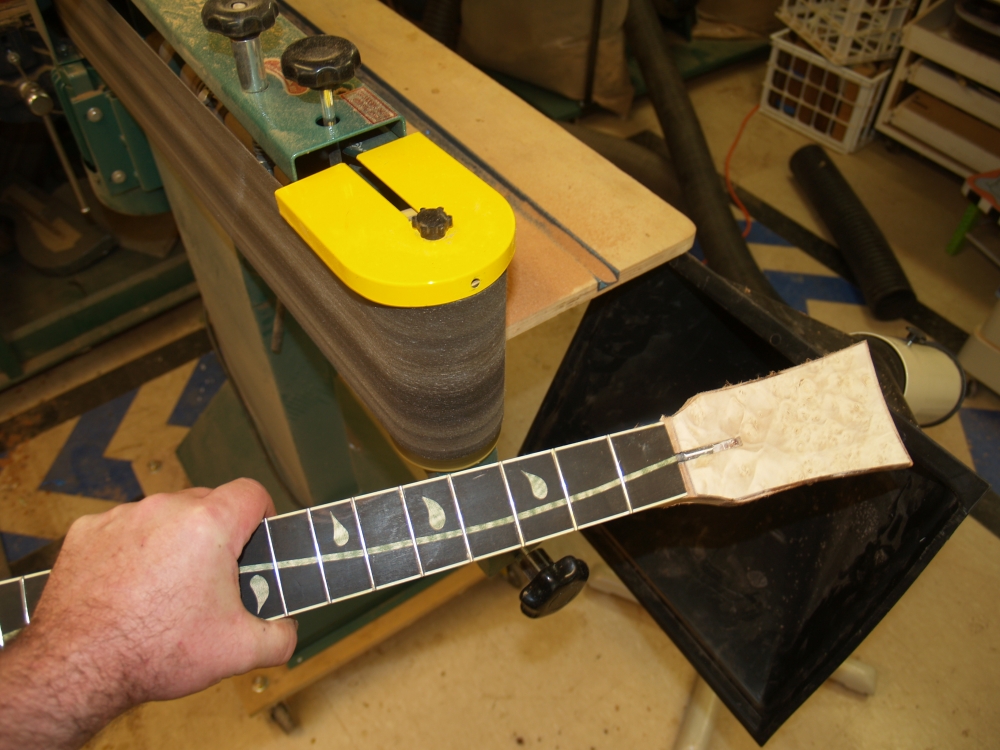
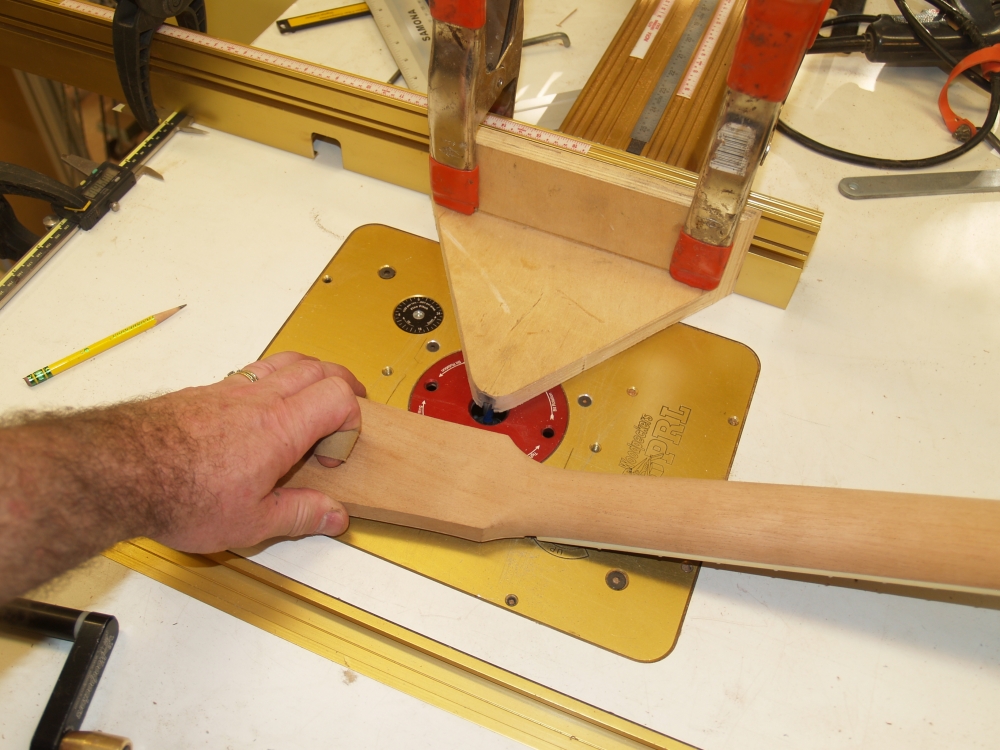
Now the neck is ready to be shaped. I use a variety of tool, but I
start out using the idler wheel on my belt sander to get the basic
shape defined. |
 |
(140) 13 Aug,
2009
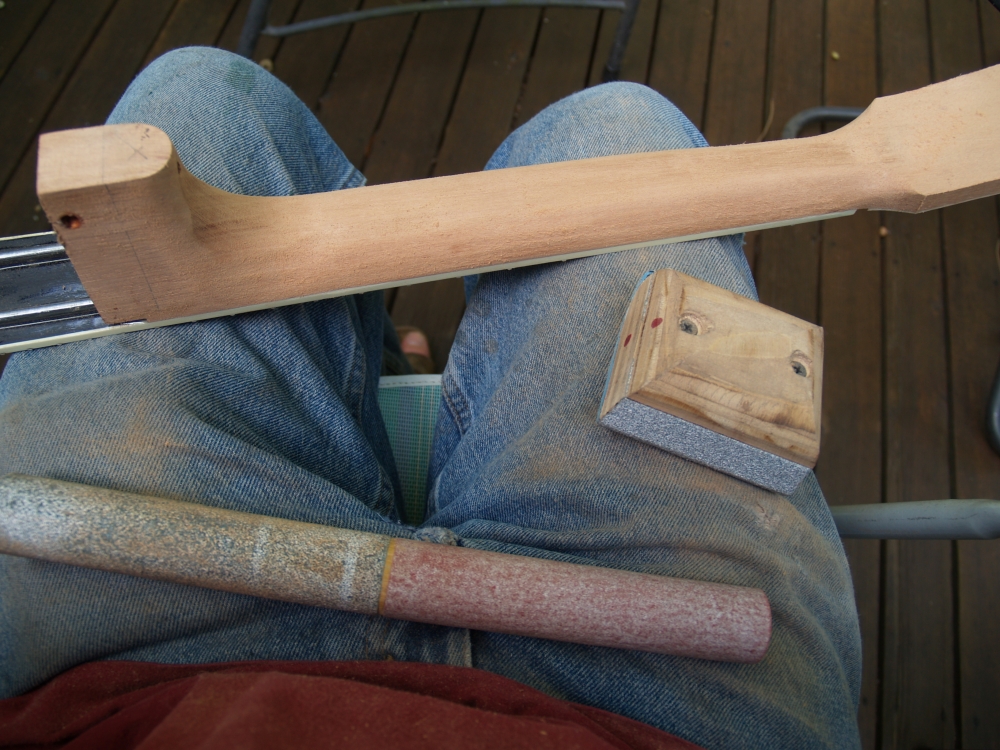
After the belt sander I use a variety of sanding blocks to fine tune
the shape. |
 |
(141) 13 Aug,
2009
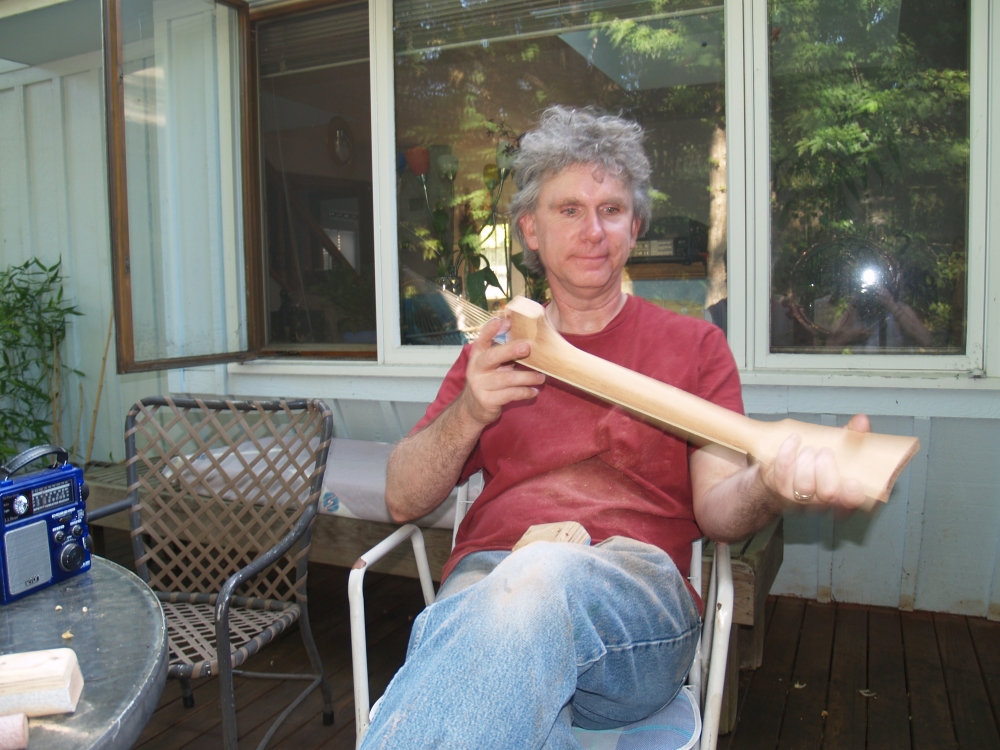
I work relatively slowly in this process as it is much easier to remove
wood from the neck than it is to put it back. |
 |
(142) 13 Aug,
2009
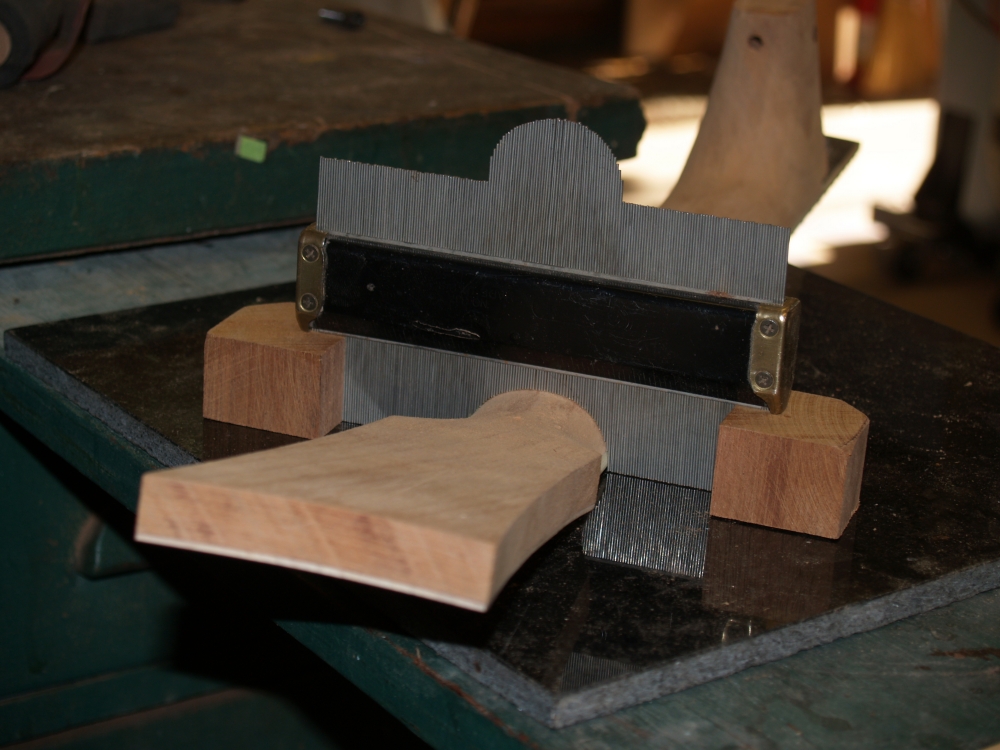
I use a contour gage to check the shape. |
 |
(143) 13 Aug,
2009
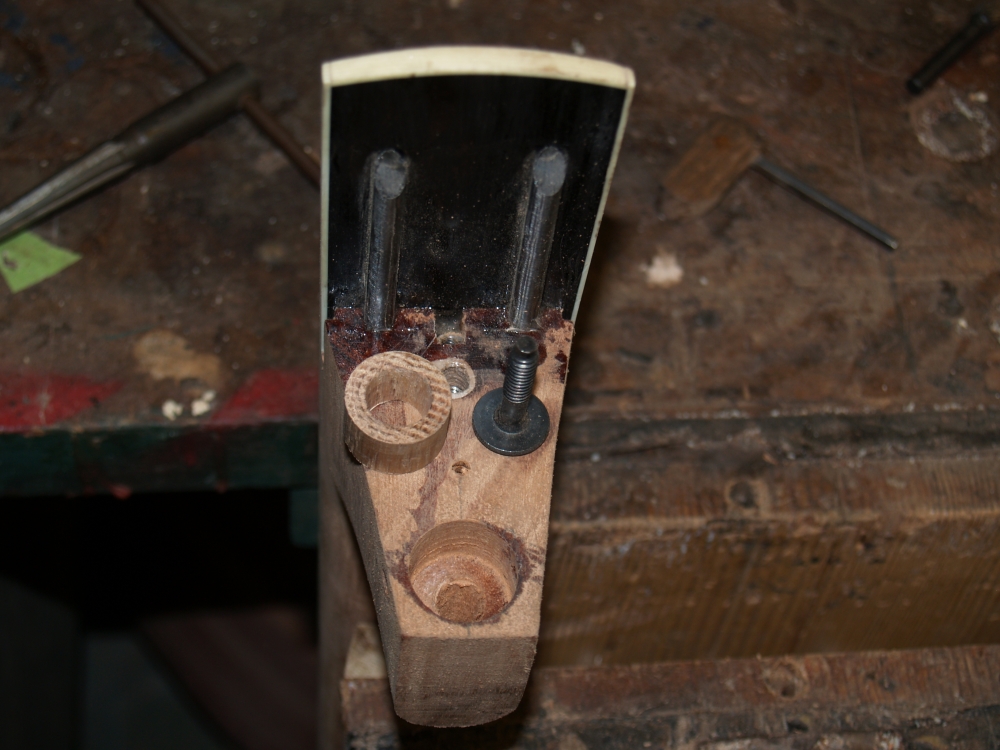
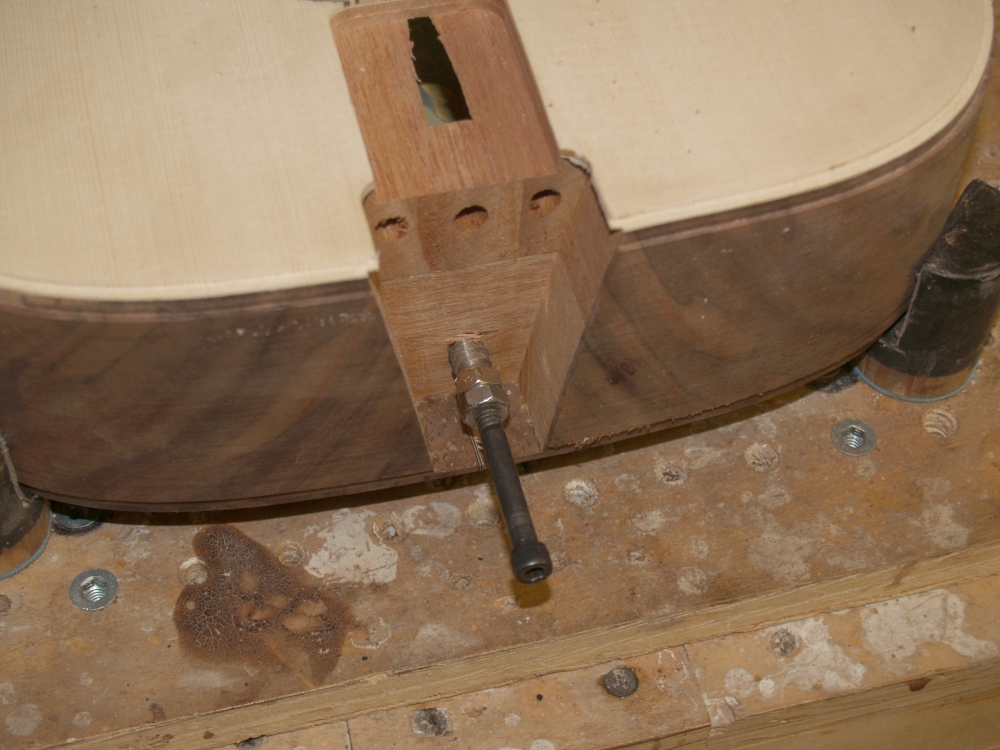
In this picture I have drilled a hole in the heal of the neck that
will hold the neck angle adjustment bolt. The flange on the left
will be glued on top of the bolt to firmly hold it in place. |
 |
(144) 13 Aug,
2009
The bolt plug glued in place. |
 |
(145) 13 Aug,
2009
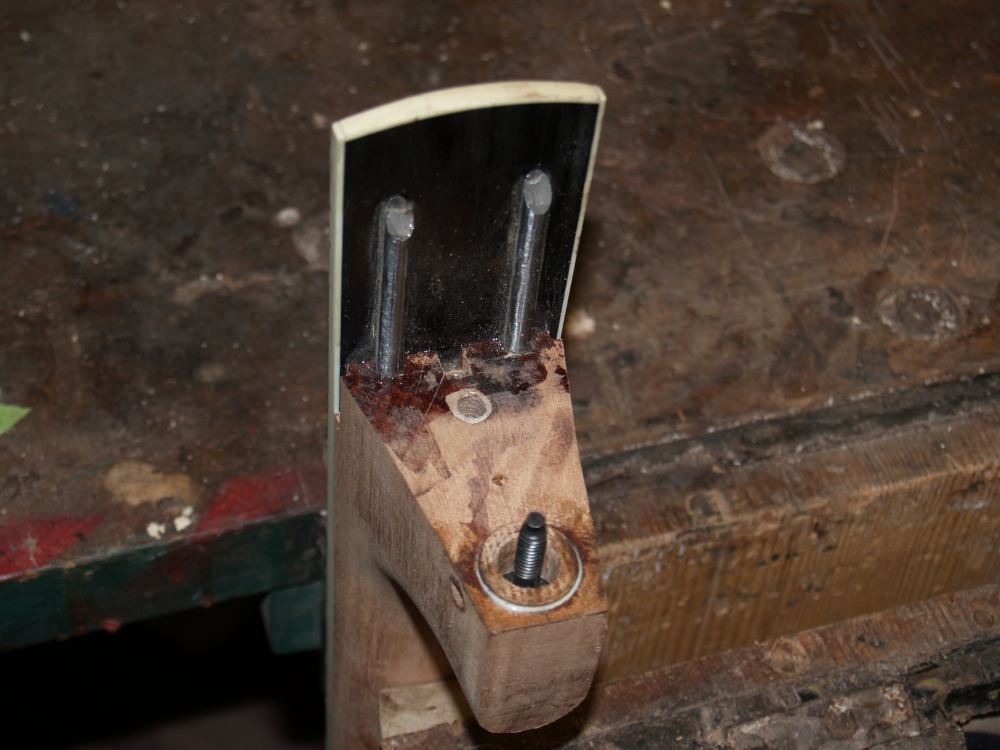
A hole is drilled in the front of the neck heal to allow an Allen
wrench to access the adjustment bolt. I install a bolt insert
in the hole for the heal strap button. |
 |
(146) 13 Aug,
2009
A hole is drilled in the heal channel for a bolt insert that will
accept the adjustment bolt. |
 |
(147) 13 Aug,
2009
The bolt insert is installed. |
 |
(148) 13 Aug,
2009
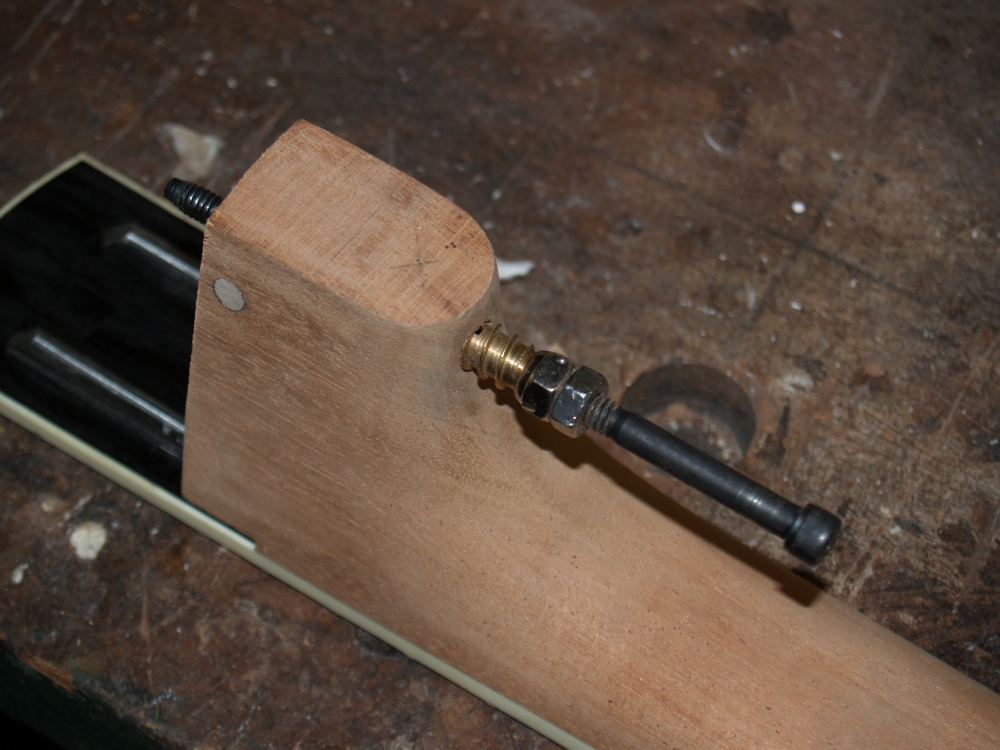
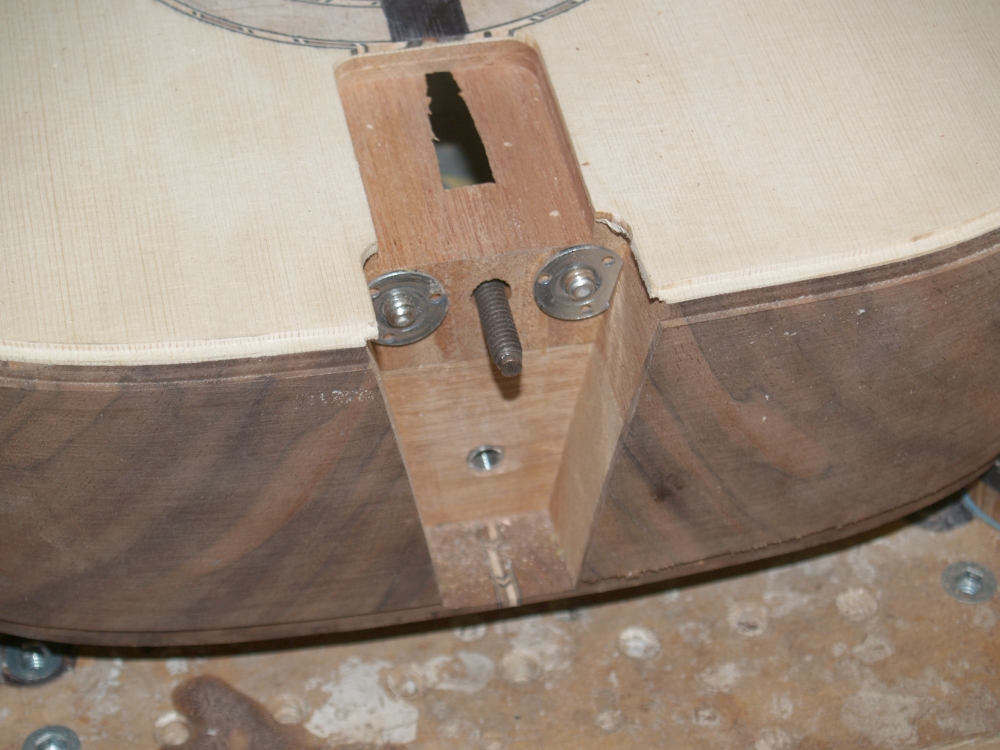
Here we see all of the hardware in the heal channel. |
 |
(149) 13 Aug,
2009
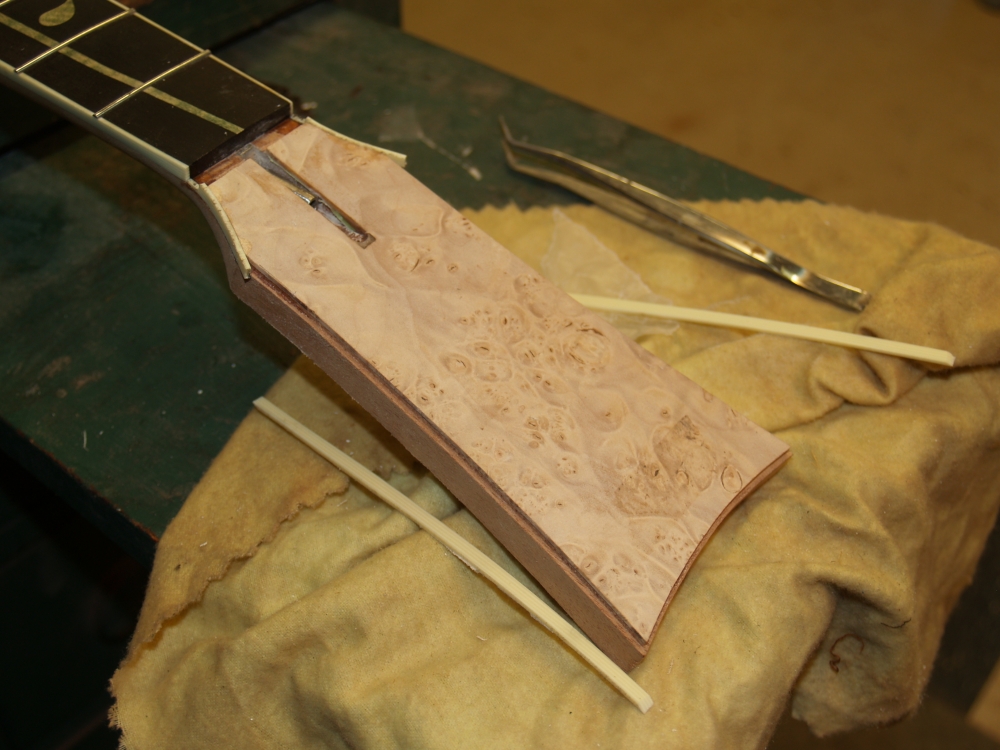
The head stock is going to be bound, so a channel must be routed out to
accept the binding. |
 |
(150) 13 Aug,
2009
A nice clean channel is routed out for the binding. |
 |
(151) 13 Aug, 2009
Installing the binding on the head stock |
 |
(152) 13 Aug, 2009
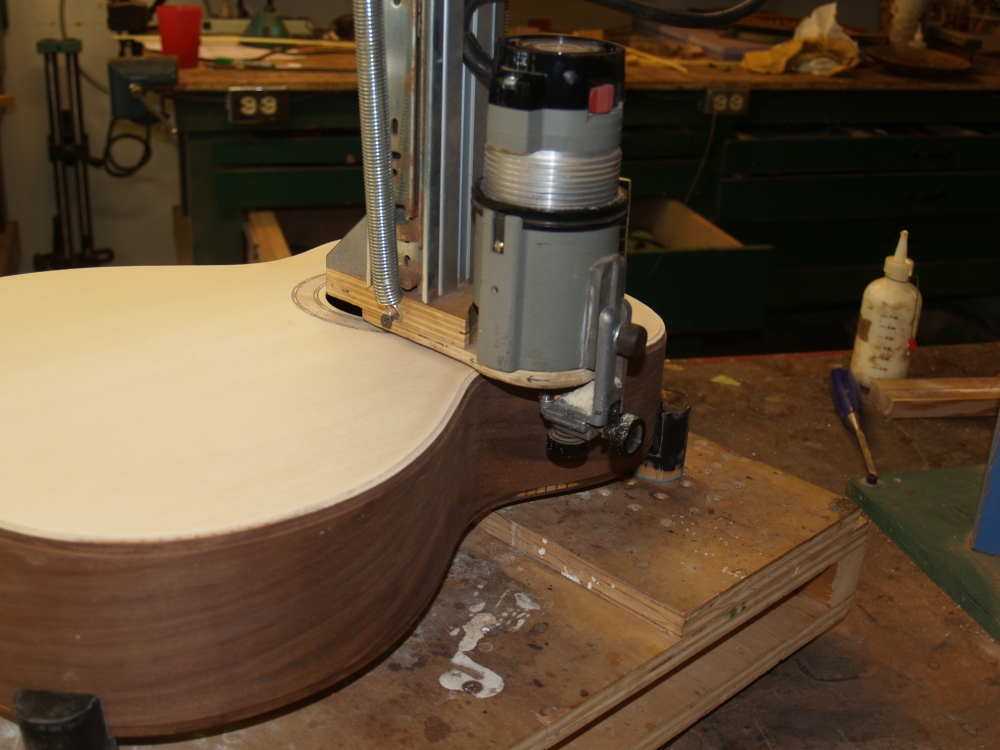
I use my universal bindalator to rout ou channels in the body to accept
the binding and purfling.
|
 |
(153) 13 Aug, 2009
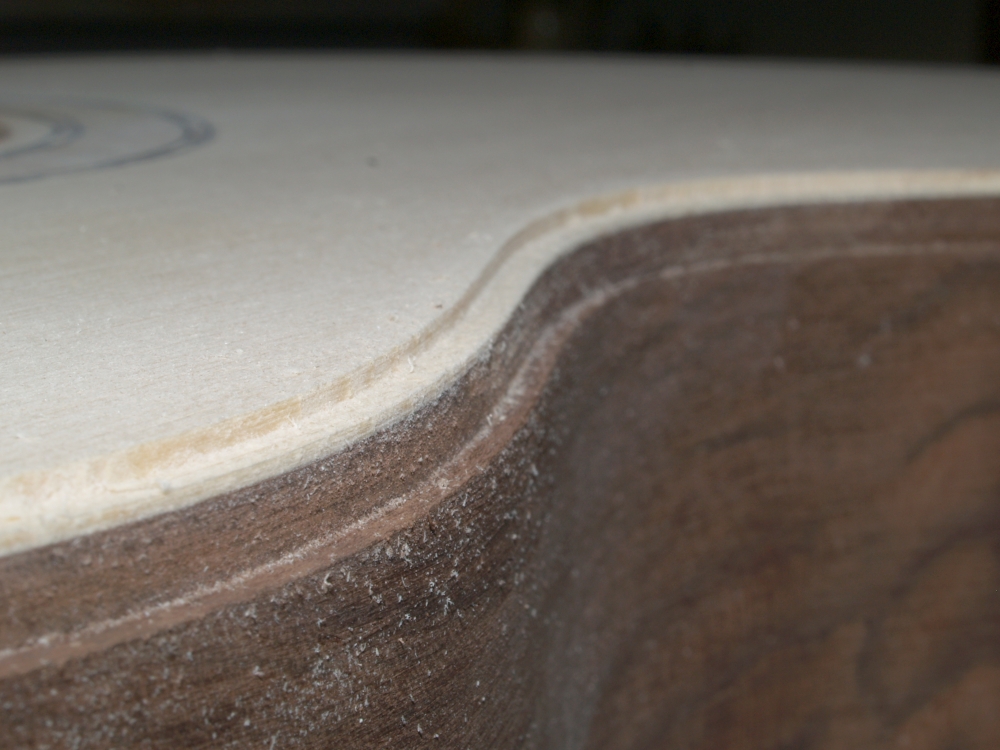
Aside from the dust, a set of crisp binding channels. |
 |
(154) 13 Aug, 2009
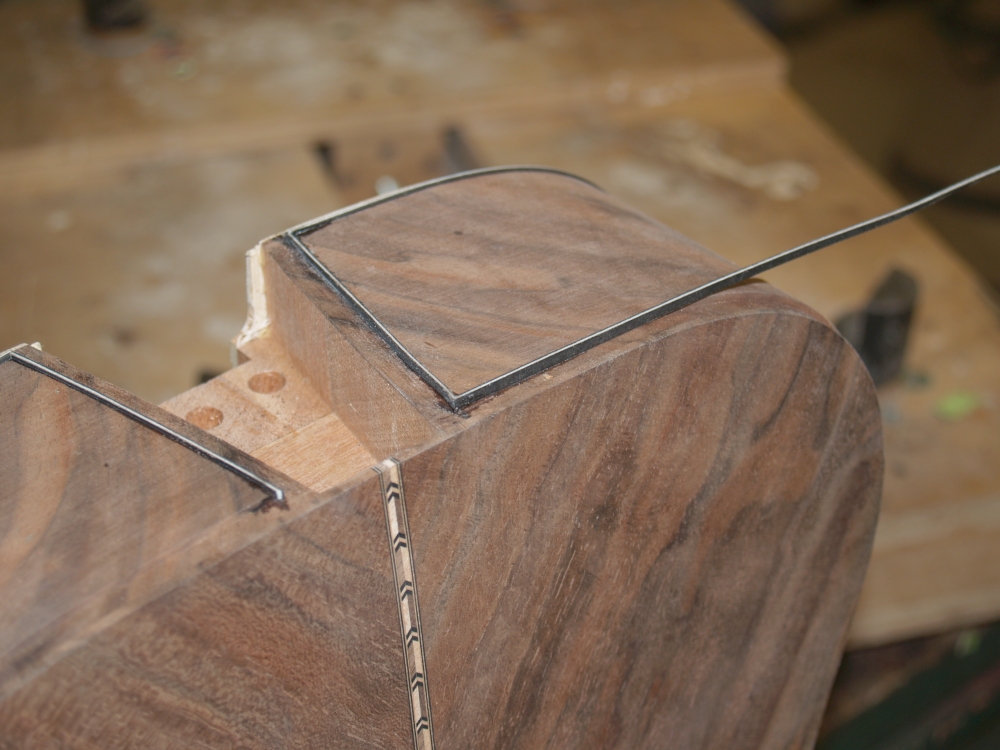
I use a Dremel router to rout out the channels for the heal channel
binding. |
 |
(155) 13 Aug, 2009
Pinstripe purfling gets installed first. |
 |
(156) 13
Aug, 2009
And then the binding gets installed. |
 |
(158) 13
Aug, 2009
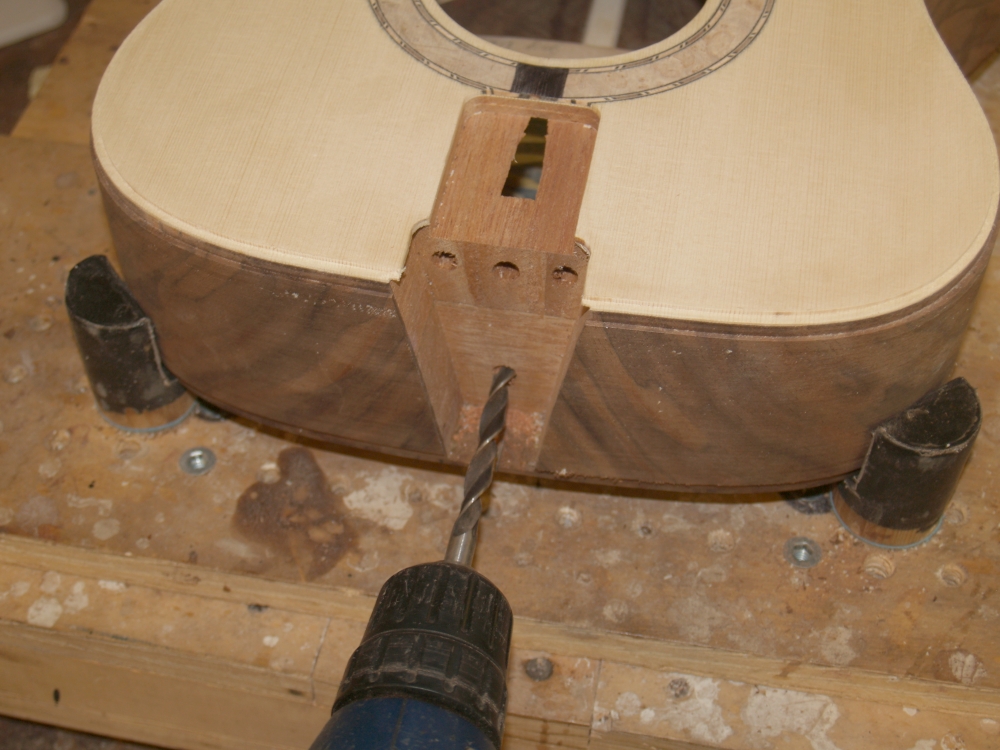
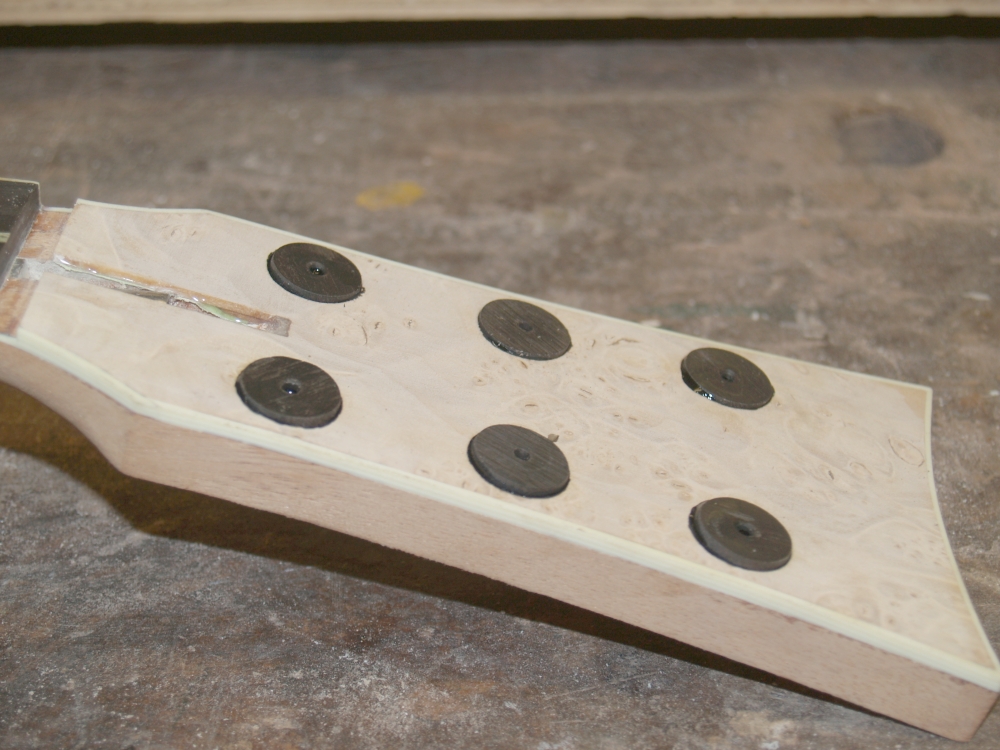
Here I am drilling the relief holes for the tuning machines. |
 |
(159) 13
Aug, 2009
Ebony plugs go into the relief holes. |
 |
(160) 13
Aug, 2009
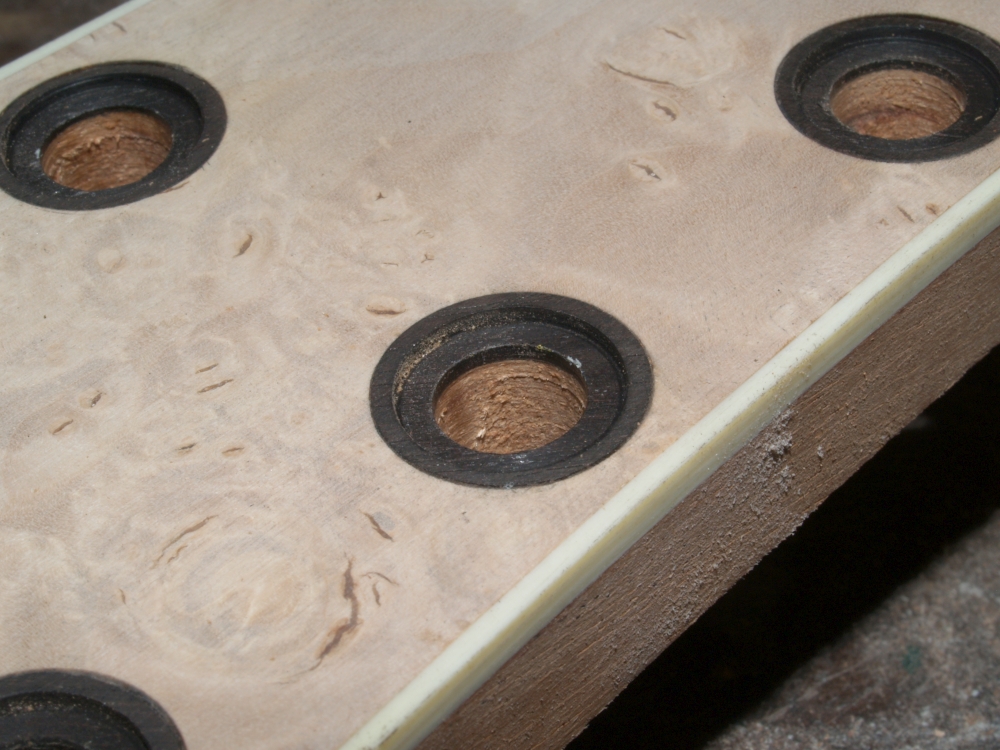
And then the plugs are drilled out to accept the tuning machines.
This will result in a crisp black ring that offsets the tuning
machine washers. |
 |
(161) 13
Aug, 2009
The tuning machines go in for a look see. |
 |
(162) 13
Aug, 2009
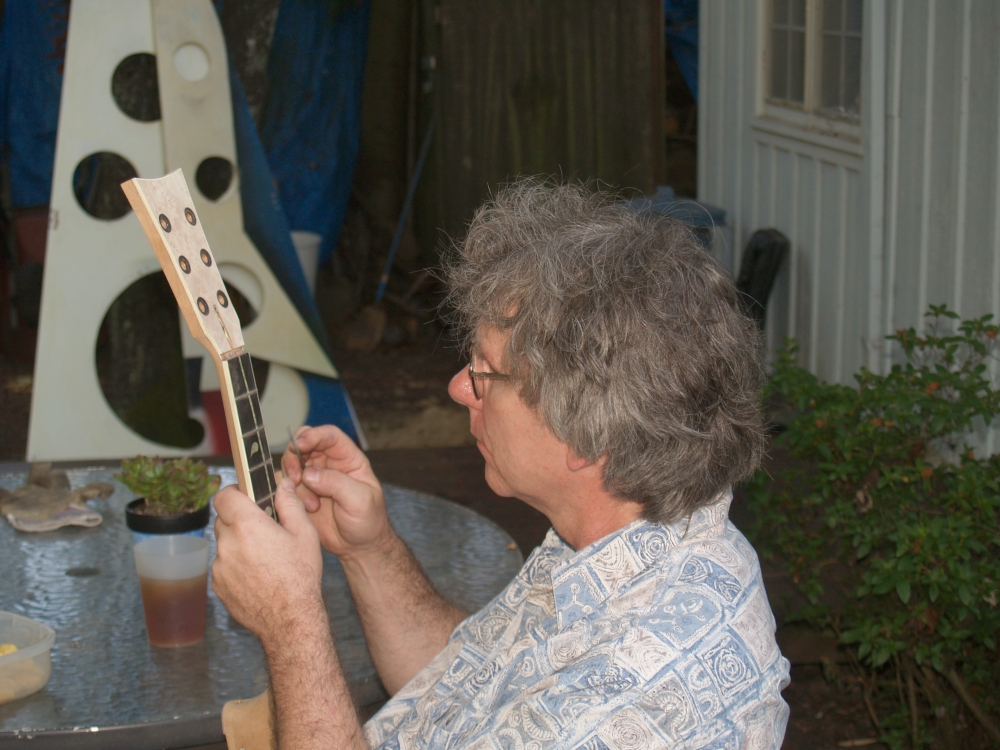
Here I am shaping the fret wire ends smooth and round. |
 |
(163) 13
Aug, 2009
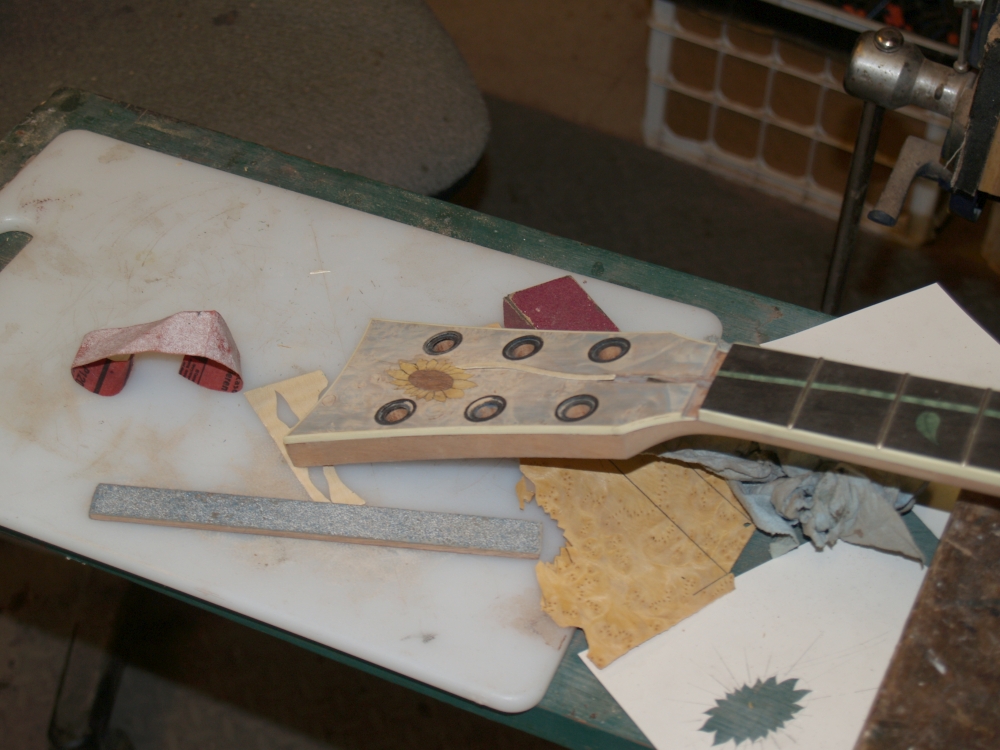
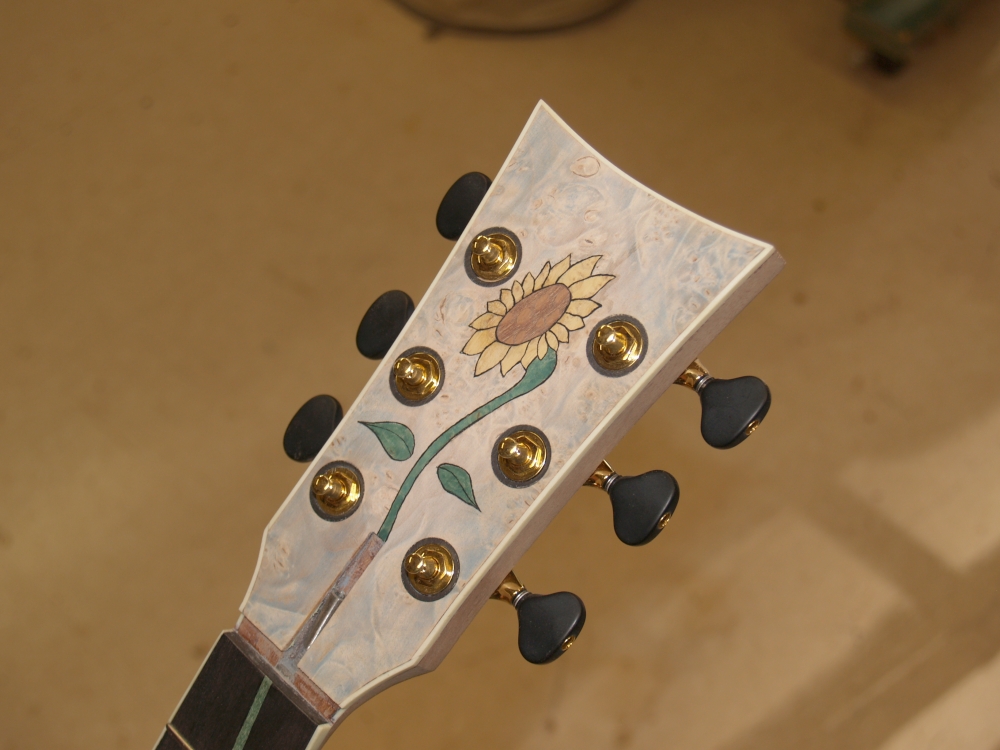
This guitar will have a unique sun flower on the head stock. Here
I am cutting out tiny little pieces of veneer. |
 |
(164) 13
Aug, 2009
A nice sun flower to go on the end of the fret board stalk. |
 |
(165) 13
Aug, 2009
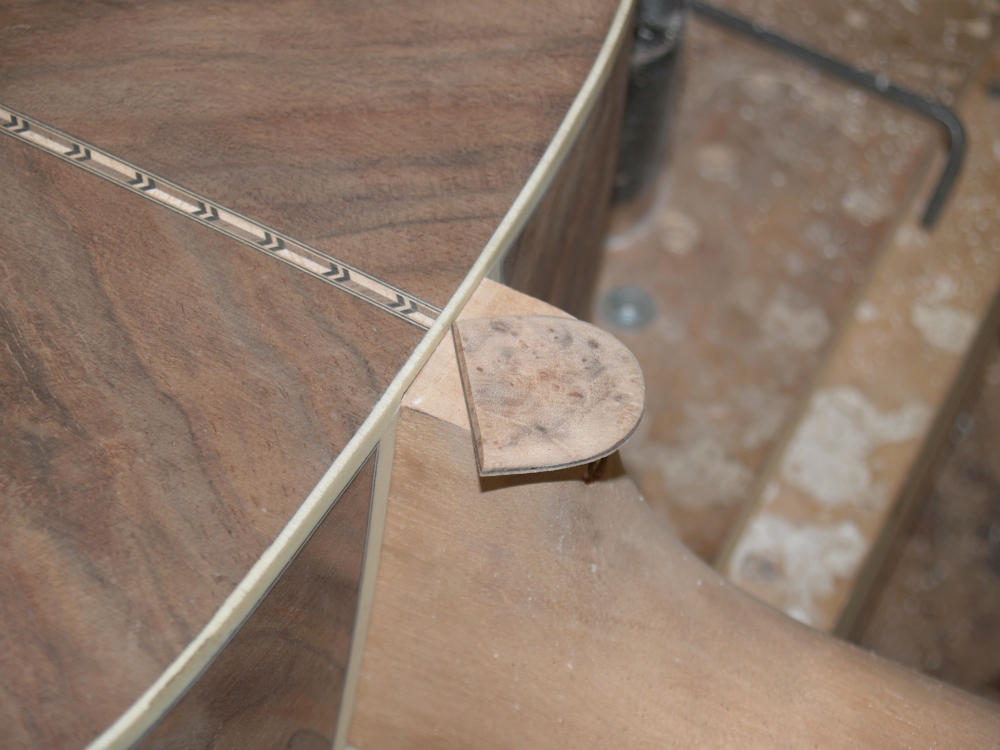
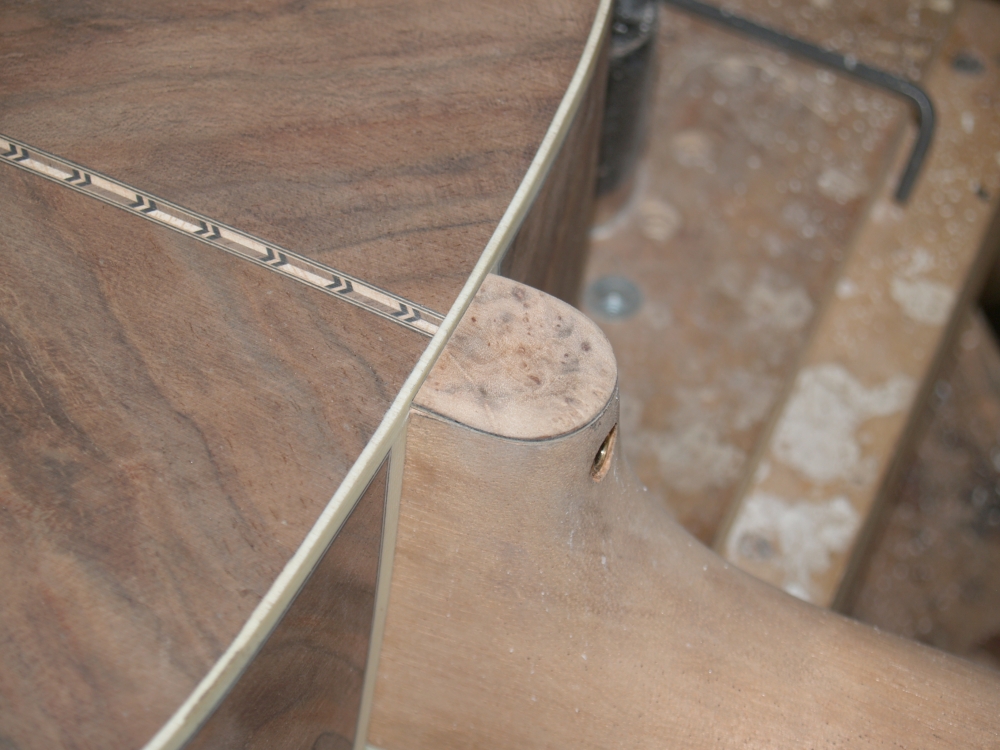
The heal cap is formed from the same maple burl as the head stock. |
 |
(166) 13 Aug,
2009
The heal cap. |
 |
(167) 13 Aug,
2009
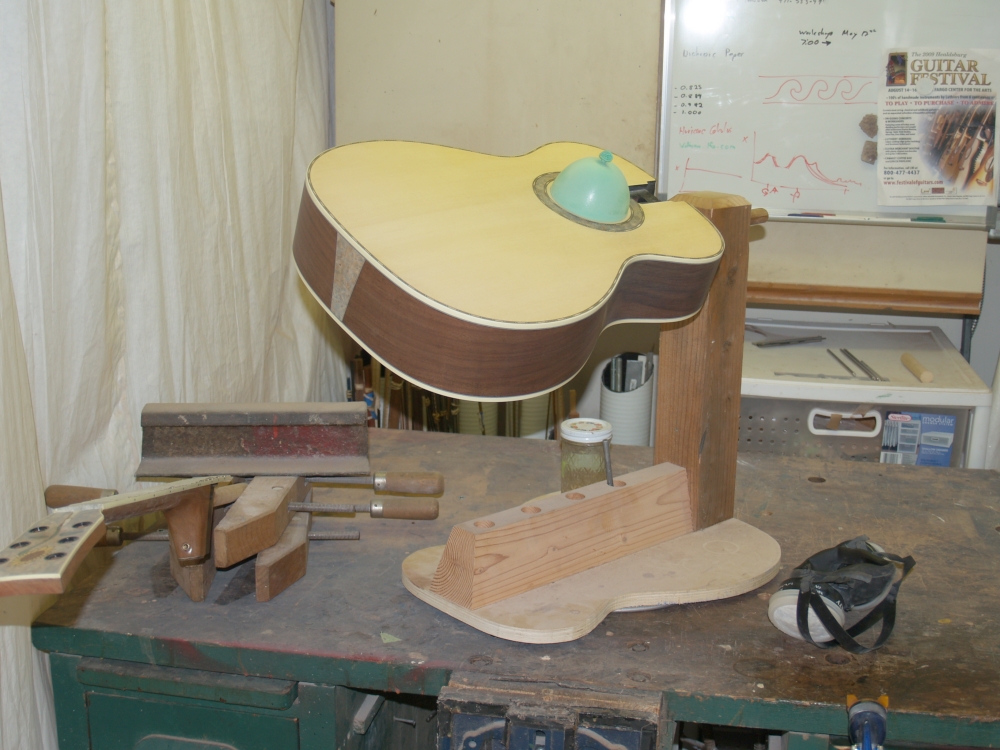
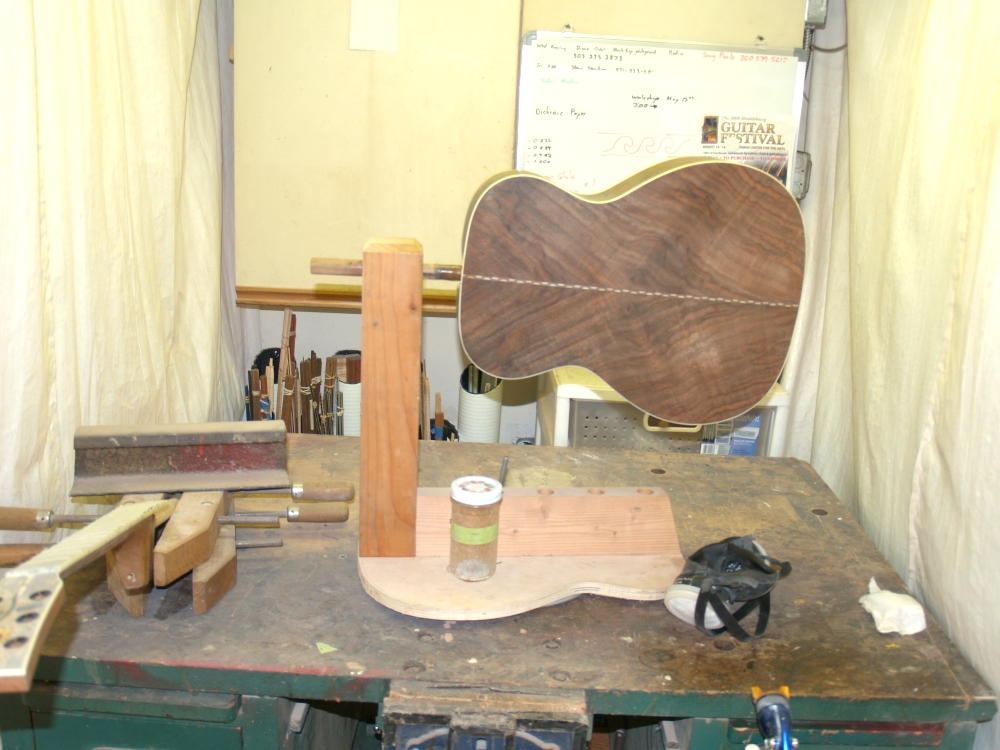
Now I am set up to apply the finish. I have a spray booth set up
and use these fixtures top hold the guitar body and the neck. |
 |
(168) 13 Aug,
2009
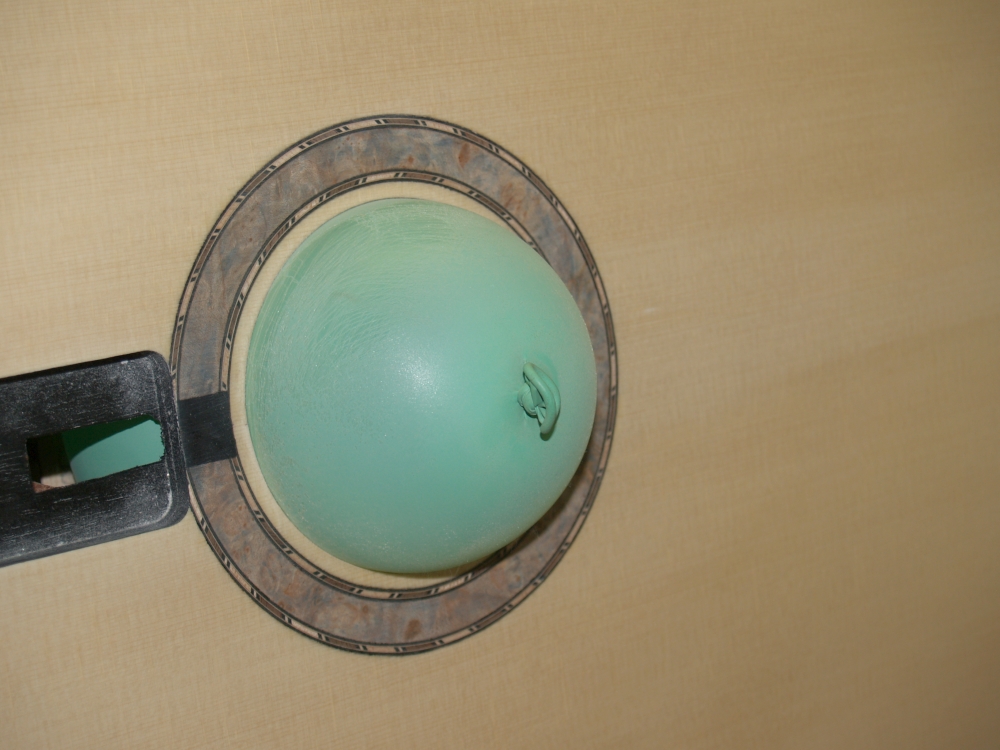
I use a balloon in the sound hole as a plug. |
 |
(169) 13 Aug,
2009
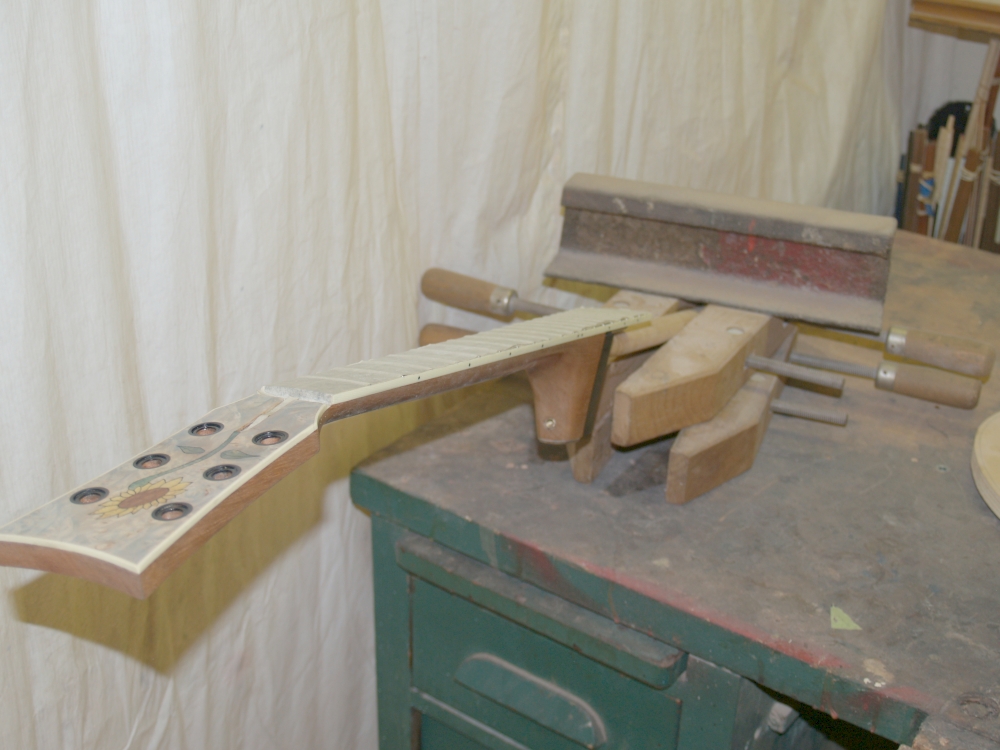
The neck is held so the head stock is parallel to the ground.
This helps prevent the finish from running. |
 |
(170) 13 Aug,
2009
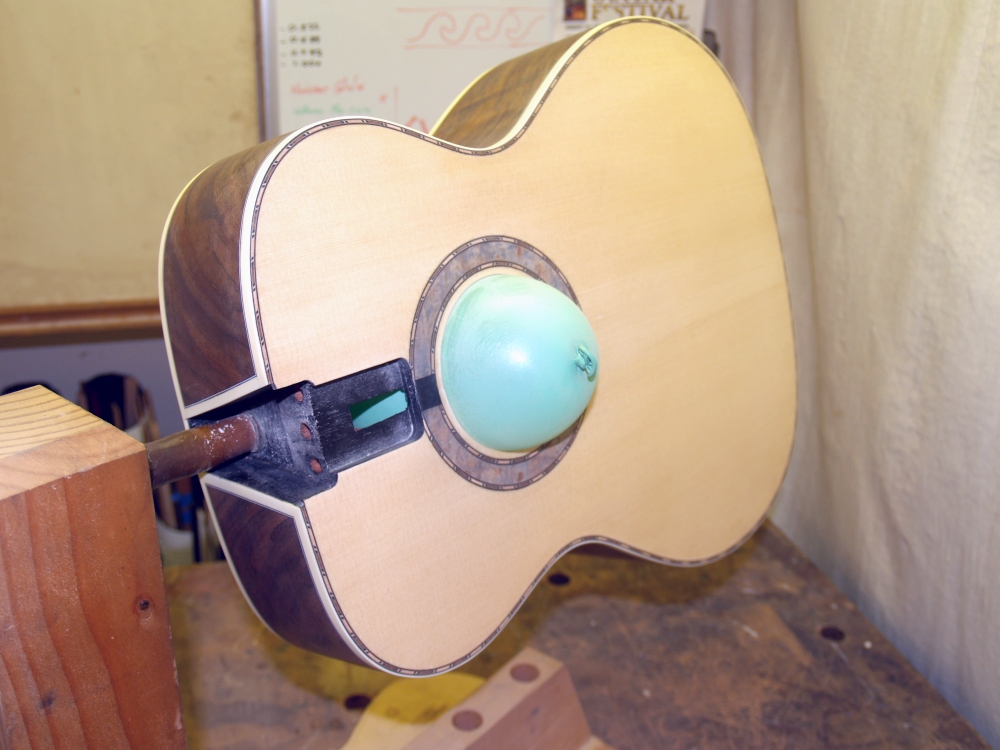
The body fixture allows me to rotate it in two dimension so I easy
access top all of the parts. I will apply many many coats water
born polyurethane lacquer sanding them smooth after every second or
third coat. Ultimately, after the lacquer is cured, the final
thickness of the finish is about 3 to 5 mils. |
 |
(171) 13 Aug,
2009
This fixture hold the guitar during the spray process so I don't get
fatigued. |
 |
(172) 13 Aug,
2009
I have a nice case to hold the guitar and protect it from damage. |
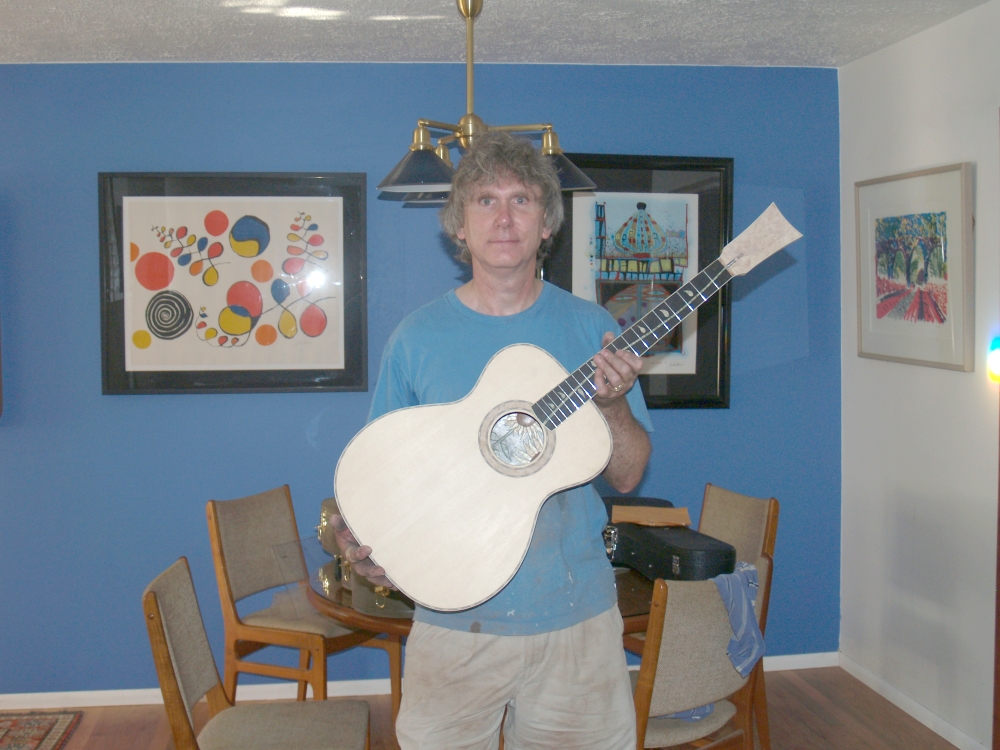 |
(173) 13 Aug,
2009
Steve's guitar assembled for a look see before it gets lacquered up. |