 |
(1) May 14, 2009
Steve and Jay showing off the pieces for the back that will be used for
Steve's guitar.. |
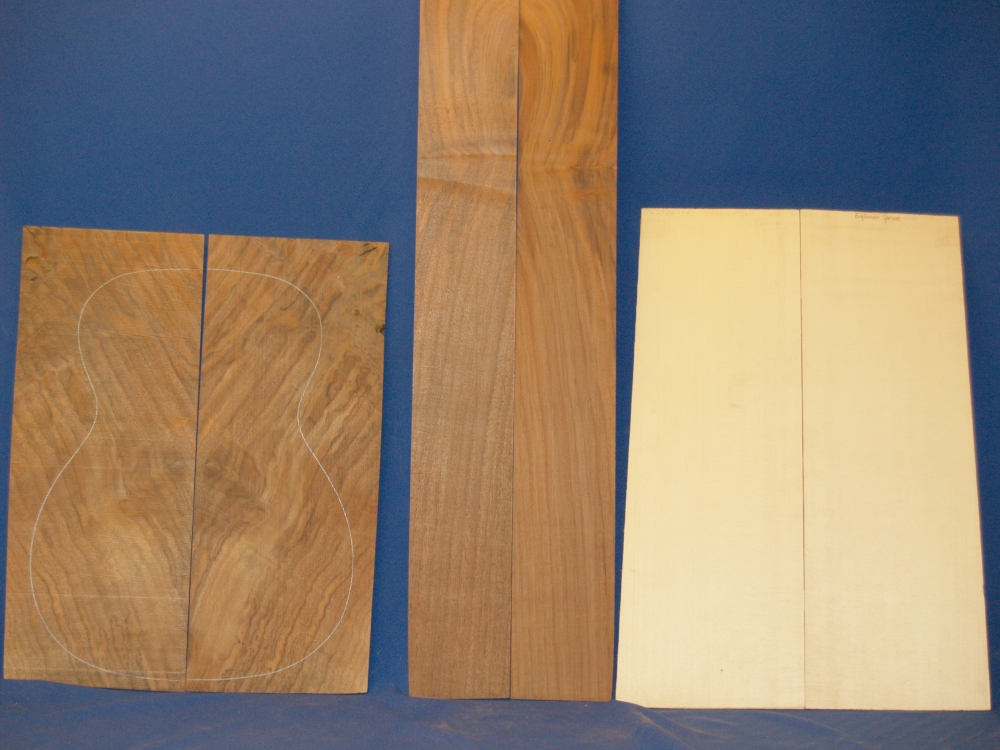 |
(2) May 14, 2009
Here are the top, sides, and back pieces that we will use to make this
guitar. |
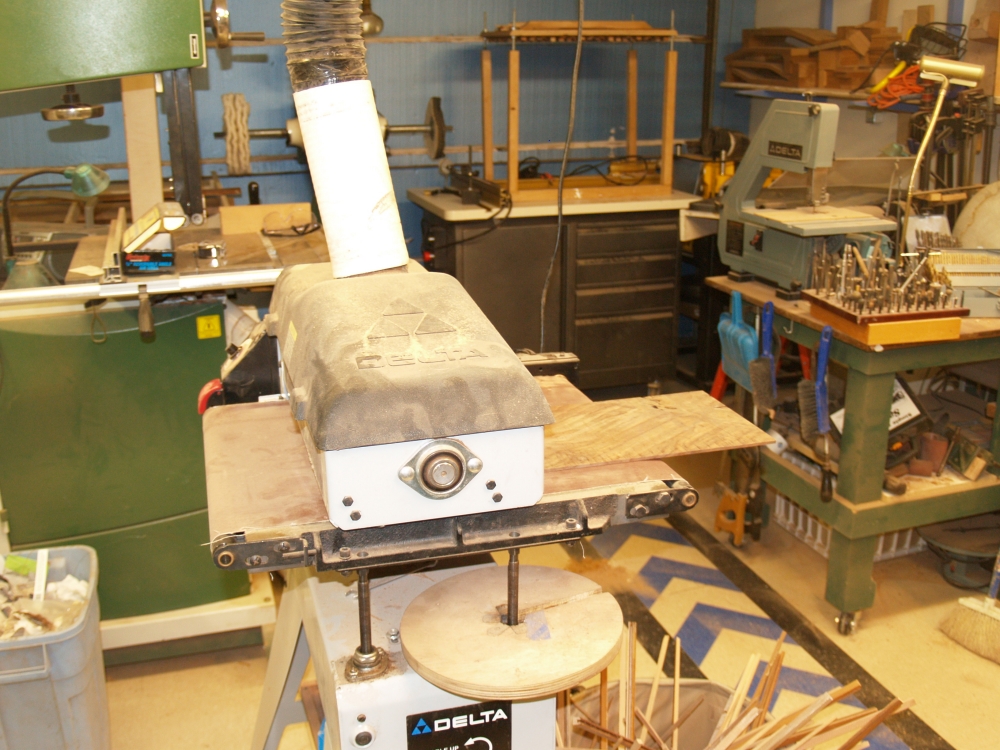 |
(3) May 14, 2009
I am starting this guitar by using the drum sander to sand the back
pieces smooth. |
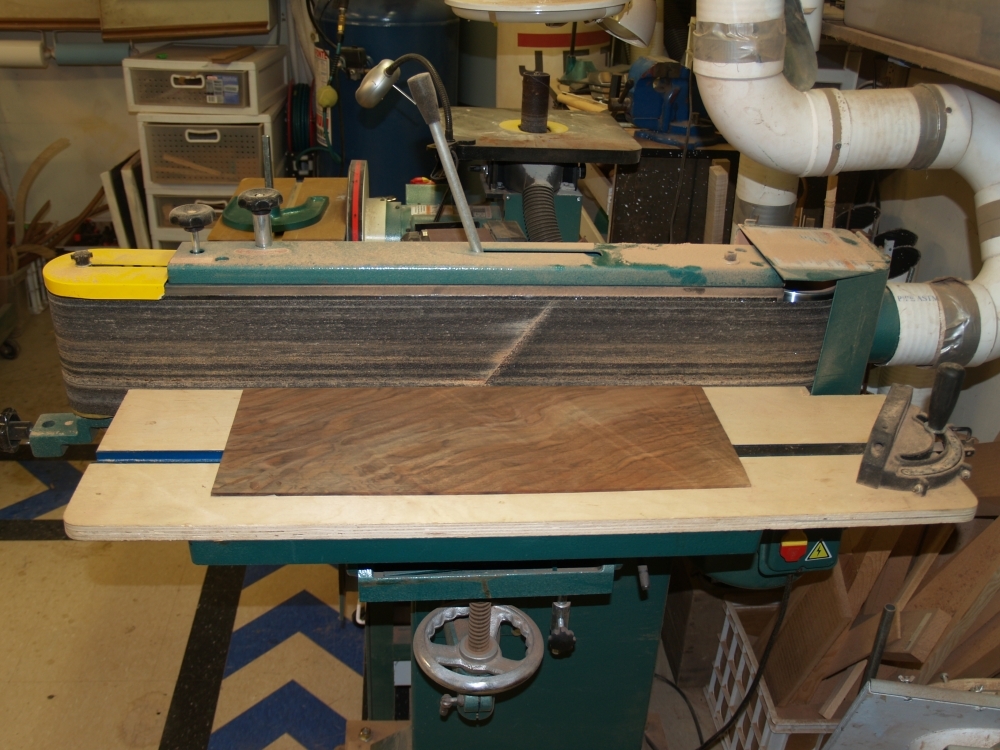 |
(4) May 14, 2009
After the surfaces are smooth I use the edge sander to straighten the
edges that are to be joined together. |
 |
(5) May 14, 2009
A bead of glue goes on each edge and a center strip will go between the
two boards. |
 |
(6) May 14, 2009
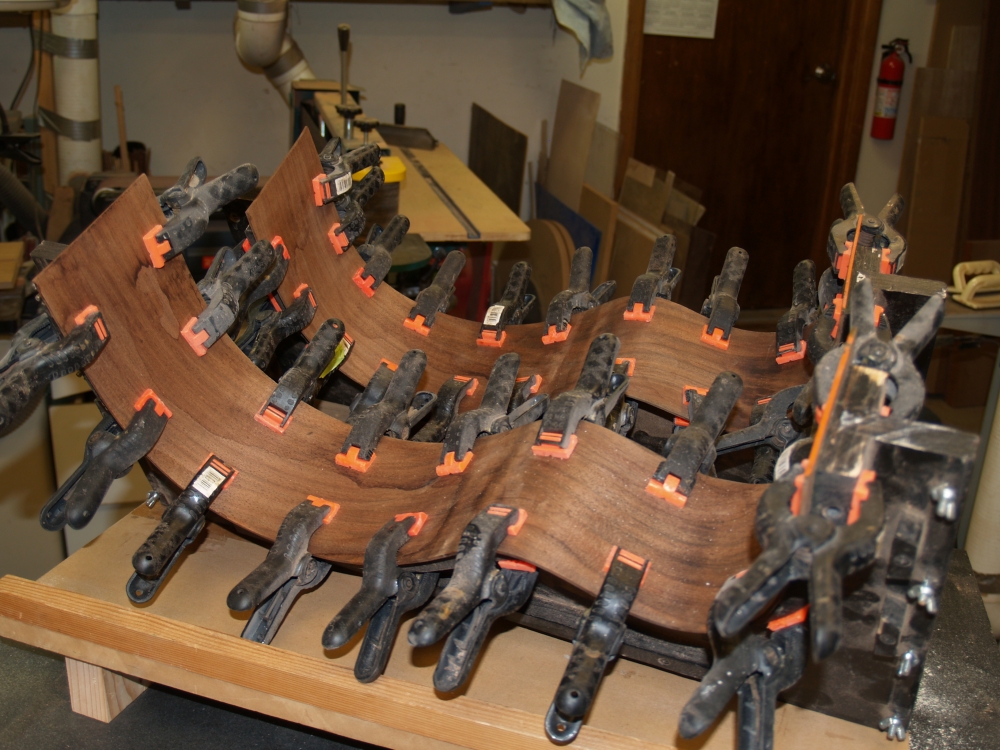
And I use my compression fixture to squeeze the boards together while
keeping them flat and co planar. |
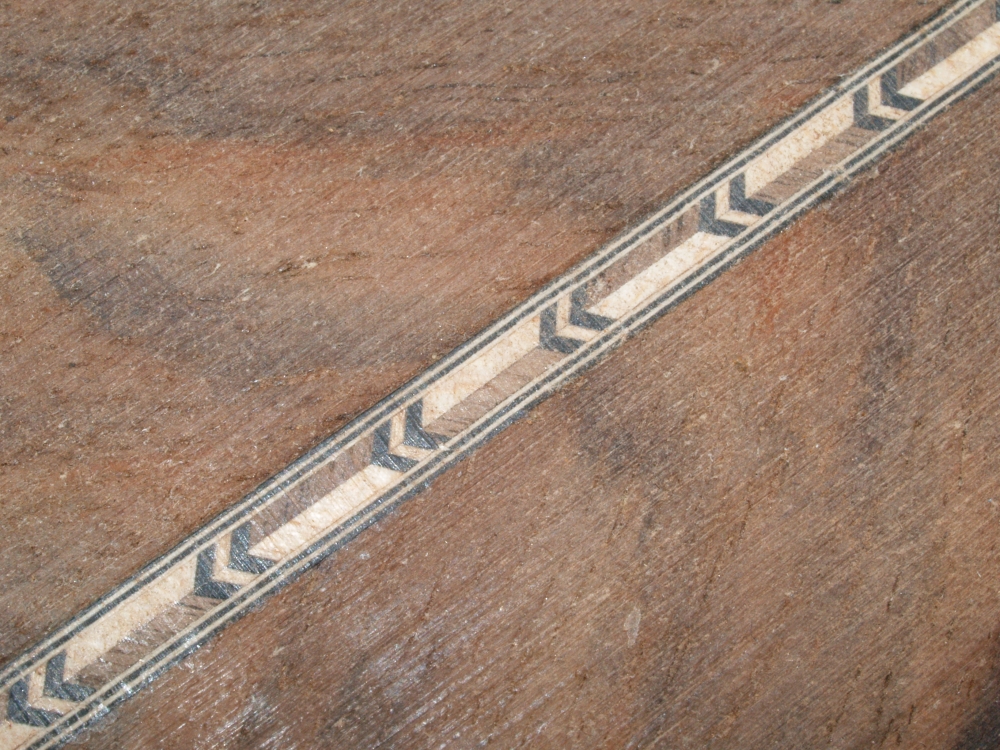 |
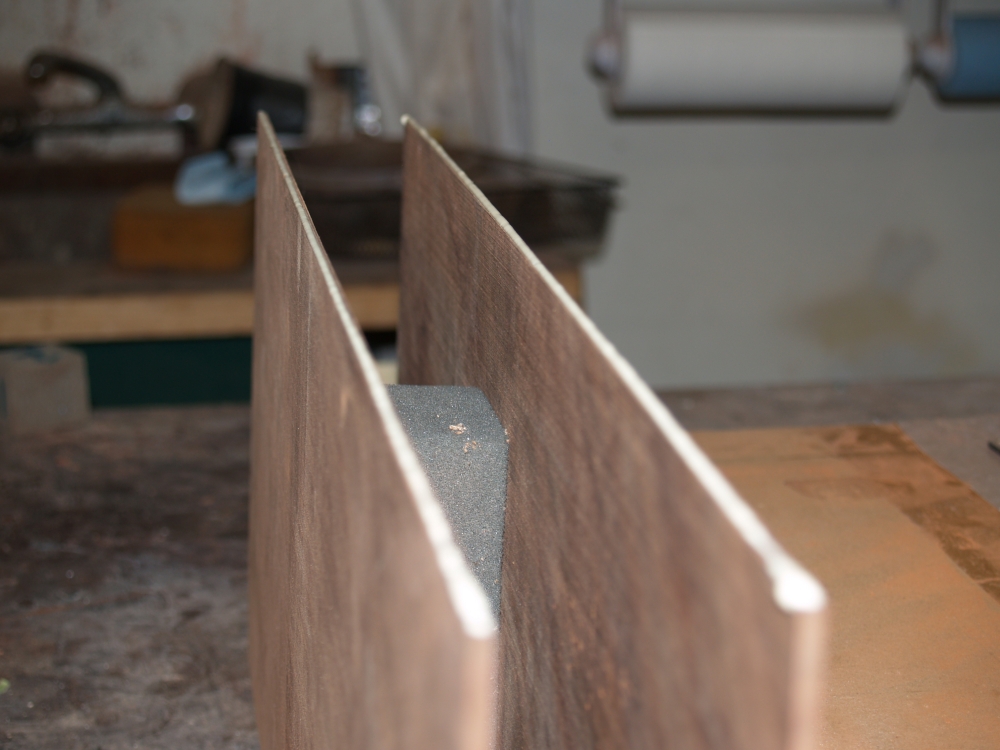
(7) May 14, 2009
Here is a close up of the center strip I installed. |
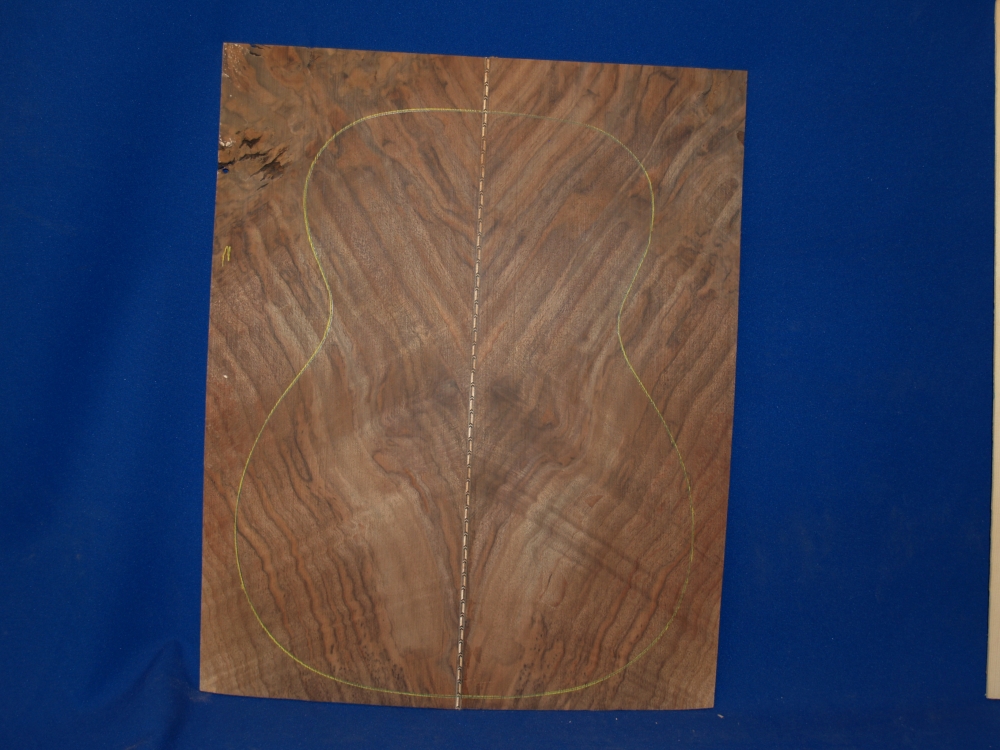 |
(8) May 14, 2009
And a view of the joined back pieces with the outline of the guitar
drawn on it. |
 |
(9) May 14, 2009
Here I am dimension the side pieces in the drum sander. |
 |
(10) May 14, 2009
And the final thickness is just a bit over 100 mils. |
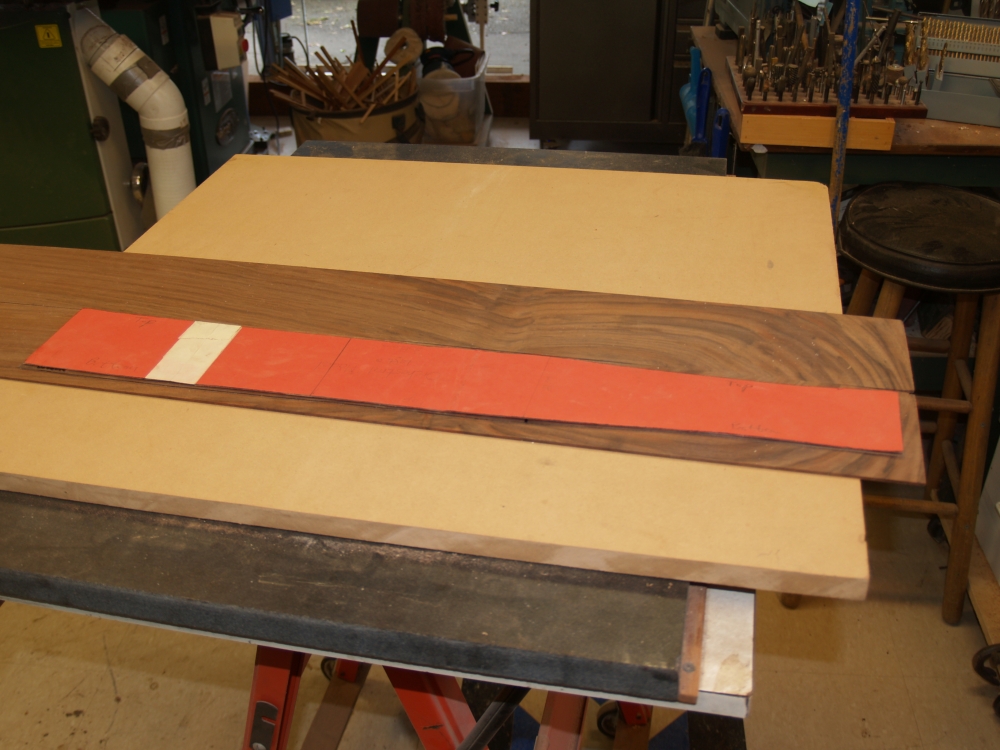 |
(11) May 14, 2009
I lay out the side pieces and draw the outline on so I can keep
everything in order as I get ready to bend them. |
 |
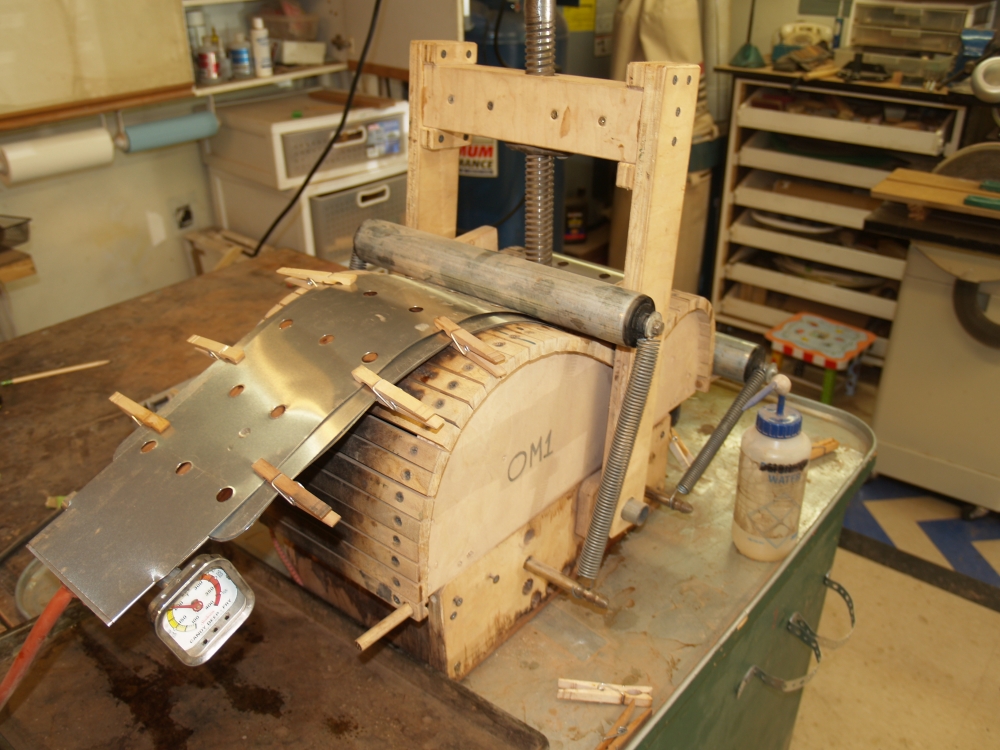
(12) May 14, 2009
I place the side piece into the heating sandwich. |
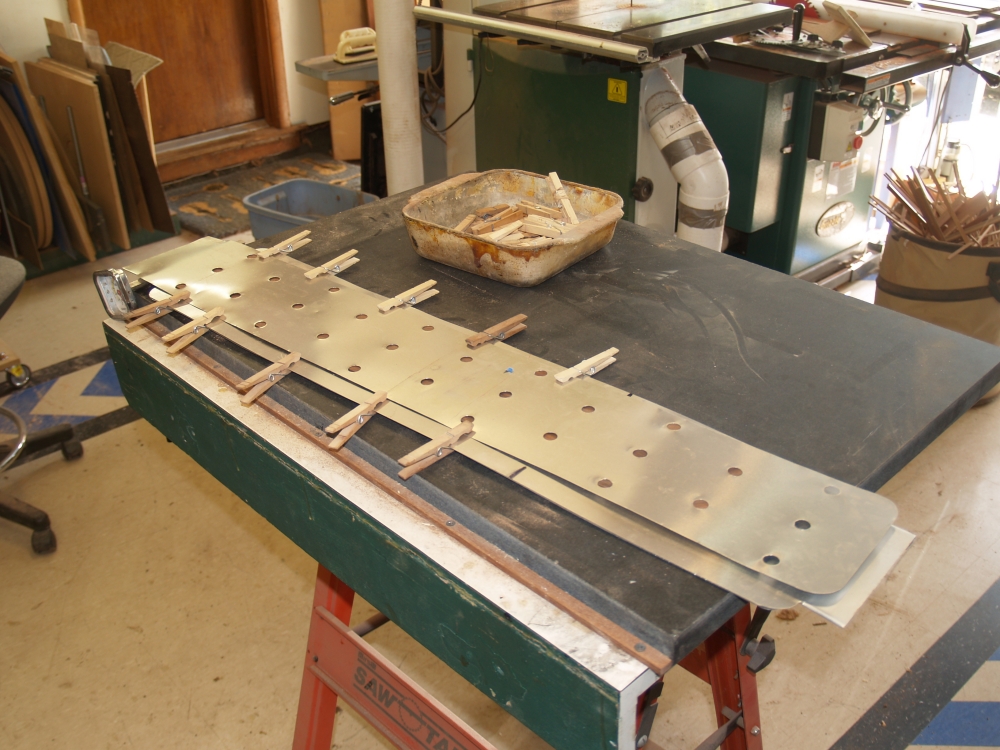 |
(13) May 14, 2009
The top layer of the heating sandwich has holes in it so I can squirt
water onto the wood as I bend it. |
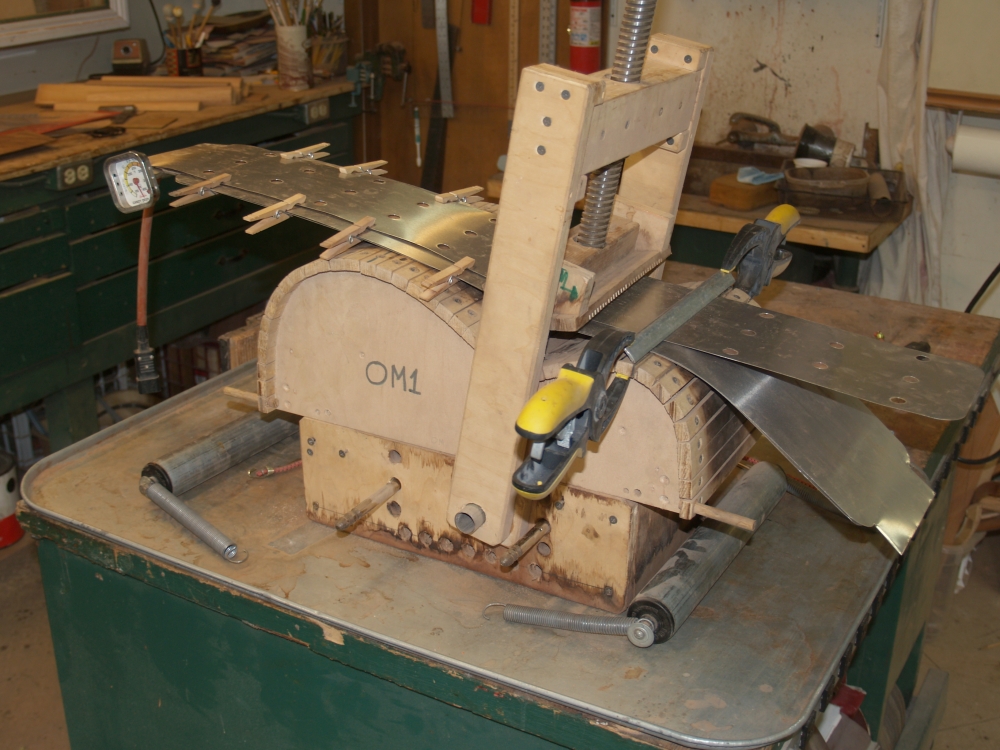 |
(14) May 14, 2009
The heating sandwich goes into the Universal Bendalator and gets
clamped in place. |
 |
(15) May 14, 2009
After the sandwich has heated up and the wood becomes pliable
the waist gets pressed into shape. |
 |
(16) May 14, 2009
Next, the roller for the upper bout is installed. |
 |
(17) May 14, 2009
And the upper bout gets bent by slowly moving the roller over the bend. |
 |
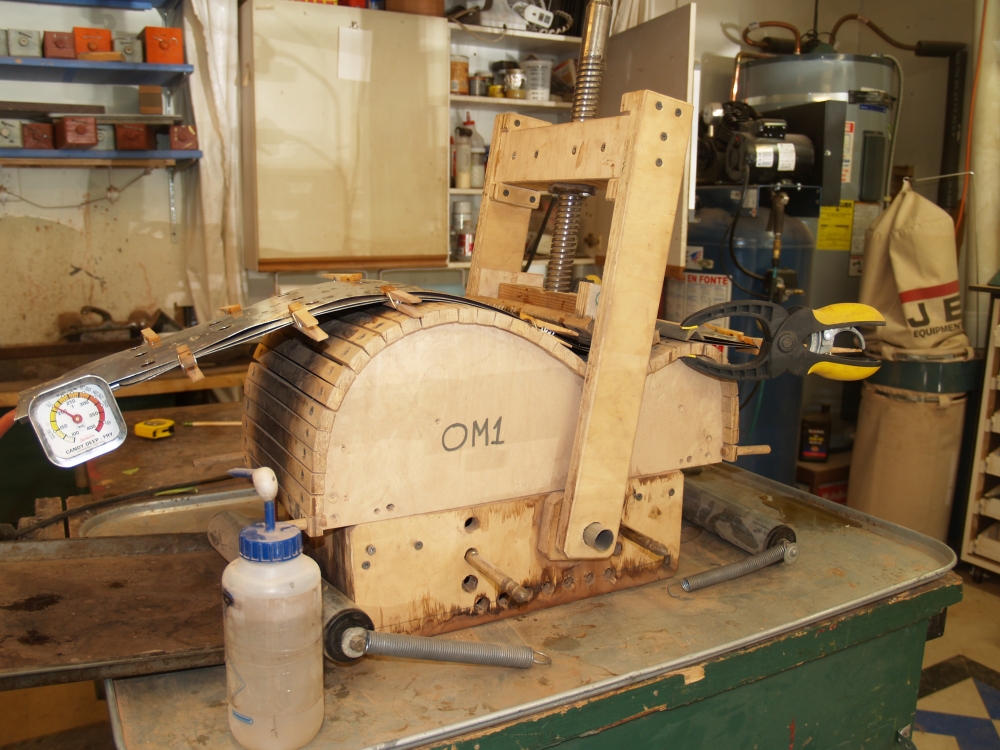
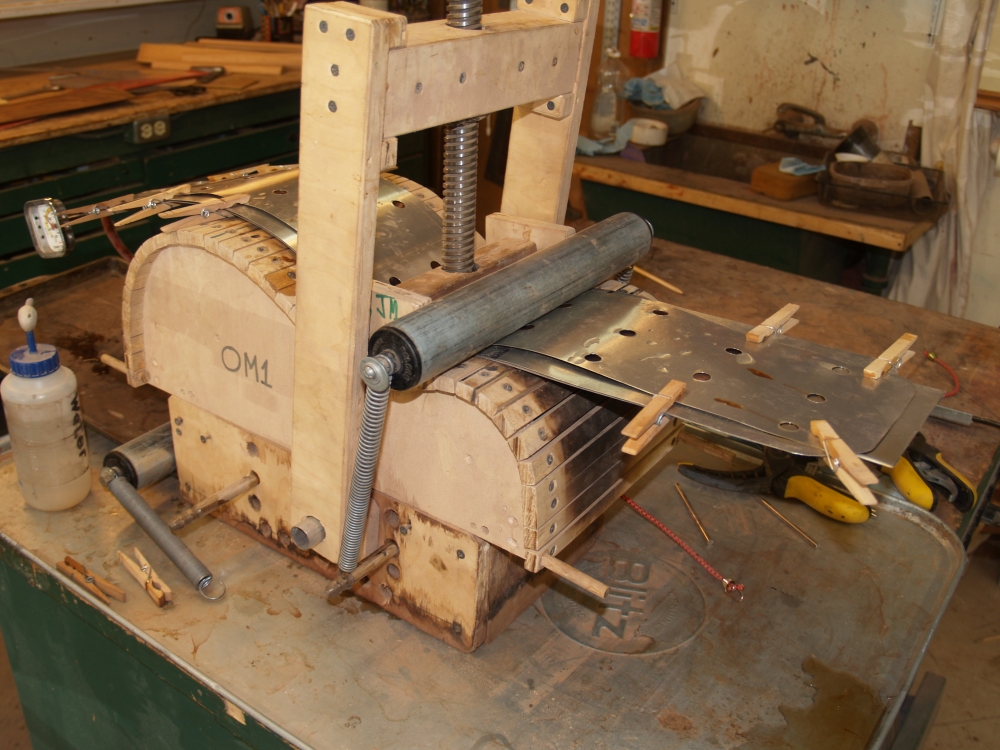
(18) May 14, 2009
The lower bout roller is installed. |
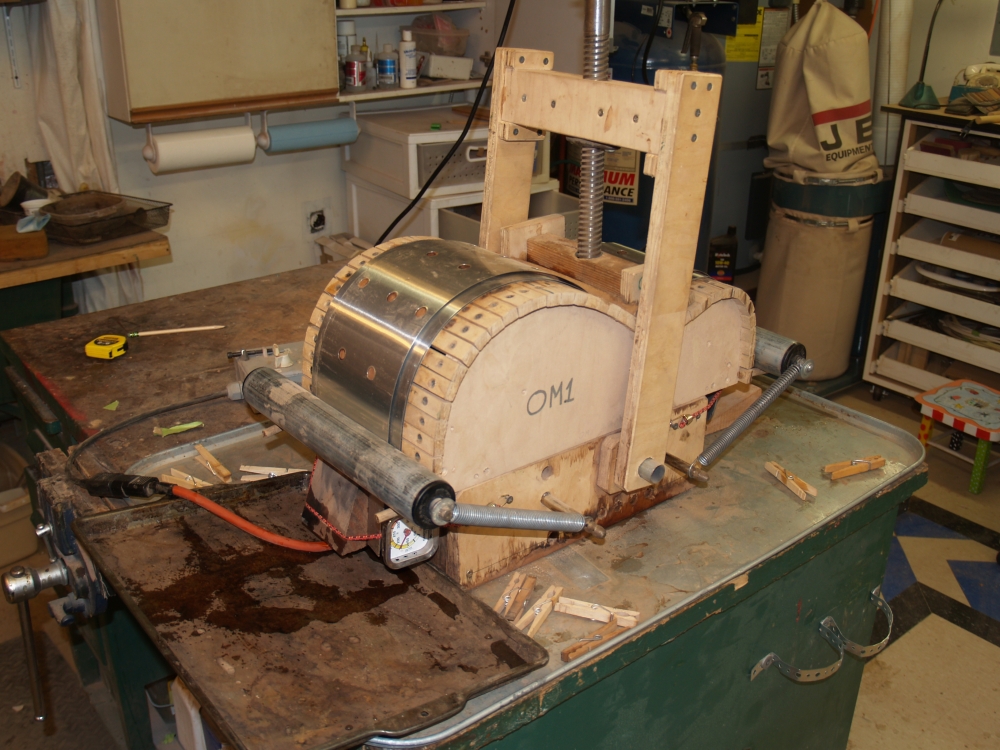 |
(19) May 14, 2009
And the lower bout is rolled into shape. |
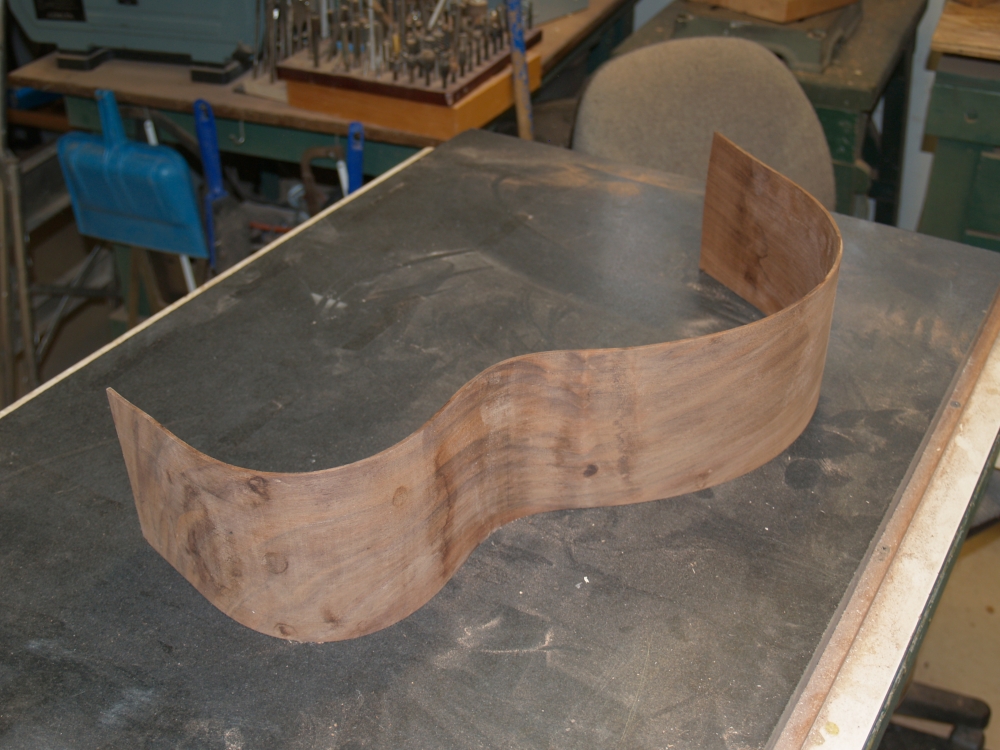 |
(20) May 14, 2009
The sides are left in the Bendalator with the heat turned down to a
moderate temperature until the sides have taken a permanent set. |
 |
(21) May 14, 2009
The other side goes through the same process. |
 |
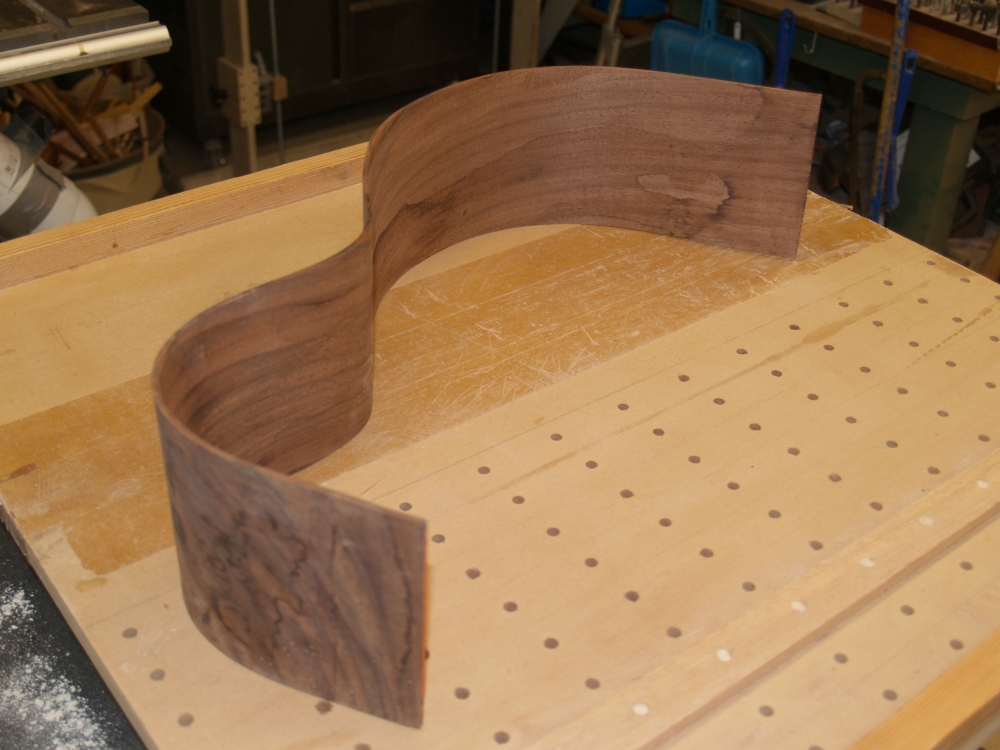
(22) May 14, 2009
And then I clamp the sides into their forms for safe keeping. |
 |
(23) May 14, 2009
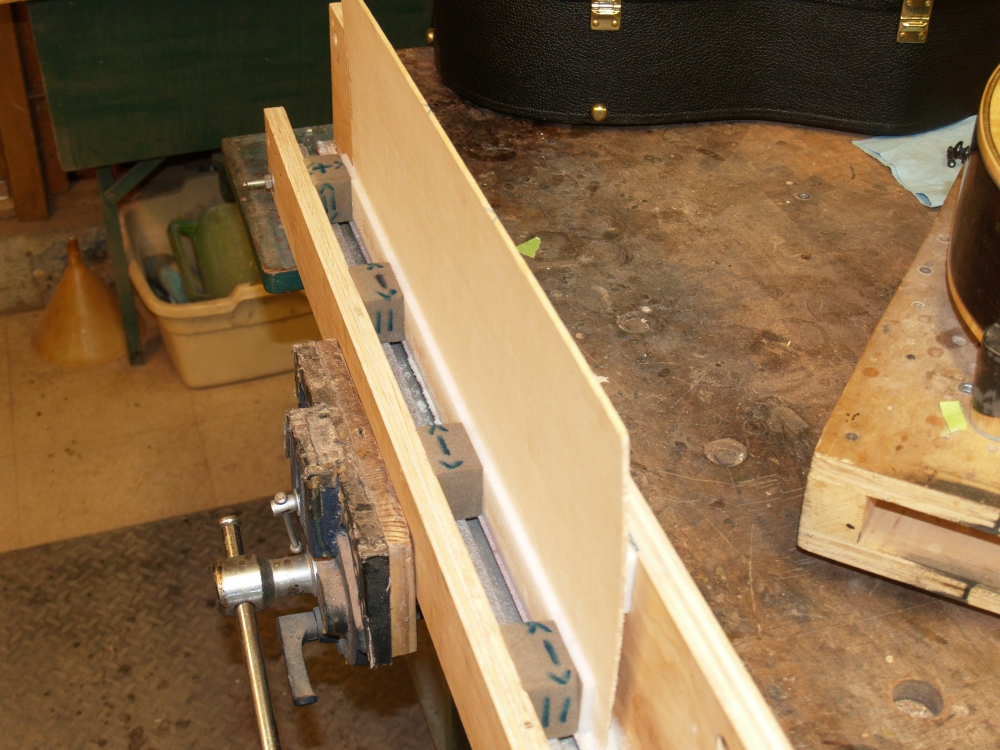
Now I am turning my attention to join the top pieces together. Here I
am using a sanding jig to straighten and square the edges. The two
edges of the top pieces that are going to be joined together have to
mate up near to perfect if the seam is going to be invisible.
This jig holds the pieces perpendicular to the very flat sanding
surface. By reversing the orientation of the second piece to be
processed, the joint surfaces are guaranteed to mate perfectly. |
 |
(24) May 14, 2009
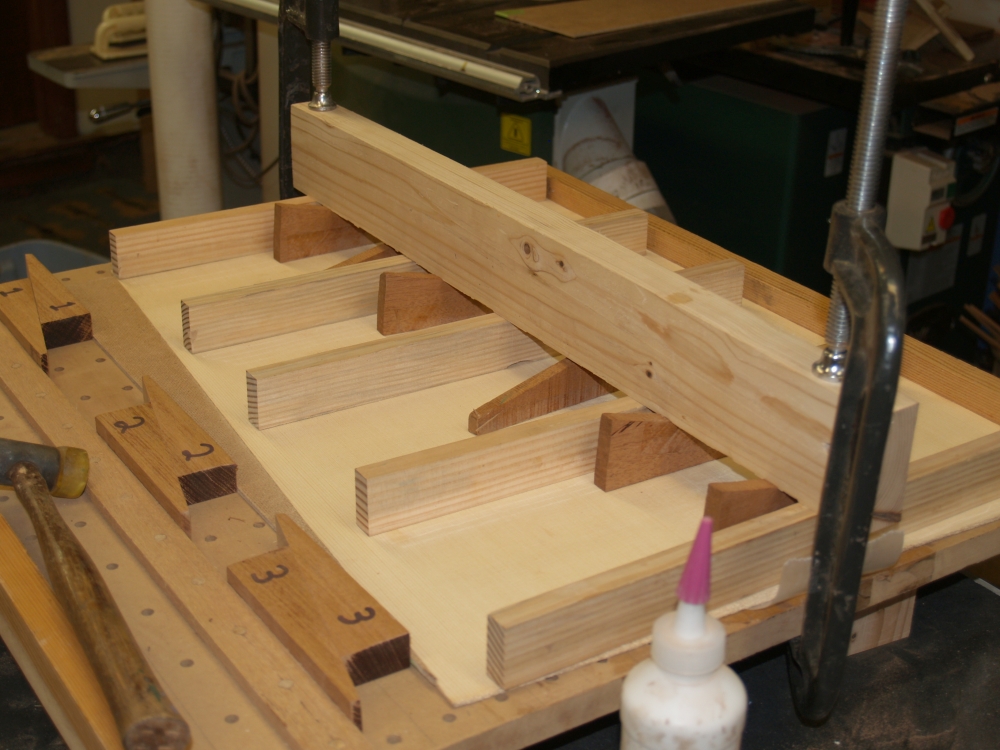
The two pieces go into the compression jig. |
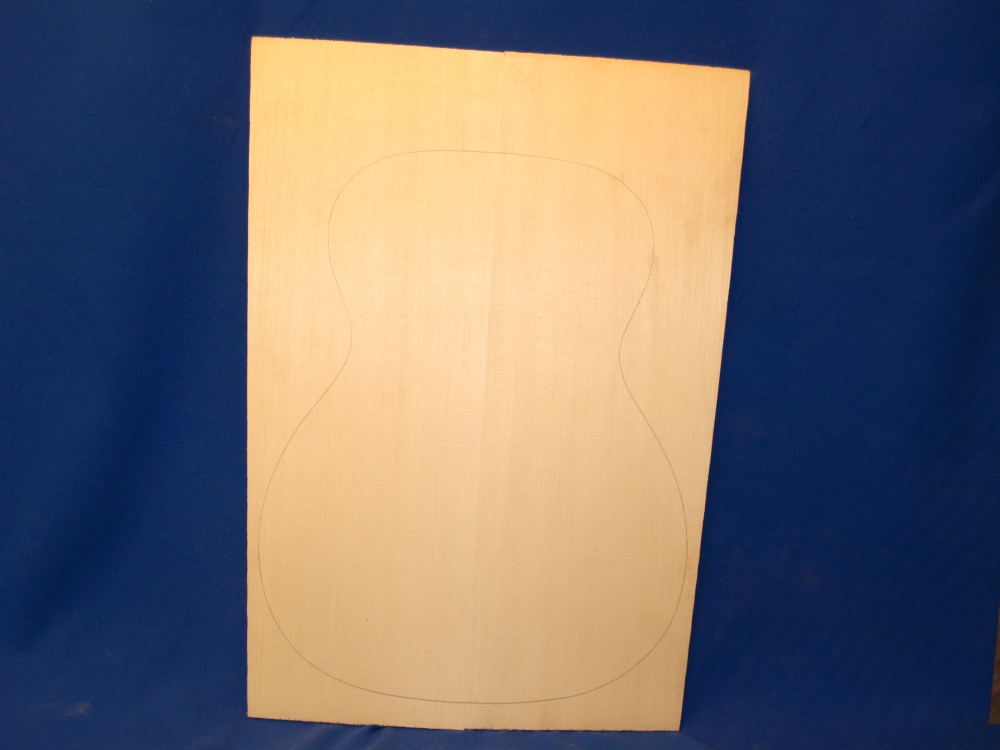 |
(25) May 14, 2009
And here we see the joined pieces with the outline of the body drawn
on. |
|