 |
(26) May 28, 2009
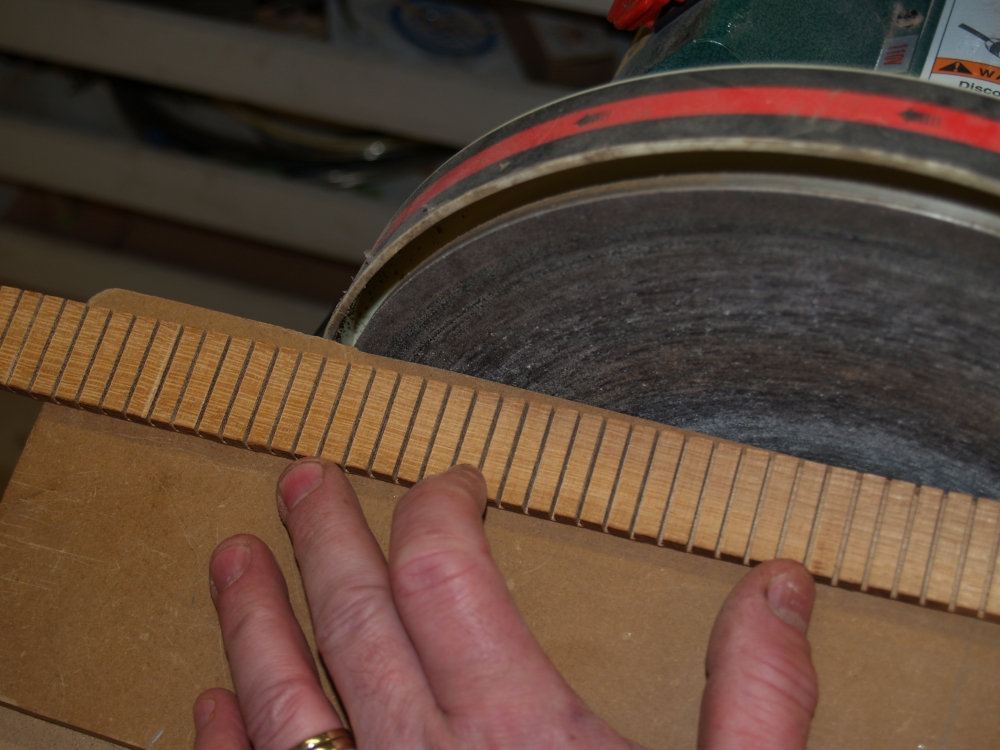
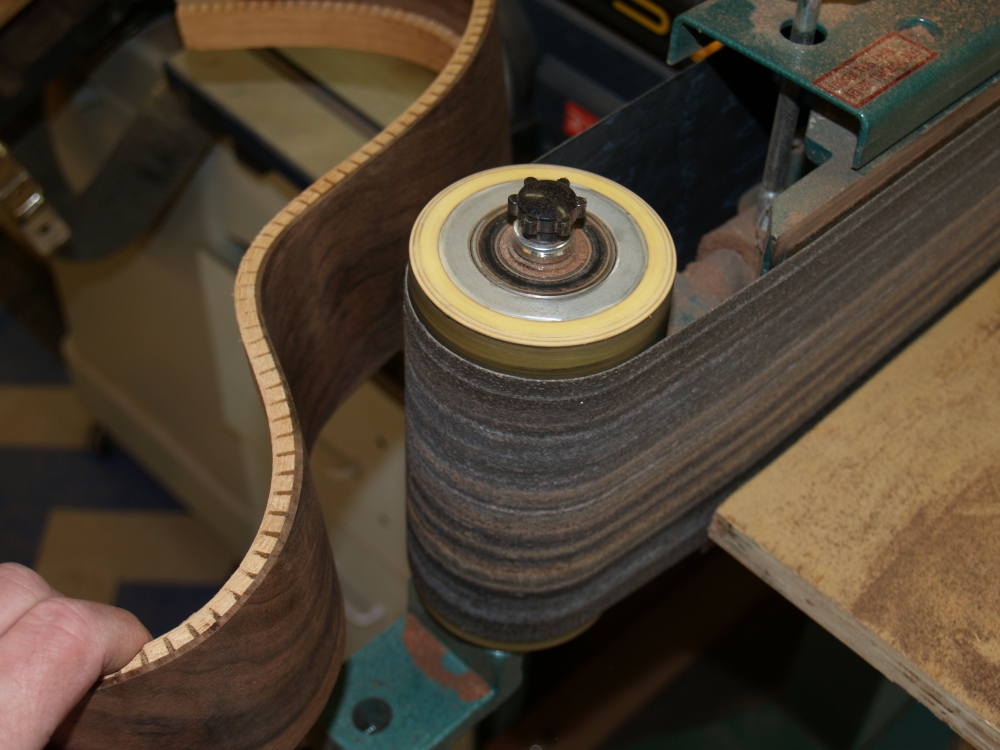
I manufacture my own kerfing implementing a reversed kerf to provide a
gunnel that makes for a very stiff side. Here I am sanding a
slight relief to the top side of the kerf. This gives the kerfing
a more finished look. |
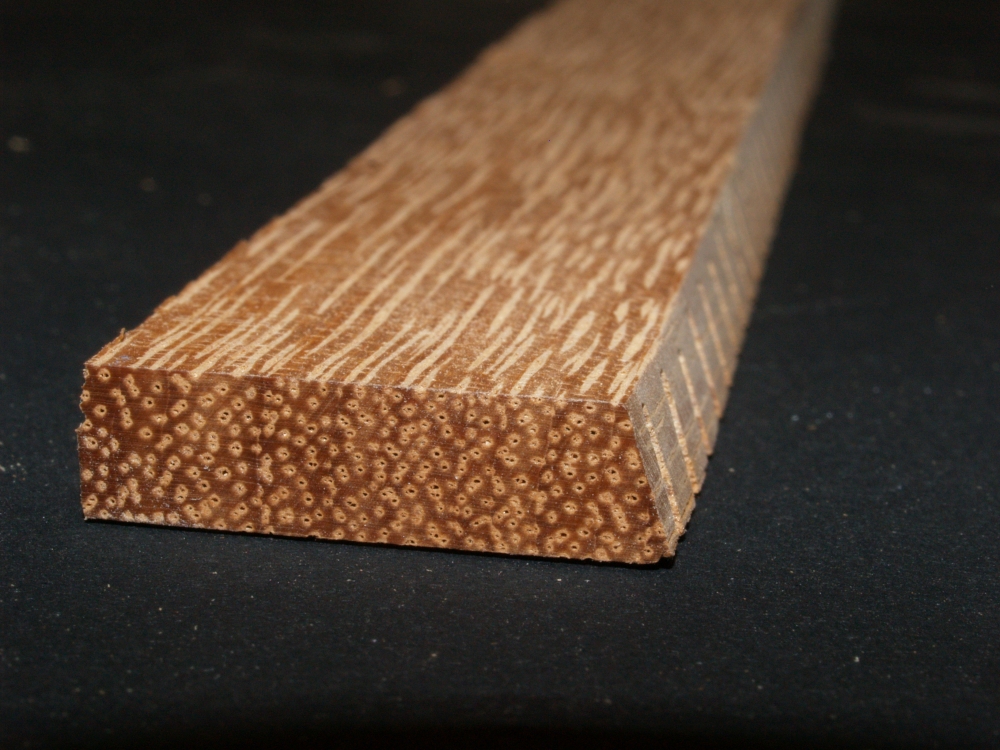 |
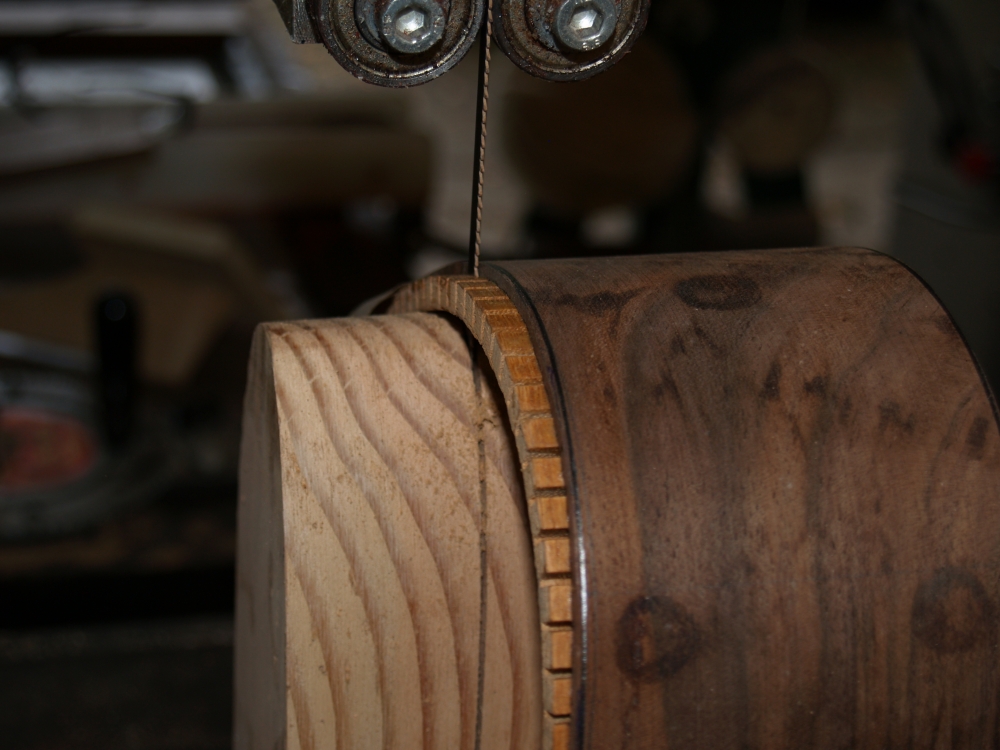
(27) May 28, 2009
An end view of the kerfing. |
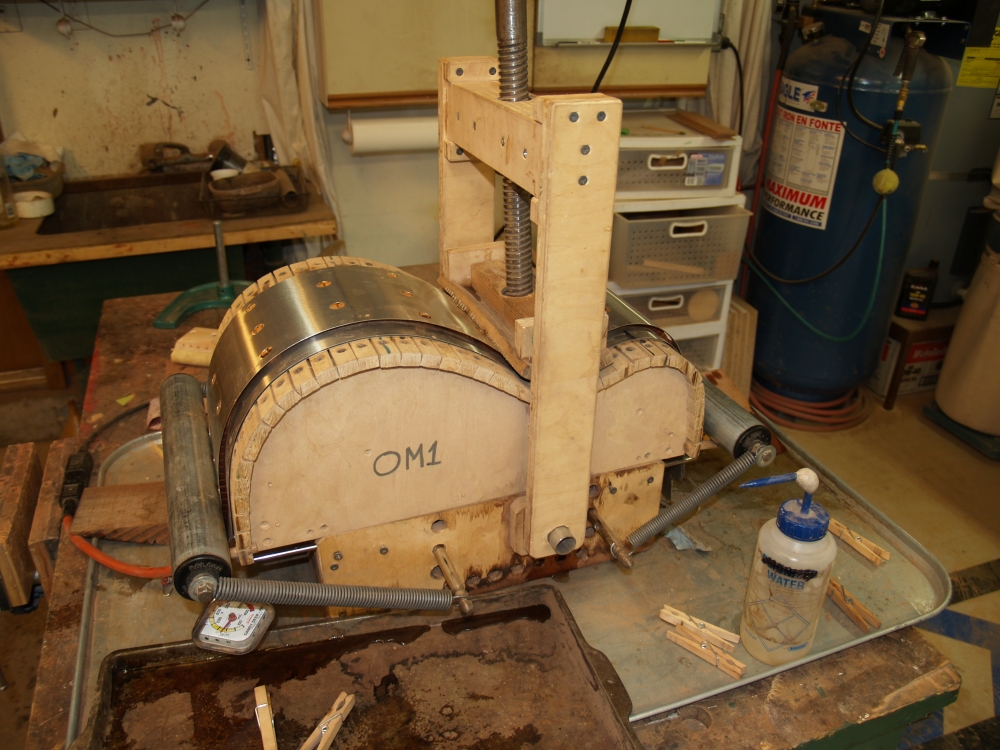 |
(28) May 28, 2009
The kerfing goes into the Universal Bendalator so it is easy to
install. |
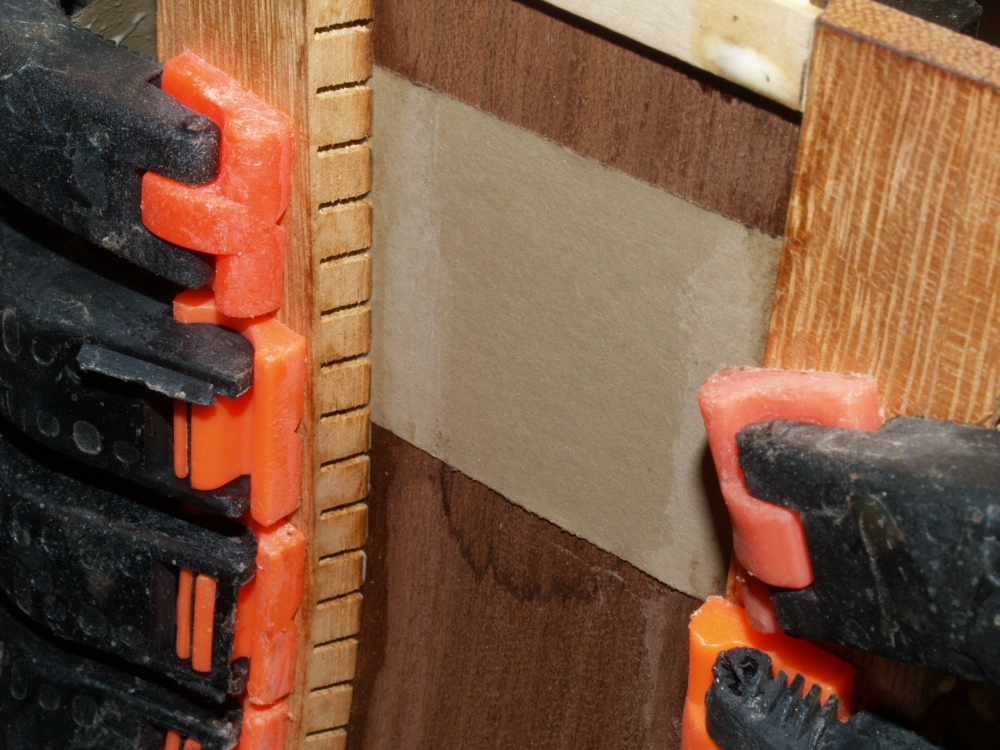 |
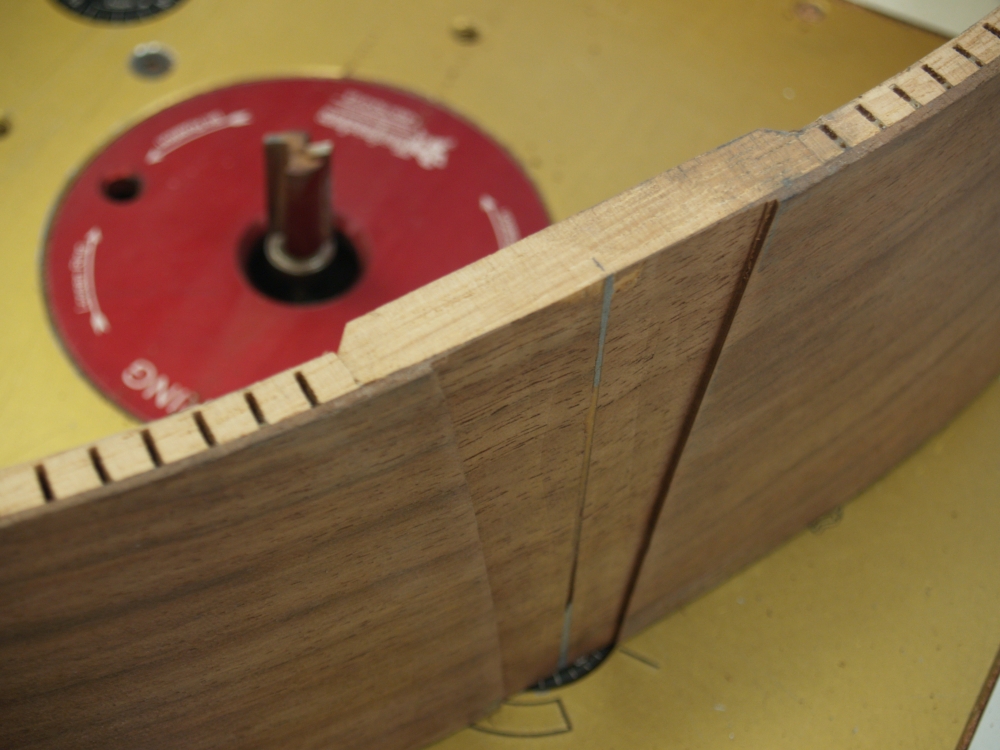
(29) May 28, 2009
This is a close up view of the kerfing being installed. The tape
is used to prevent the kerfing from being glued to this portion.
The heal block will go here after the kerfing is removed. |
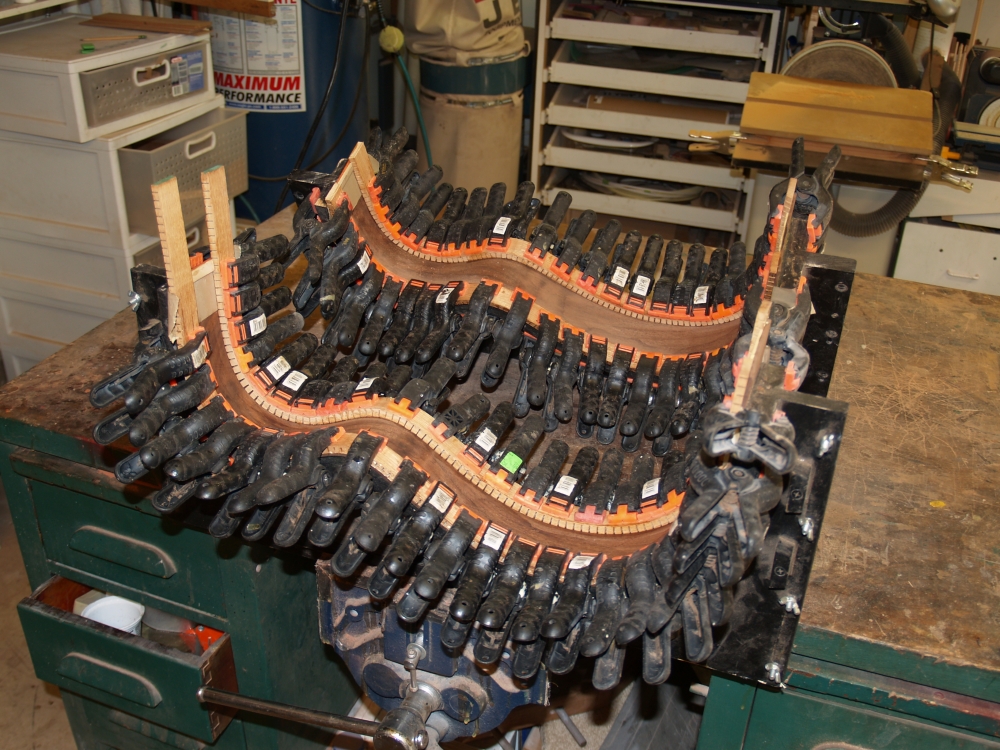 |
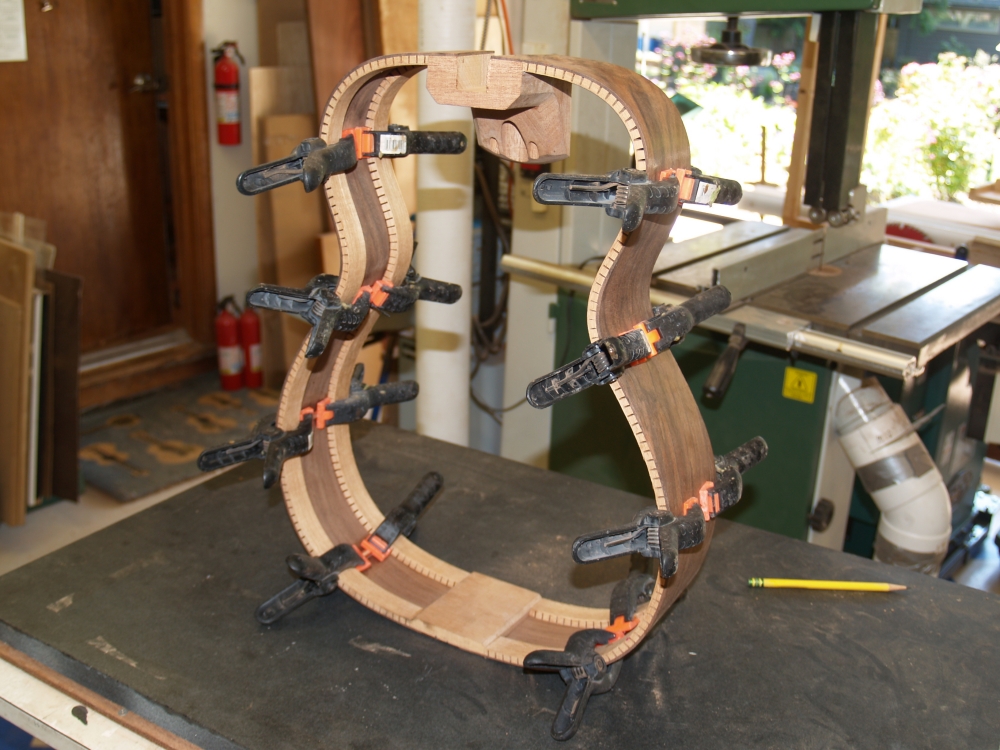
(30) May 28, 2009
This is where all of the clamps I have collected really come into play.
The clamps hold the kerfing tightly against the sides and force
the side into the mold. |
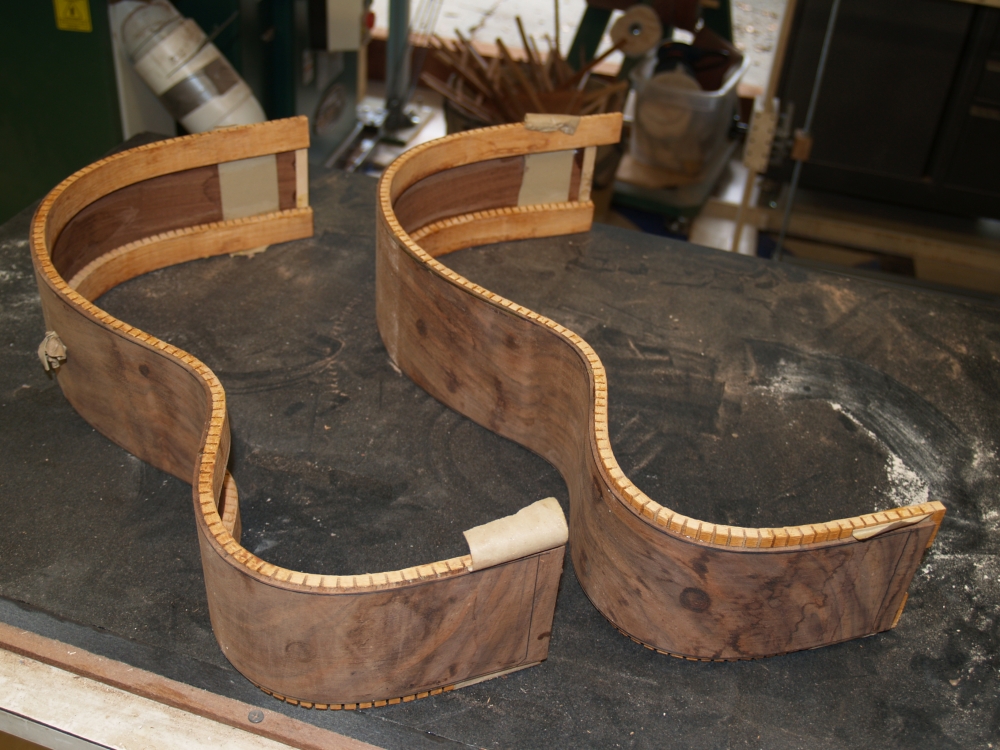 |
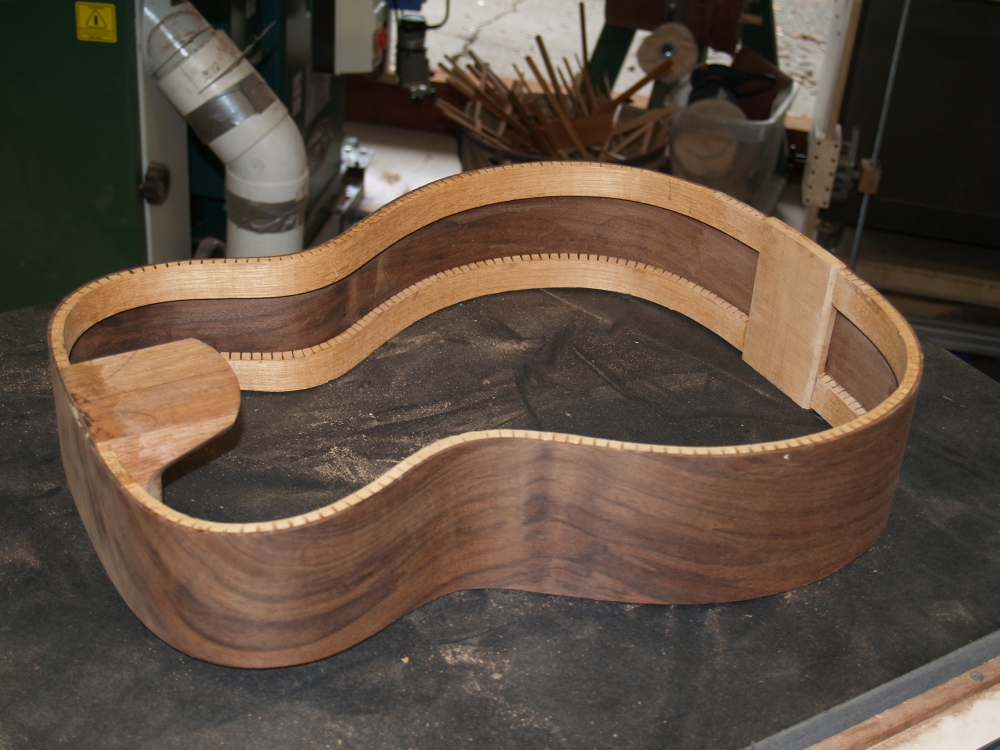
(31) May 28, 2009
When the glue is dry the sides take on their final shape and are very
stiff. |
 |
(32) May 28, 2009
The edge profile of the sides is a complex shape and the kerfing that
hangs over the edge has to be removed. |
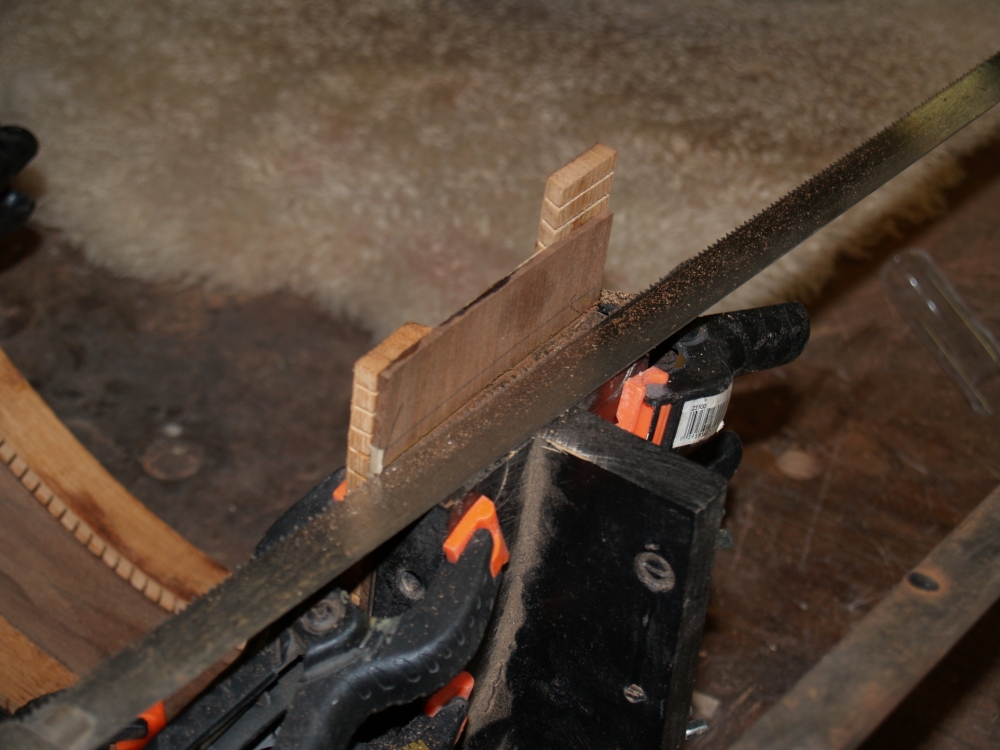 |
(33) May 28, 2009
The excess portion of the sides are removed |
 |
(34) May 28, 2009
In this step I am sanding the sides so they are straight from one edge
to the other, and I sand the interior surface of the kerfing to make
them look nice. |
 |
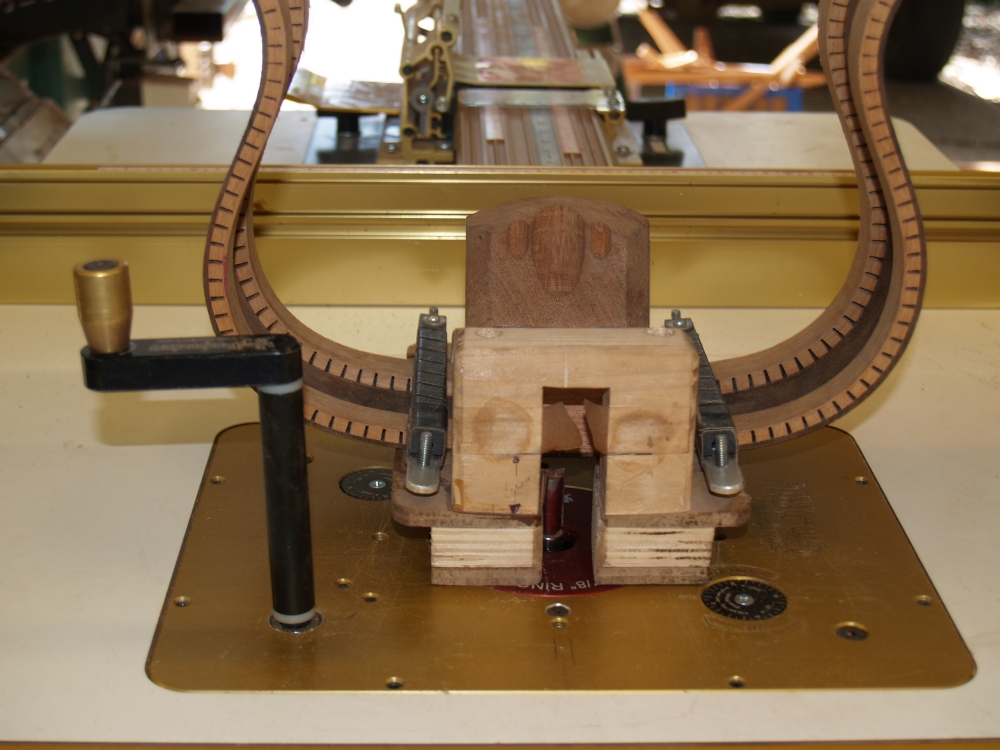
(35) May 28, 2009
Now I remove the kerfing where heal block and the end block will go. |
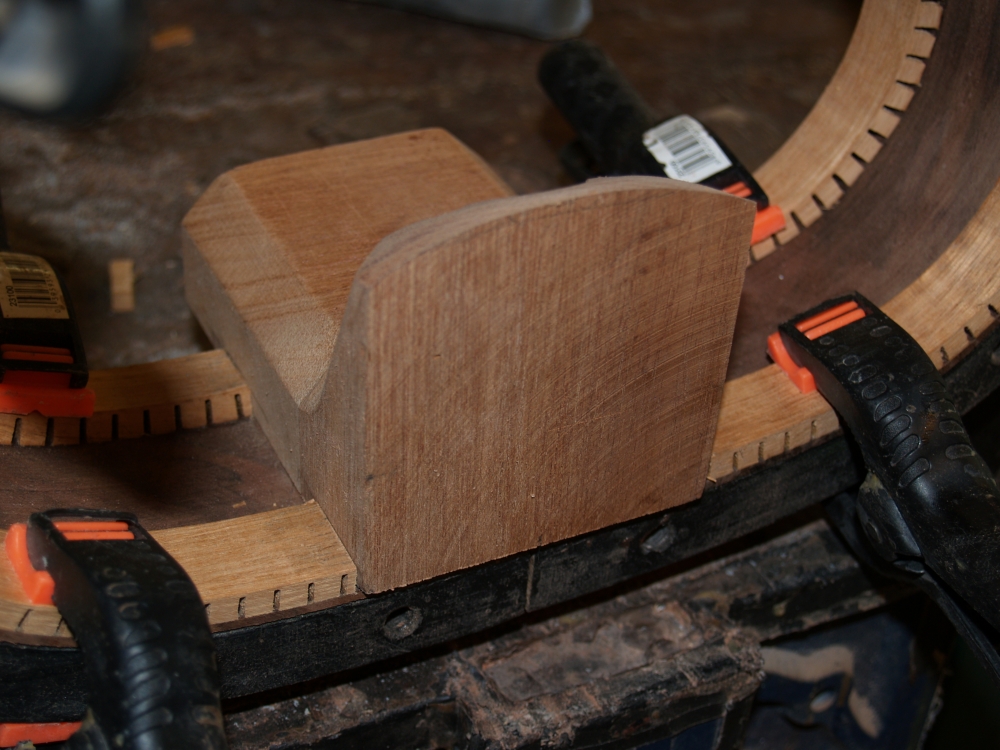 |
(36) May 28, 2009
The heal block drops into the slot. |
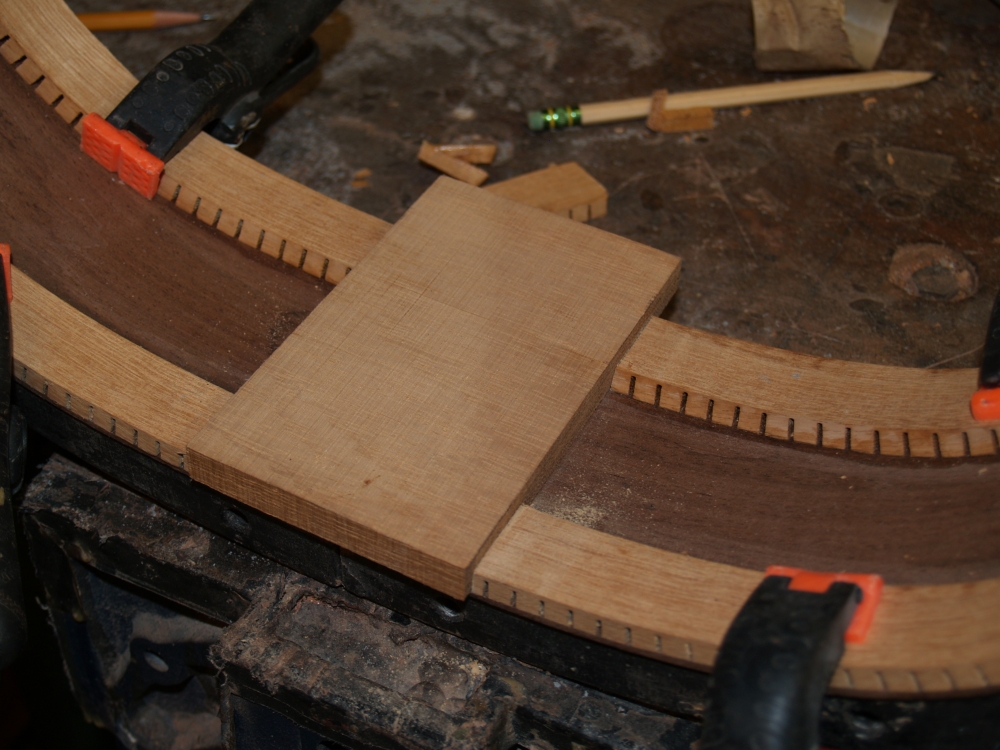 |
(37) May 28, 2009
And the end block drops in. |
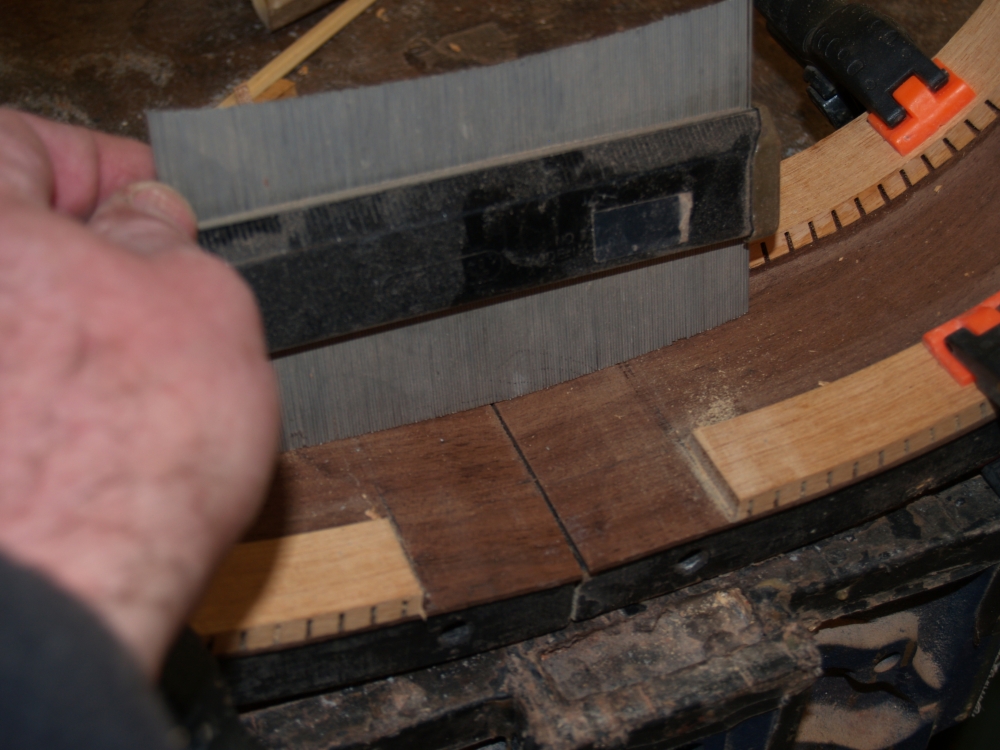 |
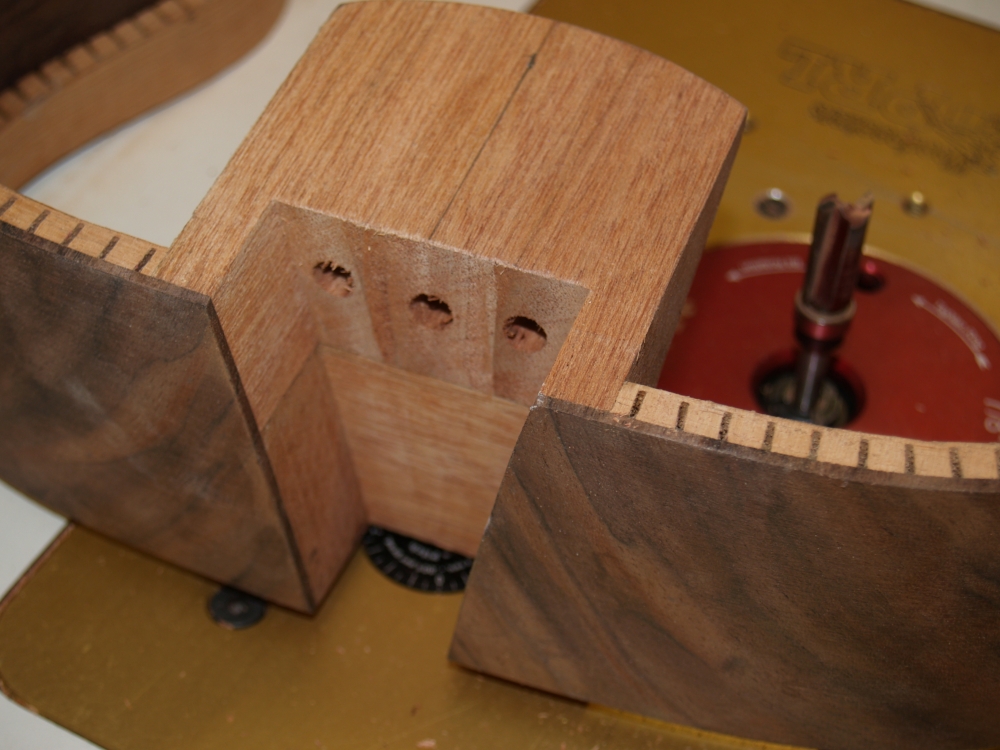
(38) May 28, 2009
The end and heal blocks need to be profiled so they make good contact
with the sides. |
 |
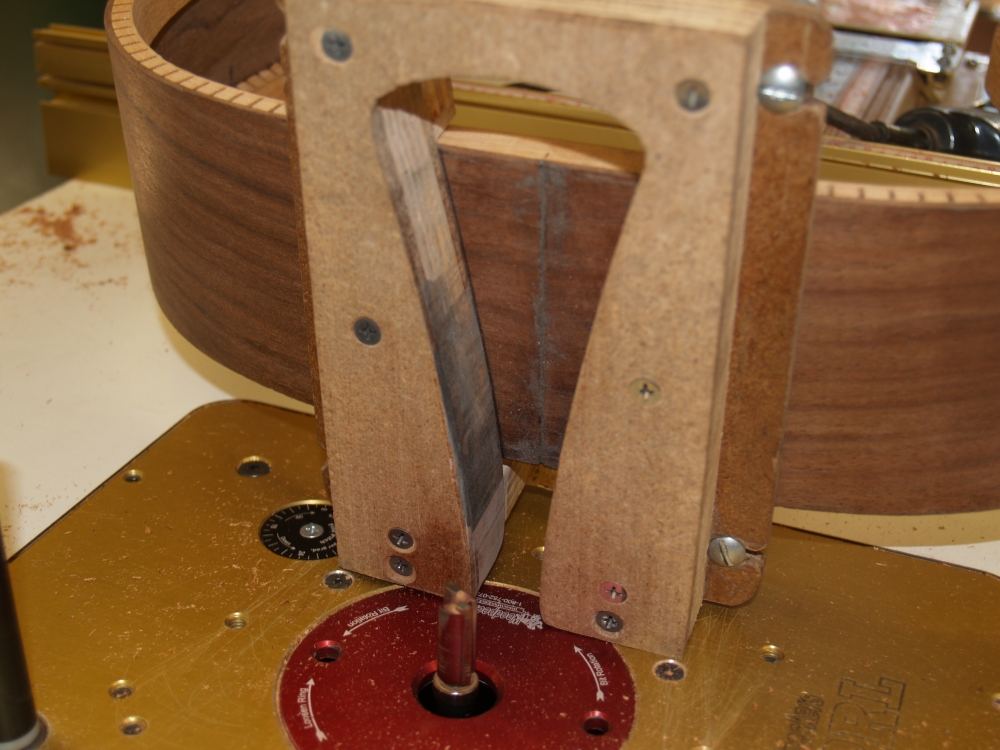
(39) May 28, 2009
I use this handy tool to make sure the profile is correct. |
 |
(40) May 28, 2009
Now I put everything into the forms to ensure proper alignment and glue
everything together. |
 |
(41) May 28, 2009
When it comes out of the form it is starting to look like a guitar. |
 |
(42) May 28, 2009
Now I use the top and back forms with a sheet of sandpaper installed to
sand the top and bottom edges of the sides to the proper profile.
This will ensure a good gluing surface when the top and back are
glued on. |
 |
(43) May 28, 2009
I now route out the channel where the neck is going to be attached. |
 |
(44) May 28, 2009
Here we can see the final neck channel and the holes where some of the
hardware will go. |
 |
(45) May 28, 2009
The heal graft gets a channel routed out also. |
 |
(46) May 28, 2009
The heal graft has the same profile as the neck. |
 |
(47) May 28, 2009
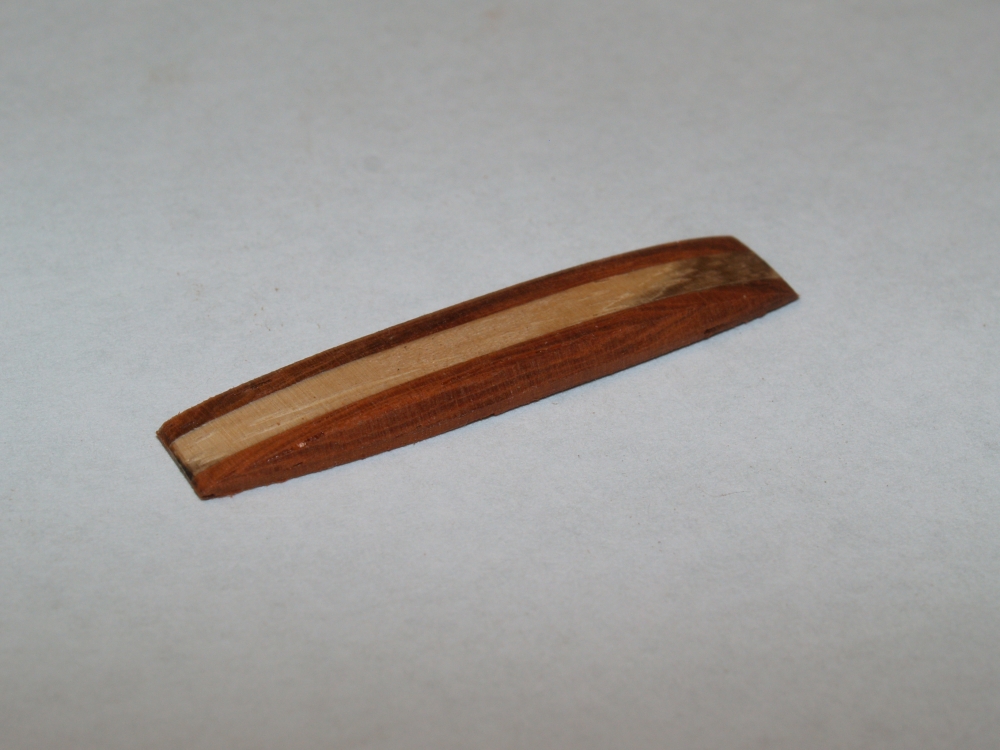
This is a picture of a side reinforcing strap. I install these to
provide cross grain reinforcing to the sides. If the guitar
should experience a severe shock, this will help prevent the sides from
splitting. I shape these to give them a pleasing profile. |
 |
(48) May 28, 2009
Here I am gluing the strips onto the sides. |
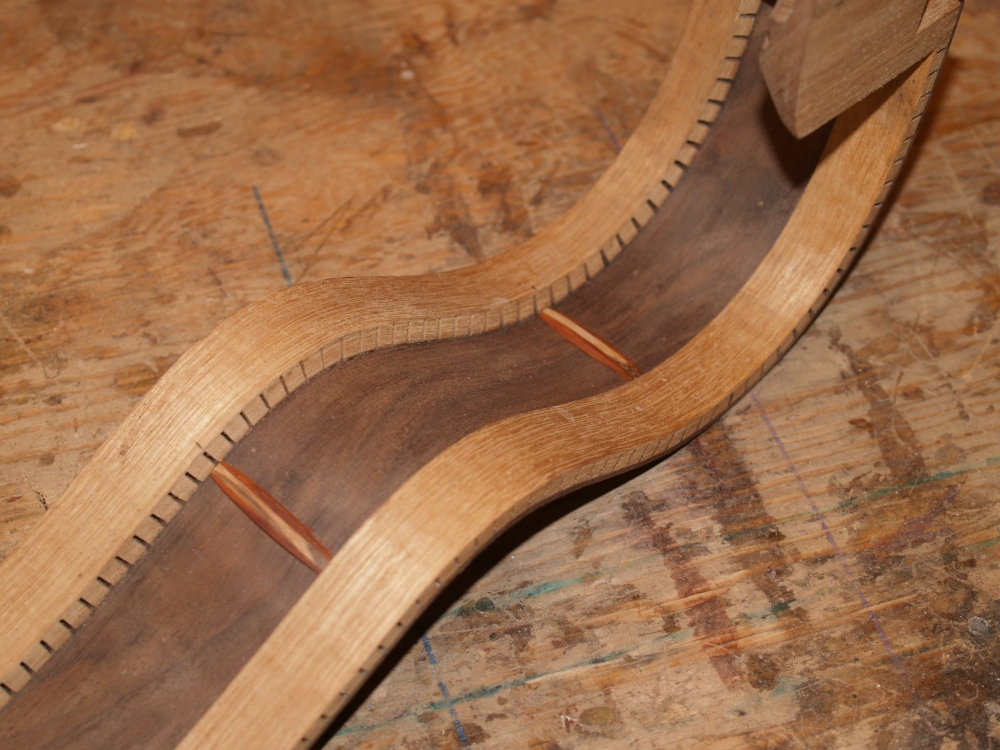 |
(49) May 28, 2009
A view of the installed reinforcing strips. |
|