 |
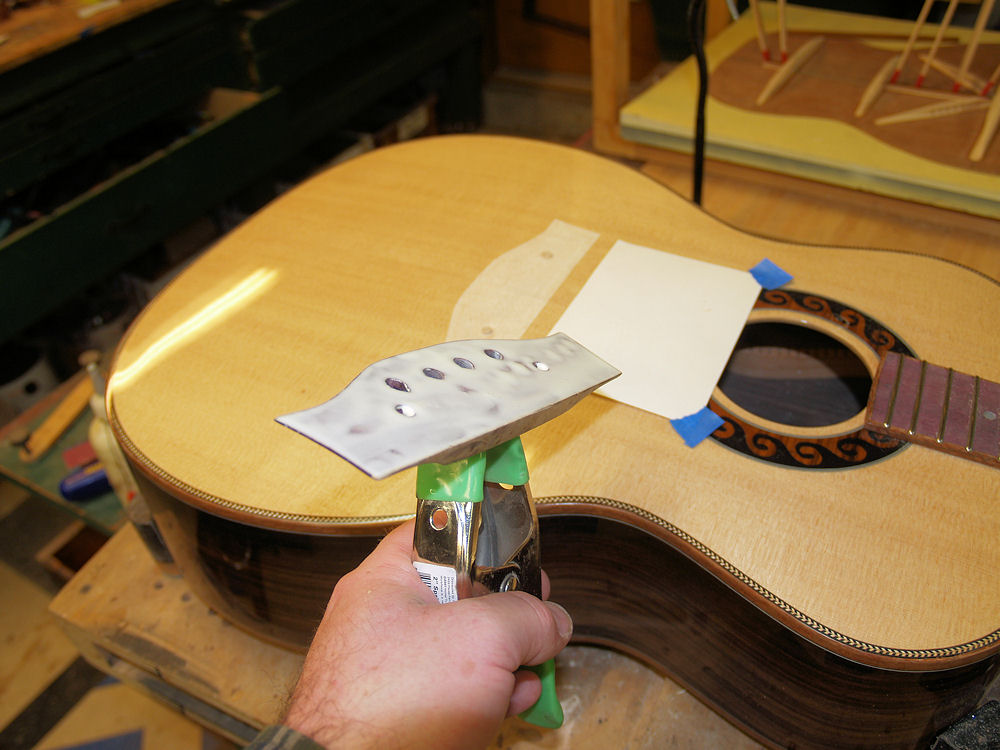
(131) 16-Oct-2009
Now
I am setting up to apply the finish. I have a set of curtains
that define a spray booth for this purpose. Inside the curtained
off area is an air filter that recirculates the air filtering out most
of the airborne dust inherent in my shop and the over spray from the
spray gun. I use a water based polyurethane that is
environmentally benign and is easy to repair should it be necessary.
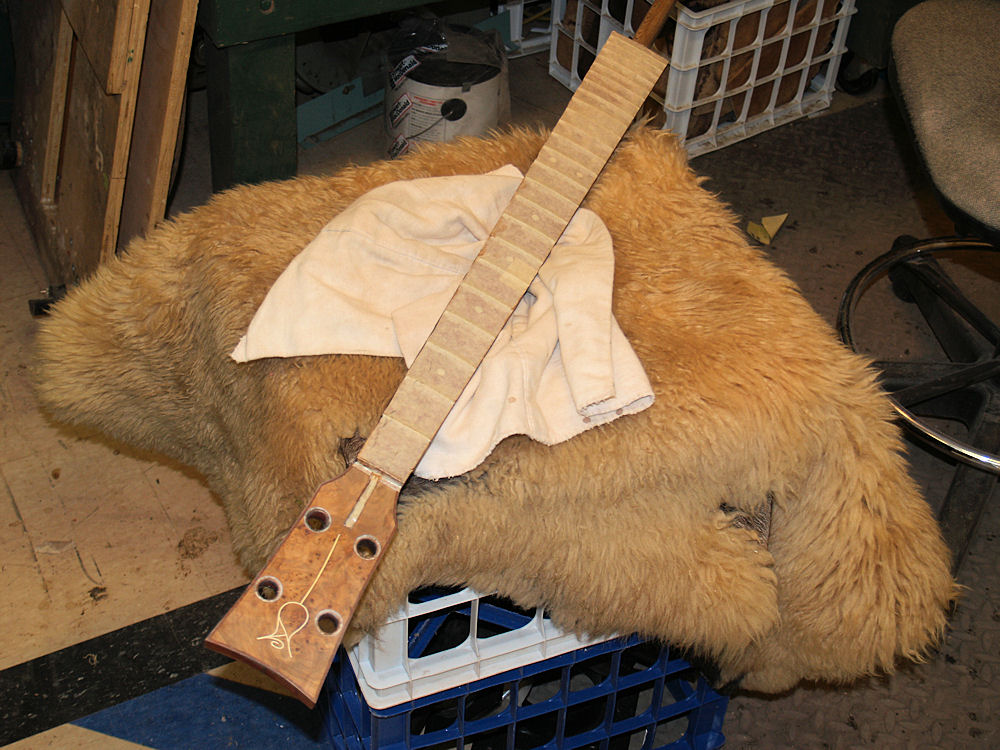
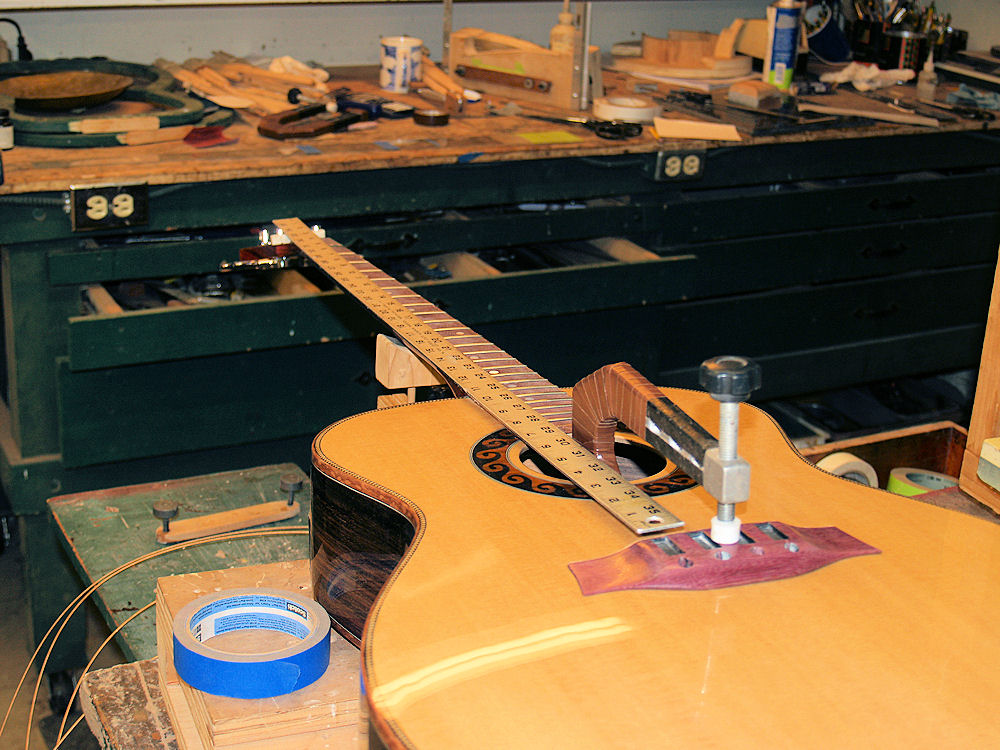
I am often asked how many coats I apply. The answer is on
the order of twenty-five or thirty, but this does not tell the real
story. What is more relevant is that in the end the finish
is three to five mils thick. In this picture I am preparing the
neck by masking off the fretboard. |
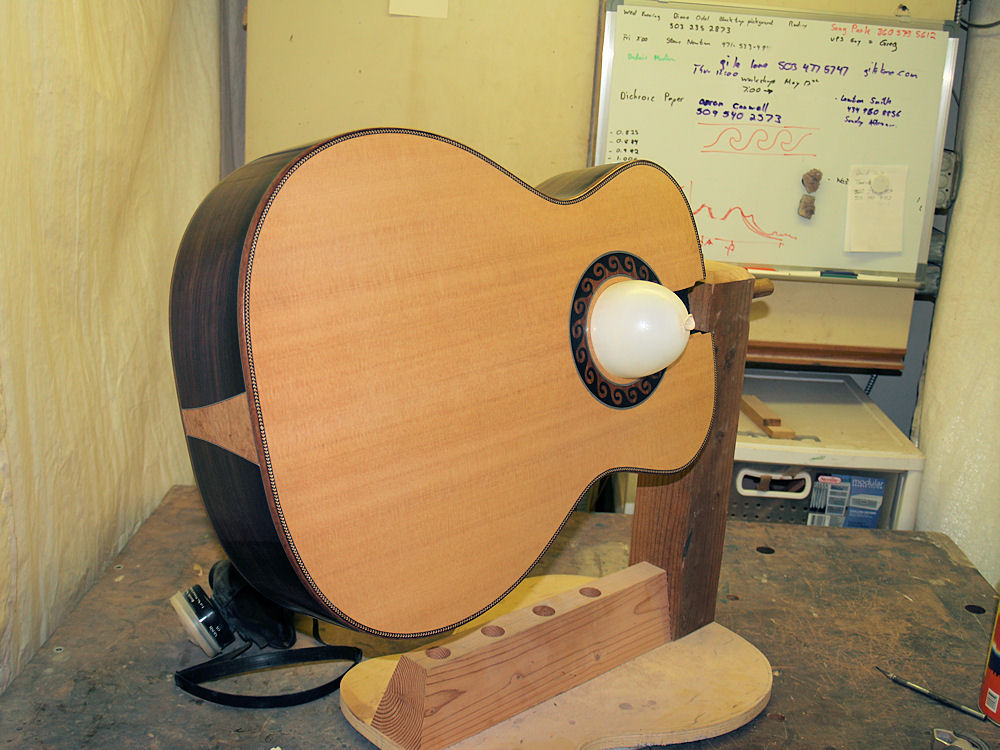 |
(132) 16-Oct-2009
The
process of finishing involves apply one or more layers of lacquer,
letting it dry and then sanding off the high spots. Then a new
layer of lacquer is applied that fills in the low spots. The
new layer is then sanded once again removing the high spots. This
process is repeated until the high spots and low spots are leveled out
and there is enough lacquer to protect the wood underneath and is able
to be polished to a high gloss. I use a balloon to plug the sound
hole. |
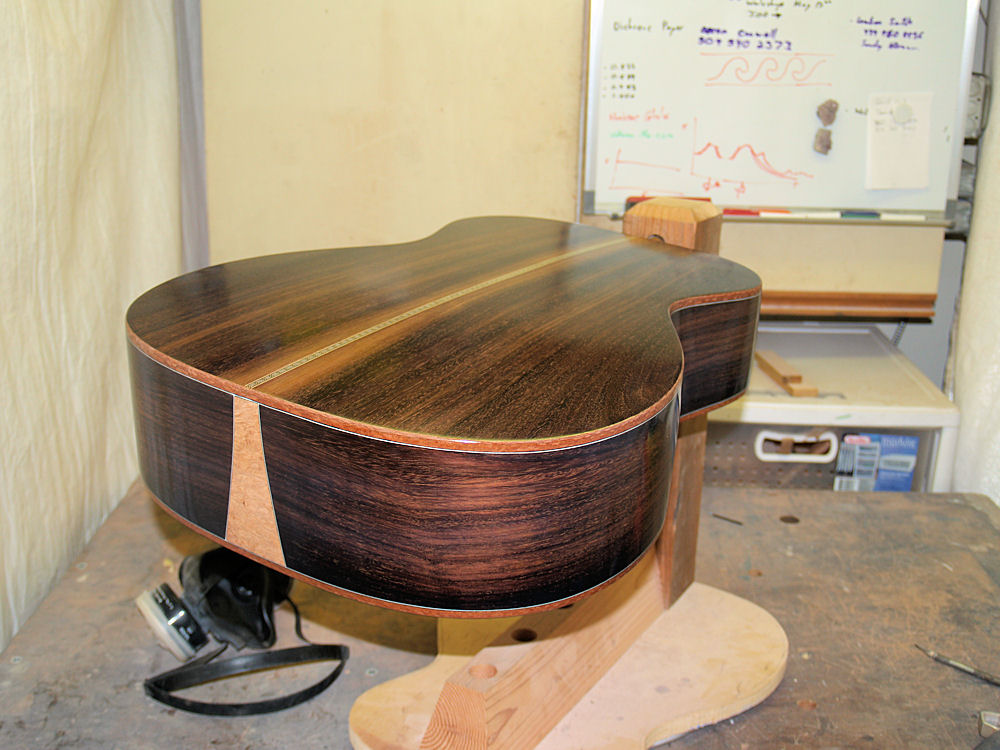 |
(133) 16-Oct-2009
I use a fixture that holds the guitar and allows me to move it around giving me access to all of the parts. |
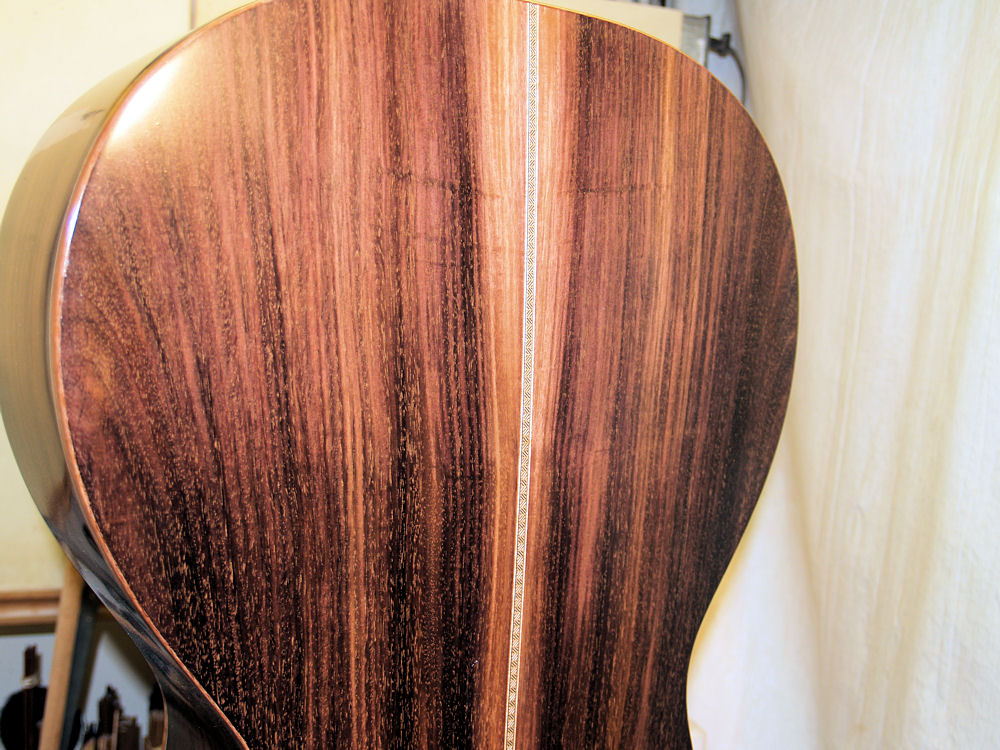 |
(134) 16-Oct-2009
A view of the back after a layer of the lacquer has been applied. |
 |
(135) 16-Oct-2009
A closer view. |
 |
(136) 16-Oct-2009
A
picture of me leveling the surface with a soft 300 grit sanding block.
After the last layer of lacquer is applied and leveled I let the
finish cure for ten to fourteen days. The lacquer is dry to the
touch after about twenty minutes, but it is very soft. During the
curing period the lacquer shrinks and hardens. After the finish
is cured I start to put a high polish on it. I do this by using a
special high quality sanding cloth called Micro Mesh. This
process starts out with a 1500 grit cloth and end up with a 12000 grit
cloth. During each step I remove the scratches introduced by the
previous step until the scratches are so fine you can't see them.
In the end I use a buffing wheel to bring out the final high
gloss. |
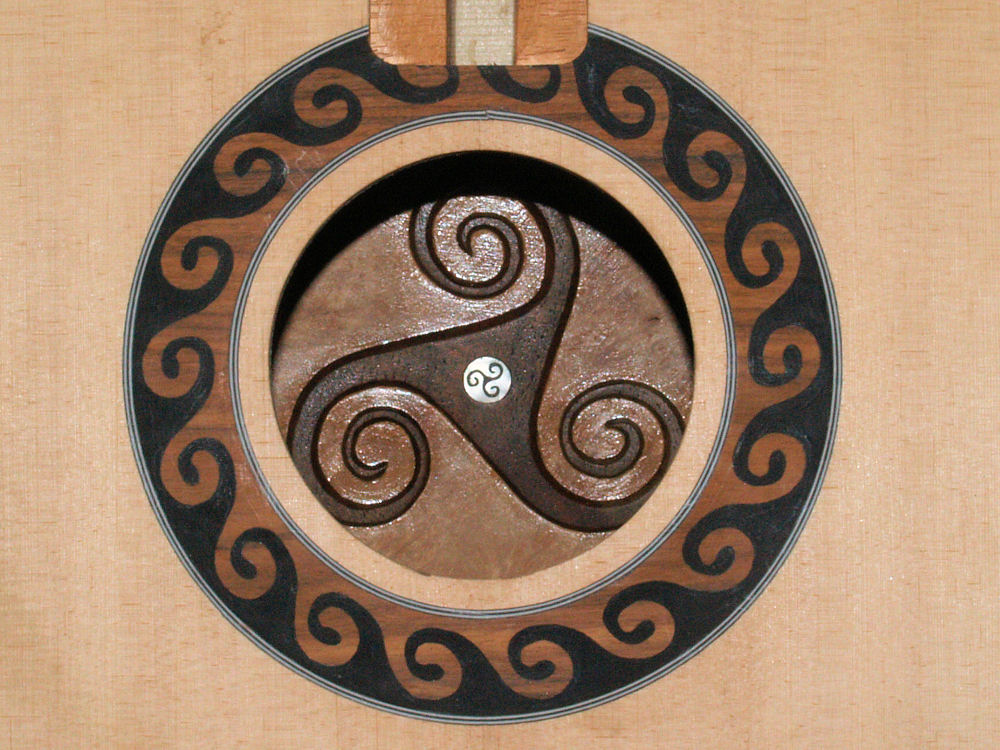 |
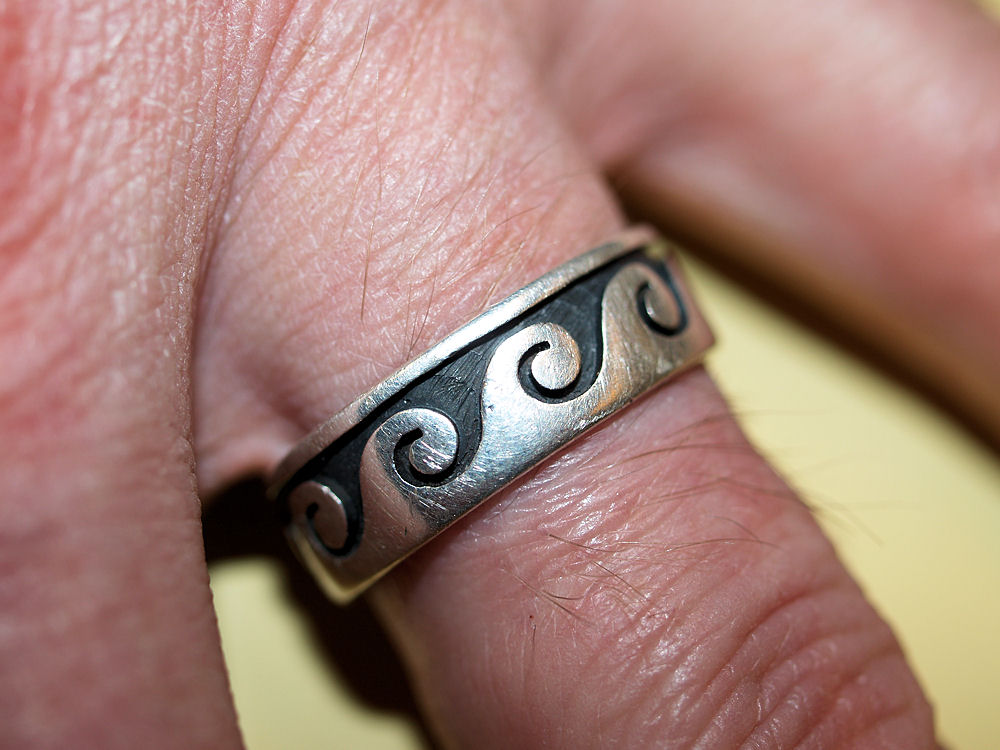
(137) 16-Oct-2009
Side-Bar...
I had a guest come through my shop last week and he got excited when he
saw the rosette on this guitar. He pulled his hand out and showed
me the ring he was wearing. He said the pattern was a traditional
Hopi Indian design. I came up with this symmetrical
interdigitated wave design over many years of doodling during boring
class lectures. When Will asked for a Celtic Triskle based theme
for his guitar I thought that the wave based rosette would make a good
compliment to the triskel in a triskel contra-rosette. Ultimately
I plan on manufacturing this design into purfling strips that will
outline the edges of my guitars. I would like this design pattern
to be a signature pattern for Portland Guitar. I have yet to
figure out how to easily manufacture these purfling strips. |
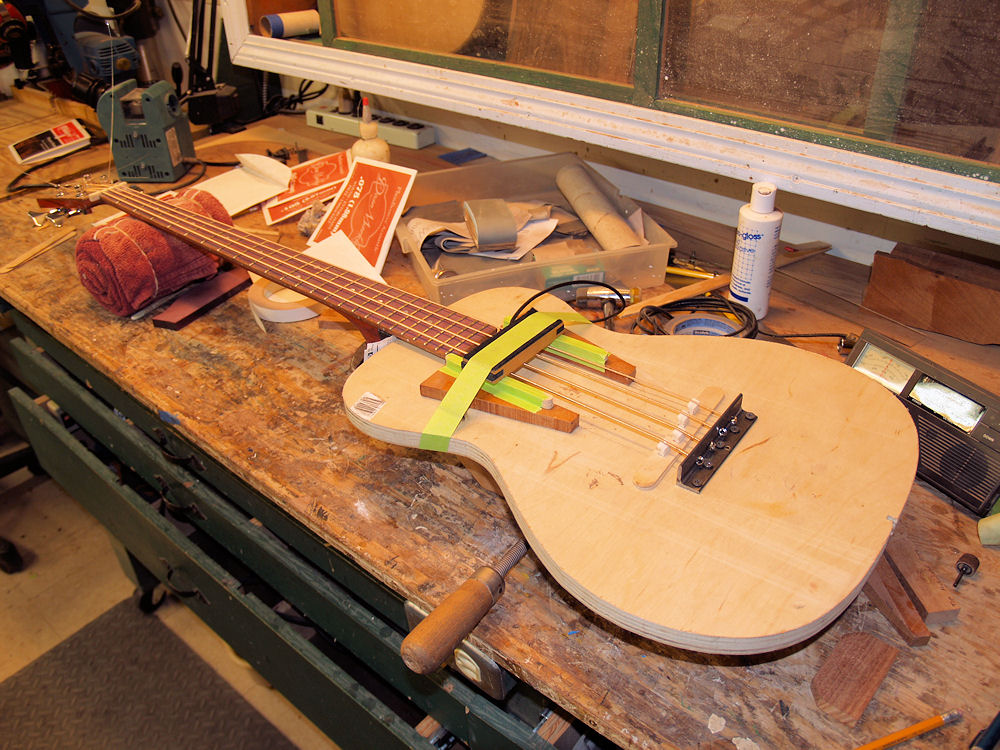 |
(138) 16-Oct-2009
Since
this is the first time building a base guitar I felt is was important
to experimentally determine the amount of compensation that would be
necessary for each string to be well intonated, i.e., remain in tune as
notes are played up the fretboard. To do this I have constructed
a dummy guitar body that will accommodate the guitar neck and allow me
to string it up. |
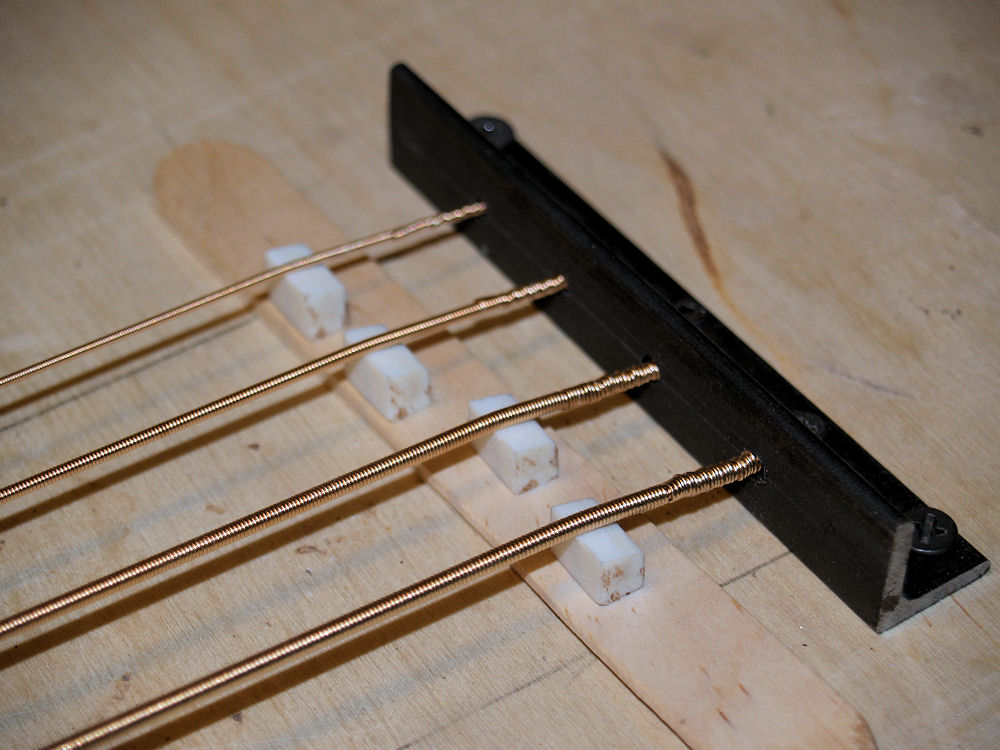 |
(139) 16-Oct-2009
Once
the dummy guitar is strung up I can move the saddle blocks until the
octave is in tune with the fundamental. I can then measure the
scale length for each string. |
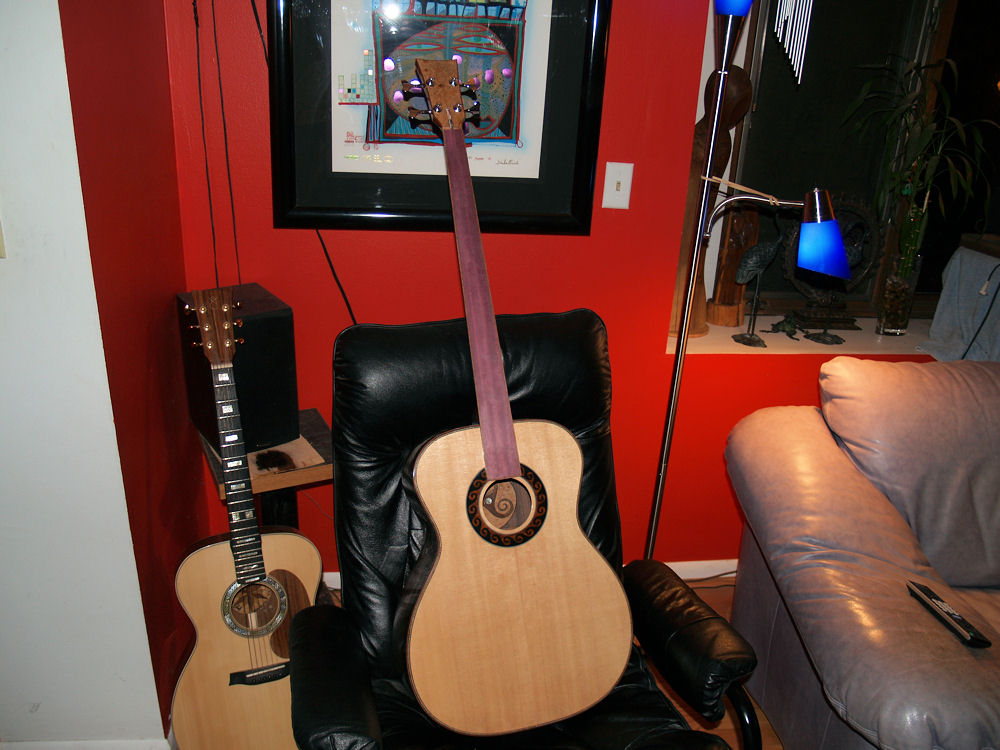 |
(140) 16-Oct-2009
Just a picture of the assembled guitar after the final polish has been applied. |
 |
(141) 16-Oct-2009
Now
that the finish has been applied I turn my attention to the bridge.
But first I have to figure how I am going make the adjustable
bridge Will has asked for. An adjustable bridge will allow us to
set the saddle blocks in the proper position to get the correct
intonation if the type of strings are changed. The intonation of
a guitar depends on the type of strings that are used, the height of the
strings above the fretboard, i.e., the action, the tension that is
applied to the strings, and surprisenly the way that the guitar is played.
In this image I am chiseling out a channel that will house the
movable saddle block. |
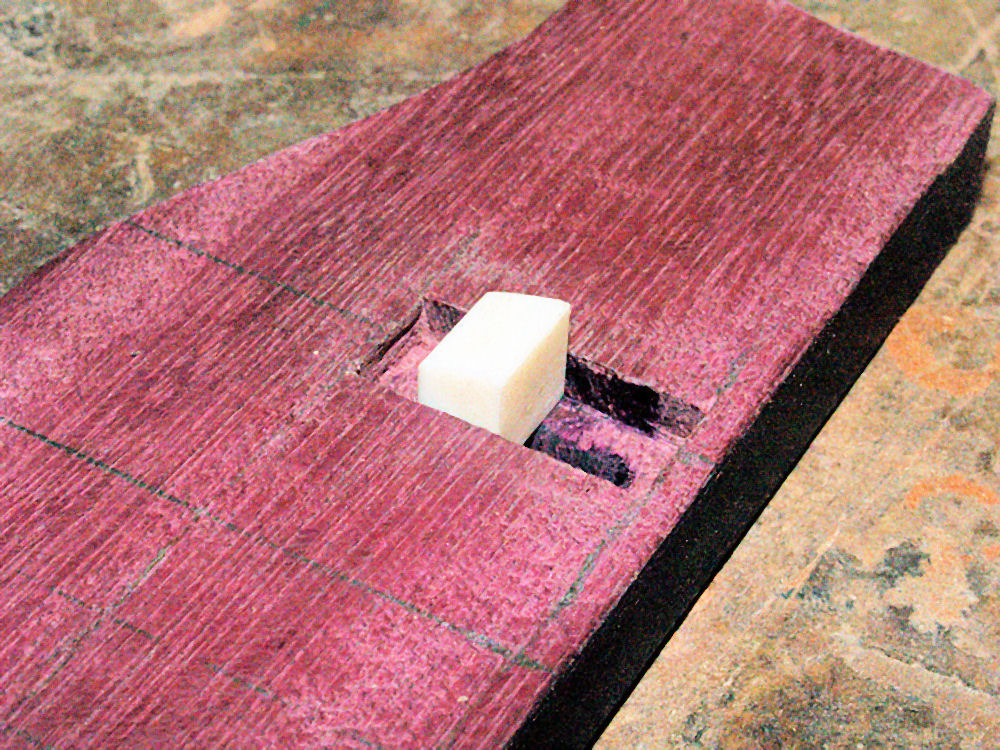 |
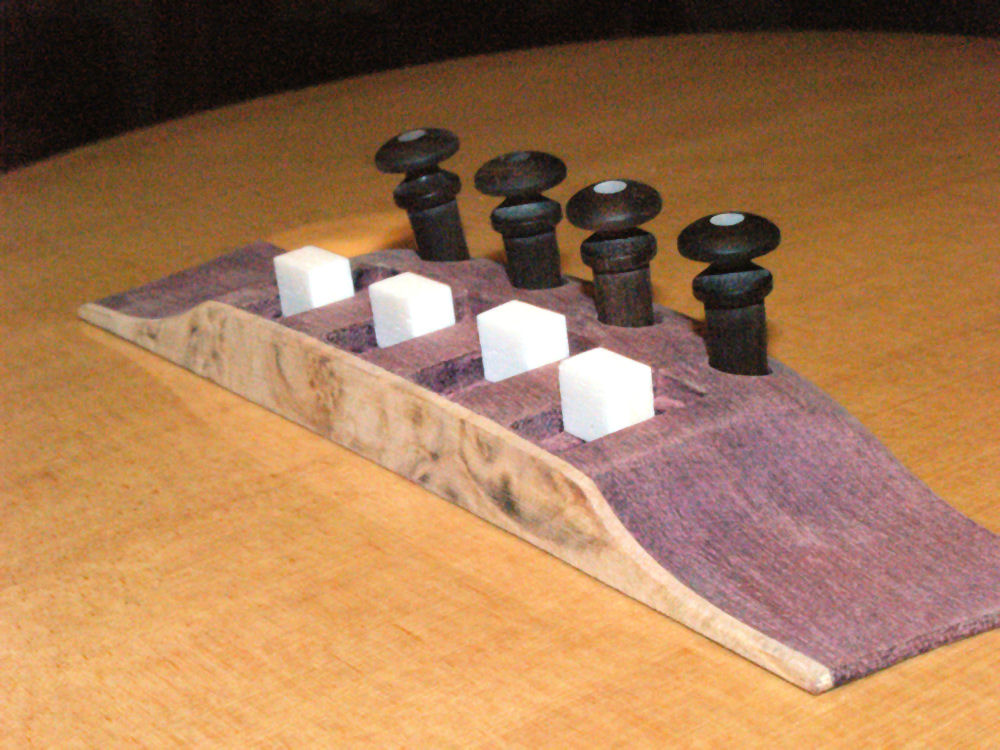
(142) 16-Oct-2009
Here is a picture of the saddle block in its channel. |
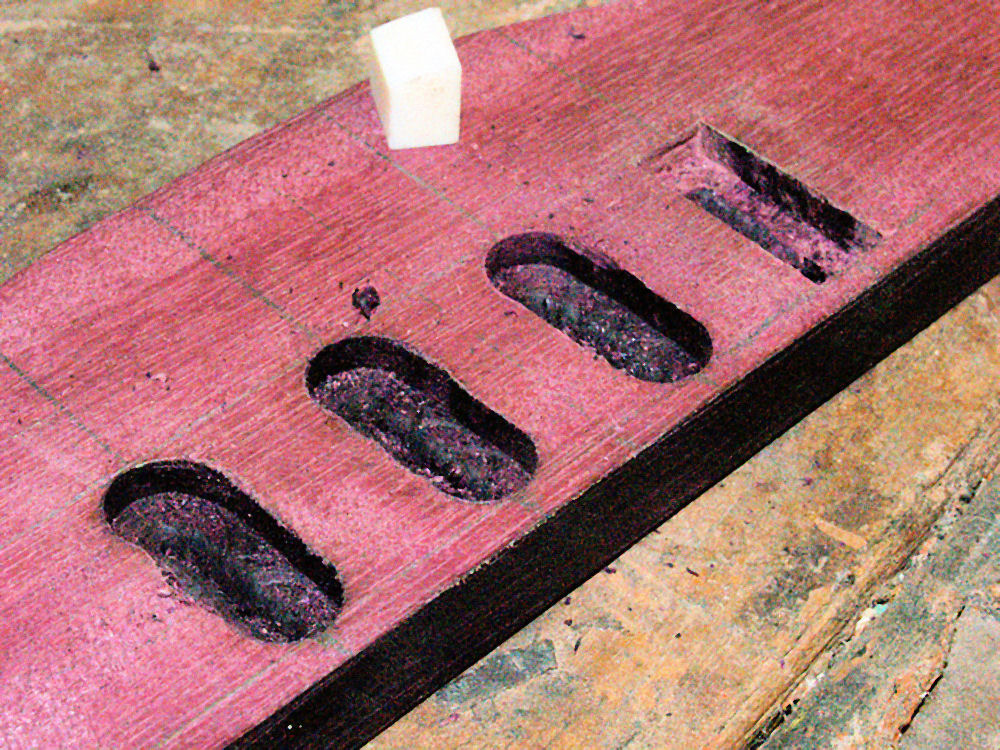 |
(143) 16-Oct-2009
I have to route a channel for each saddle block. |
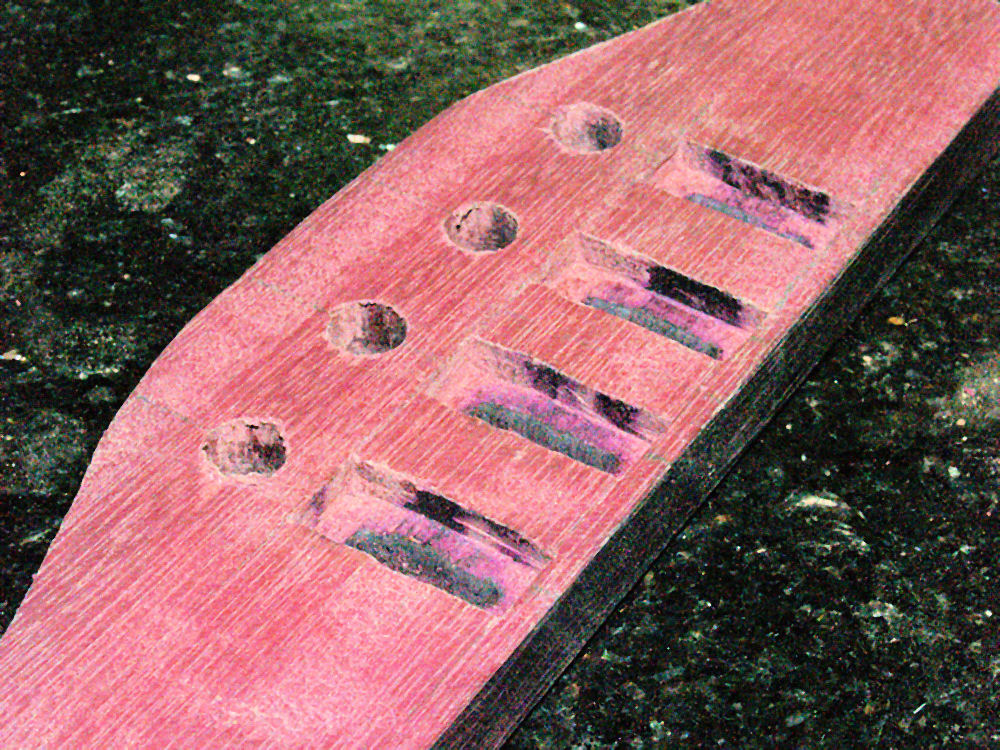 |
(144) 16-Oct-2009
And then I drill the holes for the bridge pins. |
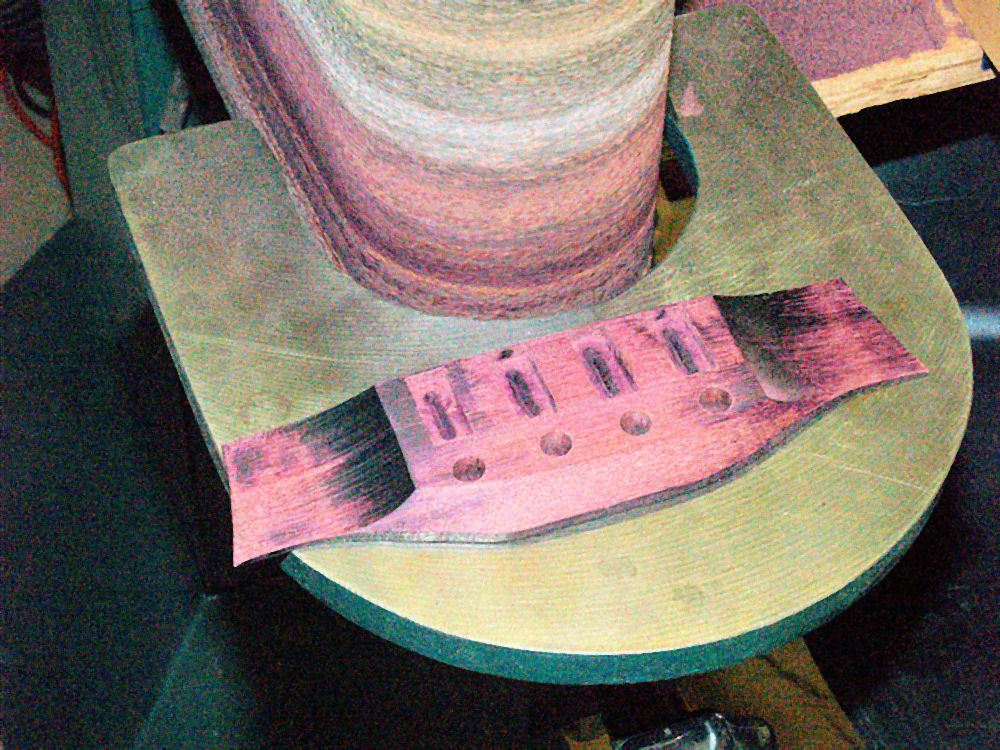 |
(145) 16-Oct-2009
Once
all of the important holes and channels are installed in the bridge
blank all I have to do is sand away everything that doesn't look like a
bridge. |
 |
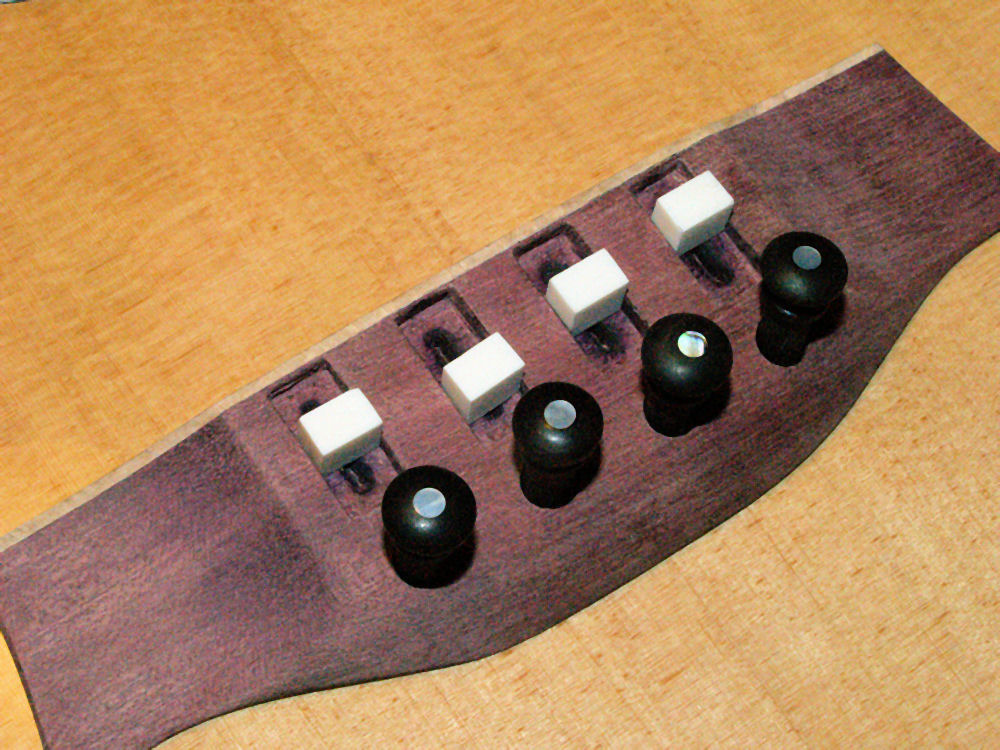
(146) 16-Oct-2009
In
this picture I have applied a decorative face plate that compliments
the headstock veneer. I have laid out the bridge assembly on the
top of the guitar to see how it will look. |
 |
(147) 16-Oct-2009
Another view of the bridge assembly. |
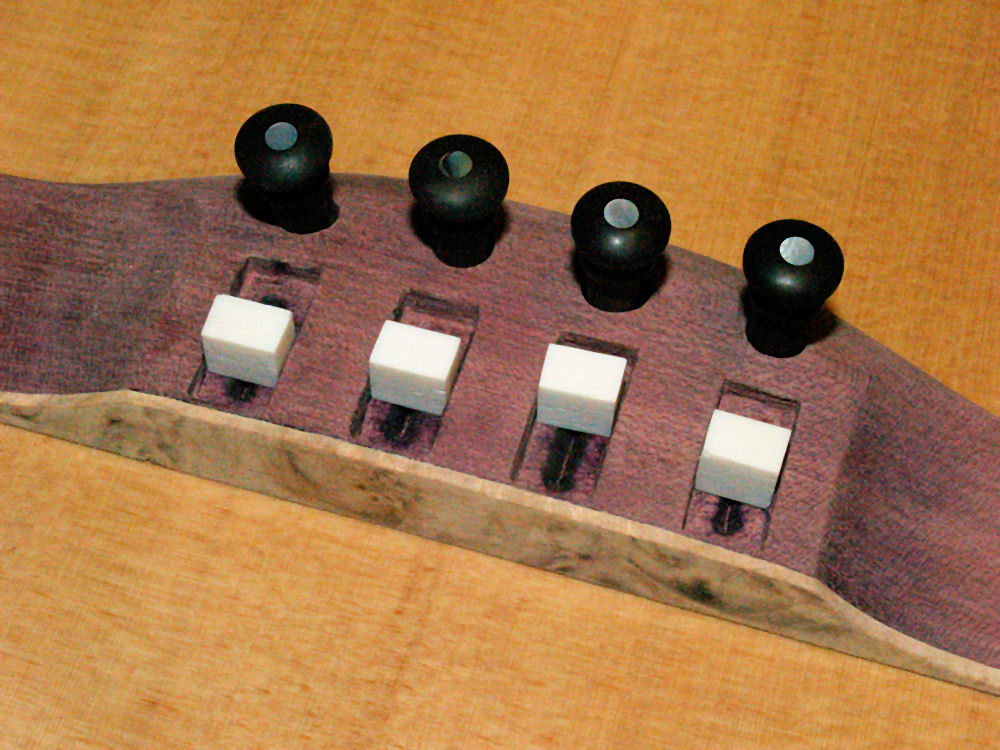 |
(148) 16-Oct-2009
Another view of the bridge assembly. |
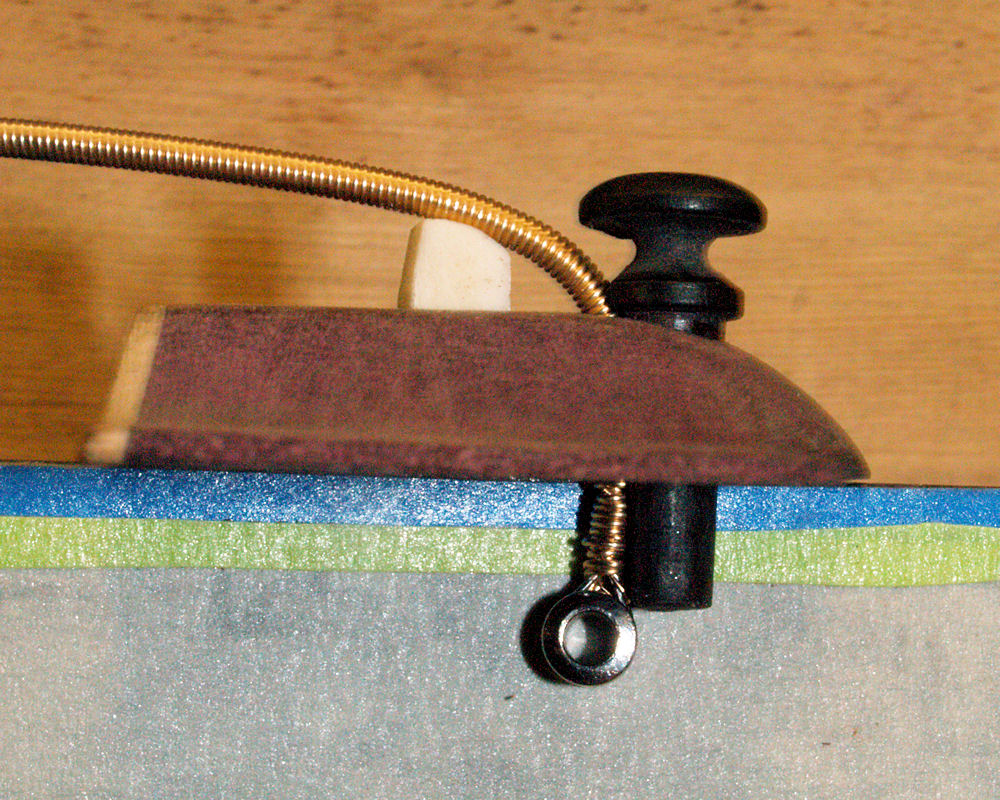 |
(149) 16-Oct-2009
In
this picture I have laid out the bridge assembly in profile showing how
everything fits together. The blue line is representative of the
spruce top, and the green line is representative of the bridge plate.
The bridge plate, in this case made of Indian Rosewood, performs
several functions. One is to protect the Spruce top from
the ravages of the end ball on the string. Another is to
reinforce the area under the bridge helping to distribute the torque
that is applied to the top of the guitar from the strings. And
finally the bridge plate helps to acoustically couple the bridge to
top.
|
 |
(150) 15-Dec-2009
I carefully mark out where the bridge goes. |
 |
(151) 15-Dec-2009
I use a very sharp new exacto blade to mark the bridge position. |
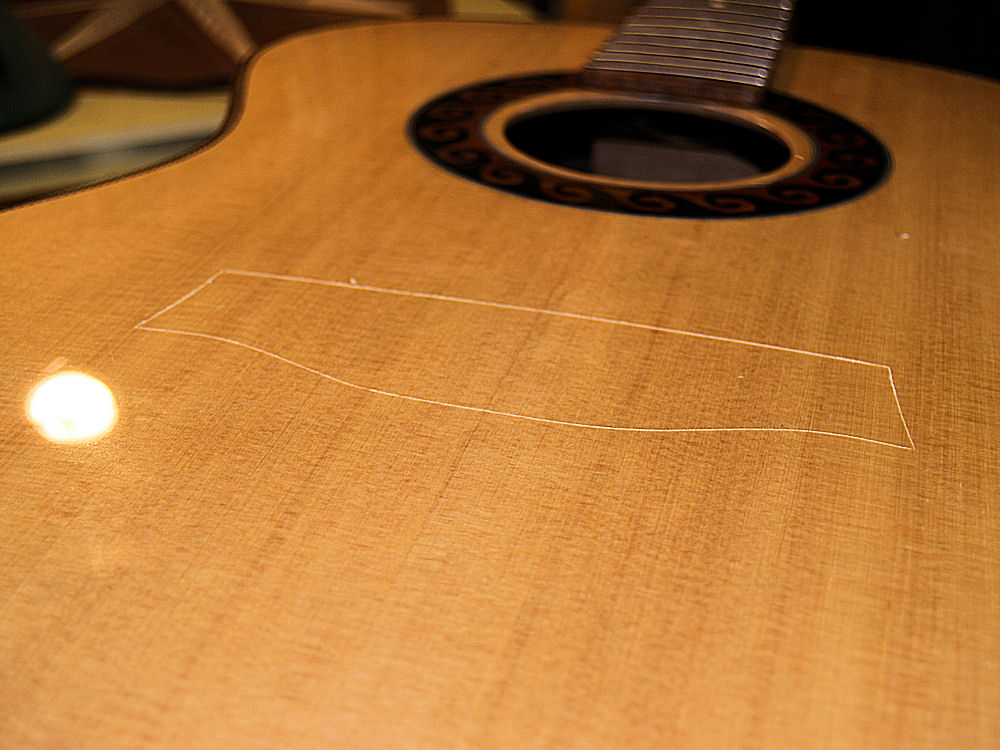 |
(152) 15-Dec-2009
The bridge position. |
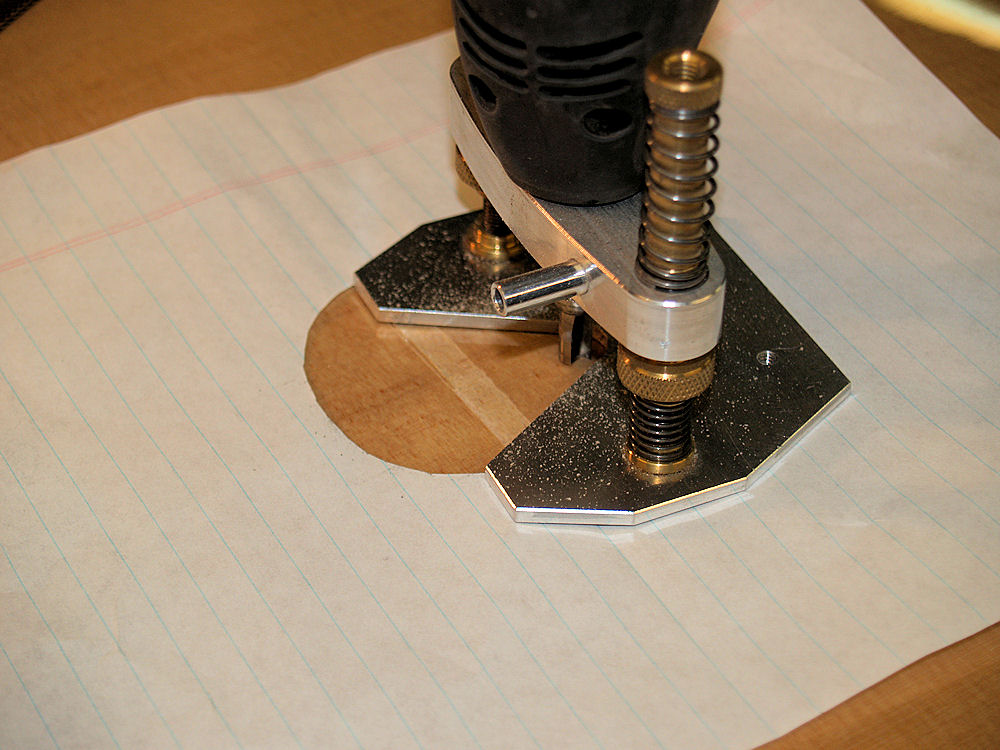 |
(153) 15-Dec-2009
I
use my dremel router base to remove the finish from where the bridge
goes. I want a a wood to wood connection between the bridge and
the top. This will help insure the bridge doesn't pull off during
its life. |
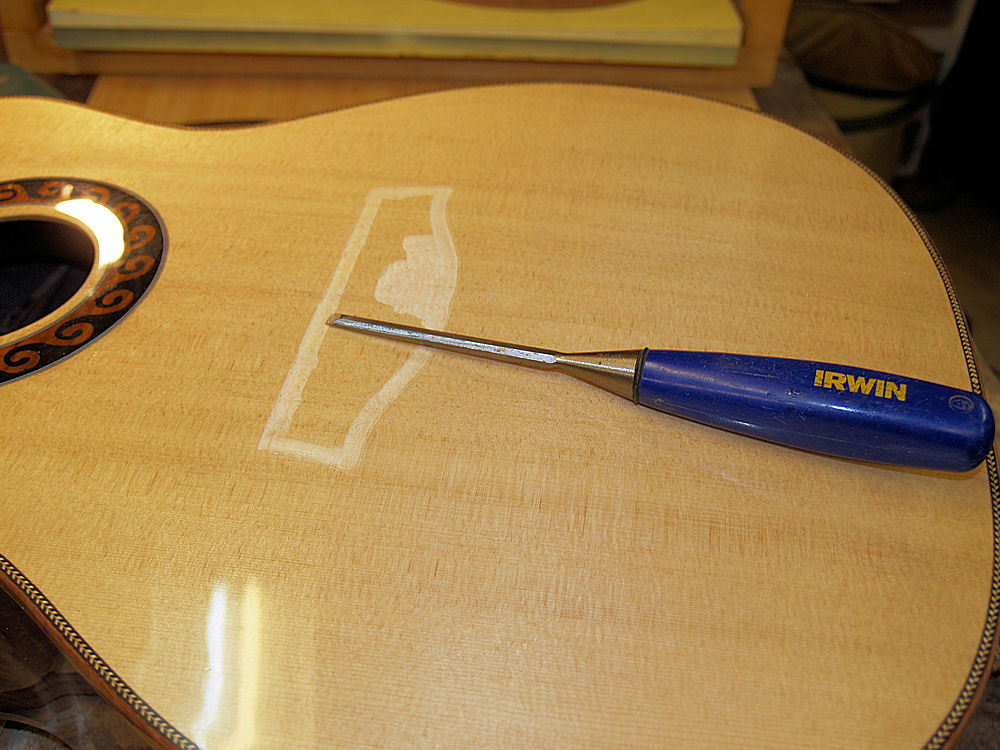 |
(154) 15-Dec-2009
I use a chisel to remove the finish around the edges. |
 |
(155) 15-Dec-2009
And then I glue the bridge on to the top. |
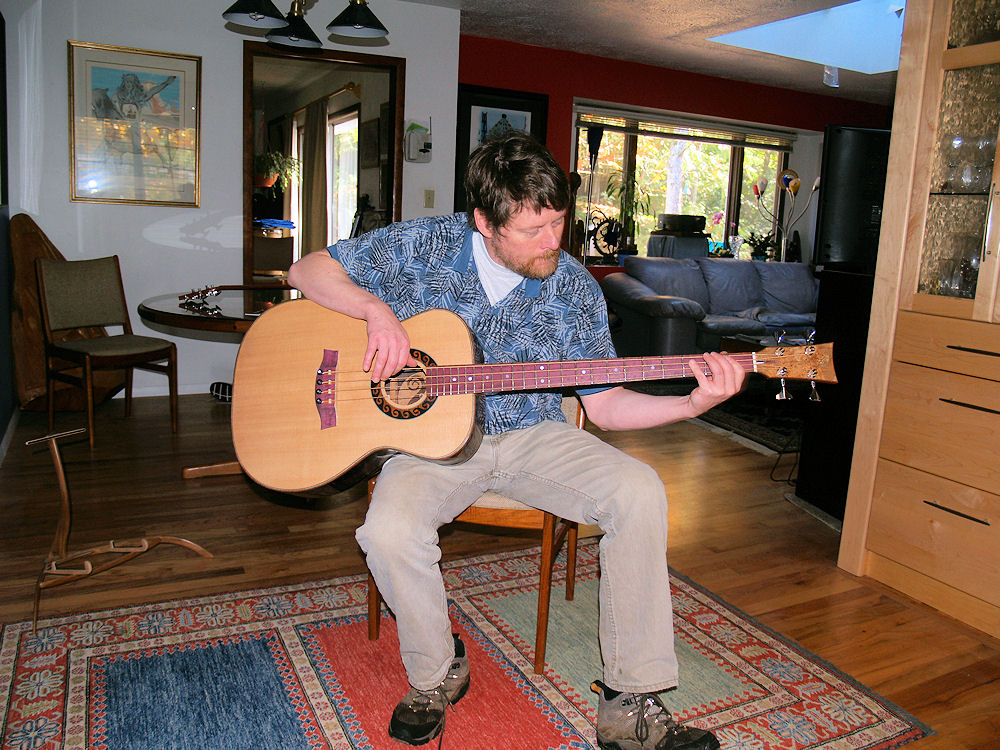 |
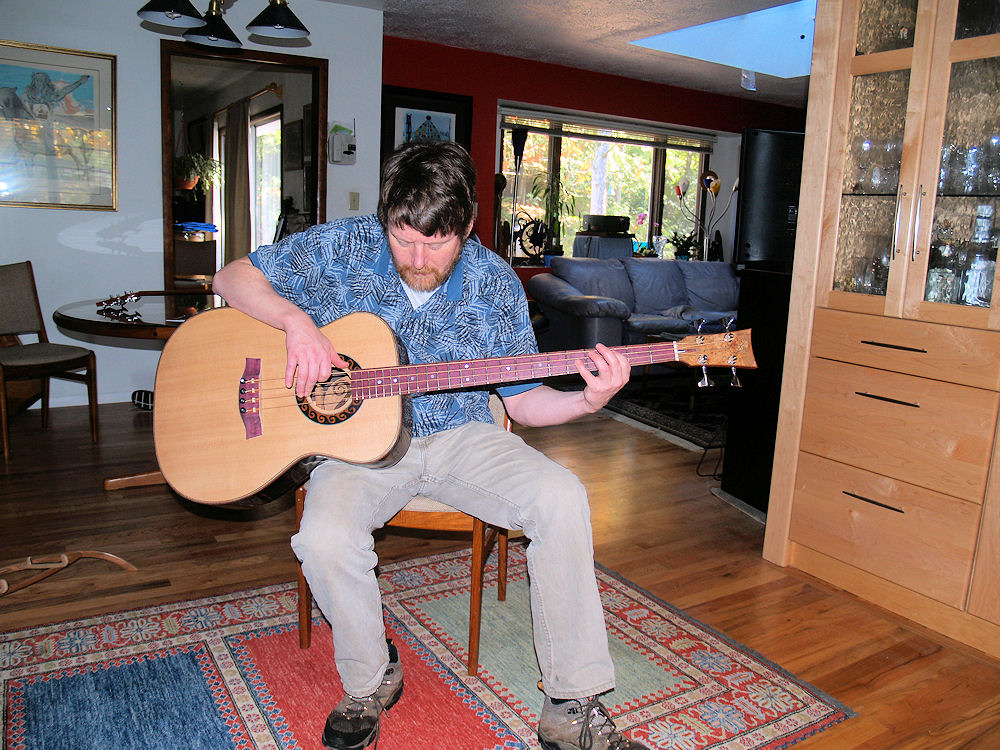
(156) 15-Dec-2009
Will A. and his new bass guitar. |
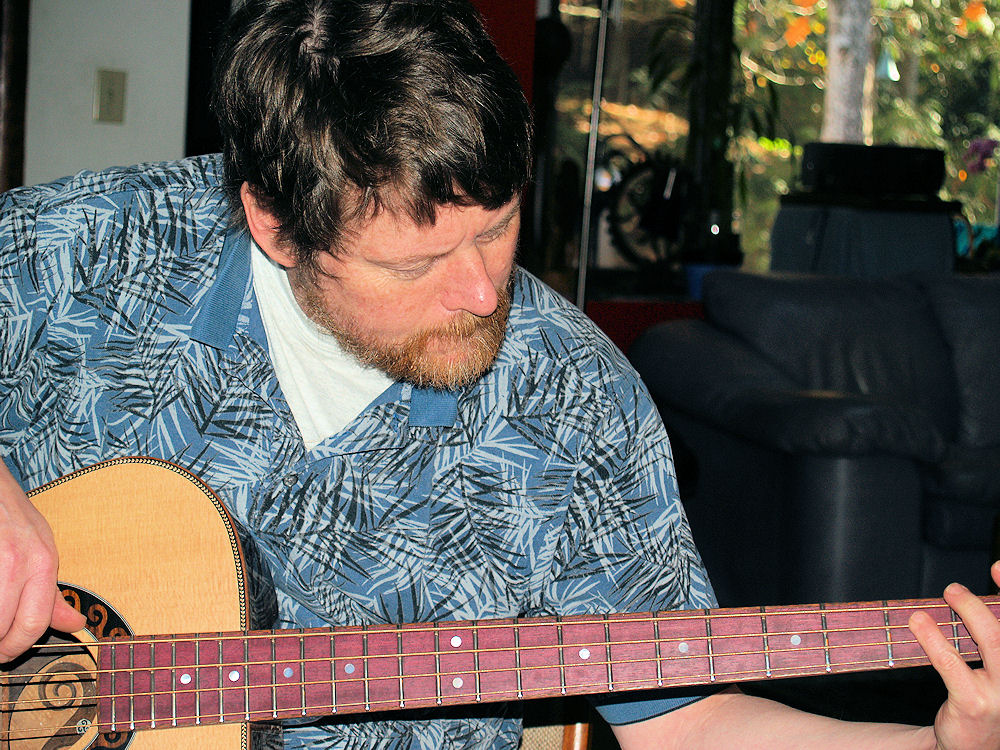 |
(157) 15-Dec-2009
Will A. and his new bass guitar. |
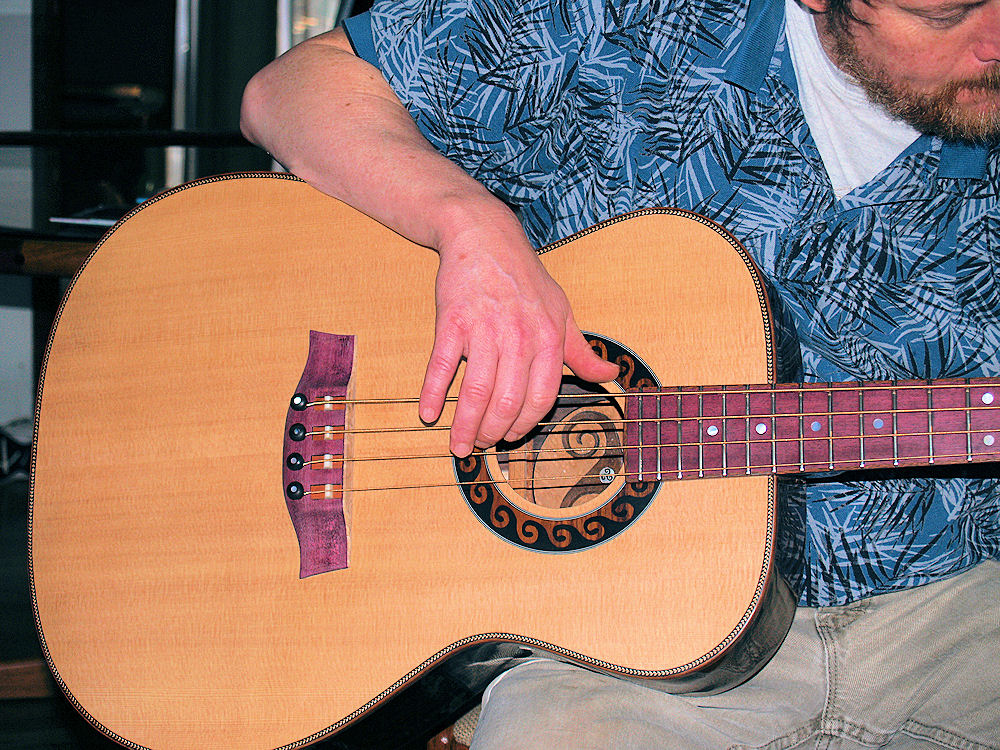 |
(158) 15-Dec-2009
Will A. and his new bass guitar. |
 |
(159) 15-Dec-2009
Will A. and his new bass guitar. |