 |
(1) June 15,2009
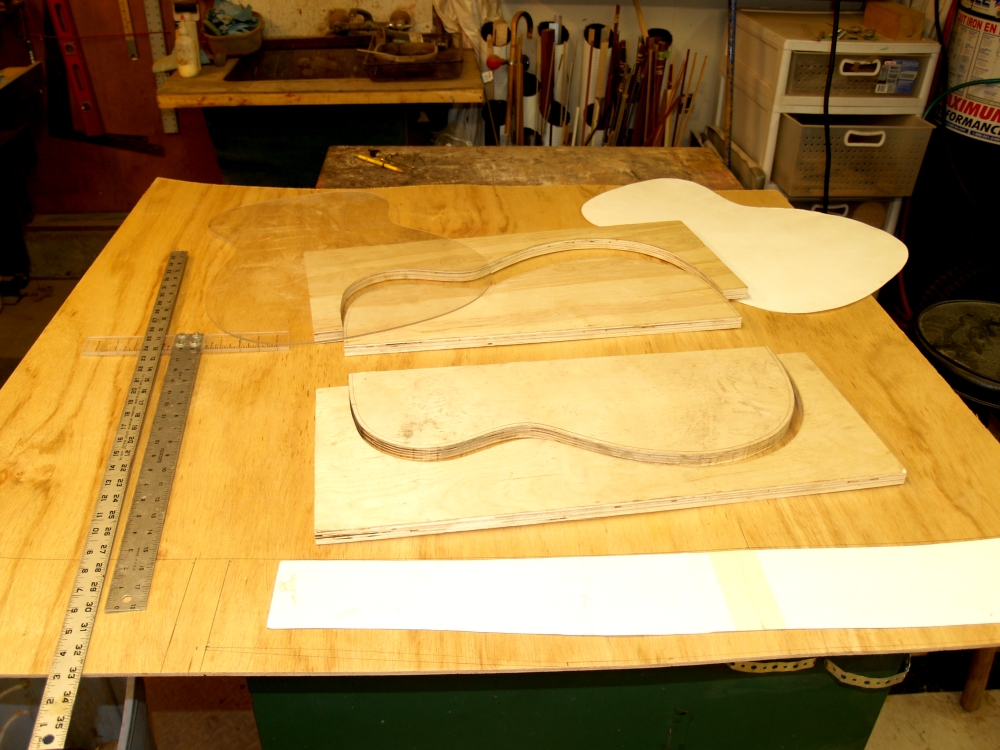
The first task was to design the shape of the guitar. I drew out
the shape on the poster board and transfered the shape to a sheet of
Plexiglass. I am starting out by building the side forms, so I
cut out the right and left sides profile from a sheet of plywood. |
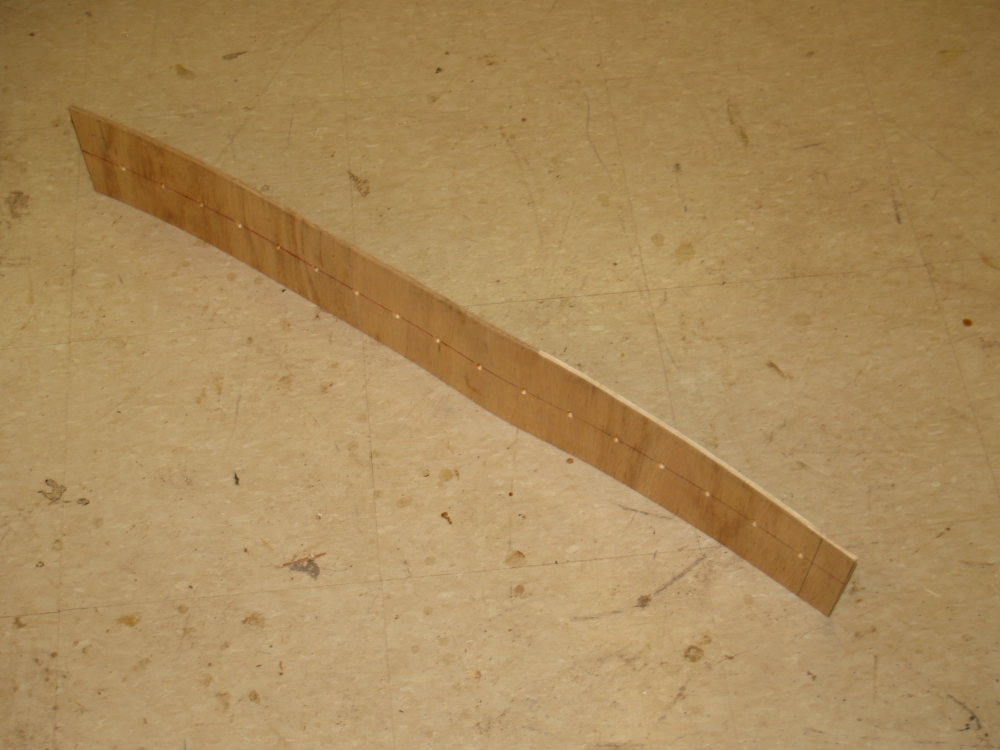 |
(2) June 15,2009
I estimated the shape of the sides and cut it out of a piece of wiggle
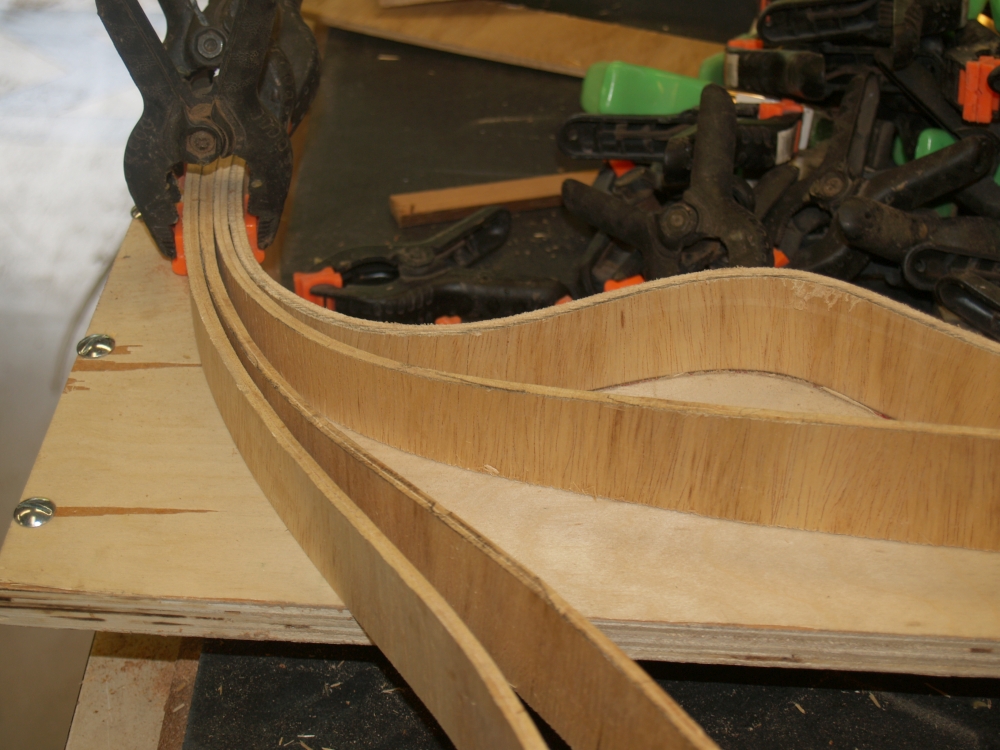
wood. Wiggle wood can be obtained from the very rare and valuable
Wigglewood tree which only grows on the north side of very crooked
streams.
|
 |
(3) June 15,2009
I press the first piece of wiggle wood into the side form and screw it
into place. |
 |
(4) June 15,2009
I do this to both sides. |
 |
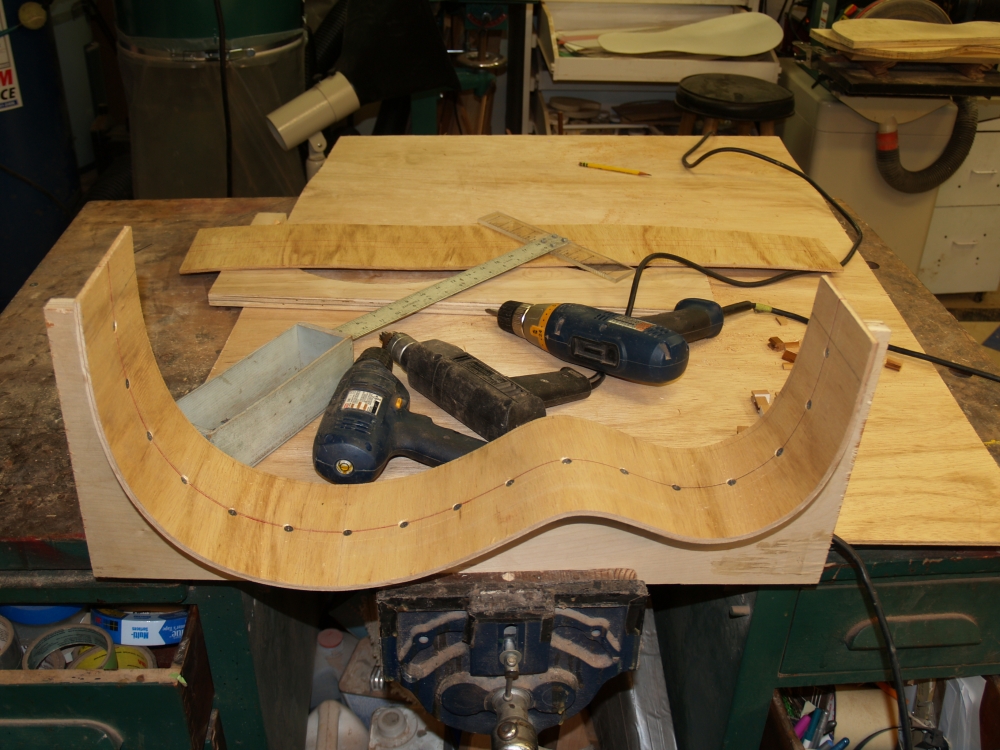
(5) June 15,2009
Before I can continue I have to cut some angle iron that will be used
to join the right and left sides of the form together. |
 |
(6) June 15,2009
Drilling holes for the bolts. The angle iron firmly holds the
sides together and keeps The two halves straight. I cut slots
into the iron so I can get it on and off without having to fully
unscrew the nuts. I use wing nuts so I can assemble everything by
hand. |
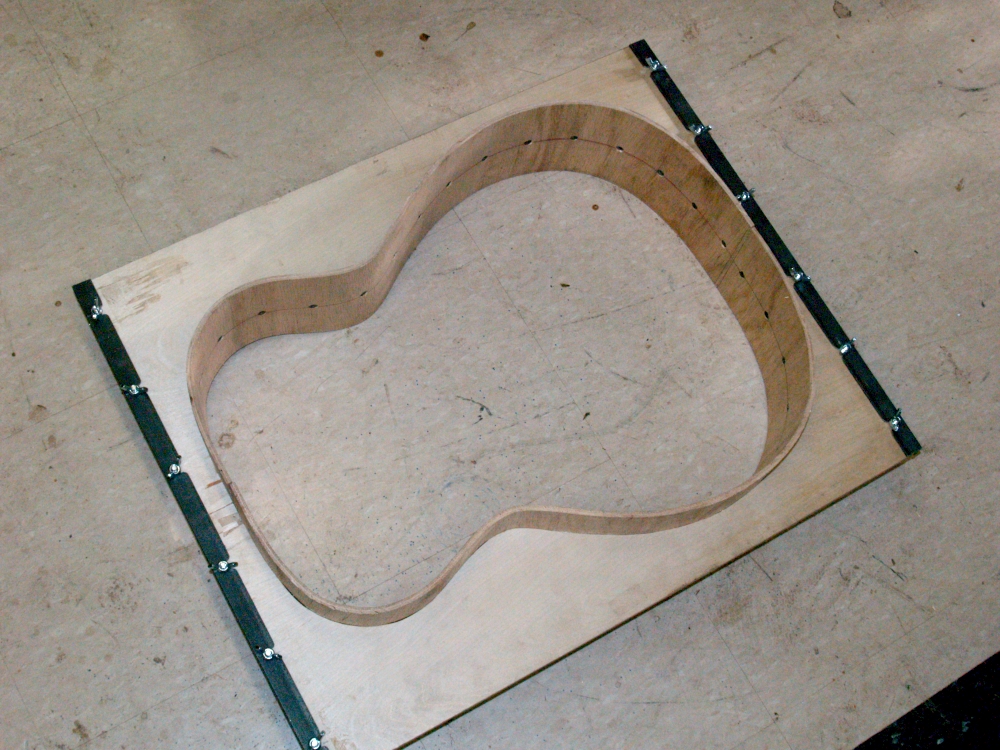 |
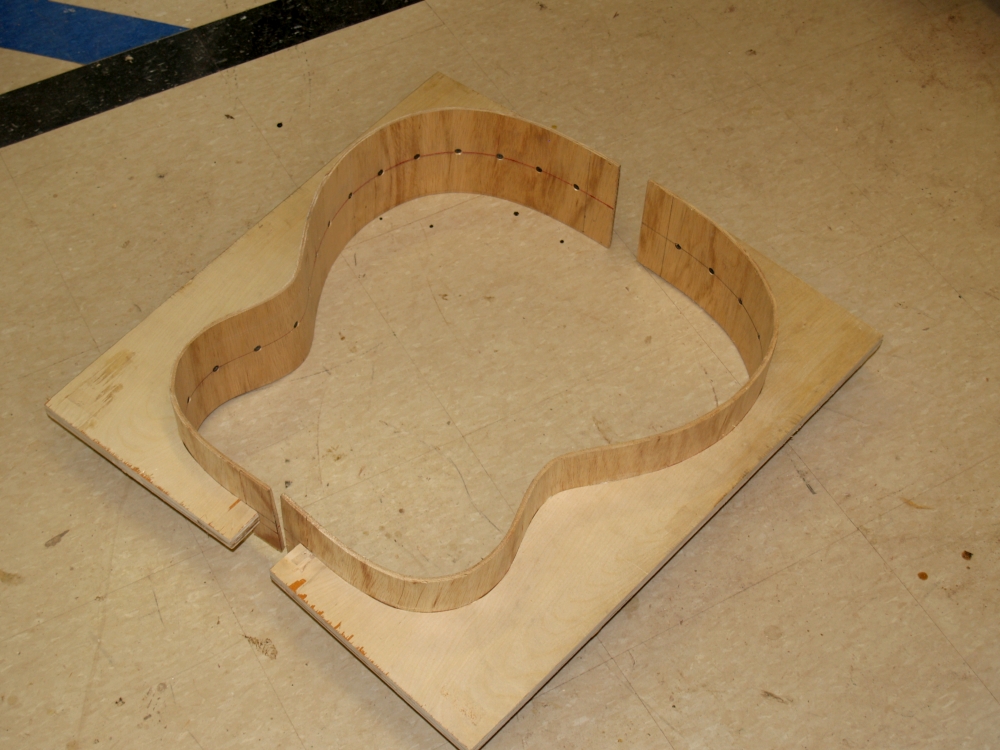
(7) June 15,2009
The two halves now are joined together with the angle iron. |
 |
(8) June 15,2009
At this point the sides are only approximately in the right shape. To
get them into their final shape I use the top and back forms with a
sheet of sandpaper to sand the sides to the proper profile. |
 |
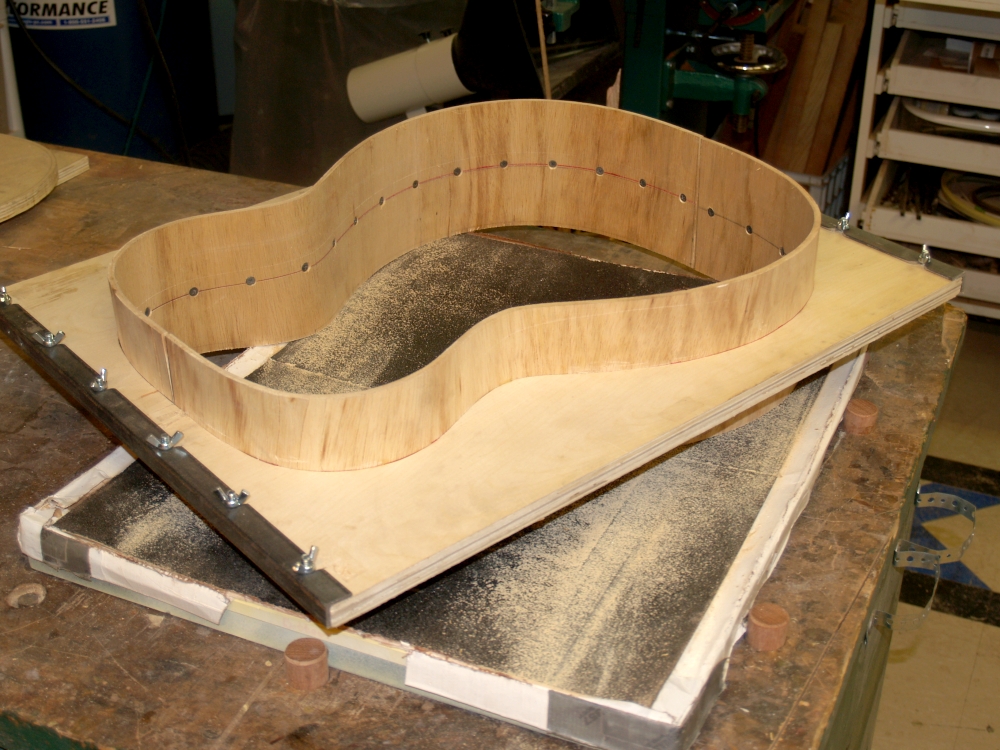
(9) June 15,2009
To build up the sides to their final one inch thickness I cut strips of
wiggle wood to be glued onto the existing pieces. |
 |
(10) June 15,2009
All of the side strips get glued together at once. |
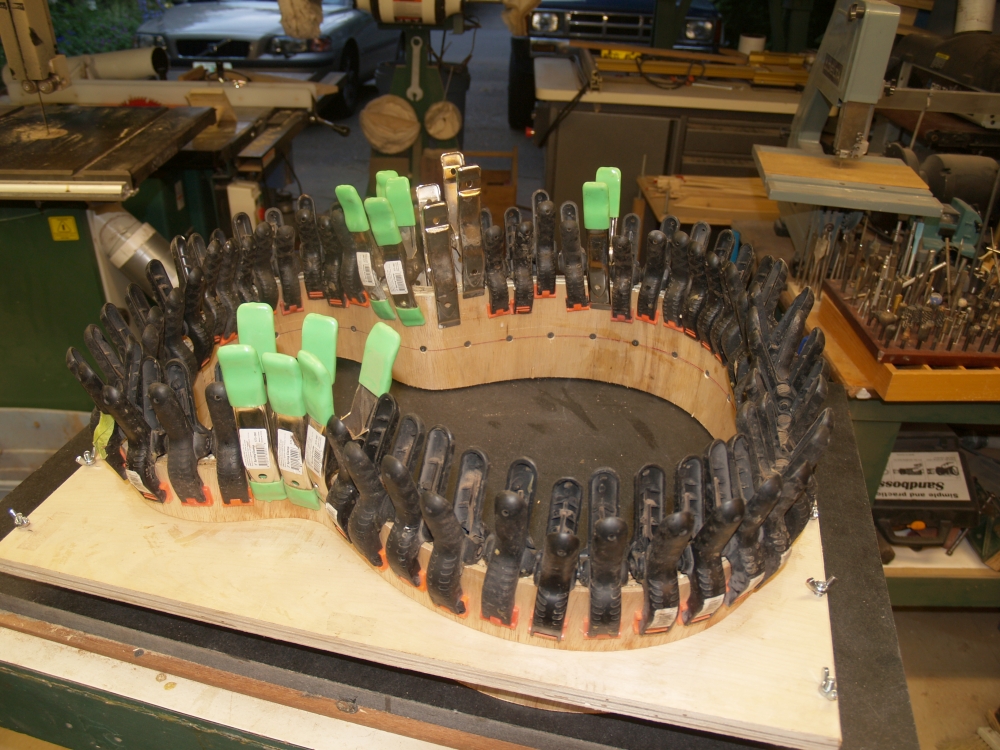 |
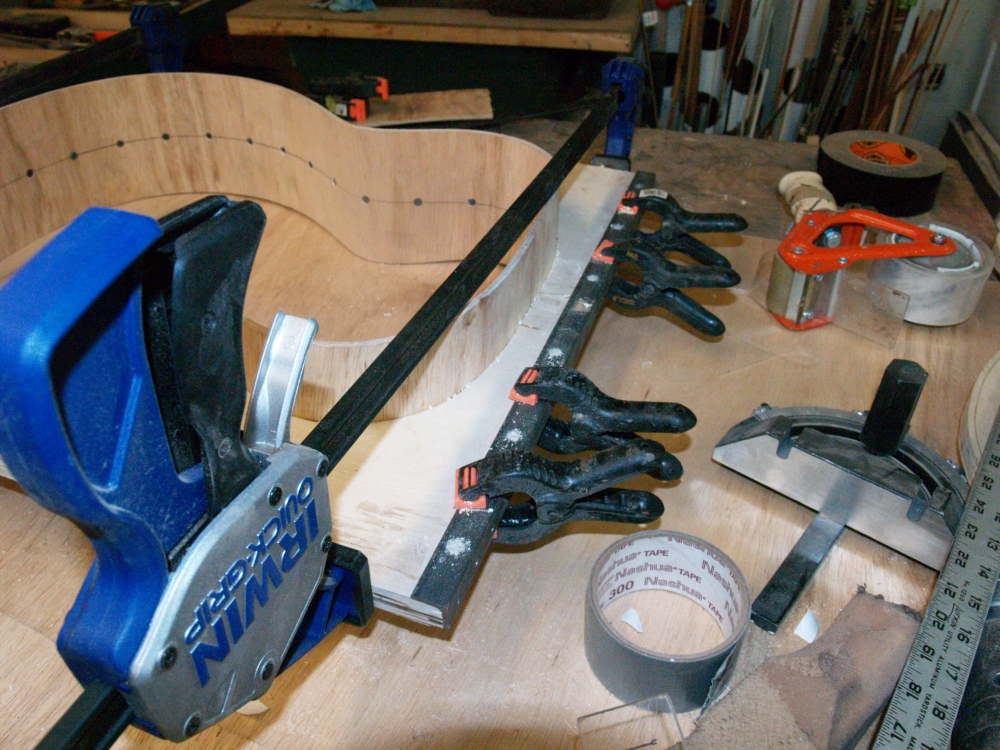
(11) June 15,2009
And here is where the one with the most clamps wins. |
 |
(12) June 15,2009
After the glue dries over night a little bit of sanding brings all of
the pieces into the same profile. |
 |
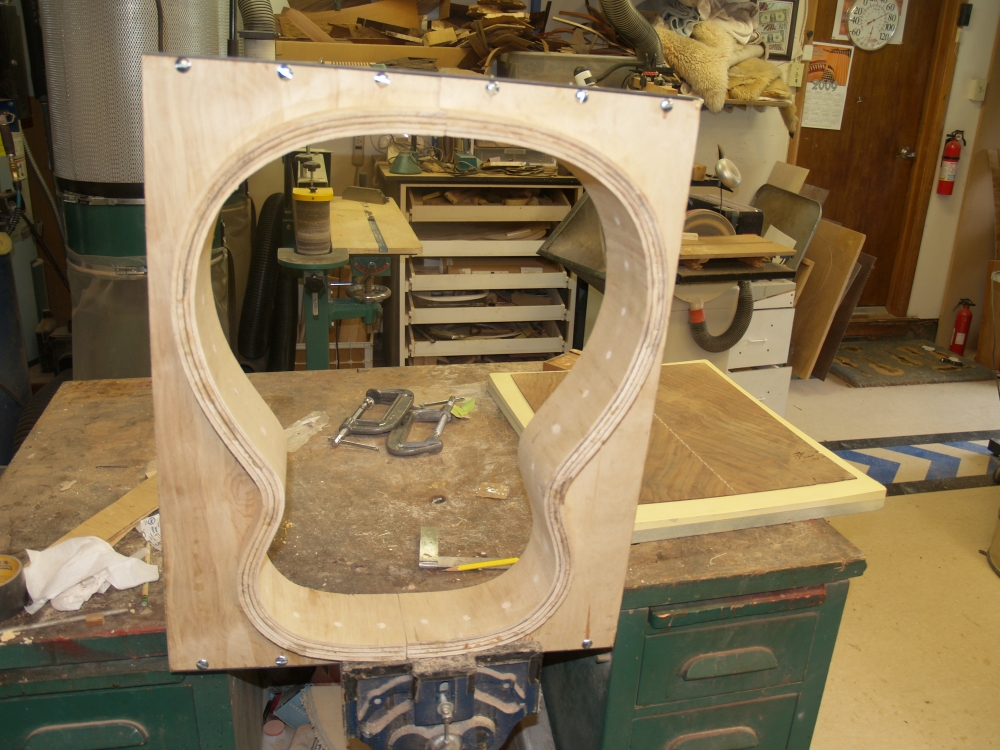
(13) June 15,2009
And here we see the side form in its final shape. |
 |
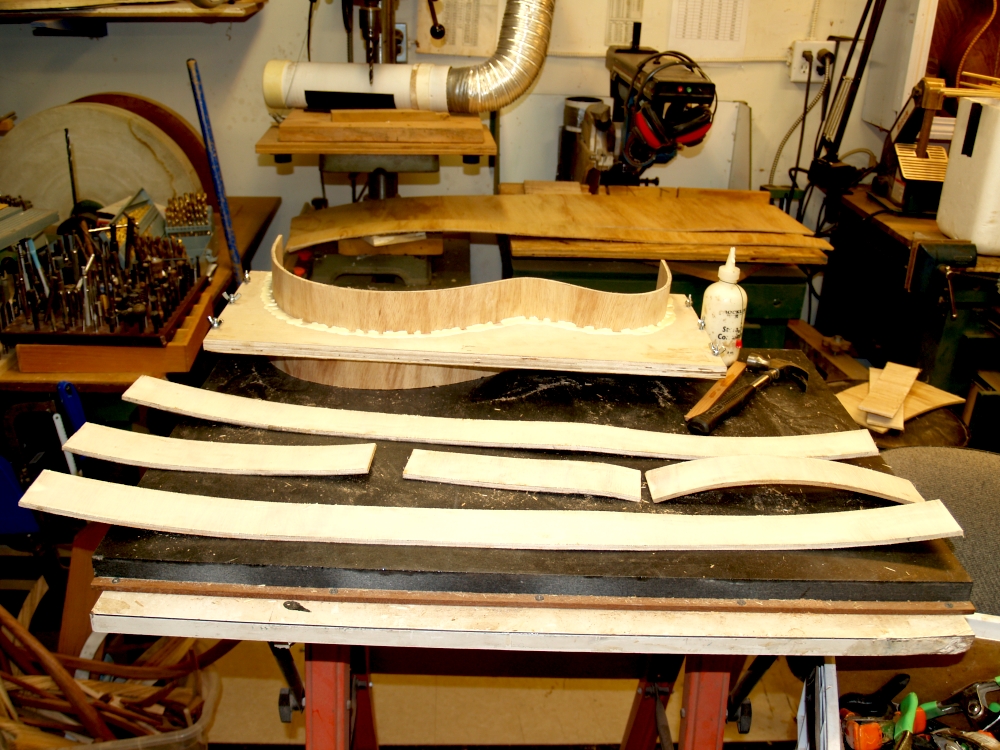
(14) June 15,2009
I will use the piece of plywood that I cut for the side forms to make
the form for the Universal Bendalator. I have to trim the plywood
down by 3/4 of an inch first. |
 |
(15) June 15,2009
I use the bandsaw to trim the the pieces. I will use the trim
from this operation to make a spacer for the side mold. I try to
use every piece of wood for something useful. |