 |
(102) 11-Sept-09
Now I turn my attention to installing the binding and purfling.
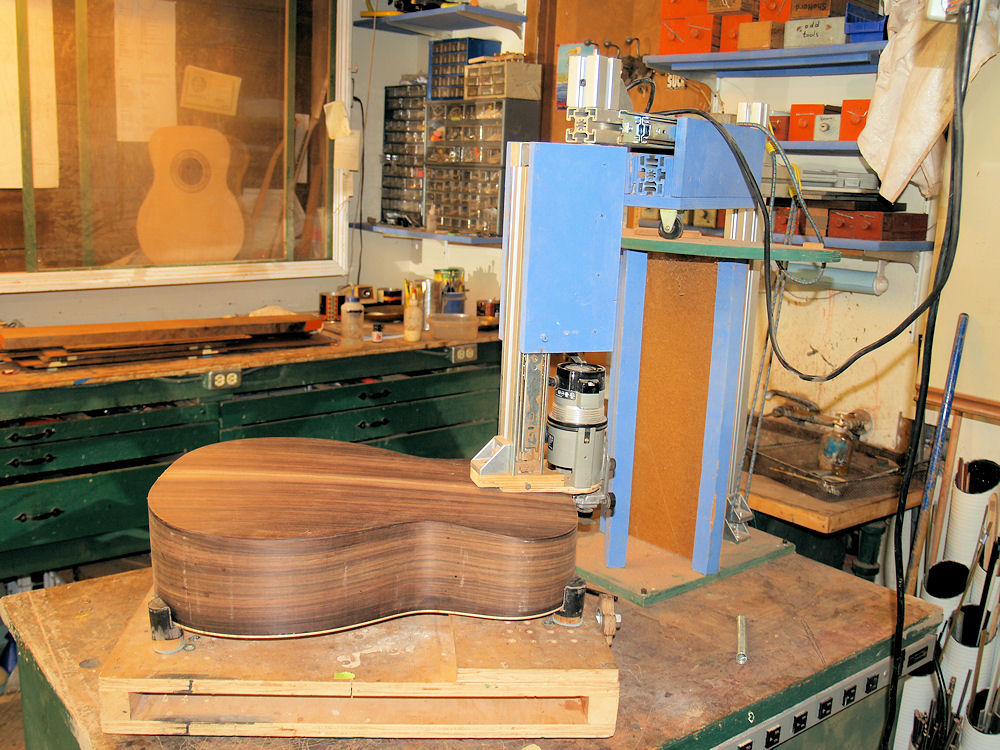
In this
picture I am using my Universal Bindalator, a machine of my own
invention, to route out the channels for the binding and purfling.
The universal bindalator is an overhead router with five degrees
of freedom. It allows me to easily create a channel that is
parallel to the sides even though the top is curved. |
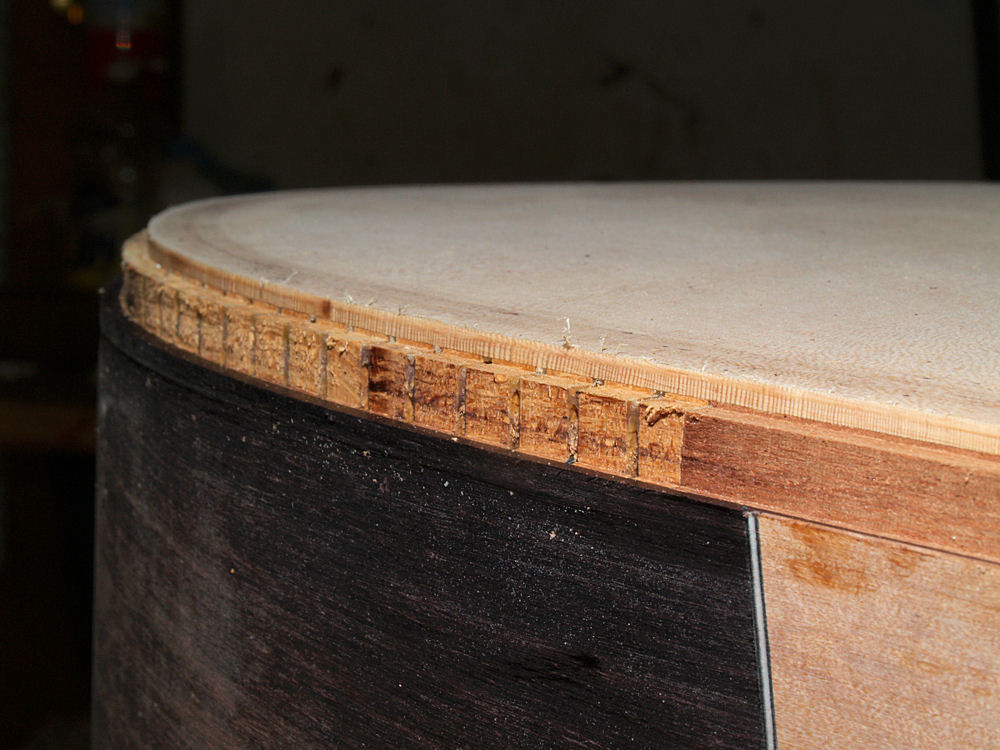 |
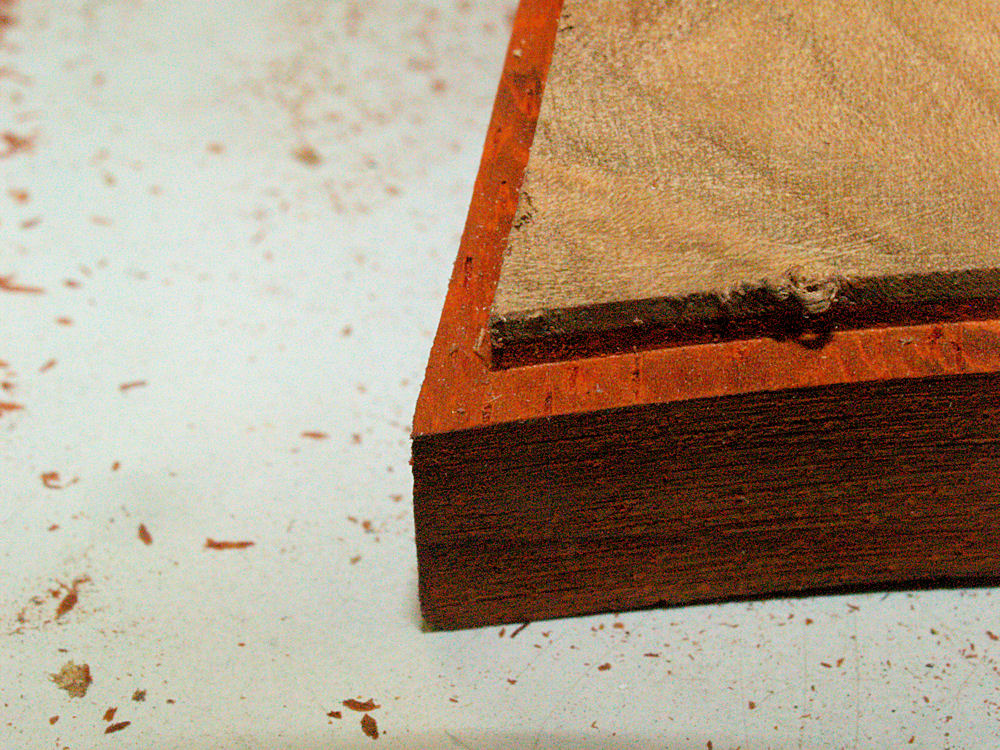
(103) 11-Sept-09
Here we see the resultant channel. The internal kerfing has been
exposed. |
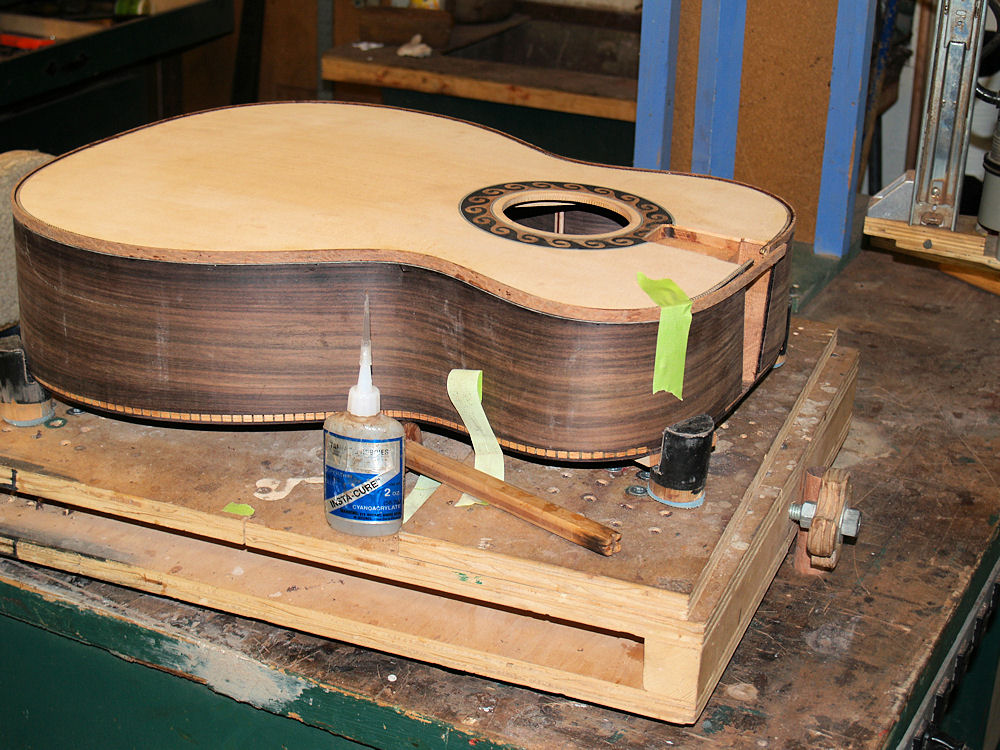 |
(104) 11-Sept-09
In this picture I am installing the binding. I install one strip
of binding at a time to insure that it seats properly, i.e., without
any gaps. This is a time consuming process, but it gives me the
best results. |
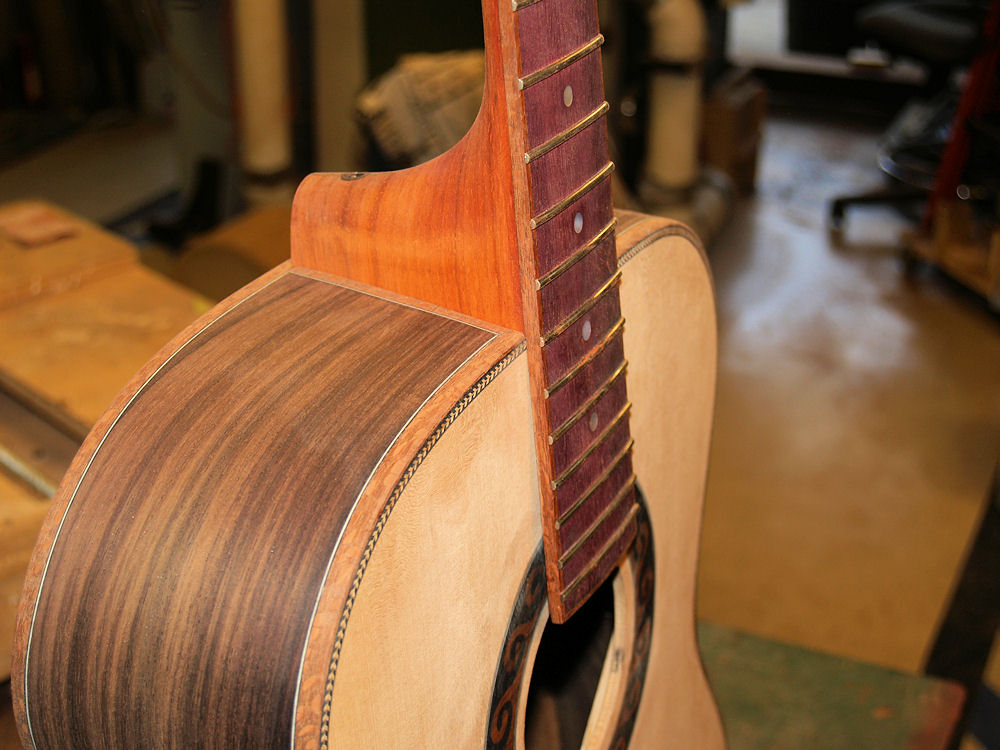 |
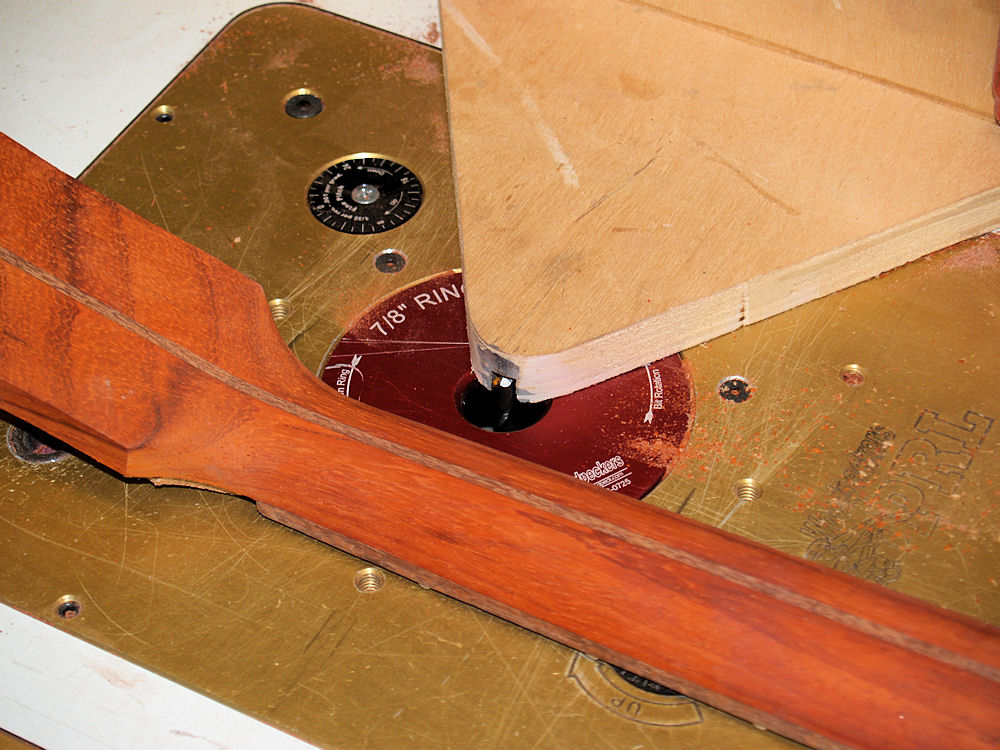
(105) 11-Sept-09
After the
binding is installed I fit the neck into the channel. I
work to get a snug, even, but not tight fit. The neck will move
around in the channel so the sides can't actuall touch the neck.
I am constantly working to make this fit more perfect. |
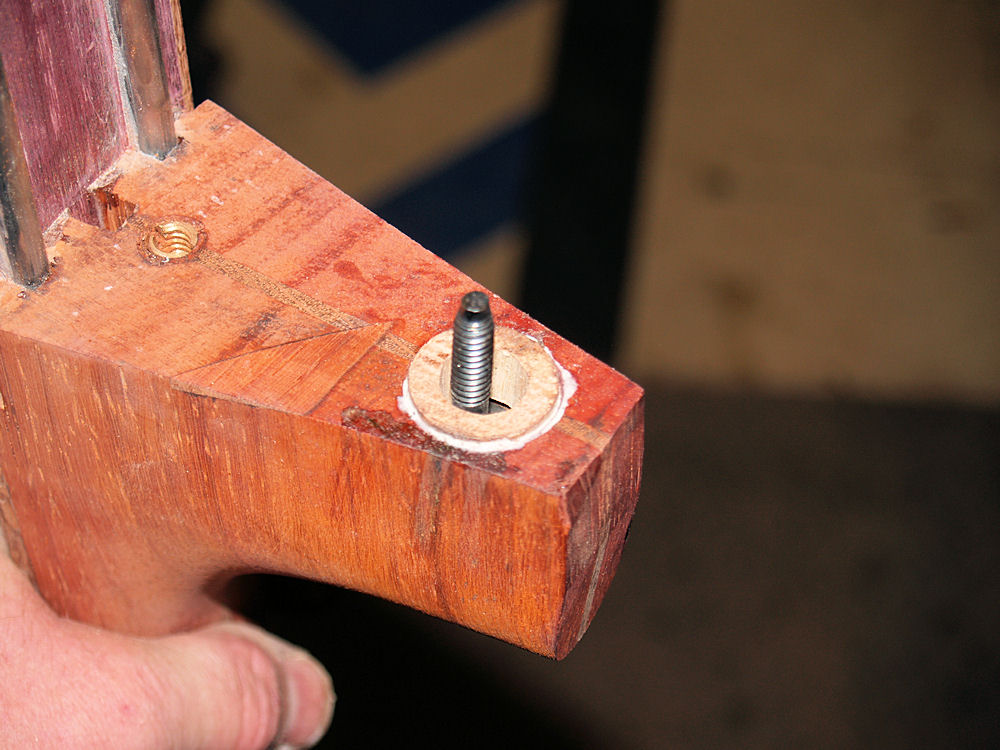 |
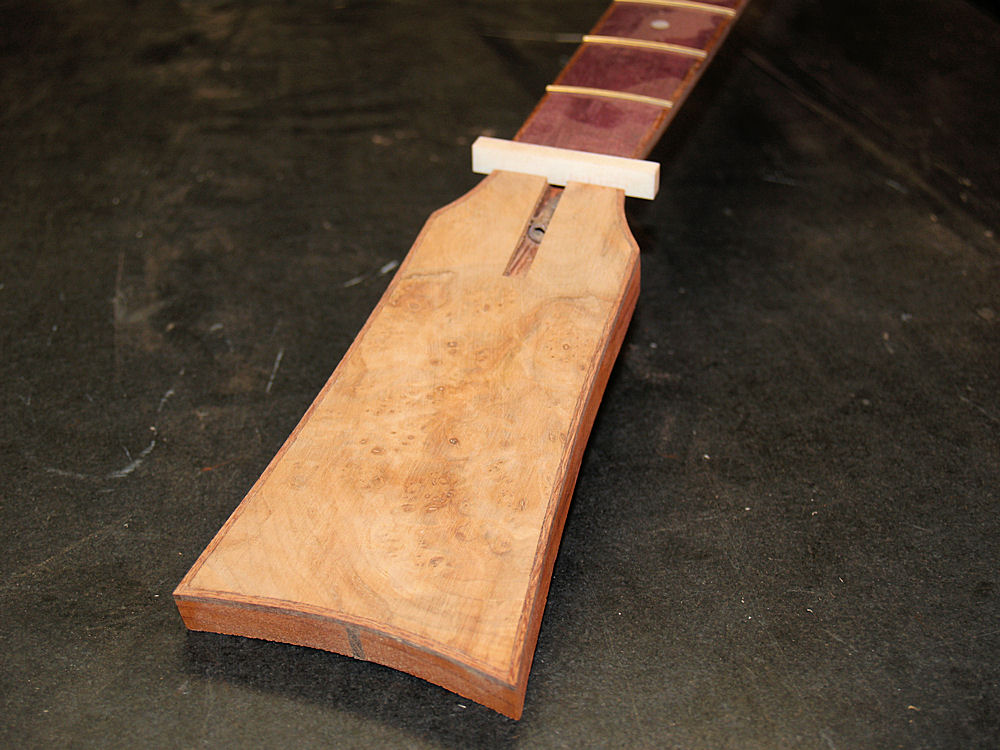
(106) 11-Sept-09
Here is a picture of the Tilt Action Neck Adjustment bolt. |
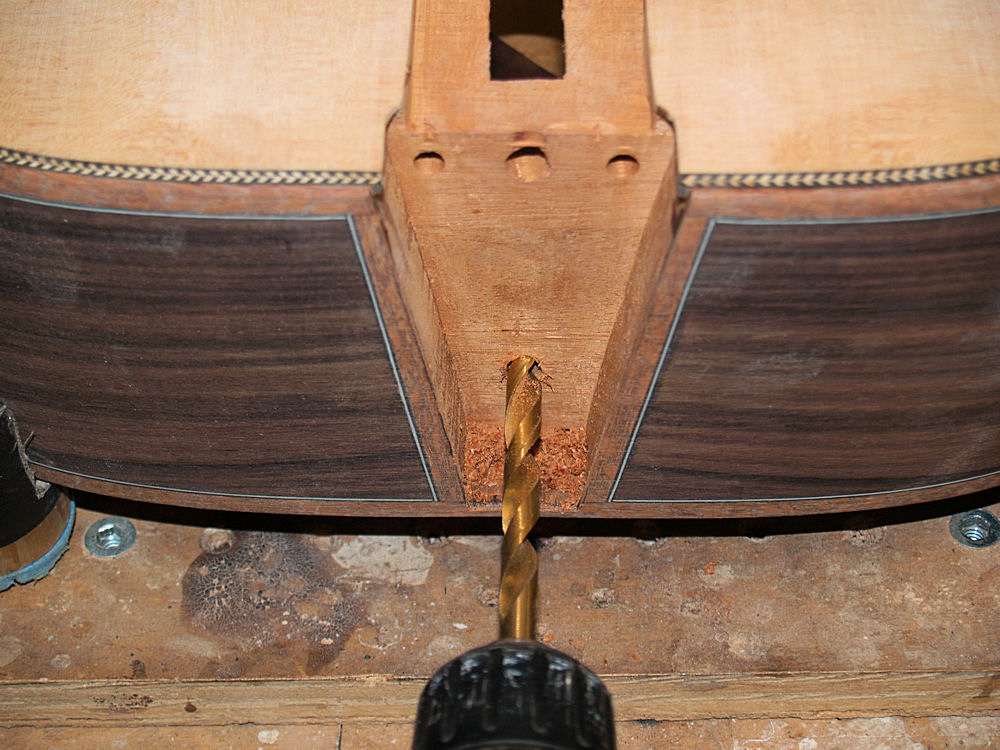 |
(107) 11-Sept-09
Here I am drilling the hole in the body that will house a nut insert. |
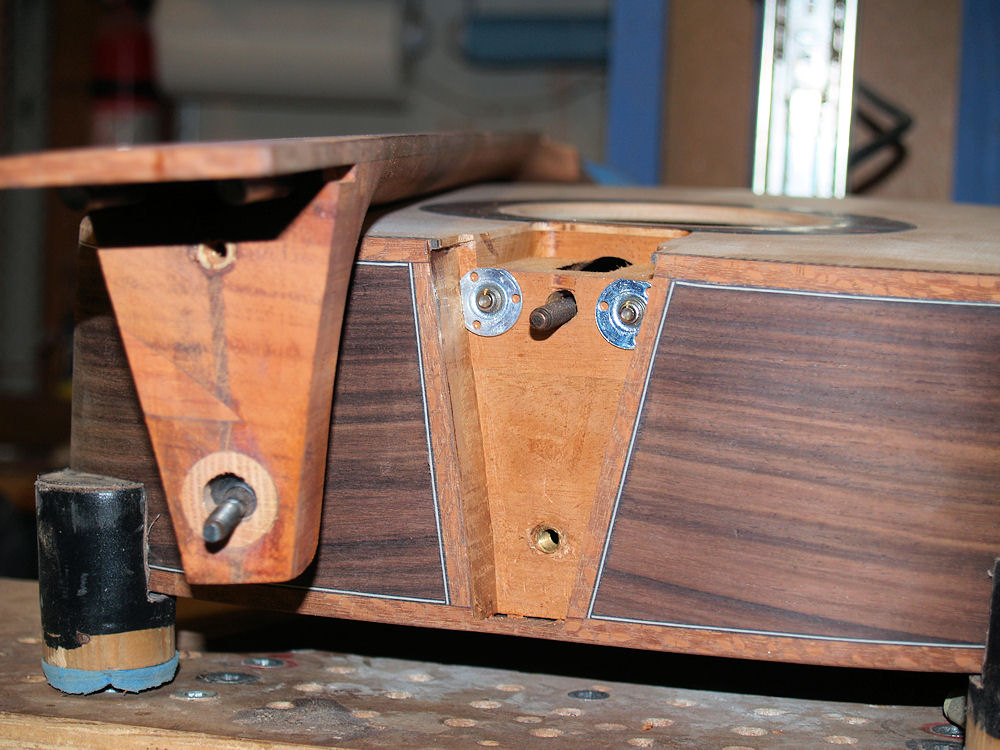 |
(108) 11-Sept-09
And here we see all of the neck attachment hardware. |
 |
(109) 11-Sept-09
I fit everything together and it looks like a guitar. |
 |
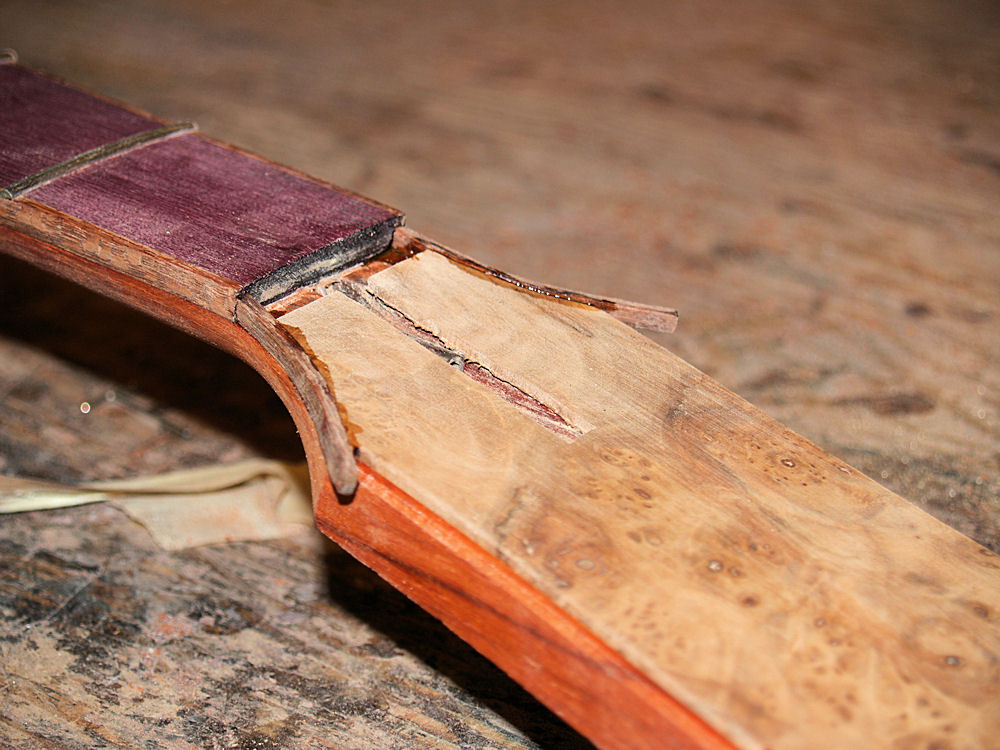
(110) 11-Sept-09
Next I need to route a channel in the headstock to accept the headstock
binding. |
 |
(111) 11-Sept-09
The headstock channel. |
 |
(112) 11-Sept-09
I have steam bent the wings and glued them in place. |
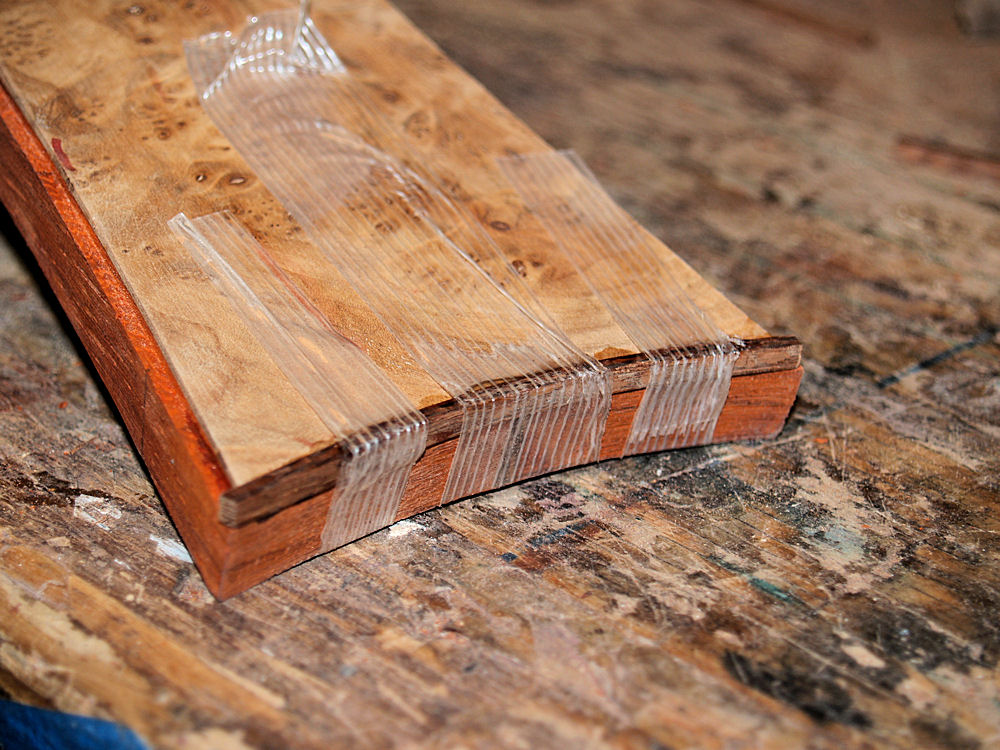 |
(113) 11-Sept-09
And then the end piece. |
 |
(114) 11-Sept-09
And finally the side pieces. |
 |
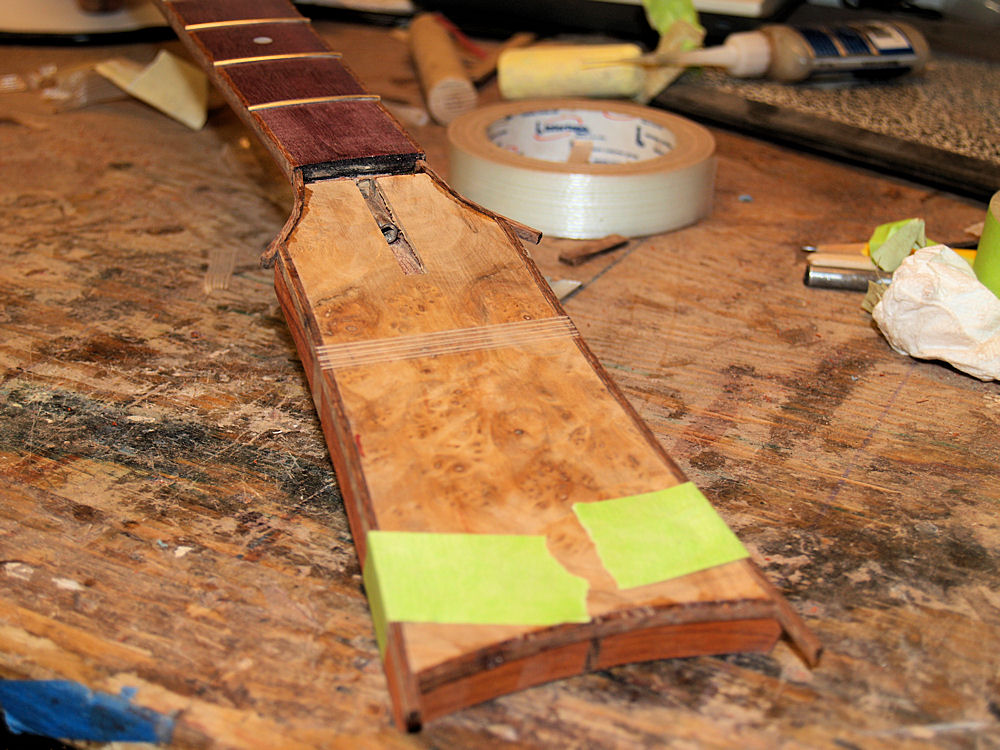
(115)
11-Sept-09
A bit of sanding to level everything off and here we have the final
results. |