 |
(38) 29 July, 2009
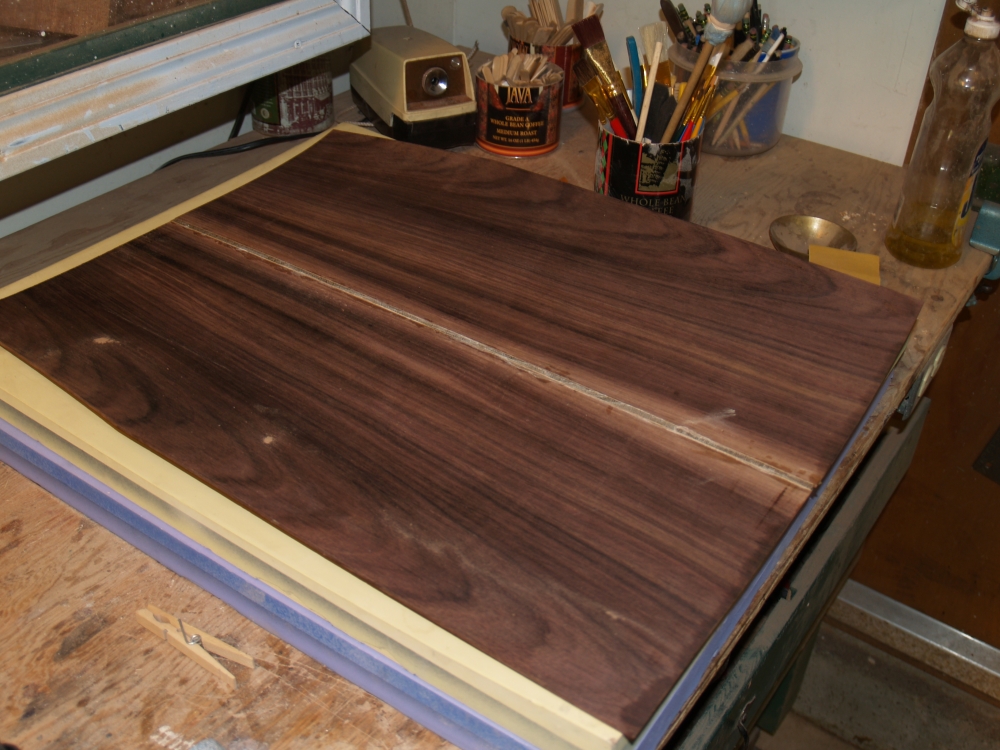
After the glue dries the back is taken out of the jointing rig. |
 |
(39) 29 July, 2009
This is a close up of the center strip that runs down the center of the
back. |
 |
(40) 29 July, 2009
Now I am preparing the spruce pieces that are going to be used
for the top. In this picture I am sanding the edges so they are
more or less straight. This wood is Sitka Spruce that is quarter
sawn and is chosen for its stiffness, tonal qualities and appearance.
Two sequential pieces of wood from the cut will be used to create
a book matched set that will be glued together to create a piece of
wood big enough for the top. Very few pieces of wood qualify for
use as tops of guitars. We take the very best of the best and
then sort for quality from there. Perhaps 0.01% of the wood in a
forest might qualify as useful as top wood. This is literally
where the sound meets the air, so luthiers are very picky. |
 |
(41) 29 July, 2009
When I glue these two piece of wood together I am attempting to
make the jointing line all but disappear, so my more or less straight
edge is more perfectly (to with in tolerance) straight in this squaring
jig i have built for just this purpose. |
 |
(42) 29 July, 2009
I spread a thin film of glue on the edges and press the two together by
hand. Little beads of glue get forced out when I do this letting
be know I applied the right amount of glue. |
 |
(43) 29 July, 2009
I clean up the squeeze out and put this pieces into the jointing
machine. This tool lets me apply a significant force to squezze
the pieces togethe and hold the pieces flat while I do this. |
 |
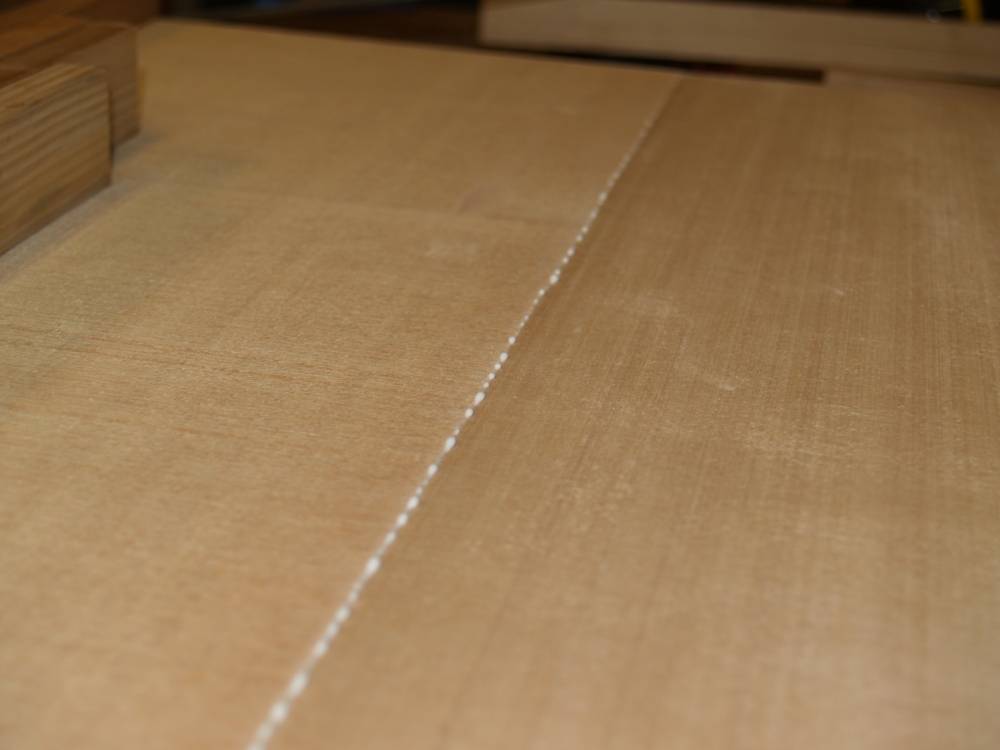
(44) 29 July, 2009
This is a close up of the joint line with a little bit more of squeeze
out. |
 |
(45) 29 July, 2009
When the glue dries and the top comes out of the jointer you would be
hard pressed to find the joint line. |
 |
(46) 29 July, 2009
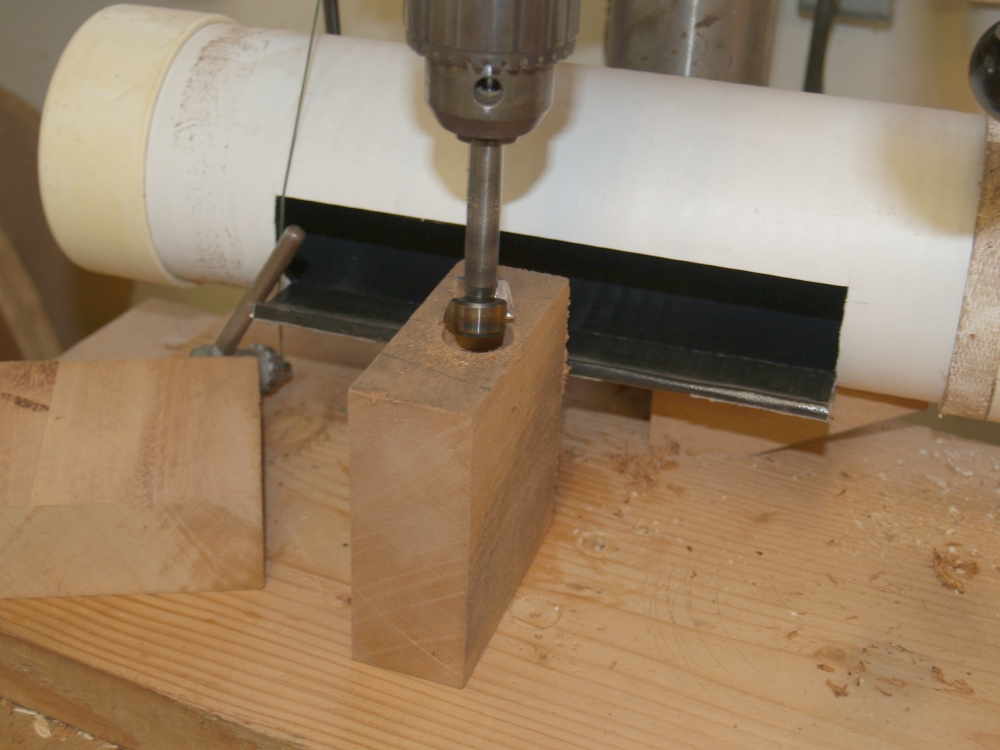
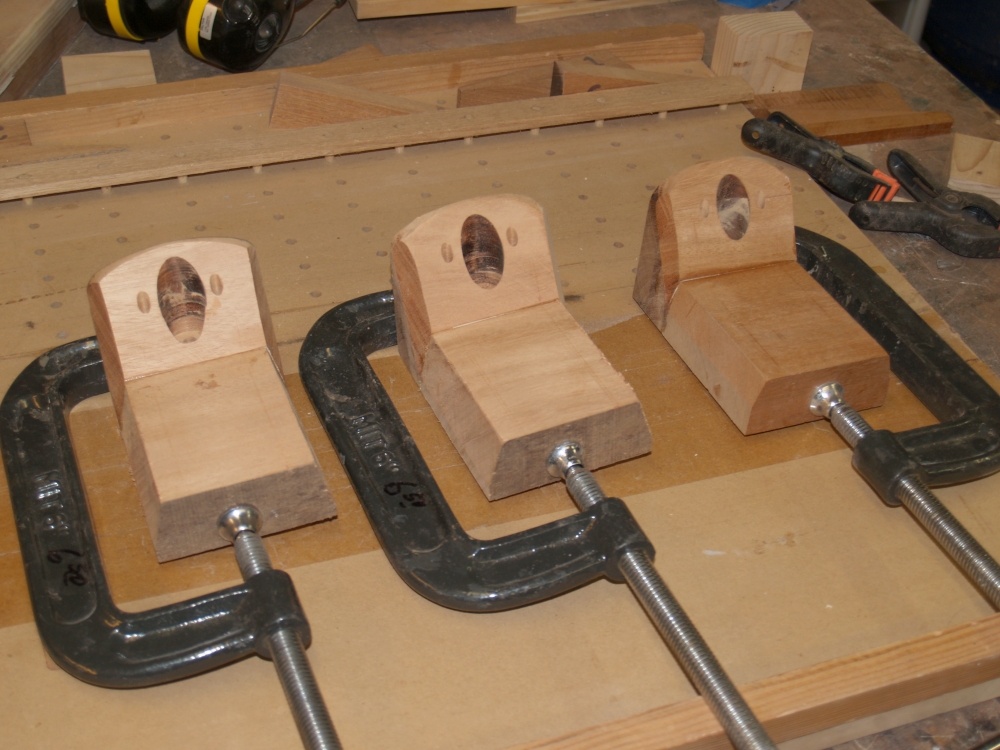
Now I am making the heal block that will hold the sides together at the
neck.l A lot of hardware will go into this block. Here I am
drilling a hole for the bolt that will hold the neck on. |
 |
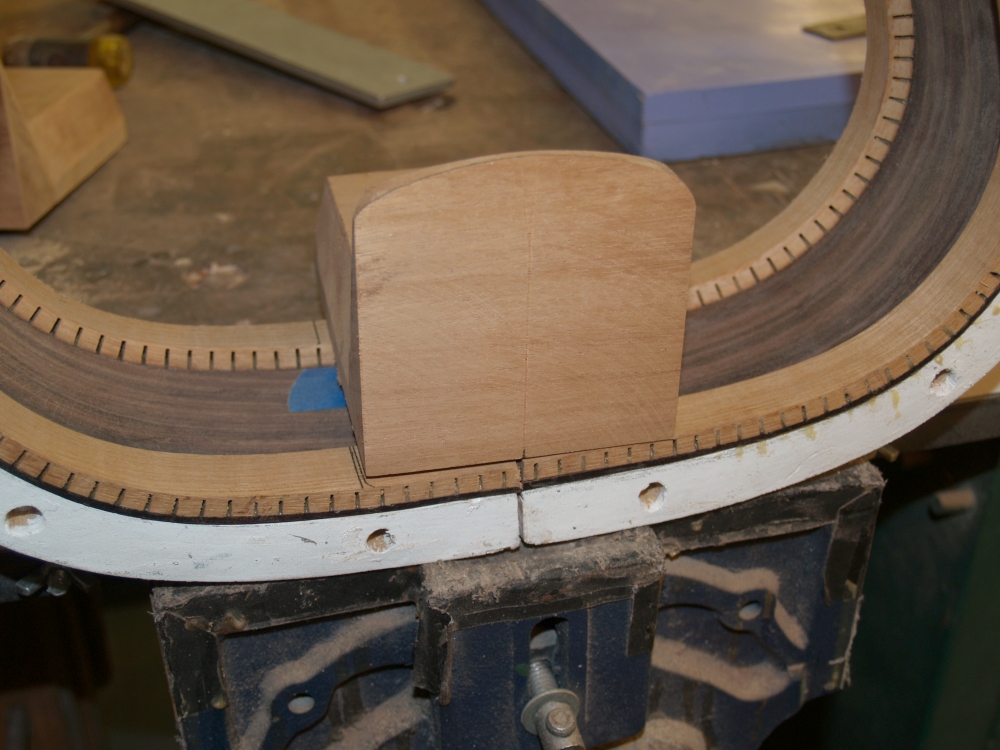
(47) 29 July, 2009
I cut a slice out of the top piece. |
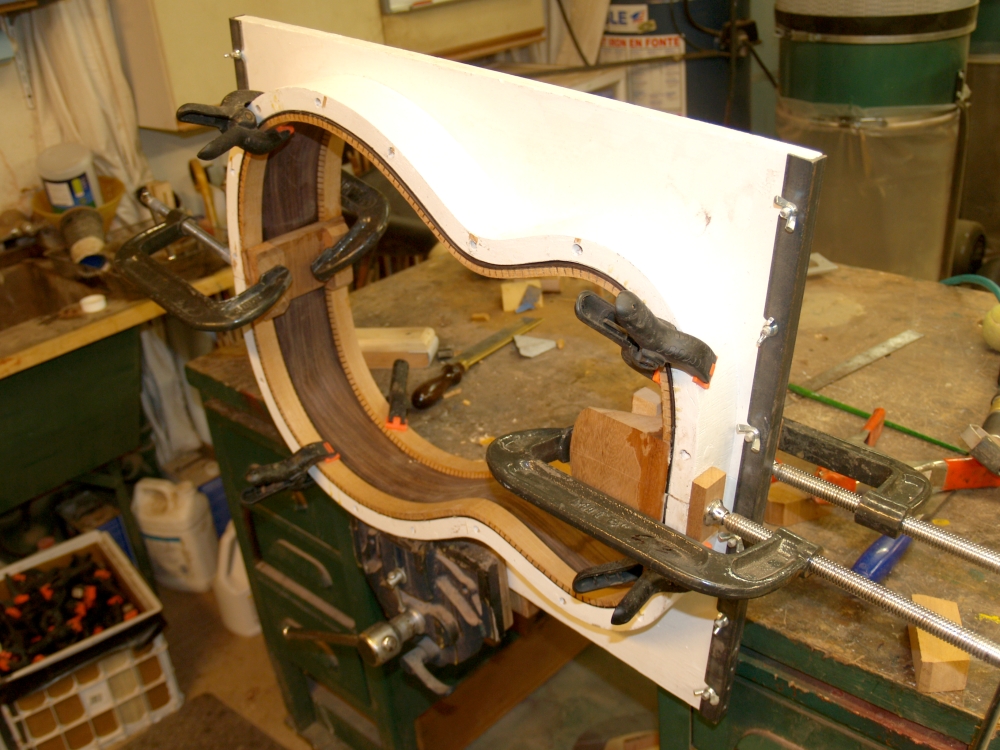
 |
(48) 29 July, 2009
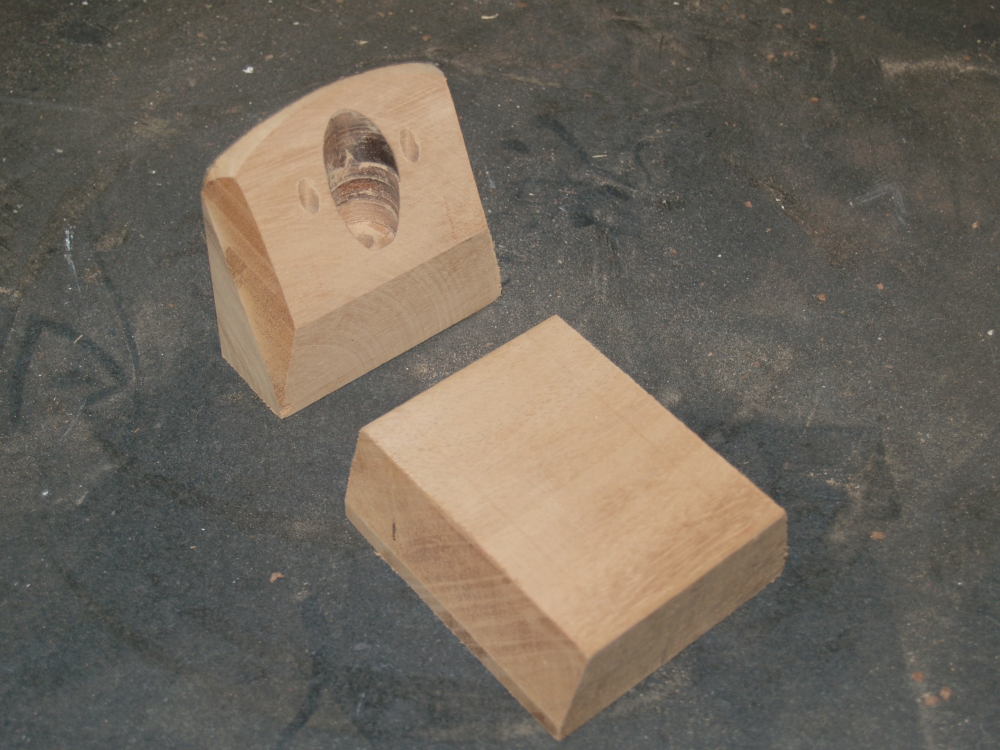
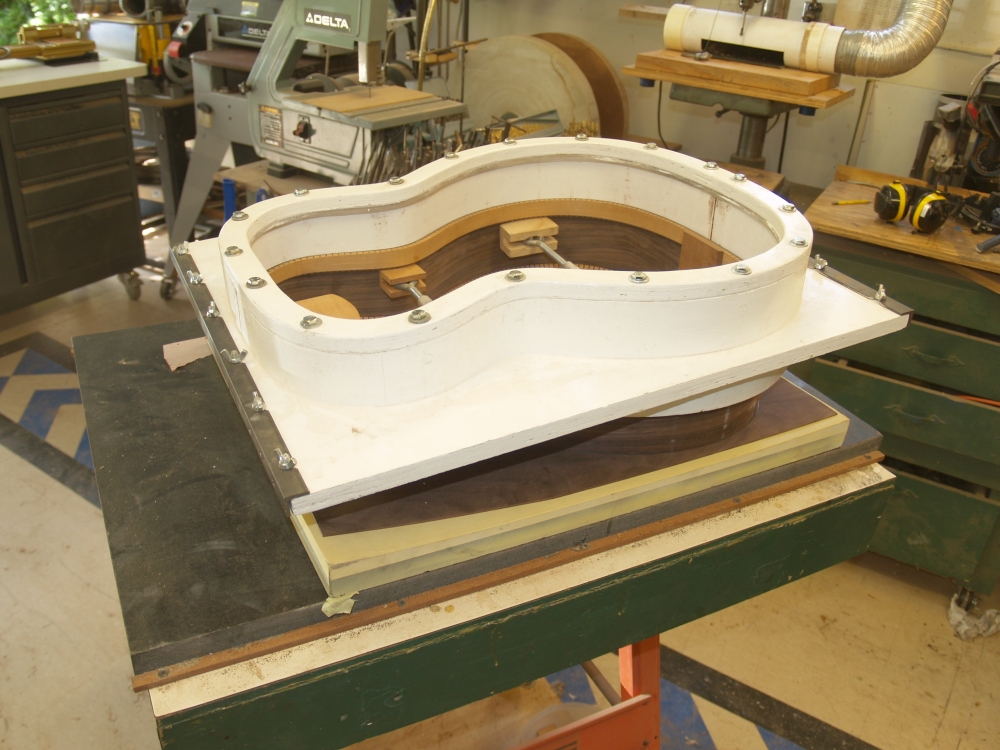
I drill two additional holes for access to the yaw set screws. |
 |
(49) 29 July, 2009
Ad the pieces get glued together. I am making three heel blocks
at once so i will be ready to make the next bass guitar. |
 |
(50) 29 July, 2009
I mark the kerfing where the heel block will go. |
 |
(51) 29 July, 2009
And carefully remove the kerfing. |
 |
(52) 29 July, 2009
I do the same thing for the tail block. |
 |
(53) 29 July, 2009
And then I glue the two side pieces together with the heel and tail
block. The side form insures that the sides are glued together in
the proper orientation. |
 |
(54) 29 July, 2009
The sides come out of the form and now you can imagine what the guitar
might look like. |
 |
(55) 29 July, 2009
The top and bottom edge of the sides need to sanded so they conform to
the shape of the bowls that the top and bottom are shaped to. I
do this by placing a sheet of sandpaper over the top and bottom
forms and than sand the edges unitl I get a good match. A
lot of elbow grease can go into this opperation. |
 |
(56) 29 July, 2009
Before I can make the braces for the top and back I make templates for
the braces. This lets me make sure I will efficiently cut the
braces and prepares me for making the next bass. |
 |
(57) 29 July, 2009
Using the templates I cut out the brace blanks. |
 |
(58) 29 July, 2009
The bottom of the braces need to conform to the shape of the bowl, so I
use the sandpaper in the bowl technique to insure a good fit. |
 |
(59) 29 July, 2009
I do the same thing for the top braces. |
 |
(60) 29 July, 2009
Next I drill the holes into the side of the braces. |
 |
(61) 29 July, 2009
They are starting to look like cool aircraft braces. |
 |
(62) 29 July, 2009
Next I use the routing table to rout out the side channels that will
create the I beam shape I am after. |
 |
(63) 29 July, 2009
And finally I shape the braces with graceful curves using the sanding
wheel. |
 |
(64) 29 July, 2009
I trace out the shape of the body on the back. |
 |
(65) 29 July, 2009
And my handy band saw - I love my band saw, I really do,- is used to to
cut out the back. I am very careful to leave about 1/4 inch extra
on the back . |
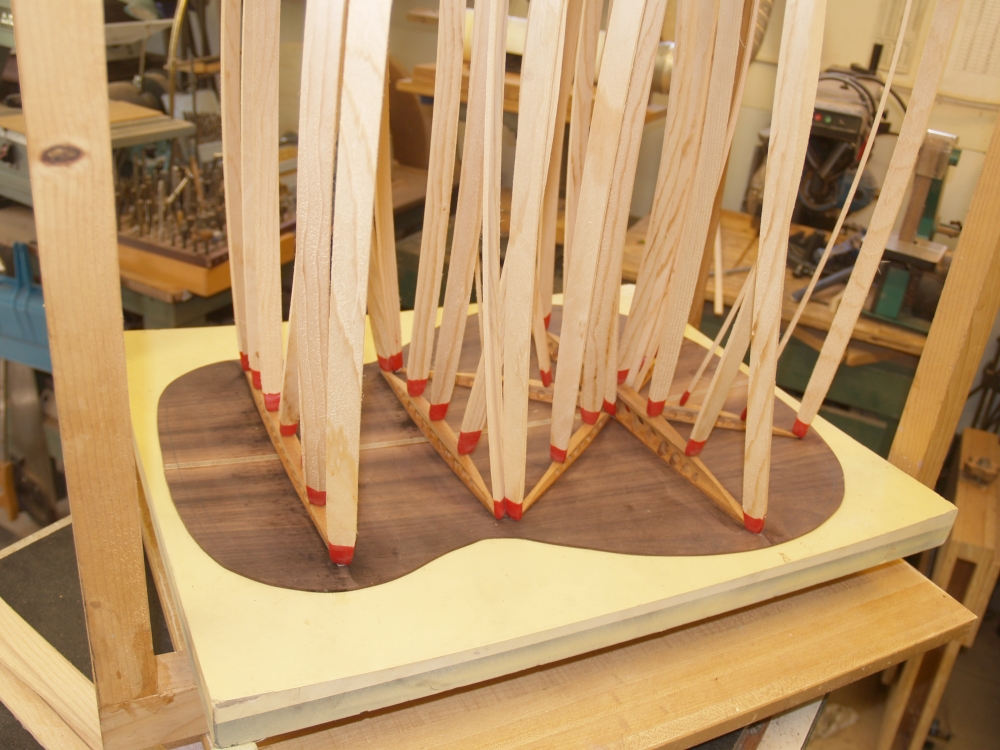 |
(66) 29 July, 2009
Here I am using my go box to glue the back braces onto the back.
The go box allows me to use these spruce sticks to force the
braces into the back. The back is places in the back mold, and
since the back braces have been shaped to fit into the bowl mold the
final shape of the back will be the same shape as the mold. |
 |
(67)
29 July, 2009
The back is starting to take shape. |


