 |
(116) 05-Oct-2009
Here
comes the money cut. That is if I make a mistake while drilling
this hole I get to spend a whole lot of money and time repairing my
mistake. So, I spend a whole lot of time making sure I get this
one right. In this image I am drilling the holes for the tuning
machines. I counter sink the hole for the washer. This
serves the functional purpose of relieving stress on the lacquer finish
thereby preventing the finish from cracking when the bolt is tightened
down, and I think it gives a more finished look to the headstock.
|
 |
(117) 05-Oct-2009
I
spent a fair amount of time deciding where to place the tuning machines
on the headstock. It is important that the A and D strings going
to the top two machines don't interfere with the E and G machines.
The design of my headstock, made purely for aesthetic reasons, is
actually less than optimal for string routing. If I wanted to
make life a bit easier I would make the headstock into a truncated "A"
shape. Although this would be very functional, my personal
opinion is that it would be a little funny looking although several
manufacturers do use that design with good results. In this image
I have installed the machines to make sure everything fits. |
 |
(118) 05-Oct-2009
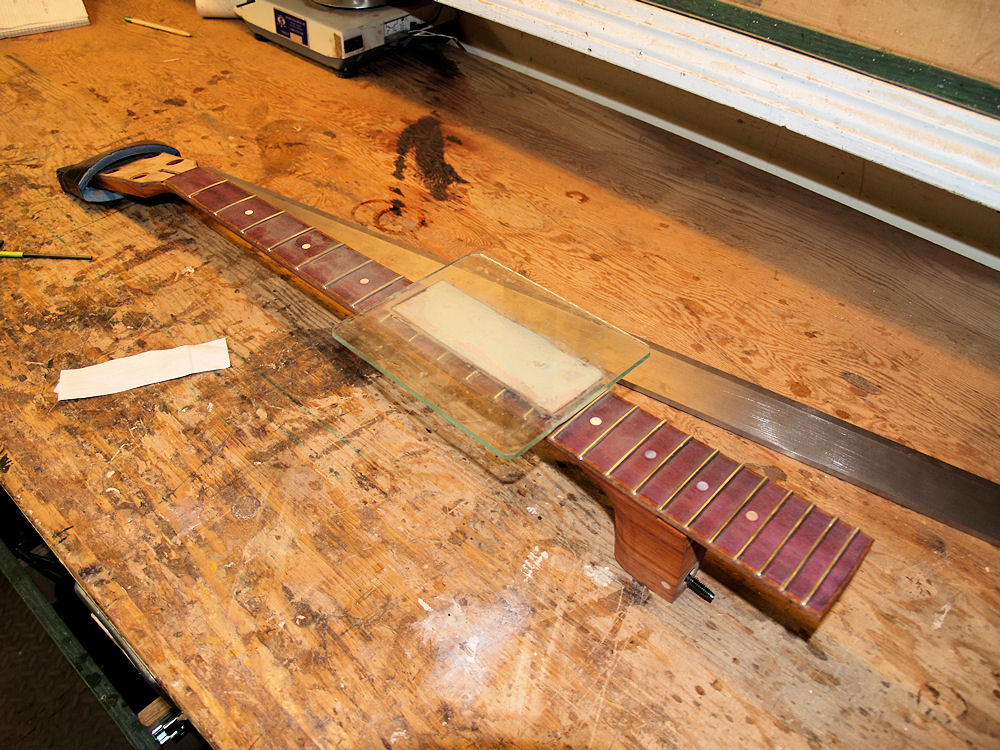
The
fretboard of a guitar is a device that requires very tight tolerances.
When a string is pressed down and it makes contact with a fret,
the next fret up must have enough clearance below the vibrating string
so that it doesn't buzz. A luthier can play some games to
eliminate buzzing, but if we want to get the action as low as possible
the top of the frets initially must fall into a straight line with a
tolerance less than 3 mils, (thousandths of an inch). When the
guitar is strung up and tension is applied to the strings we adjust the
truss rod so that there is a slight bow to the shape of the neck.
In this image I am honing the frets to get them lined up just
right. I use a precision straight edge, seen behind the neck, to
check the flatness of the set of frets. I work on the frets until
I can't slip a 3 mil piece of paper between the straight edge and the
frets. |
 |
(119) 05-Oct-2009
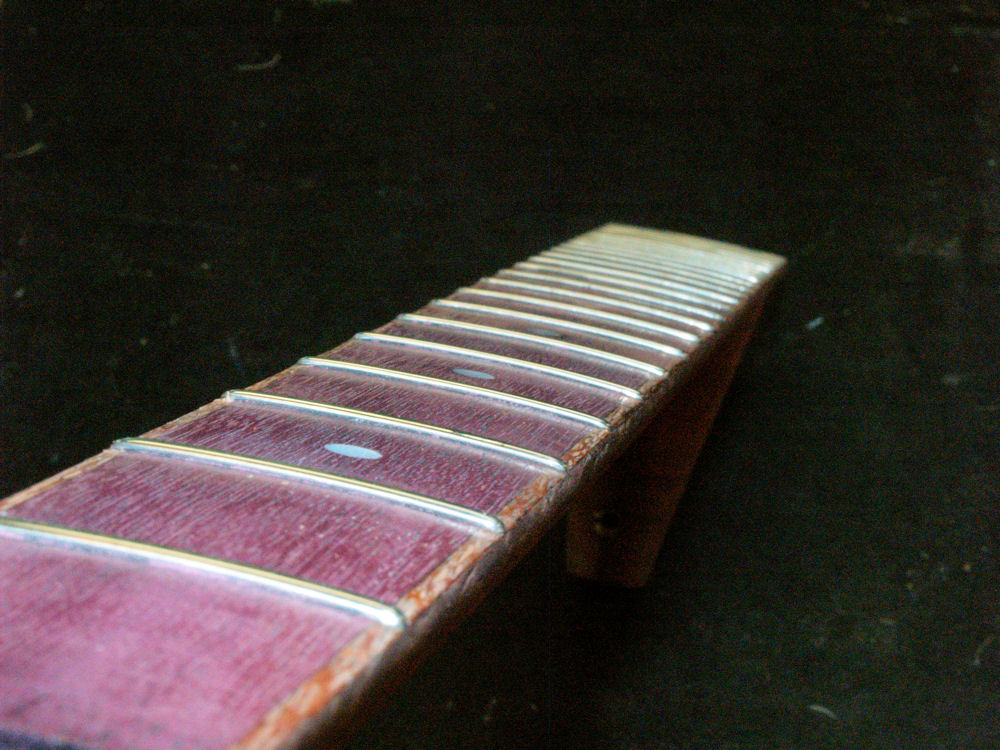
After I shape the crowns of the frets I file the ends into smooth and rounded little nubbins. |
 |
(120) 05-Oct-2009
Then I polish the frets to eliminate any scratches and we end up with a row of beautiful jewels. |
 |
(121) 05-Oct-2009
An art picture of the fretboard. |
 |
(122) 05-Oct-2009
And another. |
 |
(123) 05-Oct-2009
Now
onto my signature headstock rose. First I carefully route out a
channel using my Dremel tool and a precision router base. I use
square silver wire, shape the ends and carefully press it into the
channel. I glue it in with cyanoacrylate glue. If I did a
good job with the Dremel tool, i.e., had a steady hand, the wire fits
in without any gaps. If not, then I have to fill in the voids and
try to hide the mistakes. |
 |
(124) 05-Oct-2009
Catching
the light just right, Portland Guitar's "Jasmine Rose". Several
years ago I asked my daughter, whose name is Jasmine Rose to design a
stylized rose for me, ergo, Portland Guitars's Jasmine Rose. |
 |
(125) 05-Oct-2009.
Here
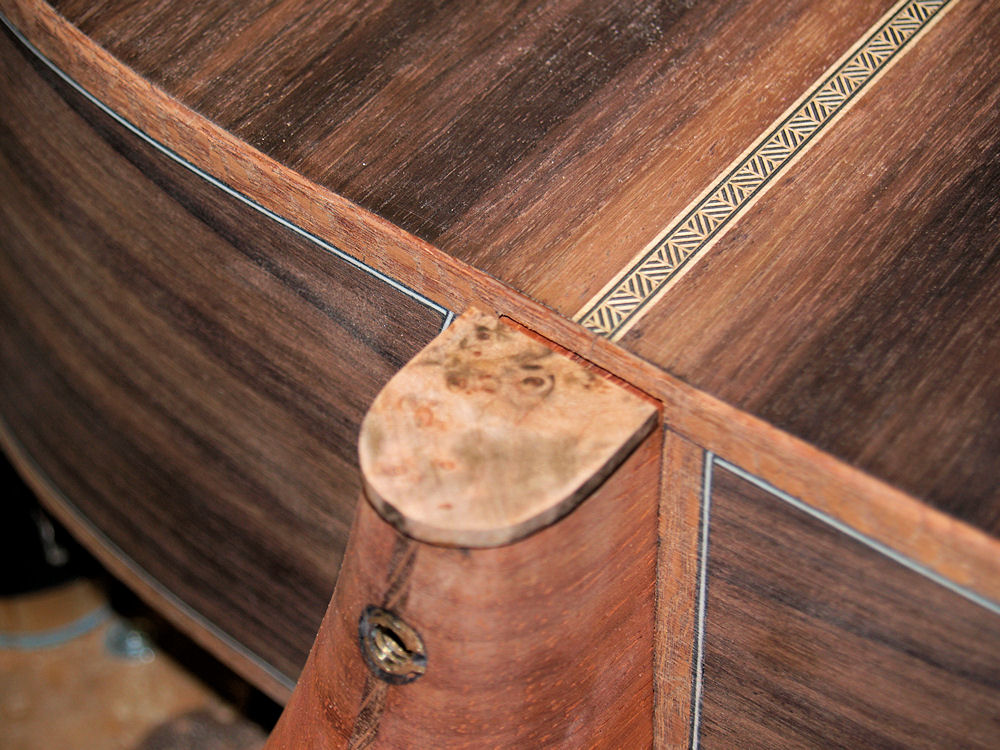
I am installing the heal cap on the neck. I am using the same
burled maple I used for the headstock veneer and the end graft. |
 |
(126) 05-Oct-2009
Now
I have turned my attention to making the bridge. This is the
first time I am building a bass guitar, and to accommodate the larger
strings of a bass I have decided to increase the size of the bridge.
I spent some time laying out the design on paper before starting.
I need enough room for the larger strings, saddle, and bridge
pins, but I don't want to make the bridge any more massive than
necessary. The mass of the bridge has a profound effect on the
acoustics of the guitar. More mass lowers the fundamental
resonances, which can be good, and reducing the attack and drawing out
the sustain, which may or may not be good depending on preferences, and
generally decreases volume, which is bad. It is a set of
compromises that requires an understanding of the physics of the guitar
and a bit of judgment. |
 |
(127) 05-Oct-2009
To
compliment the fretboard I am using purpleheart for the bridge.
In this image I am using a piece of sandpaper laid on the top of
the guitar so I can sand the bottom of the bridge until it conforms to
the shape of the top. This will help ensure a good bond between
the bridge and the top. |
 |
(128) 05-Oct-2009
Now
I am getting prepared to apply the finish. One of the things that
needs to be done is to fill in all of the pores that are inherent with
a hardwood like Jacaranda. I use a filler and force it into the pores,
and then sand the surface smooth. This is an iterative process
and each area must be individually checked to make sure that all of the
pores have been filled.
|
 |
(129) 05-Oct-2009
Once I am satisfied that all of the pores are filled I level the surface. |
 |
(130) 05-Oct-2009
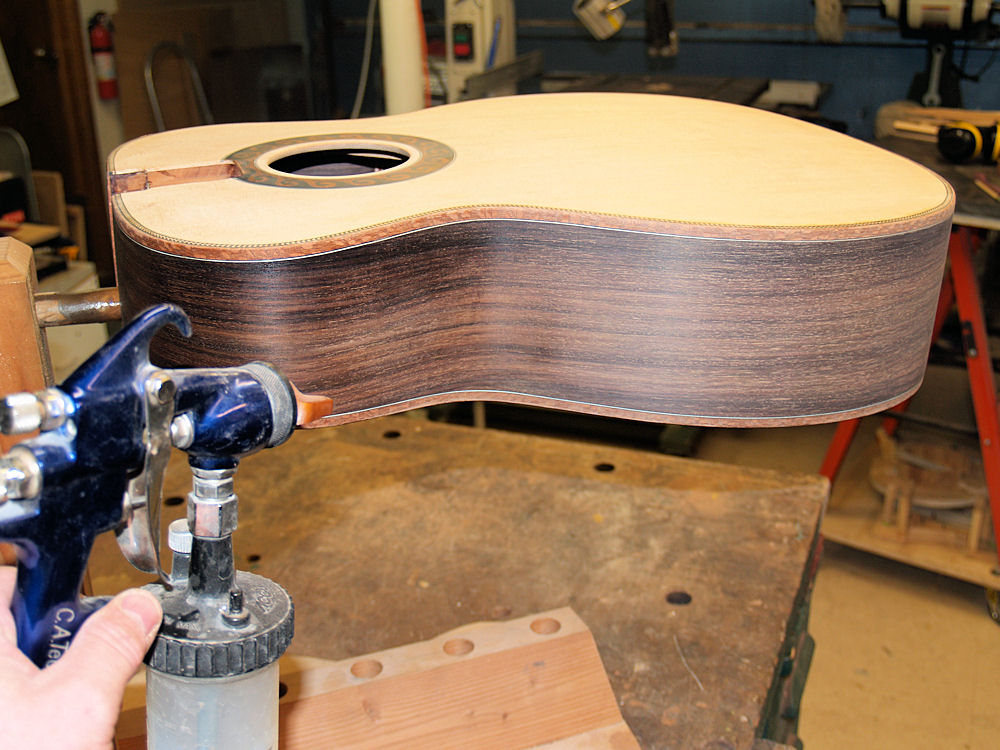
I
spray a layer of lacquer to help stabilize the filler. This will
get leveled and any unfilled pores will get filled and the process is
repeated until perfection is achieved. If I get everything right
the finishing process will go easily. If not, I will struggle.
After a bit of detail work (actually everything to do with
building a guitar is a bit of detail work) the guitar will be ready for
the finishing process. One of the things I have learned in this
gig is that the surface quality is a bulk phenomena. That is, the
end quality starts with the first cut and every process thereafter.
|


