 |
(68) 13 Aug, 2009
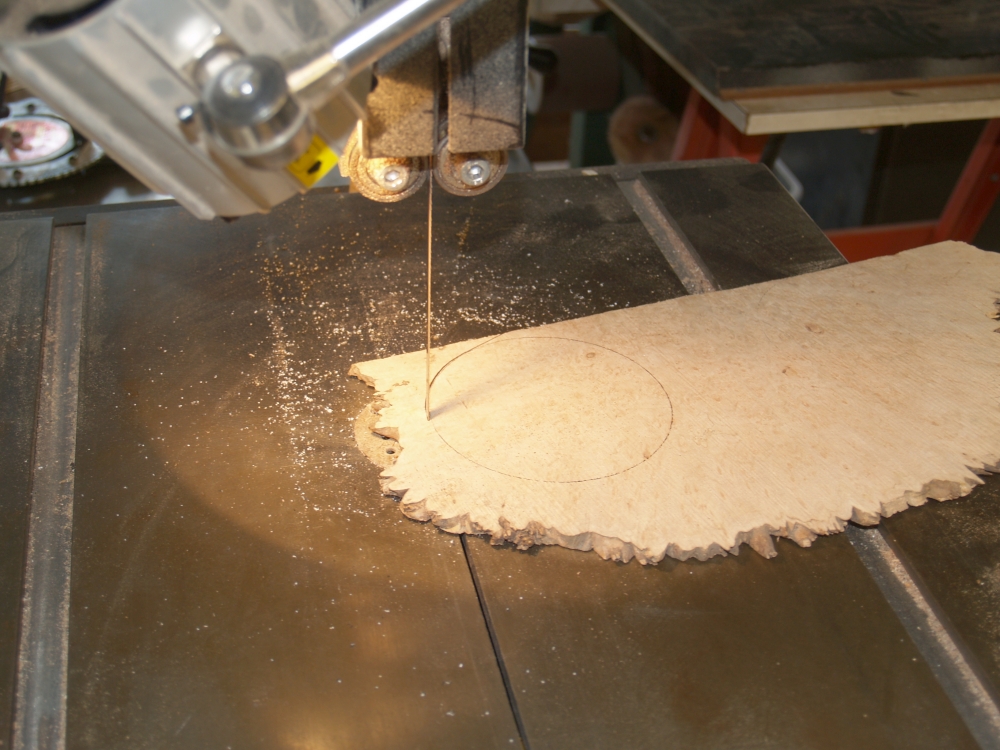
In this picture I am cutting out a disk from a piece of maple burl that
will be used for the bacground of the contra-rosette.
|
 |
(69) 13 Aug, 2009
The contra-rosette goes between the first and second back brace and
will be visible through the sound hole. |
 |
(70) 13 Aug, 2009
I neglected to document the construction of the contra-rosette, but
nonetheless it is a triskle, with a triskel in a triskle. |
 |
(71) 13 Aug, 2009
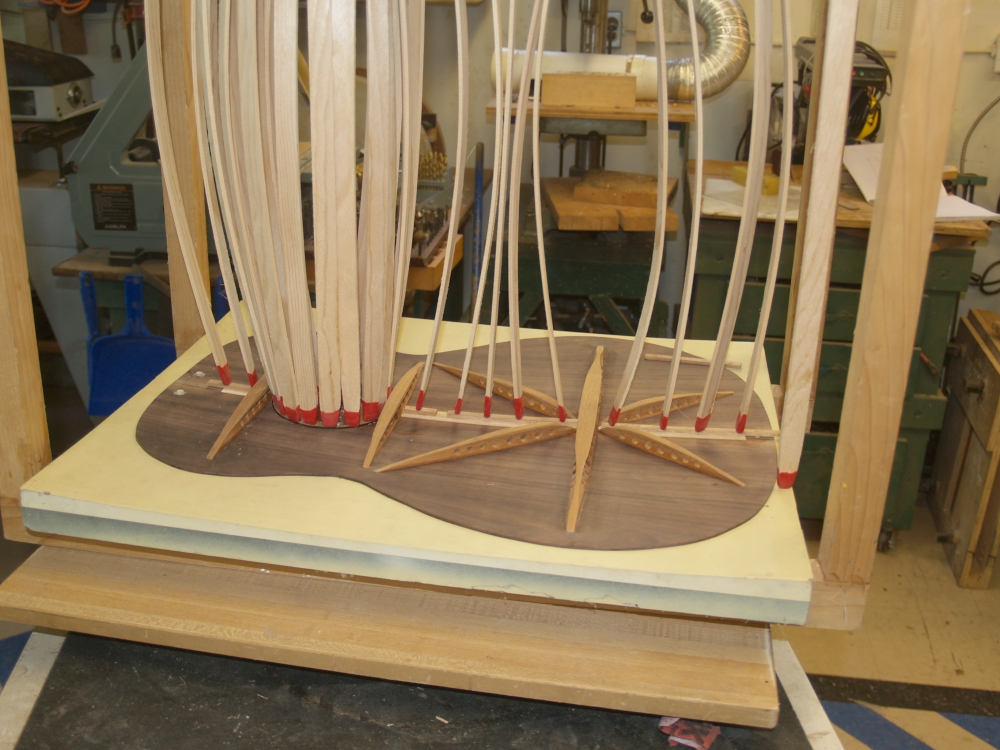
Here I am gluing in the contra-rosette and the center strip
reinforcements. |
 |
(72) 13 Aug, 2009
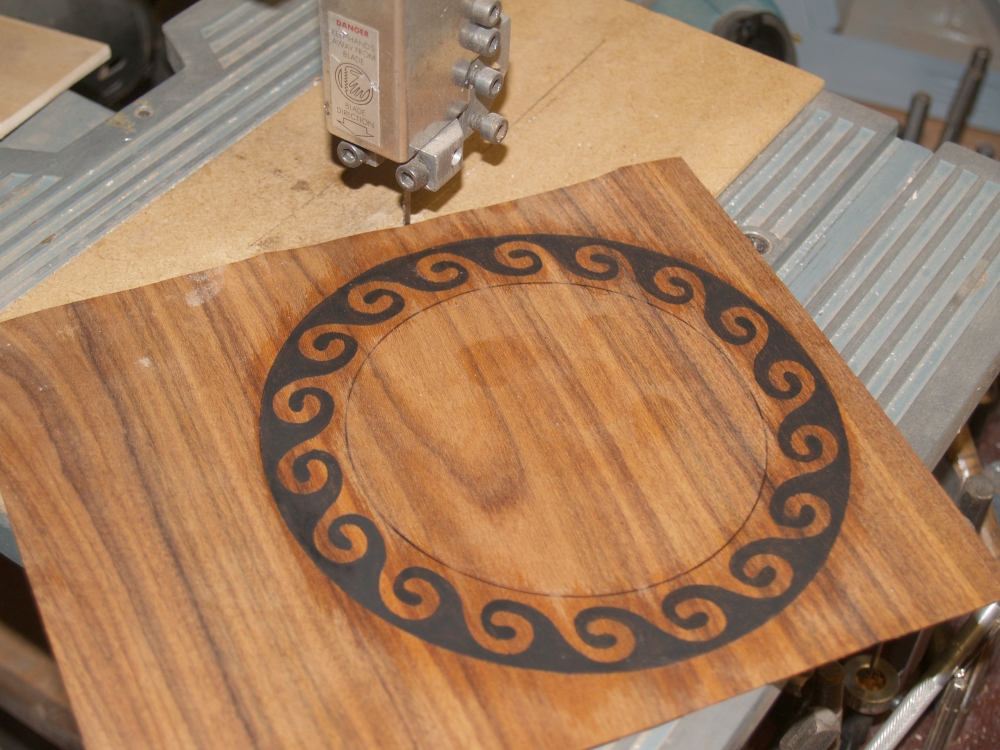
I am using a veneer of Brazilian rosewood to create the rosette. |
 |
(73) 13 Aug, 2009
First I drill a hole in the center of the sound hole to act as a pivot
for the routing tool. |
 |
(74) 13 Aug, 2009
I use my circle router to create a channel for the rosette. |
 |
(75) 13 Aug, 2009
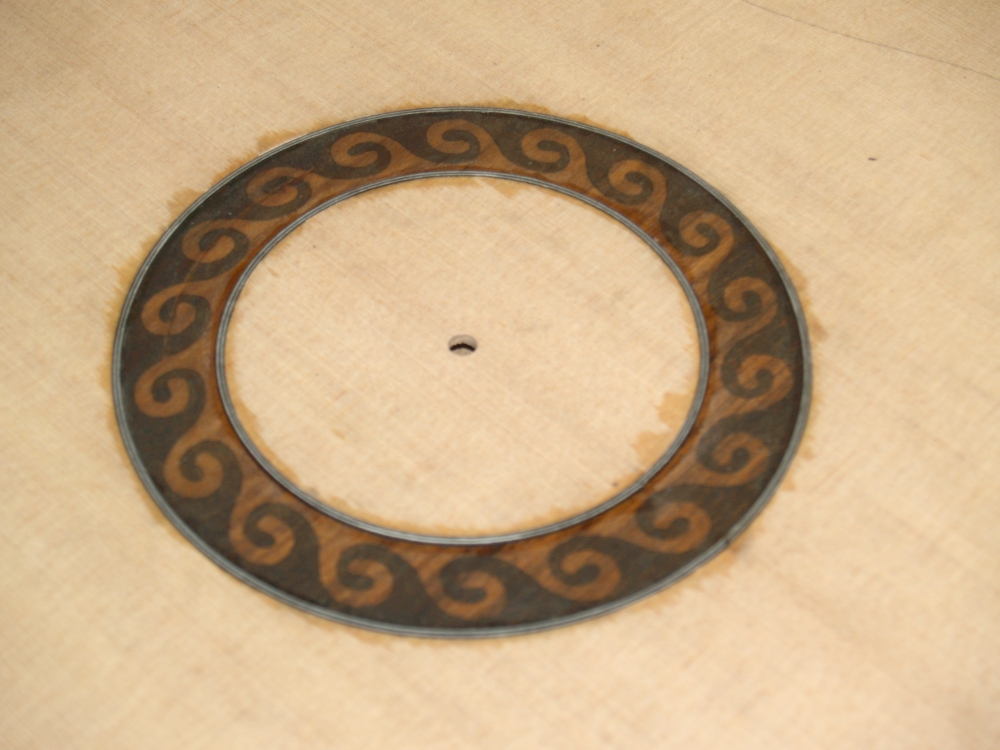
The rosette gets set in the channel. |
 |
(76) 13 Aug, 2009
And then a set of pinstripes are used to frame the rosette. |
 |
(77) 13 Aug, 2009
Finally I cut out the sound hole. |
 |
(78) 13 Aug, 2009
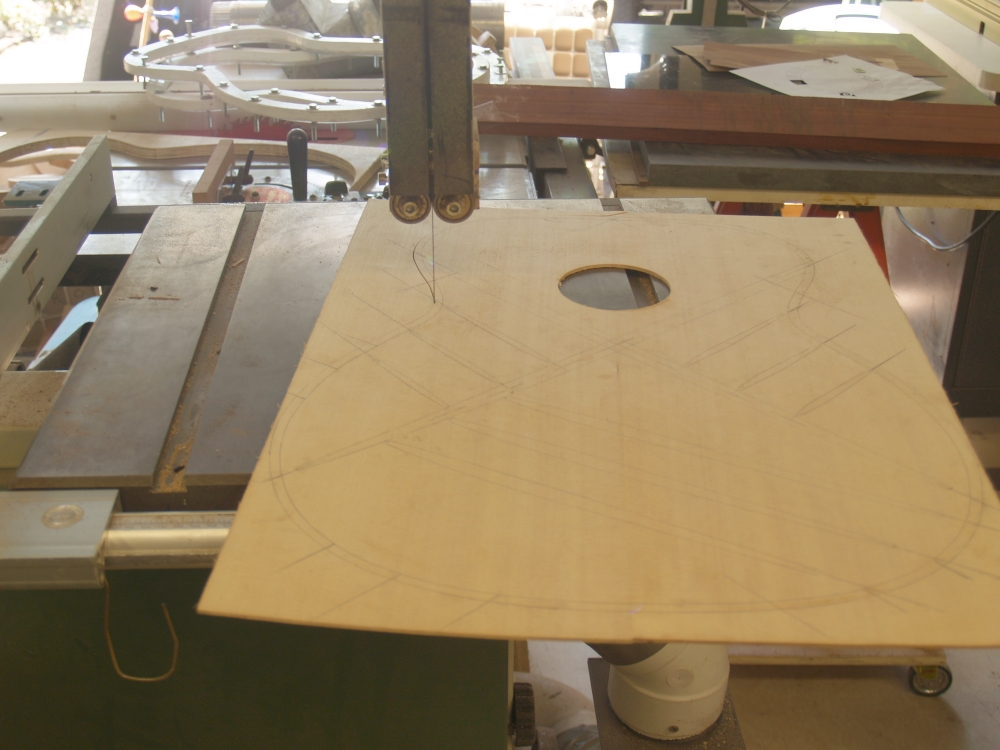
Now I use the band saw to cut out the top. I leave about a
quarter inch of excess to allow some tolerance. |
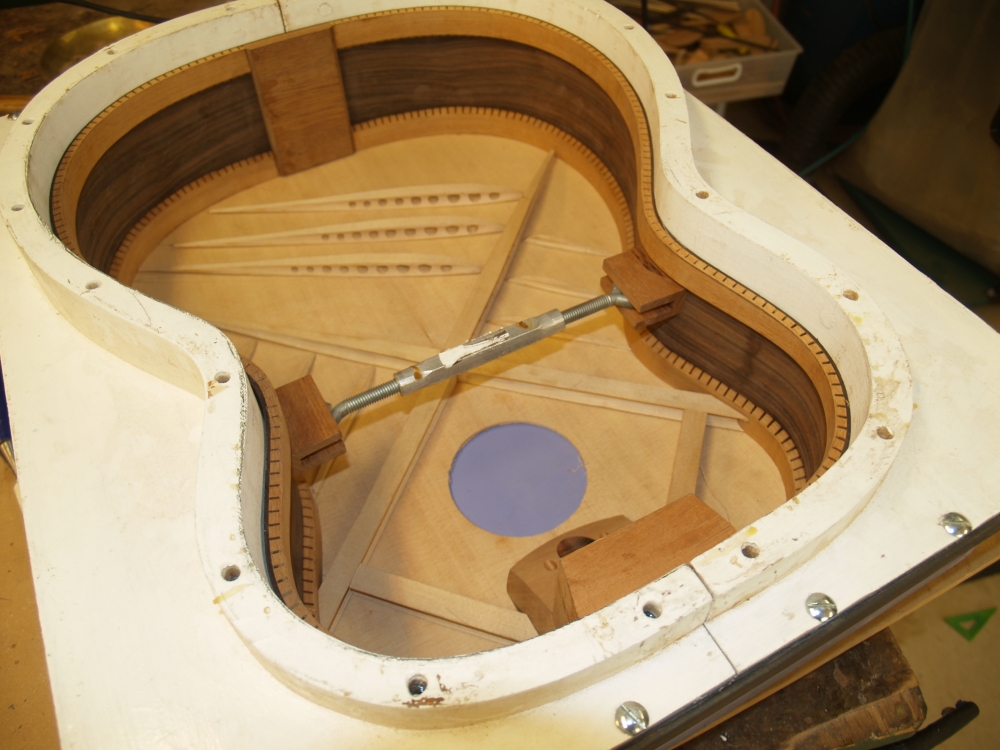 |
(79) 13 Aug, 2009
I am starting to lay out the bracing in the side rim. The fit of
the braces to to sides and the heal block is very important for the
structural integrity of the top. |
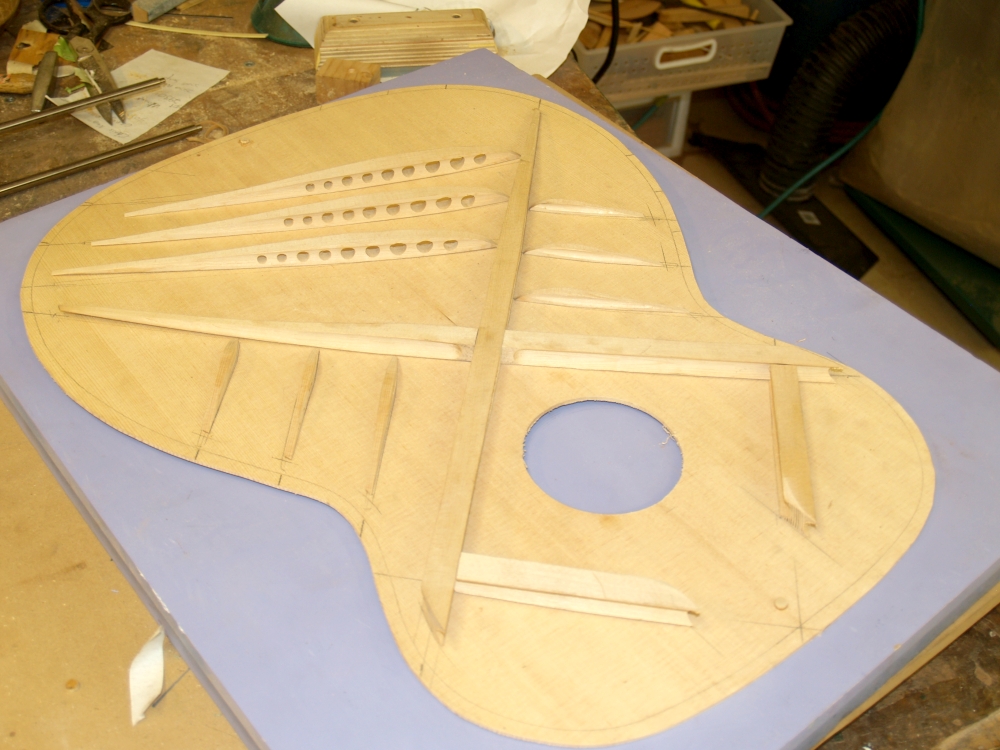 |
(80) 13 Aug, 2009
A look at the braces before they get glued in place. |
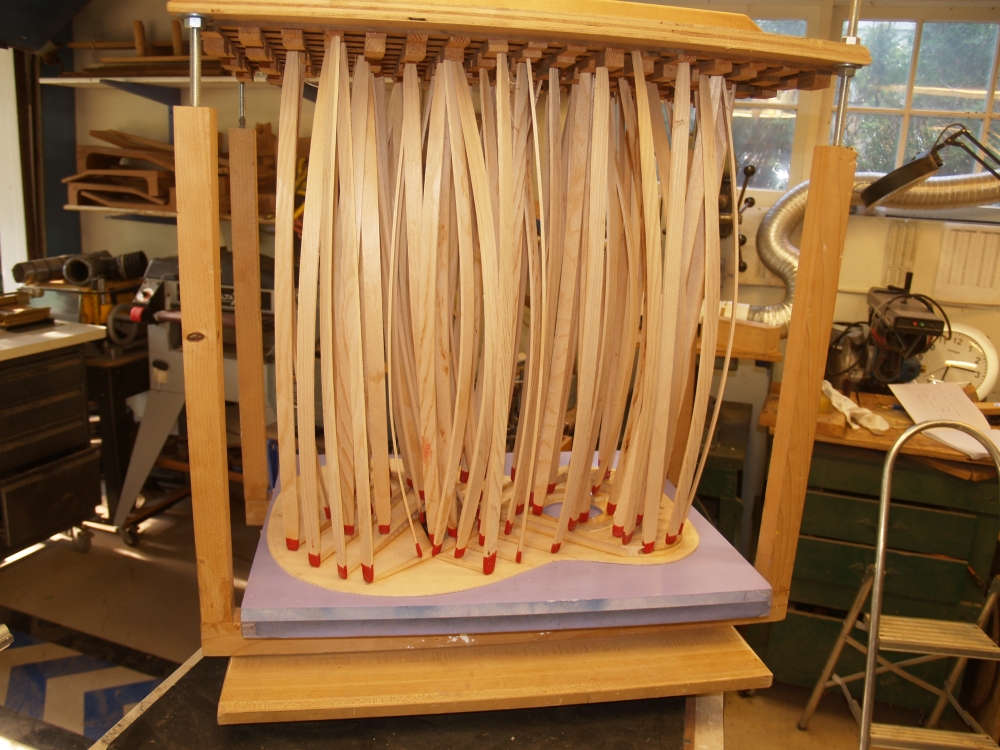 |
(81) 13 Aug, 2009
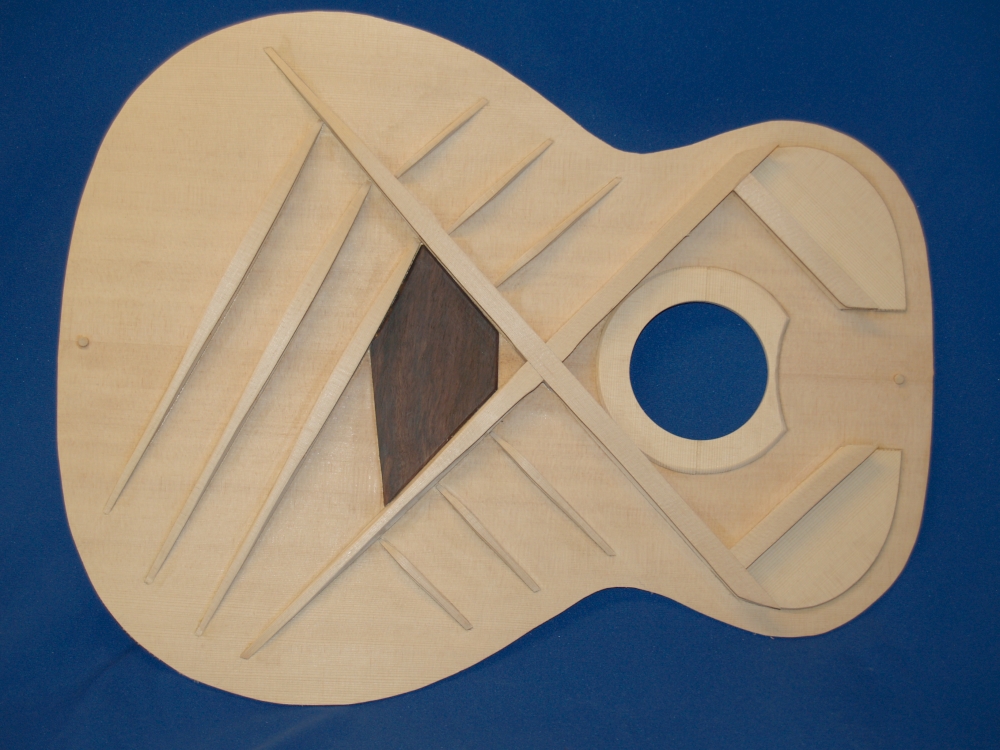
I use the go-box to glue the braces to the top while it sits in the top
form. |
 |
(82) 13 Aug, 2009
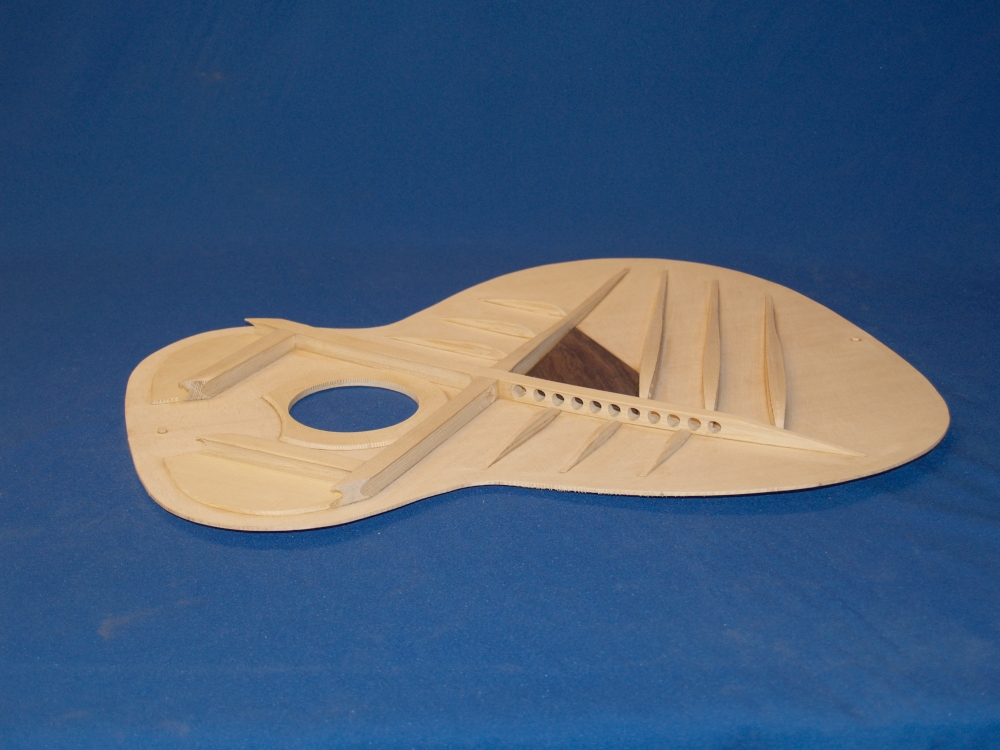
A look at the top braces after they are glued in place |
 |
(83) 13 Aug, 2009
Another view. |
 |
(84) 13 Aug, 2009
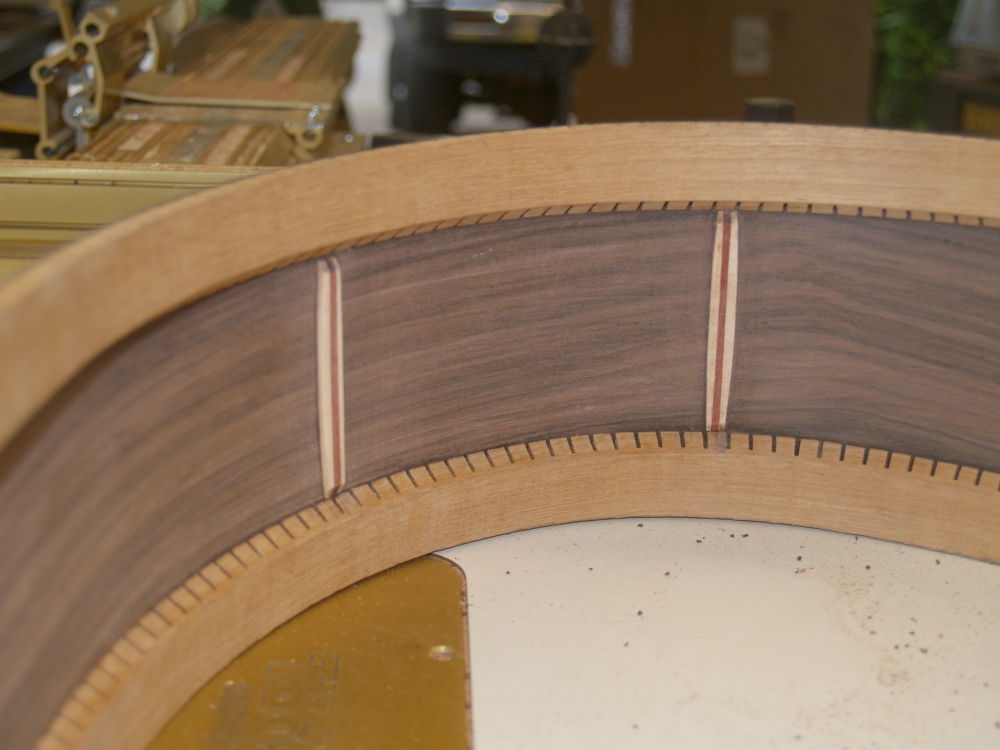
Before the top and bottom get glued on to the sides a few reinforcing
strips get installed. Even though no one will ever see them, I
like to give these braces some graceful curves. |
 |
(85) 13 Aug, 2009
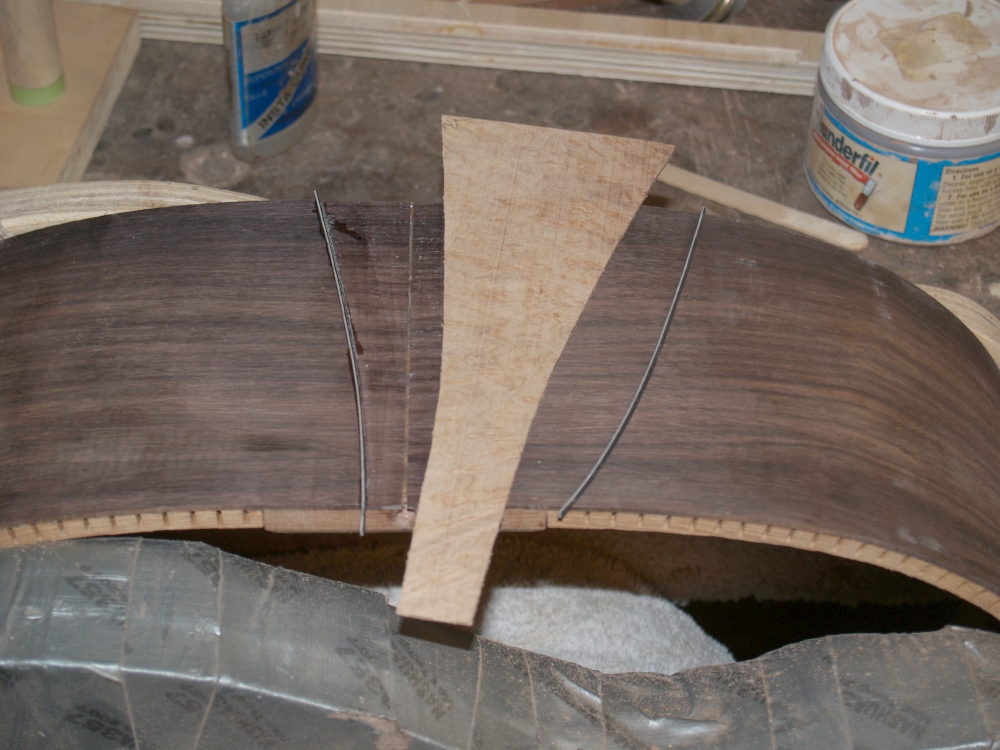
These strips help hold the side together should the guitar ever get a
short sharp shock. |
 |
(86) 13 Aug, 2009
I also install the tail graft before the top an bottom get glued on. |
 |
(87) 13 Aug, 2009
A perfect fit. |
 |
(88) 13 Aug, 2009
I sand the tail graft flush with the sides. |
 |
(89) 13 Aug, 2009
And now I get ready to glue the bottom on to the sides. Glue goes
around the rim. |
 |
(90) 13 Aug, 2009
A picture of the side forms with the bottom flange in action. |
 |
(91) 13 Aug, 2009
Her we see just a little bit of squeeze out that get cleaned up before
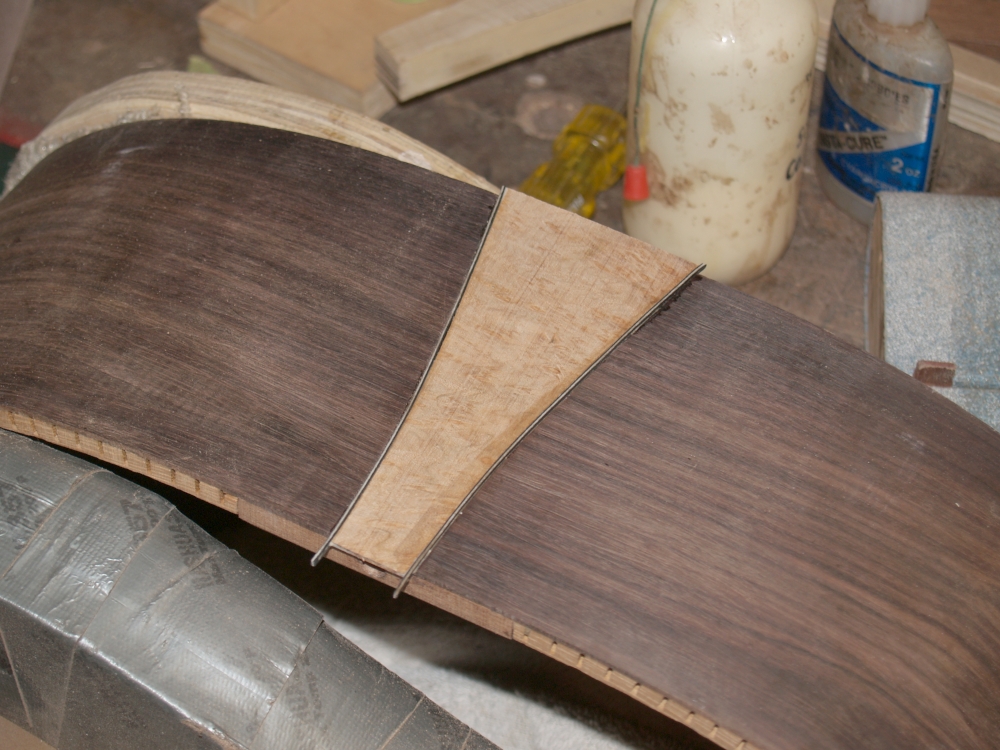
it dries. |
 |
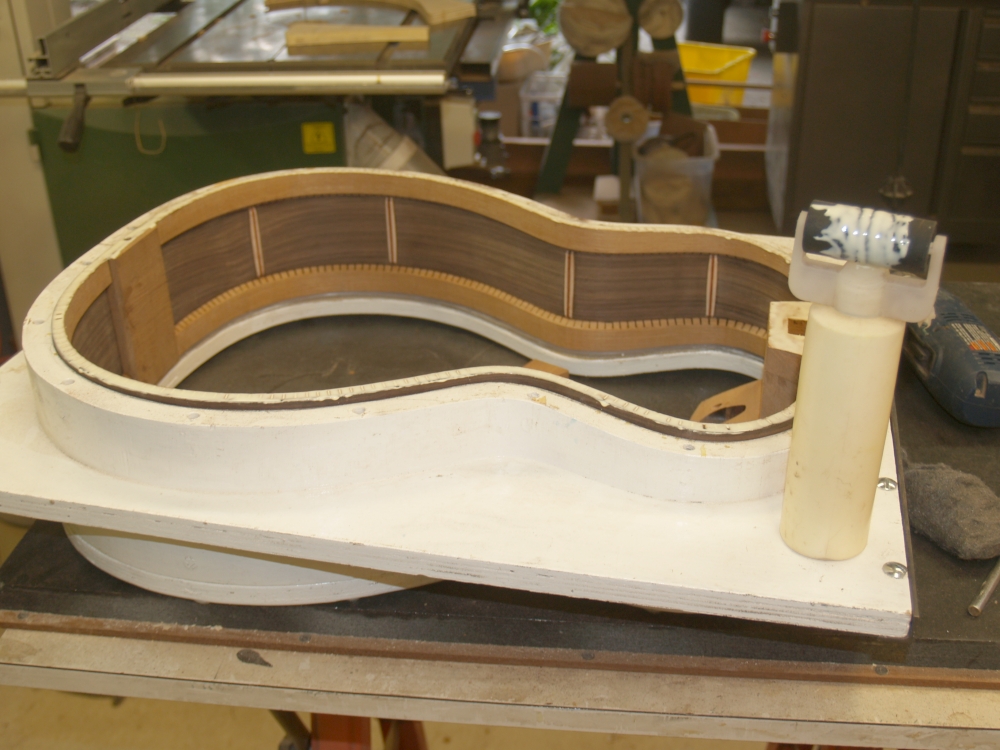
(92) 13 Aug, 2009
I try to avoid using too much glue. This is just the right amount
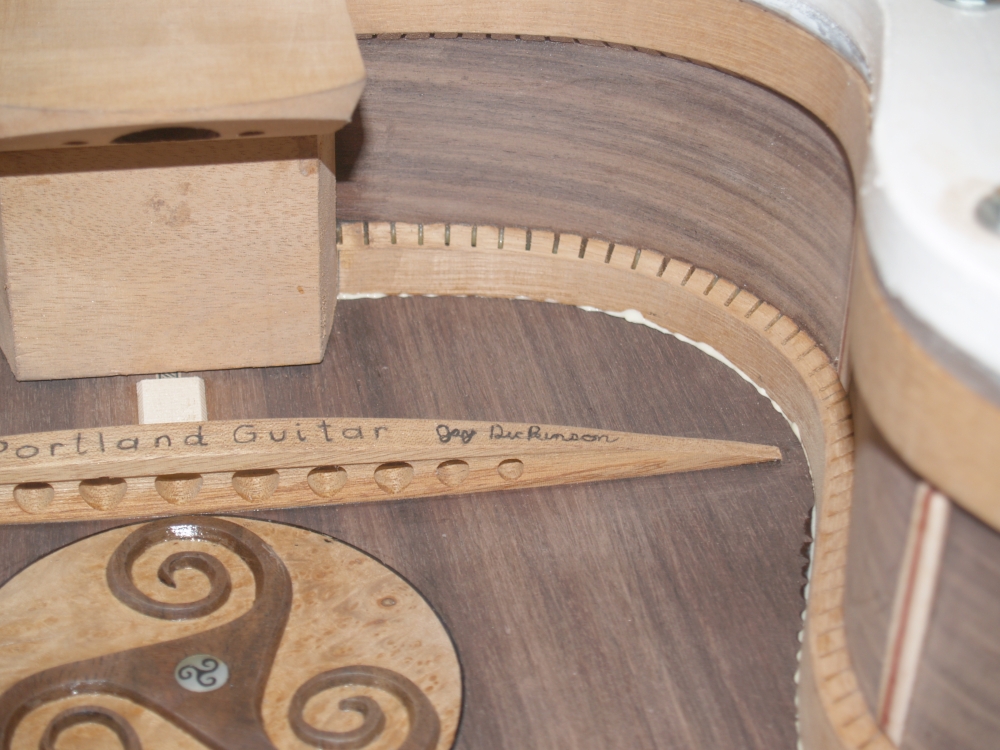
of squeeze out. |
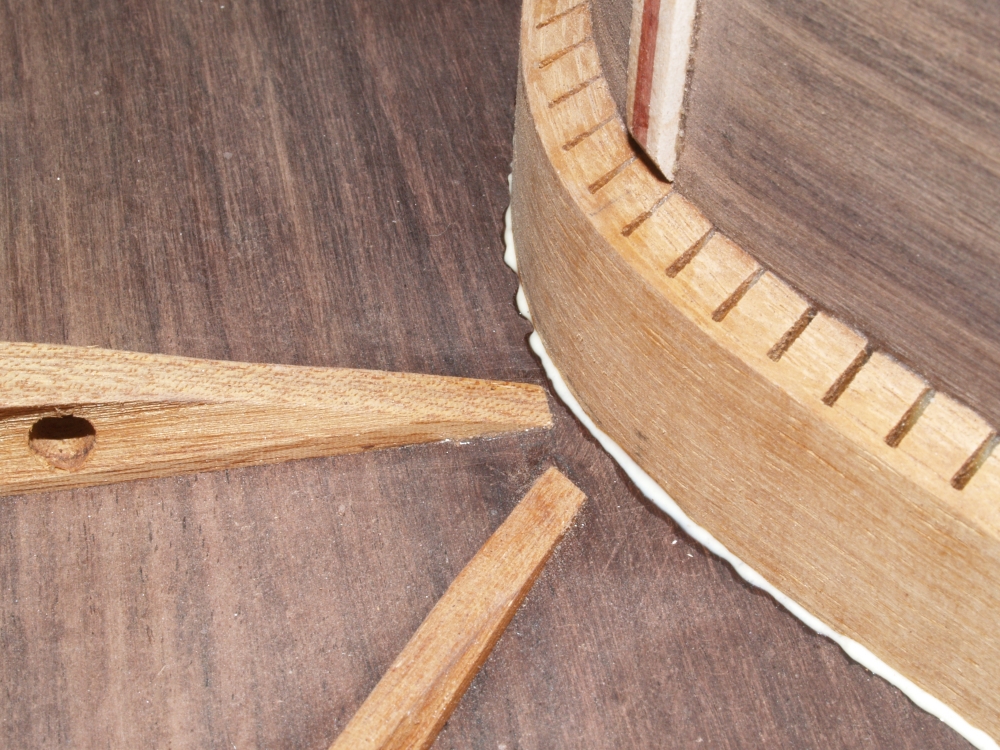
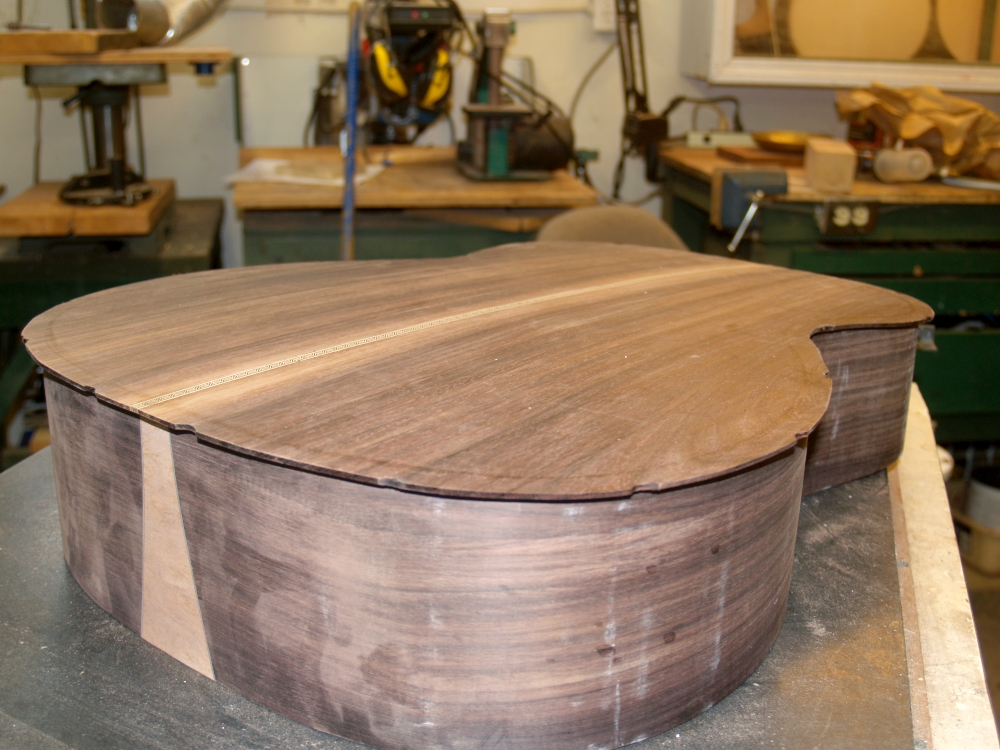 |
(93) 13 Aug, 2009
The back is glued on. |
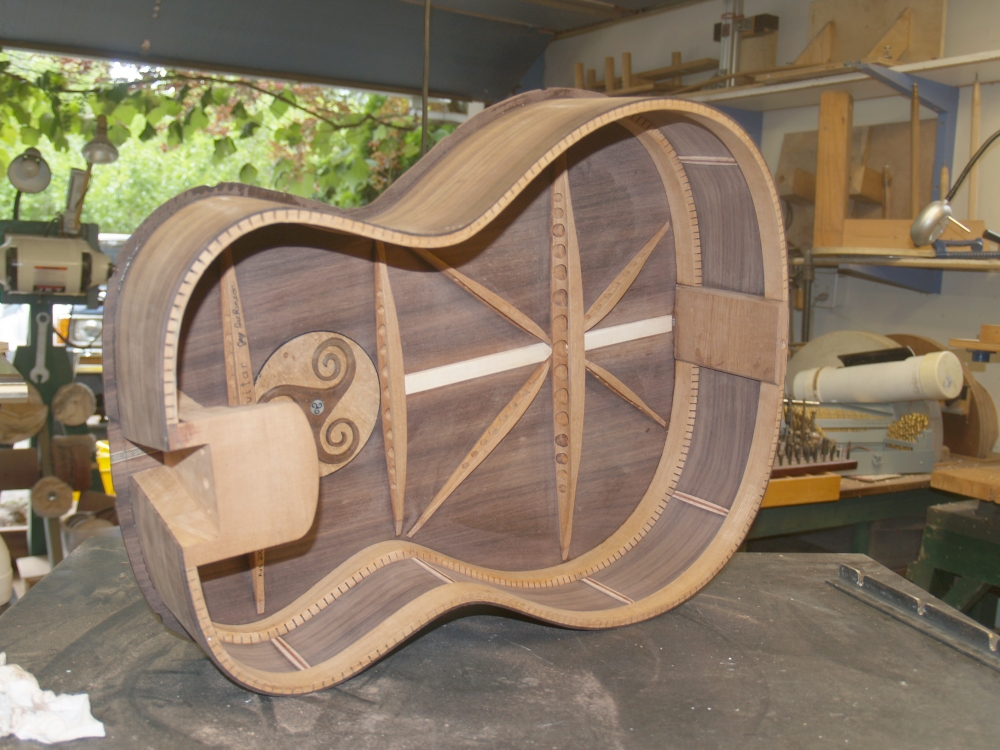 |
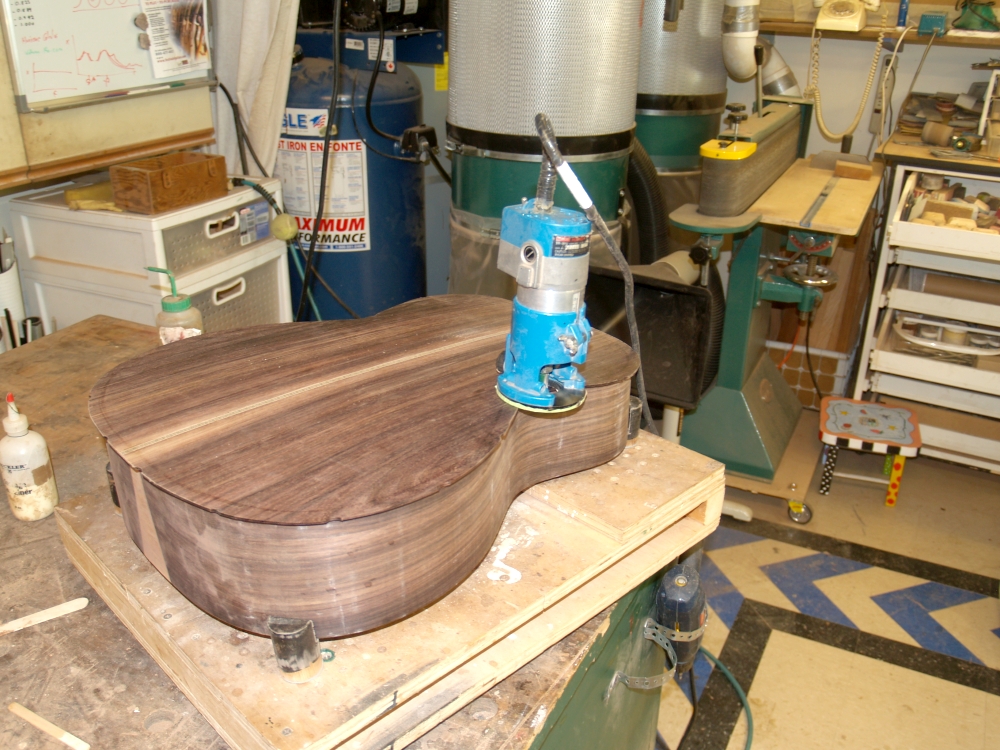
(94) 13 Aug, 2009
A picture of the inside of the guitar. |
 |
(95) 13 Aug, 2009
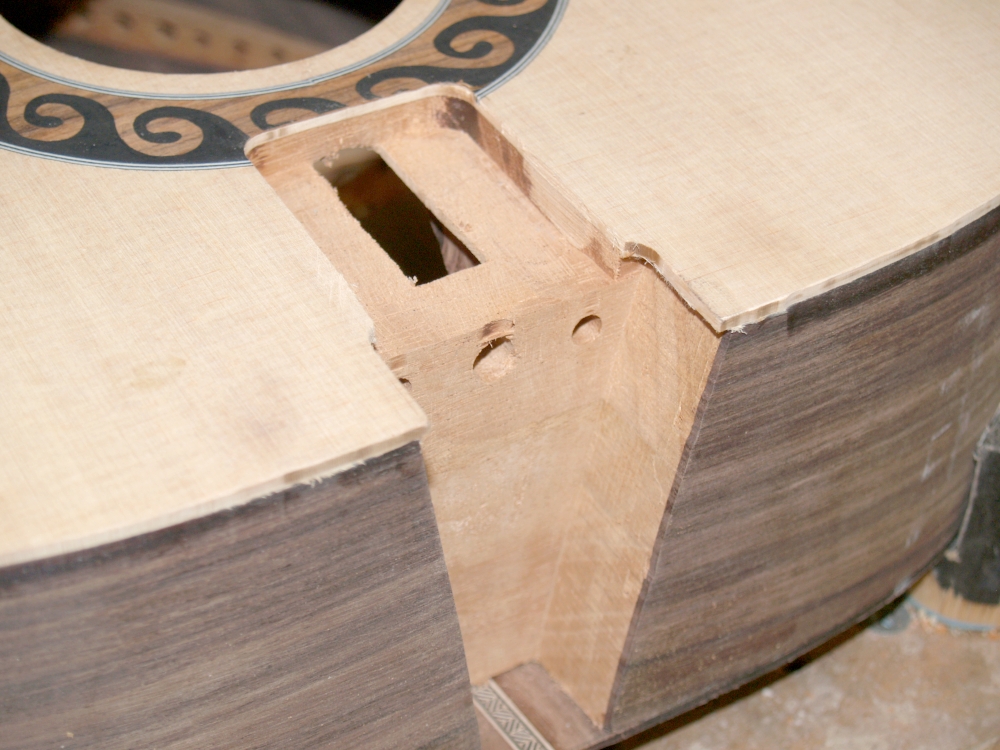
In this picture I am preparing to trim off the excess portion of the
back using my trim router. |
 |
(96) 13 Aug, 2009
Now I follow the same procedure I used to glue the back on to glue the
top on to the sides. |
 |
(97) 13 Aug, 2009
A picture of the over lap. I leave this excess on the top and
back because wood has a tendency to wander a bit. The excess
insures that I always get a good match of the back and top to the
sides. |
 |
(98) 13 Aug, 2009
Preparing to trim off the excess from the top. |
 |
(99) 13 Aug, 2009
In this picture I am using a routing jig to create a channel in the top
of the guitar between the sound hole and the front of the guitar to
accommodate the hardware that supports the cantilevered section of the
fretboard. There are two quarter inch steel rods that support the
fretboard that need to have space. |
 |
(100) 13 Aug, 2009
Here we see the cantilever channel that has been routed out of the top.
You can also see the center holes that will accept the main
attachment bolt, and the two side holes that will be used for the set
screws that will control the intonation and yaw adjustments. You
can also see in this picture that the top over hangs the heal channel
by about an eighth of an inch, The neck will have two channels
that these overhangs will slide into. This arrangement helps to
hide the gaps that are created because the neck's heal floats in the
heal channel. |
 |
(101)
13 Aug, 2009
And here we get a picture of the body of the guitar.
|


