|
(16) 9 July, 2009
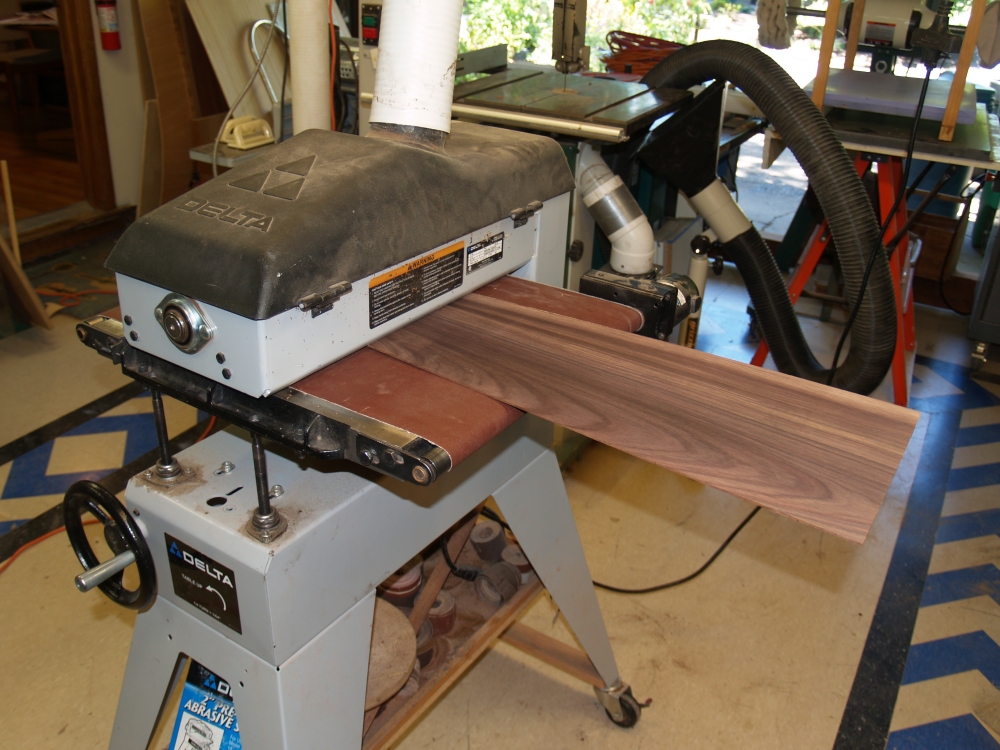
Now I am starting to build the guitar. The first thing to do is
to dimension the back pieces to about 115 mils thick using a drum
sander. |
|
(17) 9 July, 2009
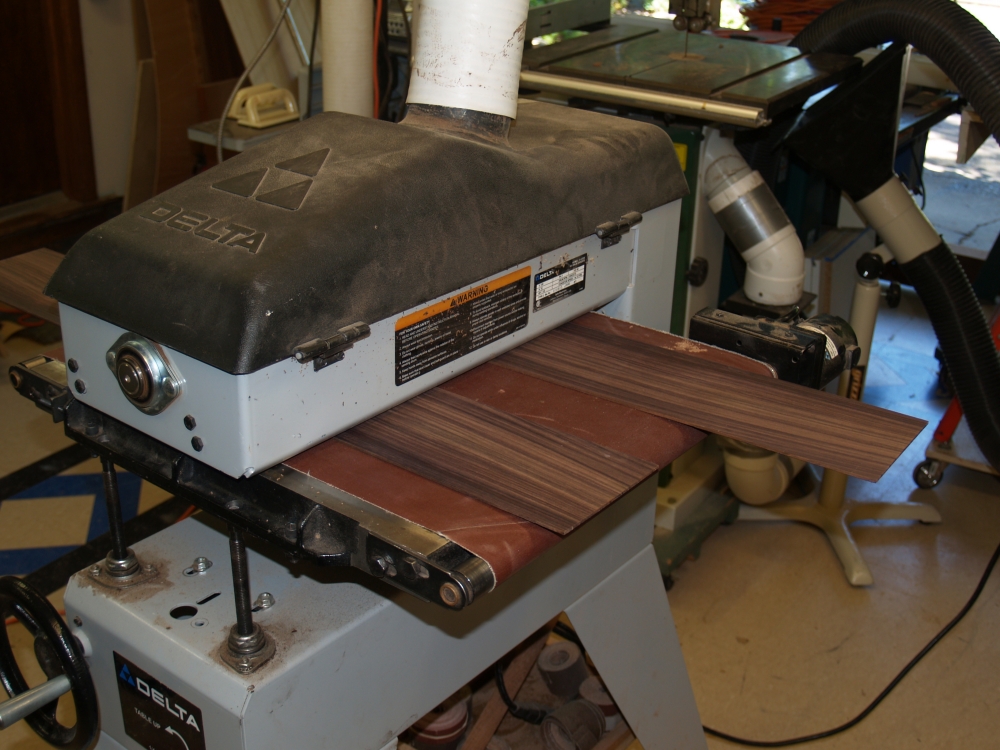
I do the same for the side pieces. |
|
(18) 9 July, 2009
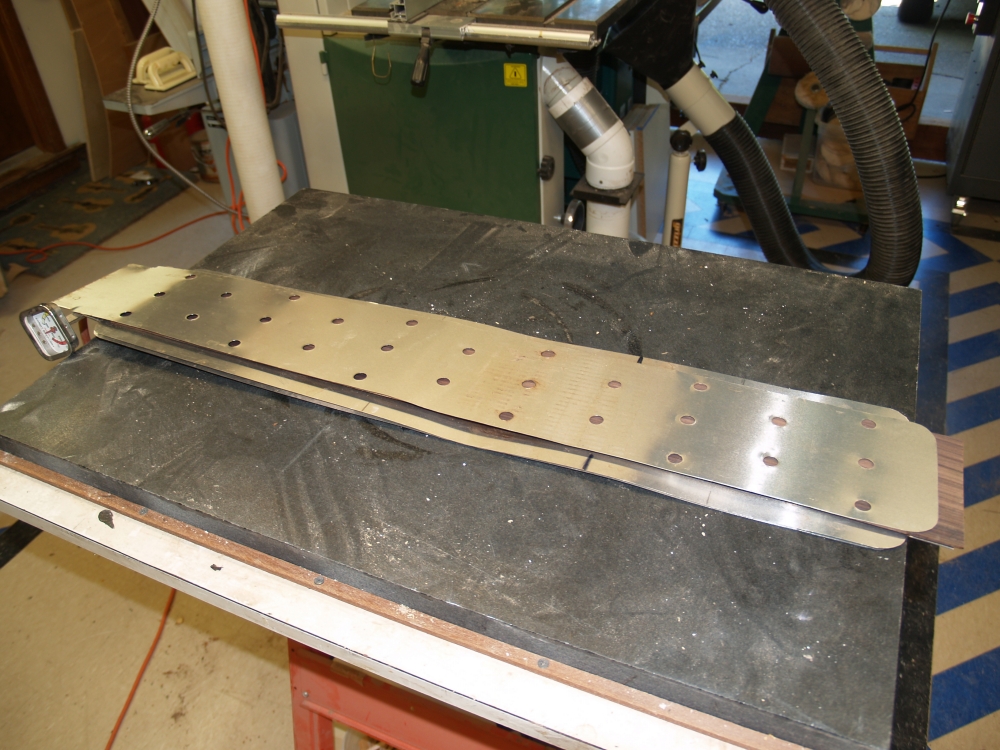
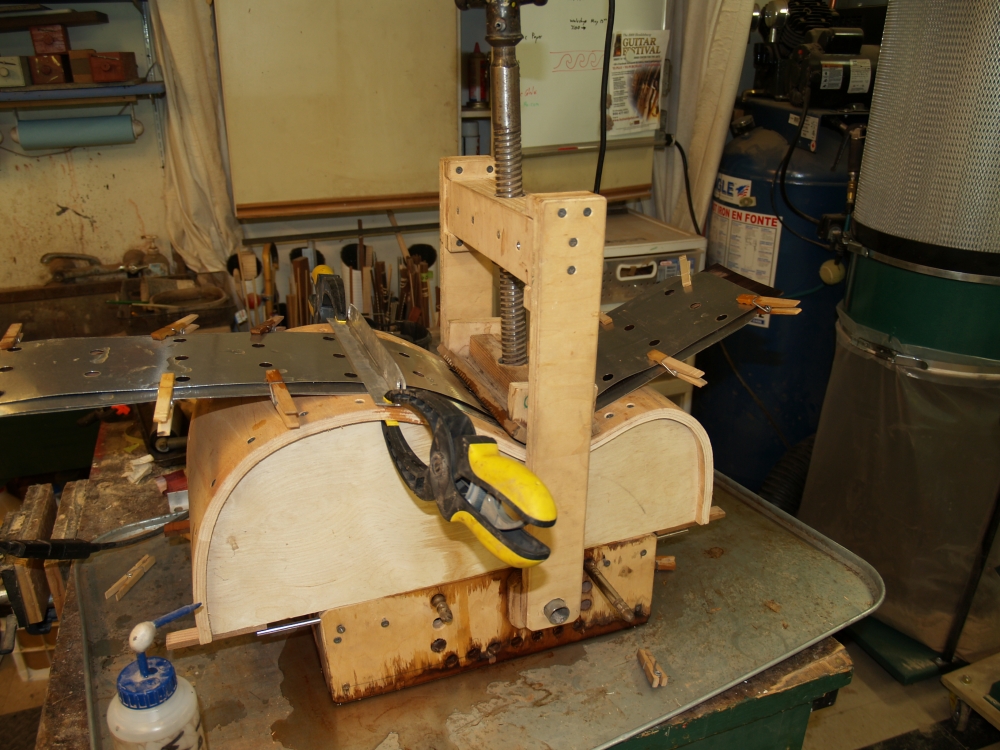
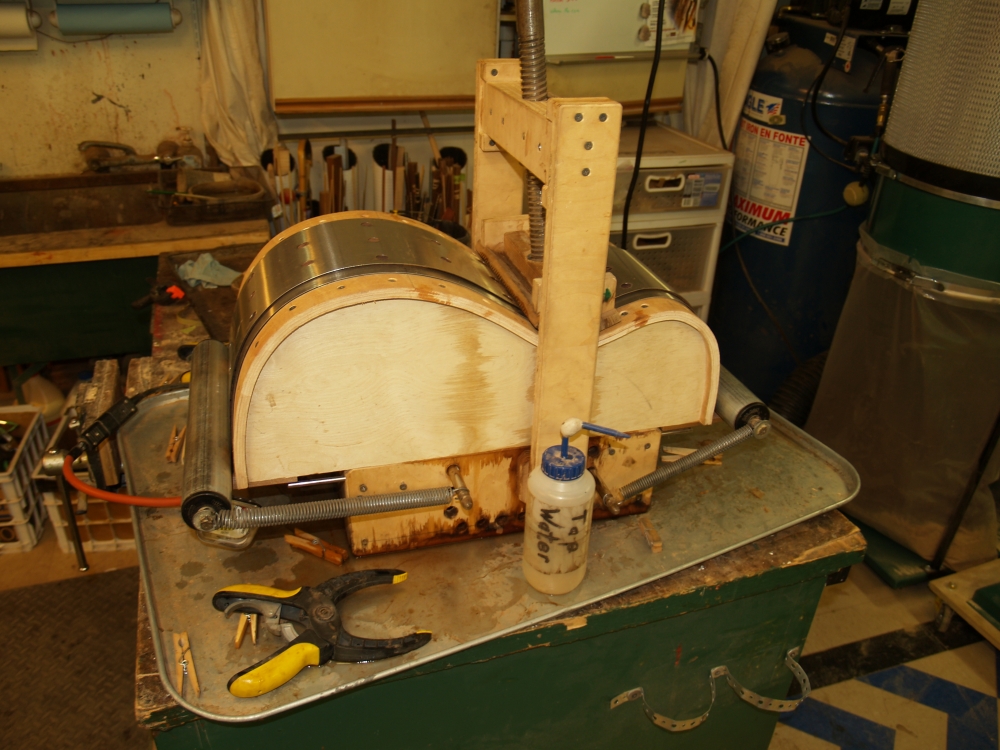
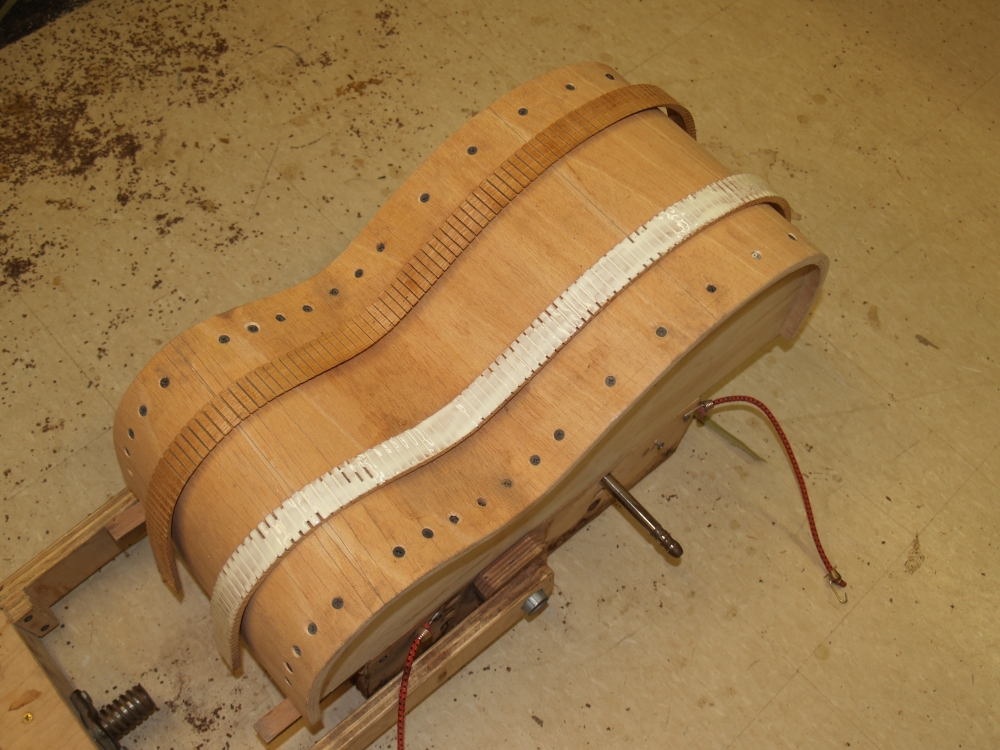
To bend the side pieces I will use a bending machine. The sides
are sandwiched into this heating blanket. made of a heating element and
aluminum flashing. |
|
(19) 9 July, 2009
The holes in the top let me squirt water on the wood as it is heated.
This prevents the wood from burning and helps with heat transfer. |
|
(20) 9 July, 2009
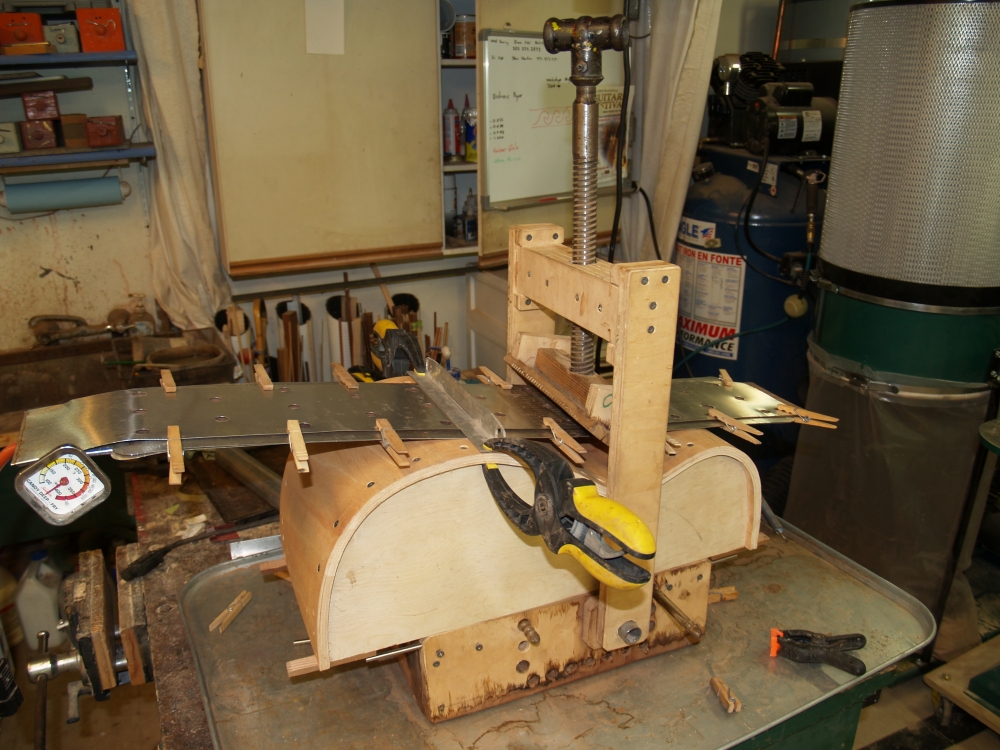
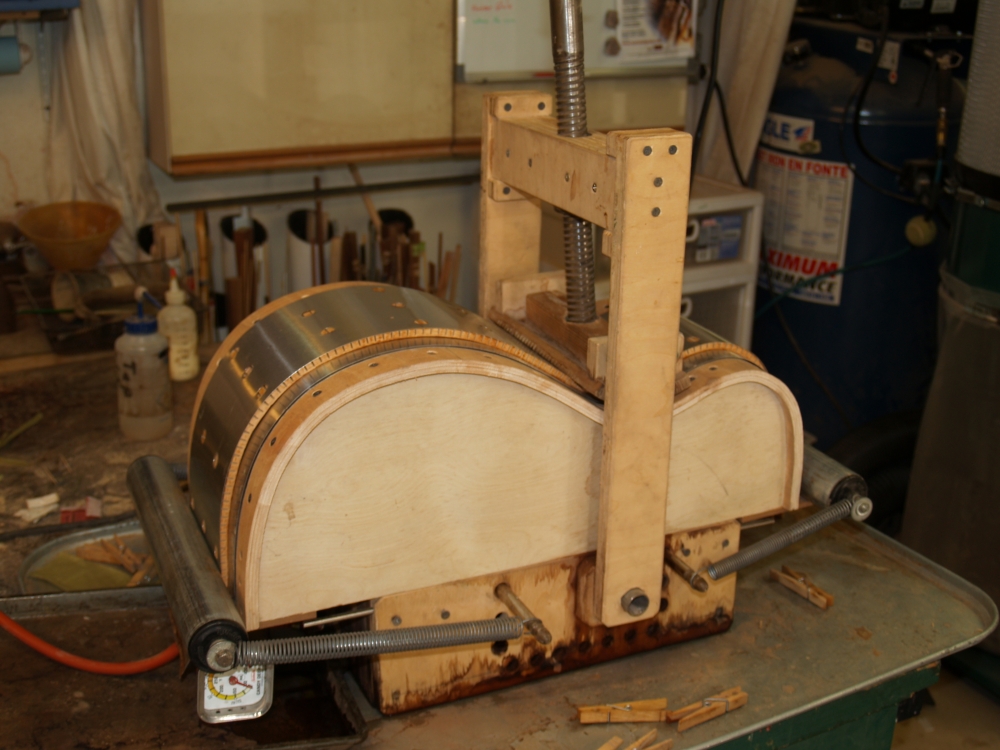
The sandwich goes into the press. |
|
(21) 9 July, 2009
The first operation presses the waist into shape. |
|
(22) 9 July, 2009
Then the upper bout is formed. |
|
(23) 9 July, 2009
And then the lower bout. |
|
(24) 9 July, 2009
After the sides are cooked in the press for a while they are taken out
and placeed into the side forms I built. |
|
(25) 9 July, 2009
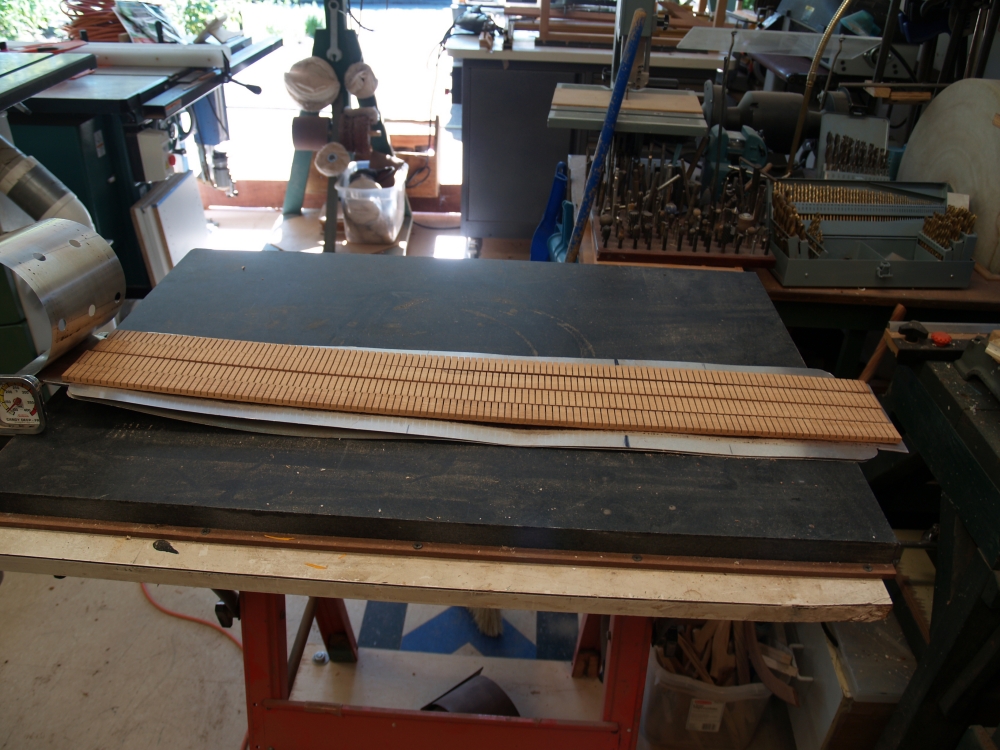
Previously I have made up my kerfing material and in this operation I
am putting a bevel on the top edge to improve its appearance. |
|
(26) 9 July, 2009
A look at the beveled kerfing. I use a reverse kerfing design,
i.e., solid strip on the out side, that makes for a very stiff
set of sides. |
|
(27) 9 July, 2009
The kerfing needs to be formed into the shape of the sides so they go
into the heating blanket. |
|
(28) 9 July, 2009
And the kerfing is shaped in the Universal Bendalator. |
|
(29) 9 July, 2009
Her I am trimming the side pieces to a rough approximation of the
side shape. |
|
(30) 9 July, 2009
Glue goes on the inside part of the kerfing. |
|
(31) 9 July, 2009
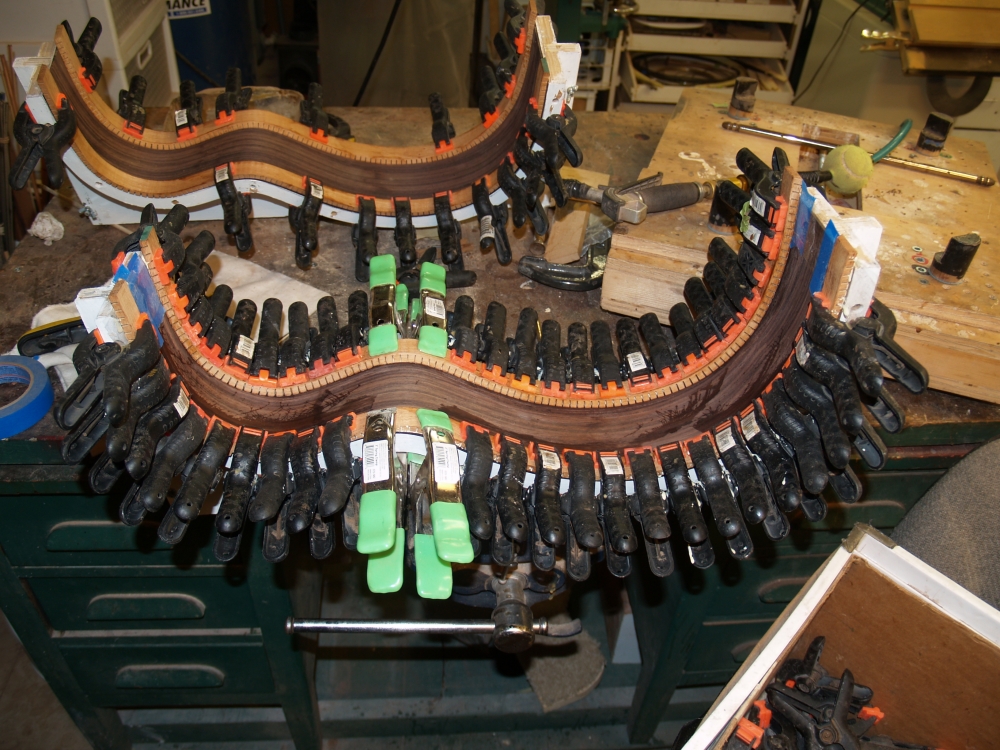
And the kerfing is clamped onto the side in the mold. This
technique insures that the side takes on the shape of the form and is
fixed in that shape by the kerfing. I have many clamps. |
|
(32) 9 July, 2009
Here we se e the sides after they are dried. |
|
(33) 9 July, 2009
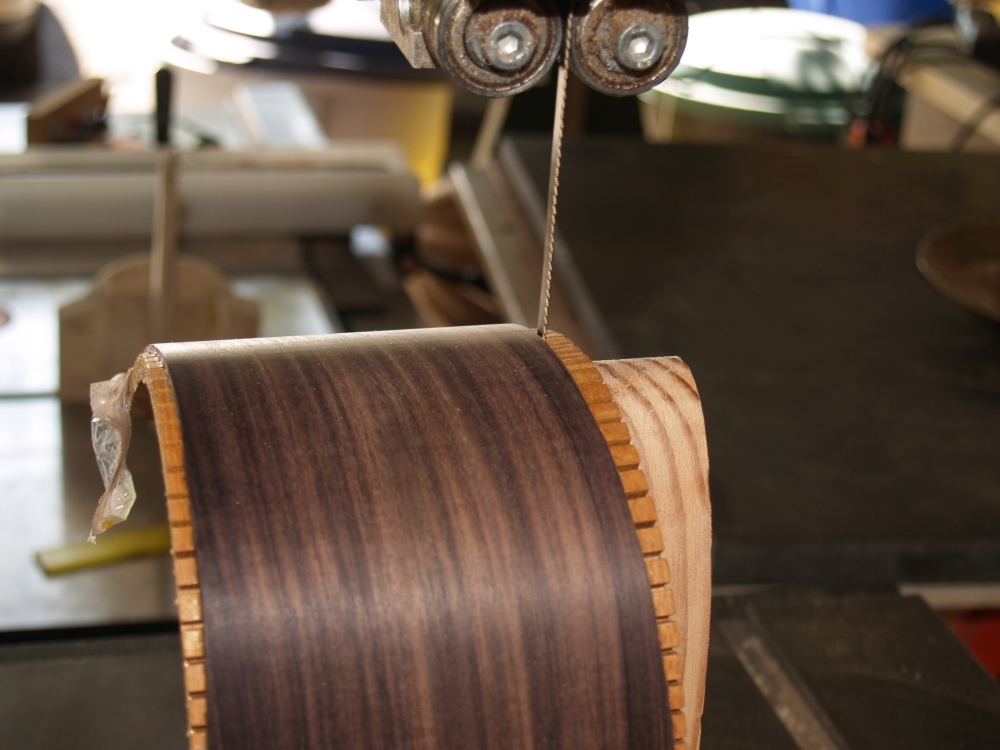
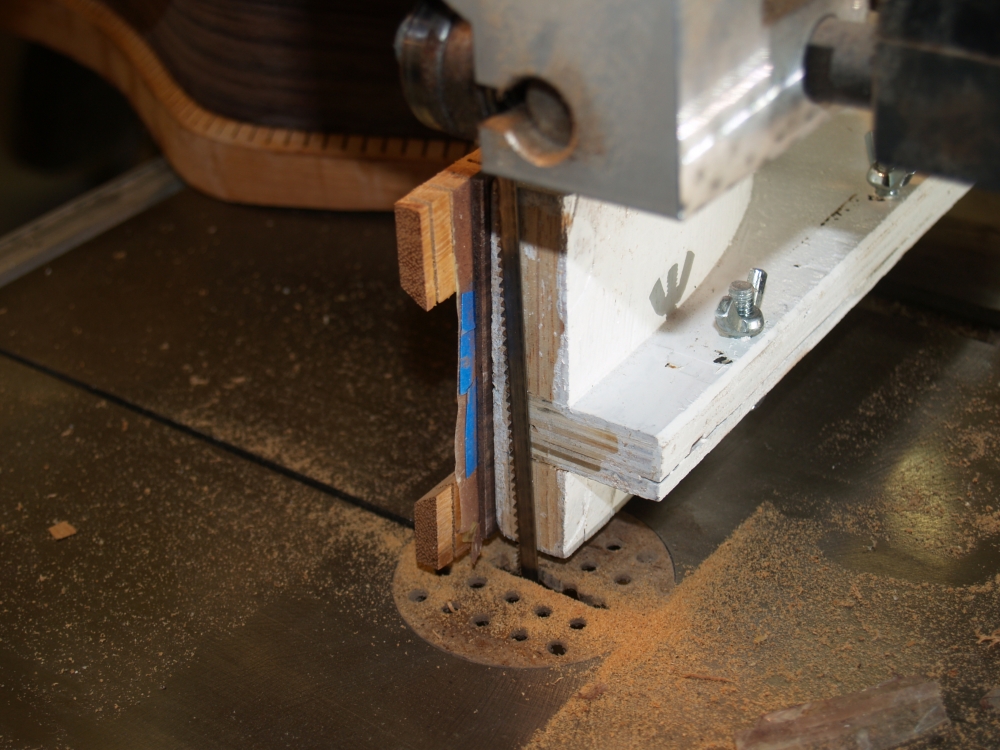
The bottom and top are in the shape of a bowl so th the sides are not
straight . The kerfing is straight though so there is some overhang
that needs to be trimmed off. |
|
(34) 9 July, 2009
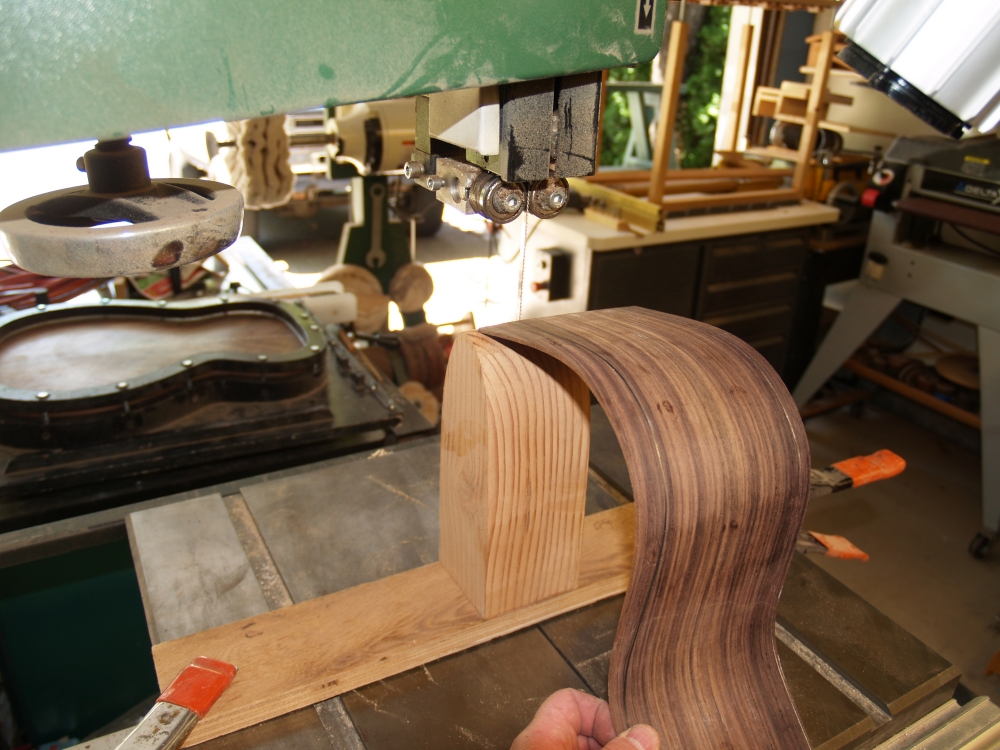
I sand the sides smooth at this point removing any waviness that the
wood has taken on in the bending process. |
|
(35) 9 July, 2009
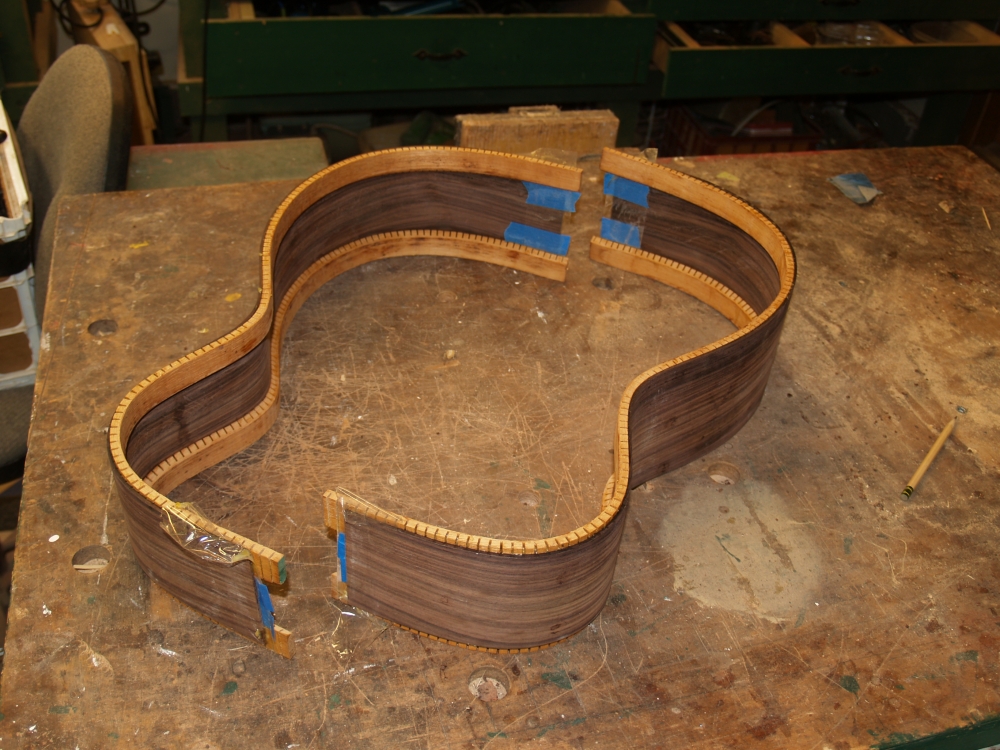
The ends of the sides get trimmed off. |
|
(36) 9 July, 2009
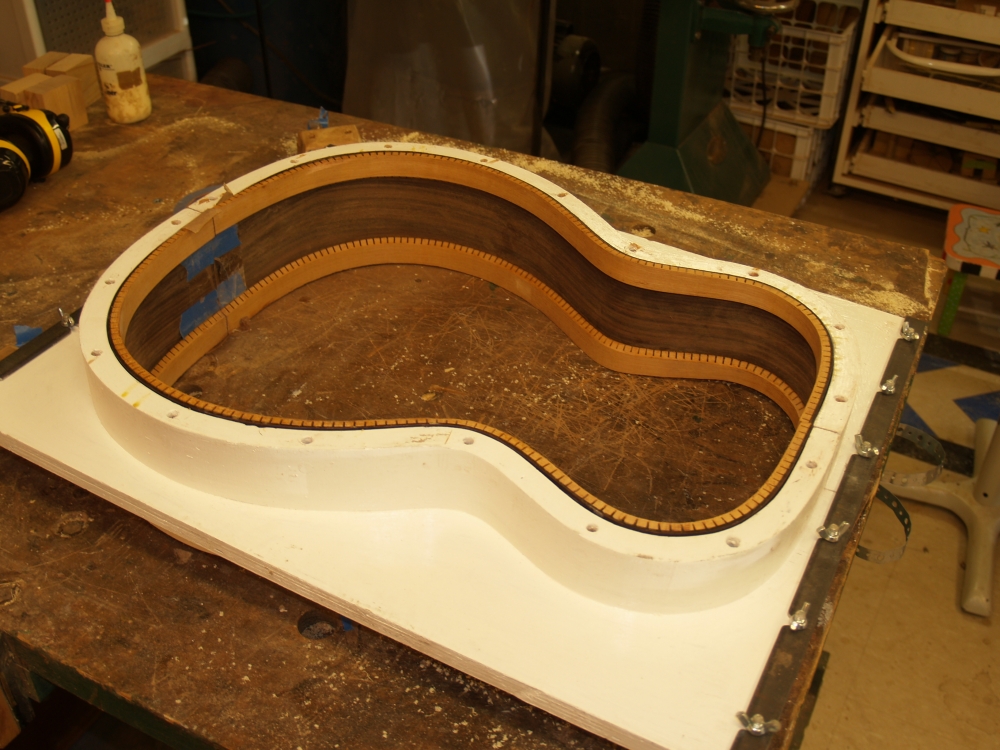
And the sides fit into the mold. |
|
(37)
9 July, 2009
Next up is to glue the two halves of the back together with a center
strip in the joining machine. I have prepared the edges of the
back to be straight and perpendicular so that when they are joined
there are no gaps. This machine uses wedges to press the pieces
together and the top is prevented from bending up with the cross beams. |