 ( 205 ) 25-March-2012
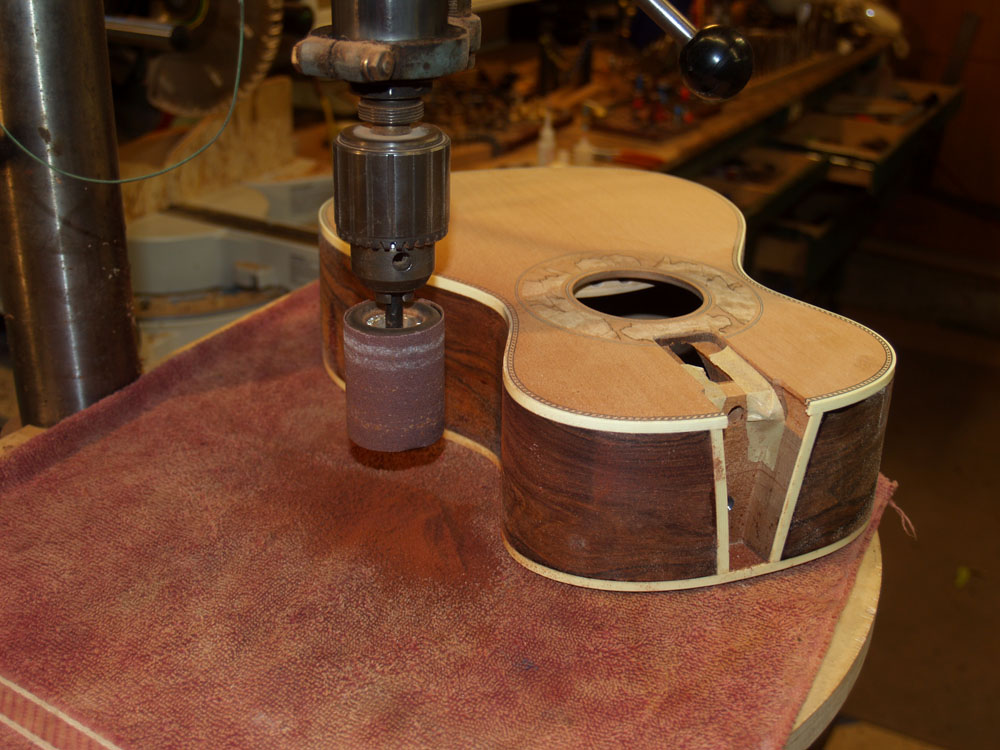
I am using my drill press and a pneumatic drum sander to prepare the sides for the binding.
 ( 205 ) 25-March-2012
I am using my drill press and a pneumatic drum sander to prepare the sides for the binding.
 ( 206 ) 25-March-2012
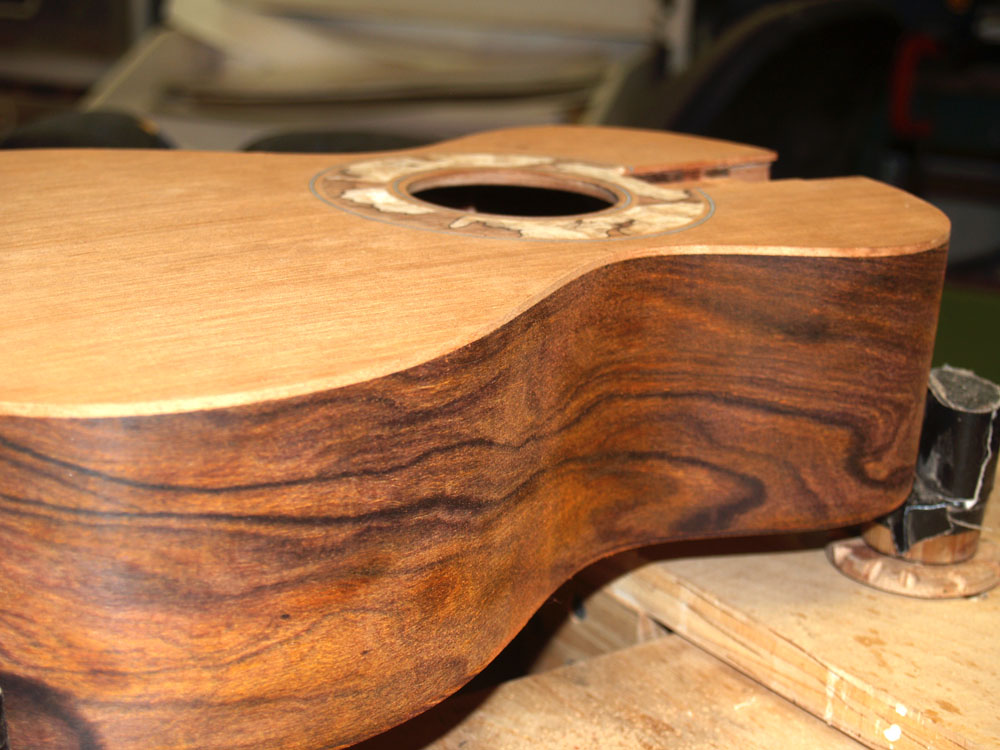
This set of Cocobolo looks wonderful when it is freshly sanded.
 ( 207 ) 25-March-2012
I use a palm orbital sander to prep the top plate. I sand the edges of the top to about 60 mils thickness. The idea here is to allow the top to vibrate more freely.
 ( 208 ) 25-March-2012
I use this tool I call a Universal Bindalator to route the channels for the binding and purfling. This tool holds the router parallel to the sides while allowing it to move freely around the perimeter.
 ( 209 ) 25-March-2012
Description
I can easily set the depth and width of each channel with the guide wheel and platen.
 ( 210 ) 25-March-2012
Here is the channel set and the binding and purfling.
 ( 211 ) 25-March-2012
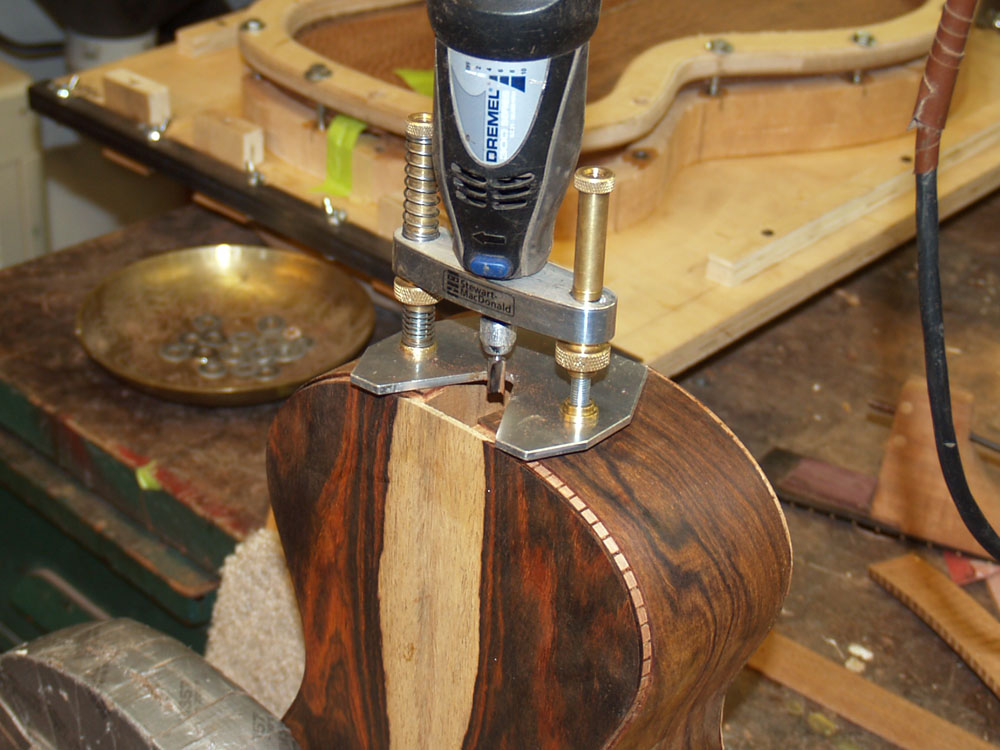
When installing the binding I start with the frame for the heel of the neck. The heel of the neck slides against this binding, so I want a good fit with an even and minimal gap between the binding and heel. Here I am marking the width of the channel I will route out.
 ( 212 ) 25-March-2012
I use my small Dremel router to create this channel.
 ( 213 ) 25-March-2012
Here you can see the two channels around the heel of the neck.
 ( 214 ) 25-March-2012
And here is the installed binding.
 ( 215 ) 25-March-2012
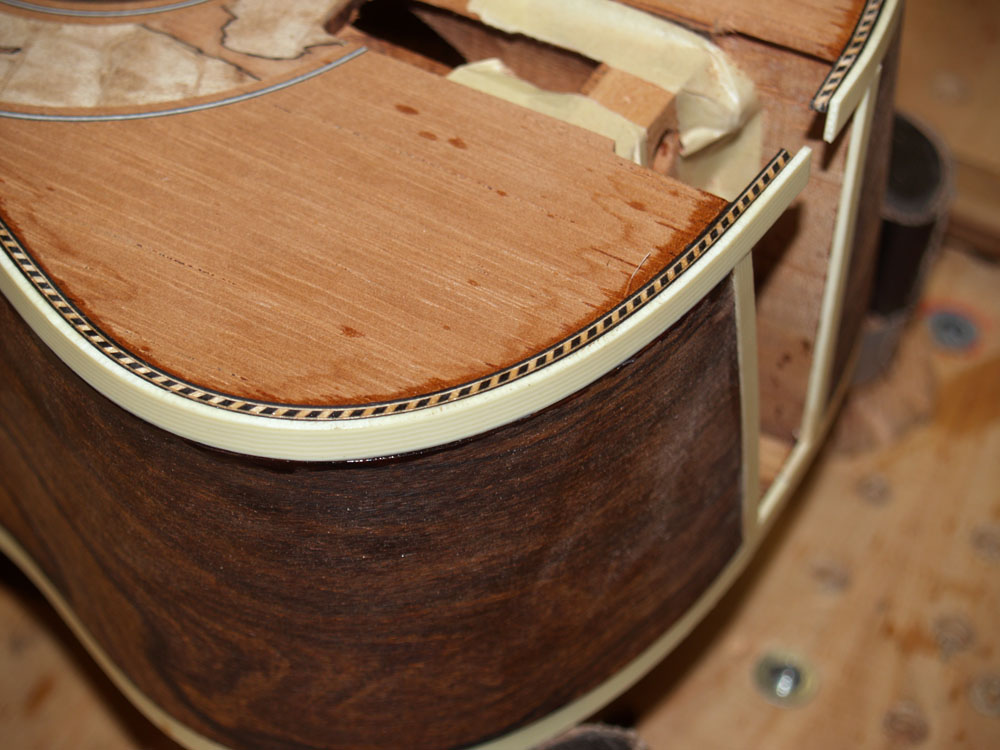
Now I glue the binding and purfling in place. The is a slow and tedious task as I go inch by inch making sure everything fits perfectly.
 ( 216 ) 25-March-2012
And here is the end result before it sanded level.
 ( 217 ) 25-March-2012
When I install the binding I leave it proud of the top and inset in the sides. Here I am sanding the binding level with the top.
 ( 218 ) 25-March-2012
And I use the pneumatic drum sander to sand the sides even with the binding.
 ( 219 ) 25-March-2012
Before I apply the finish I dress the frets, rounding over the ends of each fret and leveling out the top surface. I want to make sure there aren't any high or low spots on the set of frets.
 ( 220 ) 25-March-2012
I have created this special tool to sand the end of the heel parallel to the surface of the back.
 ( 221 ) 25-March-2012
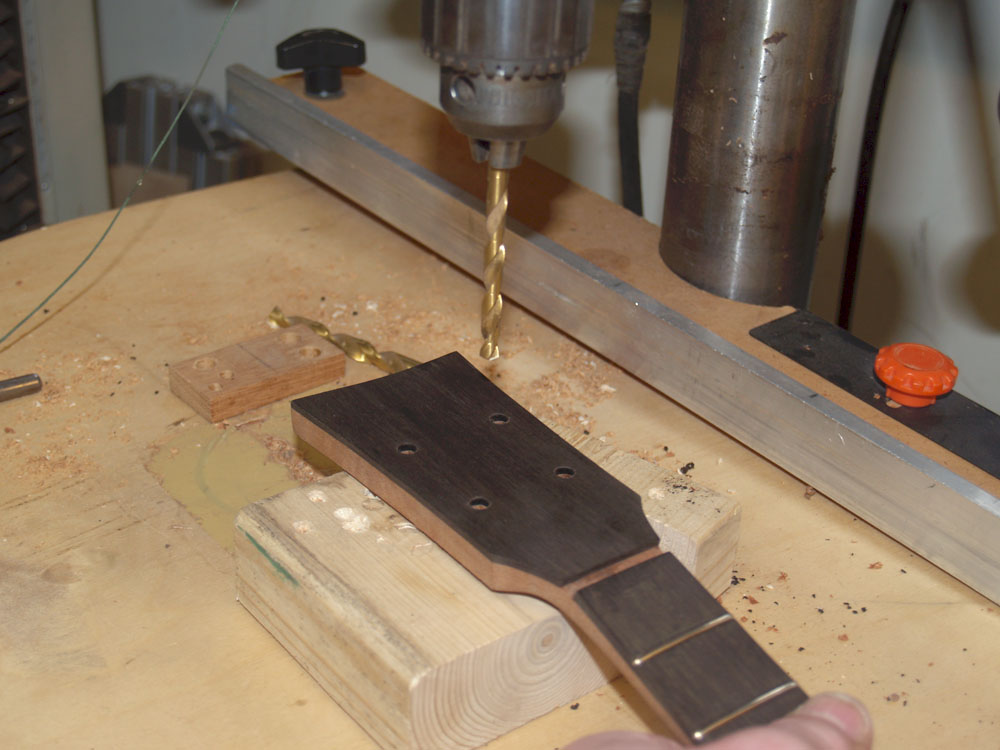
Now it is time to drill the holes for the tuning machines.
 ( 222 ) 25-March-2012
Here I am using a printout of the rose to draw an outline of it on the head plate. I position the cartoon and then poke small holes through with a T-pin. Michelangelo used this technique to trace the outlines on the Cystine Chapel... clever fellow.
 ( 223 ) 25-March-2012
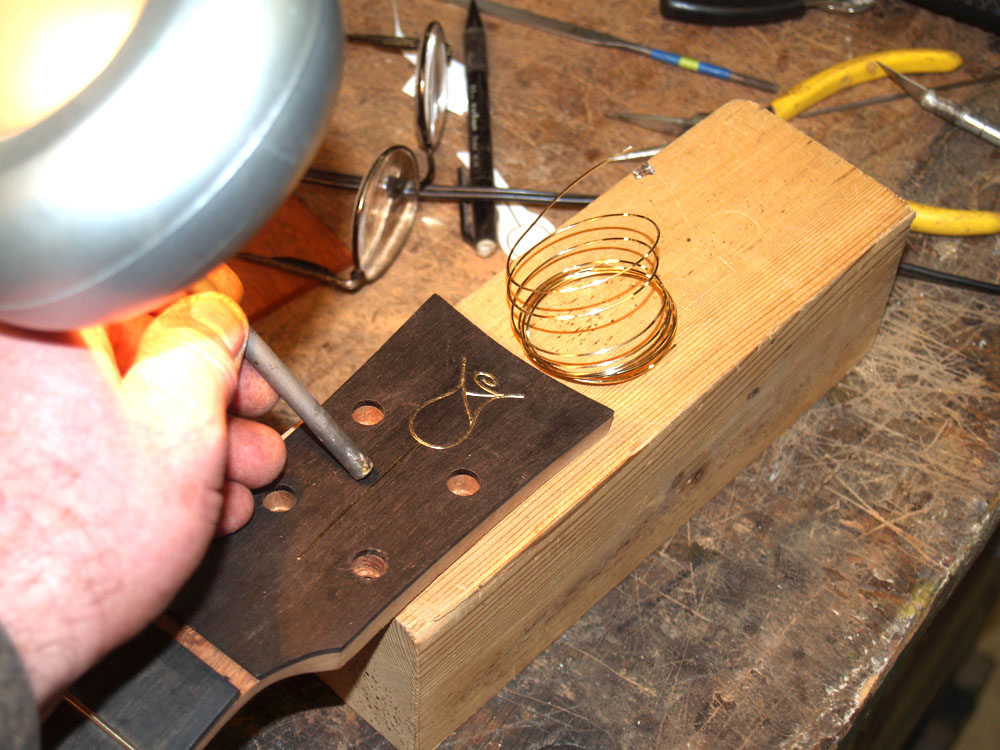
Then I use my small router to create a channel for the gold wire.
 ( 224 ) 25-March-2012
I carefully press the gold wire into the channel.
 ( 225 ) 25-March-2012
And after a bit of sanding to level everything out we have the signature Portland Guitar Rose.
 ( 226 ) 25-March-2012
Another detail is to install the side dots.
 ( 227 ) 25-March-2012
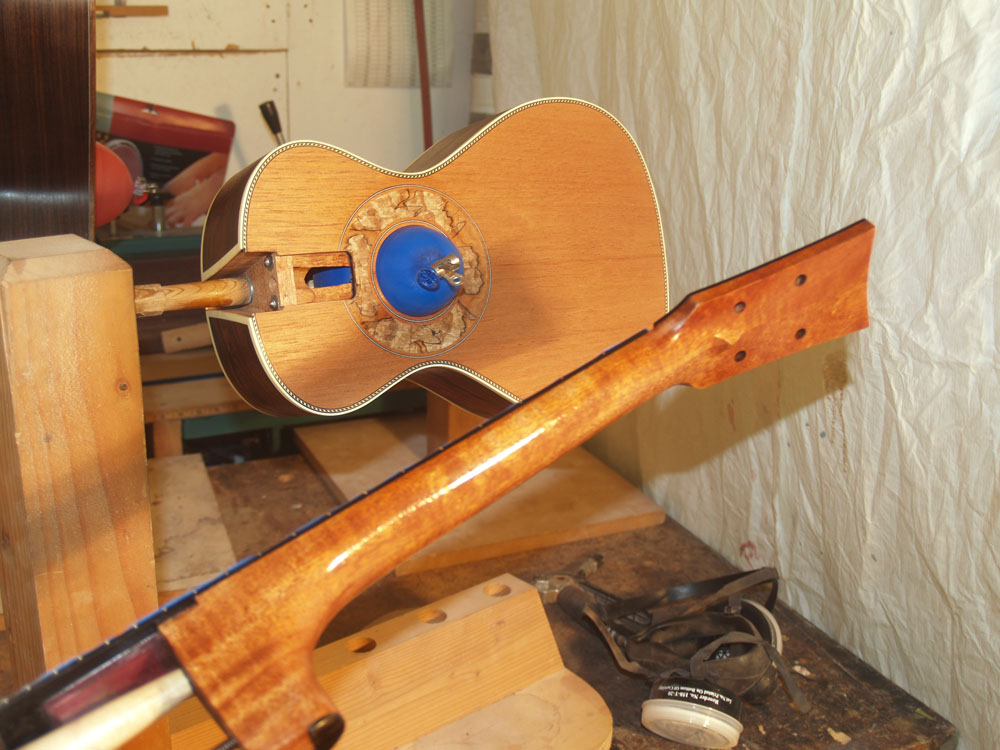
And now we are ready to apply the lacquer. I use a little balloon to keep the over spray from getting inside the box.
 ( 228 ) 25-March-2012
Her is a look at the back.
 ( 229 ) 25-March-2012
After the lacquer has dried I am ready to make the bridge. I first need to sand the bottom of the bridge blank to fit the curve of the top. I cover the top with a piece of sandpaper and sand the bottom of the bridge blank until it makes a perfect fit.
 ( 230 ) 25-March-2012
A bit of touch up to make sure the bridge has the right shape.
 ( 231 ) 25-March-2012
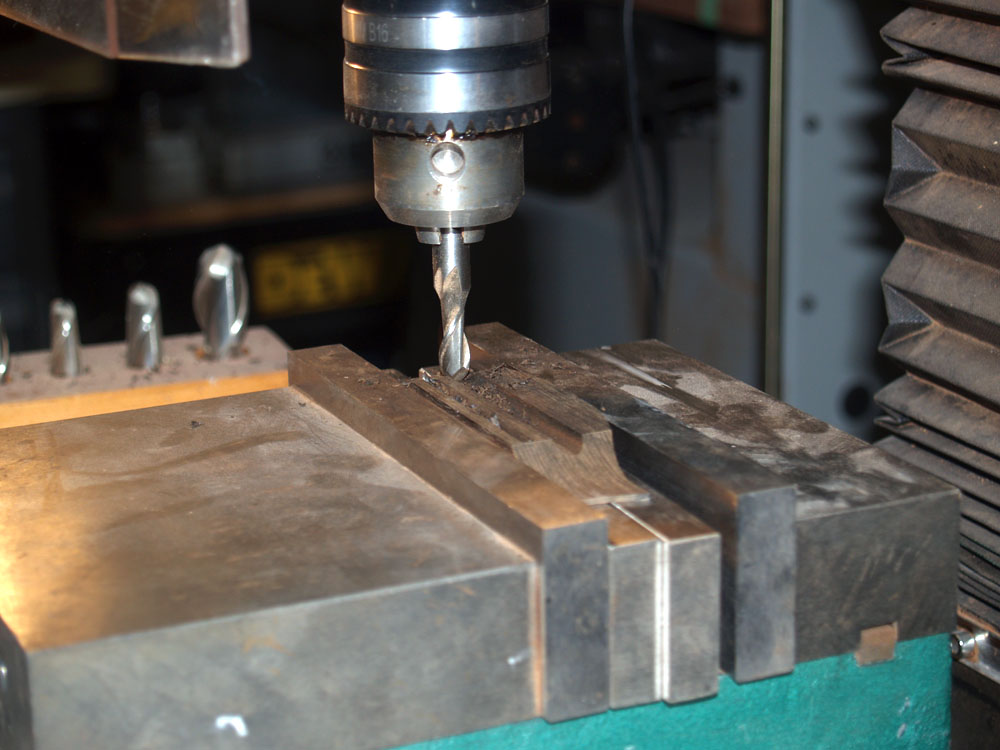
I use my milling machine to route out the channel for the bone saddle.
 ( 232 ) 25-March-2012
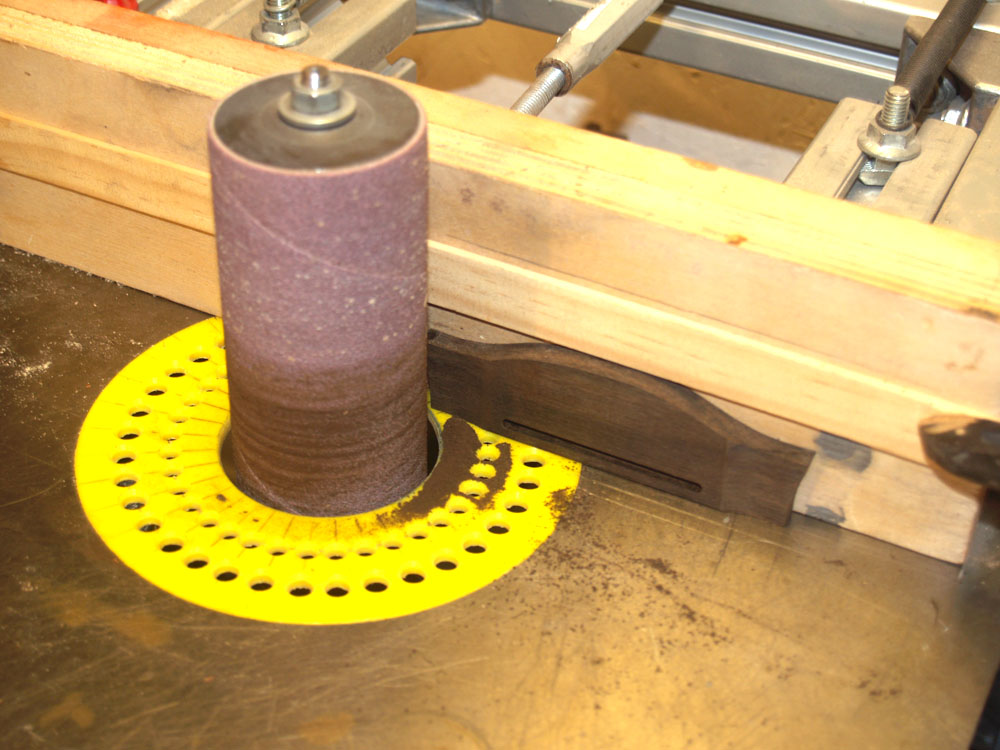
And then I use my oscillating sander and an adjustable platen to sand the wings into the bridge blank.
 ( 233 ) 25-March-2012
Next I use the milling machine to route out the tie end block.
 ( 234 ) 25-March-2012
Four small holes get drilled in the tie end block for the strings.
 ( 235 ) 25-March-2012
And a bit of sanding finishes up the bridge.
 ( 236 ) 25-March-2012
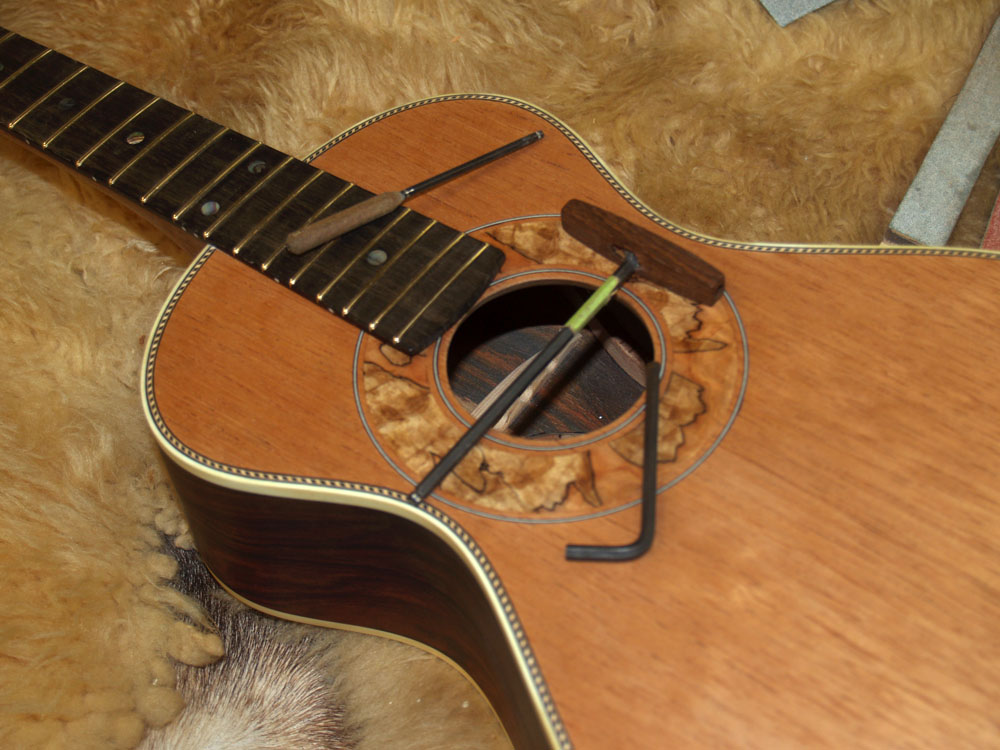
Now I attach the neck to the body and align it with the center line of the ukulele.
 ( 237 ) 25-March-2012
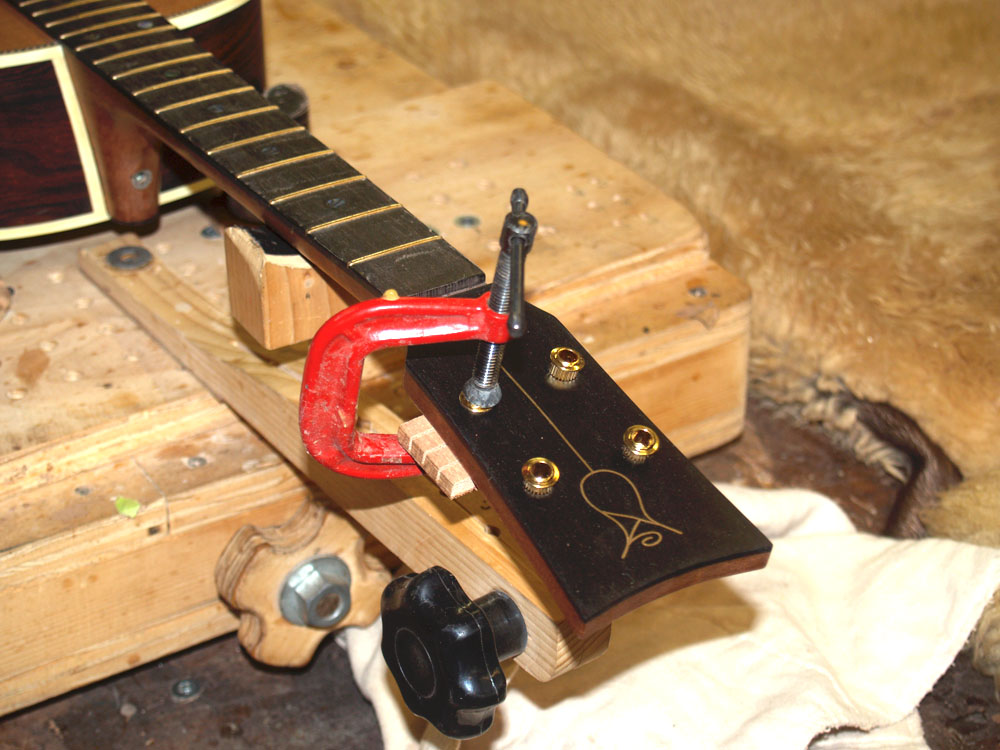
I use a small C-clamp to press the bushings for the tuning machines into place.
 ( 238 ) 25-March-2012
And after carefully aligning the tuning machines I screw them into place.
 ( 239 ) 25-March-2012
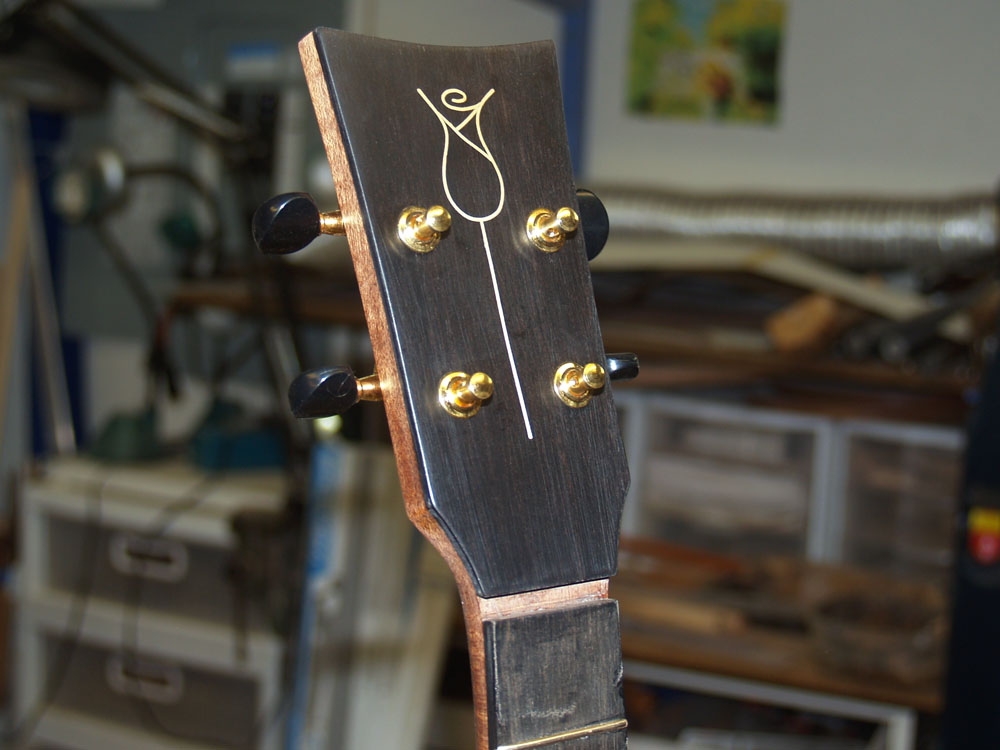
The head stock with the tuning machines installed.
 ( 240 ) 25-March-2012
I have a set of special files to create the string slots in the nut blank.
 ( 241 ) 25-March-2012
And now I am ready to position the bridge for correct intonation. I use a special tail piece that allows me to string up the ukulele without gluing the bridge in place. This allows me to move the bridge around and find the position where the strings are properly intonated.
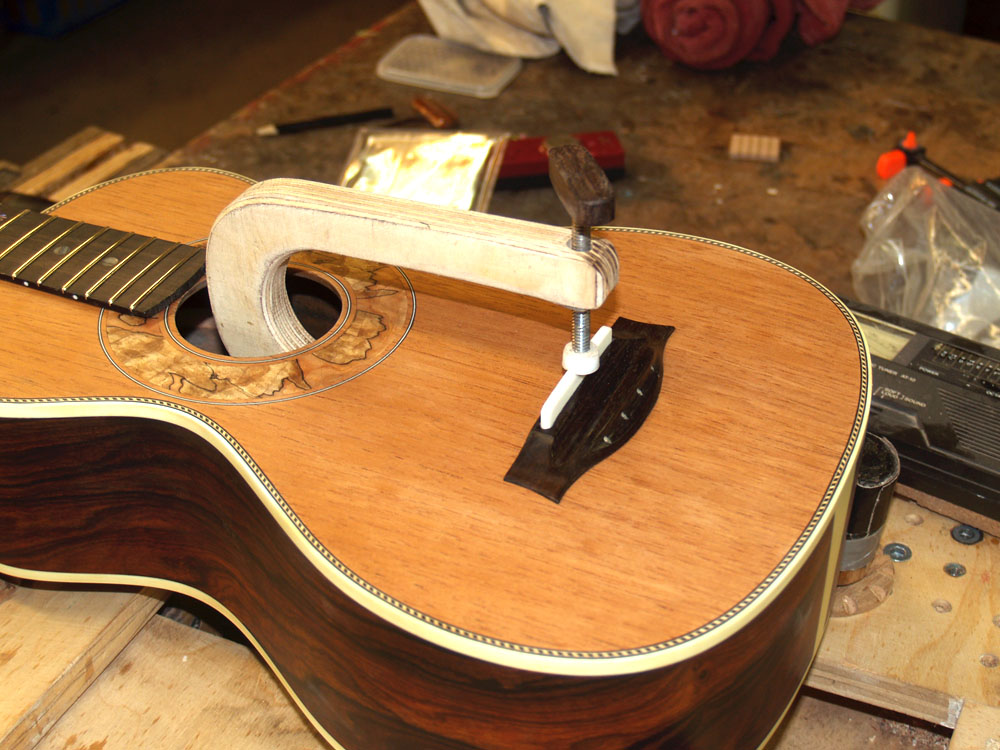 ( 242 ) 25-March-2012
After finding the proper position I use this special C-clamp to hold the bridge down.
 ( 243 ) 25-March-2012
And I carefully scribe the outline of the bridge into the top.
 ( 244 ) 25-March-2012
Now I can carefully sand away the area of the top where the bridge will get glued. I want to make a wood to wood connection as it is difficult to make a good glue joint on the lacquer.
 ( 245 ) 25-March-2012
To prevent the bridge from sliding around as I press it into place when gluing I use four small block. The glue is quite slippery until it sets.
 ( 246 ) 25-March-2012
I apply glue to the bottom of the bridge and then press it into place with the C-clamp. You can see the squeeze out around the perimeter of the bridge. I use a liberal amount of water to clean this up before going any further.
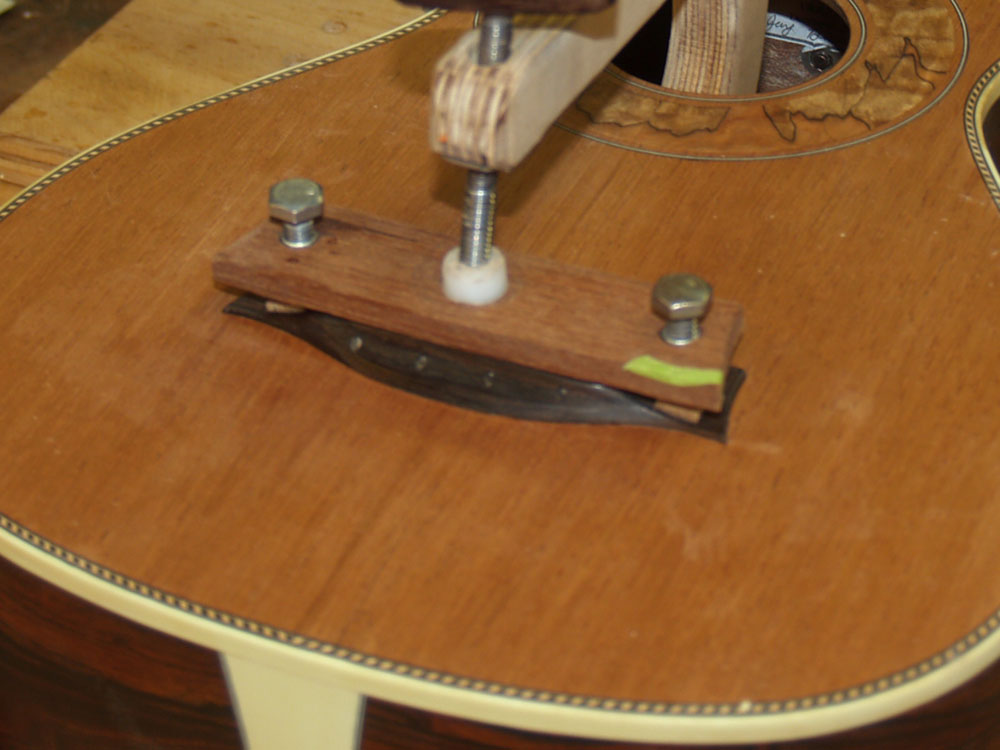 ( 247 ) 25-March-2012
After removing the positioning blocks I press the wings down with the wing bolts.
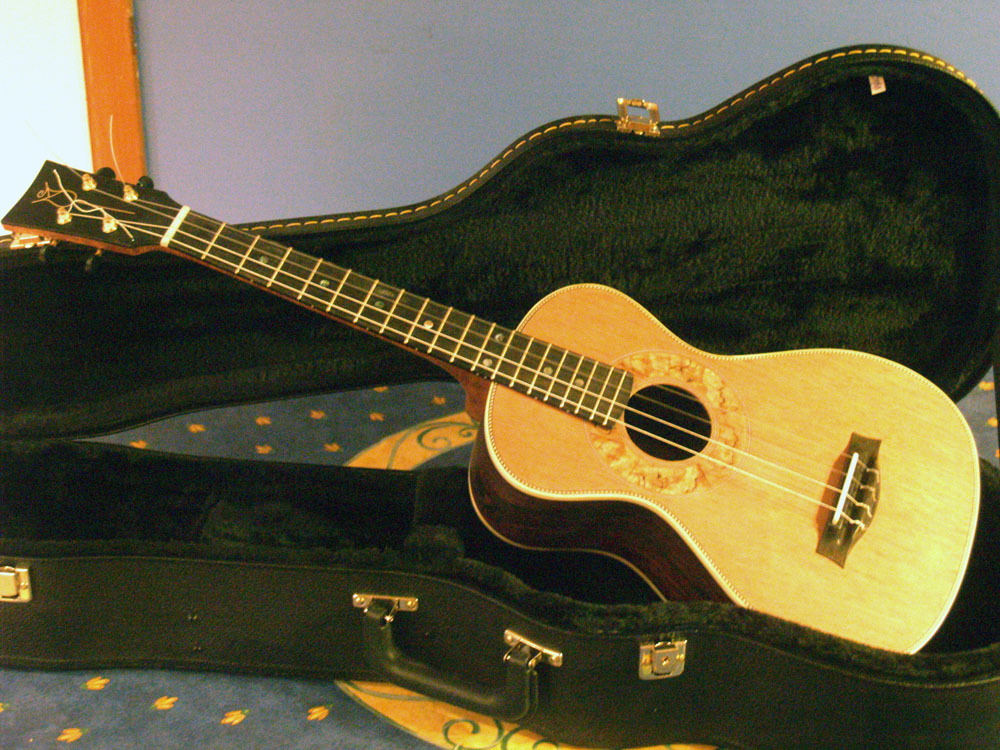 ( 248 ) 25-March-2012
I let the bridge cure over night and in the morning I string it up and after a few adjustments the ukulele is ready to be played. A few more details and the instrument will be finished.