 ( 166 ) 1-Feb-2012
Now the body is in shape I turn my attention back to the neck. Here I am using the table saw to trim the bottom of the neck's heel so that it will fit into the heel channel in the body of the ukulele.
 ( 166 ) 1-Feb-2012
Now the body is in shape I turn my attention back to the neck. Here I am using the table saw to trim the bottom of the neck's heel so that it will fit into the heel channel in the body of the ukulele.
 ( 167 ) 1-Feb-2012
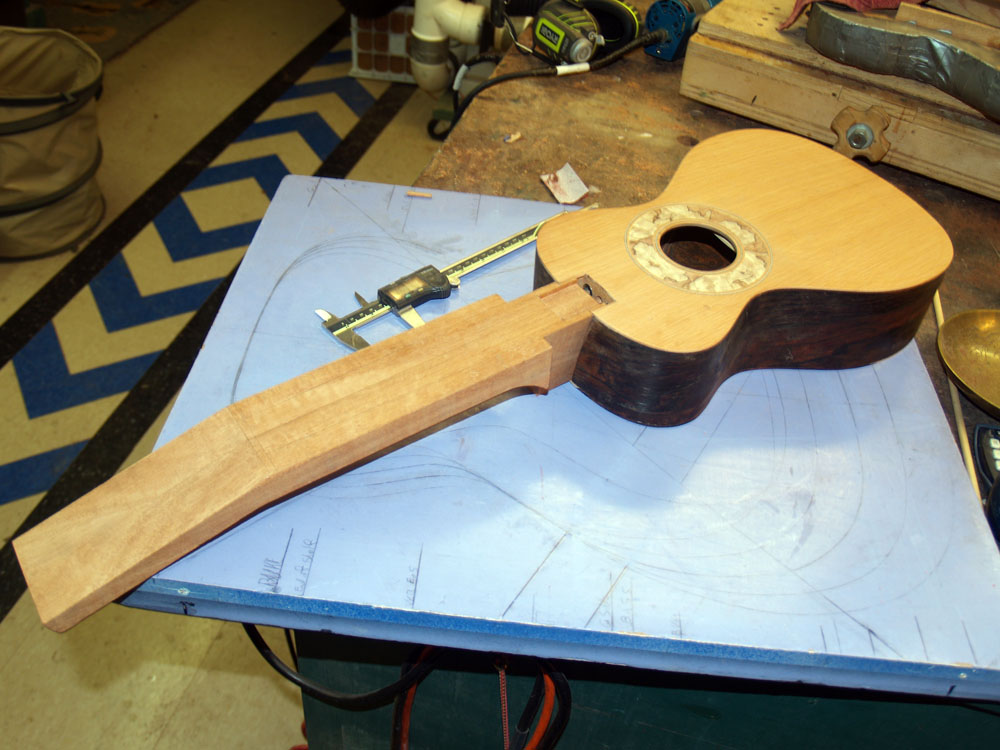
Here is the first time I have fit the neck blank to the body. When I was a kid building model aeroplanes I always liked to fit the wings onto the fuselage as soon as possible because then it would look like a plane and I could start to play with it. Unfortunately, when we build a ukulele using my methodology we don't get to hear how it will sound until the very end, although we do start to get a sense of how it will sound by tapping on the body after the top and back are glued to the rim. However, we can tap on the top and back before they are glued to the rim and there are some indications from these tap tones, but it is a far cry from the finish instrument.
 ( 168 ) 1-Feb-2012
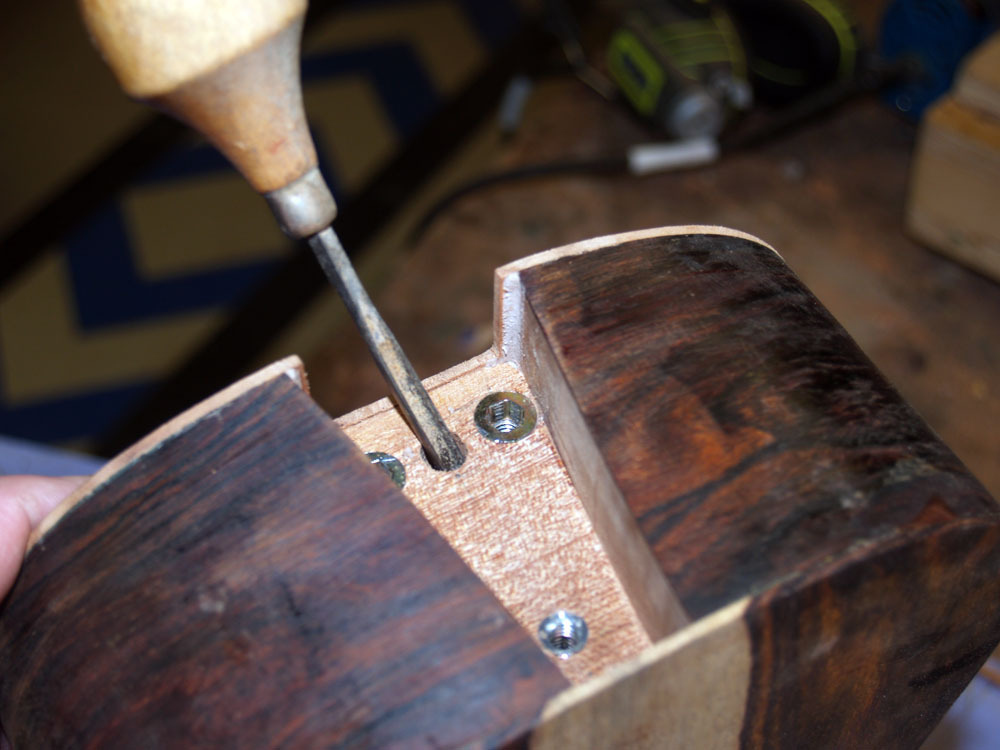
This is a picture of a minor but important detail in my design. I use a little epoxy paste to create a small fillet under the neck channel wings to help reinforce them. This will help prevent the wings from cracking as adjustments are made and the neck is attached and removed. These little tabs are a small innovation I adopted to help obscure the joint between the top and the fretboard. My objective is to hide anything that is inelegant or detracts from the smooth flow of the design. These wings prevent an observer from seeing down into the heel channel
 ( 169 ) 1-Feb-2012
Now back to the fretboard. Here I am drilling the holes for the fretboard position markers that will be 1/4 inch round abalone dots.
 ( 170 ) 1-Feb-2012
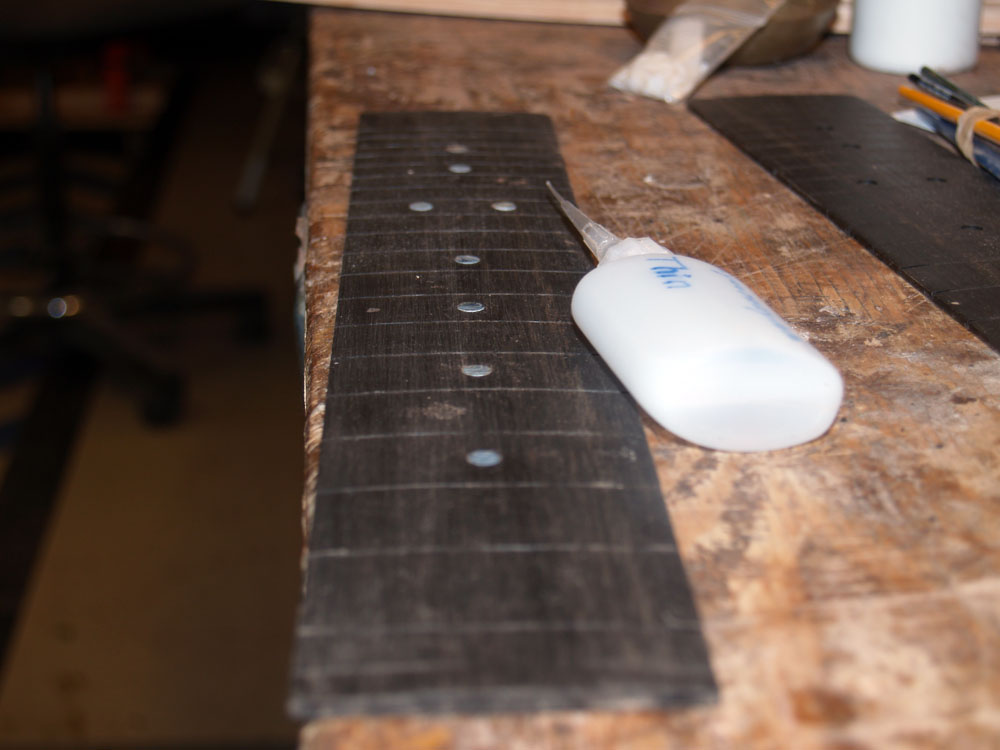
I use a little thin cyanoacrylate glue to bind the dots in place.
 ( 171 ) 1-Feb-2012
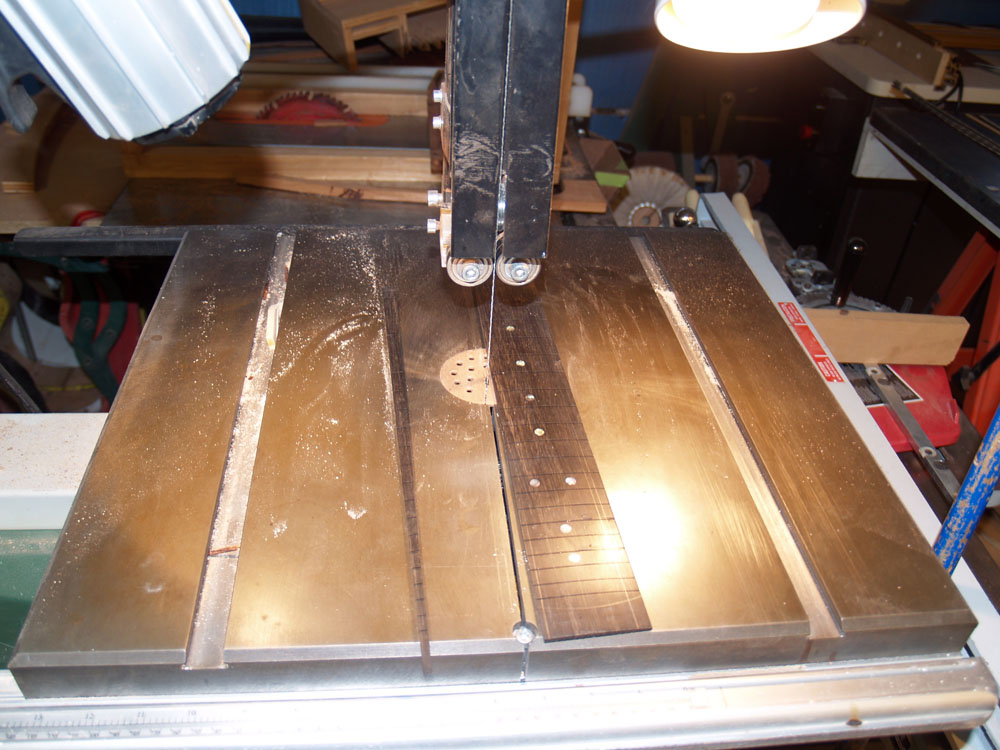
And now I use the bandsaw to trim the fretboard to its final shape. A few passes on the belt sander finalize its shape.
 ( 172 ) 1-Feb-2012
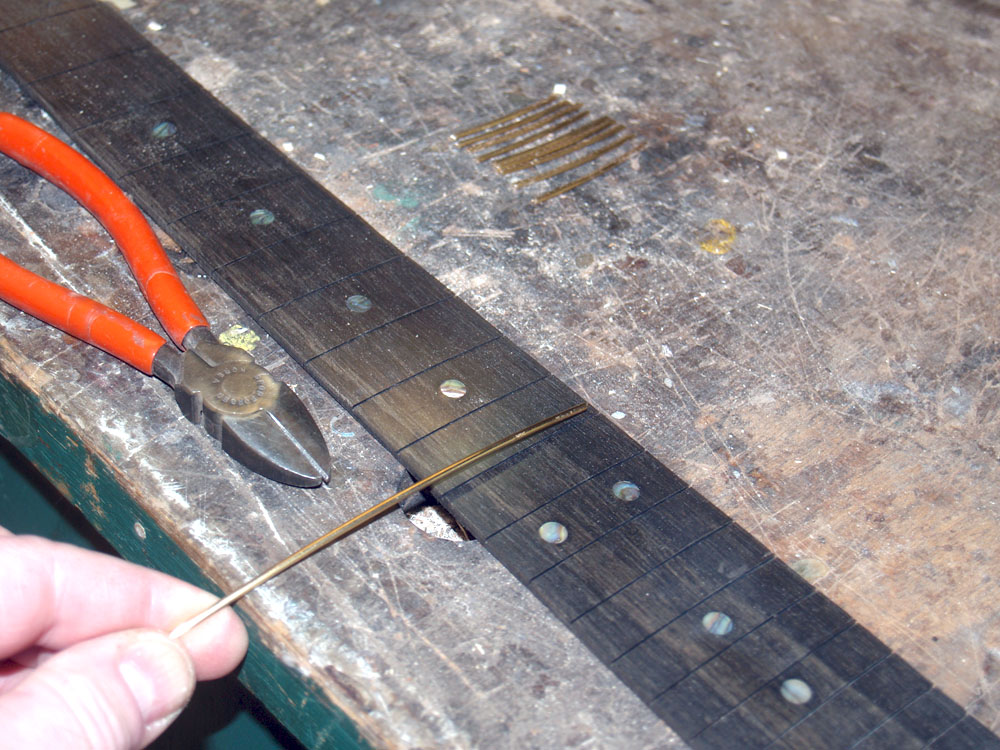
In preparation of installing the frets, I cut the fretwire for each position so it is a bit longer than the fretboard is wide.
 ( 173 ) 1-Feb-2012
And then I carefully hammer the fretwire into the fretwire slot. I have to be very careful to gently drive the wire into the slot without damaging the wire or the fretboard.
 ( 174 ) 1-Feb-2012
As I proceed I inspect each fret to make sure that it is well seated to the fretboard. No gaps, humps, or divots are acceptable.
 ( 175 ) 1-Feb-2012
When I am satisfied that the frets are well seated I place a small drop of thin cyanoacrylate glue on the end of each wire and watch it wick into the slot. I don't want to use any more glue than absolutely necessary to help prevent and making a mess.
 ( 176 ) 1-Feb-2012
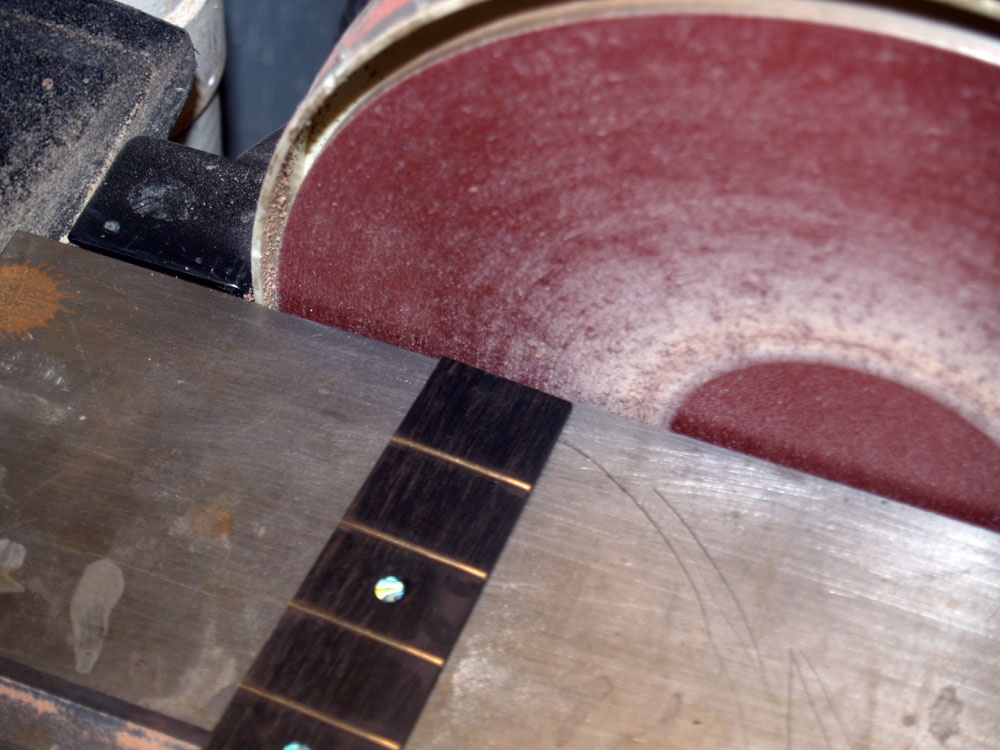
Then I use the belt sander to trim ends of the fretwire flush with the side of the fretboard.
 ( 177 ) 1-Feb-2012
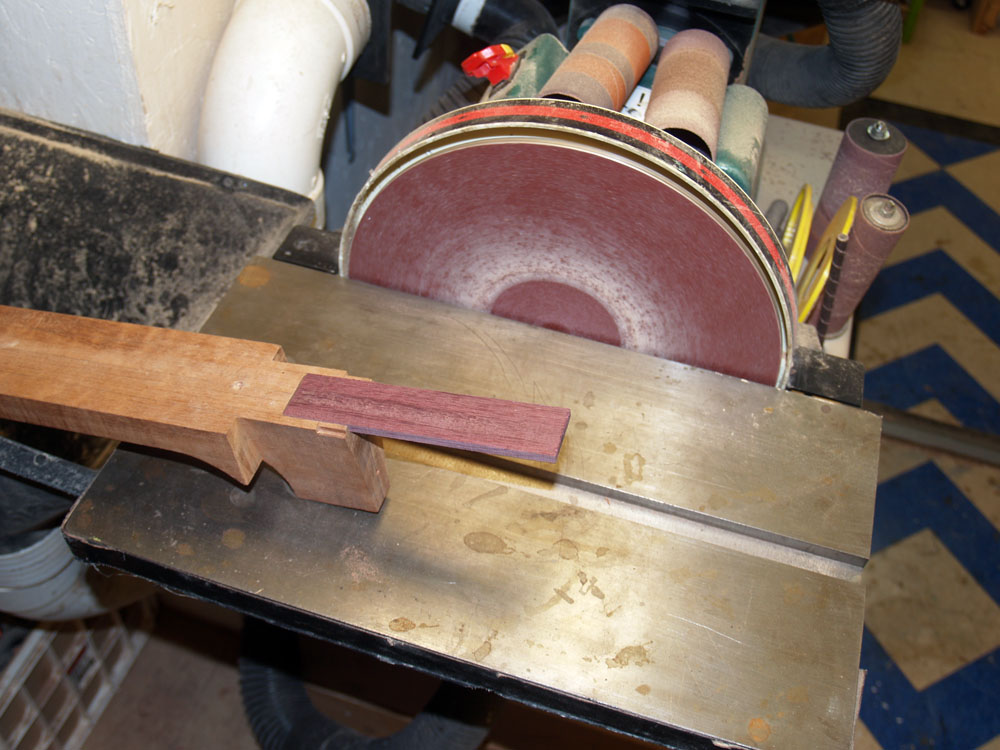
The disk sander is used to trim the nut end of the fretboard.
 ( 178 ) 1-Feb-2012
Now that the fretboard is ready I need to make the cantilever fretboard support plate. I use a piece of purple heart wood because it is hard and stiff. Since the end of the fretboard floats over the body of the ukulele it needs a reinforcing plate to help keep it stable.
 ( 179 ) 1-Feb-2012
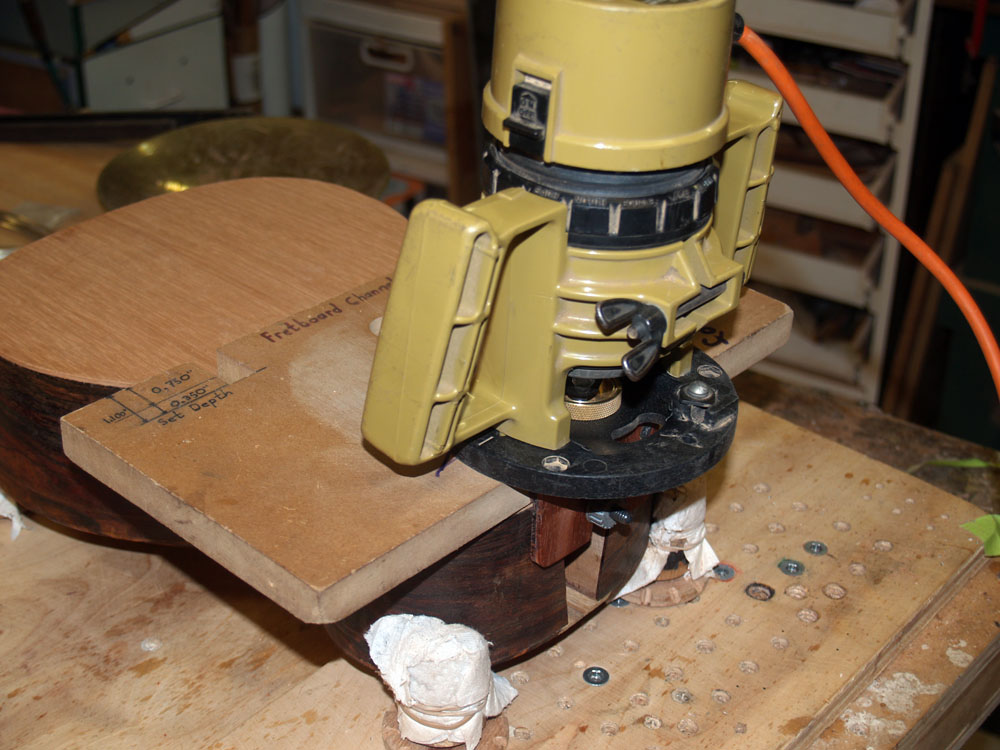
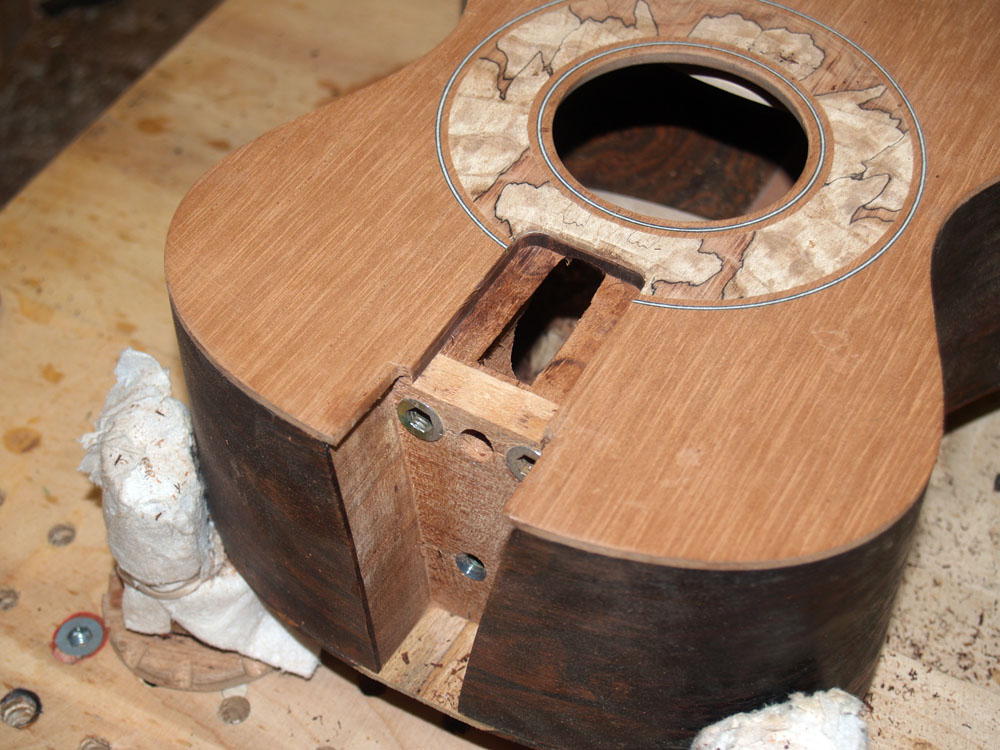
I use a small router and a special jig to route a channel in the body of the ukulele to make room for the cantilever support plate.
 ( 180 ) 1-Feb-2012
Here is a look at the support plate channel.
 ( 181 ) 1-Feb-2012
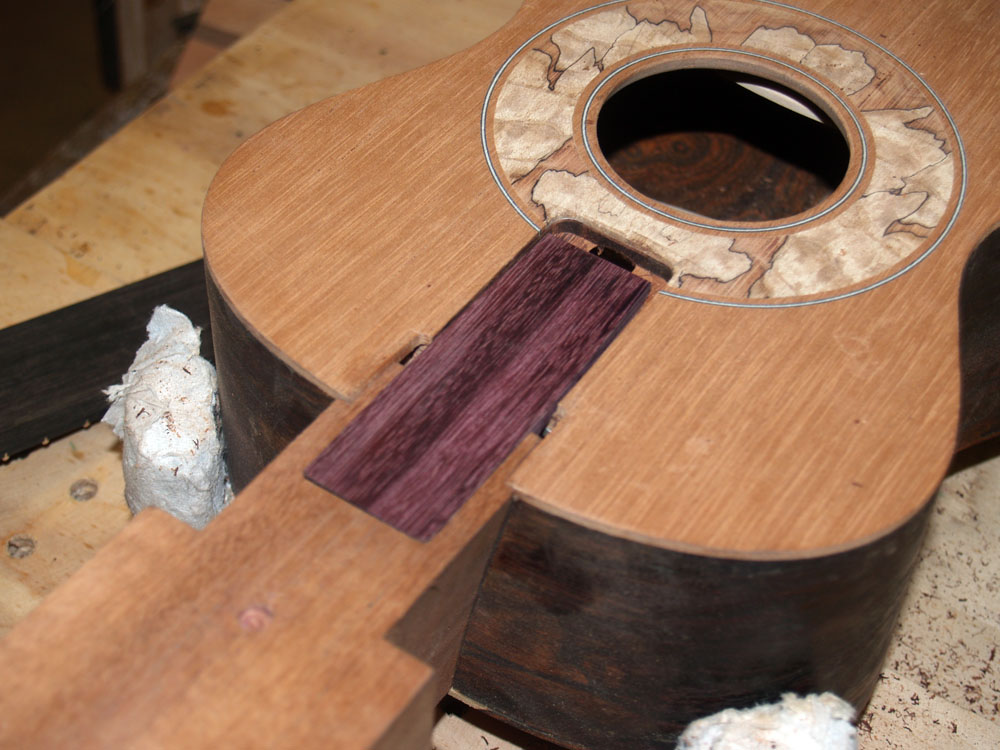
The purple heart support plate fits neatly into the channel.
 ( 182 ) 1-Feb-2012
It is important that the support plate is level with the neck blank. I use my very flat granite table top when I glue the plate into the neck blank.
 ( 183 ) 1-Feb-2012
And now I am ready to start shaping on the neck. I first use my milling machine to trim the thickness of the neck blank.
 ( 184 ) 1-Feb-2012
For this ukulele I have spent a little time creating a feature called a volute. Historically the volute reinforced the joint between the neck and the headstock. Since I make my necks out of a single solid piece of mahogany there is no joint and the volute is purely a decorative feature. It does look cool though.
 ( 185 ) 1-Feb-2012
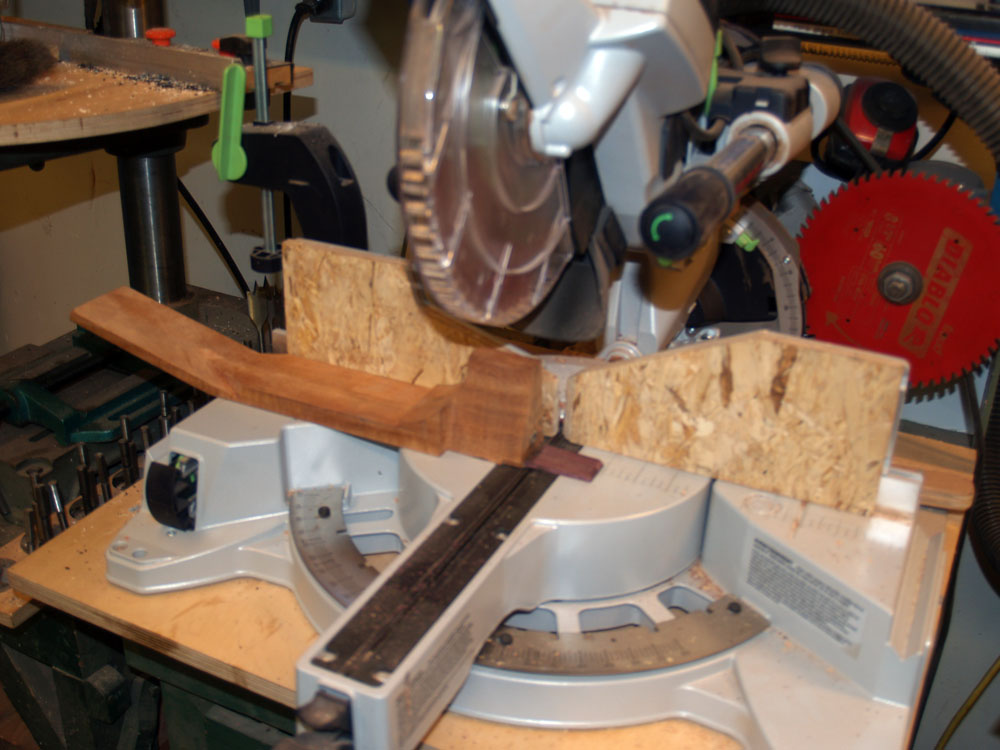
Here I am using my very expensive high precision Festool compound miter saw to cut a 3 degree angle in the end of the heel. This will allow the neck is freely move in the heel channel. One of the many things I have learned is that having the right tool for the job makes the job much easier and improves the quality of the results significantly. When purchasing tools I try to get the best tool i can reasonably afford. In the end I will either pay for it now or later. So, when I sell an instrument I usually use the profits to buy a new or better tool. One rule though is that I have to be able to fit the tool into the shop before I can buy it, so for right now I cant buy that CNC router I would love to have.
 ( 186 ) 1-Feb-2012
Here the nut end of the head stock veneer gets a 13 deg angle sanded onto it. This will will make sure there is no gap between the headstock veneer and the nut.
 ( 187 ) 1-Feb-2012
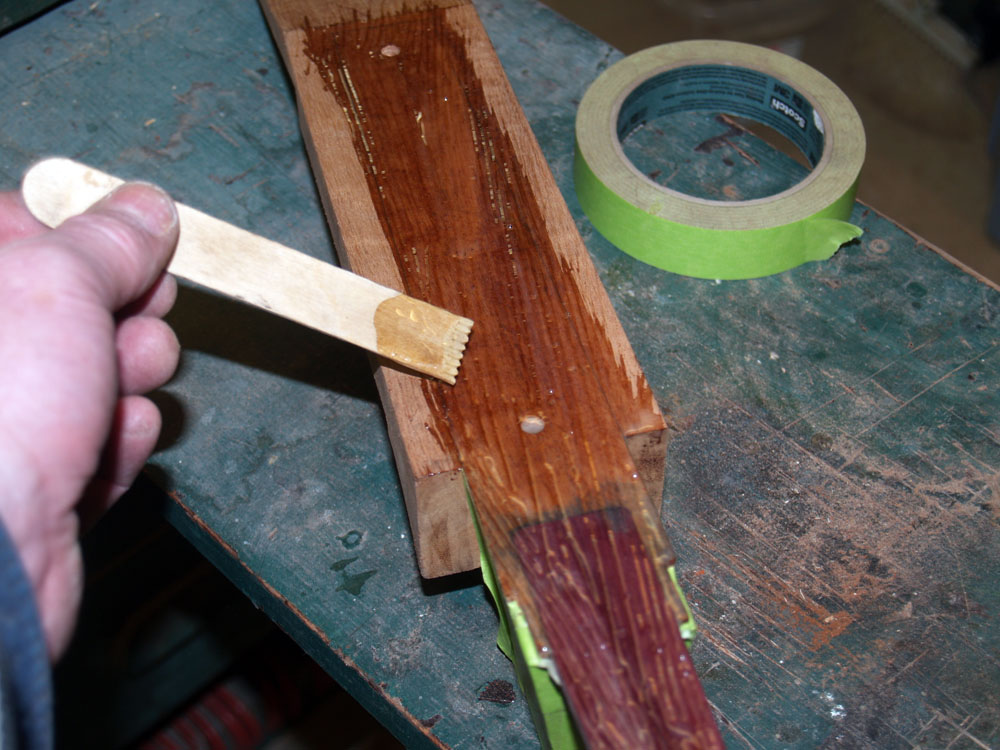
Finally I am ready to glue the fretboard onto the neck blank. I am spreading a thin layer of epoxy glue on the neck blank. I try to use just the right amount of glue. Enough to make a good joint, but not so much that I make a mess that needs to be cleaned up after the glue cures. I call this a stoichiometric (from chemistry) amount of glue.
 ( 188 ) 1-Feb-2012
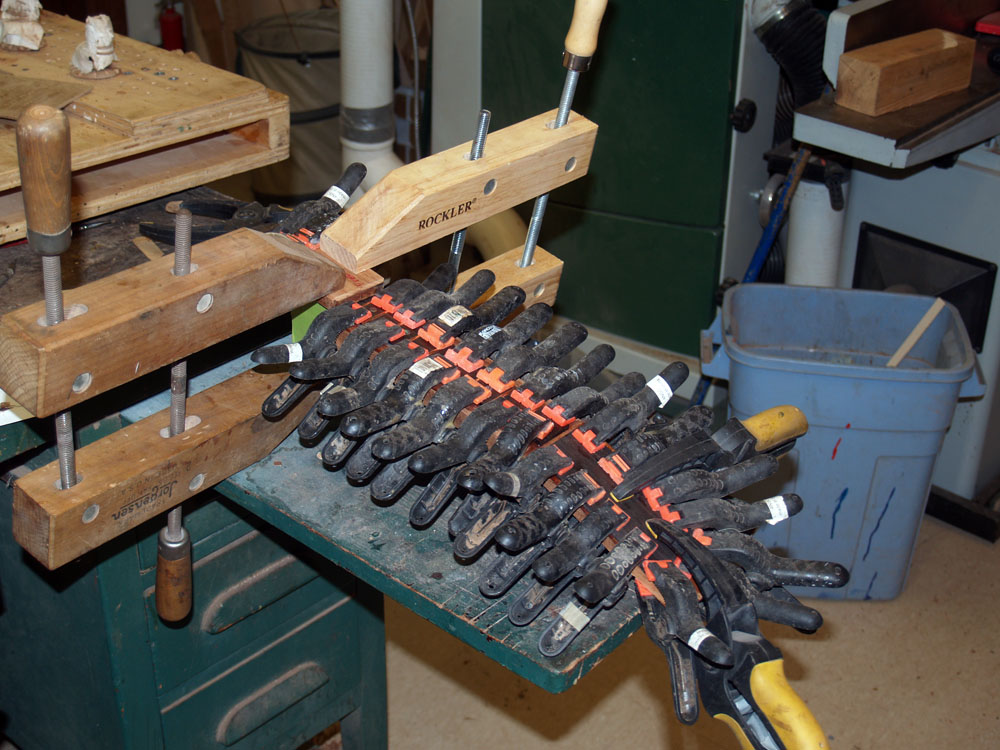
I use a lot of clamps to press the fretboard and headstock plate into place. I want to make sure that there aren't any gaps.
 ( 189 ) 1-Feb-2012
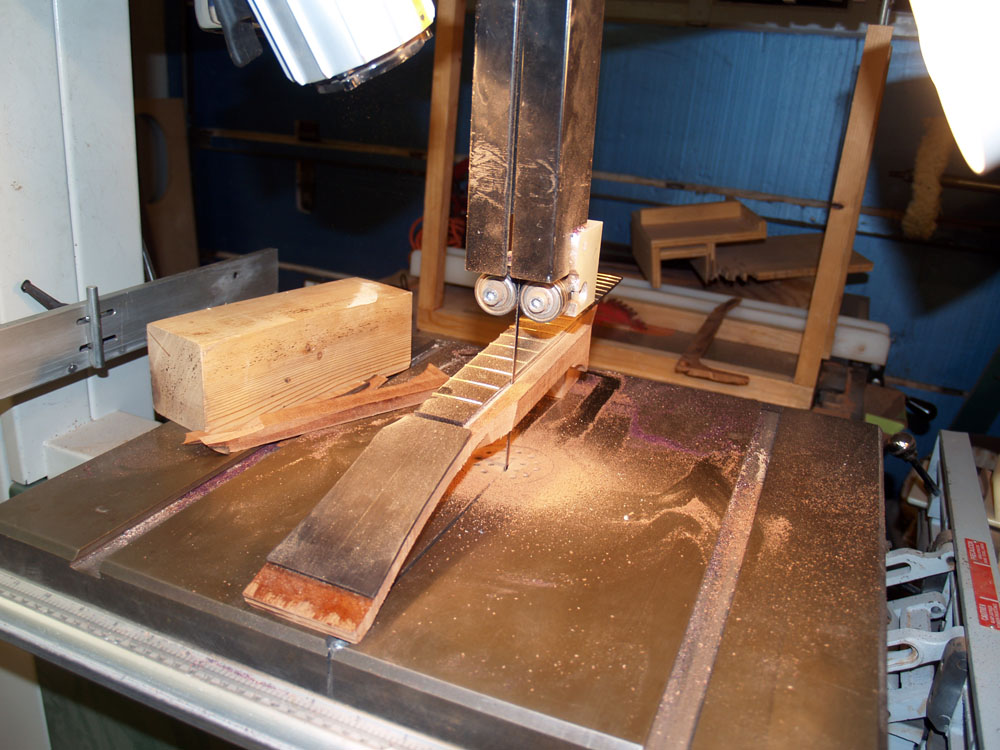
After the glue cures over night I use the bandsaw to trim away most of the excess material.
 ( 190 ) 1-Feb-2012
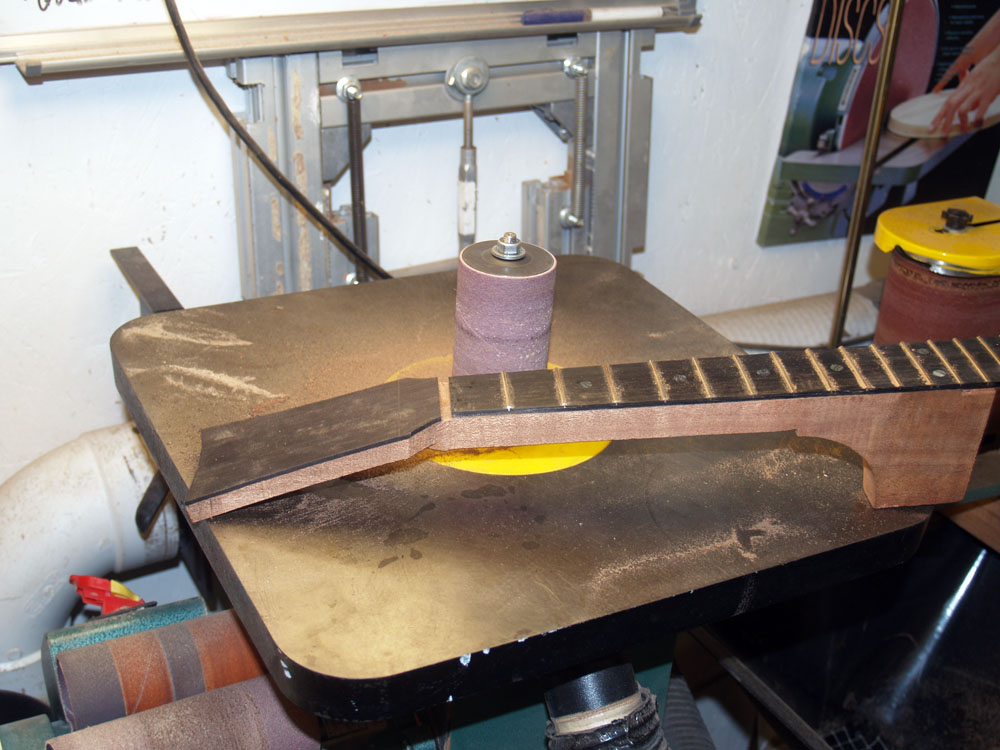
And then I start to shape the neck. This is one of my favorite parts of making an instrument, although there are a lot of opportunities to go terribly wrong and it can be somewhat stressful. This is truly a case where I glue a few sticks of different types of wood together and then carve away everything that doesn't look like a ukulele neck.
 ( 191 ) 1-Feb-2012
I use a variety of tools to shape the neck, starting with the idler pulley on the belt sander. I have to be very careful that I don't over do it though. It is very easy to remove wood, and very hard to put it back.
 ( 192 ) 1-Feb-2012
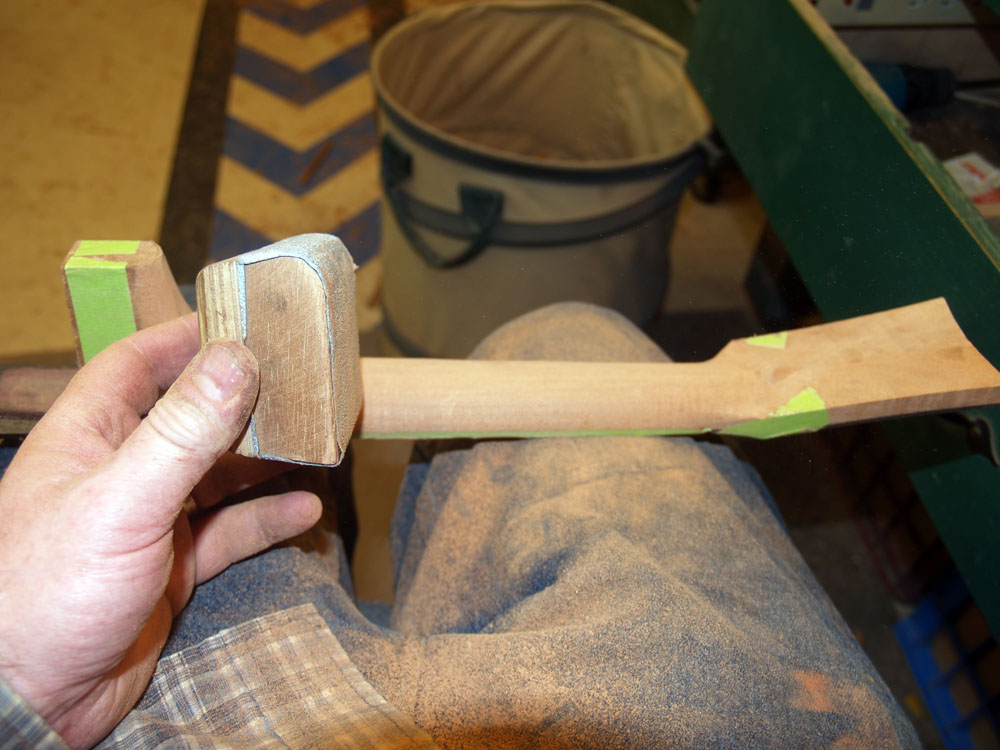
So, I have adopted a philosophy of going very slow. After I have the neck roughed out using a few power tools I switch to using sanding blocks to finish up the shaping process. i have lots of different sanding blocks that I have created to perform particular and special jobs. I have a whole draw dedicated to sanding tools. This process is very much like creating a sculpture. I have a variety of tools I use to measure different parameters of the neck as I work on it, but the final arbiter is the touch and feel I get through my finger tips. I close my eyes and lightly run my fingers over the surface feeling out any discontinuities or rough spots. It is remarkable how sensitive they are.
 ( 193 ) 1-Feb-2012
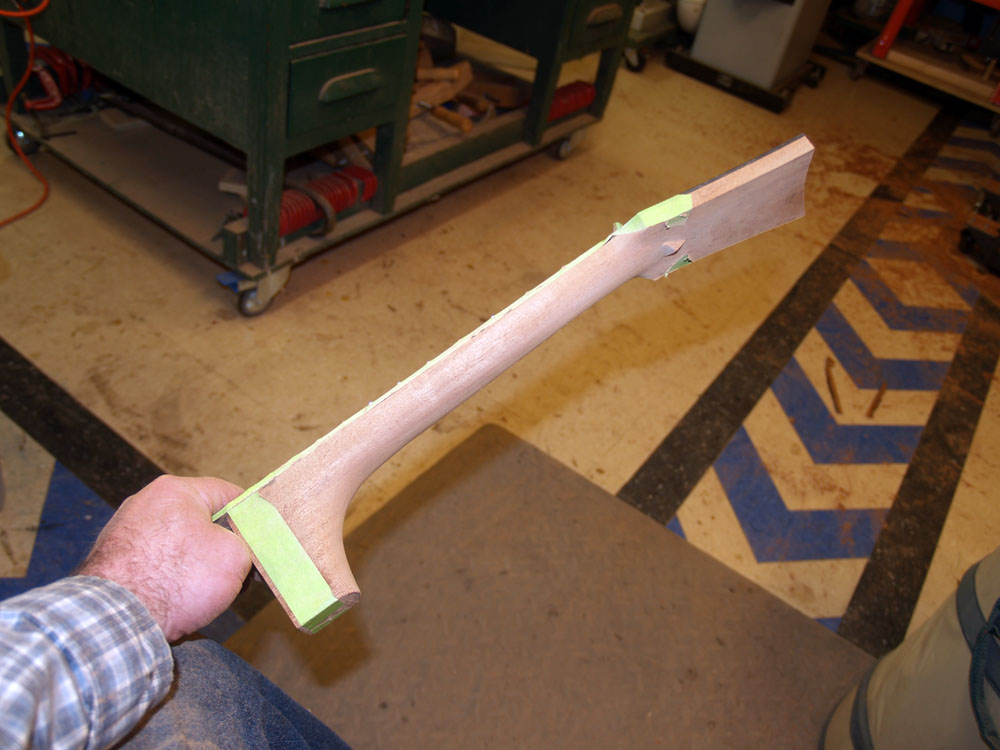
To make sure I don't sand away any important areas, I use masking tape to mark the no-go zones. The tape provides a sacrificial layer so that if I do stray into the forbidden zones I sand away the tape and not the wood.
 ( 194 ) 1-Feb-2012
And here I have mated the neck and the body to see how everything is looking.
 ( 195 ) 1-Feb-2012
Now that the neck has been shaped I need to install the hardware that enable the User Adjustable Tilt Action Neck. Here I have inserted a marking pin into the adjustment bolt insert. When I press the neck into place this pin will mark where I need to drill the hole for the adjustment bolt and retaining flange.
 ( 196 ) 1-Feb-2012
I use a hand drill to create a 3/4 inch hole for the adjustment bolt and retaining flange.
 ( 197 ) 1-Feb-2012
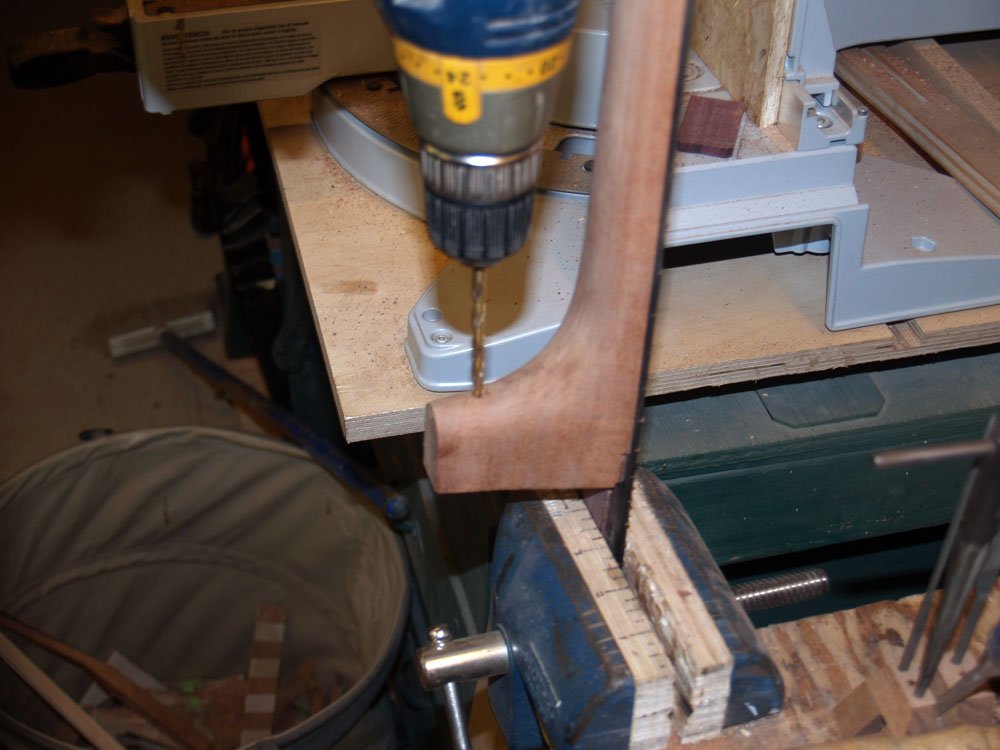
And then I drill a hole through the front of the heel for the strap button insert bolt / adjustment hole.
 ( 198 ) 1-Feb-2012
I install a wood insert bolt so the strap button can be firmly and securely attached.
 ( 199 ) 1-Feb-2012
This is a picture of the adjustment bolt and the oak retaining flange.
 ( 200 ) 1-Feb-2012
Here is the bolt and flange after they have been glued into place.
 ( 201 ) 1-Feb-2012
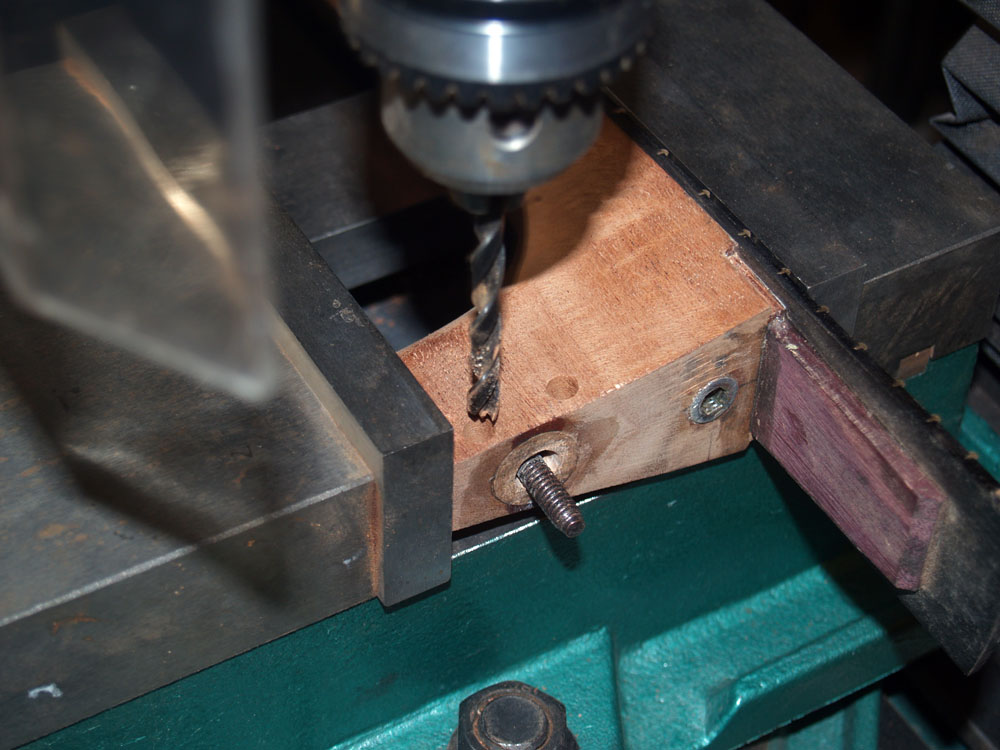
The adjustment bolt and retaining flange must resist the tension of the strings, so to make sure that it stays securely in place I install a couple retaining pins that couple the flange and the heel together.
 ( 202 ) 1-Feb-2012
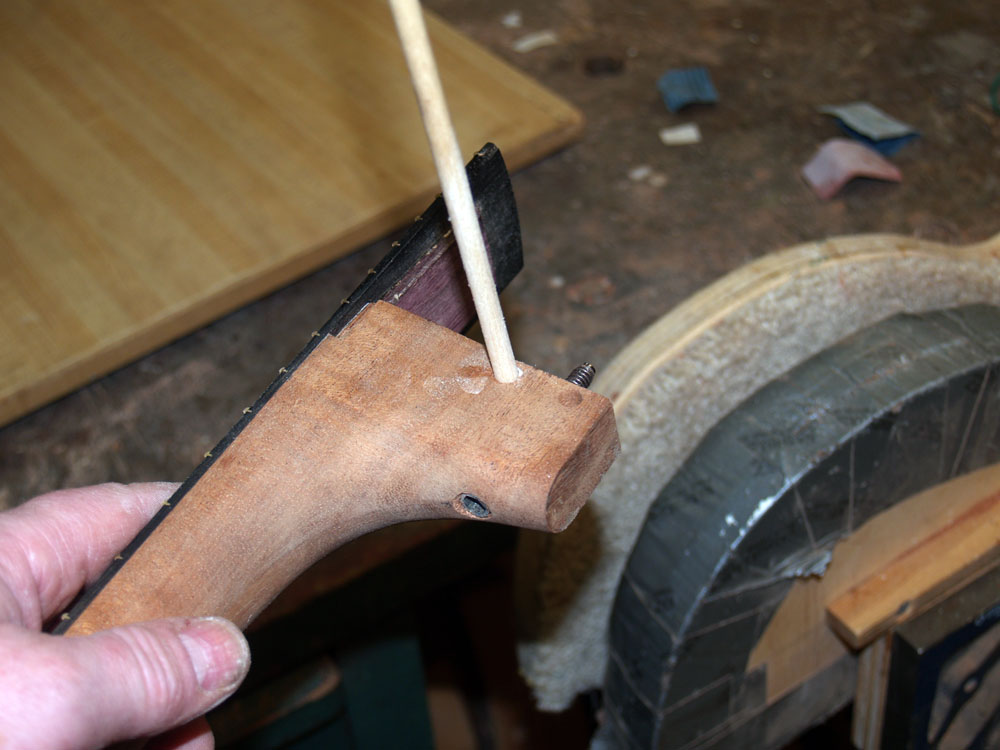
A 1/4 inch dowel is used for the retaining pin.
 ( 203 ) 1-Feb-2012
Finally, I install two brass plugs in the end of the heel to match up to the set screw fulcrum pins. These ensure a solid connection between the neck and the body.
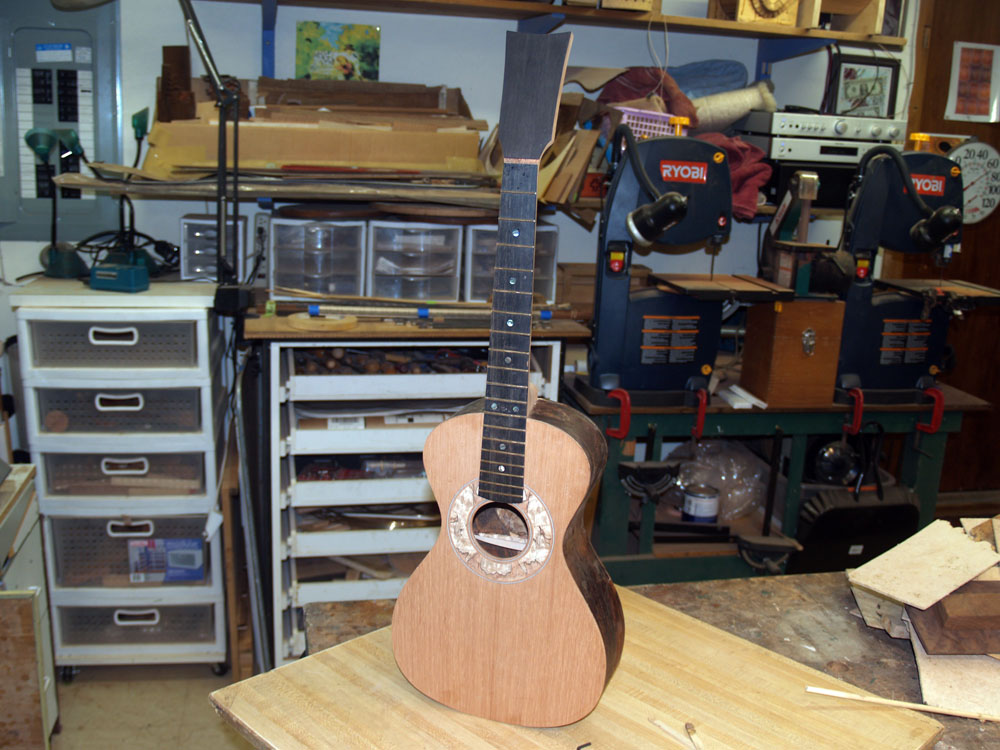 ( 204 ) 1-Feb-2012
And finally the neck and the body get mated together and we are ready to install the binding and purfling.