 ( 8 ) 3-Oct-2011
Here I am using my miter saw to cut the back set to size.
 ( 8 ) 3-Oct-2011
Here I am using my miter saw to cut the back set to size.
 ( 9 ) 3-Oct-2011
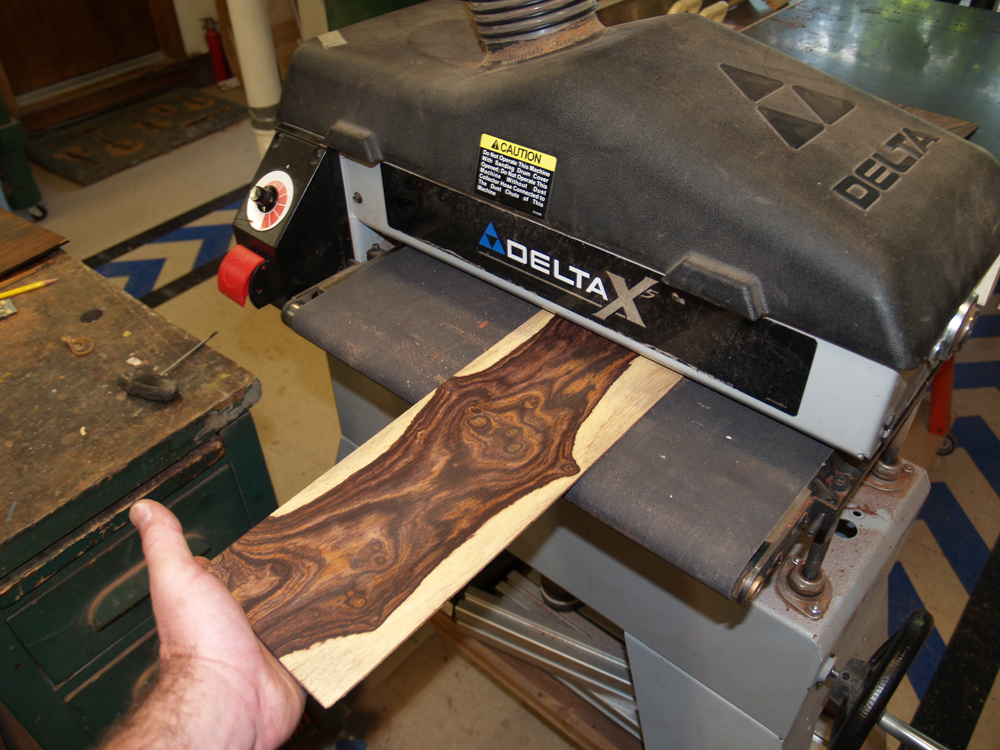
The back set needs to be reduced in thickness. I use my drum sander to carefully reduce the thickness to about 100 mils thick. 1 mil = 1/1000 of an inch. By the time the ukulele is finished the back will be about 80 mils thick.
 ( 10 ) 3-Oct-2011
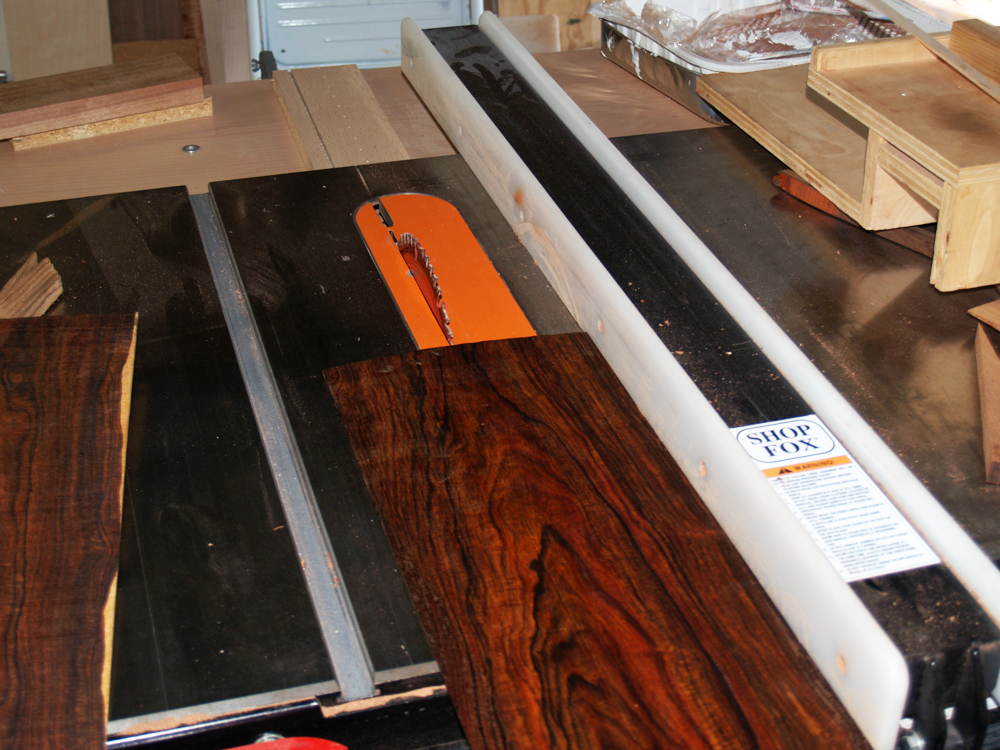
I use the table saw to cut the side pieces to width.
 ( 11 ) 3-Oct-2011
The sides get thinned in the drum dander to about 75 mils thick.
 ( 12 ) 3-Oct-2011
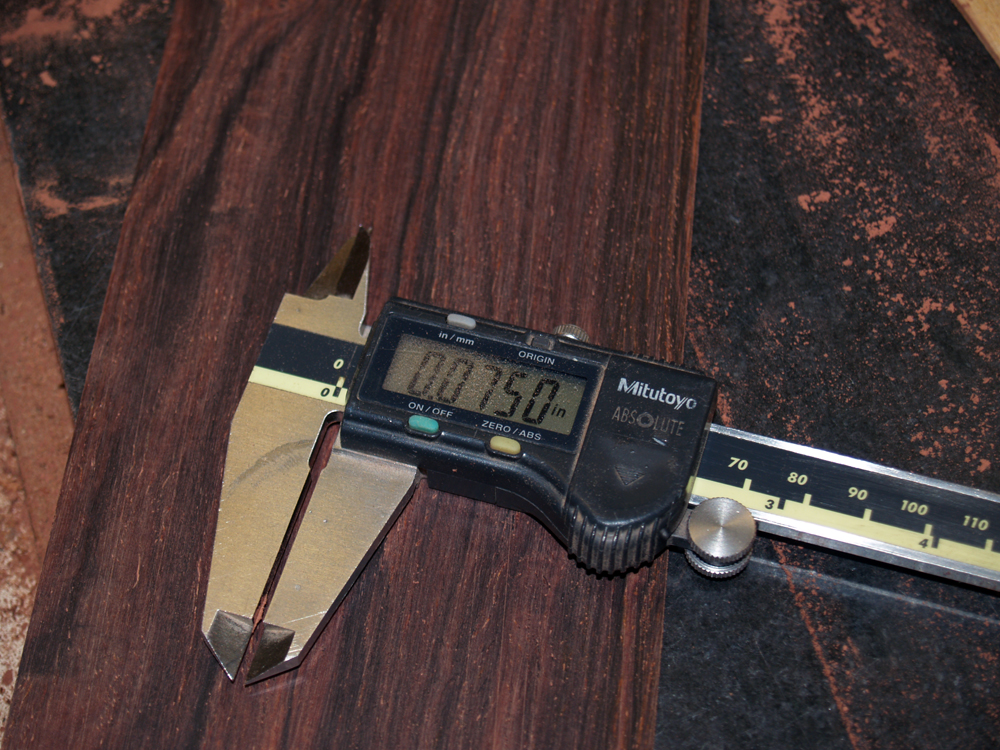
I have a very good set of digital calipers to measure the woods dimensions. I strive to work to about a 5 mil tolerance. I am a bit of a measurement nut. Measure twice, thrice and maybe once more just for good measure, then cut. I regularly work with very expensive pieces of wood and I don't like to cut in the wrong place. It is disrespectful to the tree and wood to waste it unnecessarily.
 ( 13 ) 3-Oct-2011
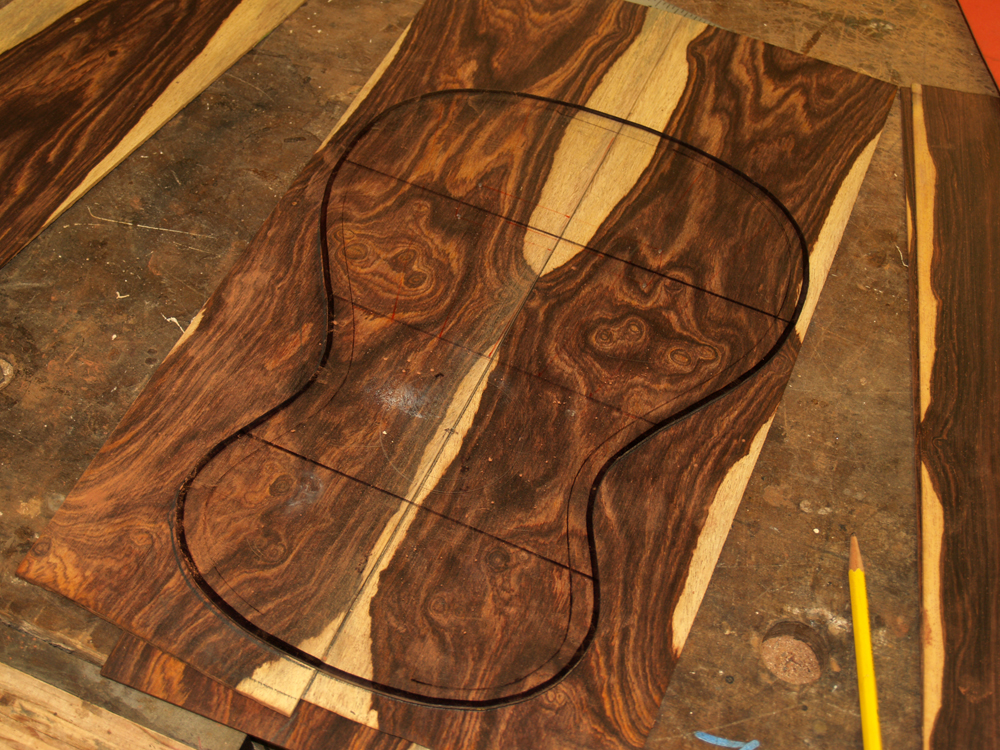
Before I glue the back pieces together I spend time arranging them to make sure I line everything up. The figure of the wood doesn't go straight through the wood, so I have to anticipate how I am going to be sanding the wood and how that will change the figure.
 ( 14 ) 3-Oct-2011
Here I am using the belt sander to create a straight gluing edge.
 ( 15 ) 3-Oct-2011
I use this tool of my own design to create a really straight jointing edge. This tool holds the piece vertical and has a piece of sandpaper attached to a very flat piece of aluminum strut. With a bit of care I can create a joint that you can not see.
 ( 16 ) 3-Oct-2011
I apply a bead of glue to the jointing surface.
 ( 17 ) 3-Oct-2011
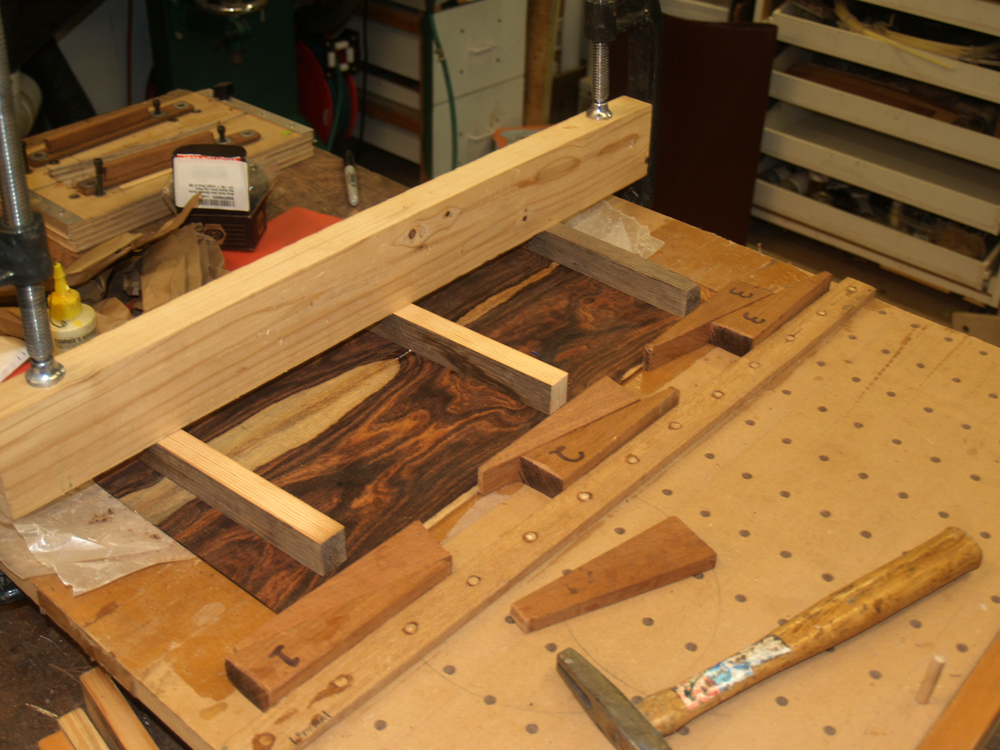
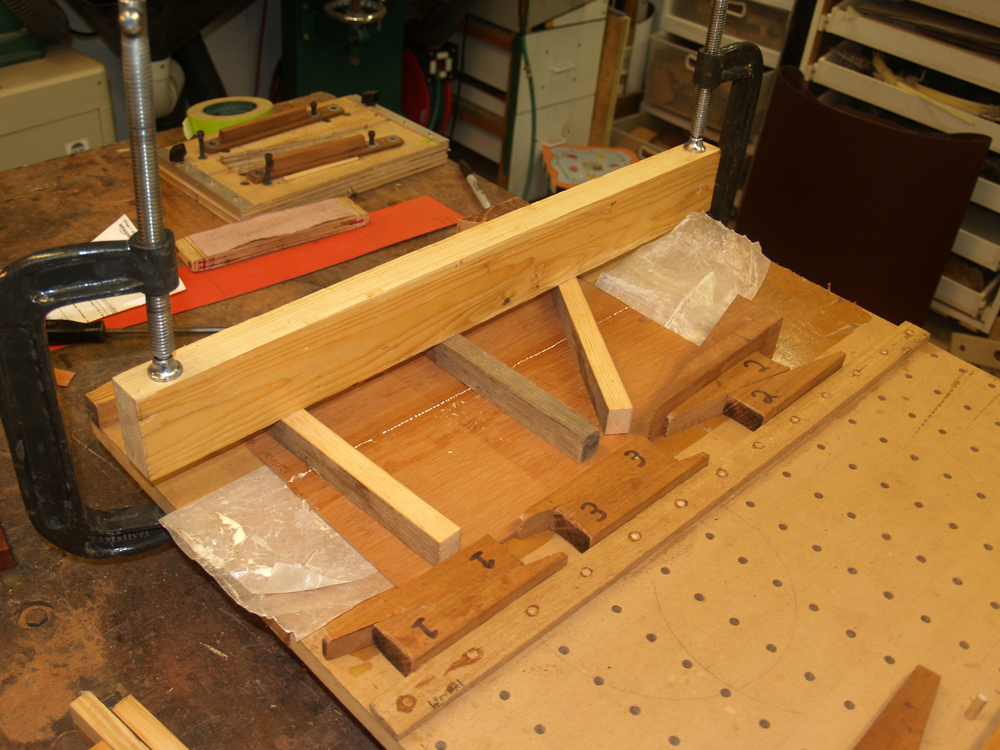
This tool is used to glue the two halves of the back together. The wedges push the pieces together while the horizontal struts keep the wood from buckling.
 ( 18 ) 3-Oct-2011
A beautiful book matched set of Cocobolo.
 ( 19 ) 3-Oct-2011
I use the bandsaw to cut out the pieces of Spanish Cedar we are using for the top.
 ( 20 ) 3-Oct-2011
The top pieces get the same treatment as the back pieces. I spend as much time as necessary to get the joint perfect.
 ( 21 ) 3-Oct-2011
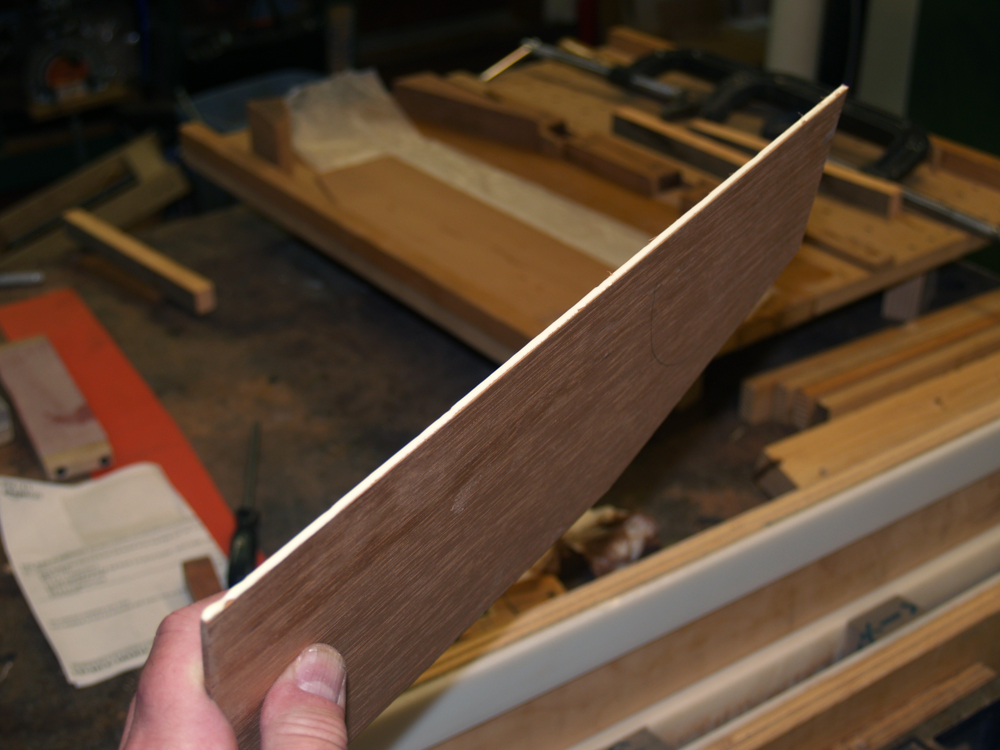
A bead of glue.
 ( 22 ) 3-Oct-2011
And the two halves go into the joining tool.
 ( 23 ) 3-Oct-2011
The joined top set. The top has not been sanded to its final thickness yet. After the rosette has been set the top will be sanded to about 90 mils thick.
 ( 24 ) 3-Oct-2011
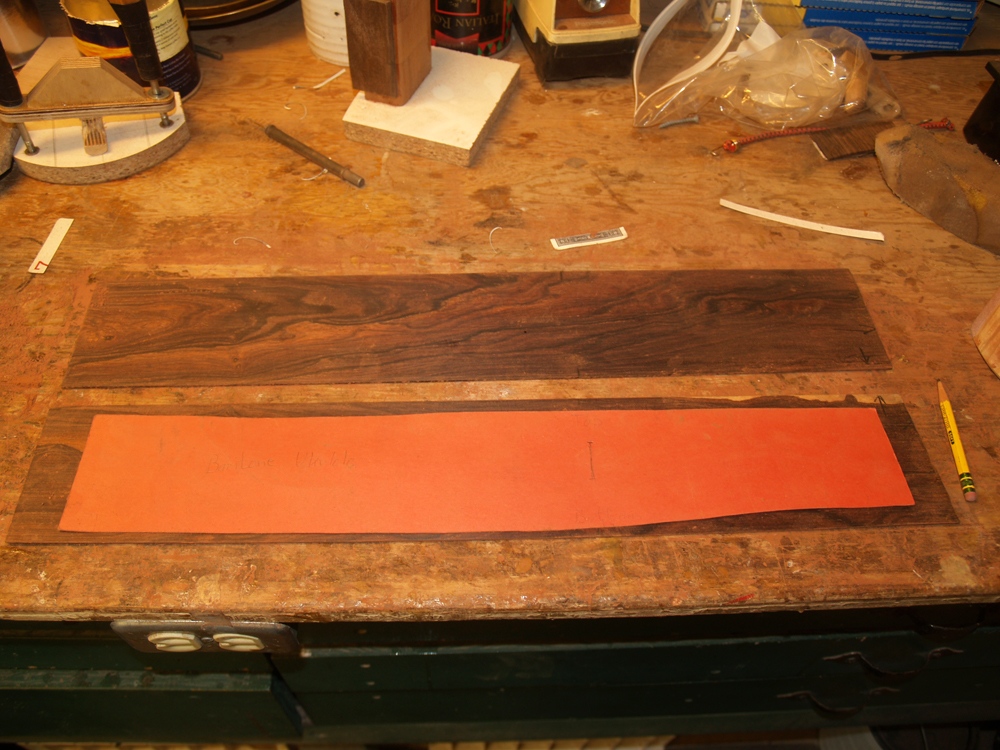
Here I am laying out the side pieces with their template.
 ( 25 ) 3-Oct-2011
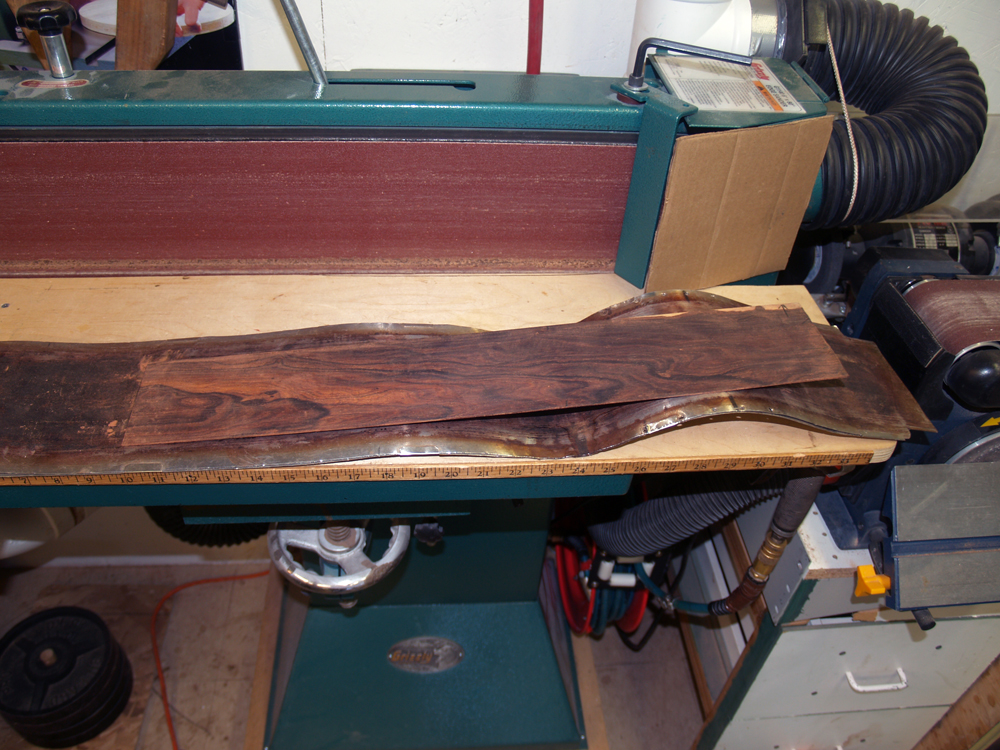
I lay the side piece on the heating blanket. The heating blanket is used to make the sides pliable while they are being bent.
 ( 26 ) 3-Oct-2011
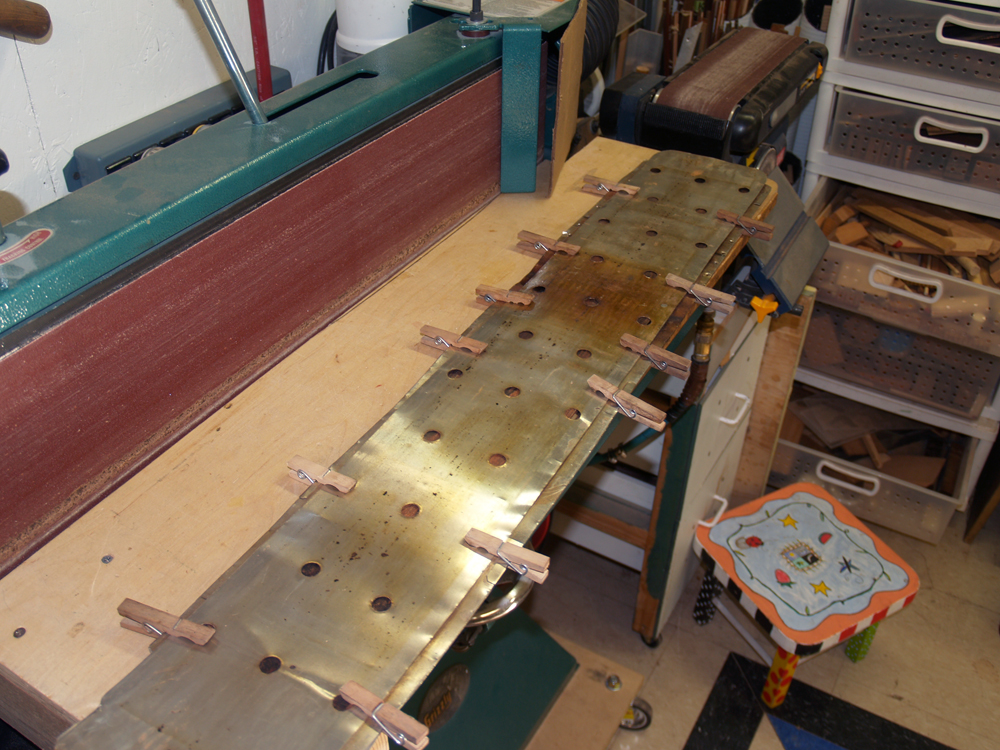
I lay the top piece of flashing over the side piece and use a set of clothes pins to hold everything together. The holes will let me squirt water onto the wood while I am bending it. The water keeps the wood from scorching, helps to lubricate it and to conduct the heat into the wood effectively.
 ( 27 ) 3-Oct-2011
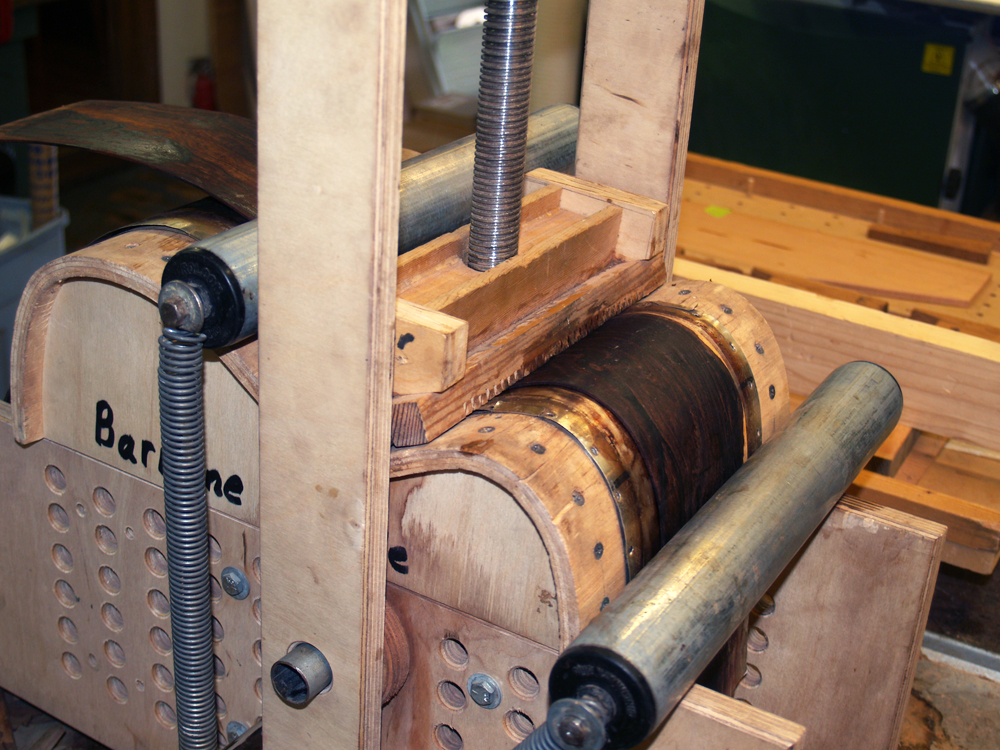
The whole assembly goes into the bending machine.
 ( 28 ) 3-Oct-2011
The first thing that happens is the waist is pressed into shape. Then the upper bout is bent over the form using the upper roller.
 ( 29 ) 3-Oct-2011
Then the lower bout is bent into shape with the rear roller. After the wood is bent to shape I will cook the wood at a reduced heat for about 45 minutes.
 ( 30 ) 3-Oct-2011
After the the wood has cooked it will retain its new shape.
 ( 31 ) 3-Oct-2011
I put the bent side into its form to help it keep its shape.
 ( 32 ) 3-Oct-2011
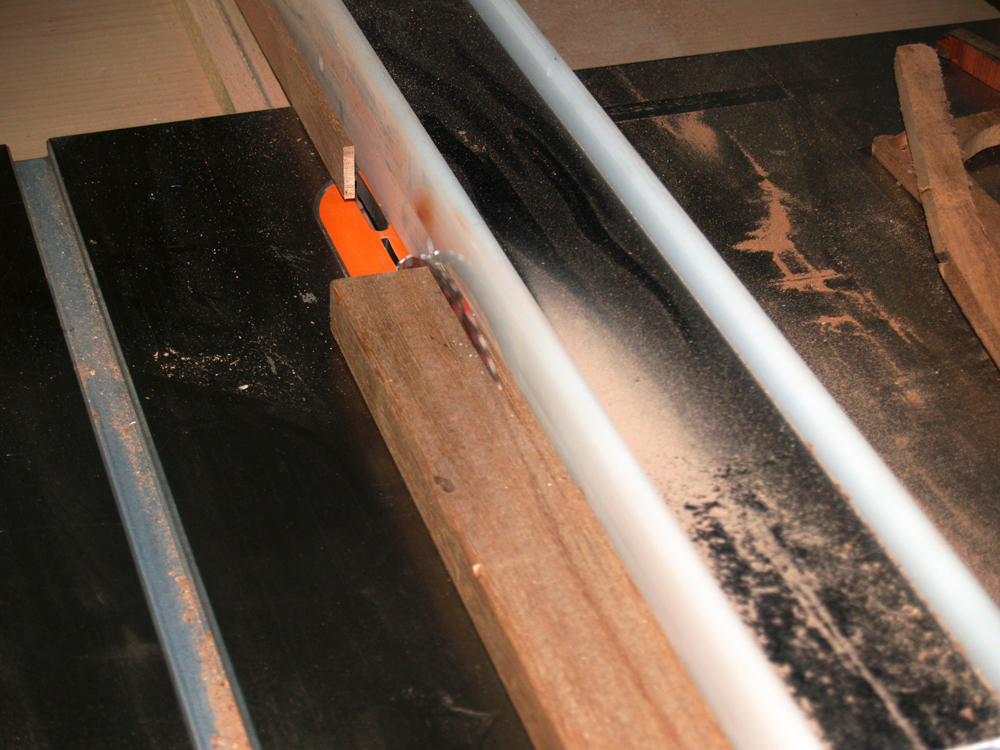
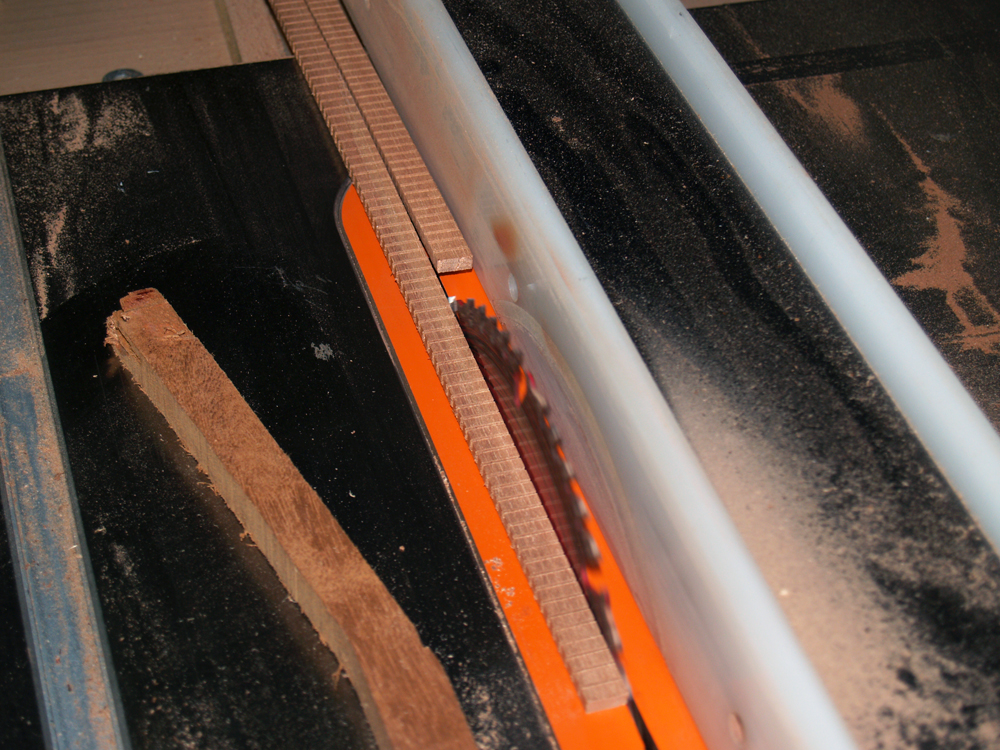
The next thing I have to do is make the kerfing. The kerfing will reinforce the sides keeping it in shape, and provide a gluing surface for the top and back to be glued to the sides. Here I am cutting the raw strips for the kerfing using the table saw.
 ( 33 ) 3-Oct-2011
I use the bandsaw to cut lots of slots into the kerfing strip. The slots will allow the kerfing to more easily bend into the shape of the sides.
 ( 34 ) 3-Oct-2011
Here I am cutting the raw strip in half.
 ( 35 ) 3-Oct-2011
And then I use the disk sander to add bevel to the kerfing. The bevel does nothing but make the kerfing look more finished. For some reason, a 15 degree bevel just looks right.
 ( 36 ) 3-Oct-2011
A look at the bevel. I use a reveres kerfing system that puts a solid strip an the outside. This creates a gunnel that will help make the sides very stiff and strong.
 ( 37 ) 3-Oct-2011
Then the kerfing strips go into the heating blanket.
 ( 38 ) 3-Oct-2011
And then into the bending machine.
 ( 39 ) 3-Oct-2011
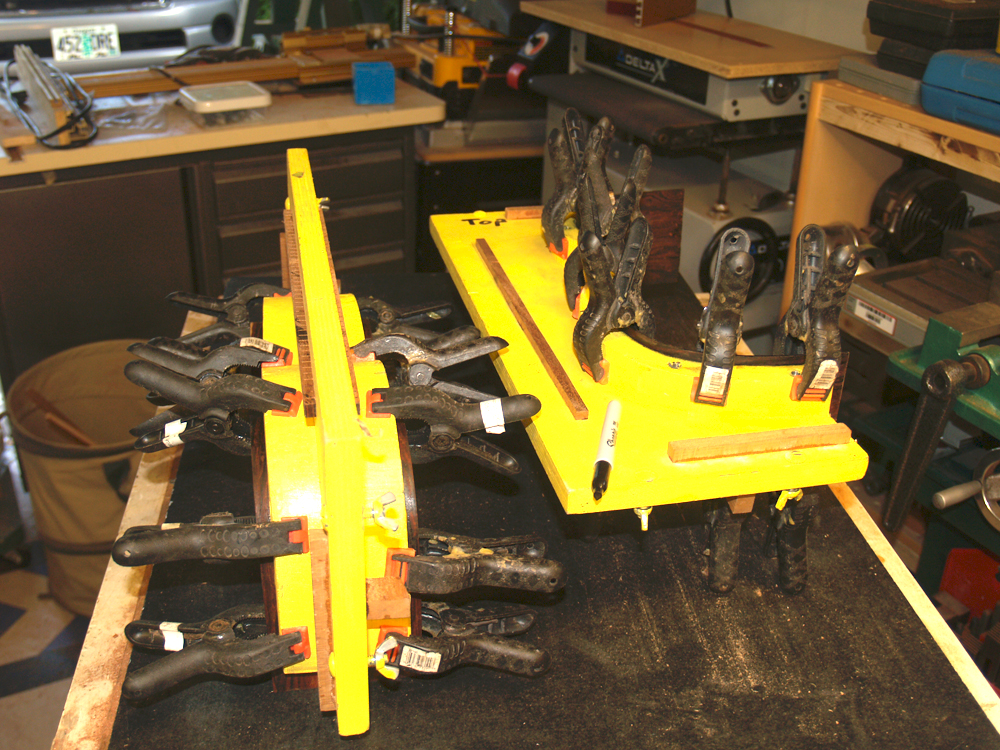
Now I have to trim the side pieces to their final shape, or at least close to it.
 ( 40 ) 3-Oct-2011
I carefully marked the outline of the sides, and then I use the bandsaw to trim off the excess. I have built this special raised platen to allow me to cut the side pieces.
 ( 41 ) 3-Oct-2011
Before gluing the kerfing on I sand the inside of the side pieces.
 ( 42 ) 3-Oct-2011
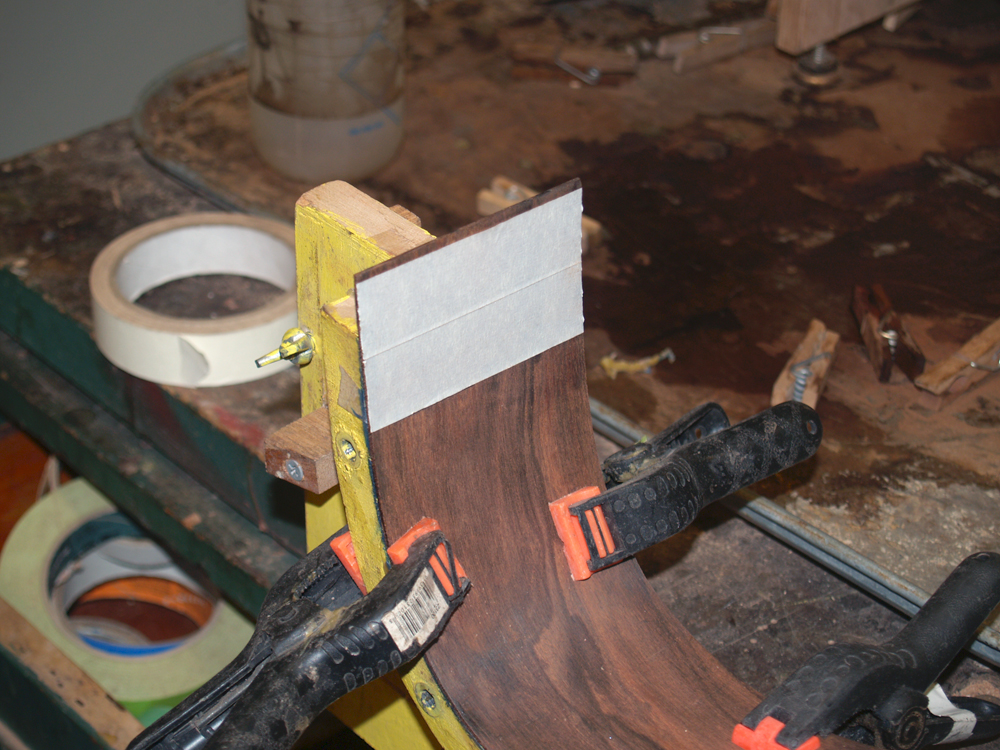
I mask off the area of the sides where the heal and tail block will be glued into place.
 ( 43 ) 3-Oct-2011
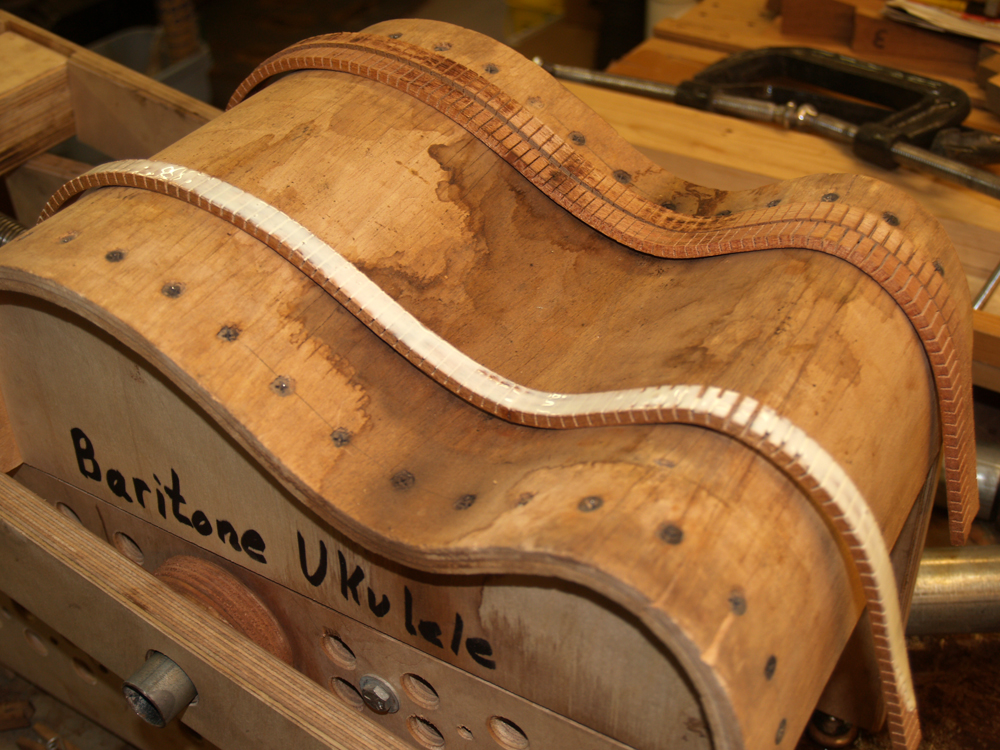
The inside of the kerfing gets an even layer of glue.
 ( 44 ) 3-Oct-2011
And then using lots and lots of clamps I glue the kerfing into place.
 ( 45 ) 3-Oct-2011
After the glue dries over night the two halves of the ukulele come out of the forms.
 ( 46 ) 3-Oct-2011
Here is a raw pre made heal block. This and the tail block will be used to glue the two halves of the ukulele together.
 ( 47 ) 3-Oct-2011
The gluing surface of the heal block needs to have the same curve as the sides. I use this special jig to sand the heal block to shape.
 ( 48 ) 3-Oct-2011
A look at the gluing surface shape of the heal block.
 ( 49 ) 3-Oct-2011
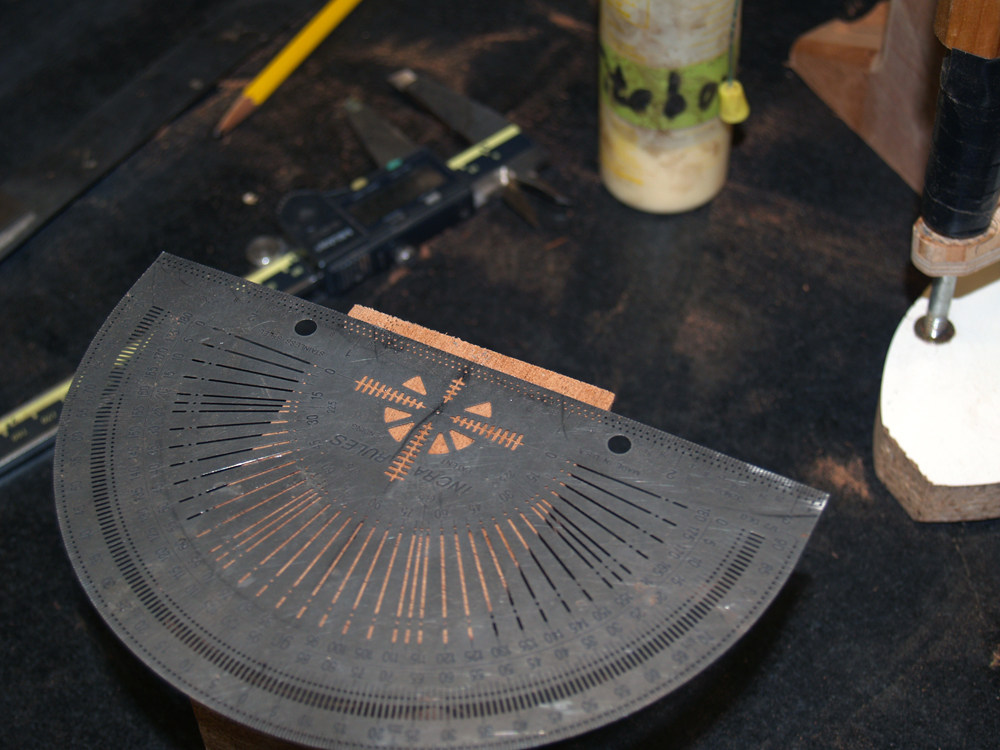
I carefully mark the center of the heal block.
 ( 50 ) 3-Oct-2011
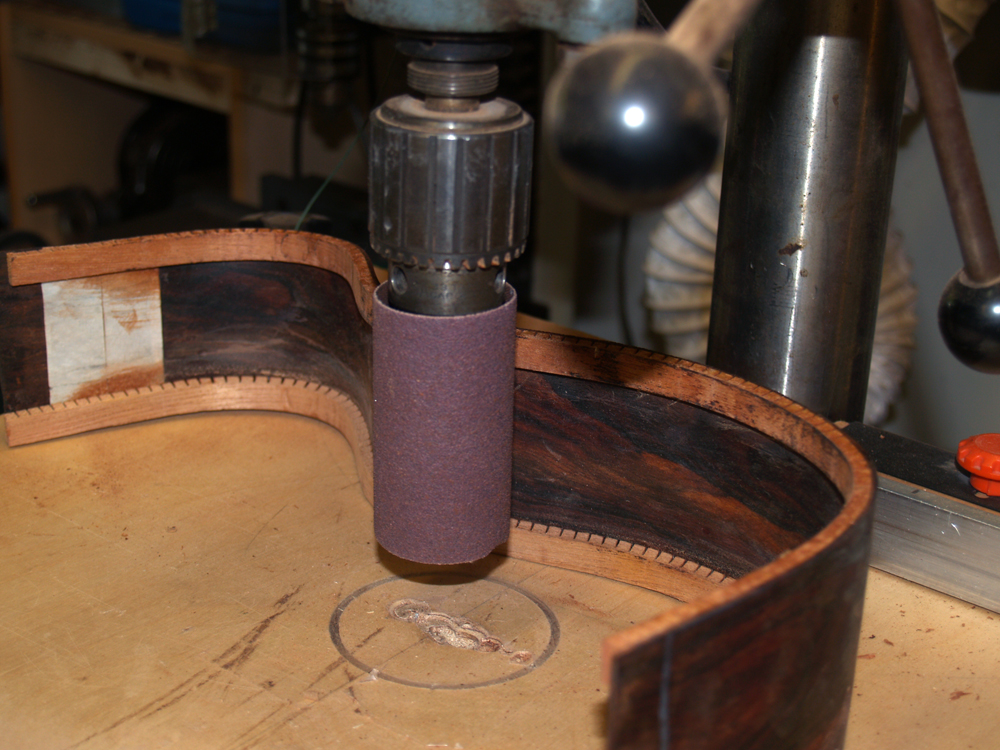
And before gluing the sides together I sand the inside surface of the kerfing clean.
 ( 51 ) 3-Oct-2011
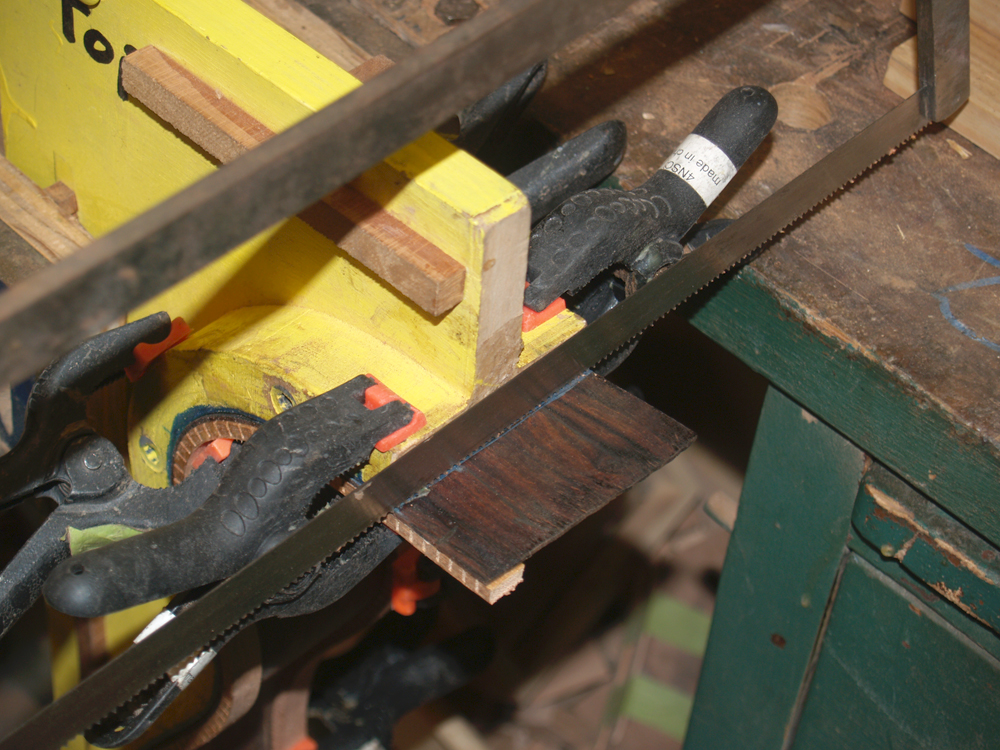
With the sides in their form I trim off the excess.
 ( 52 ) 3-Oct-2011
I put the two halves together and I carefully set the tail block in place.
 ( 53 ) 3-Oct-2011
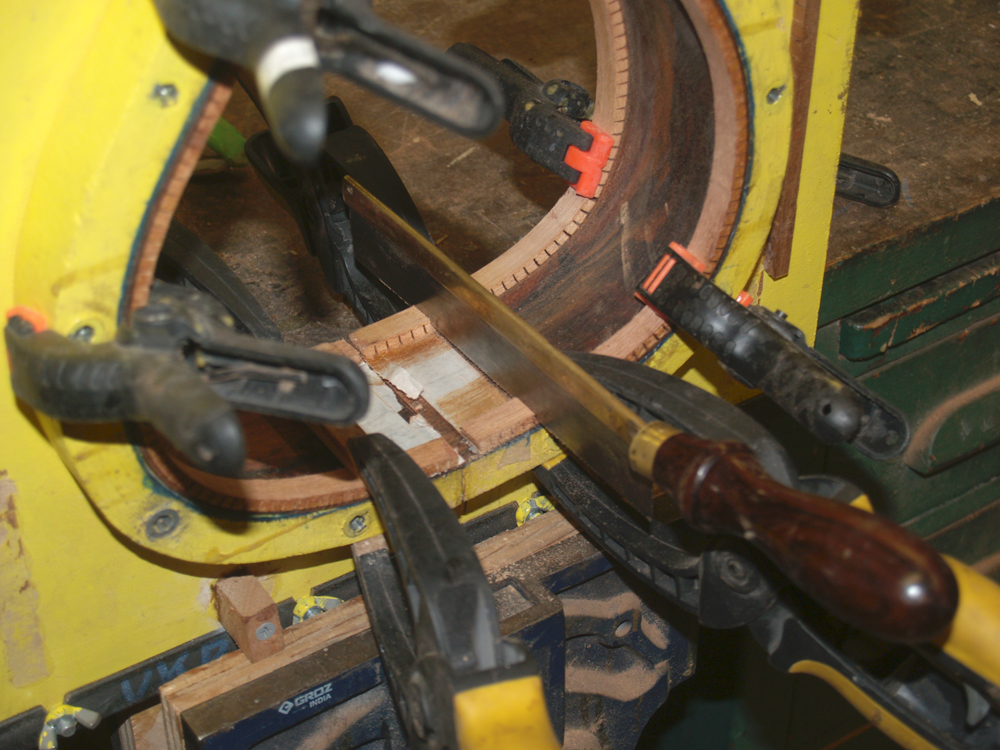
Using a small handsaw I trim off the excess kerfing. Here is where the masking tape keeps the kerfing from sticking to the sides.
 ( 54 ) 3-Oct-2011
Here is a picture of the exposed sides where the tail block will be glued into place. I work hard to make sure the kerfing and tail block make a good fit.
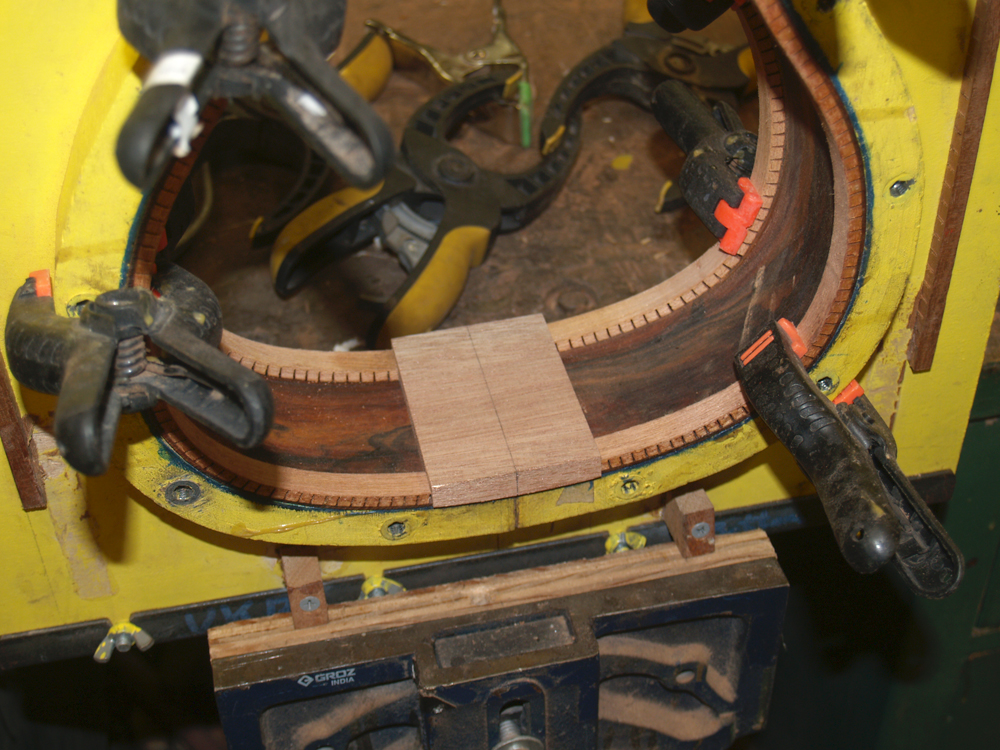 ( 55 ) 3-Oct-2011
The tail block in place.
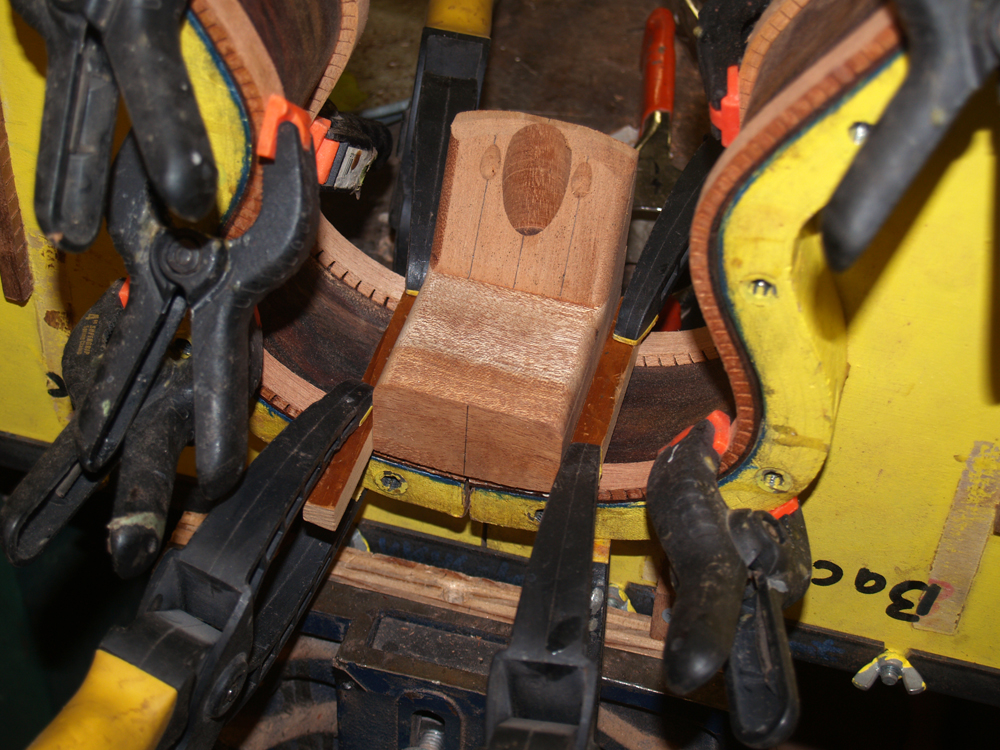 ( 56 ) 3-Oct-2011
The same thing happens for the heal block.
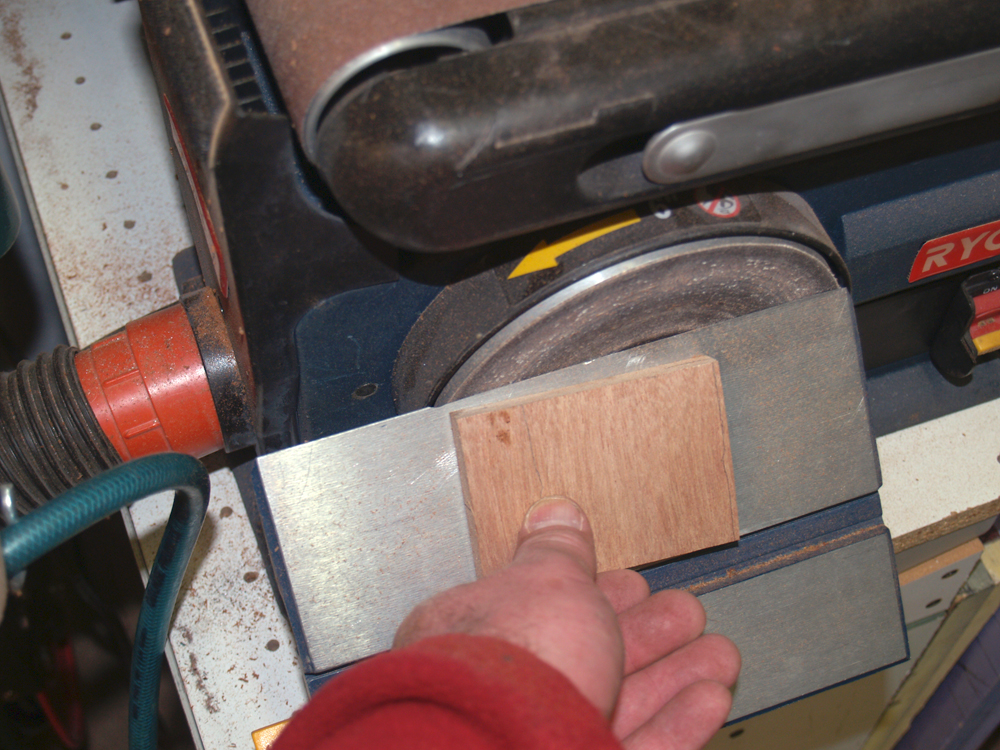 ( 57 ) 3-Oct-2011
Before gluing the tail block in I use the small disk sander to bevel the edges to match the height of the kerfing.
 ( 58 ) 3-Oct-2011
A look at the bevel.
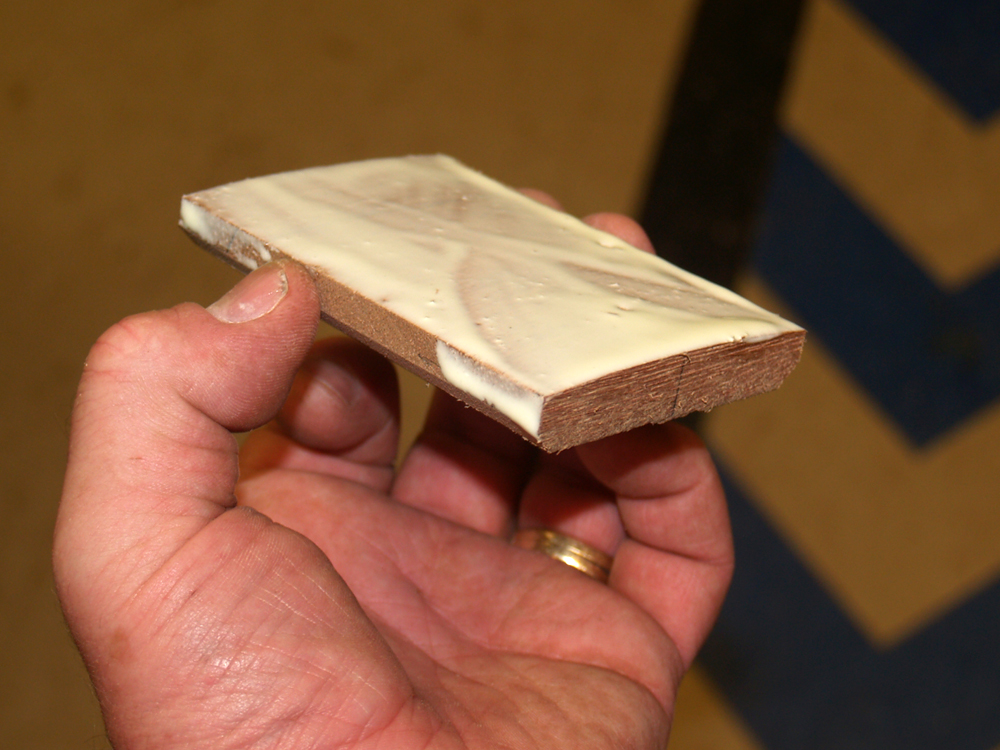 ( 59 ) 3-Oct-2011
I apply a liberal amount of glue to the tail block and the heal block.
 ( 60 ) 3-Oct-2011
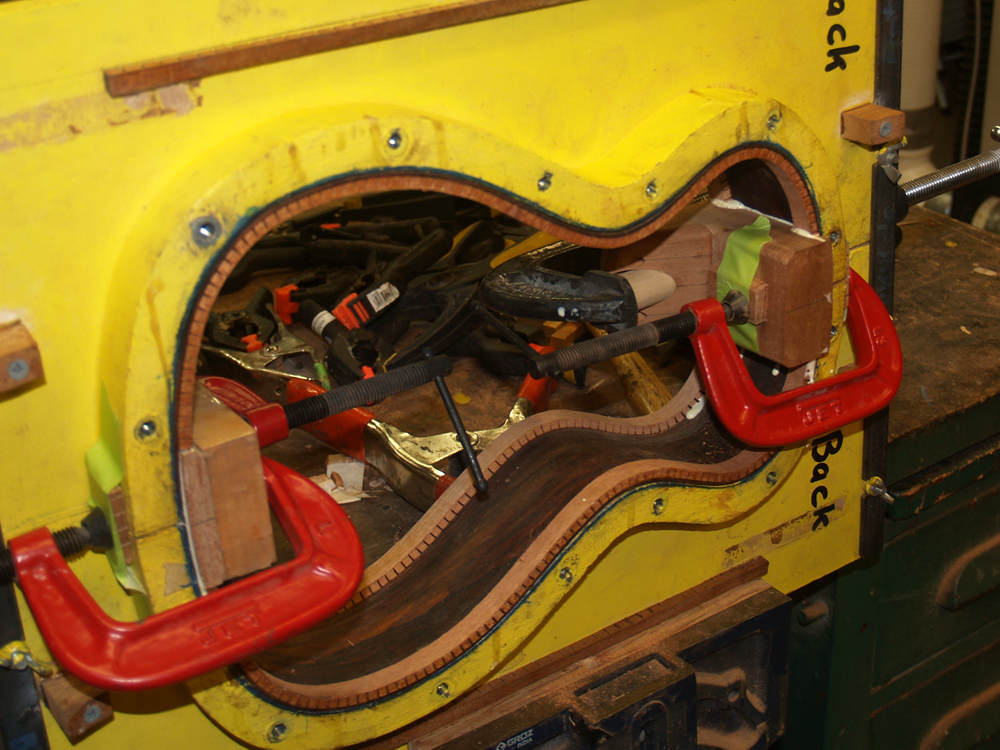
And a couple sets of clamps glues everything together.
 ( 61 ) 3-Oct-2011
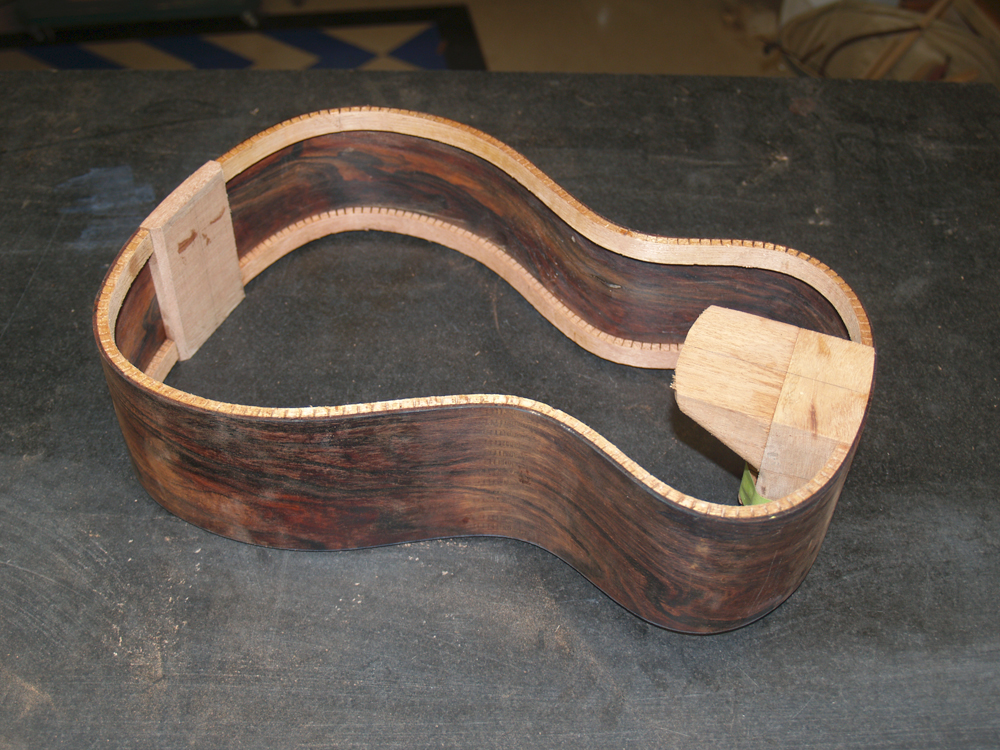
And after the glue dries over night I pull it out of the forms.
 ( 62 ) 3-Oct-2011
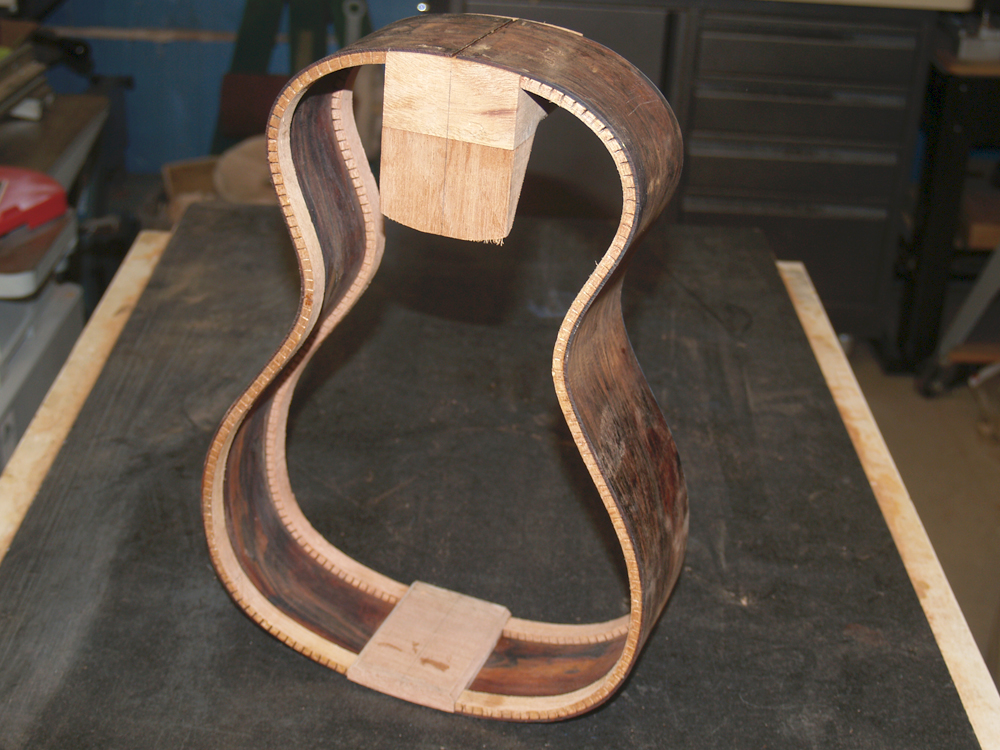
Starting to look like a ukulele.