 ( 112 ) 15-Dec-2011
Now I turn my attention to creating the rosette set. Here I have cut a pair of book matched pieces from a block of spalted mahogany.
 ( 112 ) 15-Dec-2011
Now I turn my attention to creating the rosette set. Here I have cut a pair of book matched pieces from a block of spalted mahogany.
 ( 113 ) 15-Dec-2011
I start out by gluing the two pieces together to create a more or less symmetric veneer plate.
 ( 114 ) 15-Dec-2011
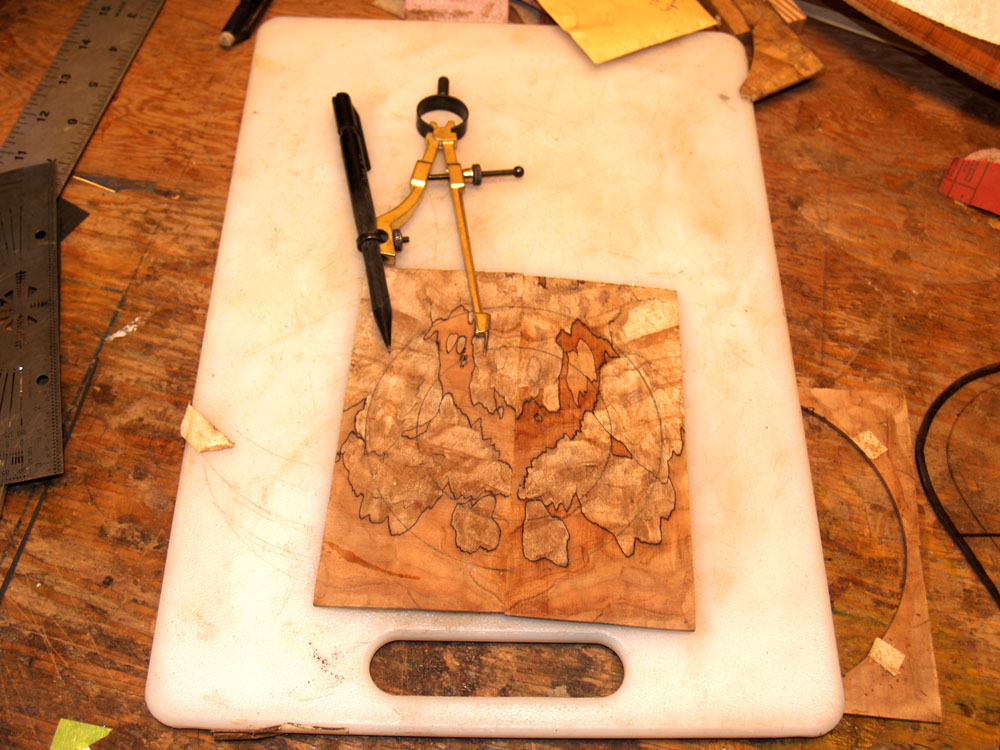
I use a few tools of the trade help to lay out the rosette on the veneer blank.
 ( 115) 15-Dec-2011
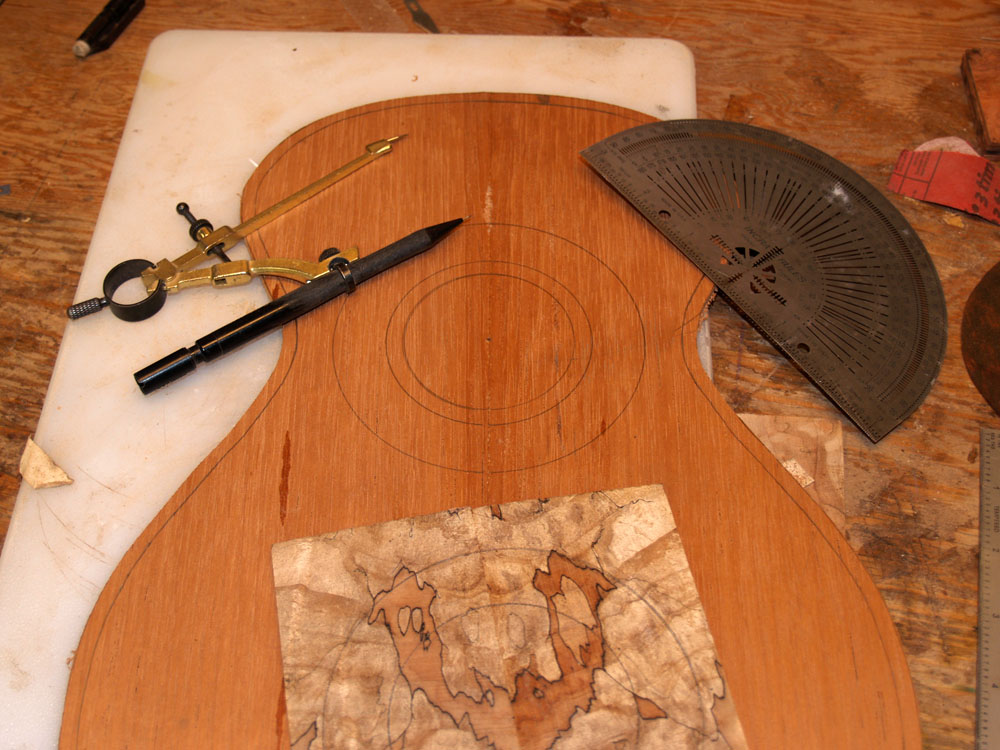
And then reproduce the layout on the top blank.
 ( 116 ) 15-Dec-2011
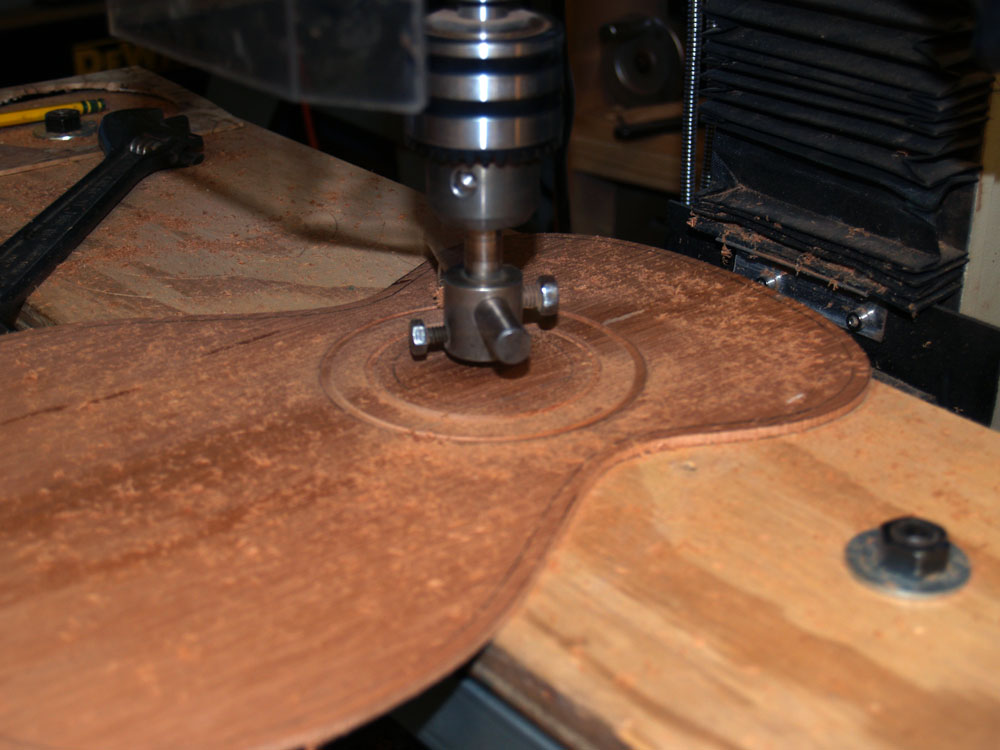
My milling machine and this circle cutter lets me cut a perfect circle out of the rosette veneer.
 ( 117 ) 15-Dec-2011
And then I route out a perfect channel in the top blank for the rosette.
 ( 118 ) 15-Dec-2011
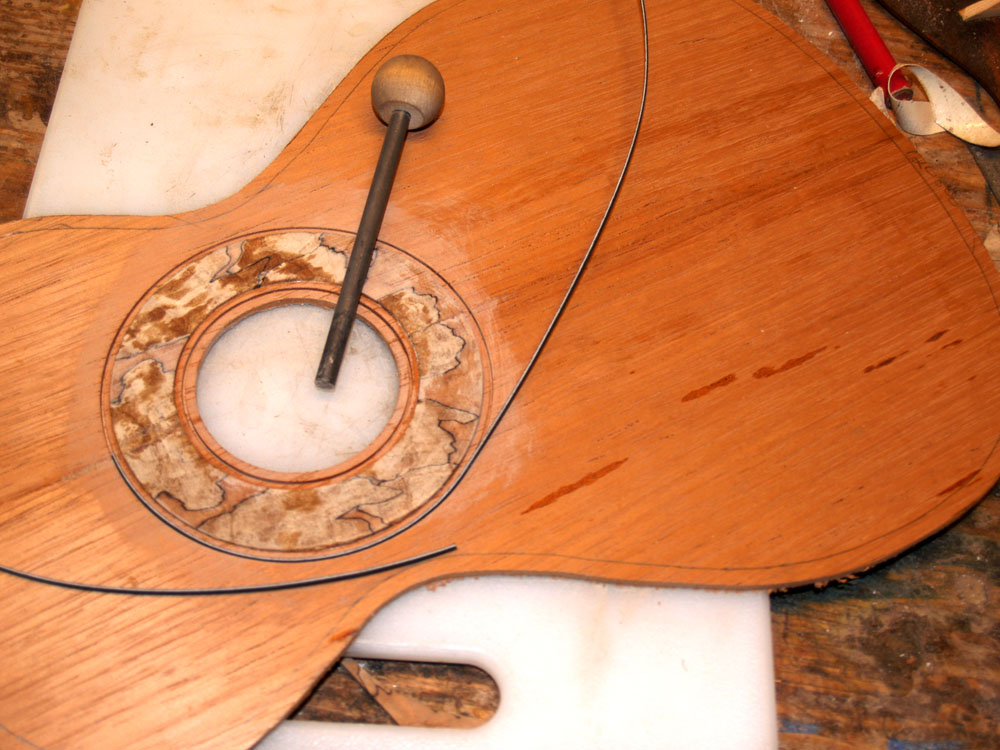
After gluing the rosette into the channel, I route out two thin channels inside and outside of the rosette for a strip of B/W/B pin-stripping.
 ( 119 ) 15-Dec-2011
I then carefully press the pin-striping into place and glue it in with a little cyanoacrylate glue.
 ( 120 ) 15-Dec-2011
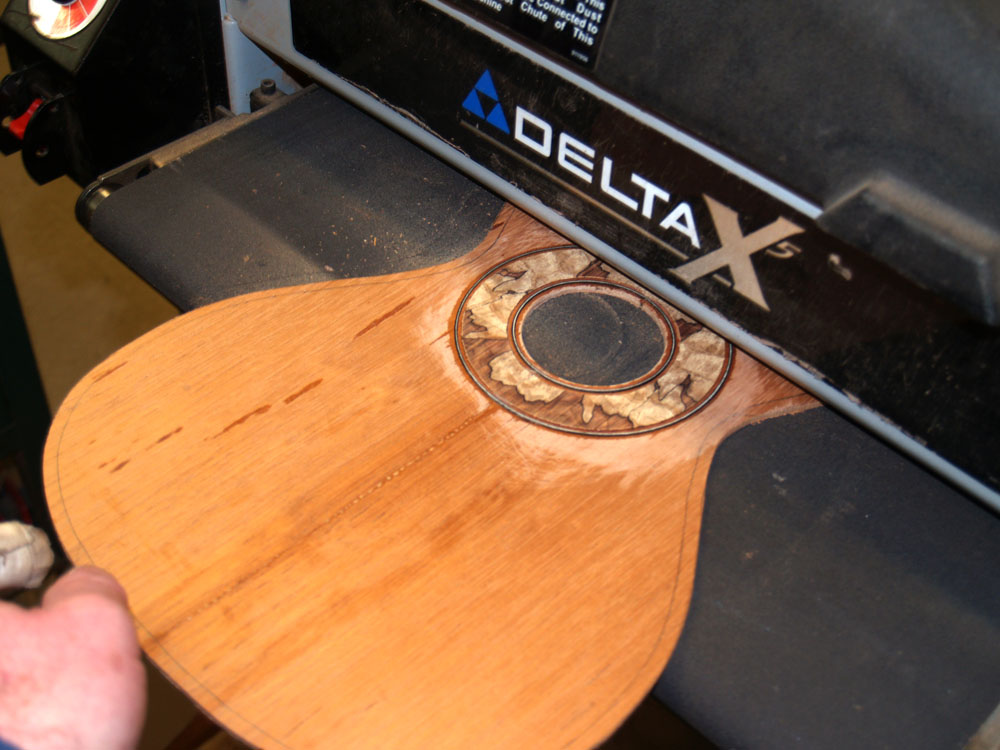
All of the pieces for the rosette were glued into the top plate a little bit proud of the surface, so I use the drum sander to sand everything flush.
 ( 121 ) 15-Dec-2011
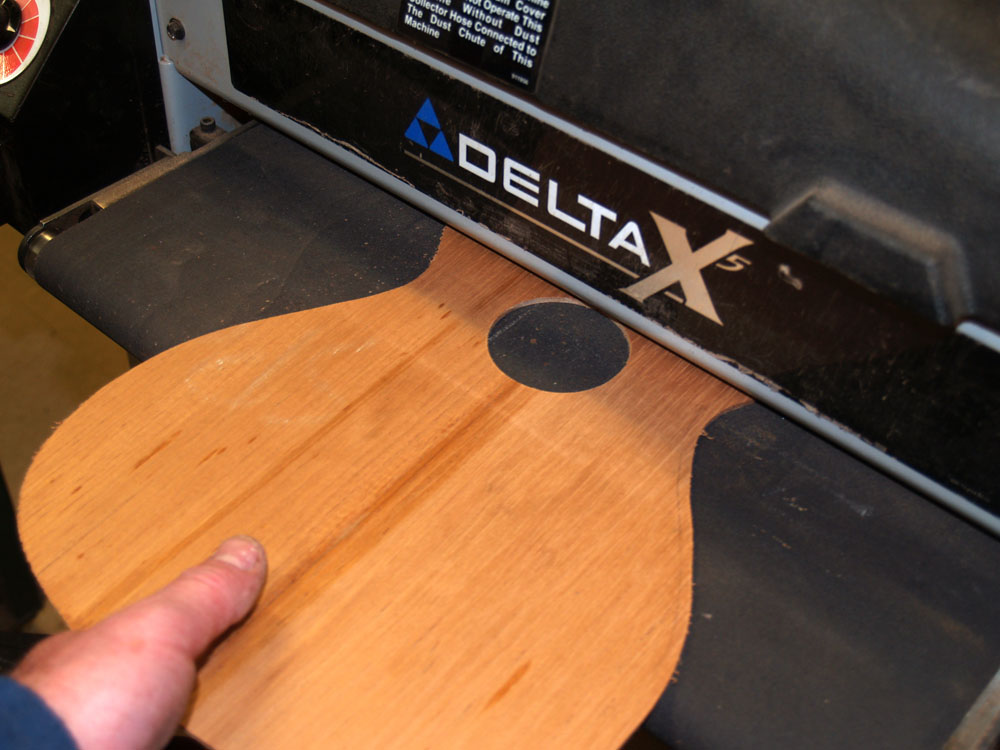
And then I use the drum sander again to sand the back of the top plate making the top about 100 mils thick.
 ( 122 ) 15-Dec-2011
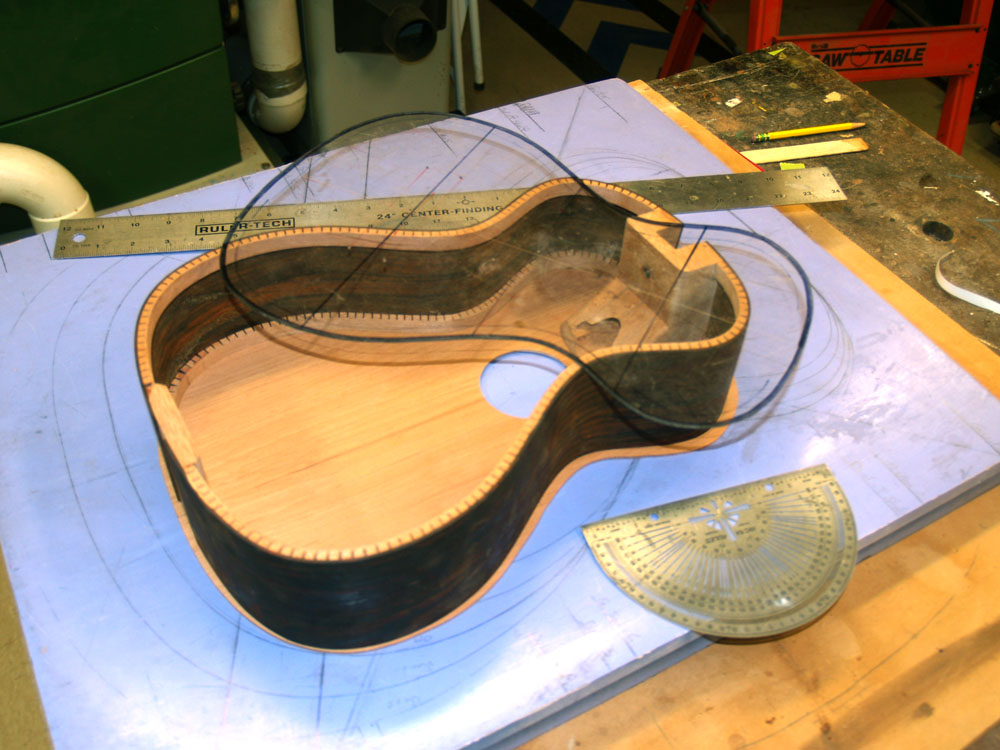
Now that the rosette is set I can lay out the bracing.
 ( 123 ) 15-Dec-2011
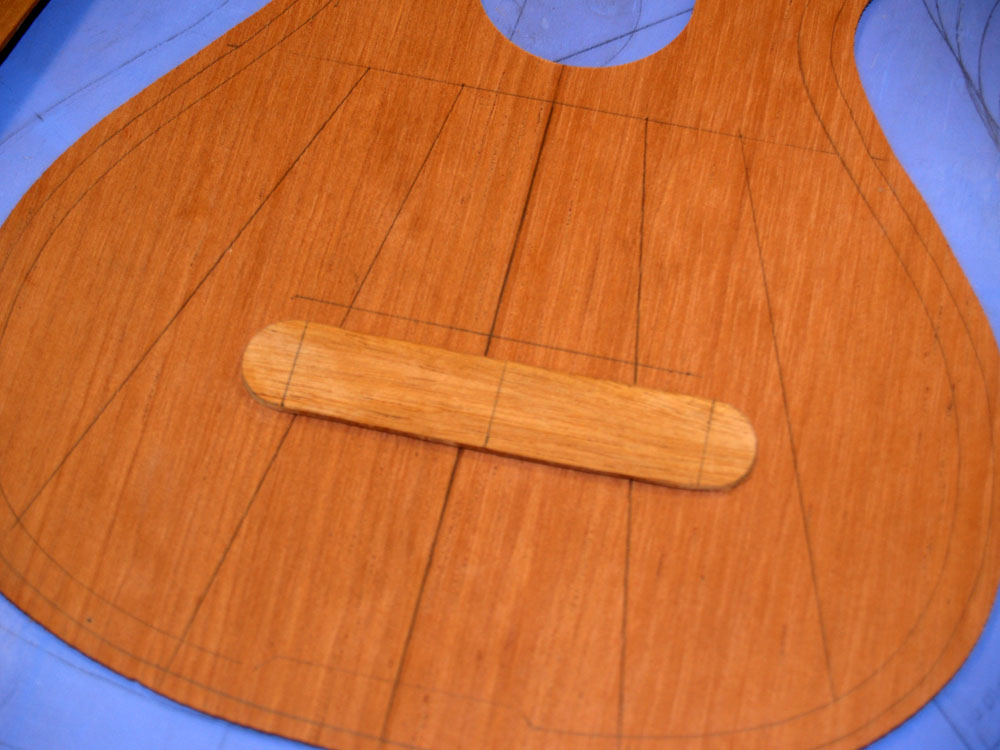
This is the mahogany bridge plate, and you can see the lines for the fan bracing.
 ( 124 ) 15-Dec-2011
I trim the ends of the each fan brace with a nice curve.
 ( 125 ) 15-Dec-2011
I use the go-box to press the brace into place as they are glued to the top plate.
 ( 126 ) 15-Dec-2011
I use lots of go-sticks to get even pressure across each brace.
 ( 127 ) 15-Dec-2011
Lots and lots of go-sticks
 ( 128 ) 15-Dec-2011
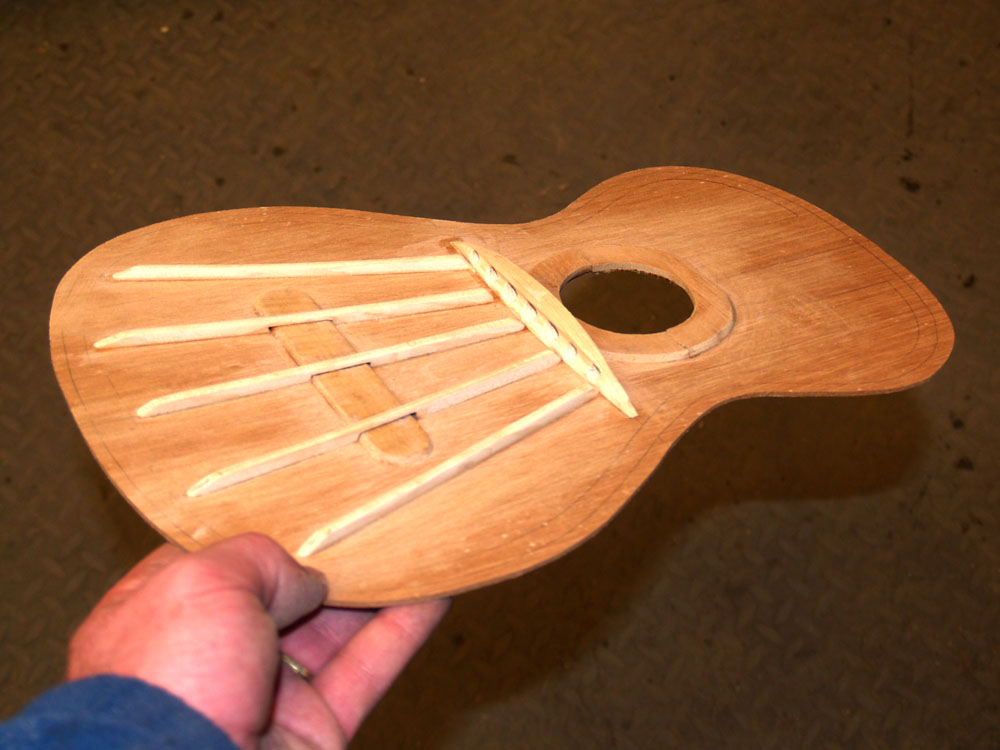
After the glue drys over night I pull the to plate out and give it a tap to hear how it sounds. A little bit of sandpaper is used to clean up the stray glue.
 ( 129 ) 15-Dec-2011
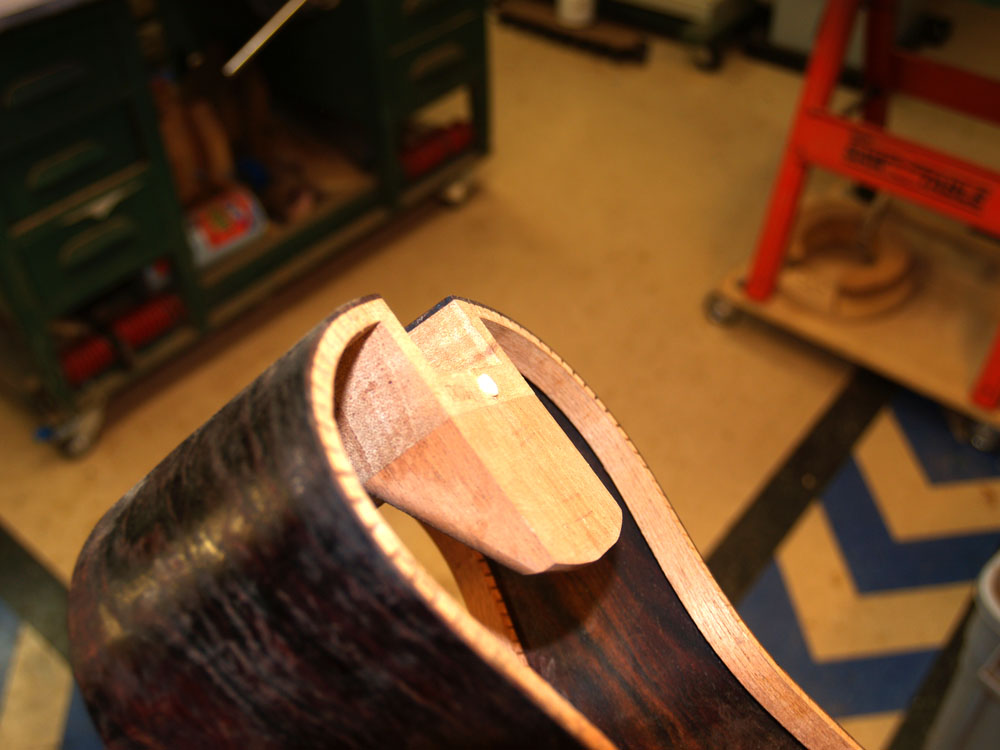
A small but important detail is to sand a bevel into the tail block to make it even with the kerfing.
 ( 130 ) 15-Dec-2011
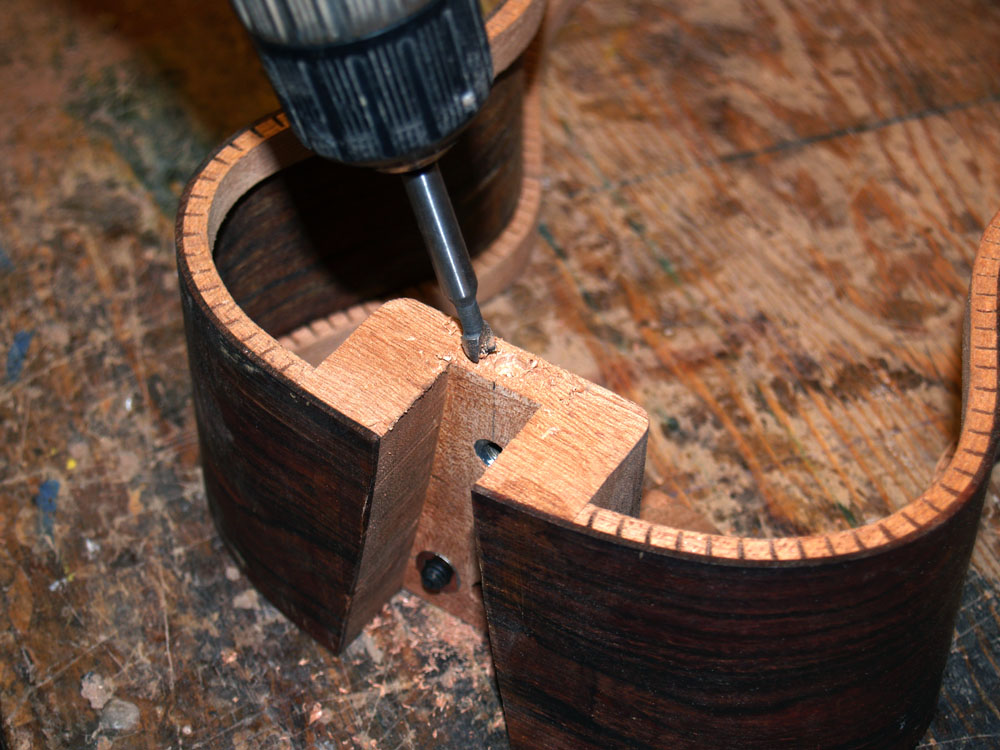
To help align to top to the rim as I glue everything together I install a couple fiducial buttons. I start out by drilling a shallow 1/4 inch hole into the end blocks.
 ( 131 ) 15-Dec-2011
Then I insert a small 1/4 inch plug into the hole.
 ( 132 ) 15-Dec-2011
A small drop of cyanoacrylate glue goes on the end of the plug, and then when I press the rim into the top the plug sticks to the plate. Now I can repeatedly return the top to the same place with confidence. When I glue the top and bottom to the the rim I can be sure that they will not slip out of place.
 ( 133 ) 15-Dec-2011
Before I can glue the back to the rim I need to glue the contra-rosette and a few reinforcing strips in place.
 ( 134 ) 15-Dec-2011
A little bit of sanding cleans up the back plate and we are almost ready to assemble the sound box.
 ( 135 ) 15-Dec-2011
The sound hole gets sanded into a perfect circle using the oscillating sander.
 ( 136 ) 15-Dec-2011
And the top plate gets a set of fiducial buttons.
 ( 137 ) 15-Dec-2011
Pressing the rim into the top plate.
 ( 138 ) 15-Dec-2011
And the fiducial button sticks to the top plate.
 ( 139 ) 15-Dec-2011
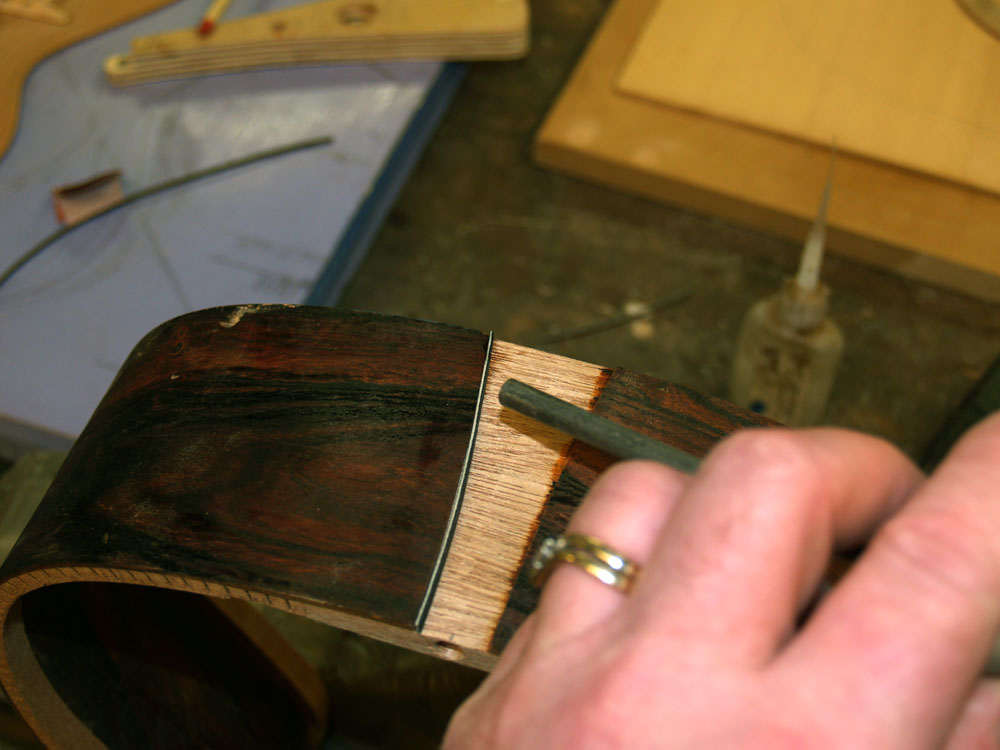
A few more details. I am installing some b/w/b pin-stripping to outline the tail graft.
 ( 140 ) 15-Dec-2011
And then I use an ivoroid plate to make the tail graft.
 ( 141 ) 15-Dec-2011
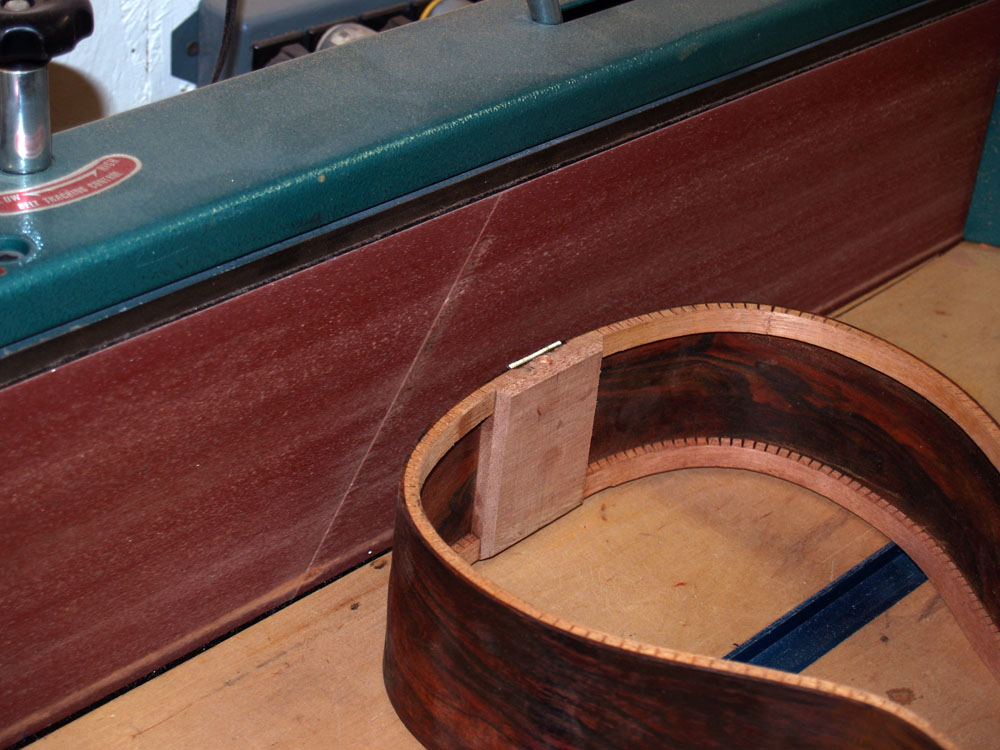
Everything fits perfectly.
 ( 142 ) 15-Dec-2011
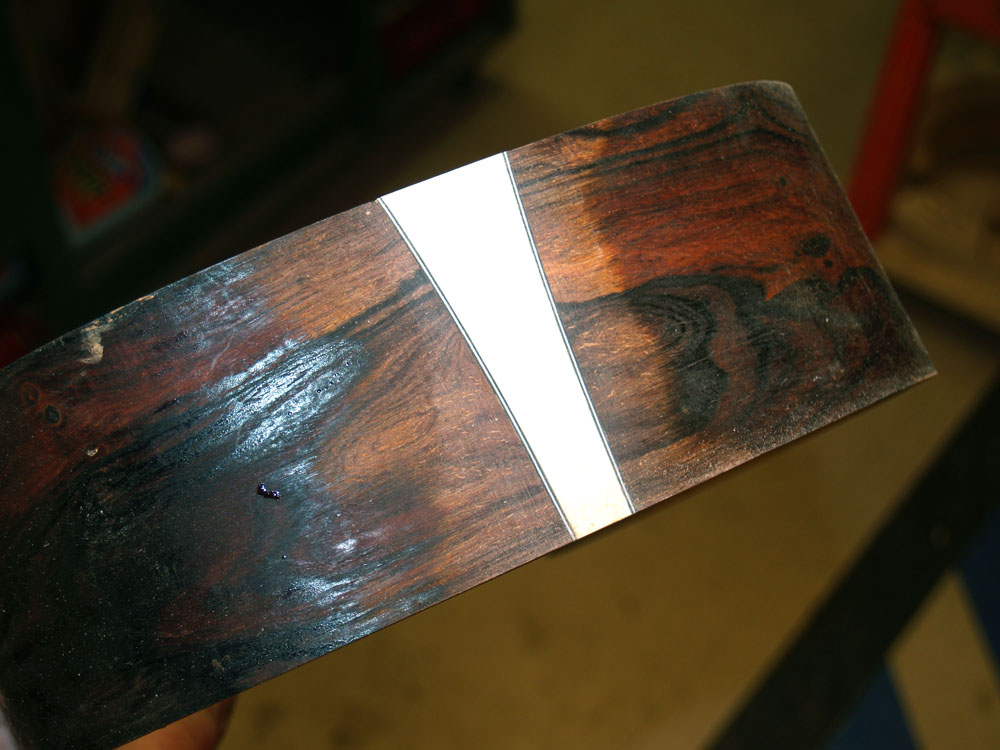
And then I sand the tail graft flush using my belt sander.
 ( 143 ) 15-Dec-2011
The ivoroid tail graft will match the ivoroid binding we are going to use.
 ( 144 ) 15-Dec-2011
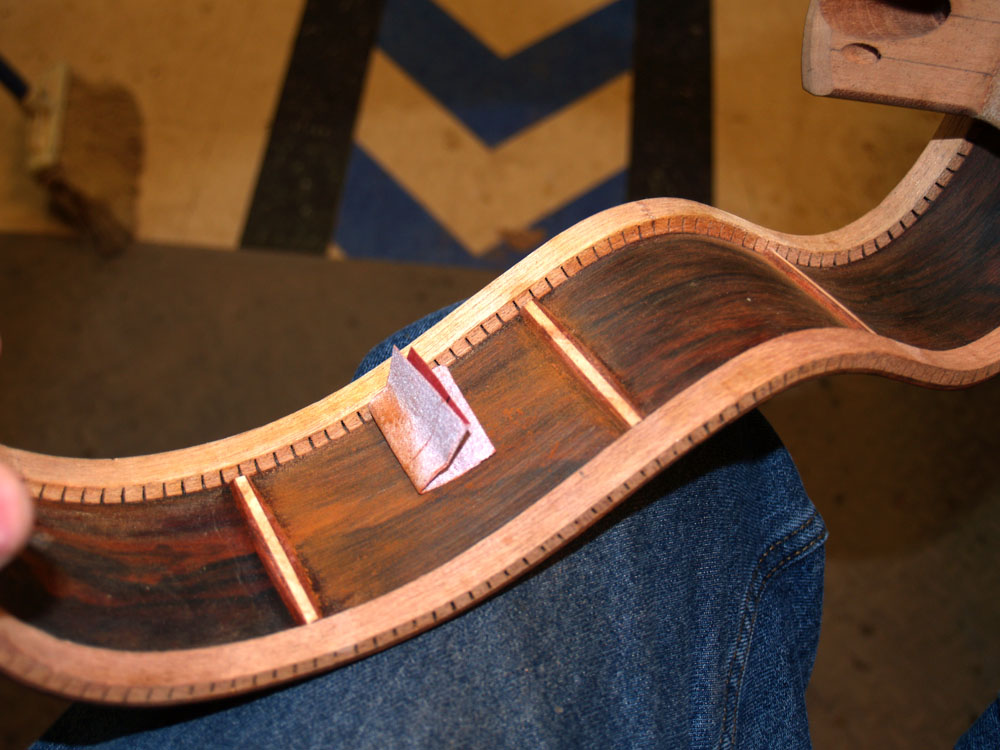
One last detail is to install some reinforcing braces on the inside of the rim. These will help prevent the sides from spliting should the ukulele ever gets dropped or abused. We would never abuse the ukulele would we?
 ( 145 ) 15-Dec-2011
A few of my many clamps help glue the braces in place.
 ( 146 ) 15-Dec-2011
And a little sanding cleans up the excess glue.
 ( 147 ) 15-Dec-2011
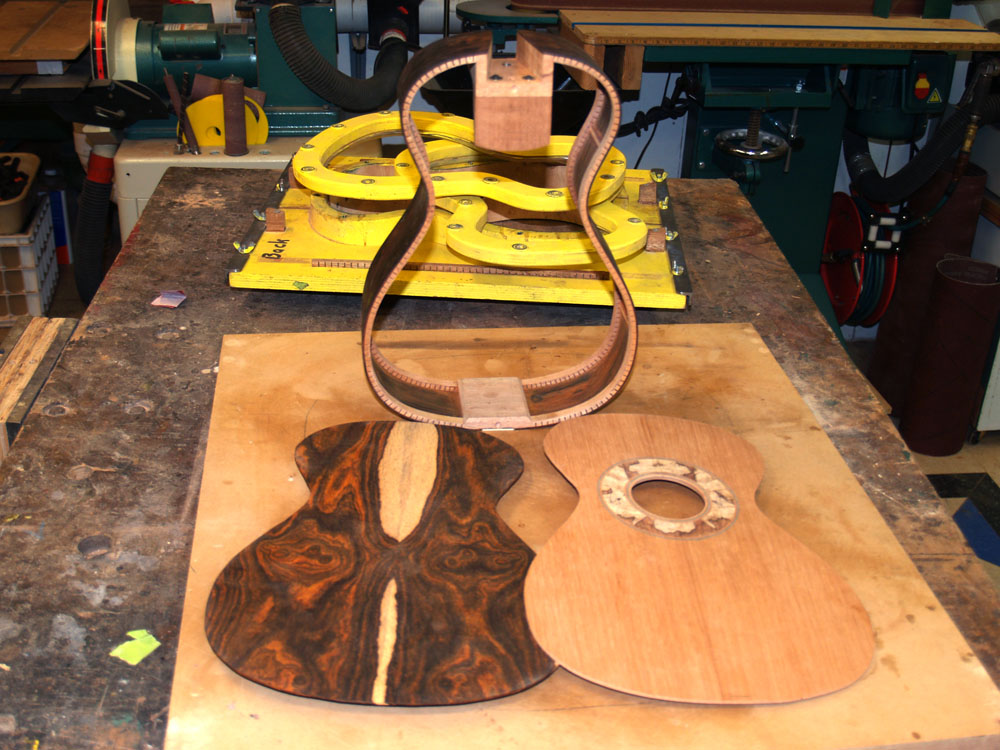
Now we are ready to assemble the sound box.
 ( 148 ) 15-Dec-2011
But first I glue the serial number label to the heal block.
 ( 149 ) 15-Dec-2011
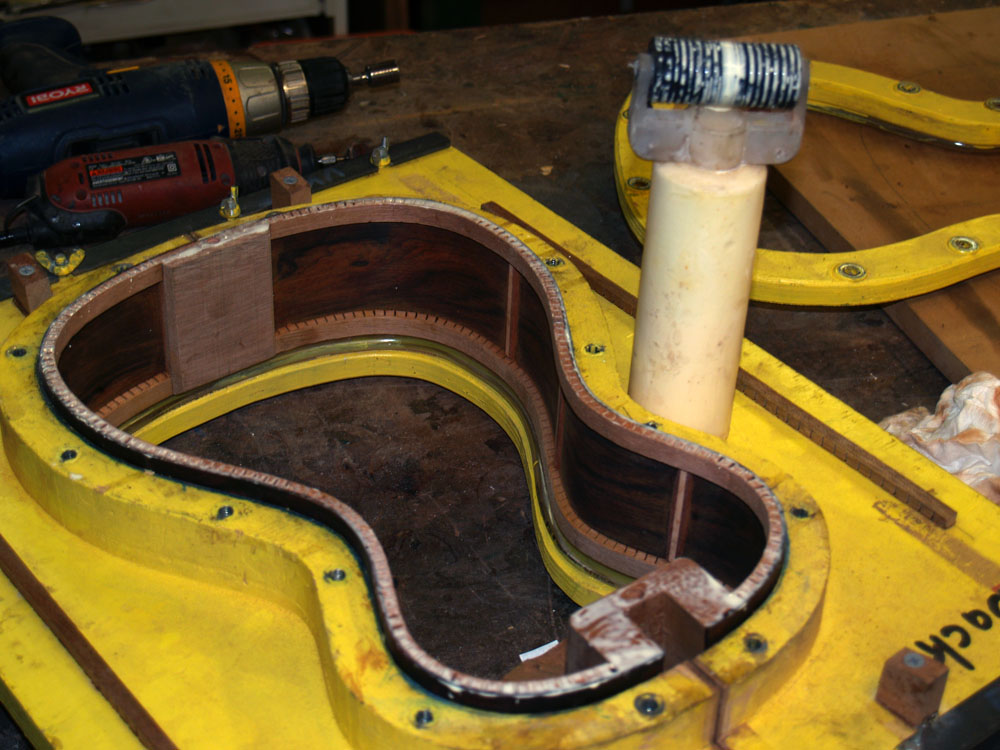
To glue the back onto the rim I start out by mounting the rim in the side form with the top flange pushing the rim proud on the back side.
 ( 150 ) 15-Dec-2011
A thin layer of glue goes on the rim edge.
 ( 151 ) 15-Dec-2011
After the back plate is positioned the flange holds the plate firmly onto the rim.
 ( 152 ) 15-Dec-2011
Before it sets, I clean up the glue squeeze out with a brush.
 ( 153 ) 15-Dec-2011
After the glue drys over night I pull the rim out of the form.
 ( 154 ) 15-Dec-2011
I mount the rim in the rim vice.
 ( 155 ) 15-Dec-2011
The back plate overlaps the rim by a bit; we have to trim this flush to the sides.
 ( 156 ) 15-Dec-2011
I use a small router to trim the back plate flush to the sides.
 ( 157 ) 15-Dec-2011
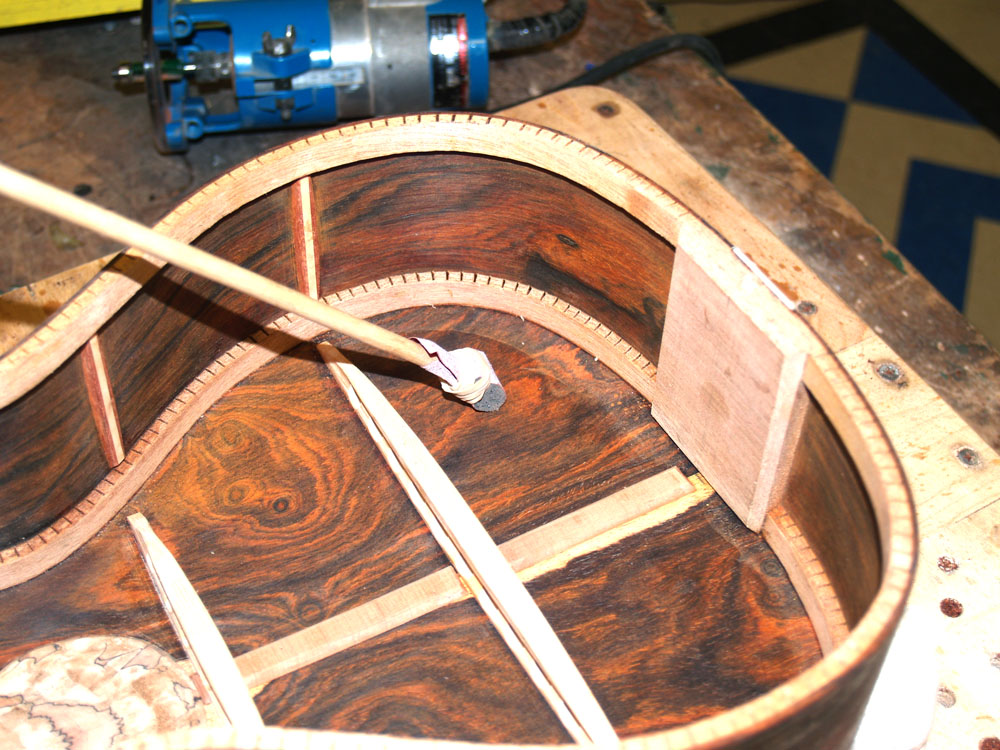
The back plate after it has been trimmed to the sides.
 ( 158 ) 15-Dec-2011
I use a sanding stick to get into the nooks and crannies inside the sound box to clean up any excess glue.
 ( 159 ) 15-Dec-2011
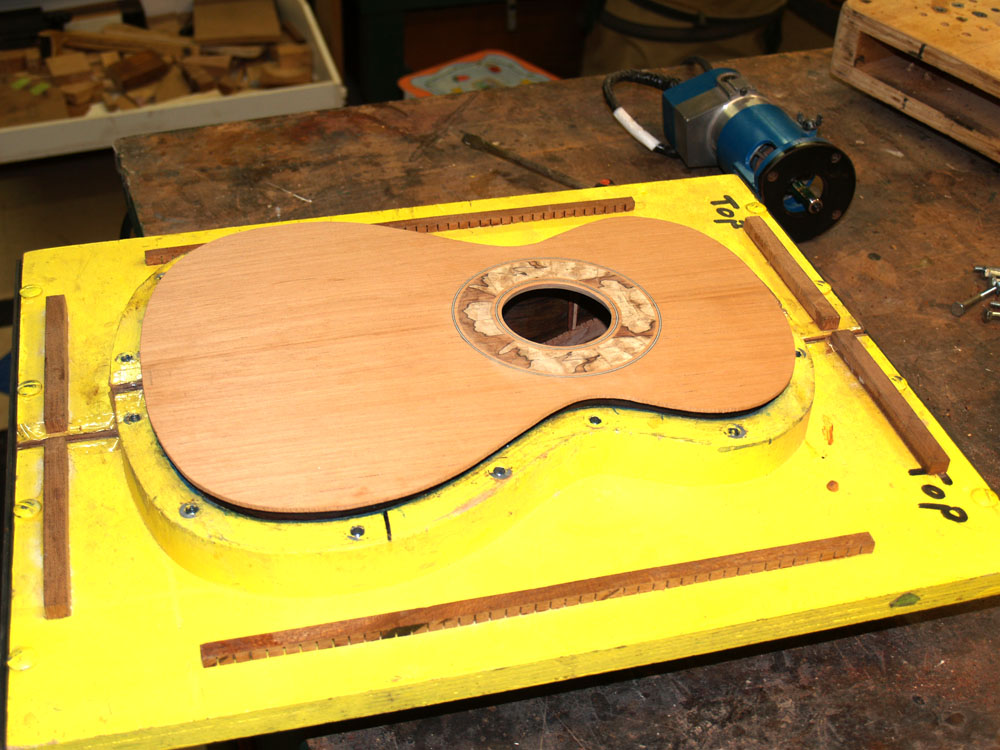
Now we are ready to glue the top to the rim. The rim goes into the side form and a bead of glue goes around the rim.
 ( 160 ) 15-Dec-2011
The top gets positioned on the rim.
 ( 161 ) 15-Dec-2011
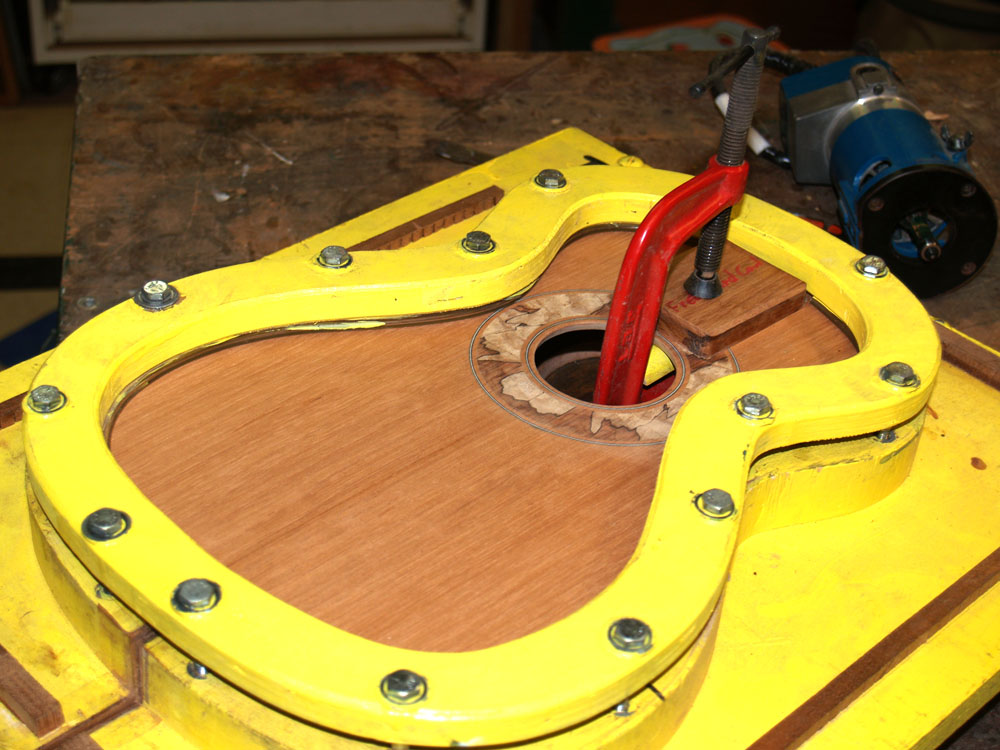
And the flange presses the top into place. The C clamp makes sure the top makes good contact to the heal block.
 ( 162 ) 15-Dec-2011
After letting the glue dry over night I pop the body out of the form.
 ( 163 ) 15-Dec-2011
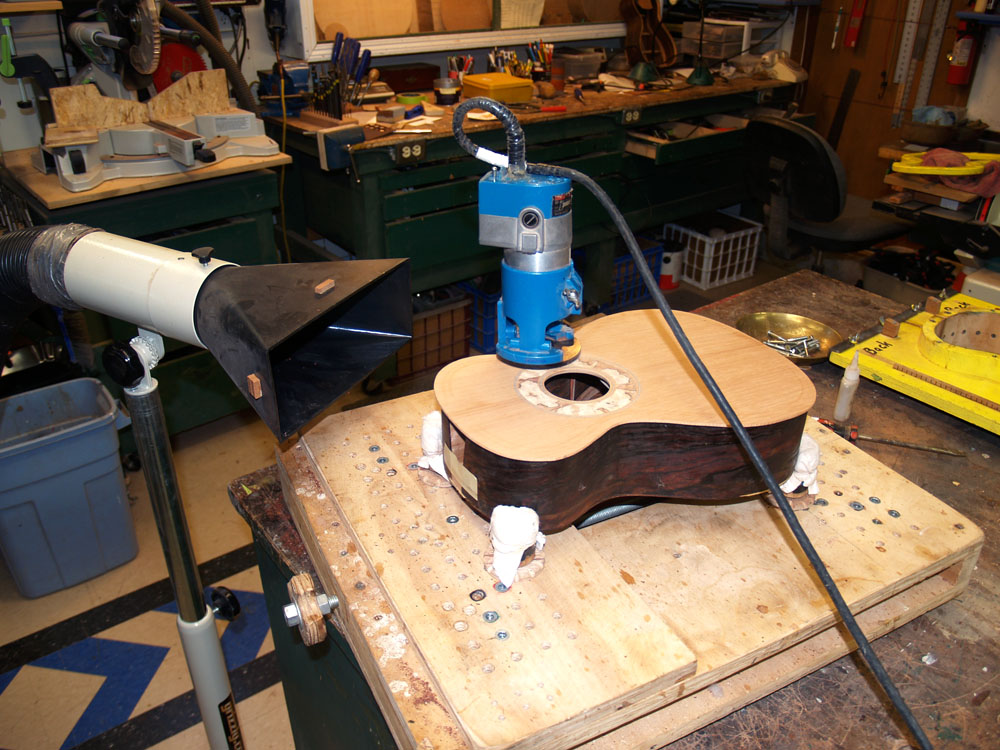
And I use the hand held router to trim the lip off of the top.
 ( 164 ) 15-Dec-2011
A picture of the back.
 ( 165 ) 15-Dec-2011
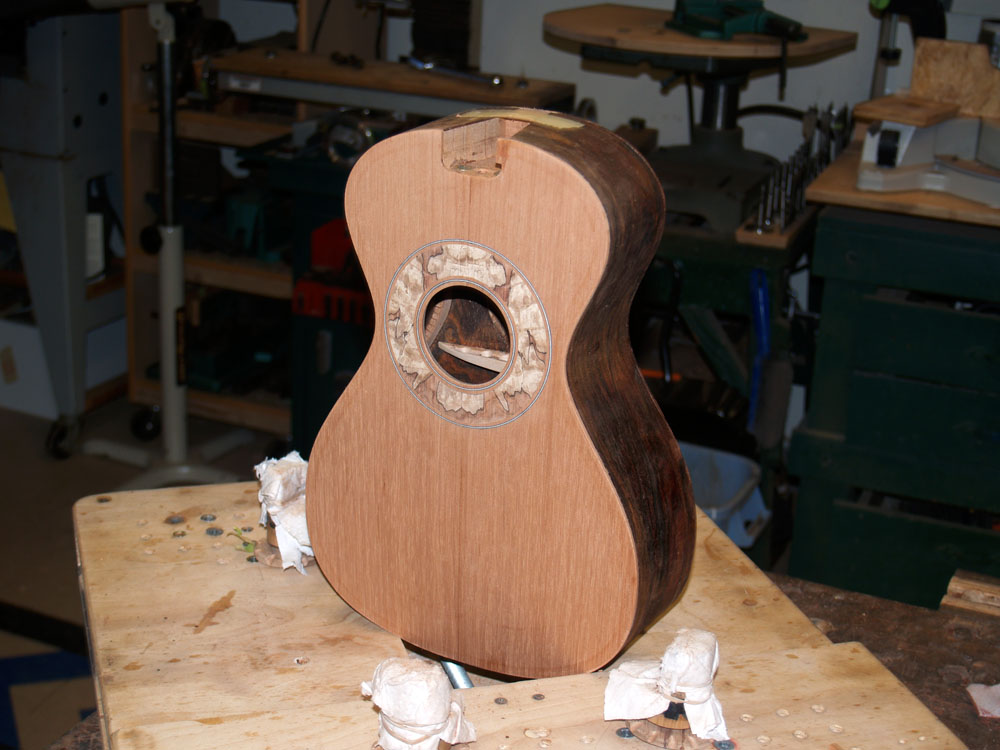
A picture of the front.