 ( 354 ) 20-Oct-2012
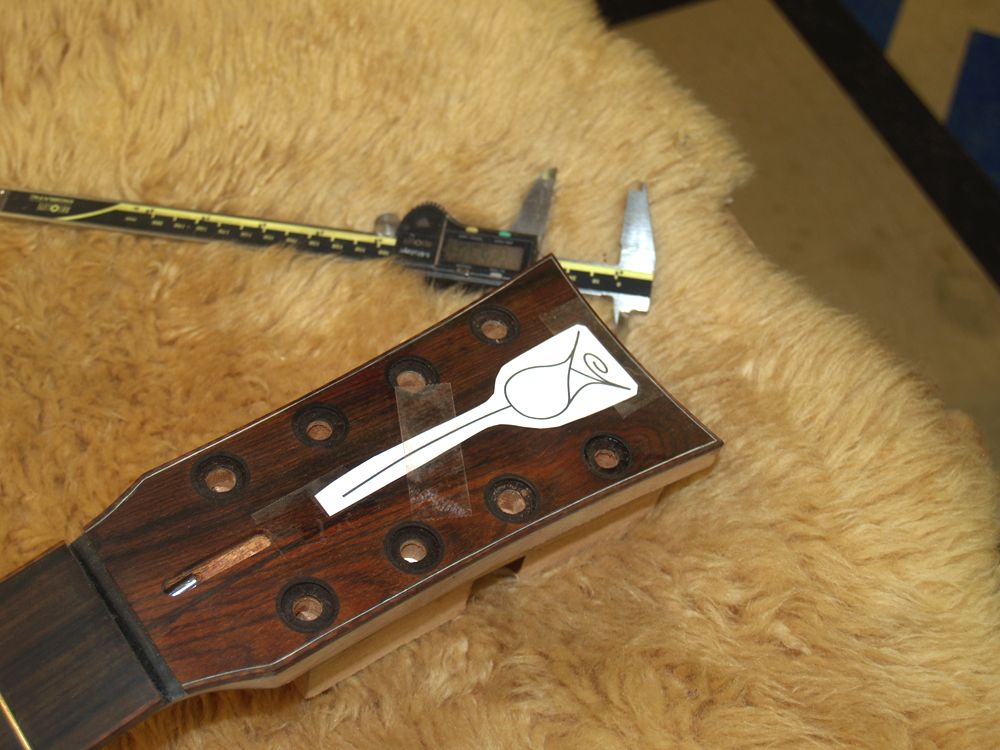
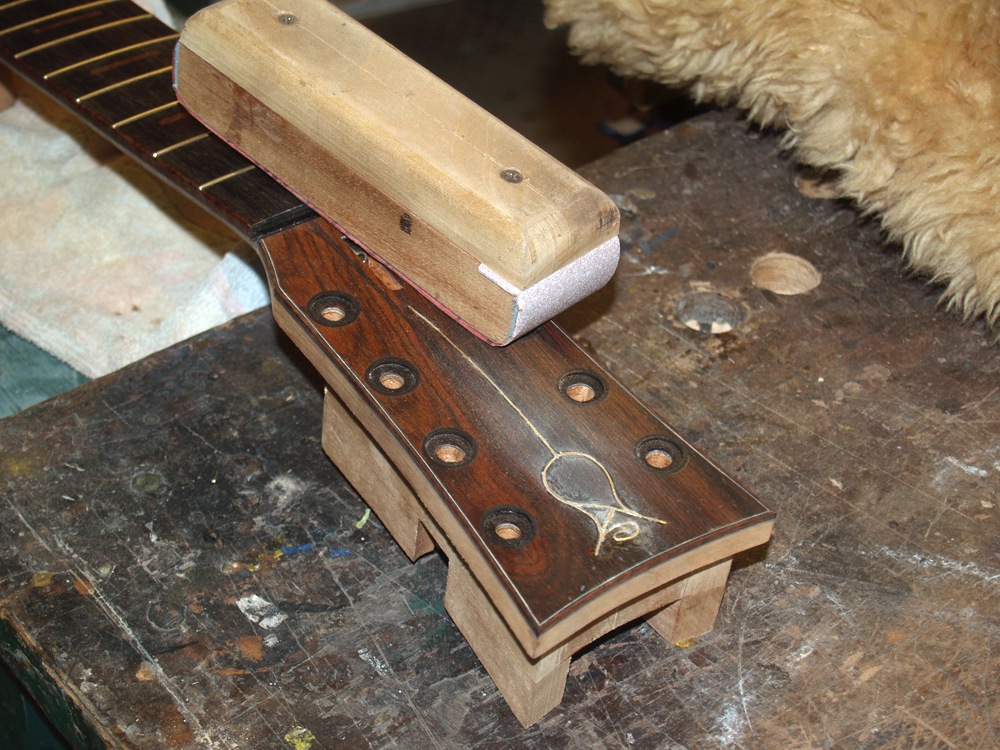
Here I am laying out the pattern for Portland Guitar's signature rose.
( 354 ) 20-Oct-2012
Here I am laying out the pattern for Portland Guitar's signature rose.
 ( 355 ) 20-Oct-2012
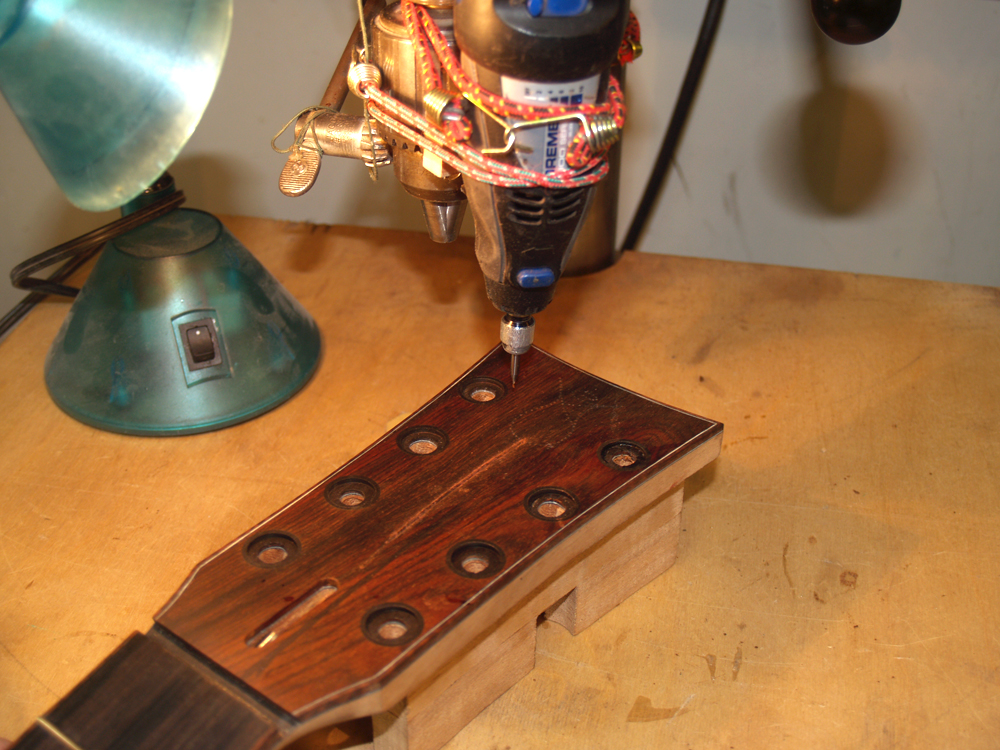
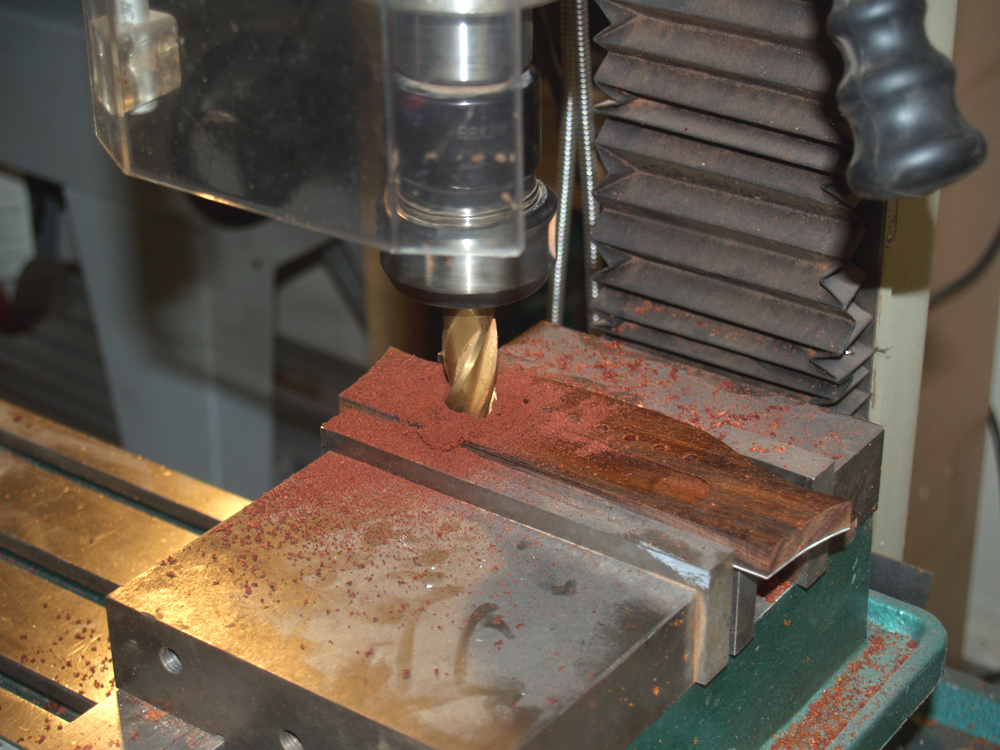
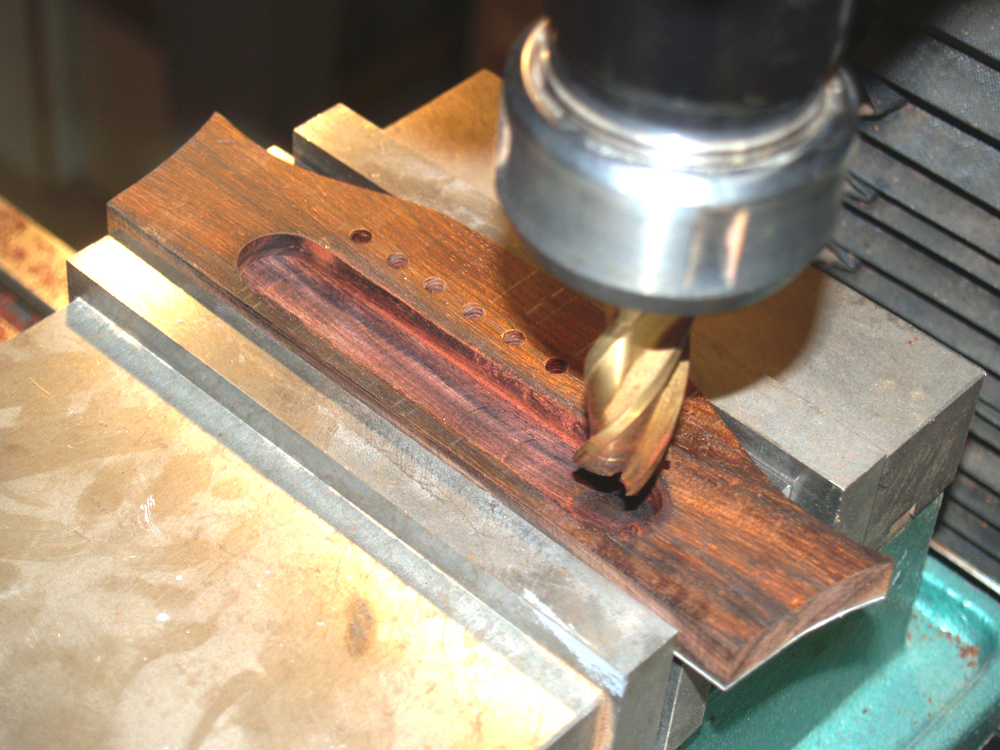
I use a very small milling bit set up as an overhead router to create the channel for the gold wire.
 ( 356 ) 20-Oct-2012
The channel is just a little bit wider than the wire.
 ( 357 ) 20-Oct-2012
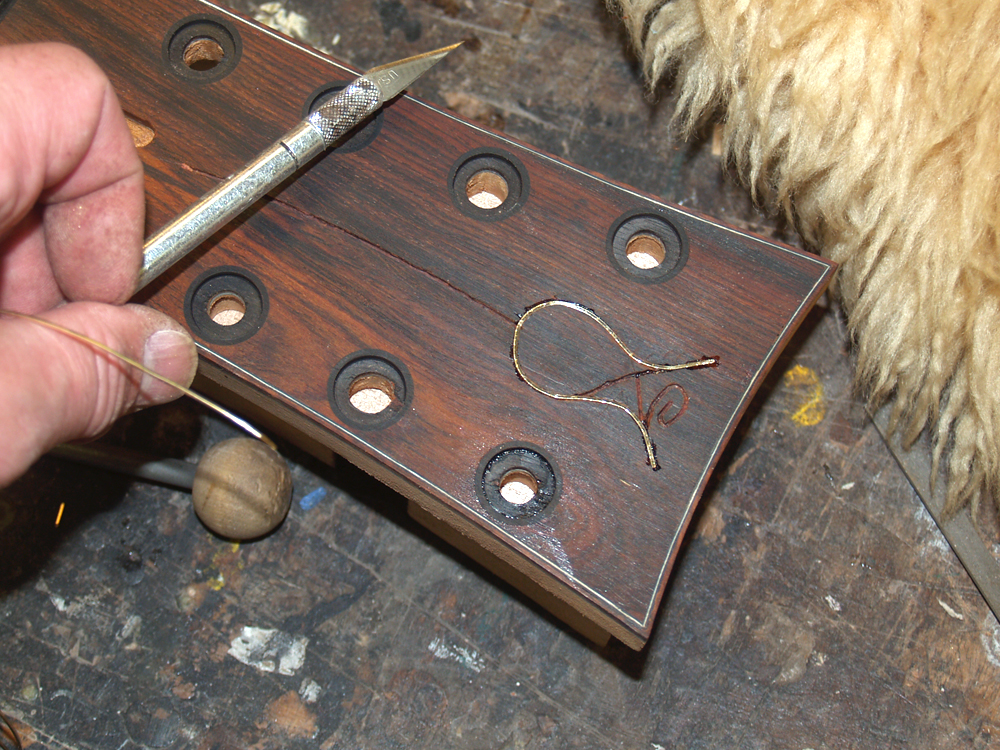
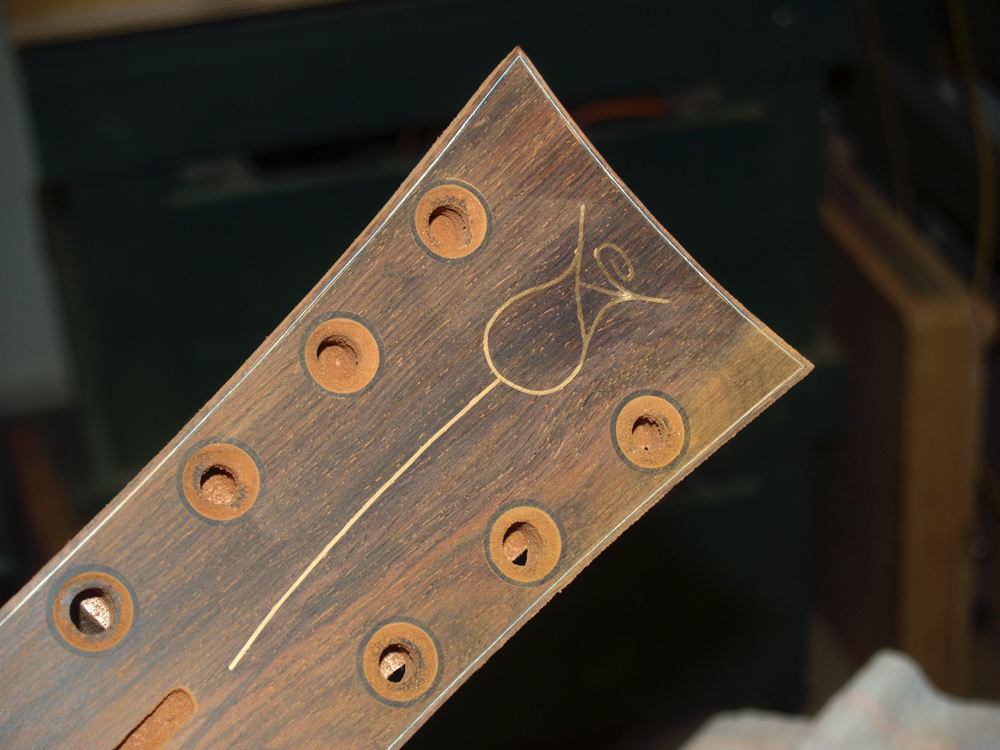
I press the gold wire into the channel leaving it a little bit proud of the surface.
 ( 358 ) 20-Oct-2012
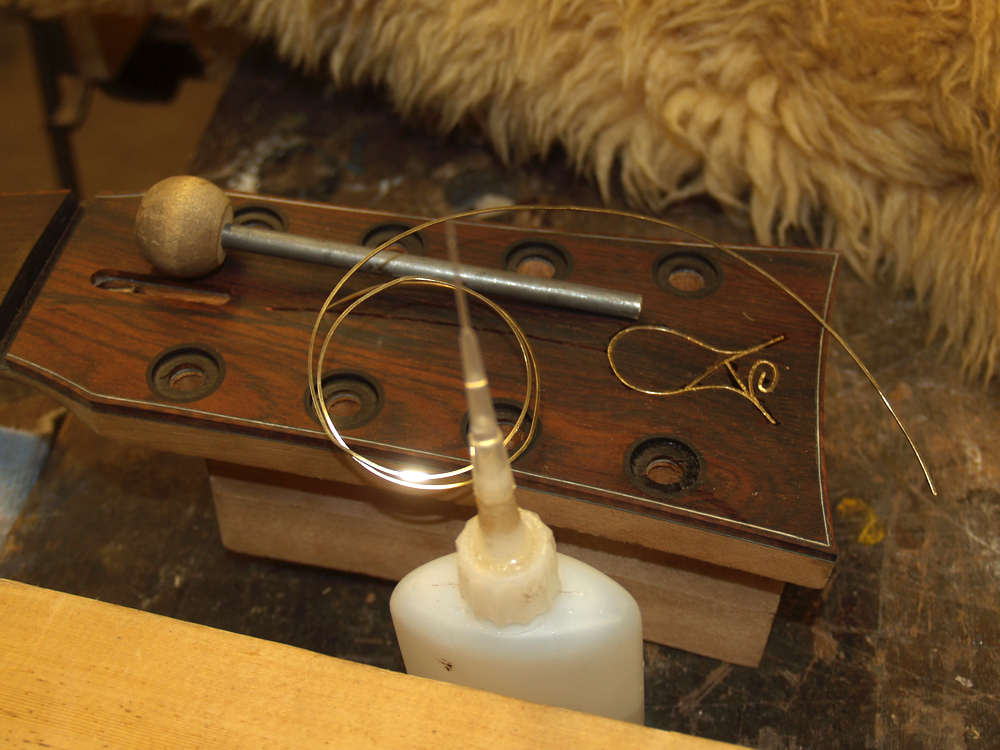
I use a variety of tools the set the rose.
 ( 359 ) 20-Oct-2012
After the wire is glued in place I sand everything flush.
 ( 360 ) 20-Oct-2012
The rose in the rough.
 ( 361 ) 20-Oct-2012
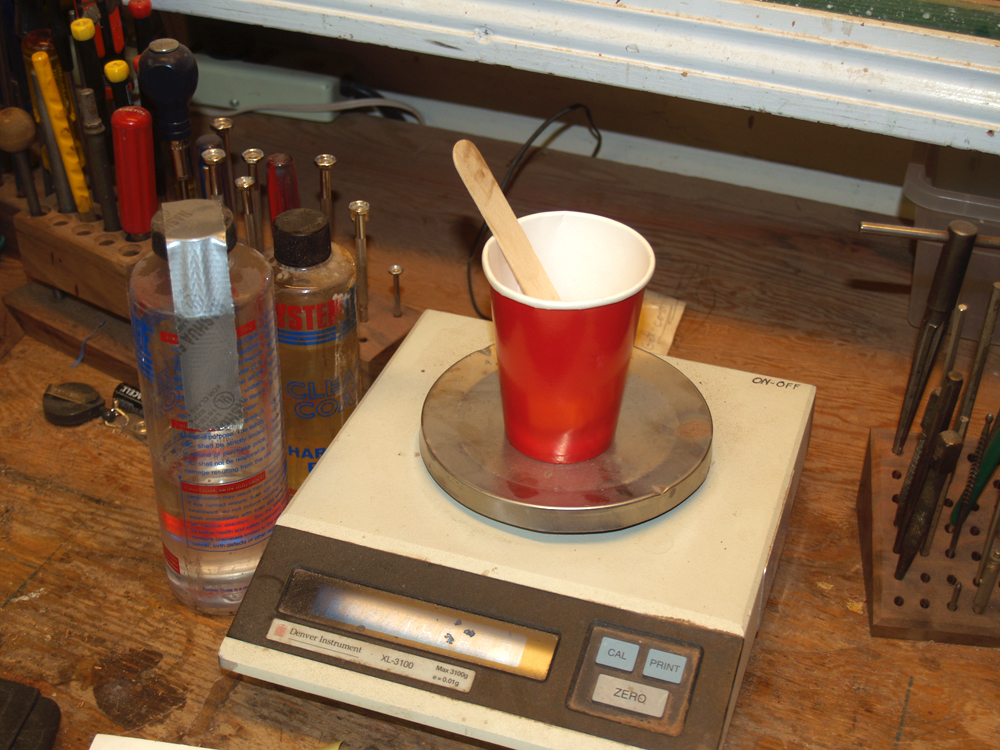
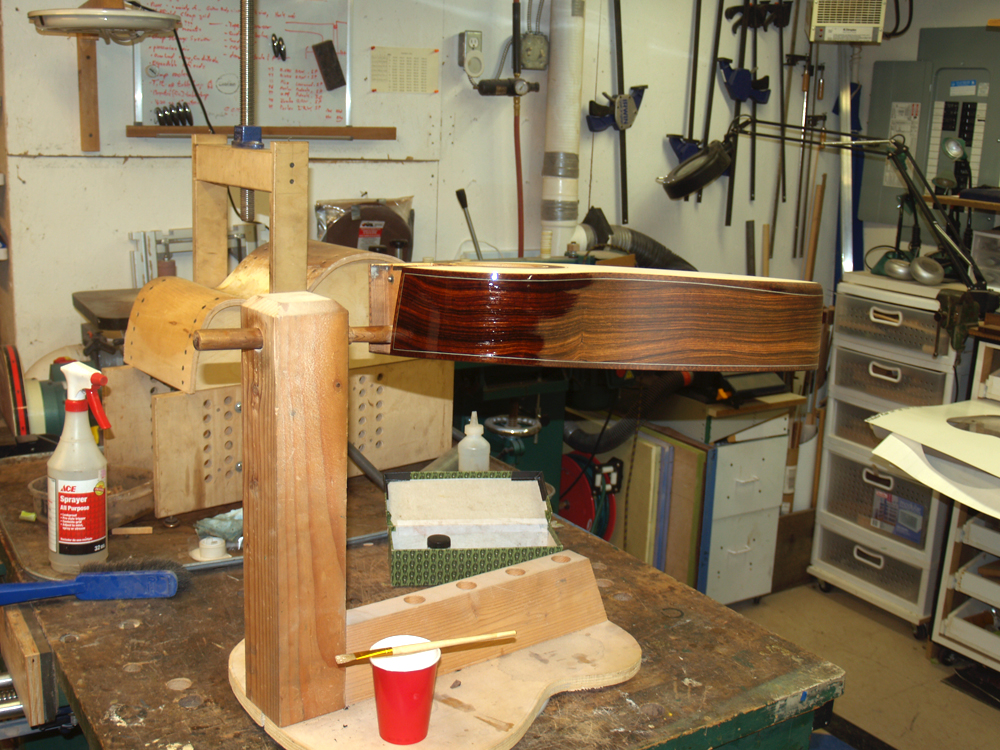
To help get a smooth surface on wood it is often necessary to fill in the pores. I use an epoxy to do this.
 ( 362 ) 20-Oct-2012
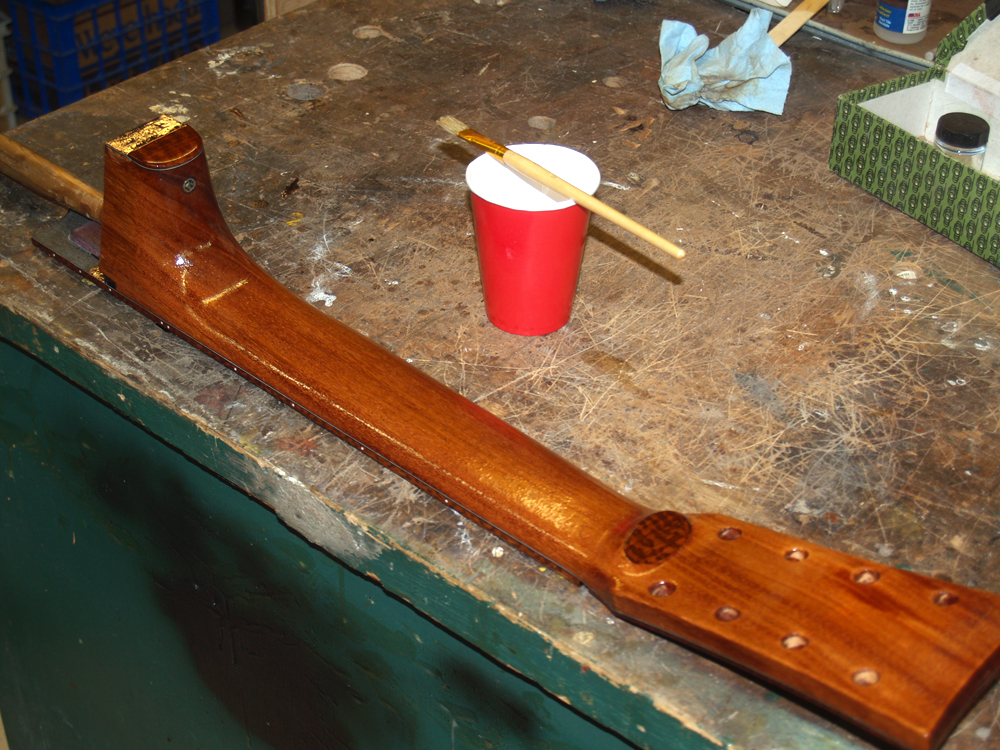
I paint it on, working it into the pores. I will put two coats on and then sand the surface smooth.
 ( 363 ) 20-Oct-2012
Here I am filling the pores on the body.
 ( 364 ) 20-Oct-2012
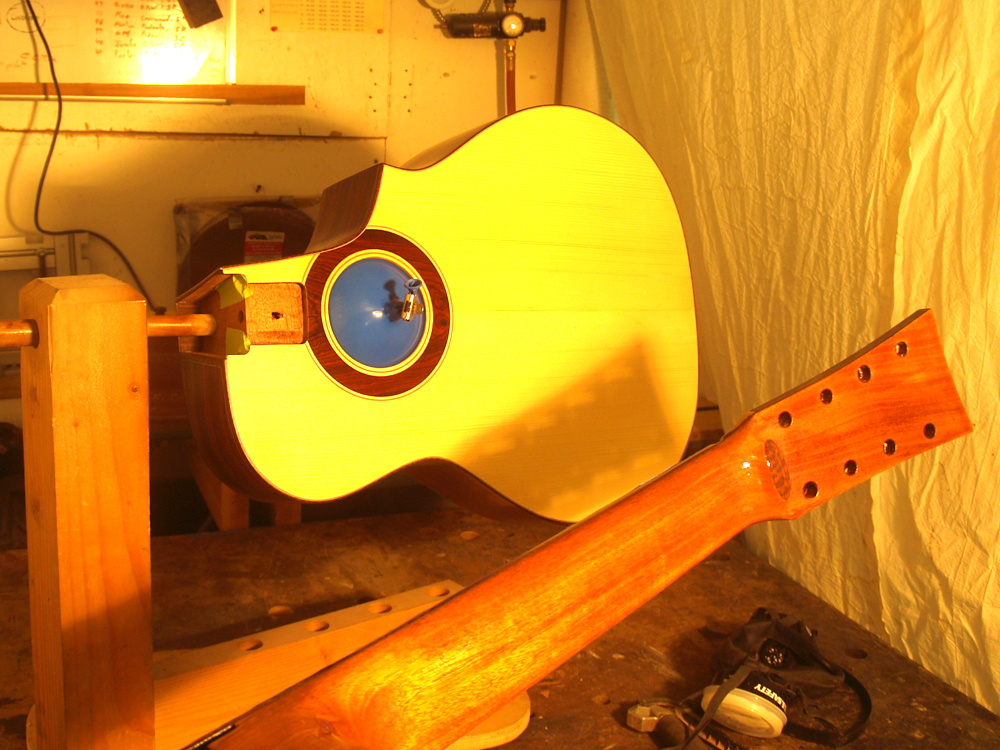
I set up a curtained paint booth that has a recirculating air filter over head. Here you can see the fretboard masked off.
 ( 365 ) 20-Oct-2012
I use a balloon to keep the lacquer out of the sound hole. I will apply several coats of lacquer with a spray gun, and then sand everything level. I will repeat this process many times until I am happy with the results.
 ( 366 ) 20-Oct-2012
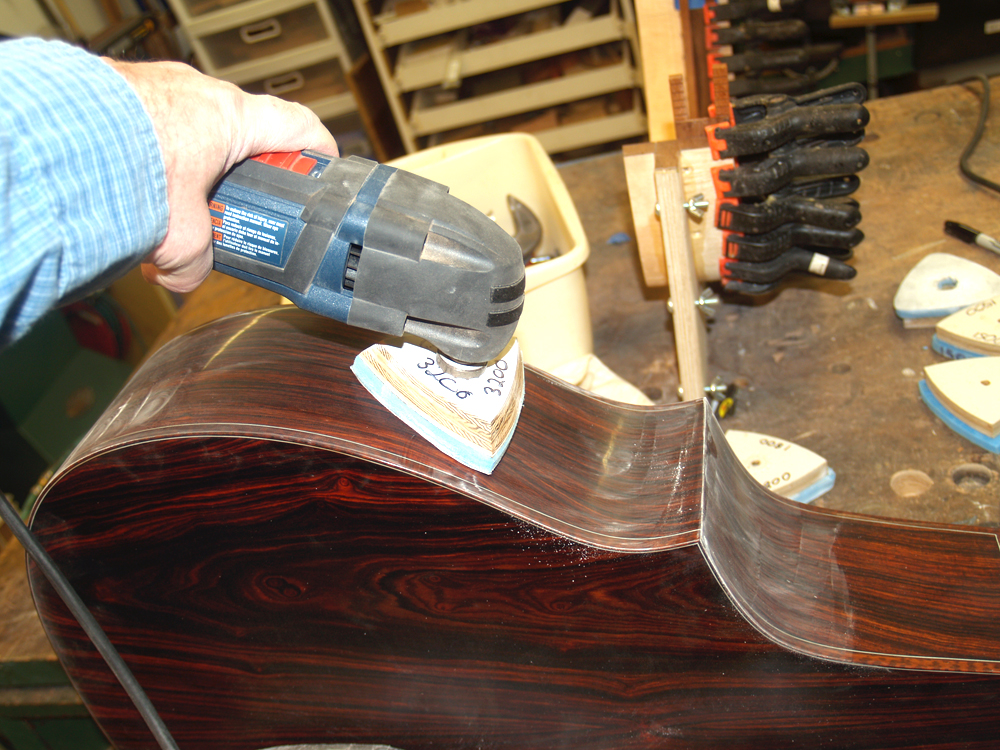
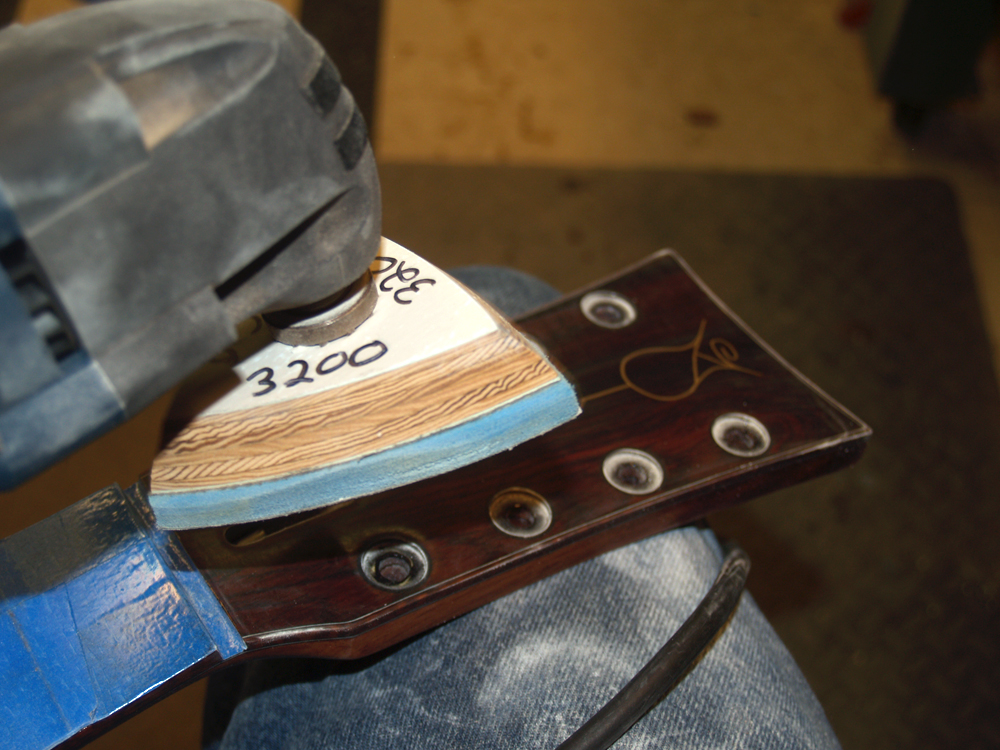
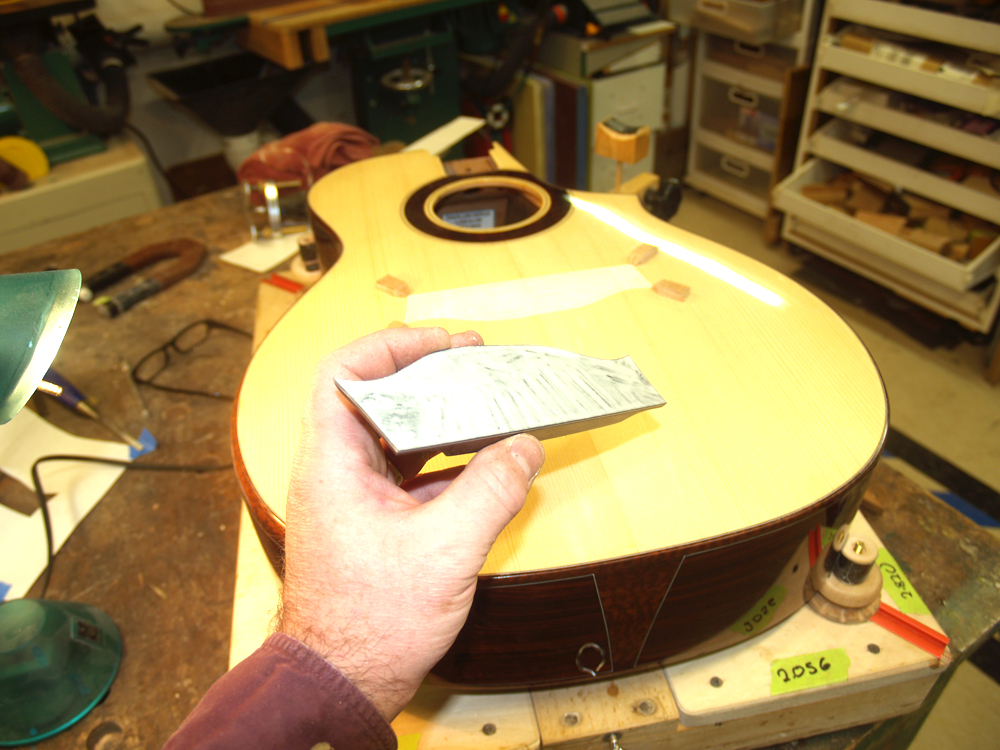
After I let the lacquer cure for a week, I start to polish it, using a variety of tools.
 ( 367 ) 20-Oct-2012
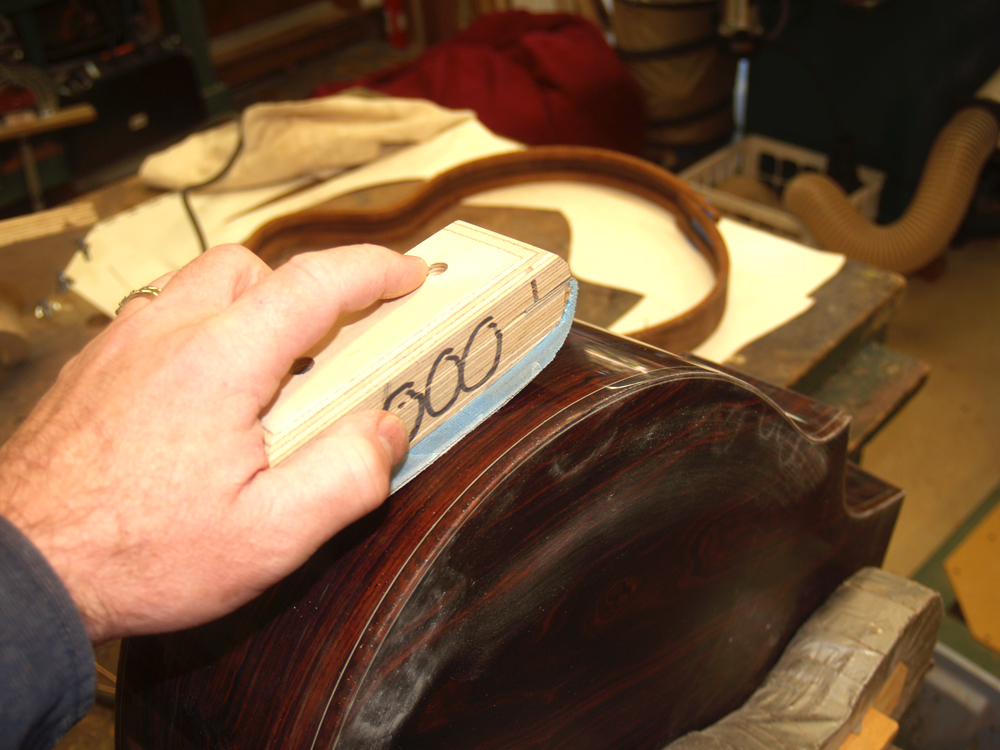
I have a set of progressively finer set of sanding blocks.
 ( 368 ) 20-Oct-2012
This is my newest inovation, it saves on a lot of elbow grease and results in a better finish.
 ( 369 ) 20-Oct-2012
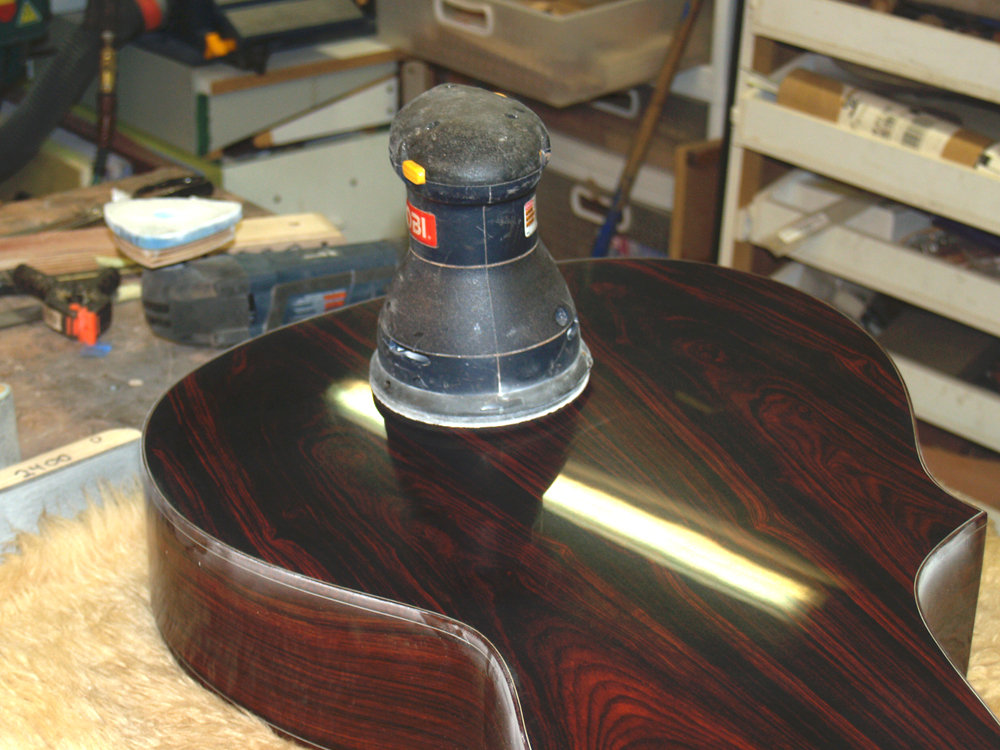
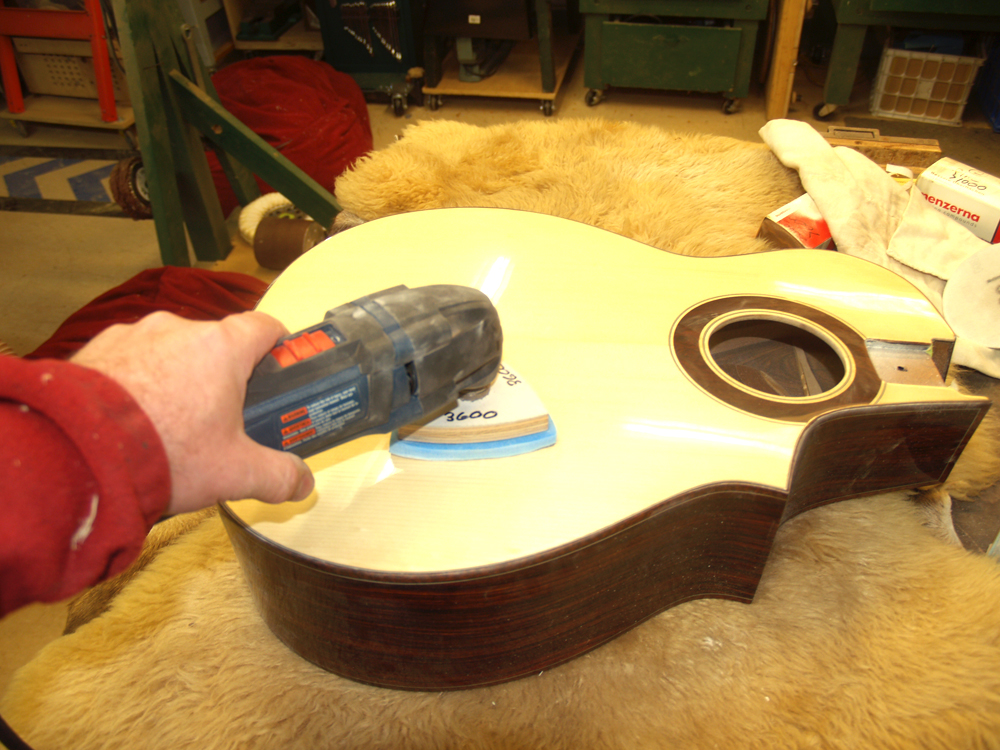
After I have polished the surfaces with 3600 grit polishing cloth, I use a coarse and fine buffing wheel to bring out the final shine.
 ( 370 ) 20-Oct-2012
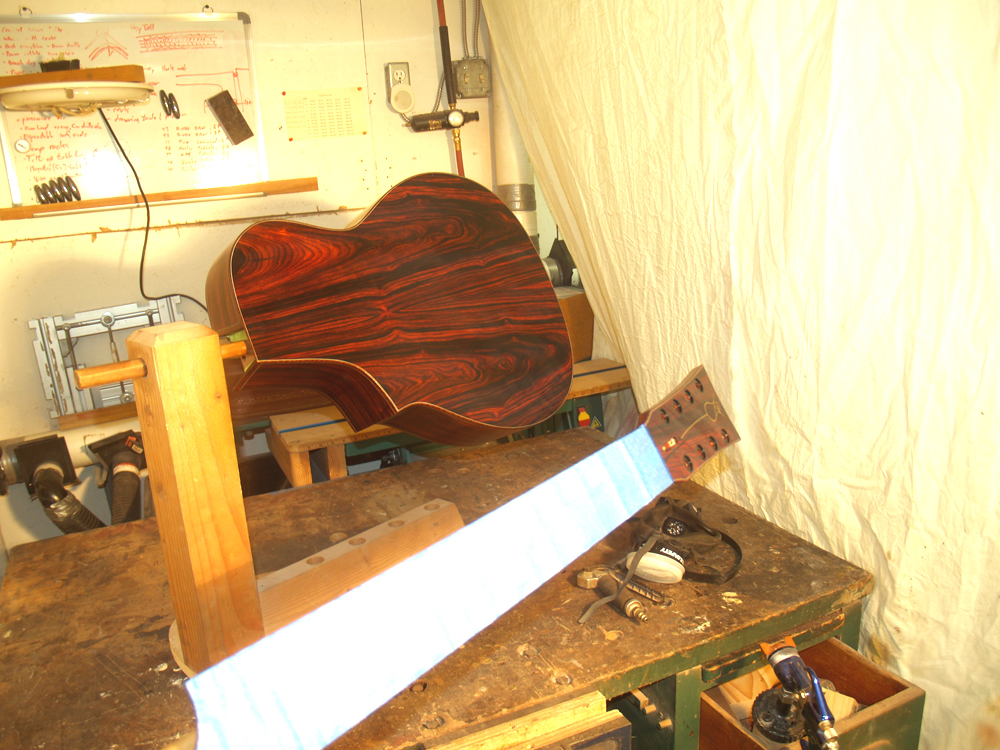
I first work on the neck, then the sides and then the back.
 ( 371 ) 20-Oct-2012
And finally the top.
 ( 372 ) 20-Oct-2012
Working on the bridge I am using these fiber sheets to create a pinstripe around the base.
 ( 373 ) 20-Oct-2012
After sanding the bottom of the bridge blank to match the dome of the top, I use the sanding block to glue the pinstriping to the bottom of the blank.
 ( 374 ) 20-Oct-2012
The milling machine routes out the saddle channel.
 ( 375 ) 20-Oct-2012
 ( 376 ) 20-Oct-2012
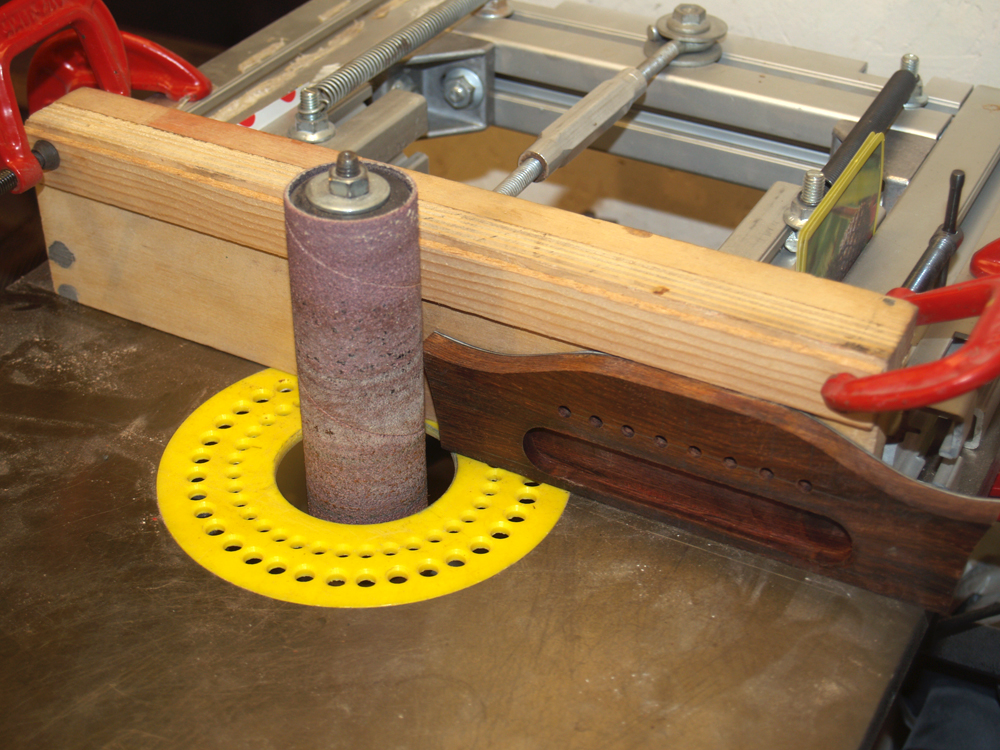
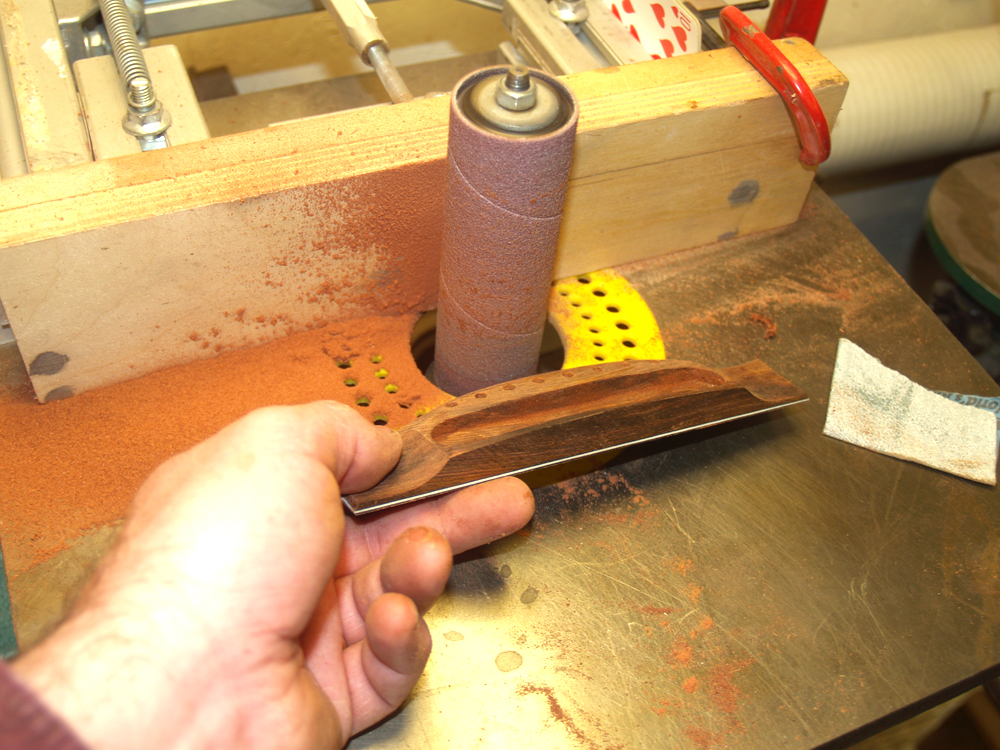
I use my oscillating sander press to create the wings on the bridge.
 ( 377 ) 20-Oct-2012
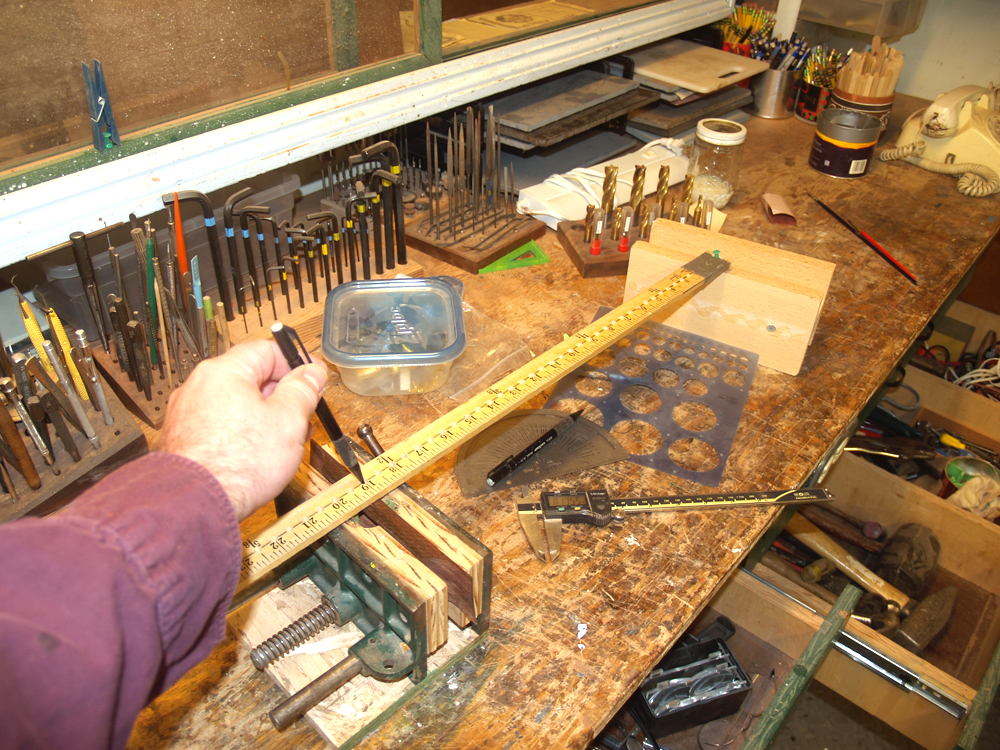
To mark the bridge to match the radius of the fretboard I use a long arm compass.
 ( 378 ) 20-Oct-2012
Here you can see the wings and the radius on the top of the bridge.
 ( 379 ) 20-Oct-2012
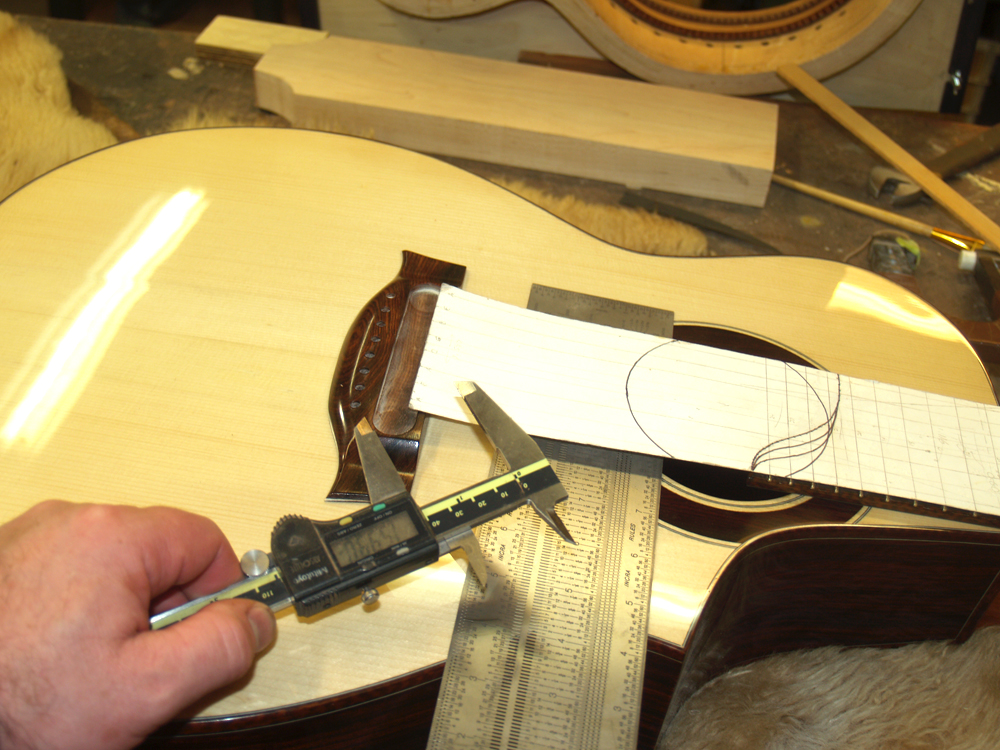
I carefully position the bridge on the top of the guitar.
 ( 380 ) 20-Oct-2012
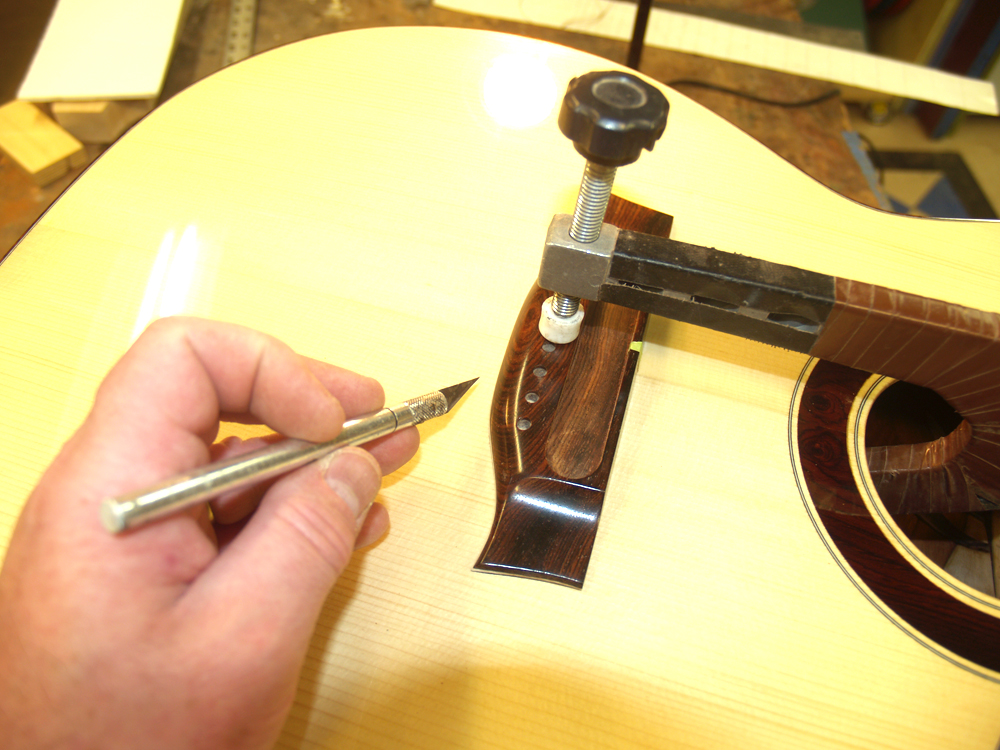
To glue the bridge to the top of the guitar I need to remove the lacquer where the bridge will be set. Using a C-clamp to hold the bridge in position I then use a sharp blade to outline the bridge.
 ( 381 ) 20-Oct-2012
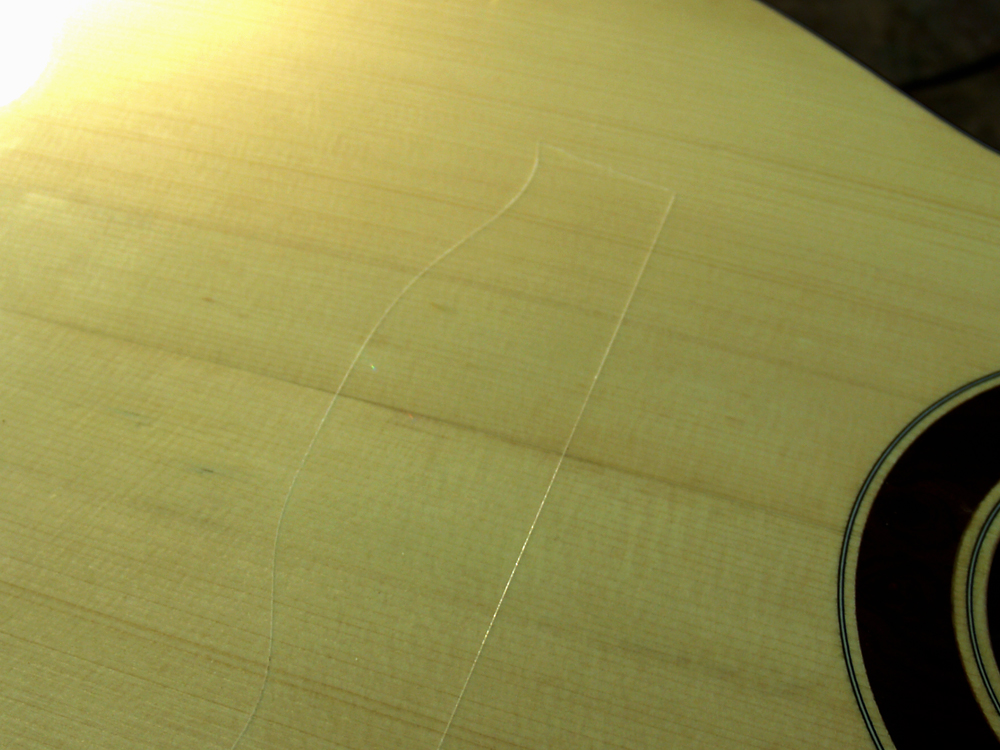
Here you can see the score line.
 ( 382 ) 20-Oct-2012
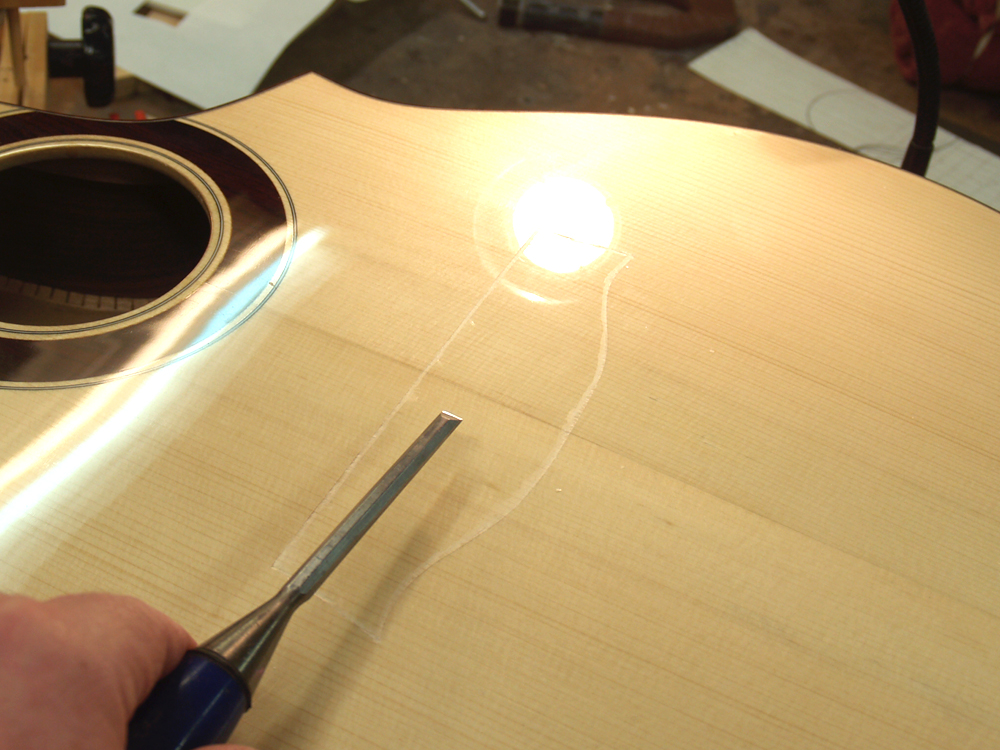
A sharp chisel creates a perimeter.
 ( 383 ) 20-Oct-2012
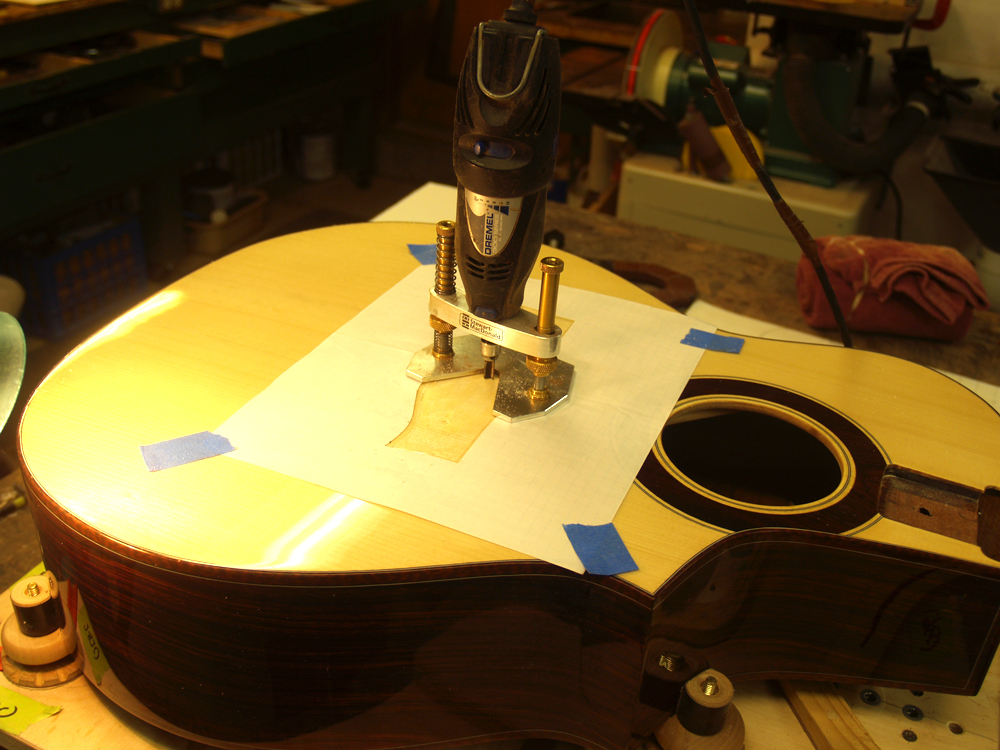
And then I use a small router to remove the lacquer.
 ( 384 ) 20-Oct-2012
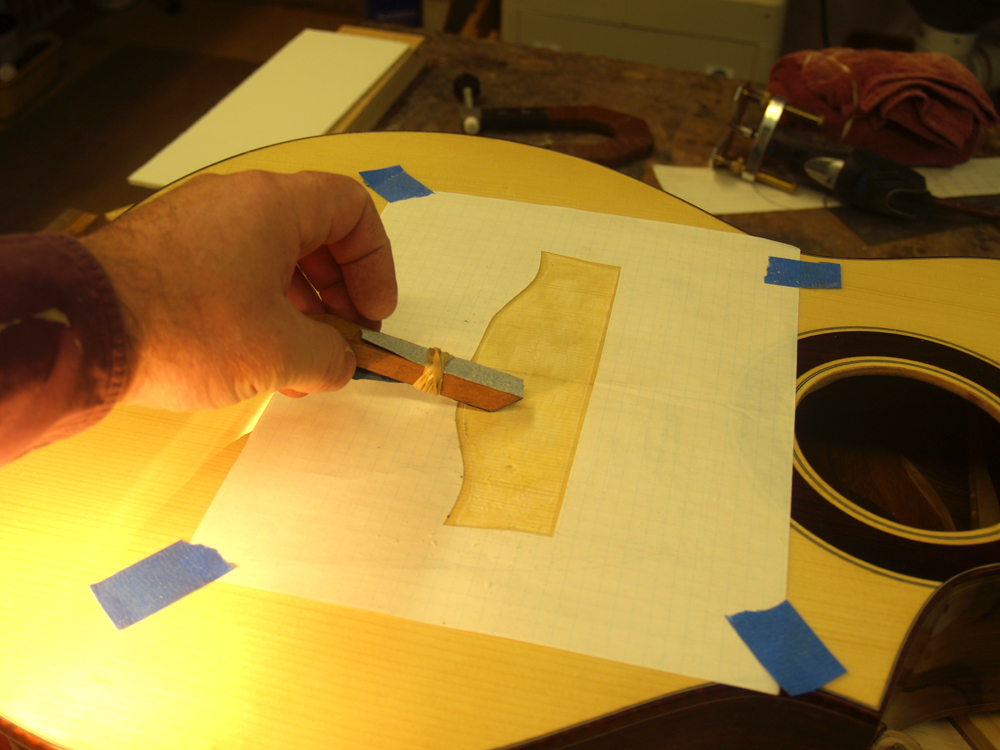
I clean up the surface with a sanding tool making sure I will have a good clean surface to glue to..
 ( 385 ) 20-Oct-2012
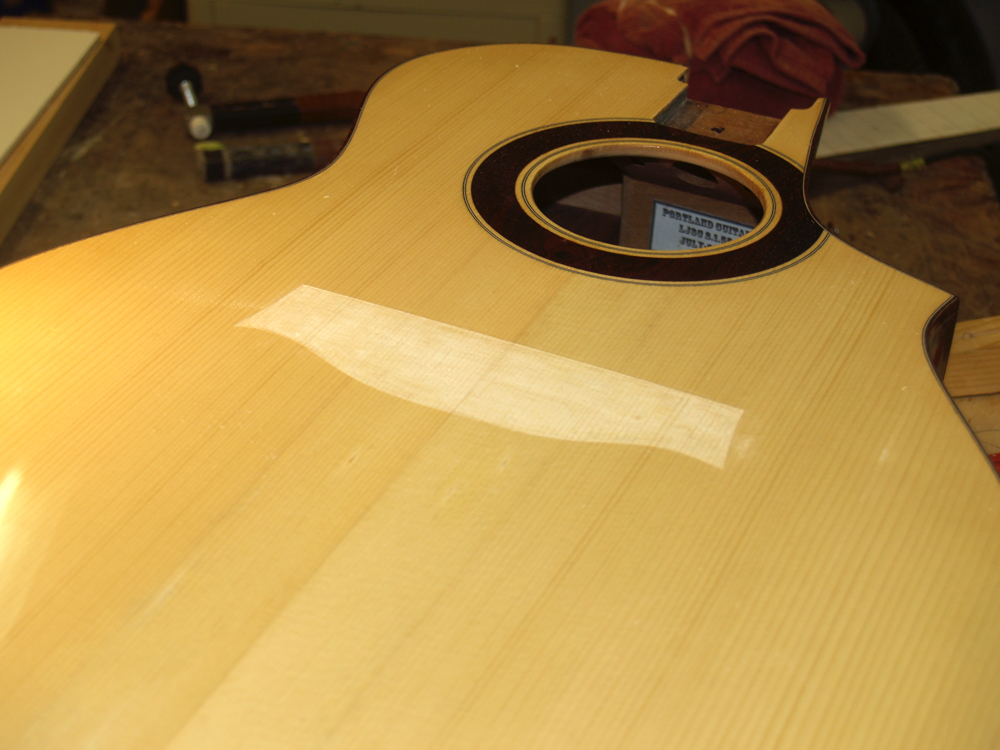
This matches the bottom of the bridge ~ perfectly.
 ( 386 ) 20-Oct-2012
I spread glue on the bottom of the bridge.
 ( 387 ) 20-Oct-2012
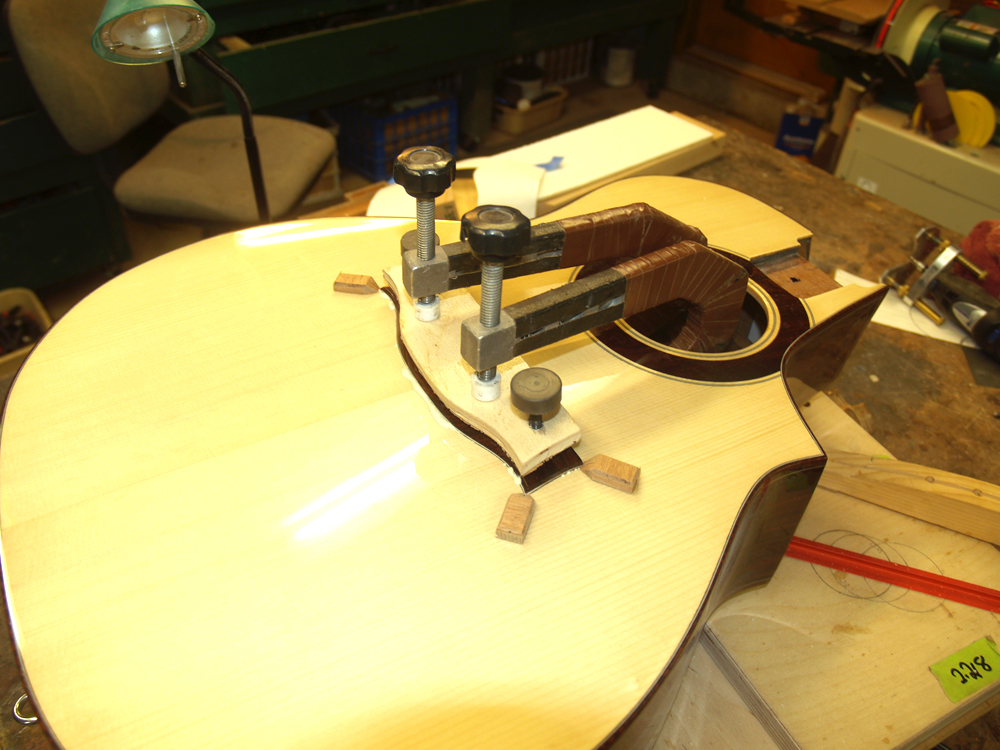
And then use a set of clamps to press the bridge in place.
 ( 388 ) 20-Oct-2012
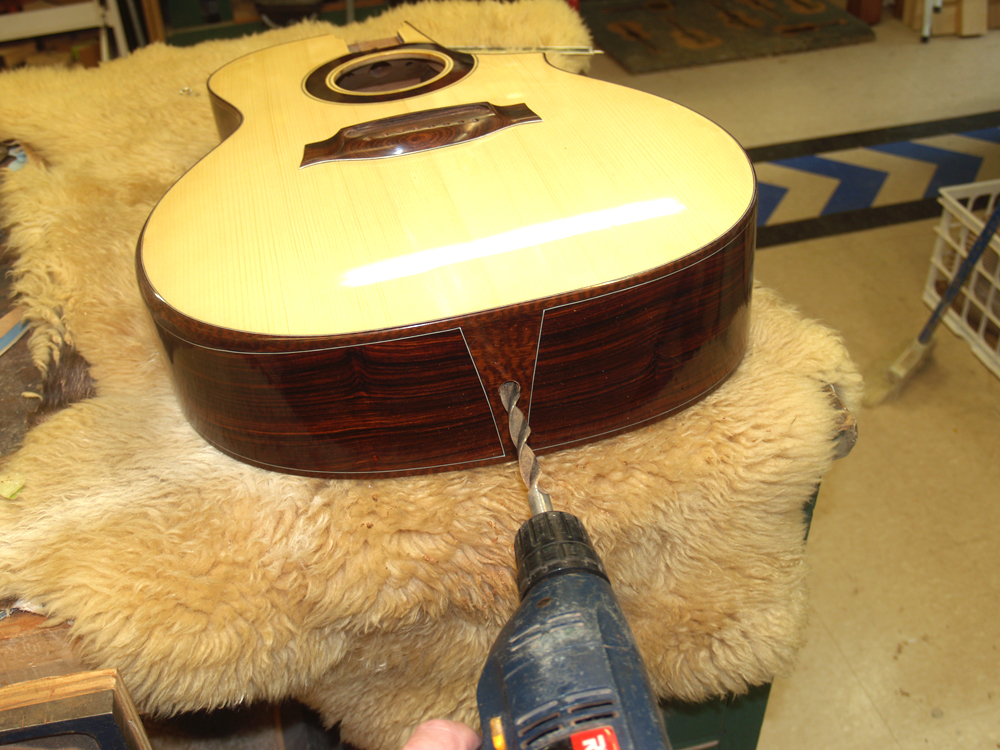
The next morning I pull the clamps off and drill a hole in the bottom of the guitar for the output jack/strap pin.
 ( 389 ) 20-Oct-2012
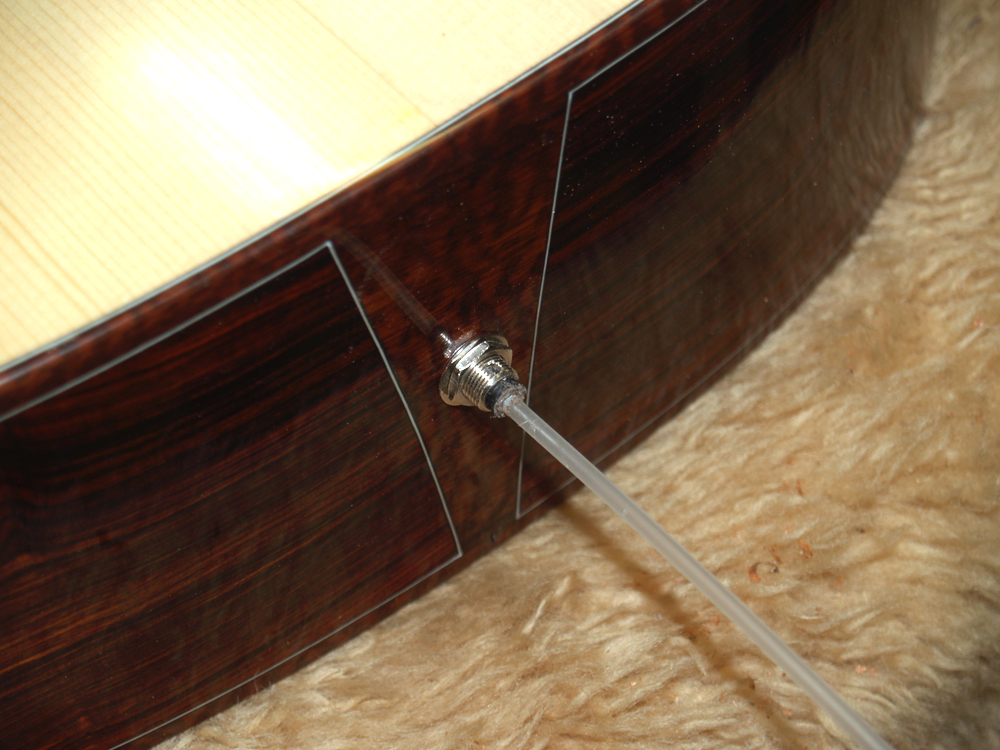
To pull the jack through the hole I use a flexible pole.
 ( 390 ) 20-Oct-2012
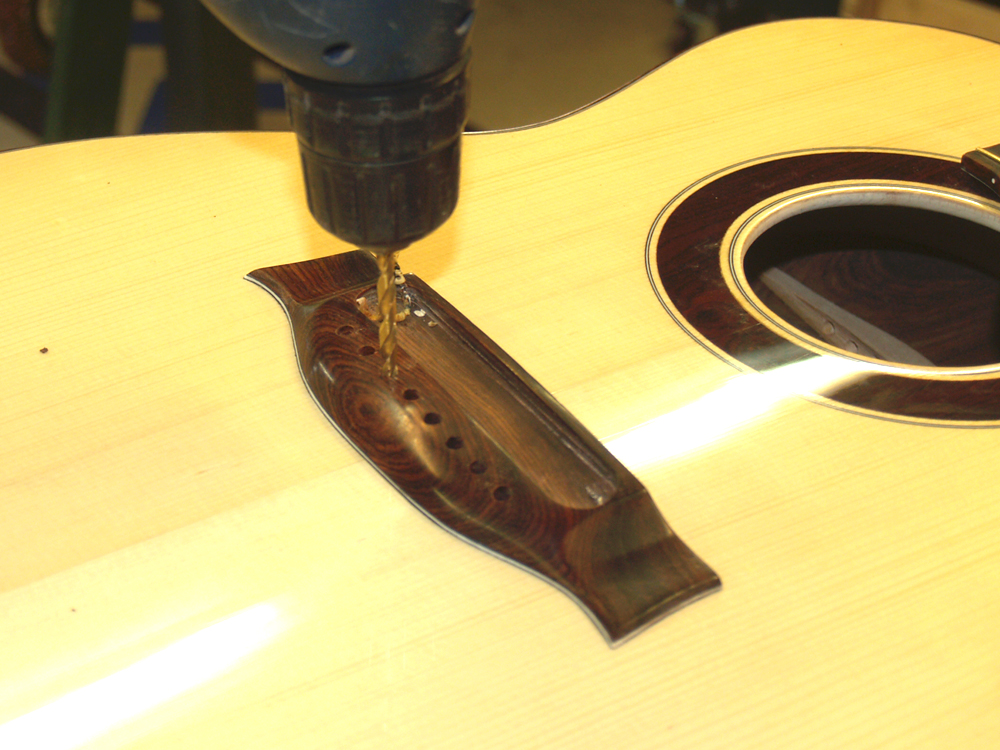
The bridge pin holes get drilled out.
 ( 391 ) 20-Oct-2012
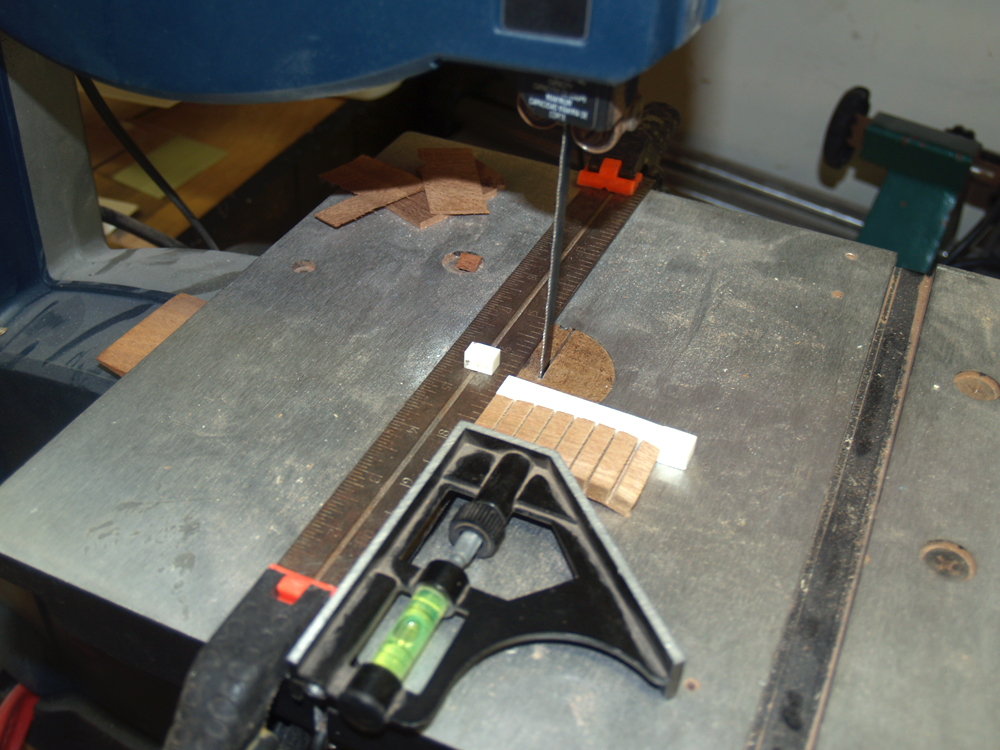
I use a bone blank to make the saddle blocks.
 ( 392 ) 20-Oct-2012
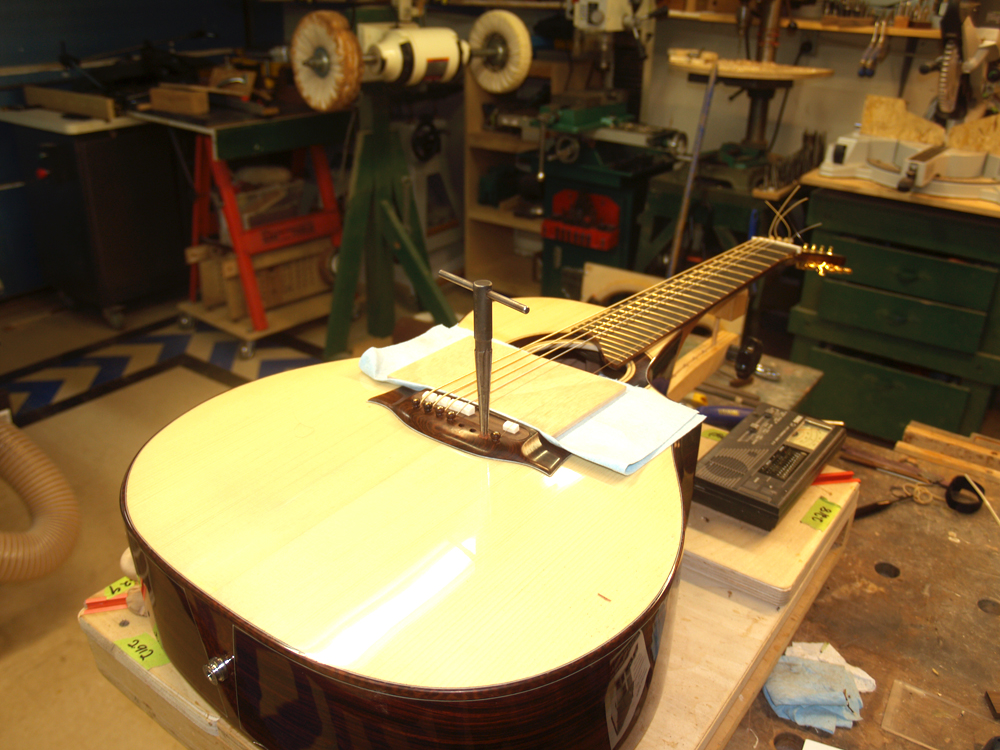
After filing the slots for the nut I start to string up the guitar. Each pin hole needs to be reamed out to accept the pin and the string.
 ( 393 ) 20-Oct-2012
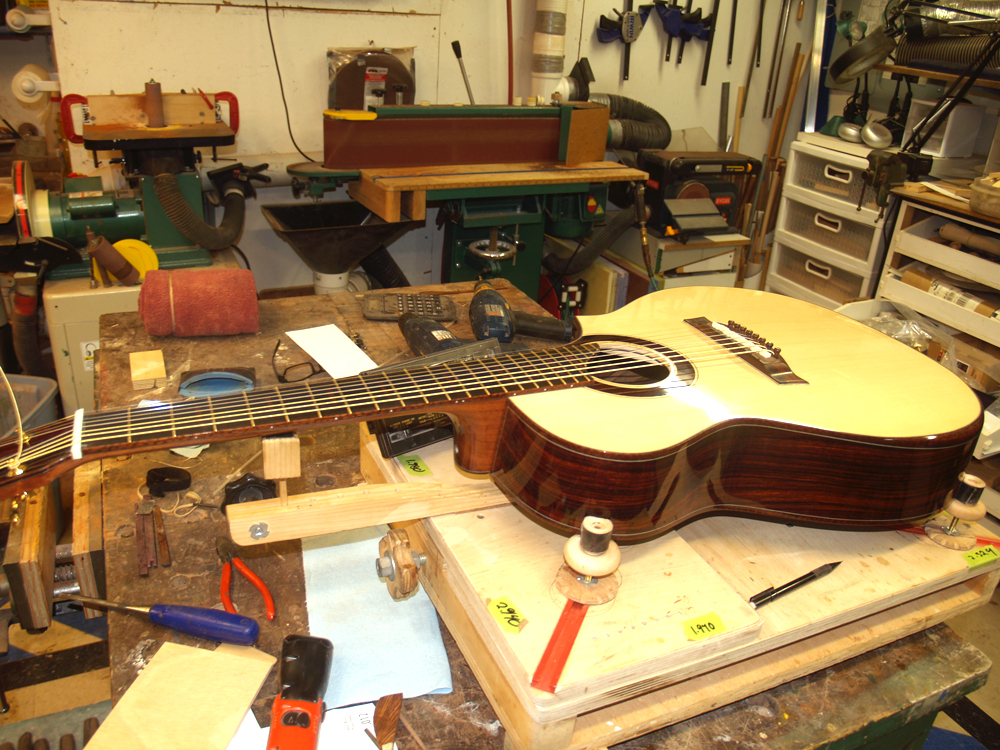
I work a bit more on the nut and the guitar is playable.
 ( 394 ) 20-Oct-2012
Patrick plays his first notes on the eight stringed monster. We will be working to dial in the set up over the next few weeks.