 ( 32 ) 26-Feb-2012
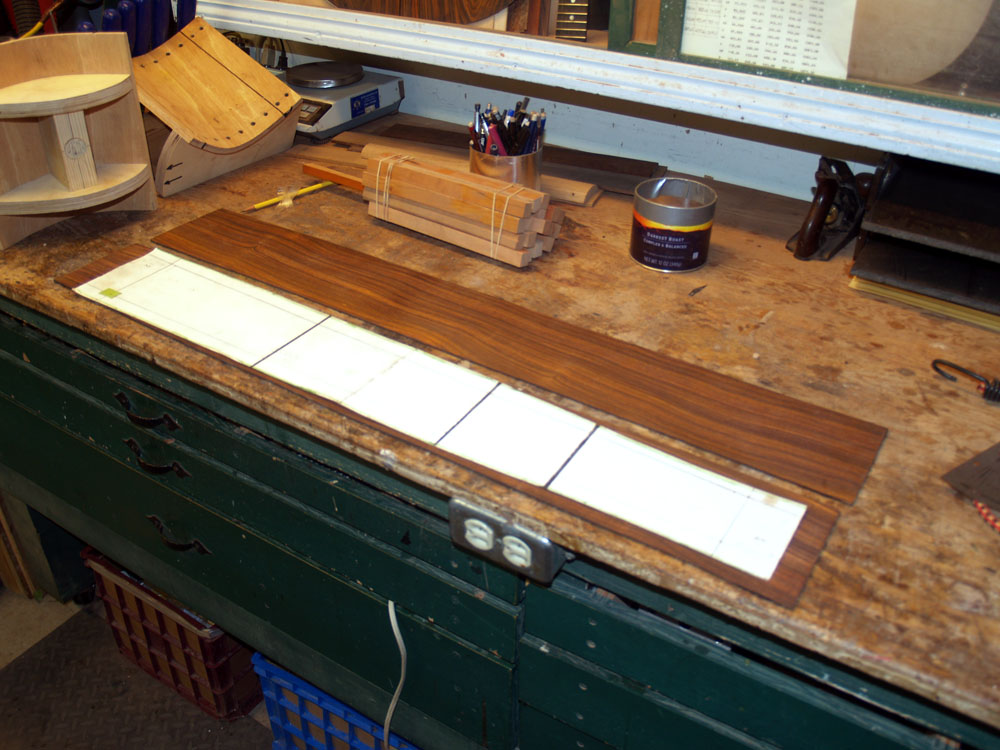
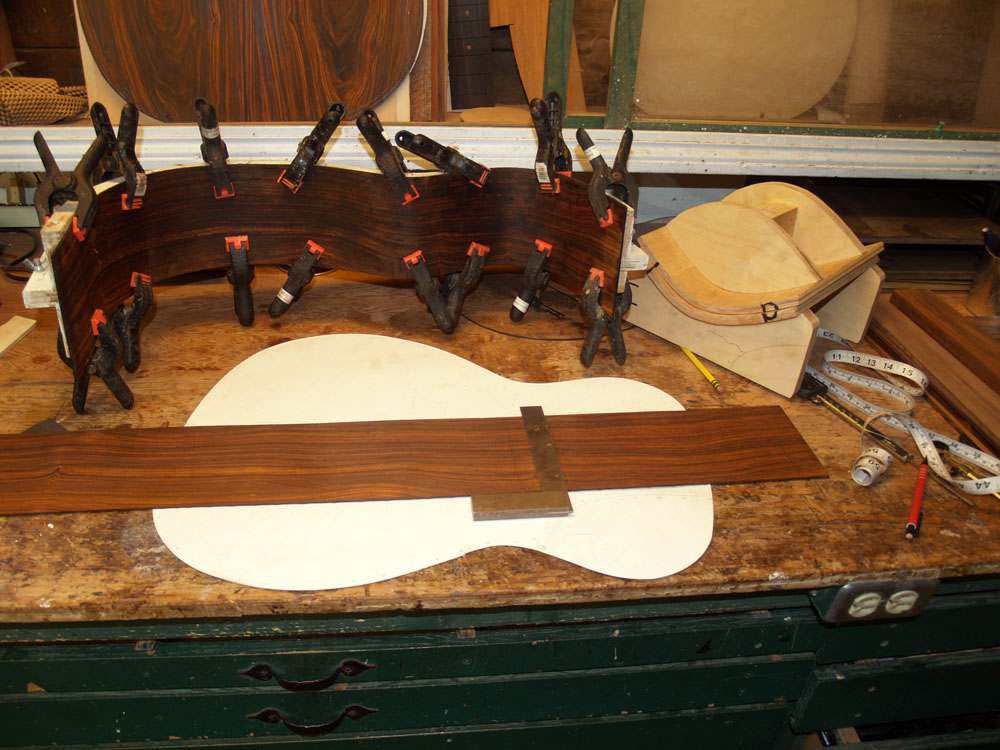
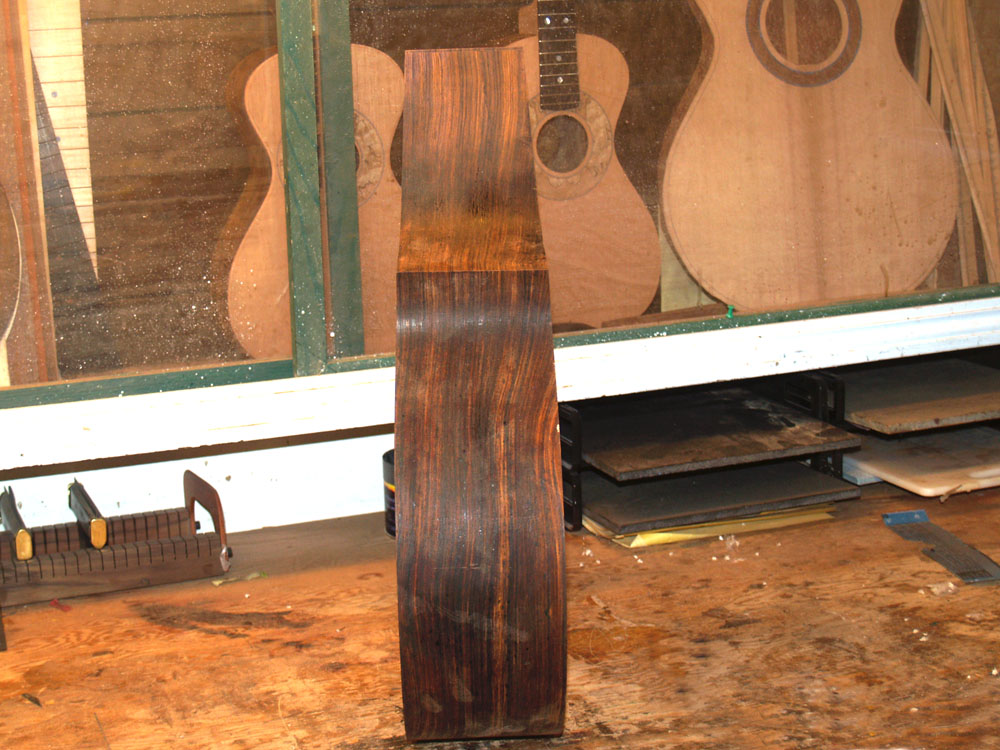
In this picture I am using a template to lay out the shape of the sides on the side blanks..
( 32 ) 26-Feb-2012
In this picture I am using a template to lay out the shape of the sides on the side blanks..
 ( 33 ) 26-Feb-2012
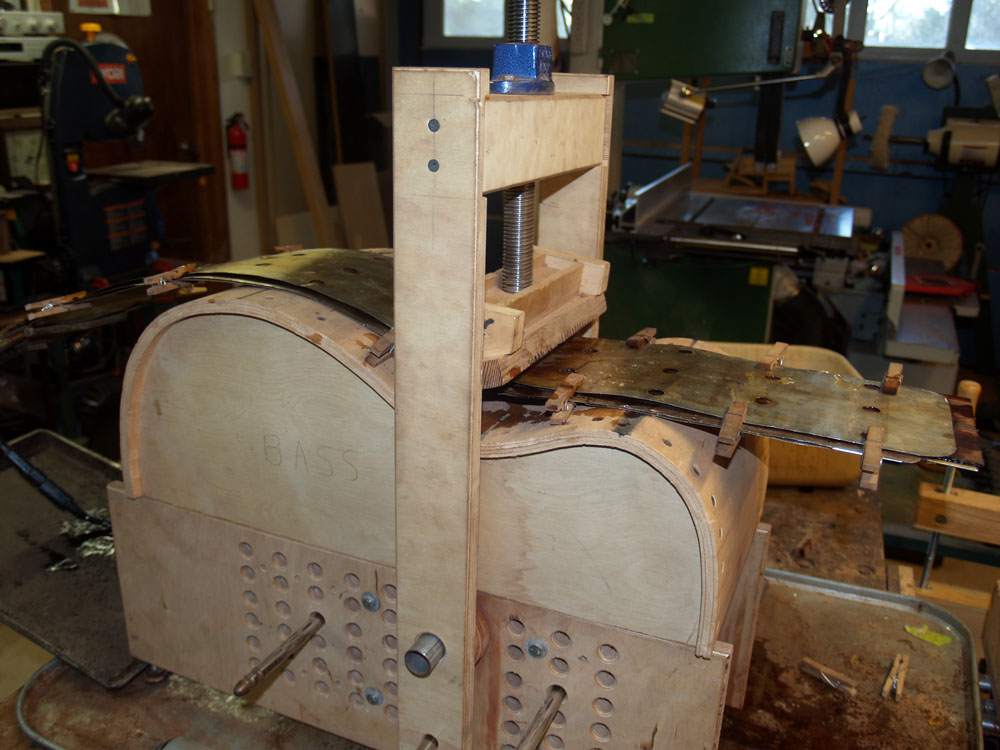
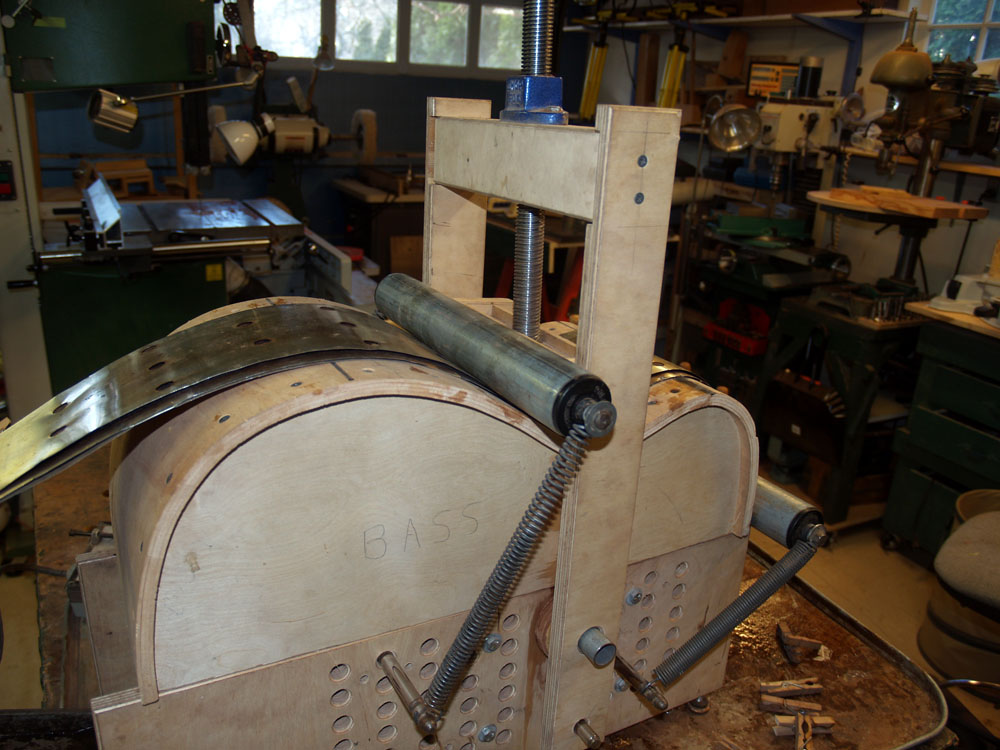
I place one of the side pieces between two pieces of aluminum flashing along with the heating blanket and then place the whole assembly into the side bending machine.
 ( 34 ) 26-Feb-2012
After letting the wood heat up and soaking it with a bit of water I press the waist into shape.
 ( 35 ) 26-Feb-2012
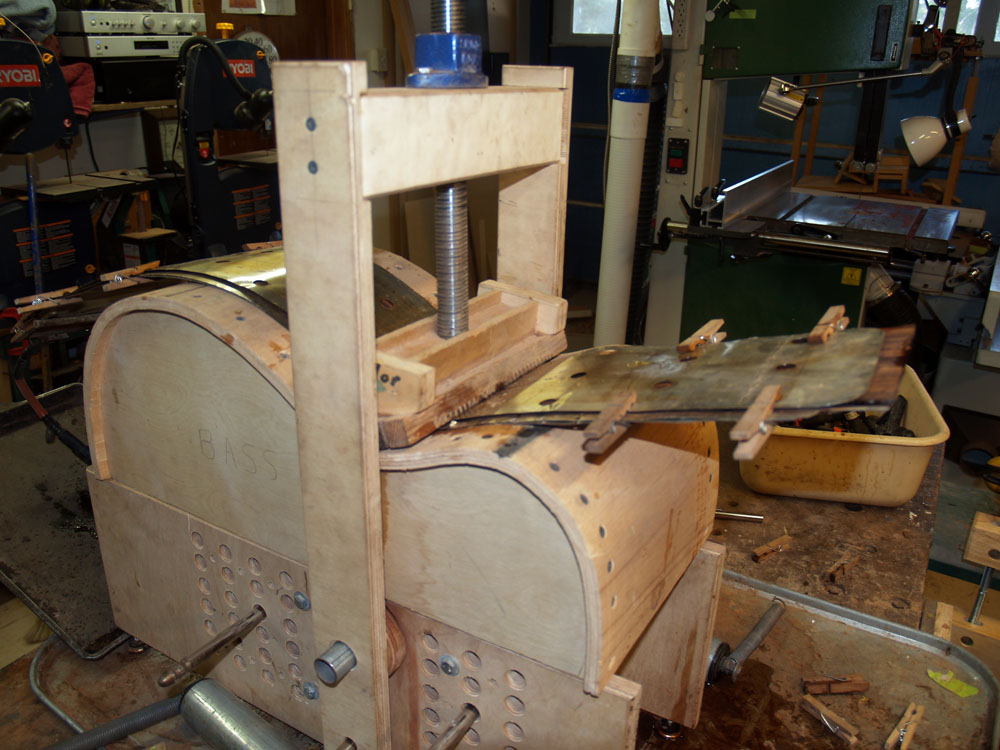
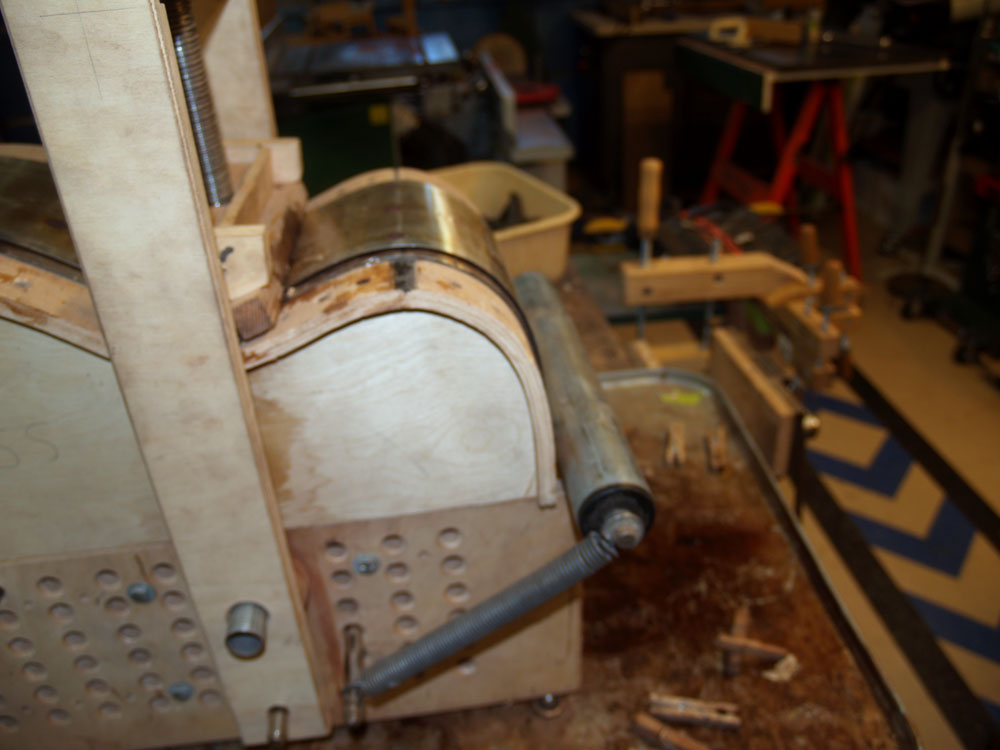
Then I attach the upper bout roller with a set of springs to the bending machine
 ( 36 ) 26-Feb-2012
And roll the upper bout into shape. After the wood is hot and wet, it bends quite easily.
 ( 37 ) 26-Feb-2012
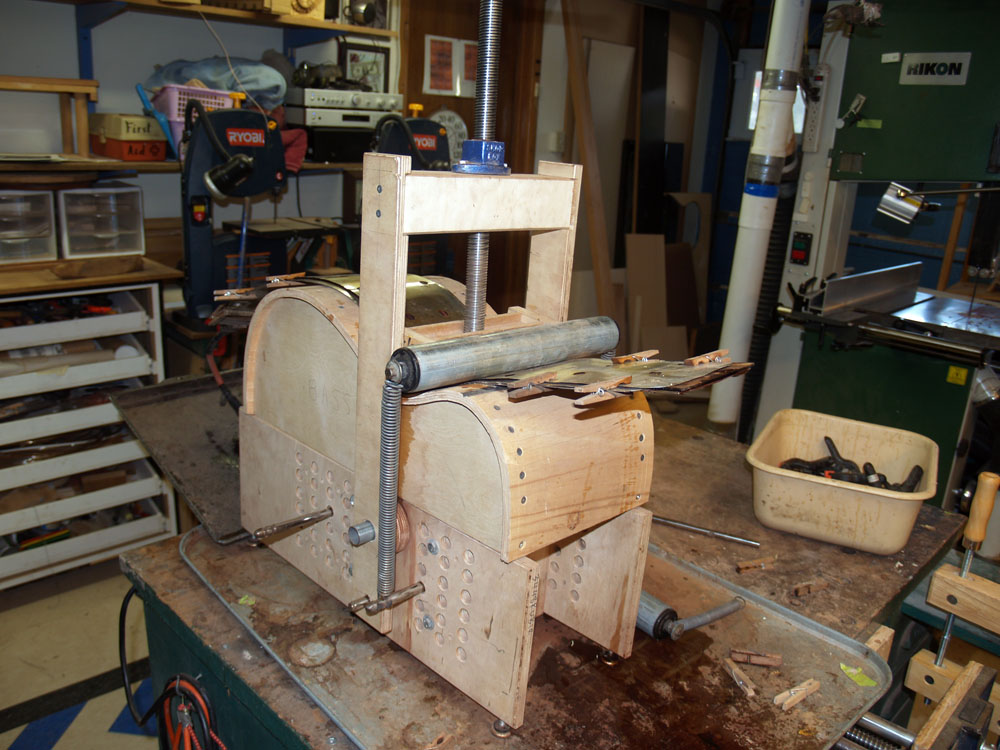
The lower bout roller is then attached.
 ( 38 ) 26-Feb-2012
And the lower bout is rolled into shape.
 ( 39 ) 26-Feb-2012
After the wood has cooked for a while I remove the aluminum flashing and continue to heat it until it is dry.
 ( 40 ) 26-Feb-2012
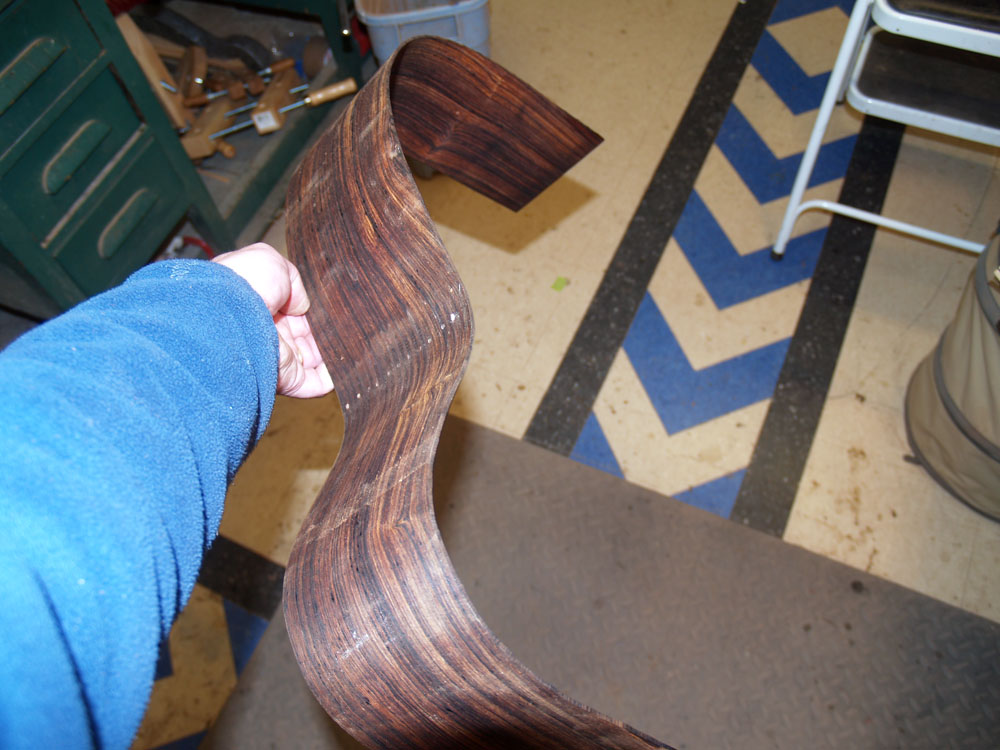
After the wood cooks for a while and after it cools down it will hold its shape quite well.
 ( 41 ) 26-Feb-2012
After I remove it from the bending machine I put it into the side form until I am ready for the next step.
 ( 42 ) 26-Feb-2012
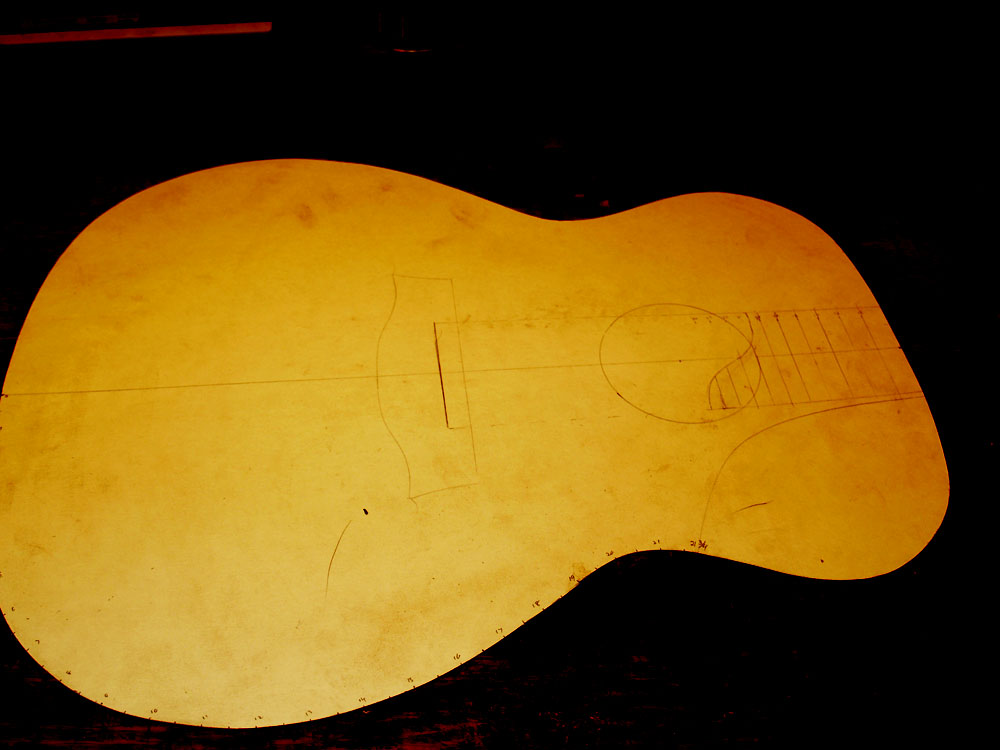
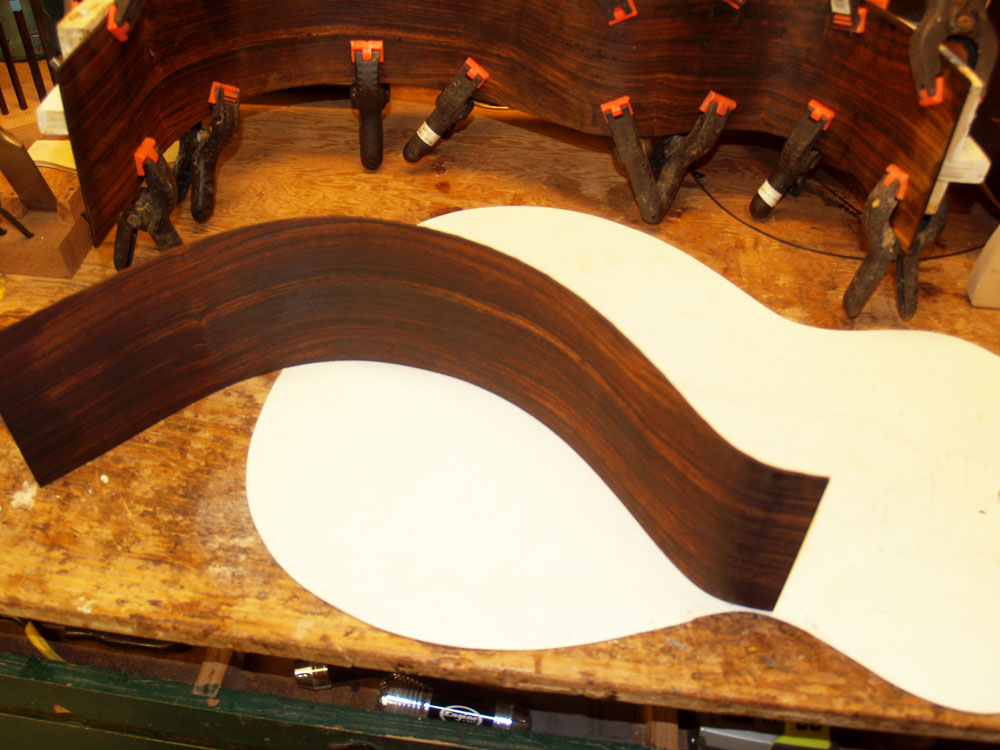
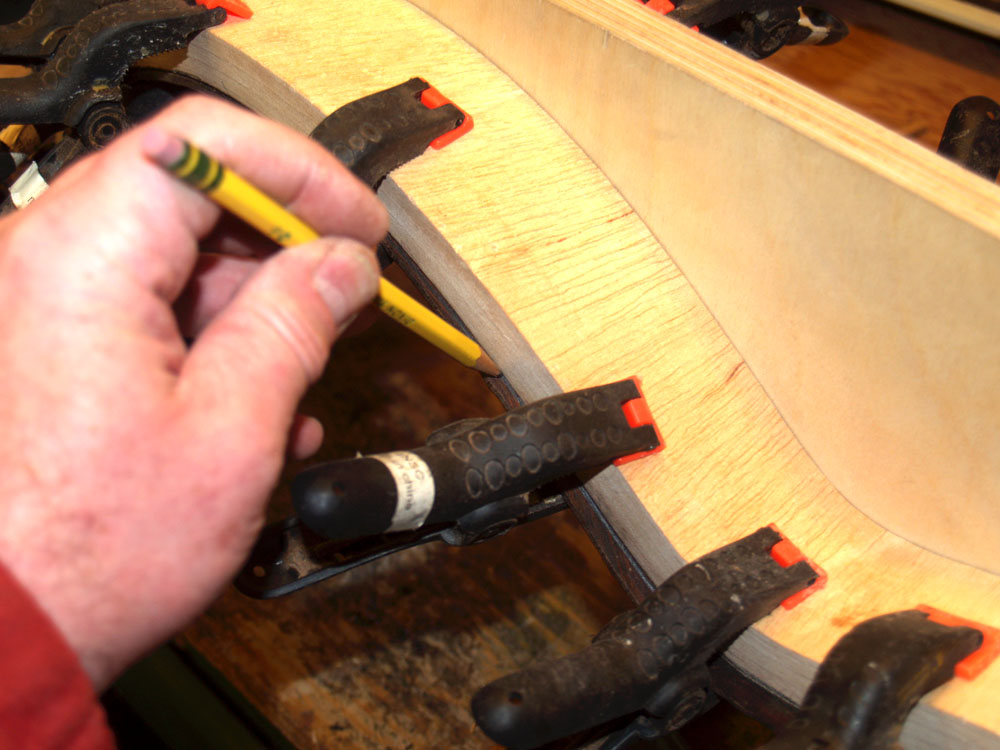
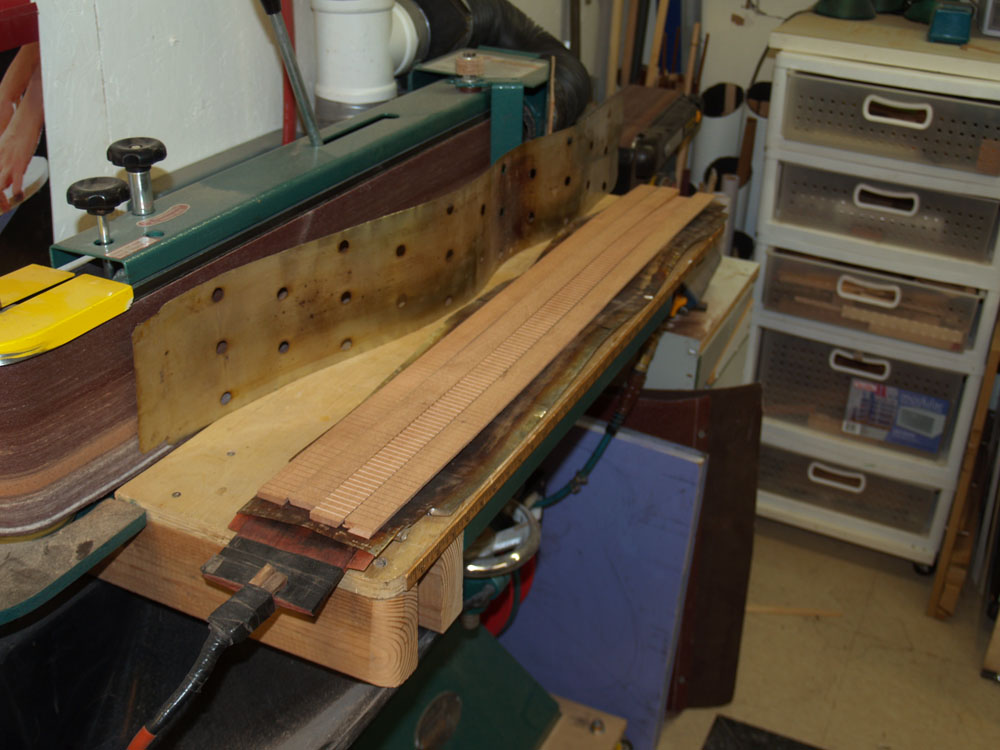
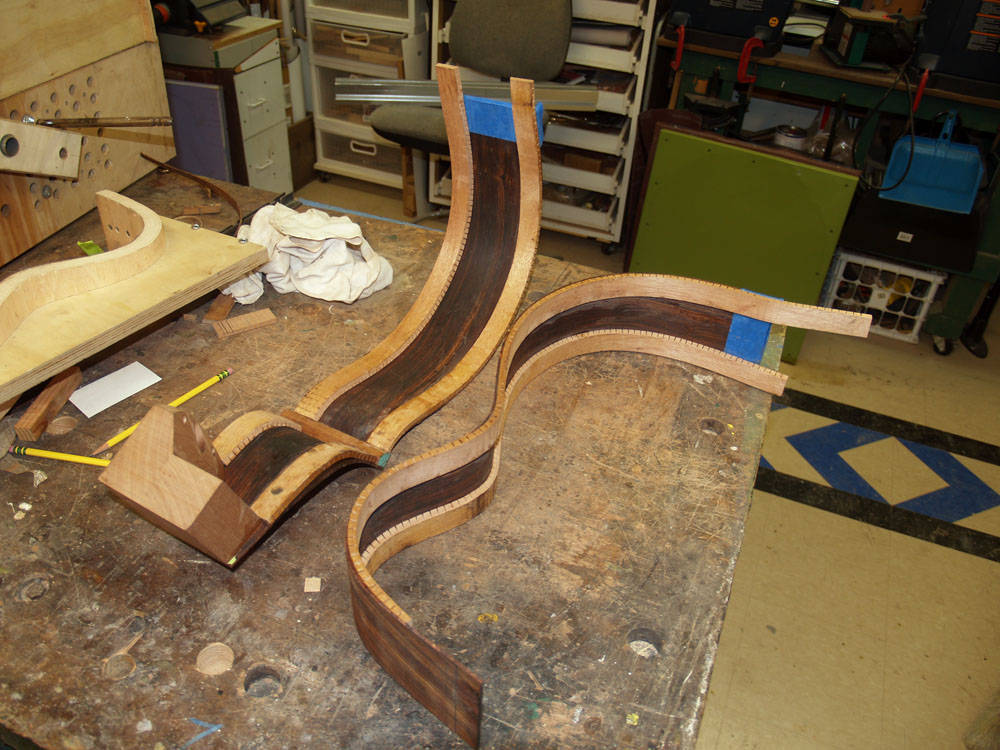
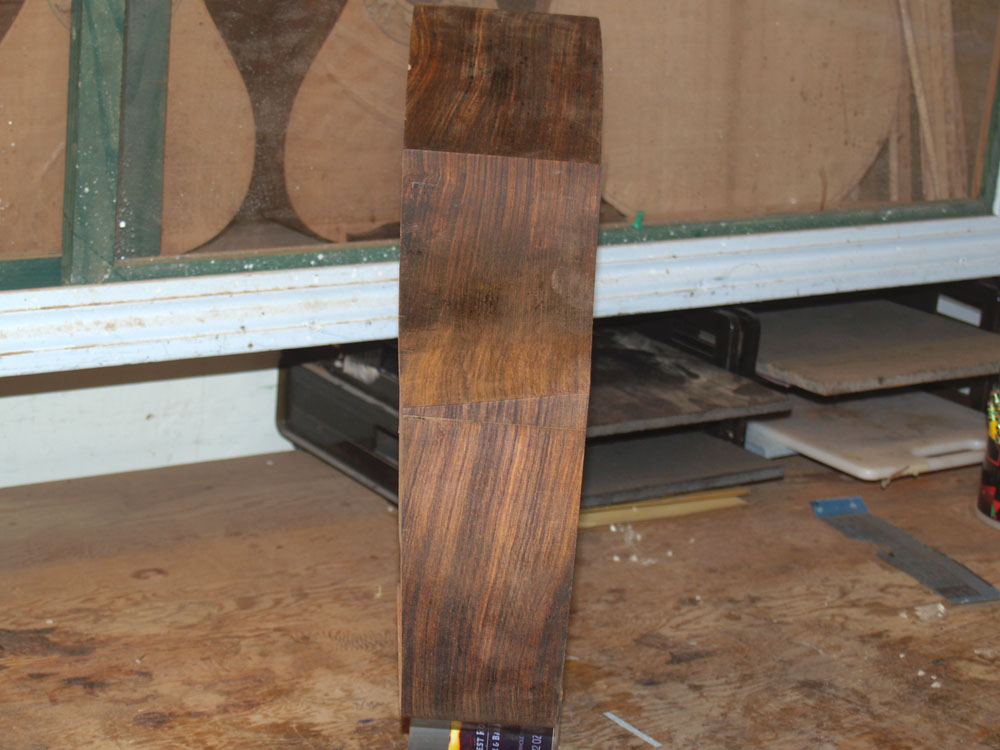
This (poorly) enhanced picture shows the layout for the 8 string neck and the cutaway section on the treble side of the guitar.
 ( 43 ) 26-Feb-2012
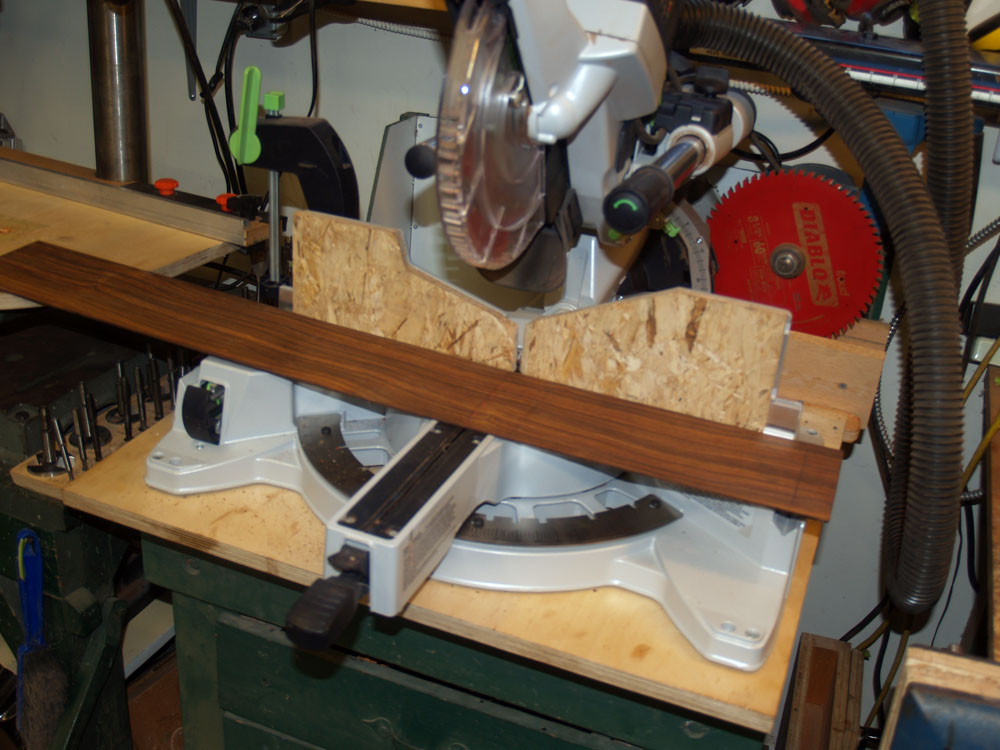
I carefully measure the length of the cutaway side.
 ( 44 ) 26-Feb-2012
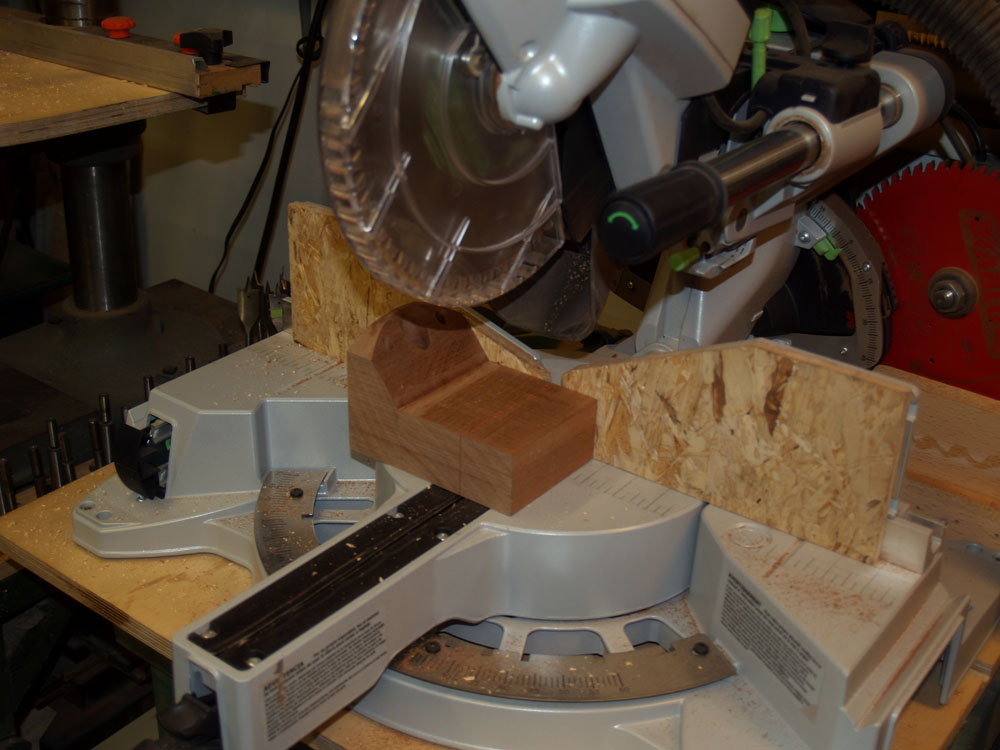
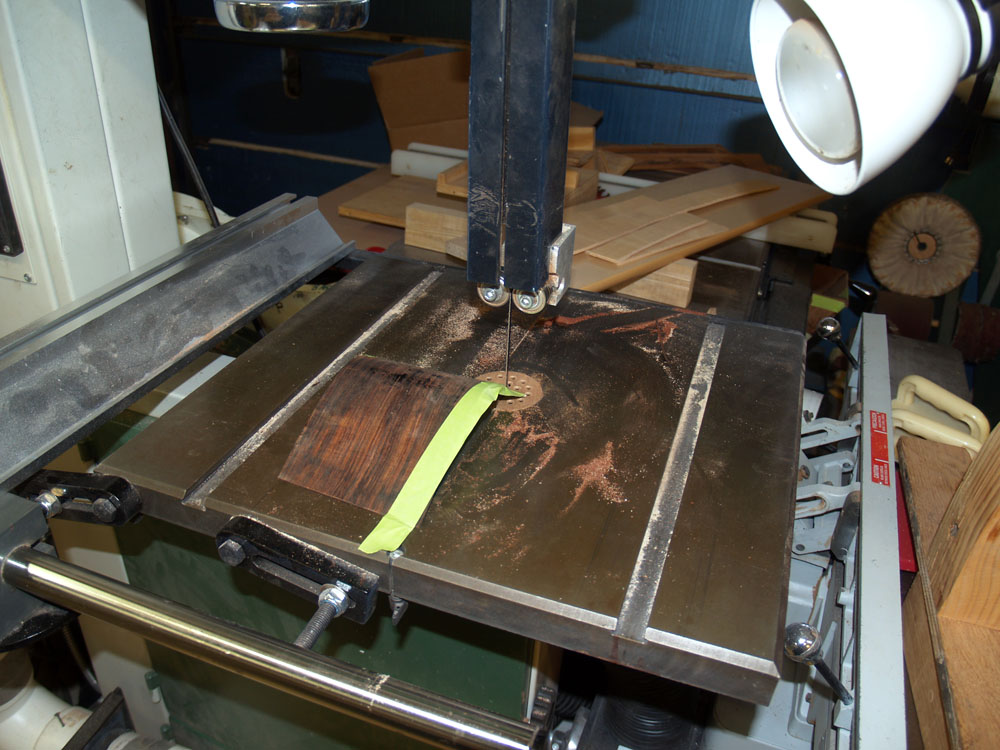
And after thinking about it for a while... don't want to make a mistake here... and then thinking about it for a little bit longer, I use my Festool miter saw ... a very expensive and very precise tool ... to split the the cutaway side into two pieces.
 ( 45 ) 26-Feb-2012
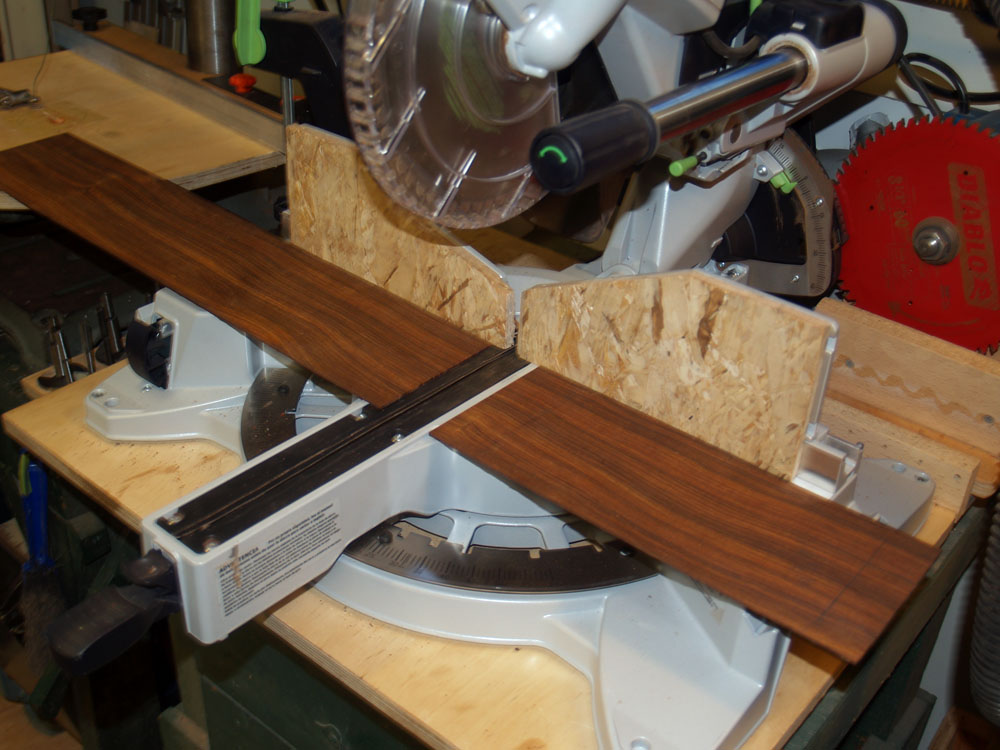
Ahh, a good cut.
 ( 46 ) 26-Feb-2012
I place the longer piece into the bending machine and let the wood get hot, wet, and flexible.
 ( 47 ) 26-Feb-2012
I press the waist into shape.
 ( 48 ) 26-Feb-2012
And then bend the lower bout into shape.
 ( 49 ) 26-Feb-2012
After removing the flashing I let the wood cook until it is dry.
 ( 50 ) 26-Feb-2012
After letting it cool down it hold its shape.
 ( 51 ) 26-Feb-2012
Then I place it into the side form the time being.
 ( 52 ) 26-Feb-2012
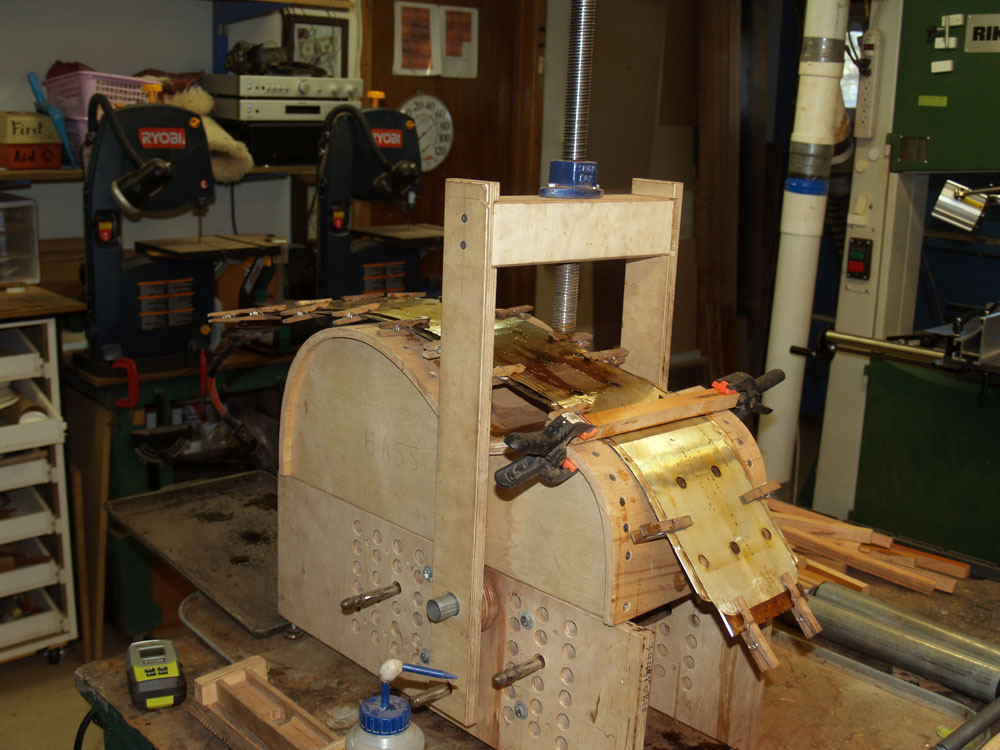
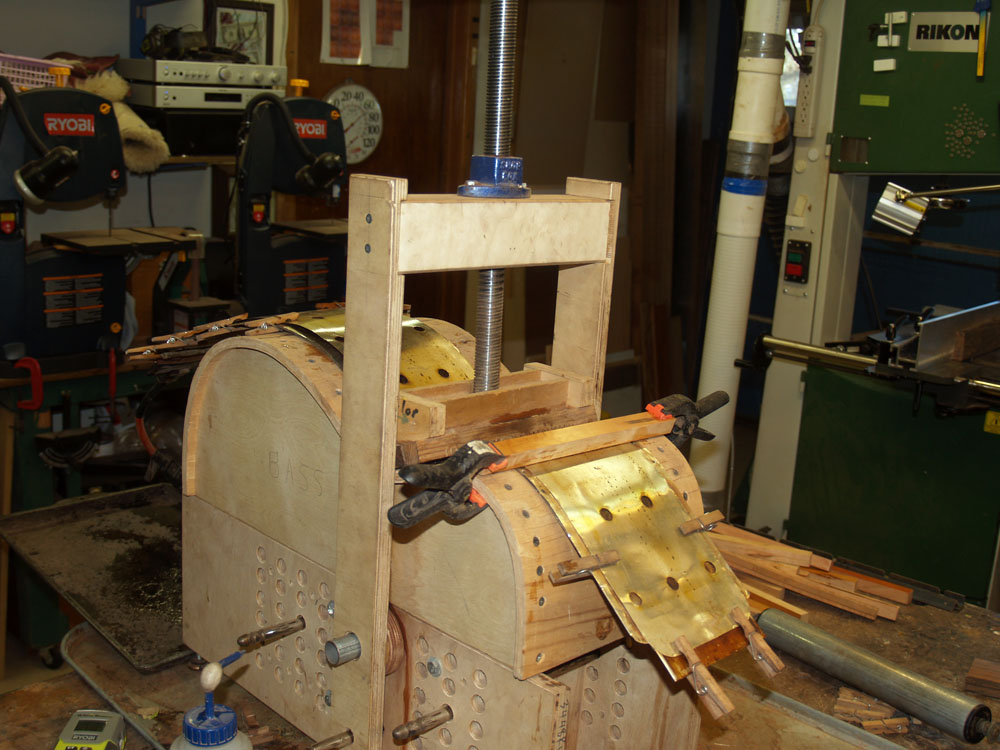
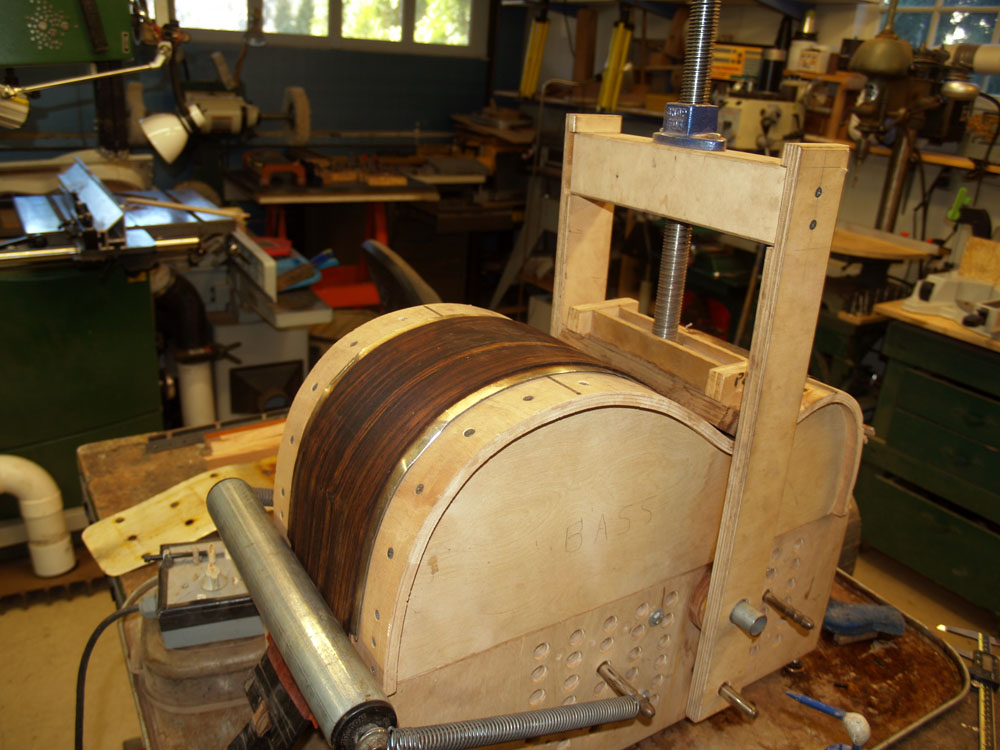
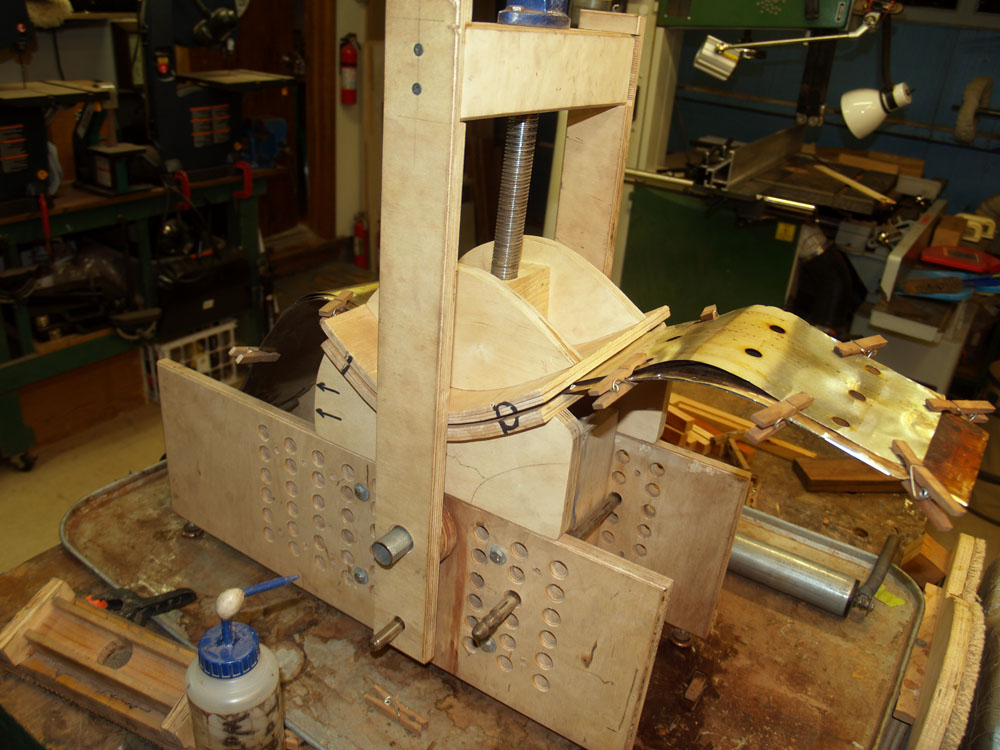
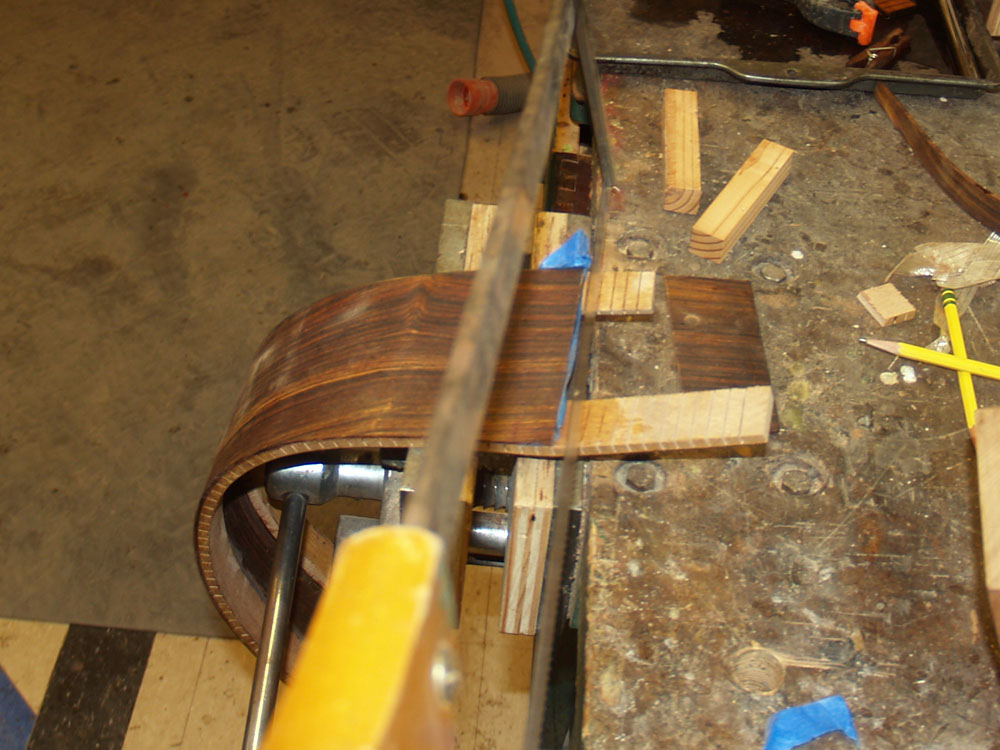
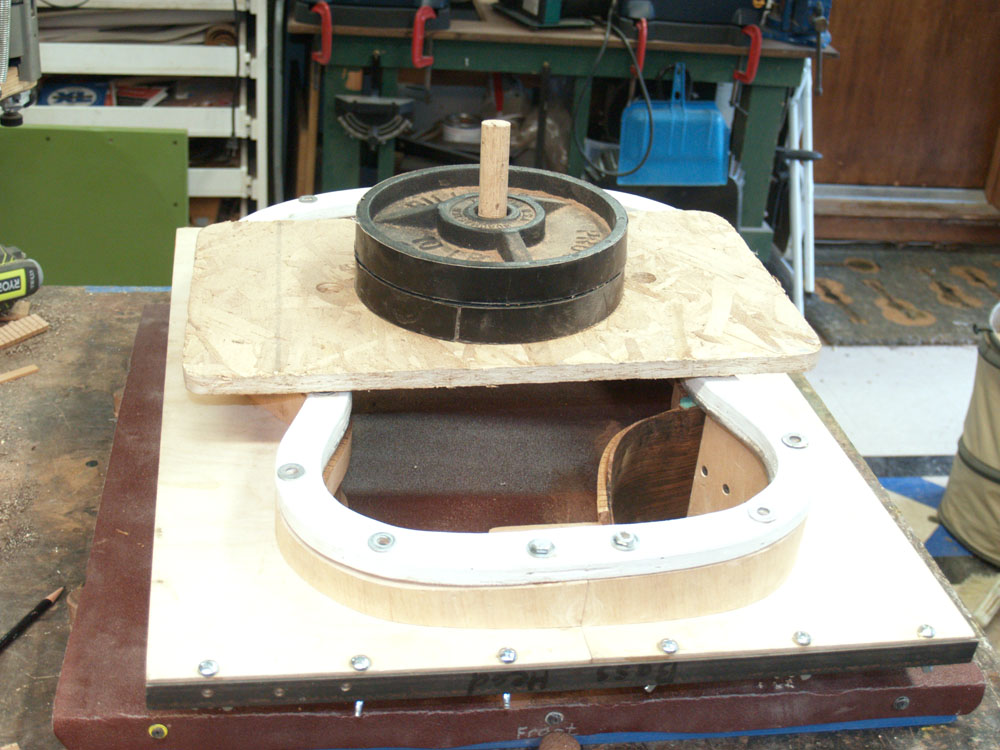
I use a special form to shape the cutaway section of the side. The upper section of the side goes into the heating blanket and then gets pressed into shape in the press.
 ( 53 ) 26-Feb-2012
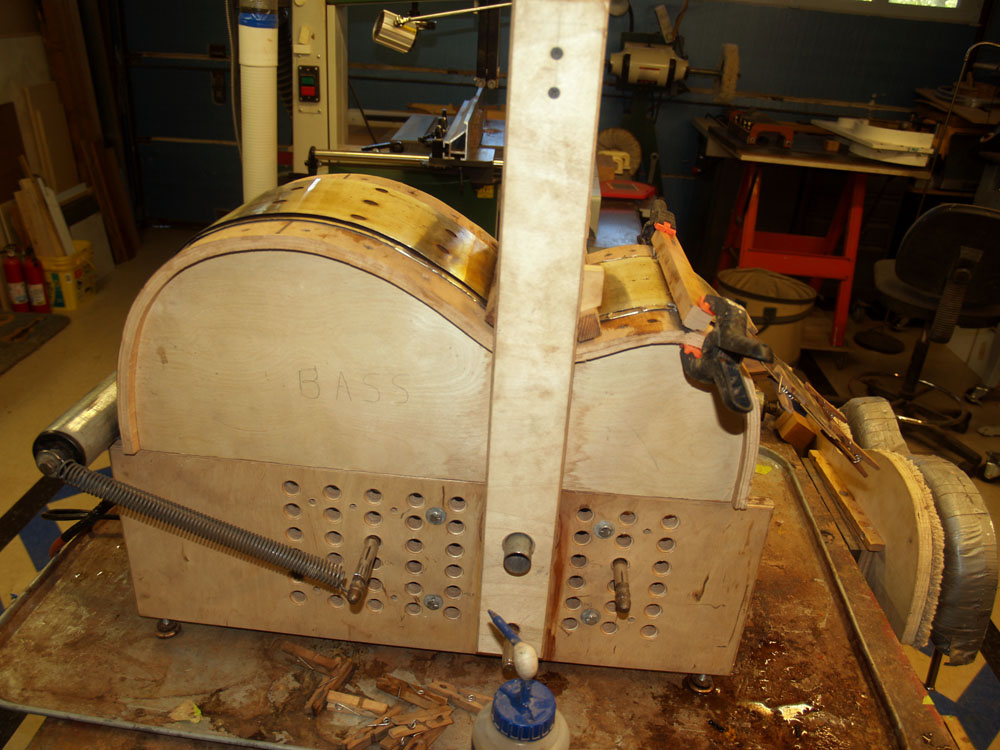
After it cooks and cools it holds it shape.
 ( 54 ) 26-Feb-2012
Now, I turn my attention to making the heal block. The two halves if the guitar will be glued together using the heal block and the tail block to bridge the joint. The heal block will also hold all of the neck attachment hardware... much more on this later.
 ( 55 ) 26-Feb-2012
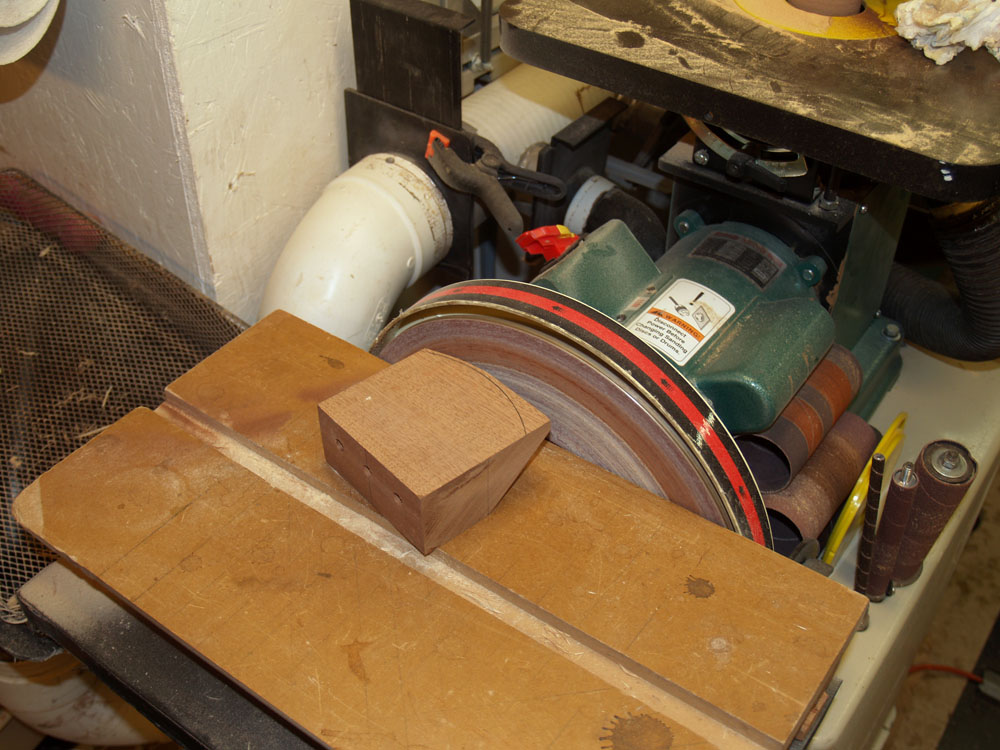
Here I am rounding off the cantilever portion of the heal block.
 ( 56 ) 26-Feb-2012
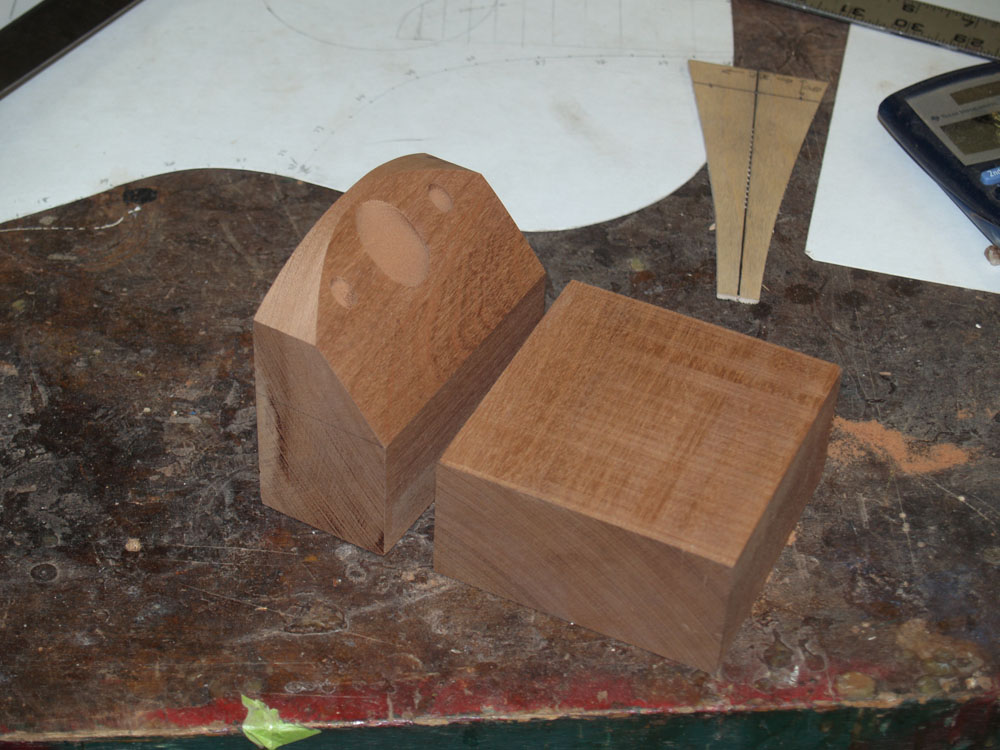
The heal block is made up of to sections. In this picture you can see the three holes in the upper section that are used for the center attachment bolt and the two set screws used for yaw and intonation adjustment.
 ( 57 ) 26-Feb-2012
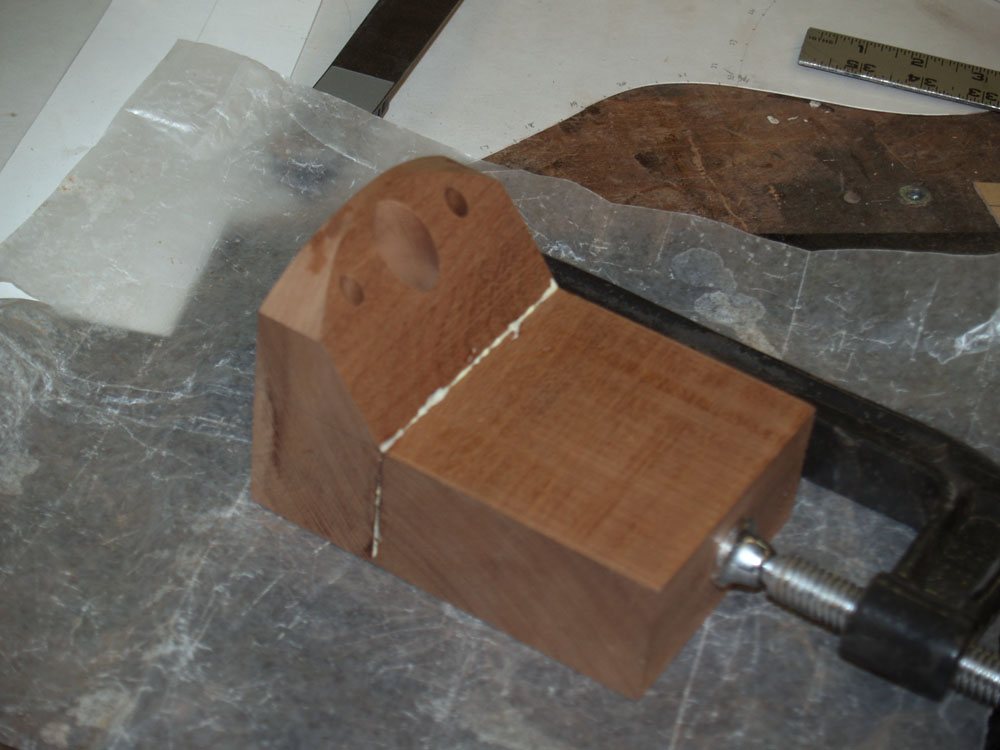
A bit of glue and the two sections get glued together.
 ( 58 ) 26-Feb-2012
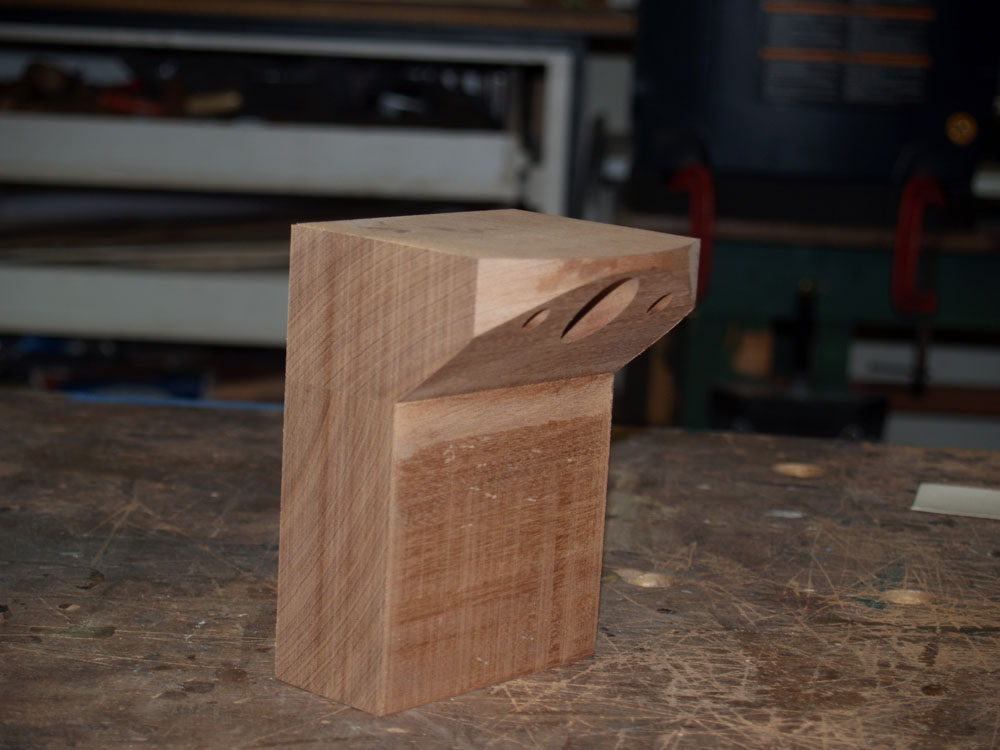
Here is a look at the finished heal block.
 ( 59 ) 26-Feb-2012
I use my miter saw to trim the bottom section to length.
 ( 60 ) 26-Feb-2012
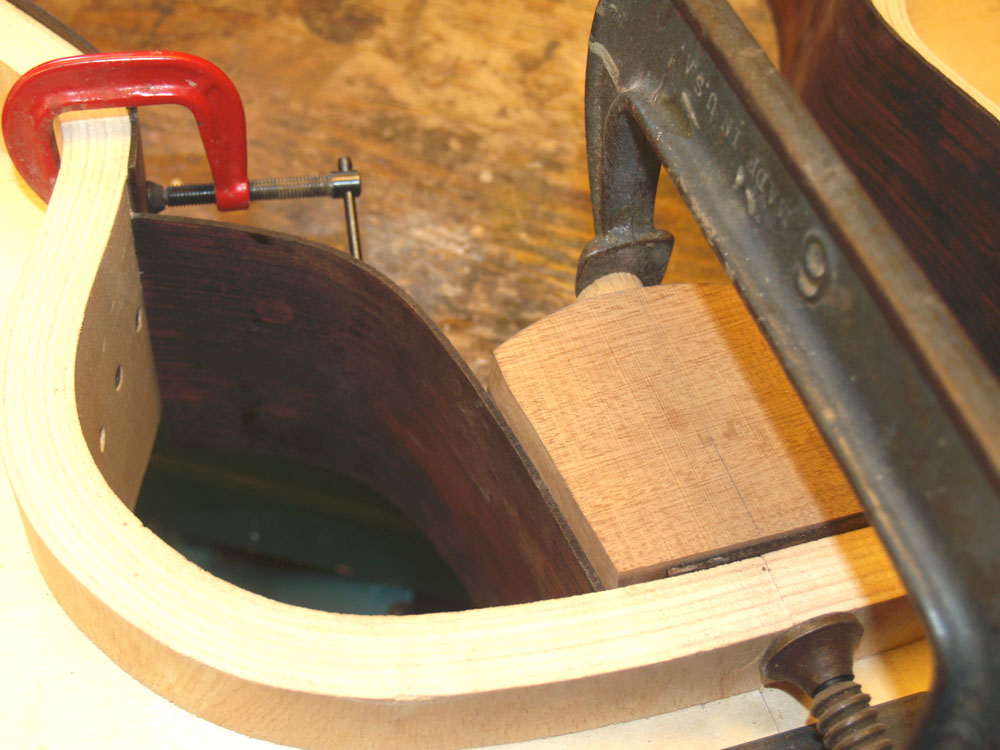
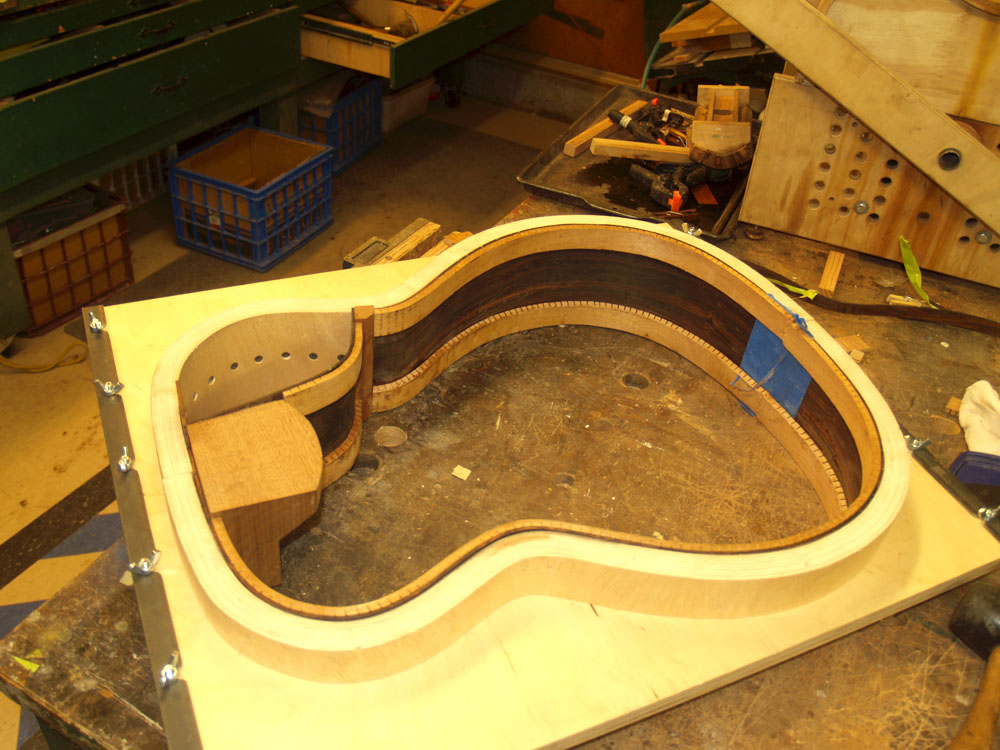
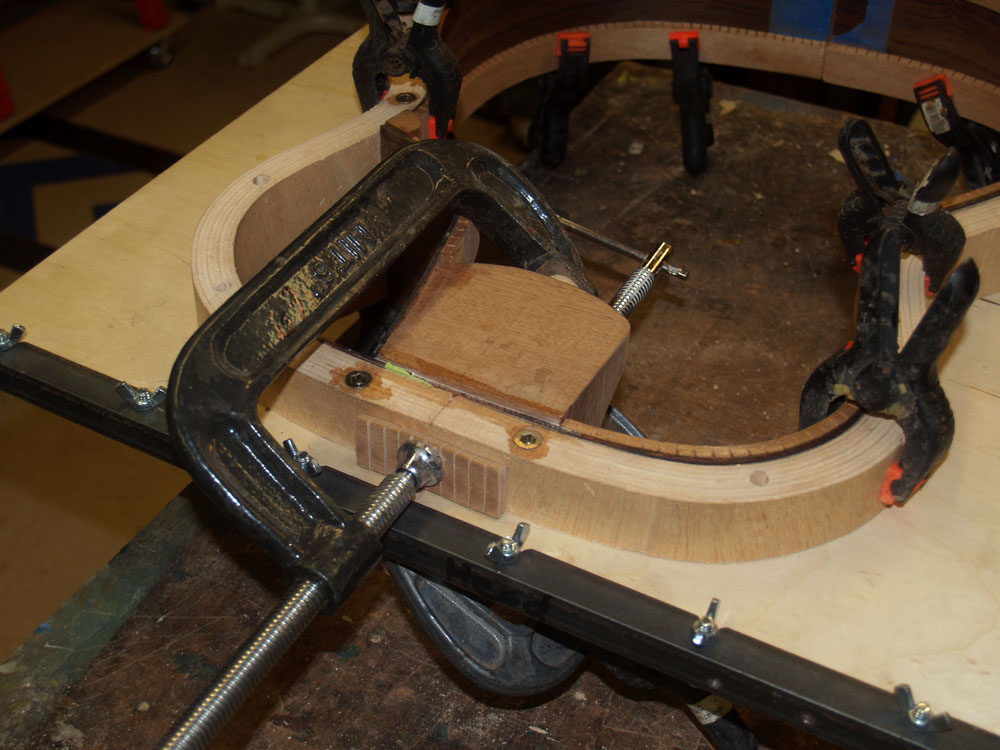
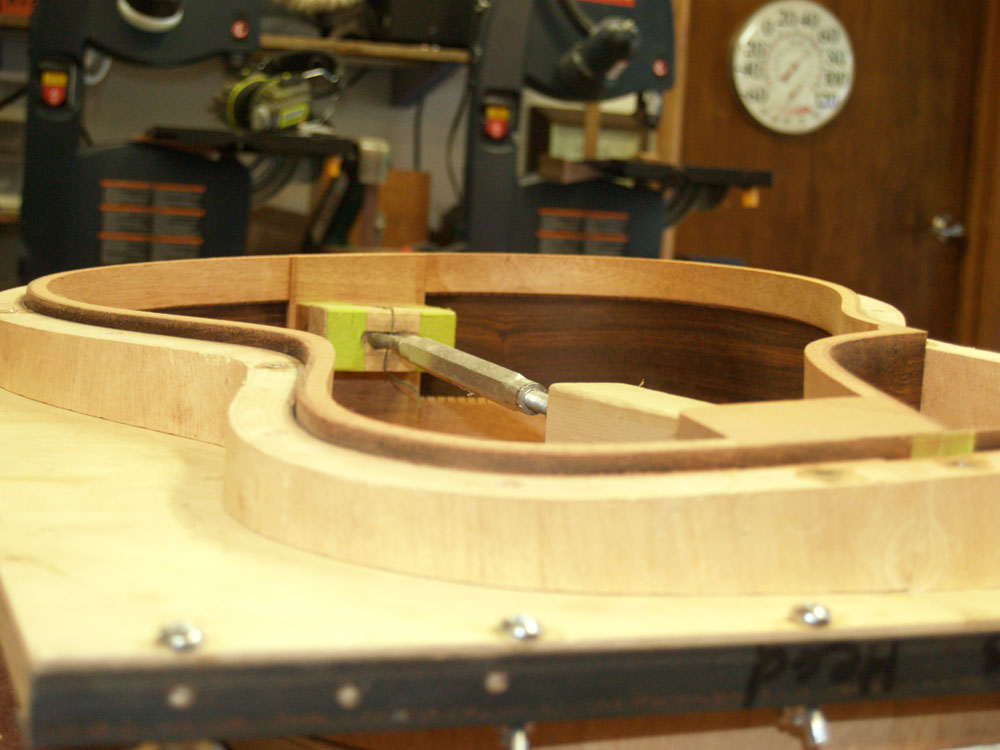
The heal block gets trimmed and shaped to accommodate the cutaway section of the side. Here I am fitting the cutaway section into place. This is a bit of an iterative process, where I test the fit, then measure, then refit the side until I am satisfied with fit of the assembly. I work very slowly, removing only a little bit of wood at a time ... it is much easier to remove the wood than it is to put it back.
 ( 61 ) 26-Feb-2012
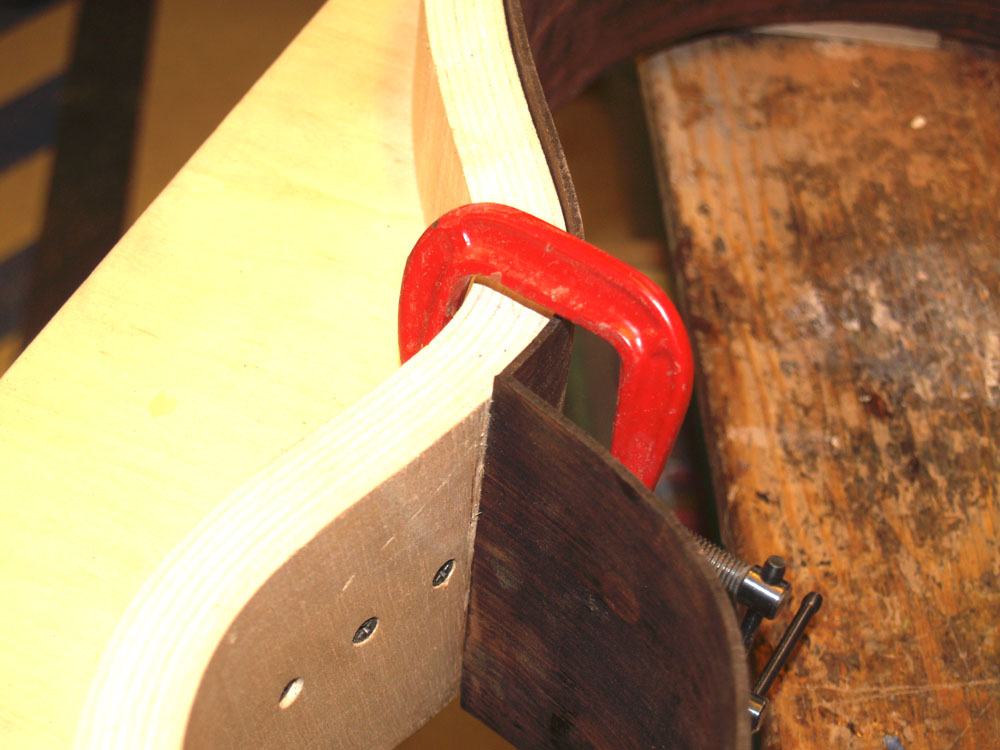
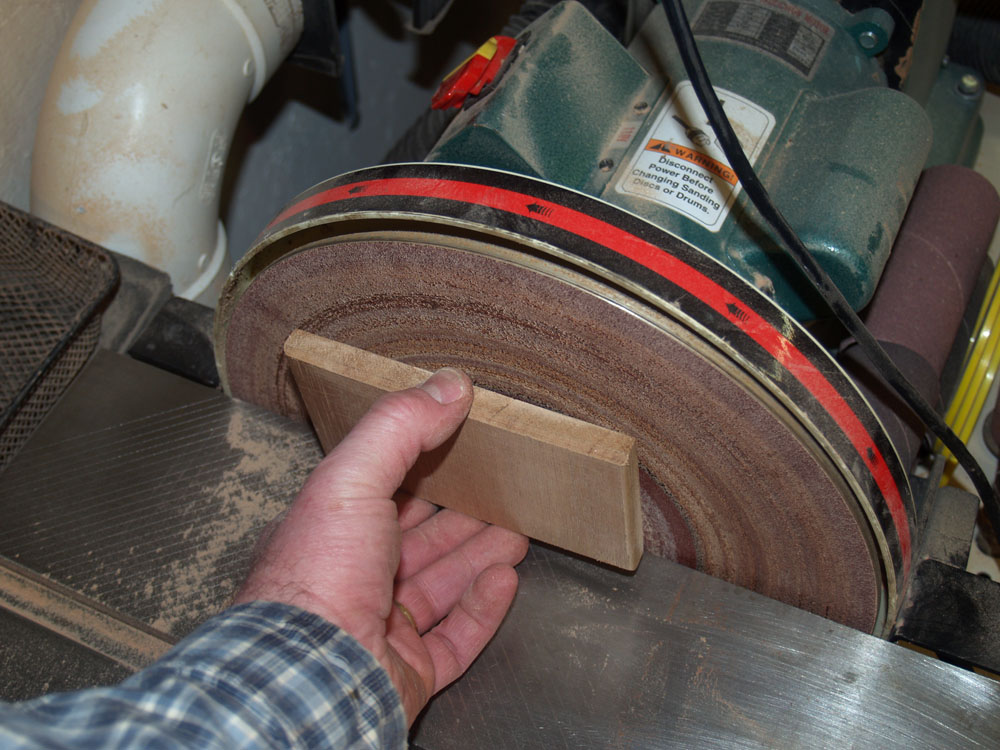
Once I am satisfied with the fit I sand a bevel into the joining edges of the two pieces of the side.
 ( 62 ) 26-Feb-2012
I work carefully to make this joint as tight as possible. I don't want any gaps in the joint.
 ( 63 ) 26-Feb-2012
I haven't shown the process, but because this guitar will have a one inch wedge from the bass to treble side, I have built a new set of side forms to make sure everything fits properly. Here I am tracing out the final shape of the sides from the form onto the side pieces of wood.
 ( 64 ) 26-Feb-2012
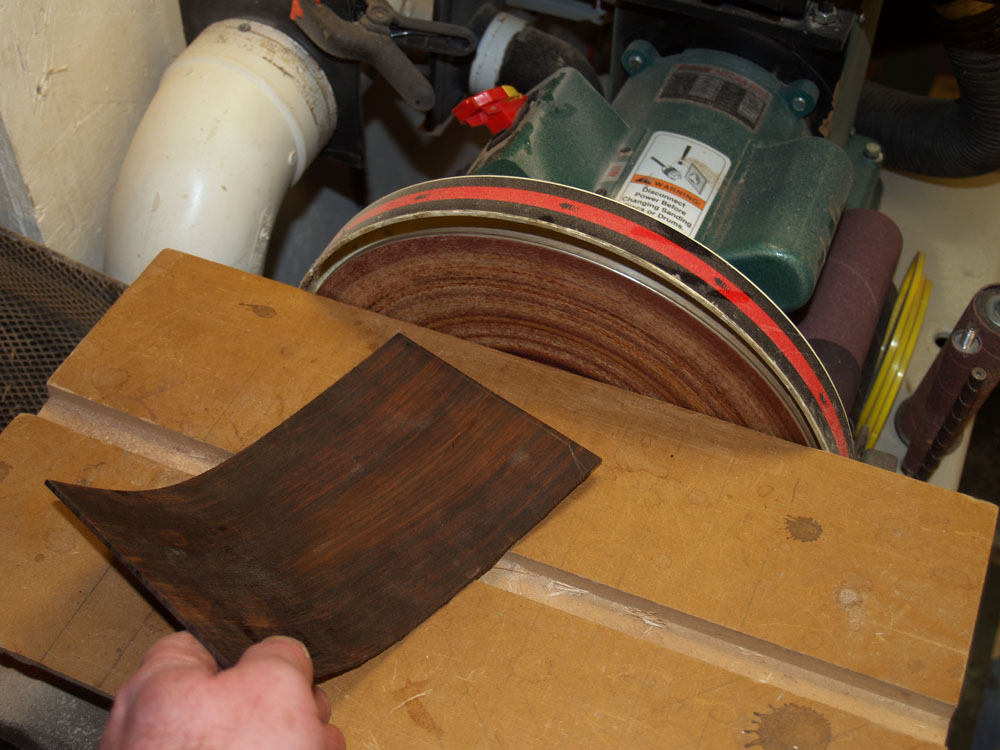
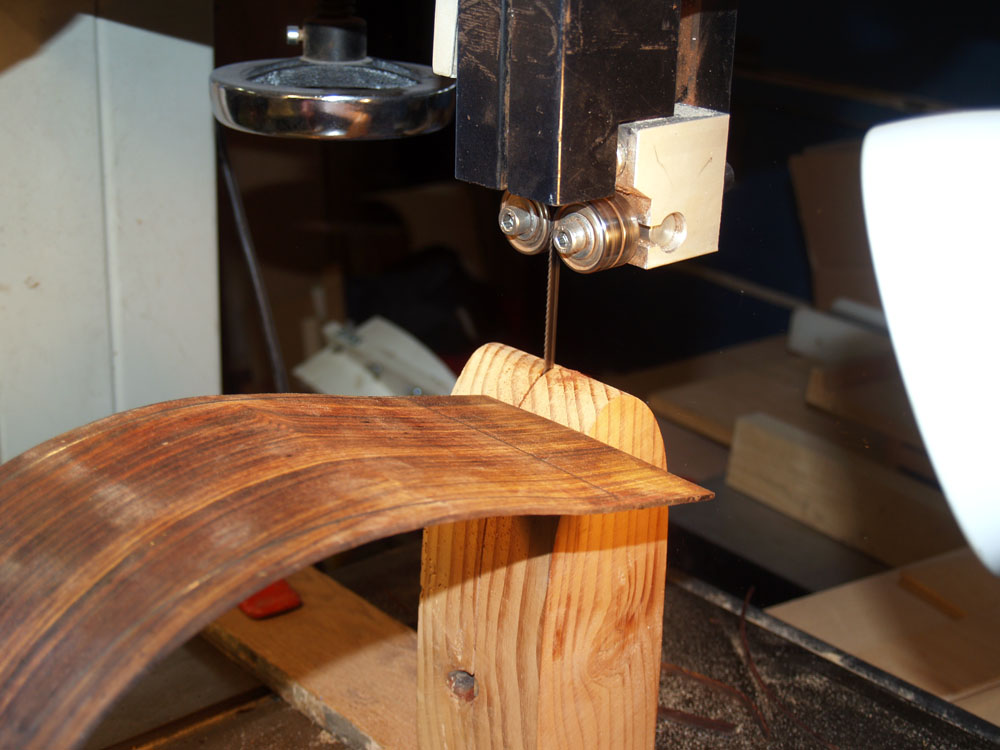
I use a raised anvil with the band saw to trim the side pieces to shape. The raised anvil provides a firm cutting surface while accommodating the shape of the curved sides.
 ( 65 ) 26-Feb-201
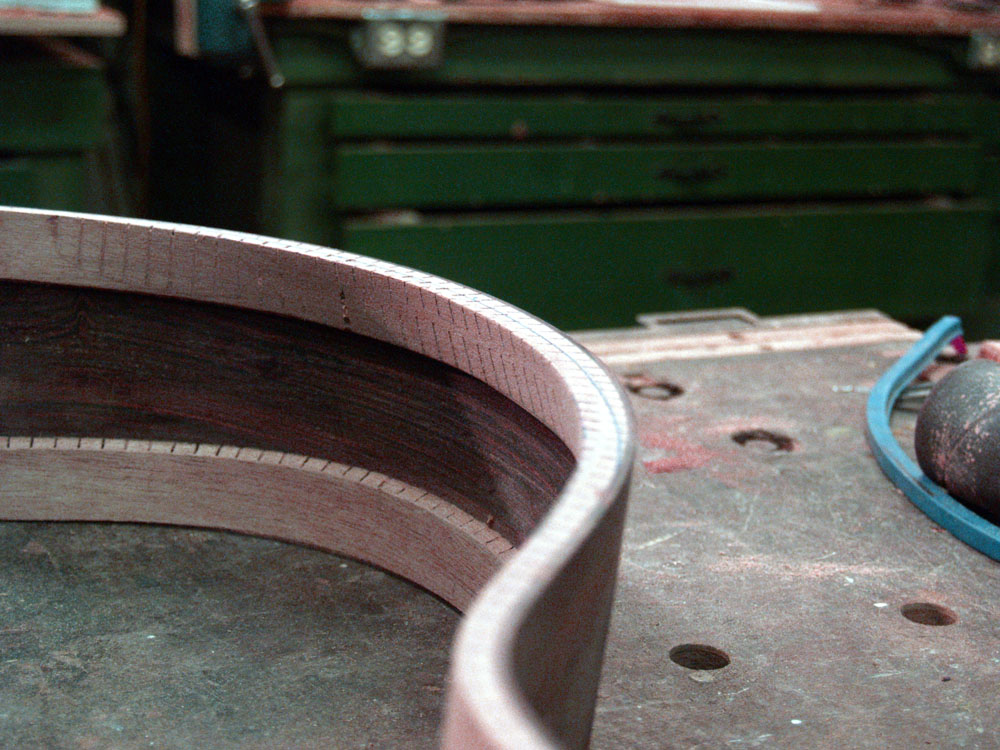
Here is one of the trimmed side pieces.
 ( 66 ) 26-Feb-2012
I have put all of the pieces into the side form to check on their alignment. I do a lot of checking, making sure that everything fits properly.
 ( 67 ) 26-Feb-2012
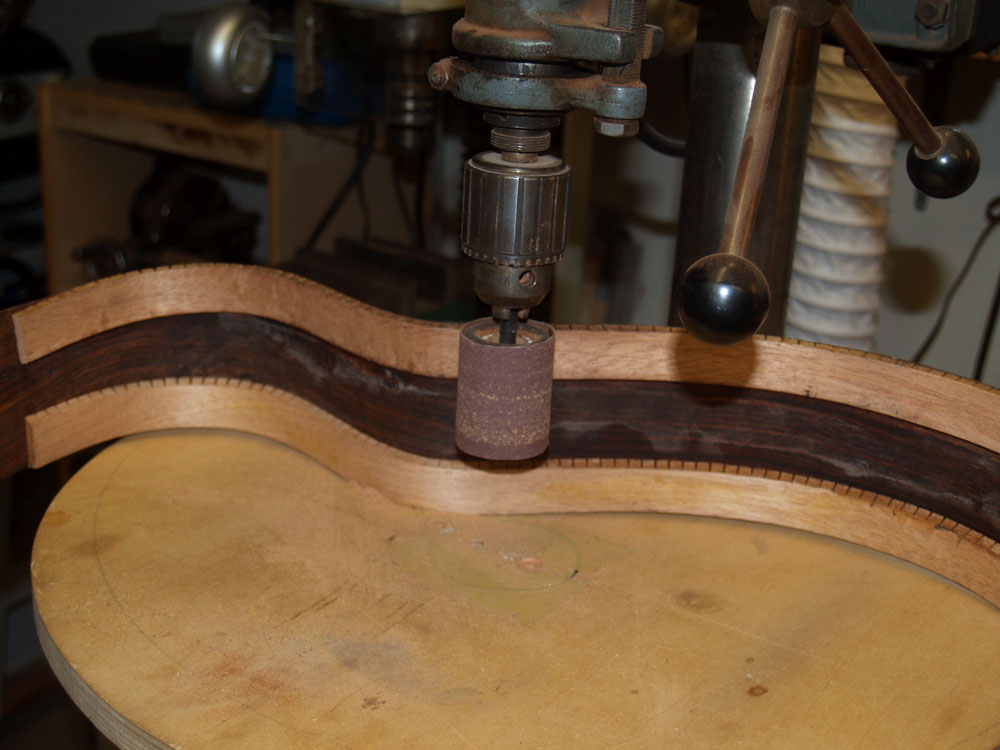
After a few careful measurements I trim the cutaway section of the side.
 ( 68 ) 26-Feb-2012
Here I am gluing the two pieces of the cutaway side together with joint support.
 ( 69 ) 26-Feb-2012
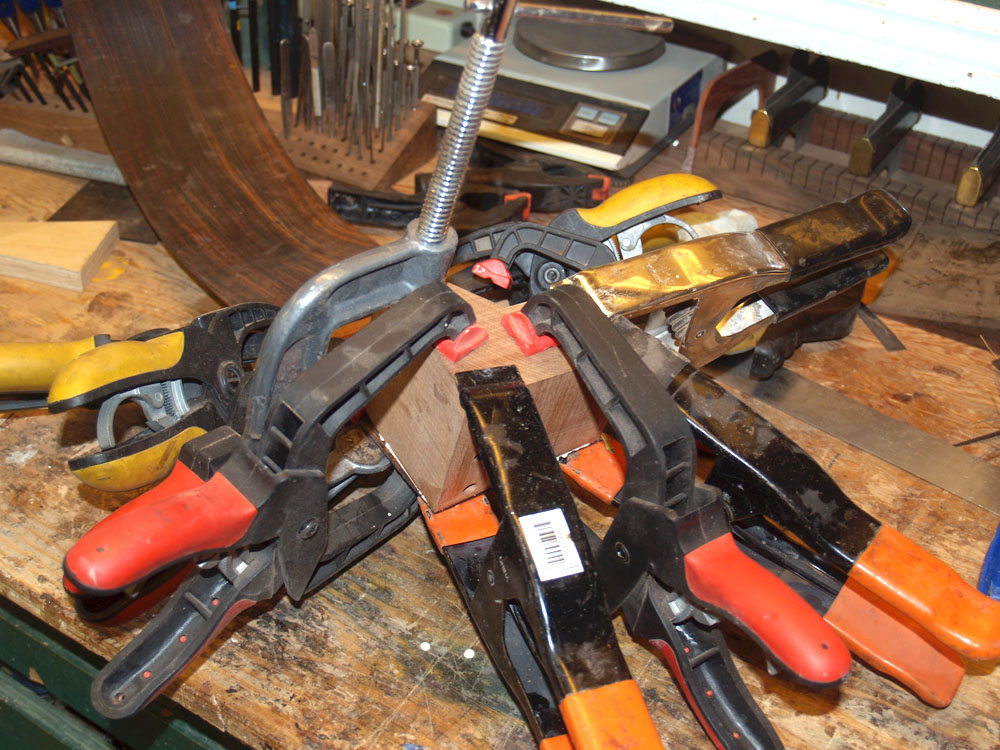
And then I glue the heal block to the cutaway section.
 ( 70 ) 26-Feb-2012
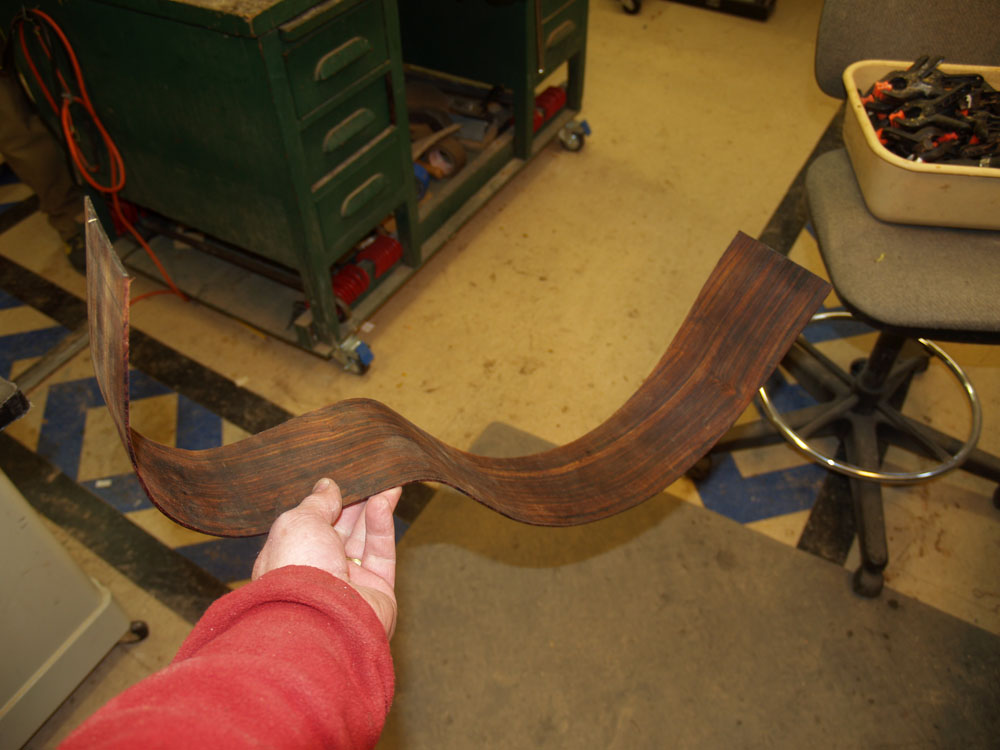
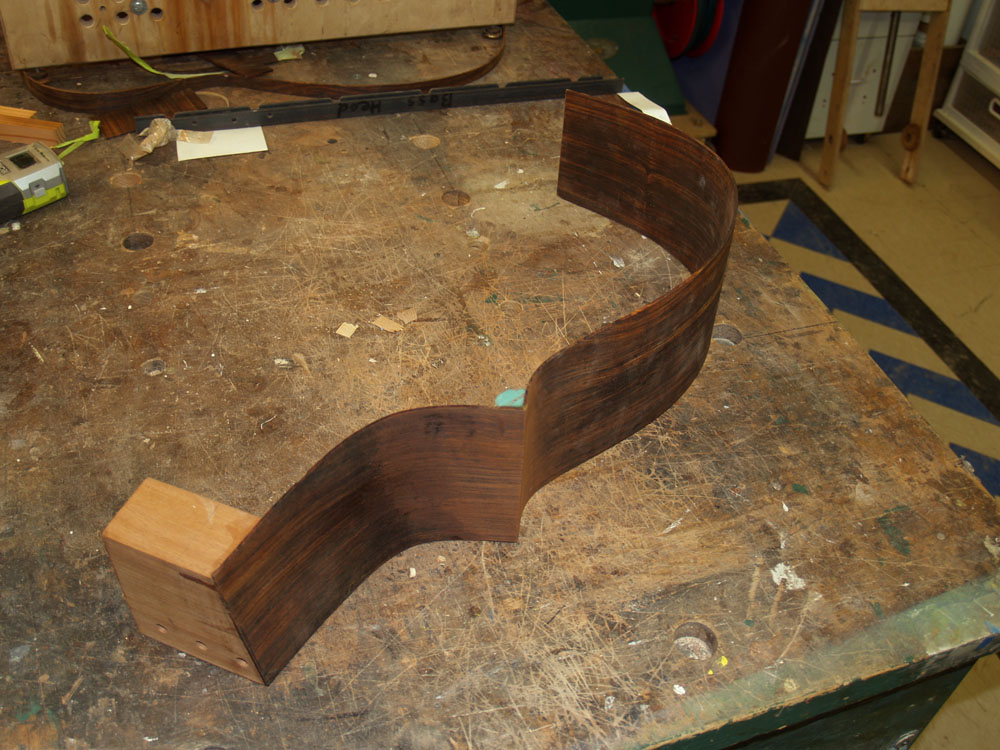
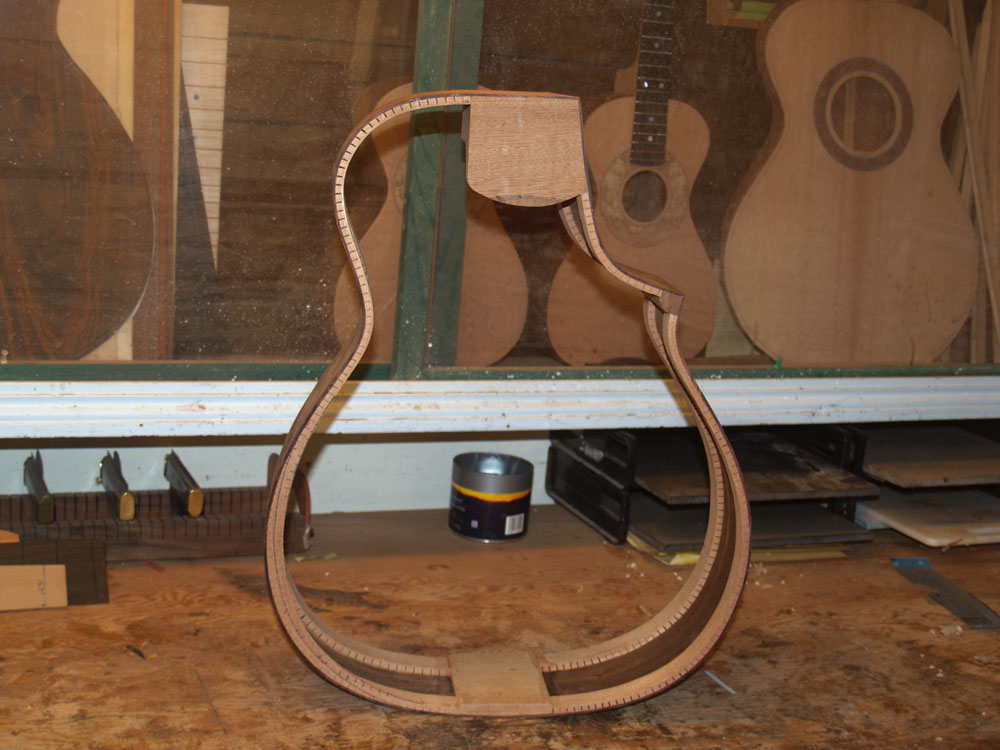
In the end I have a very funny shaped piece of wood.
 ( 71 ) 26-Feb-2012
Now I prepare the kerfing for assembly. I use reversed kerfing on my guitars because it makes for a very strong and stiff set of sides. I like to add 20 deg bevel to the top edge of the kerfing. This serves no functional purpose but it does look good. Even though no one will see it unless they take a peek into the sound hole, I like the inside of the guitar to look as good as the outside of the guitar. Wayne Henderson says it makes the notes come out better. I am certainly not going to argue with Wayne Henderson.
 ( 72 ) 26-Feb-2012
Here I am laying up the kerfing in the heating blanket to be bent in the bending machine
 ( 73 ) 26-Feb-2012
After it has been bent into shape a bit of glue goes onto the interior surface of one of the pieces of kerfing.
 ( 74 ) 26-Feb-2012
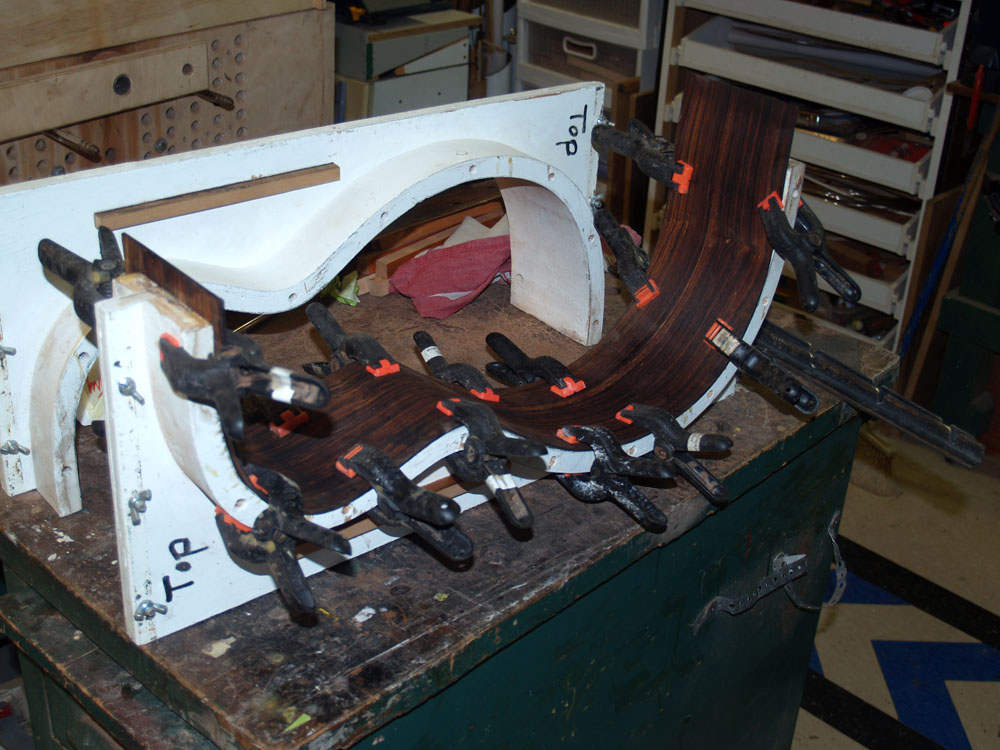
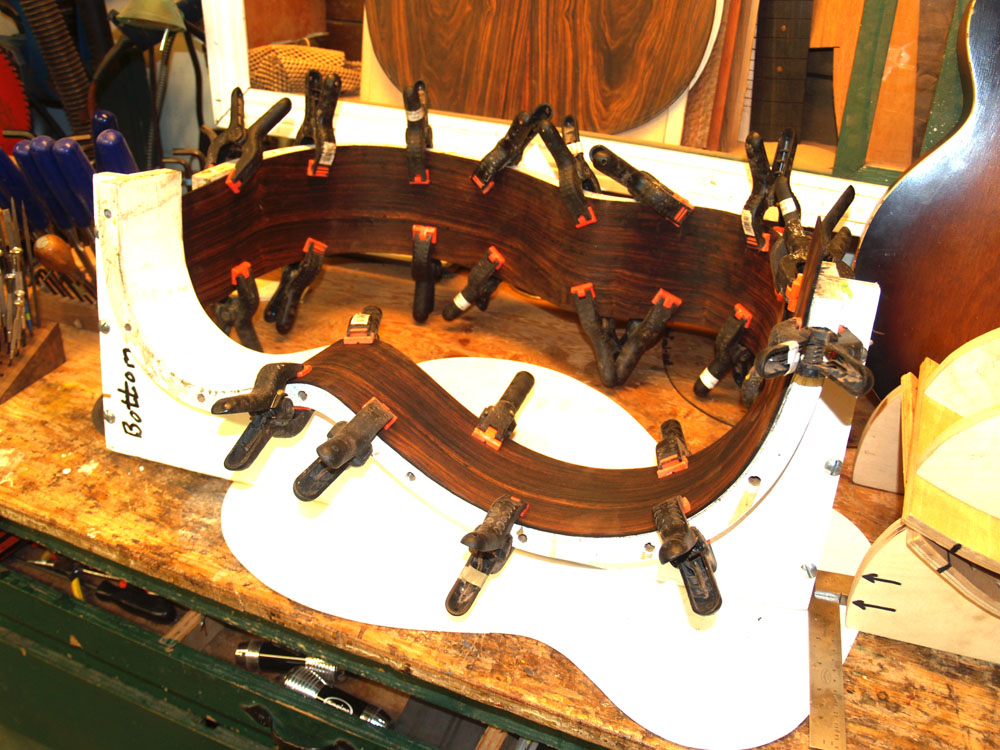
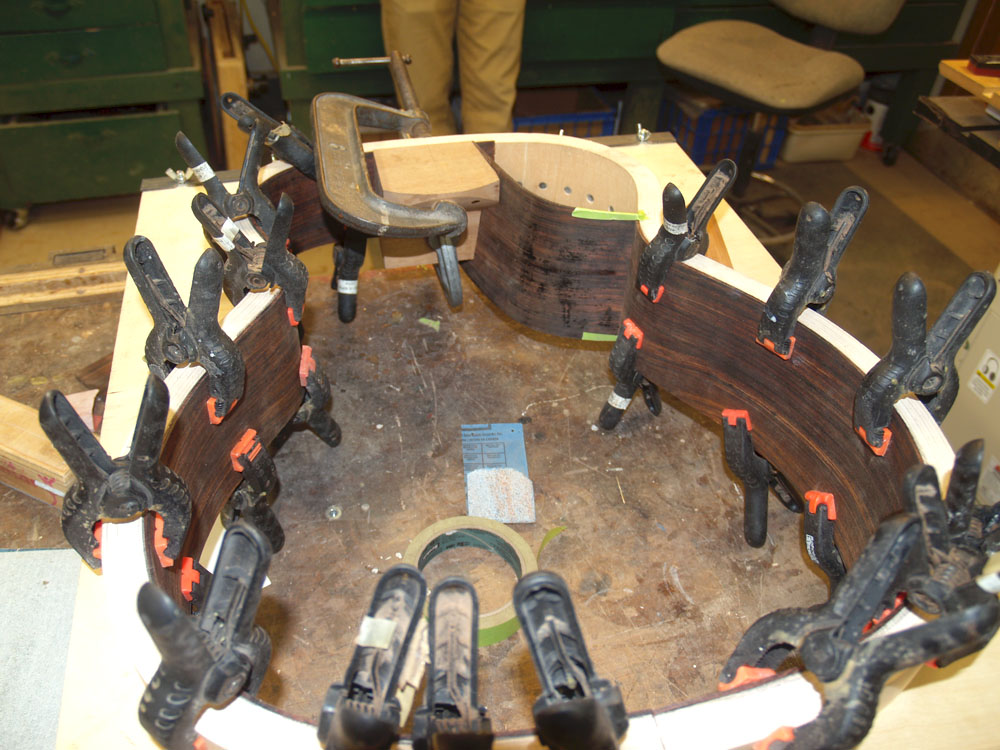
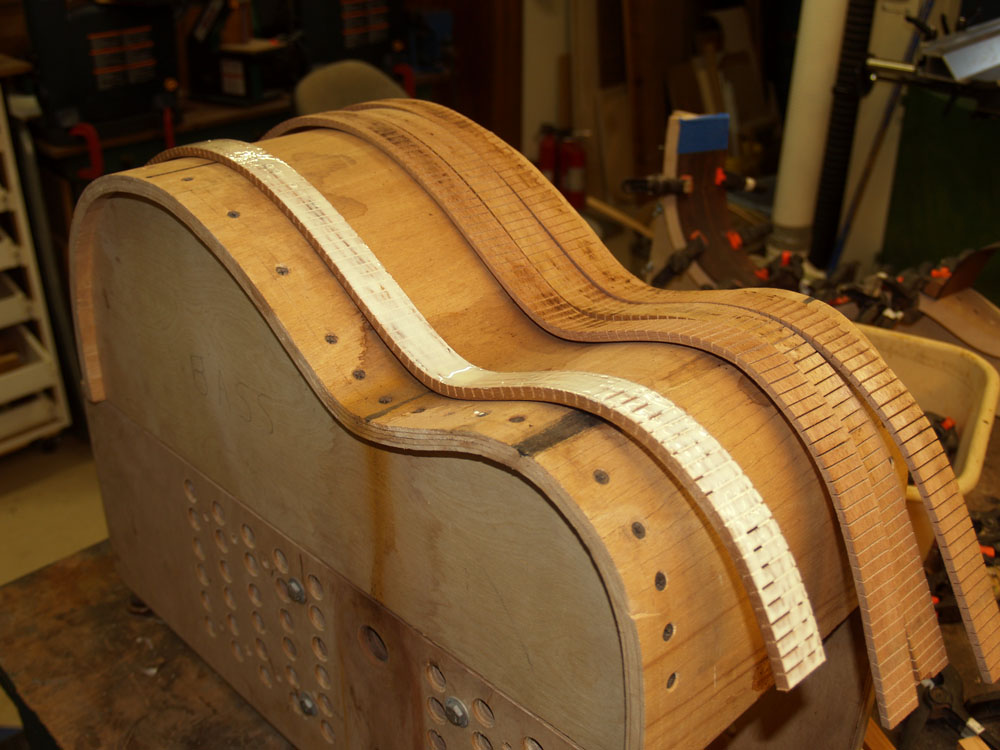
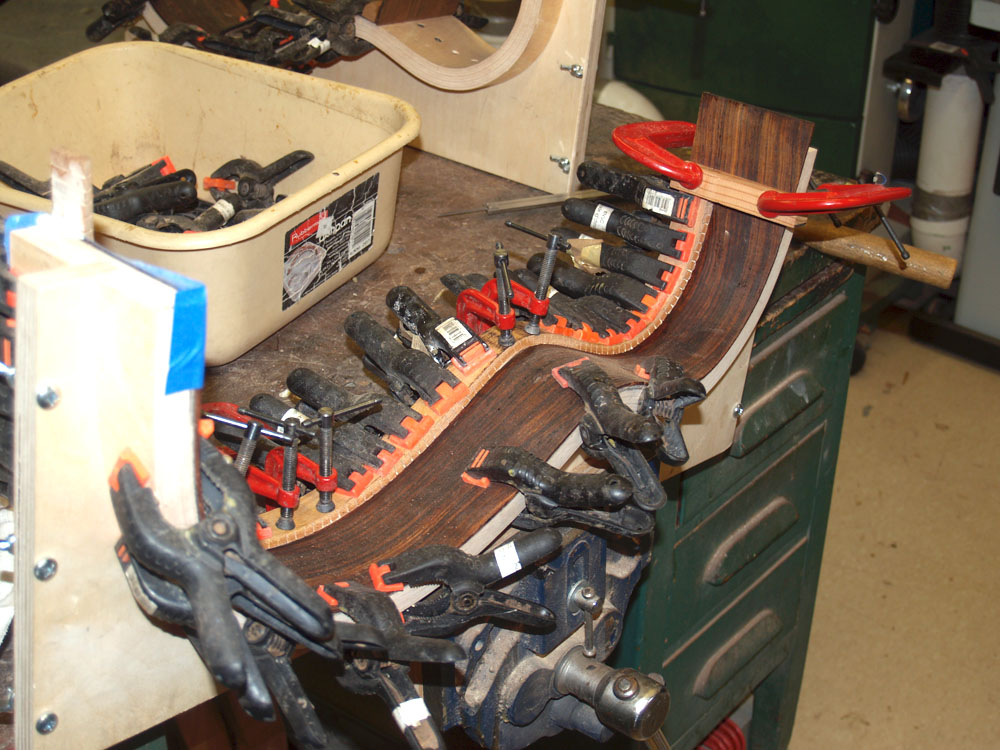
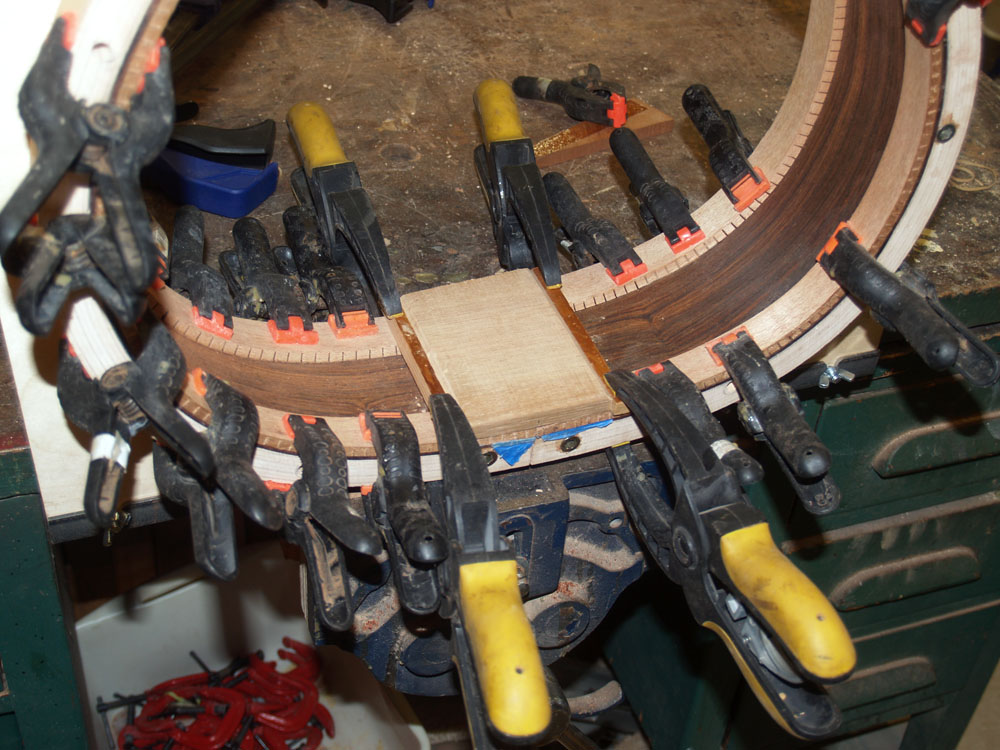
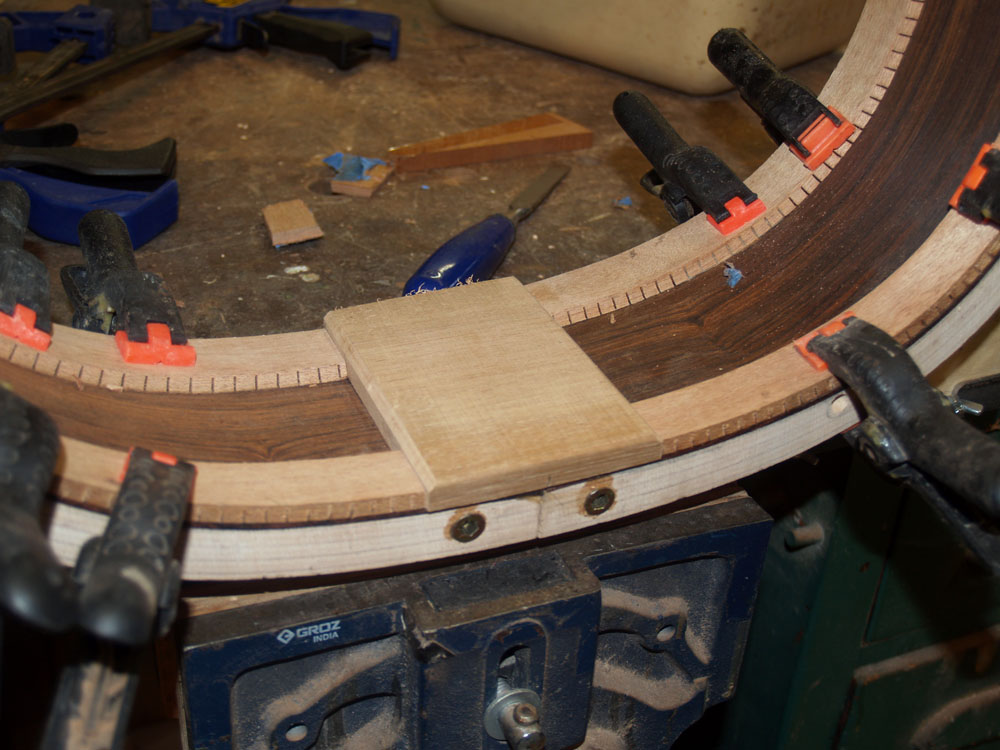
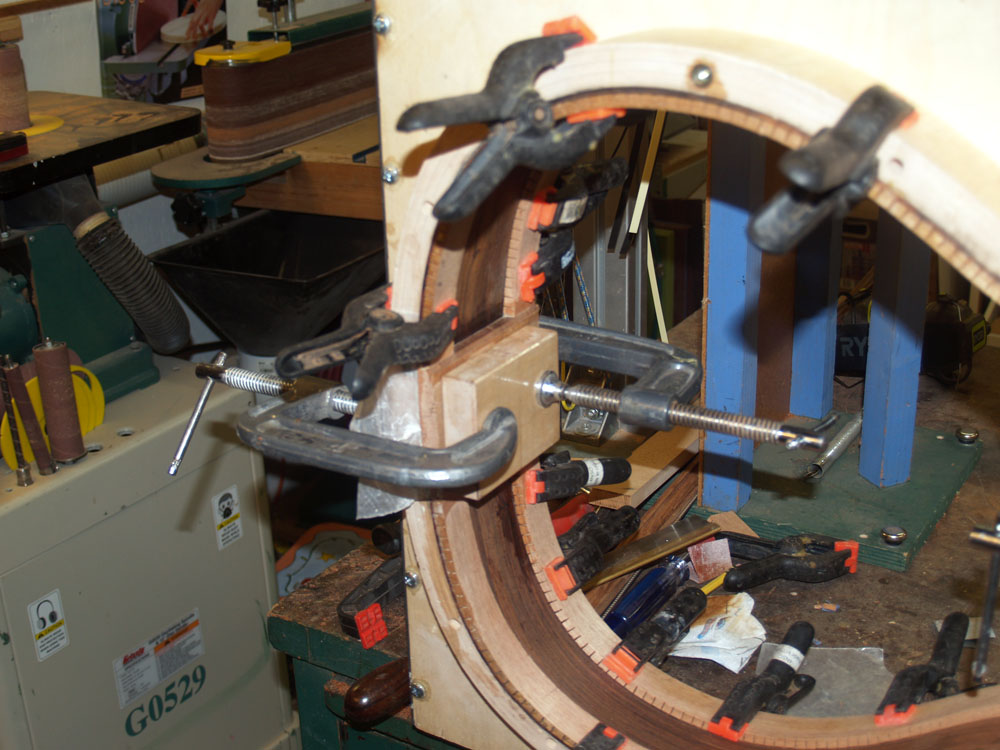
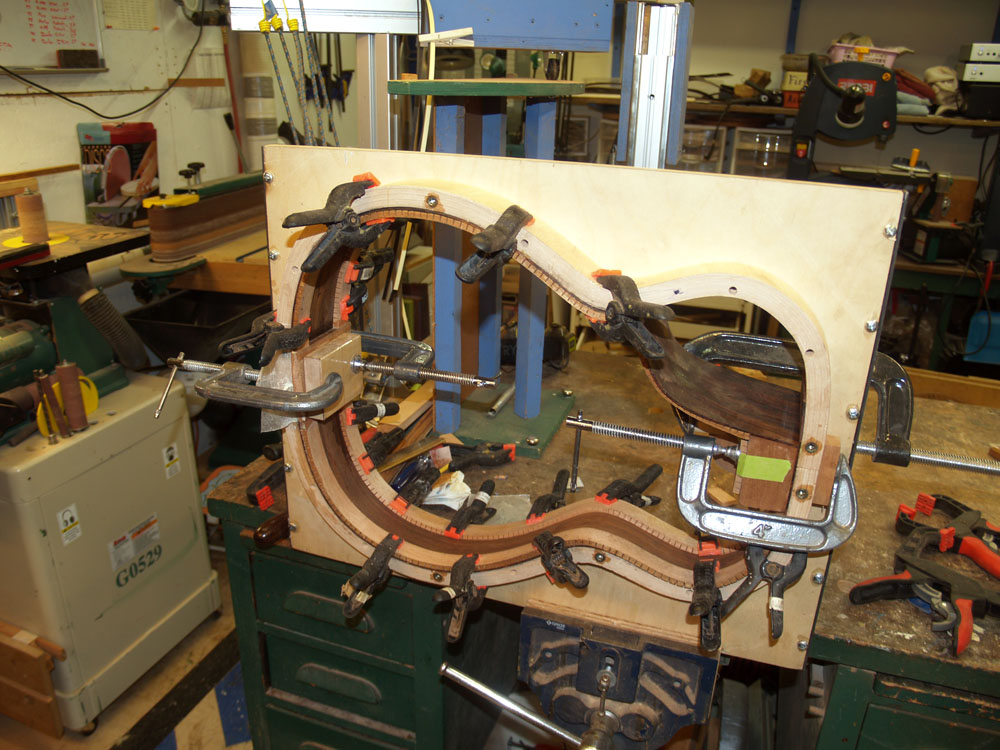
I use as many clamps as possible to glue the kerfing into place. The kerfing is glued onto the sides while it is in place in the side form. This ensures that the side piece will take on the same shape as the side form. This is why I spend a lot of time making sure the side form has the proper shape.
 ( 75 ) 26-Feb-2012
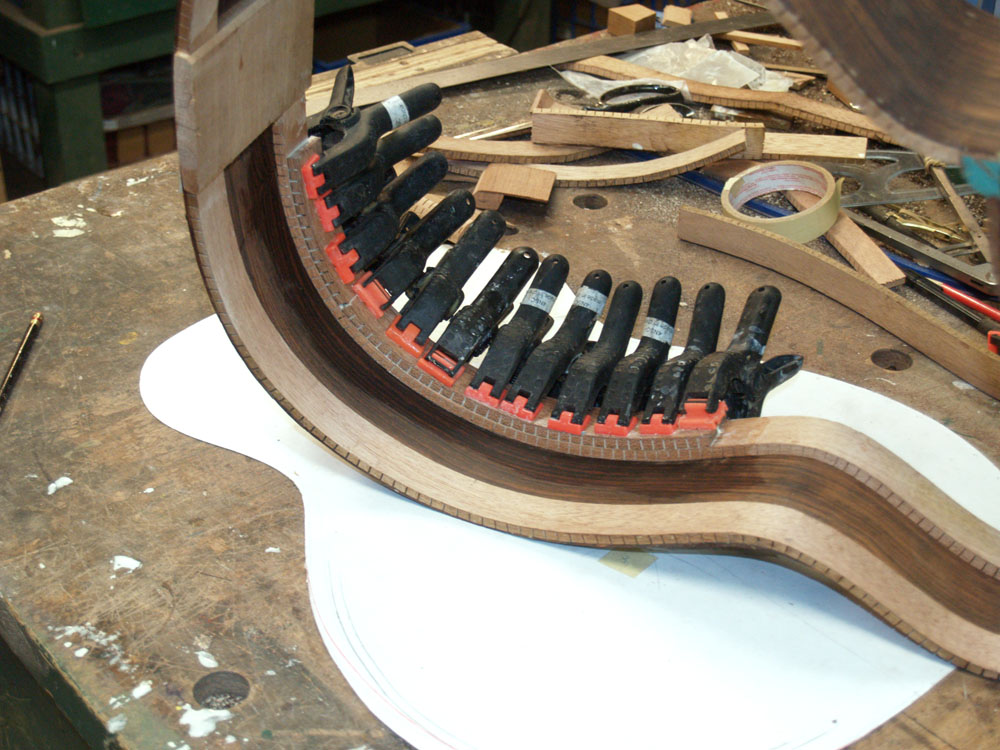
He with the most clamps wins... I have several hundred.
 ( 76 ) 26-Feb-2012
After the glue has dried I pull the sides out of the form and they are stiff and strong.
 ( 77 ) 26-Feb-2012
Here I am trimming the end of the side to length.
 ( 78 ) 26-Feb-2012
With the kerfing glued to the two halves of the side I put them into the side forms to check alignment again.
 ( 79 ) 26-Feb-2012
Before I glue the two halves together I clean up the kerfing with a little bit of light sanding.
 ( 80 ) 26-Feb-2012
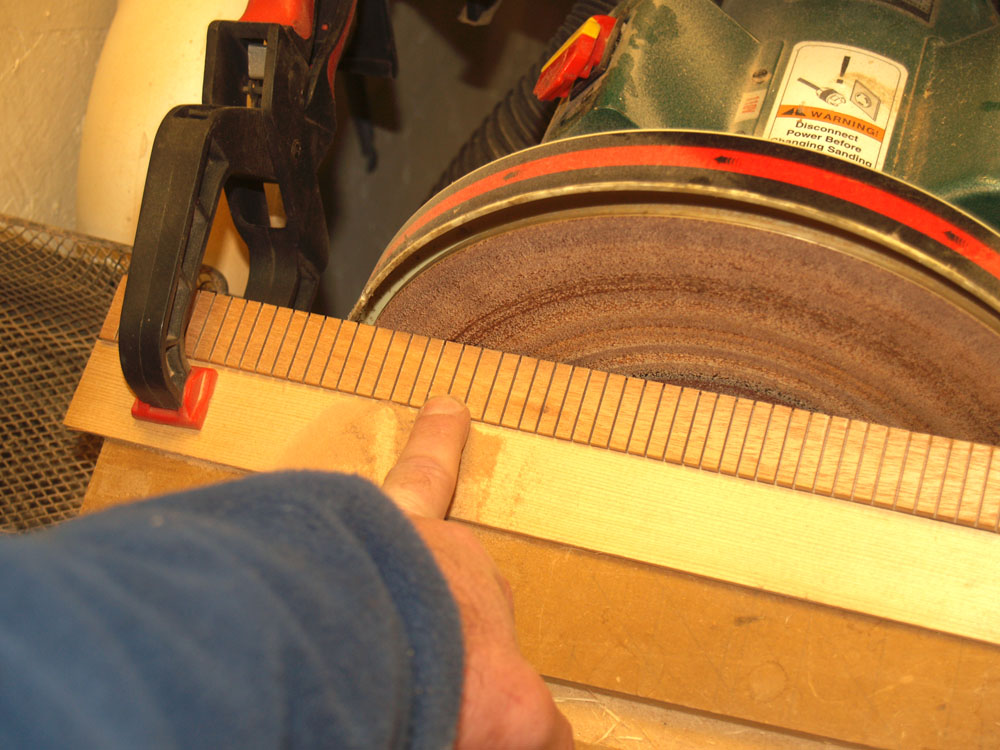
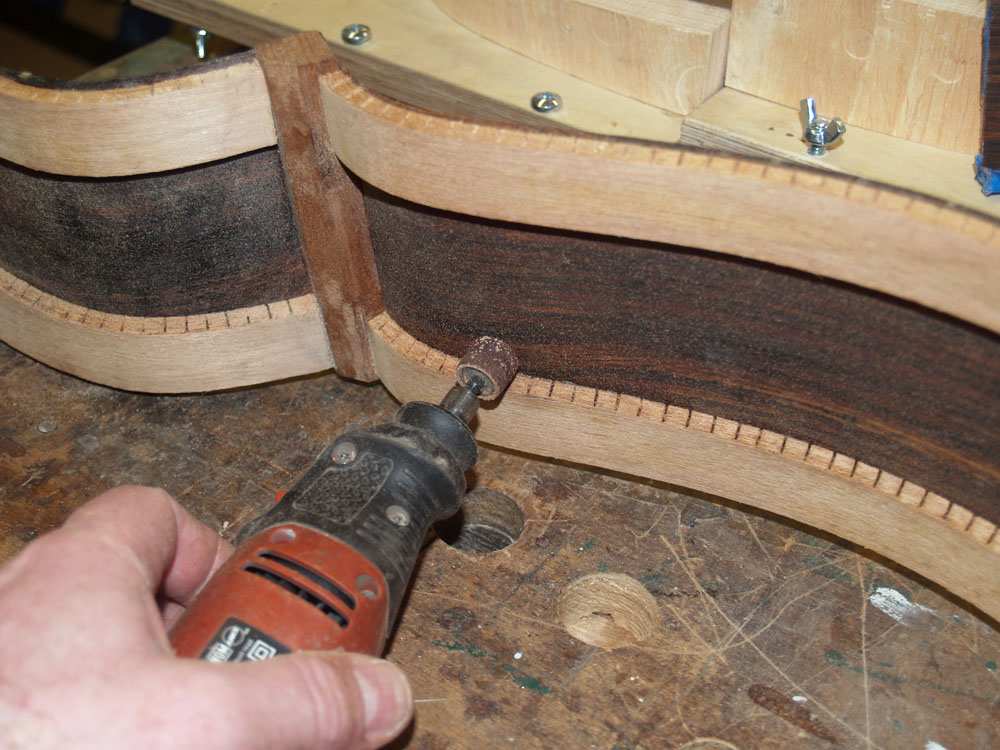
I use rotary sander to sand the beveled edge of the kerfing.
 ( 81 ) 26-Feb-2012
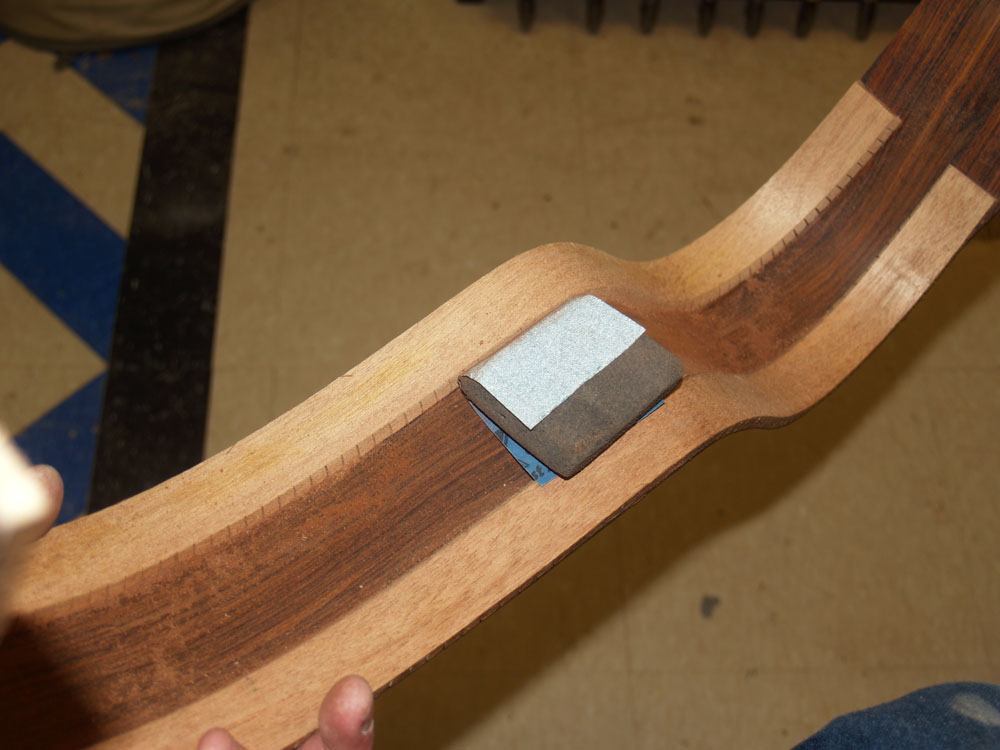
And a bit of hand sanding is used to sand the interior side.
 ( 82 ) 26-Feb-2012
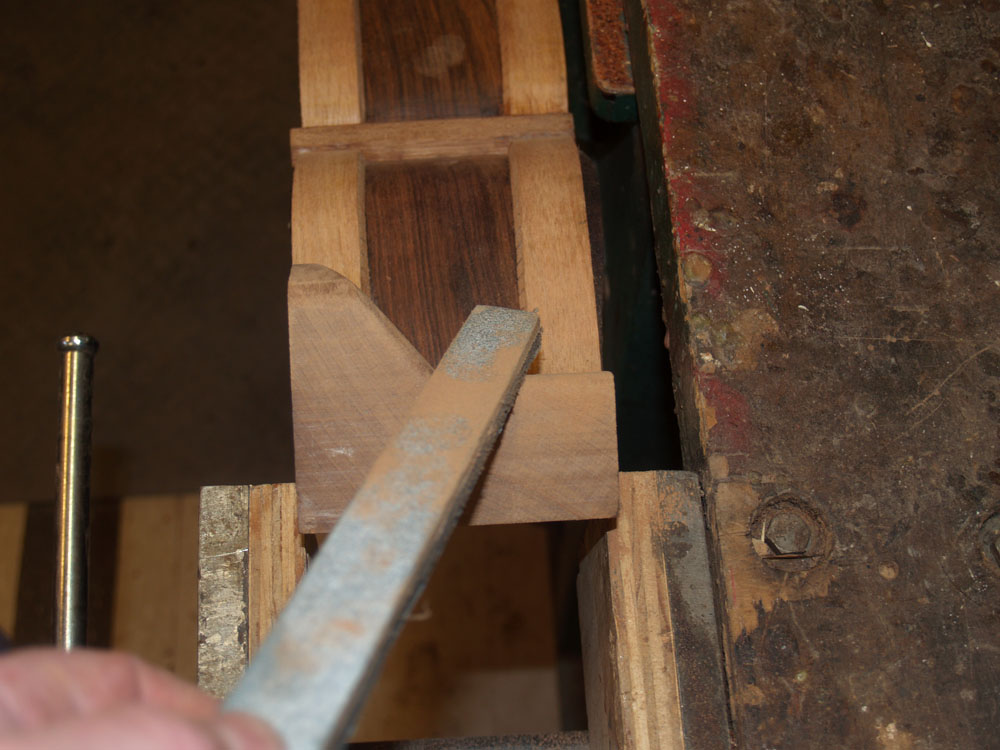
Here I am rounding over the edge of the heal block to eliminate and sharp corners.
 ( 83 ) 26-Feb-2012
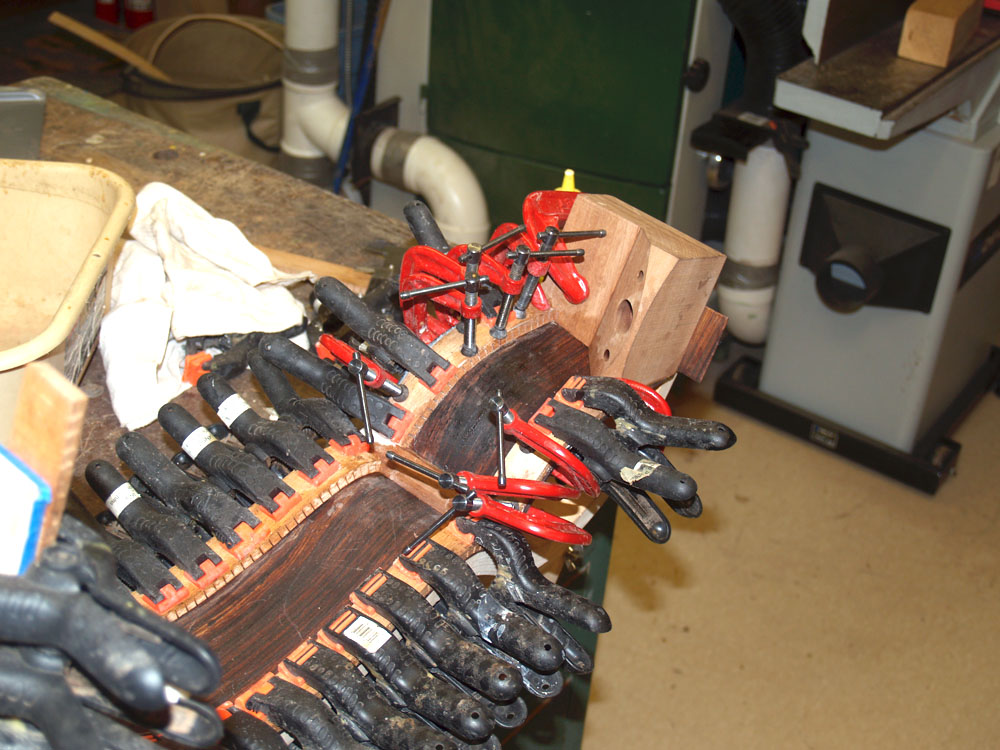
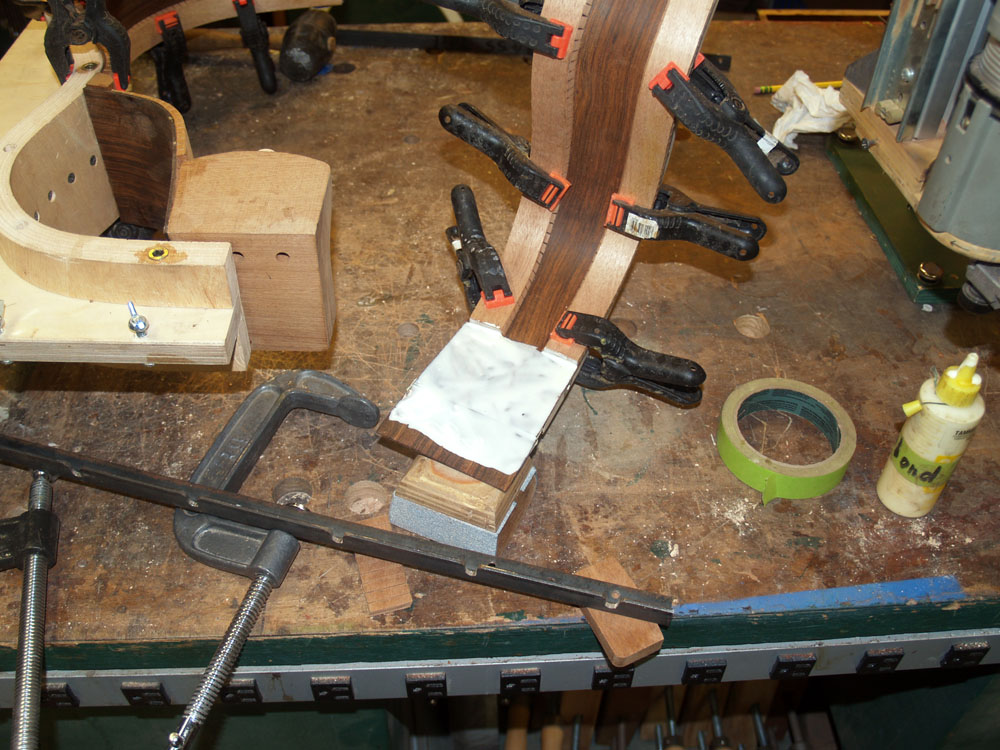
Now I am ready to glue the two halves of the sides together. I start out by spreading a little glue on the heal block section of the side.
 ( 84 ) 26-Feb-2012
And a few clamps force the sides into their final shape in the forms.
 ( 85 ) 26-Feb-2012
The tail block gets rounded over to match the tail end shape of the form.
 ( 86 ) 26-Feb-2012
Here I have set the tail block into place and positioned a couple of brackets on the outside edges of the tail block.
 ( 87 ) 26-Feb-2012
The brackets act as a guide so I can cut away the kerfing where the tail block will go. I want a good tight fit, just because I can.
 ( 88 ) 26-Feb-2012
In the end I have a perfect fit of the tail block to the sides between the kerfing.
 ( 89 ) 26-Feb-2012
A bit of glue and a few clamps press the tail block into place.
 ( 90 ) 26-Feb-2012
I let the whole assembly set up and cure over night.
 ( 91 ) 26-Feb-2012
For ergonomic reasons, this guitar is going to have a beveled arm rest on the lower bout of the bass side of the top. In this picture I am gluing two additional pieces of kerfing in the arm rest section of the side.
 ( 92 ) 26-Feb-2012
Here is the kerfing before it is sanded into its final shape.
 ( 93 ) 26-Feb-2012
Now I am ready to sand the top and back edges of the sides to shape. I first mark the edges with a magic marker so I will know when every surface has been properly sanded to shape.
 ( 94 ) 26-Feb-2012
I put a sheet of sandpaper on the top and bottom discs and a few weight on the rim to help apply even pressure.
 ( 95 ) 26-Feb-2012
Then with a bit of work, the sides are sanded down until they take on the shape of the sanding discs / top and back forms. When the top and back are assembled using the same sanding disks / forms, they will make a perfect fit between the rim and the top and back.
 ( 96 ) 26-Feb-2012
Here I am tracing out the shape of the arm bevel on the additional rim kerfing.
 ( 97 ) 26-Feb-2012
I then sand the additional kerfing to shape.
 ( 98 ) 26-Feb-2012
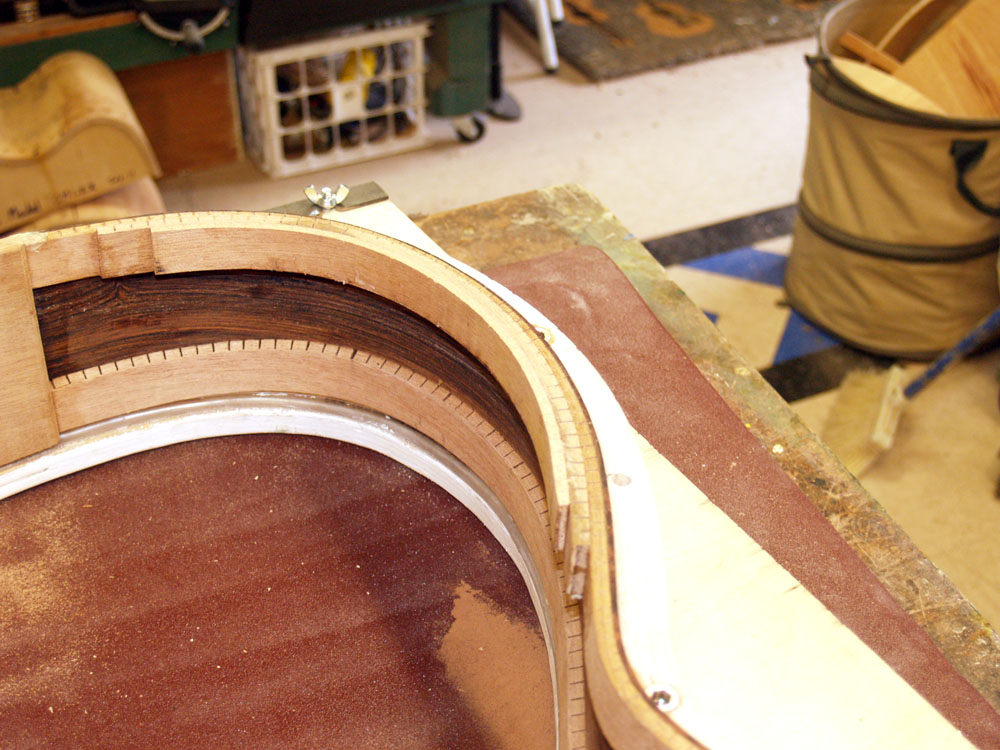
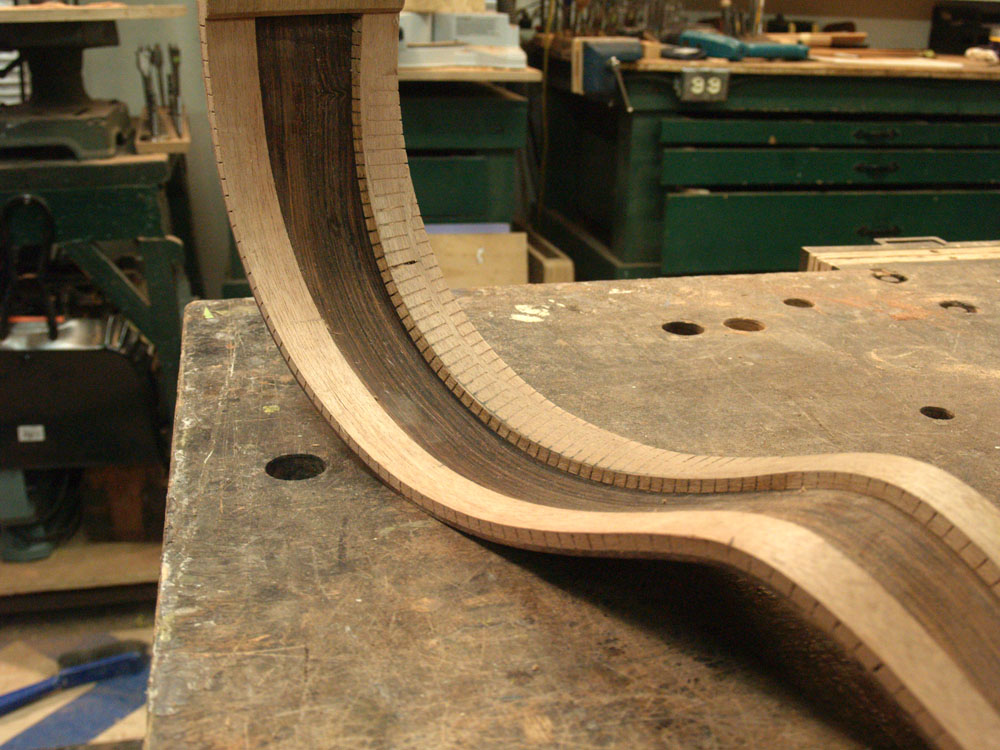
Here you can see the final shape of the kerfing in the area of the arm bevel.
 ( 99 ) 26-Feb-2012
And here is another view of the arm rest kerfing.
 ( 100 ) 26-Feb-2012
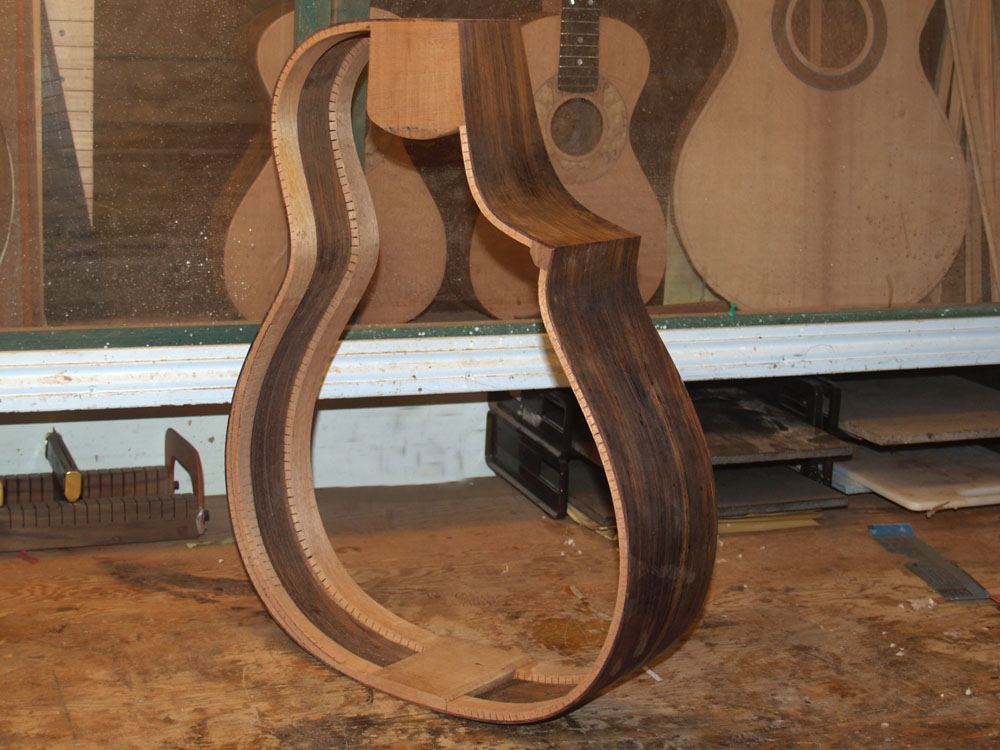
Finally, after all the sand is done we can get an idea of the final shape of the sides and the degree of the wedge.
 ( 101 ) 26-Feb-2012
Another view,
 ( 102 ) 26-Feb-2012
And a top view of the rim.
 ( 103 ) 26-Feb-2012
And an oblique view..
 ( 104 ) 26-Feb-2012
And another.