 ( 303 ) 4-Sept-2012
A little more work on the neck putting the side dots in place.
 ( 303 ) 4-Sept-2012
A little more work on the neck putting the side dots in place.
 ( 304 ) 4-Sept-2012
I glue this poly styrene rod in the hole I just drilled to create the dots..
 ( 305 ) 4-Sept-2012
And then sand everything flush.
 ( 306 ) 4-Sept-2012
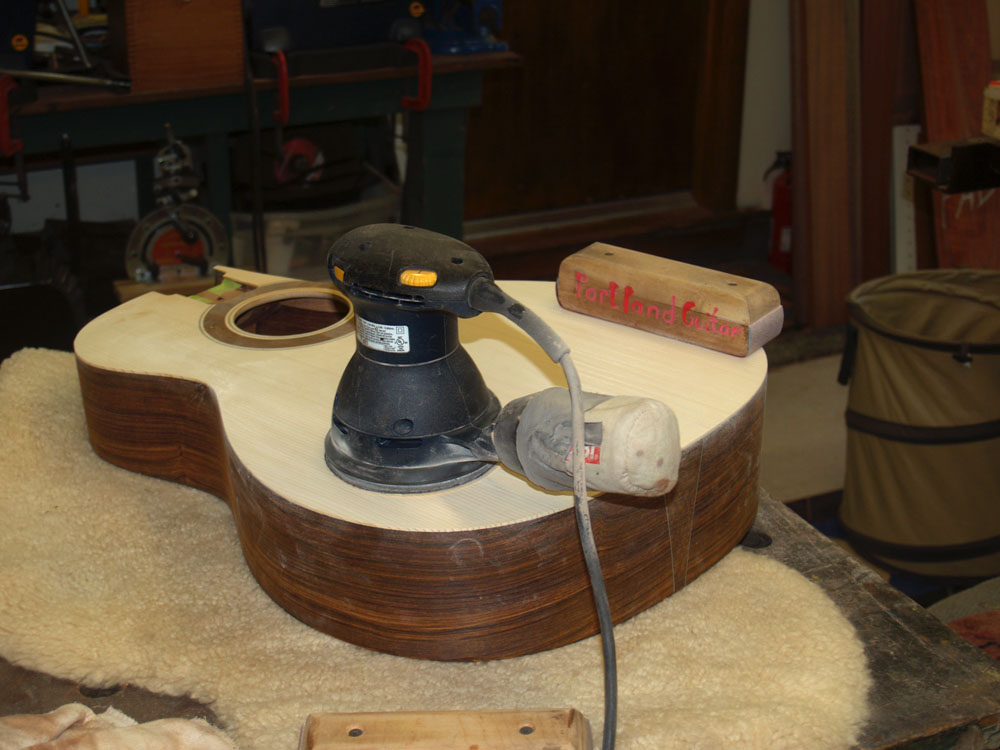
Now I am preparing the body for the binding. Here I am using an orbital sander to reduce the thickness of the back around the edges a bit. This will loosen up the back and should result in a more responsive sound.
 ( 307 ) 4-Sept-2012
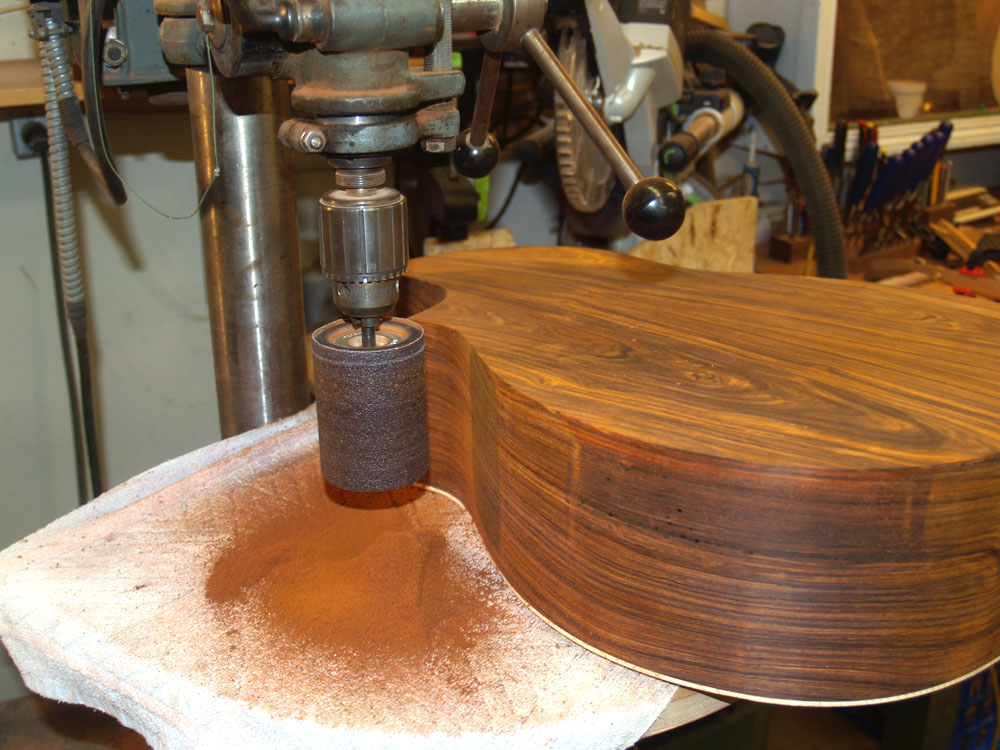
The sides get leveled out with a drum sander.
 ( 308 ) 4-Sept-2012
And the top gets the same treatment as the back.
 ( 309 ) 4-Sept-2012
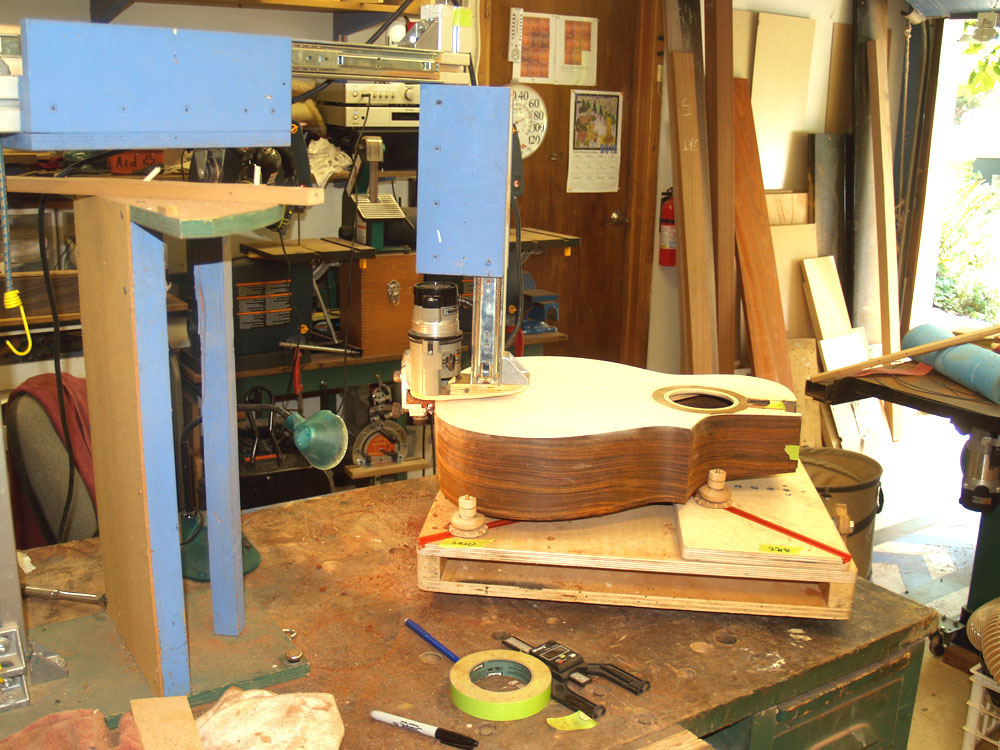
Now I am on to routing the channels for the binding. I use my universal bendalator to hold the router parallel to the sides while giving me freedom of movement.
 ( 310 ) 4-Sept-2012
The top and the back get the same set of channels routed.
 ( 311 ) 4-Sept-2012
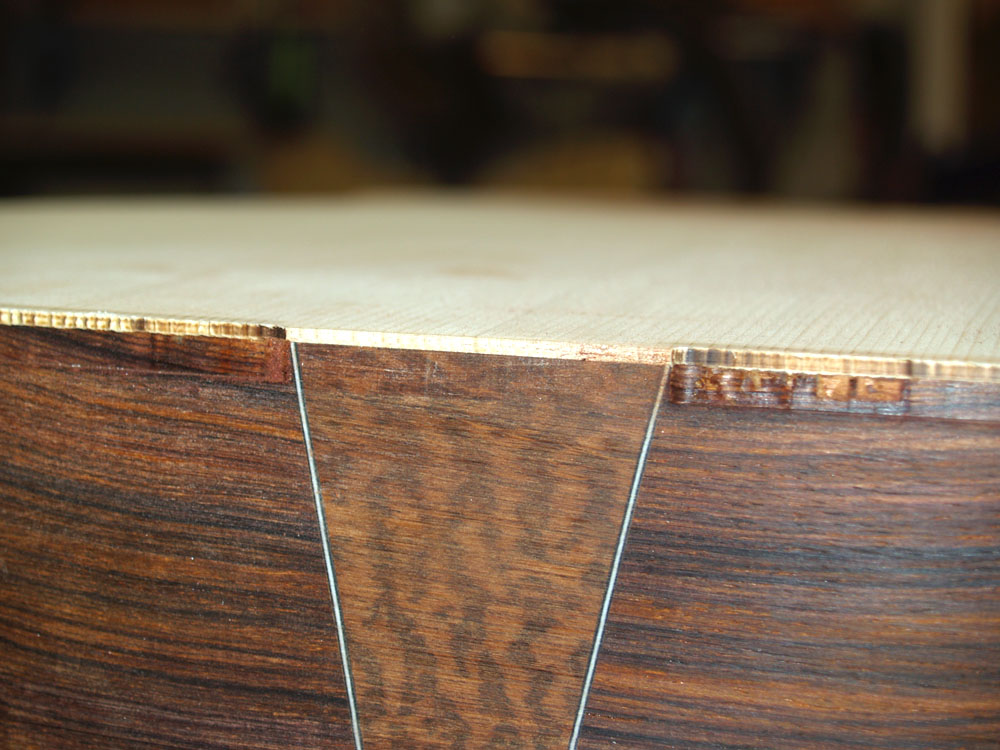
This is a special are where I have to do a bit of hand work. The tail graft will meld with the binding and the pinstriping will outline it.
 ( 312 ) 4-Sept-2012
I have to route the channel a little less deep above the tail graft.
 ( 313 ) 4-Sept-2012
A look at the routed channels.
 ( 314 ) 4-Sept-2012
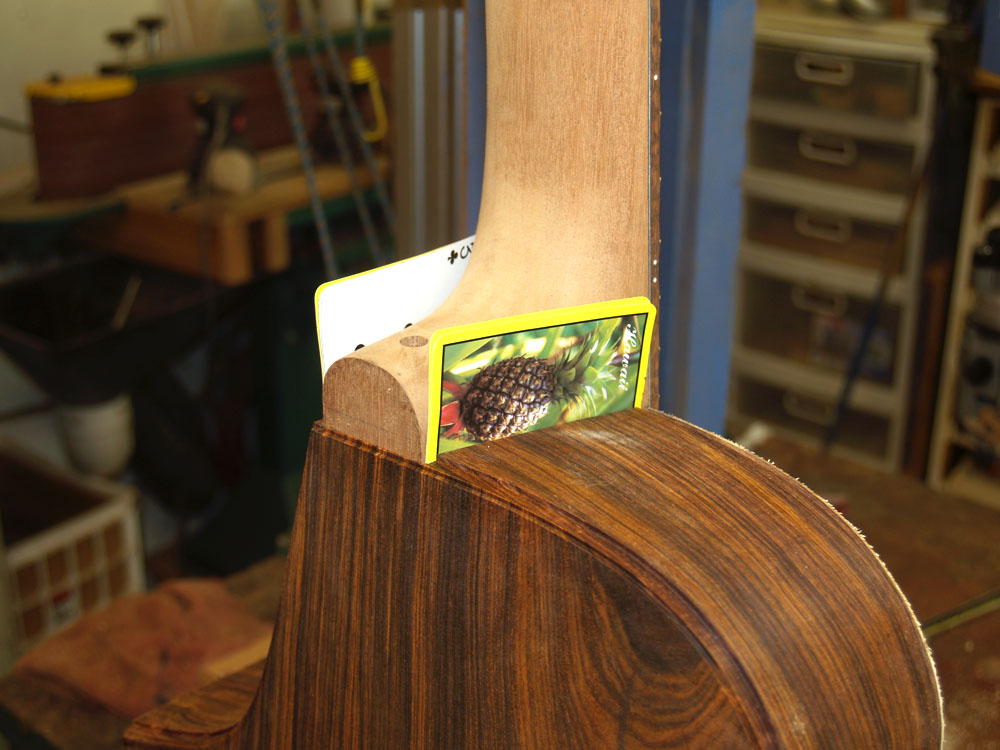
I use a few cards to center the neck in the body while I mark the lines for the heel binding.
 ( 315 ) 4-Sept-2012
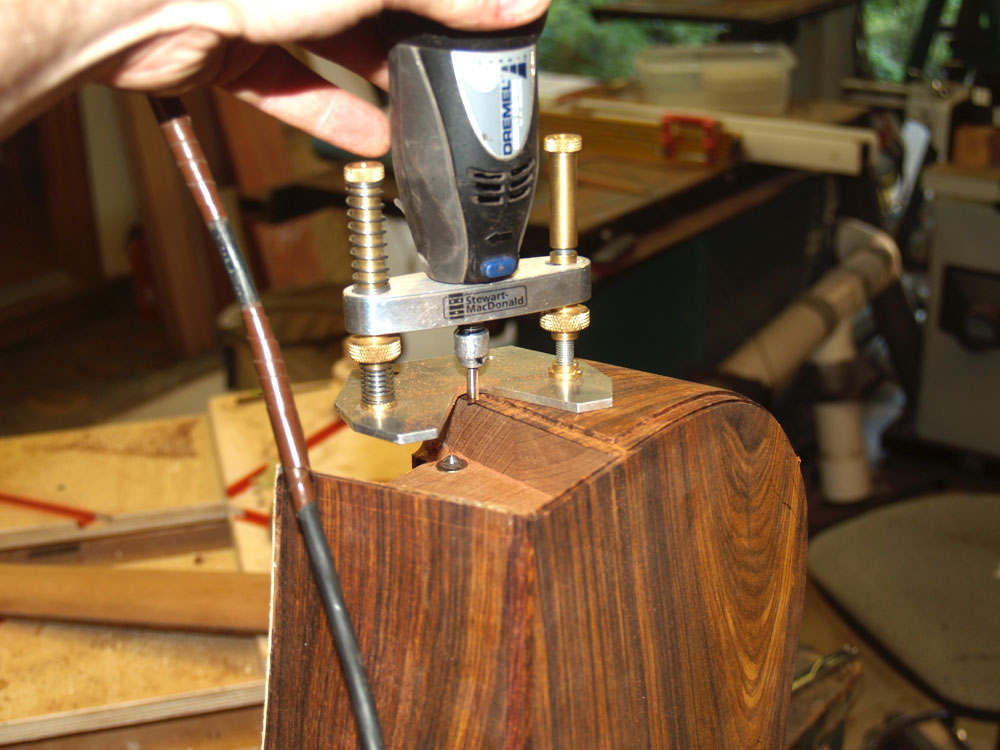
I use a small router to route the channels for the heel binding.
 ( 316 ) 4-Sept-2012
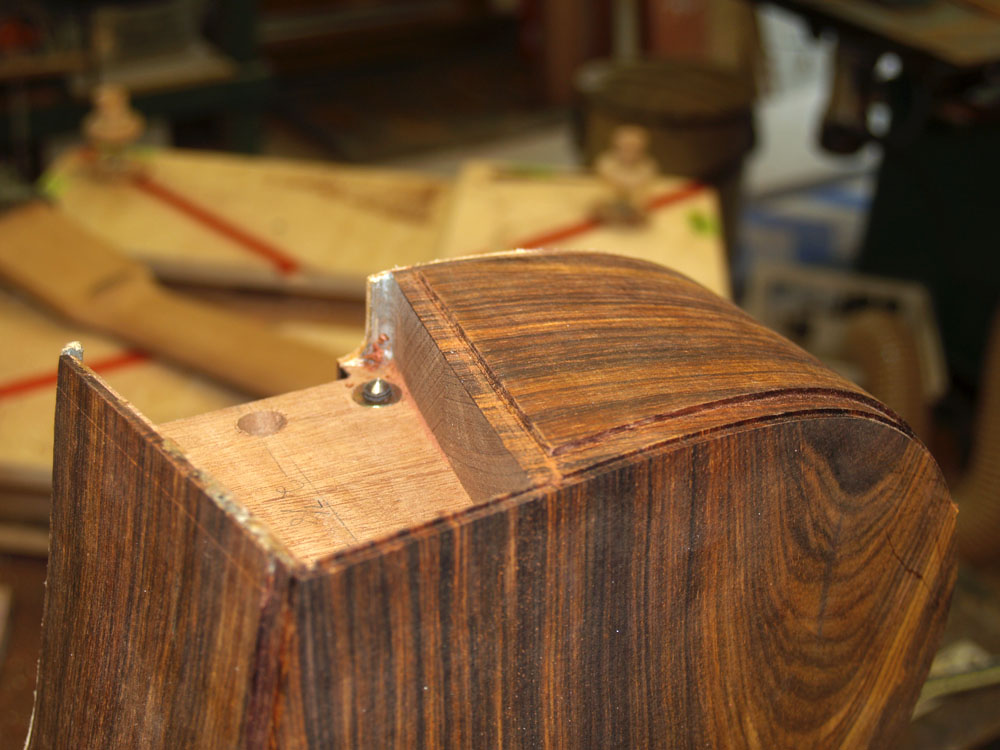
This takes care of one side.
 ( 317 ) 4-Sept-2012
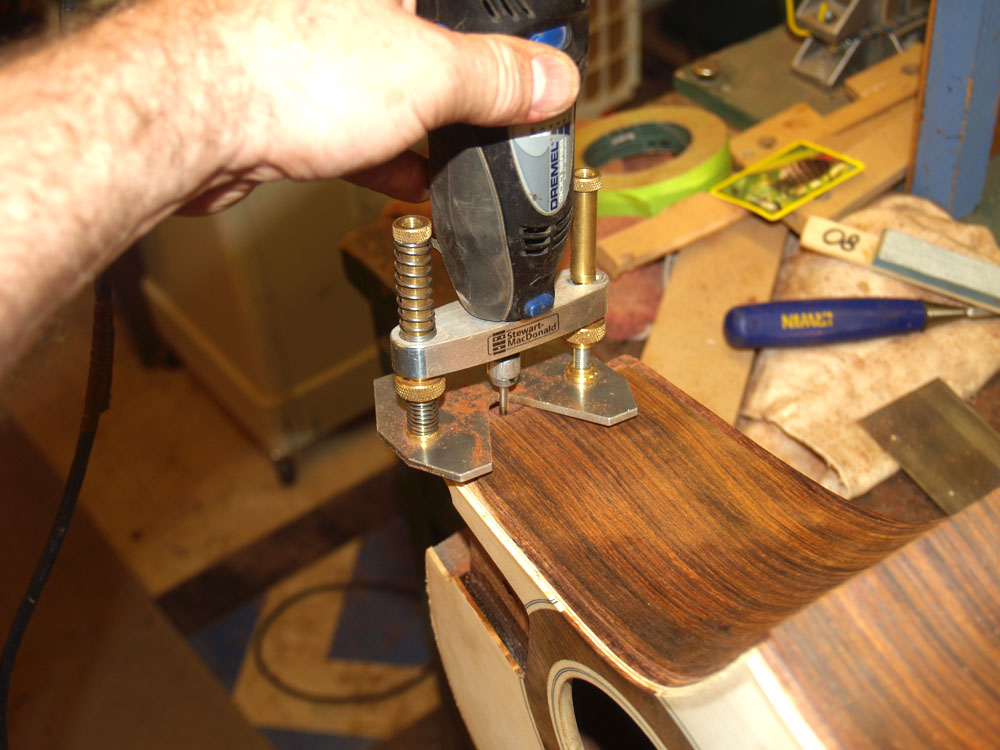
The cutaway side gets routed out also.
 ( 318 ) 4-Sept-2012
The heel binding channel.
 ( 319 ) 4-Sept-2012
And with the neck installed.
 ( 320 ) 4-Sept-2012
I am going to take a bit of a side trip here. Before I bind the body I am going to install the heel posts. These two small indentations where made when the neck was last attached to the body. They mark the spot where set crews meet the heel and the plugs need to go.
 ( 321 ) 4-Sept-2012
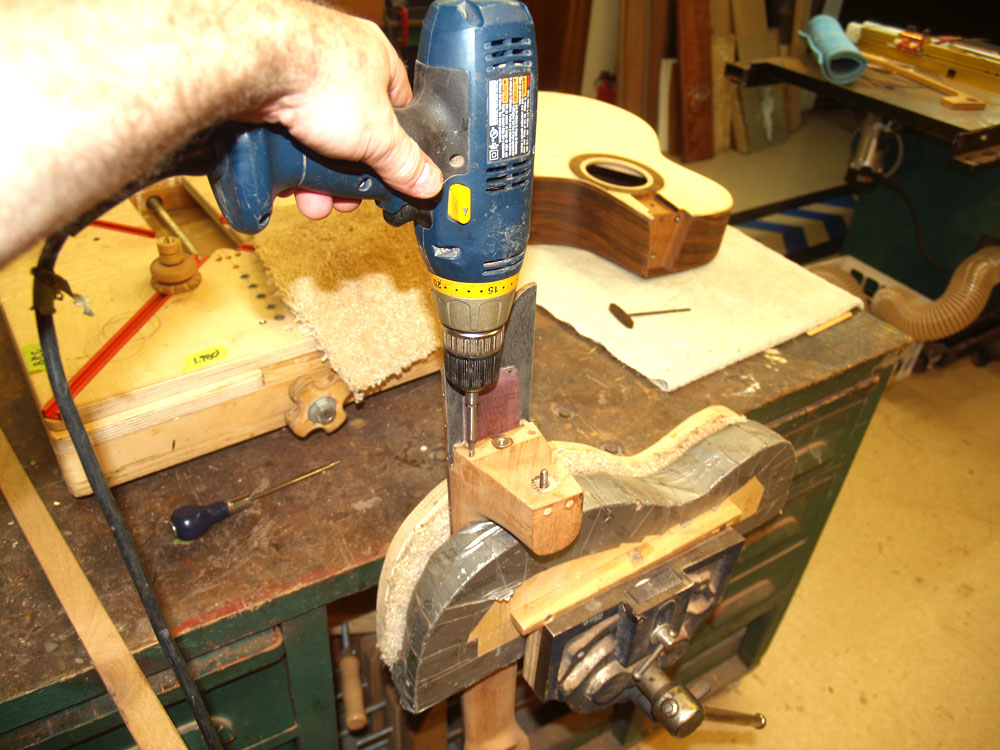
These posts are two small brass plugs that contact the set screws in the body of the guitar. Theses are the points that the neck rotate on as the neck angle is adjusted. Here I am drilling the holes for the plugs.
 ( 322 ) 4-Sept-2012
I cut off and glue the plugs into the holes I have drilled.
 ( 323 ) 4-Sept-2012
And then I use a small belt sander to sand them flush.
 ( 324 ) 4-Sept-2012
Here is all of the neck attachment hardware.
 ( 325 ) 4-Sept-2012
Now back to the binding. I use a small router to finish routing the channel where the bevel will go.
 ( 326 ) 4-Sept-2012
And then I use a scrapper to fine tune the channel.
 ( 327 ) 4-Sept-2012
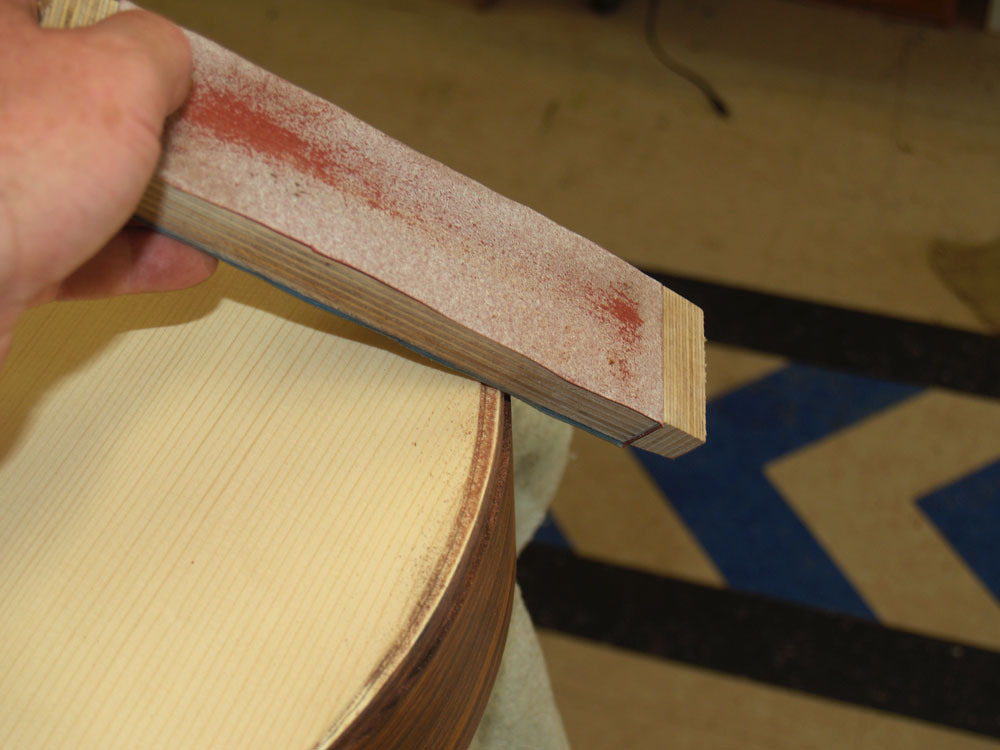
A bit of hand sanding rounds off the bevel.
 ( 328 ) 4-Sept-2012
And here is the result.
 ( 329 ) 4-Sept-2012
Now I start to install the binding. I start with the pinstriping.
 ( 330 ) 4-Sept-2012
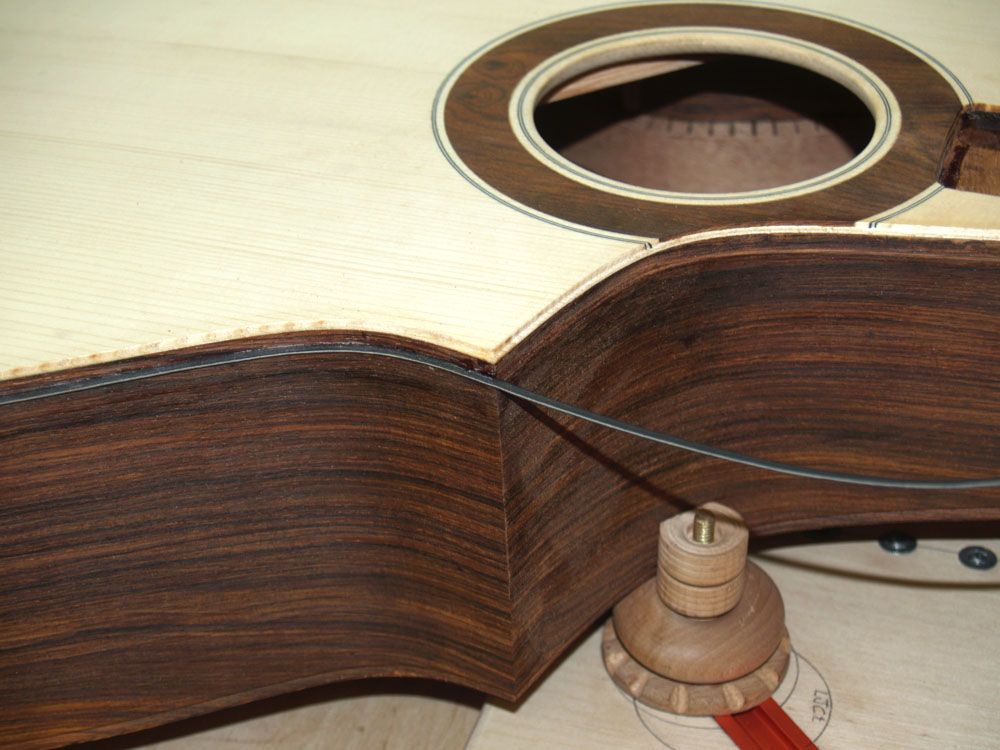
Bring the pinstriping around the cutaway.
 ( 331 ) 4-Sept-2012
And the pinstriping goes around the bevel.
 ( 332 ) 4-Sept-2012
I start installing the binding at the heel.
 ( 333 ) 4-Sept-2012
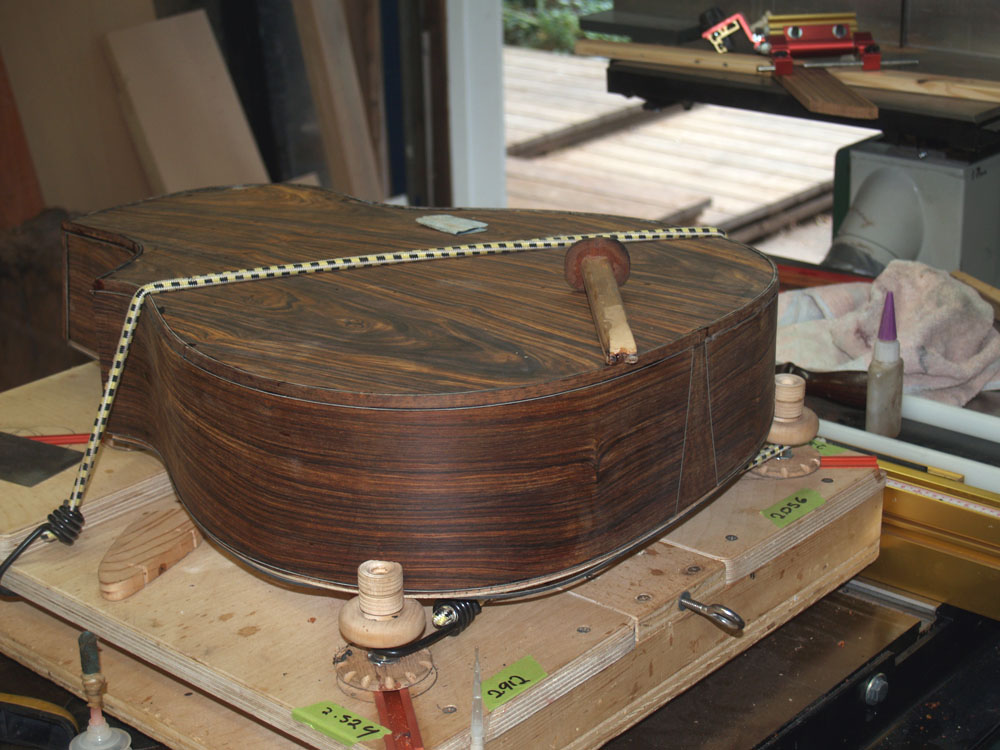
I use a few special tools to help me press the binding into place as I glue it down.
 ( 334 ) 4-Sept-2012
The bevel requires a bit of special attention.
 ( 335 ) 4-Sept-2012
After a bit of pushing and pulling the bevel is bound.
 ( 336 ) 4-Sept-2012
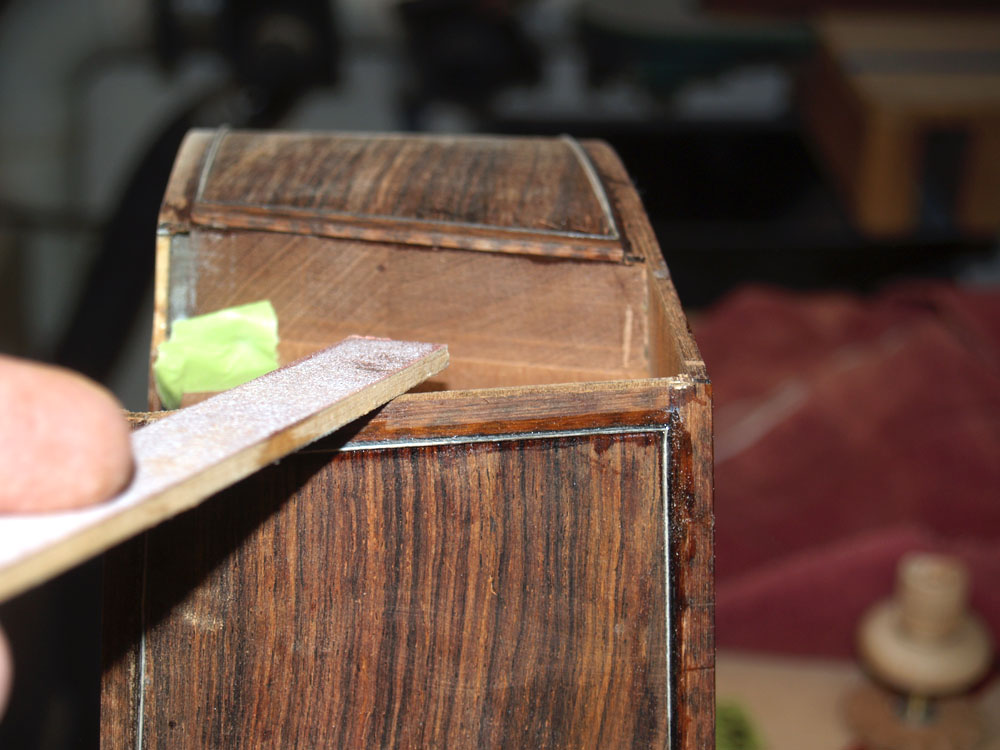
The bottom of the heel section gets trimmed up.
 ( 337 ) 4-Sept-2012
And the cutaway gets sanded to shape.
 ( 338 ) 4-Sept-2012
I use a drum sander to sand the sides flush with the binding.
 ( 339 ) 4-Sept-2012
And an orbital sander to trim up the top and bottom.
 ( 340 ) 4-Sept-2012
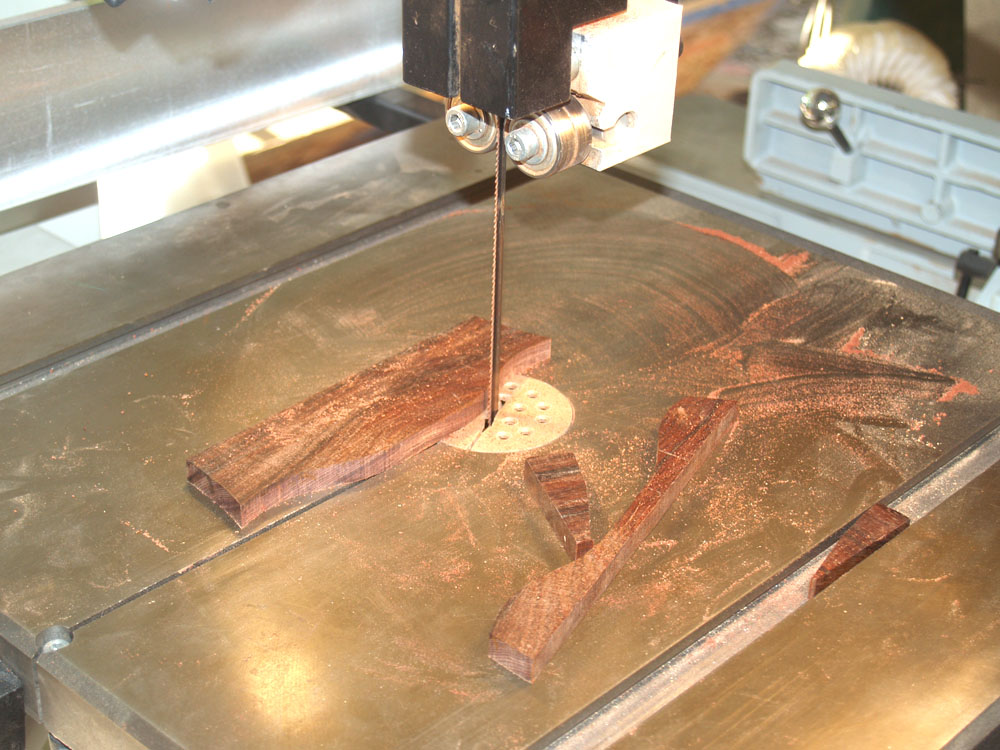
Here I am cutting out the blank for the bridge.
 ( 341 ) 4-Sept-2012
The bottom of the bridge needs to be shaped to fit the top of the guitar. I use a top form with sand paper on it to shape the bottom of the bridge blank. I mark the bottom of the bridge blank, and when all of the marks are gone I know I am done.
 ( 342 ) 4-Sept-2012
Sanding, Sanding.
 ( 343 ) 4-Sept-2012
Here I am drilling the holes for the tuning machines. I am going to install ebony disks to outline the machines.
 ( 344 ) 4-Sept-2012
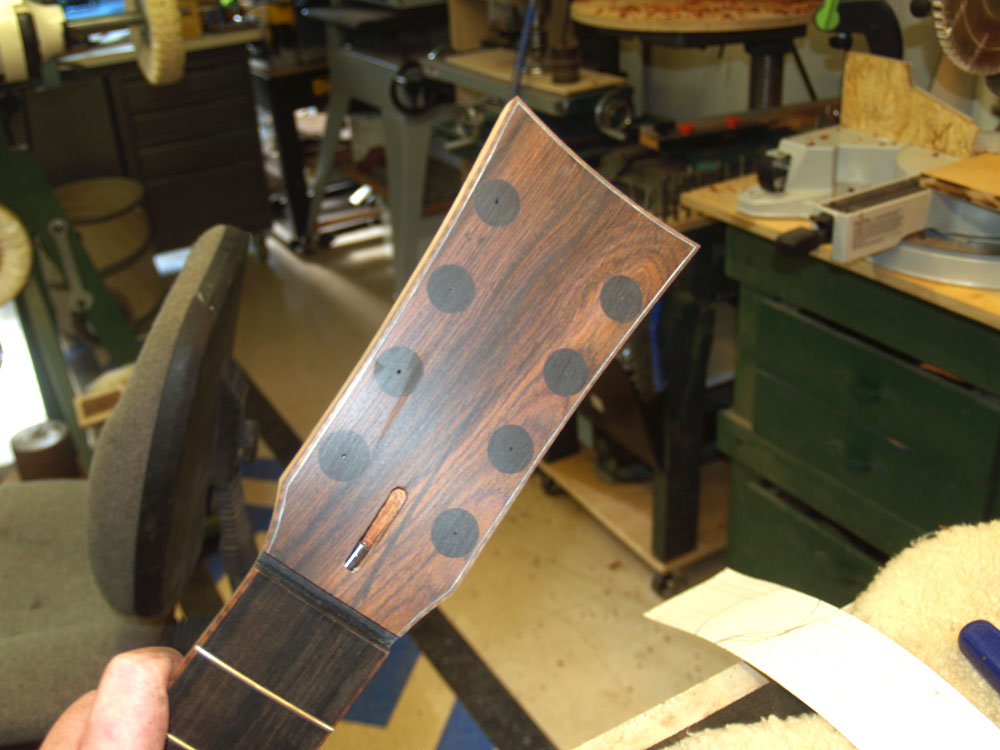
Eight holes for the ebony disks.
 ( 345 ) 4-Sept-2012
And after the disks are installed they are sanded flush.
 ( 346 ) 4-Sept-2012
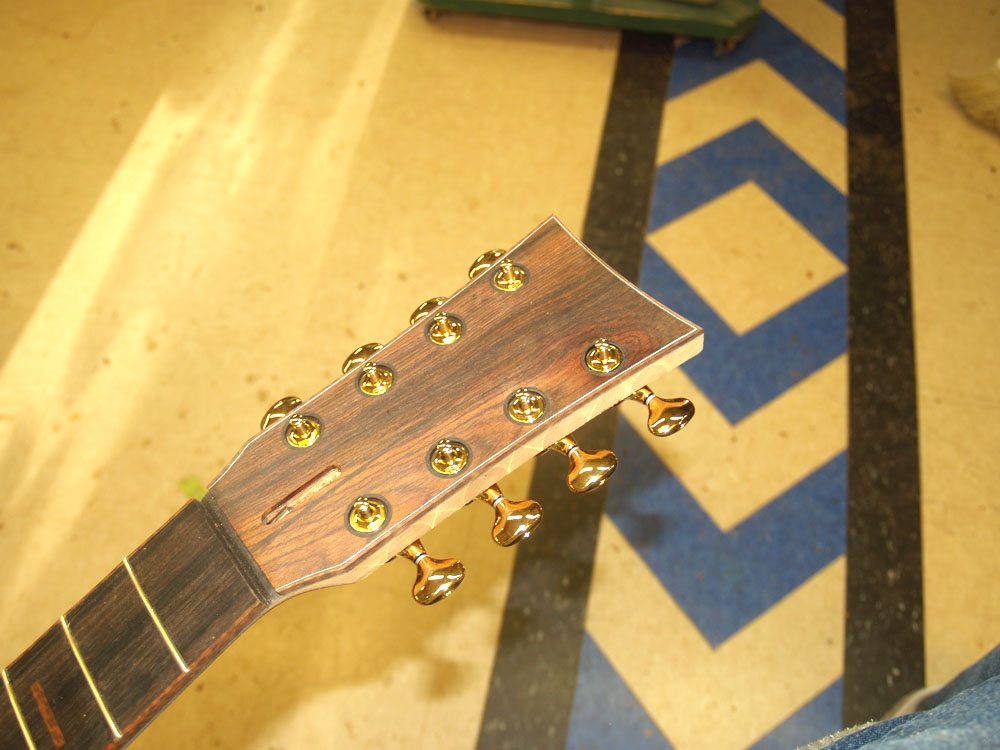
And then I countersink the holes for the washers and drill the holes for the machine posts.
 ( 347 ) 4-Sept-2012
And here is a look at the installed tuning machines.
 ( 348 ) 4-Sept-2012
I use a special sanding tool to sand the bottom of the heel parallel with the bottom of the body.
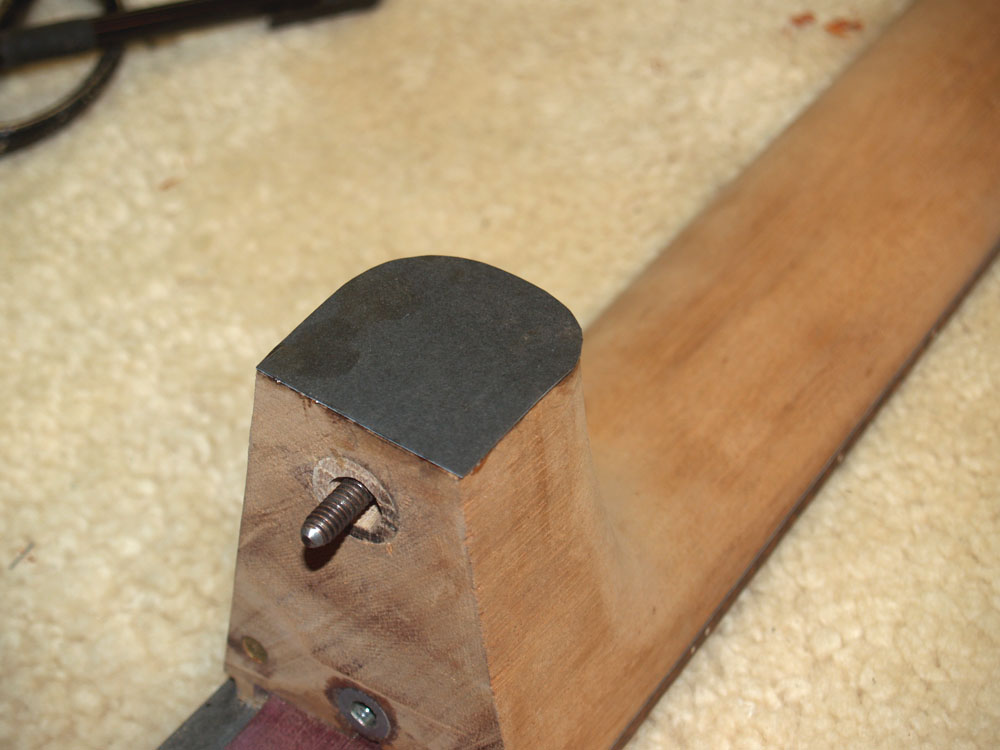 ( 349 ) 4-Sept-2012
And then I glue on a b/w/b pinstripe plate. to the bottom of the heel.
 ( 350 ) 4-Sept-2012
And then finally I glue on a Snakewood heel cap.
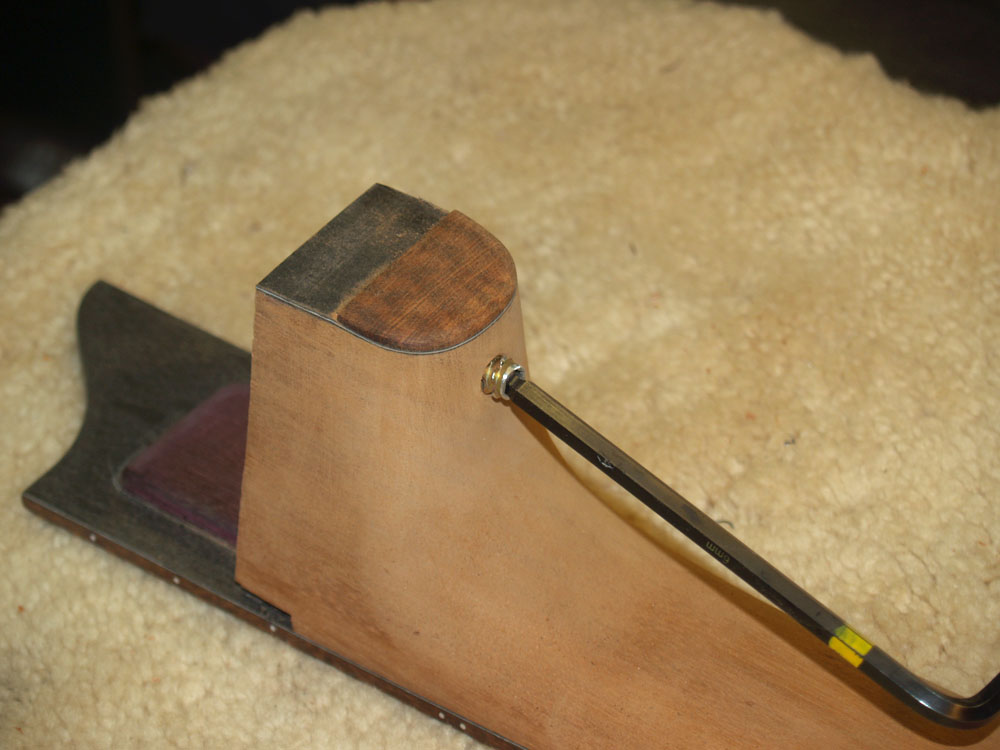 ( 351 ) 4-Sept-2012
The neck adjustment hole gets a 1/4 20 wood insert so a strap button can be screwed into it.
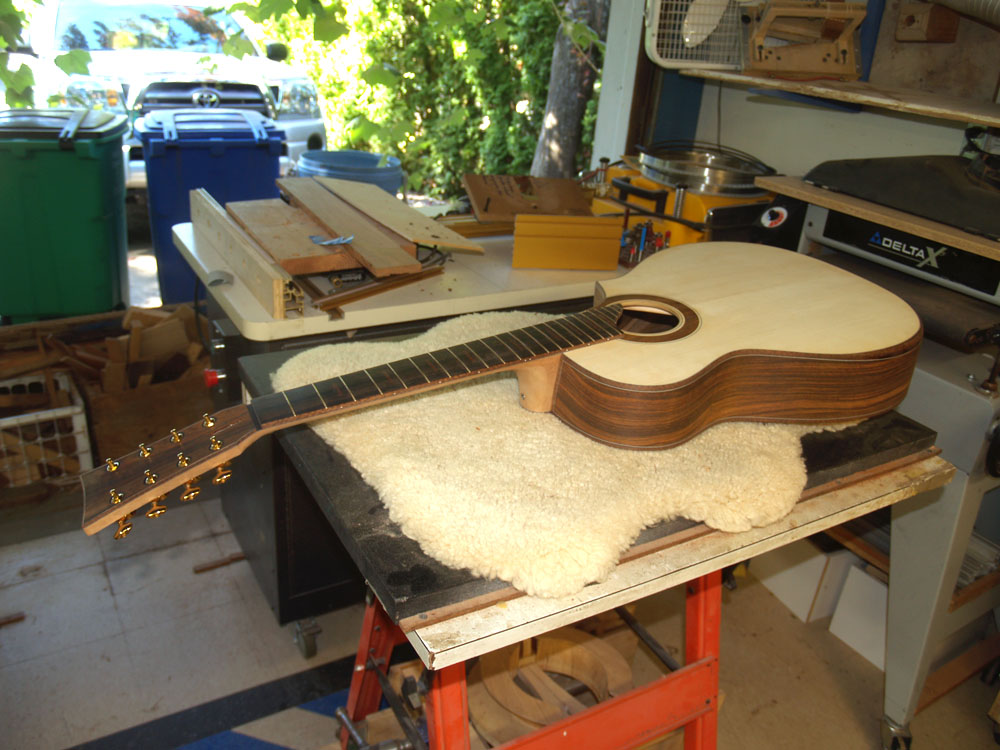 ( 352 ) 4-Sept-2012
And a look at the finished guitar/ sans finish, bridge and strings.
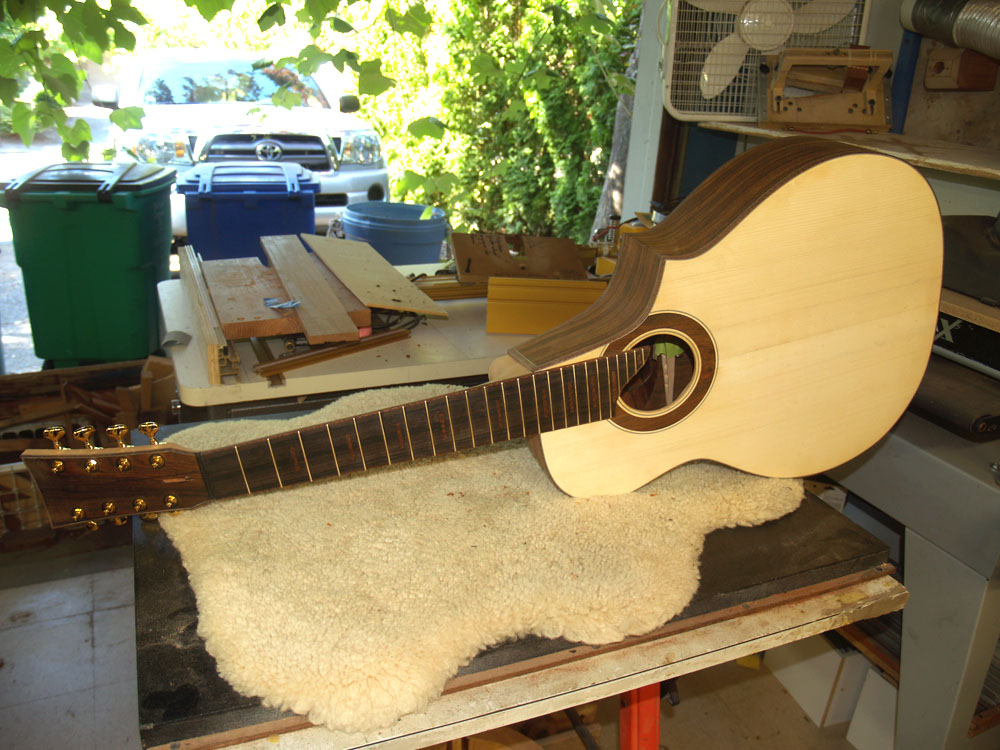 ( 353 ) 4-Sept-2012
And another look.