 (121) 4-July-2007
I am cutting slots for
the cantilever rods. Also, in this picture you can see I have installed the neck angle adjusting
bolt in the heal of the neck.
Portland Guitar Co. | Portland Oregon | Contact Jay Dickinson-503.245.3276 | jay@portlandguitar.com
Home | Orders & Sales | Photo Gallery | Current Builds | Finished Builds
Rosettes & Marquetry |Shop Tour | Biography | News
Engineered Braces | Tilt Action Neck | Split Saddle Bridge | Split Saddle Nut
Portland Guitar Pretty Good Intonation (PGPG) System
Short Version | Introduction | Intonation Errors | Analysis | PG Approach | Comparisons | Conclusion
Finished Build
JMC 1.1.14
Page 5
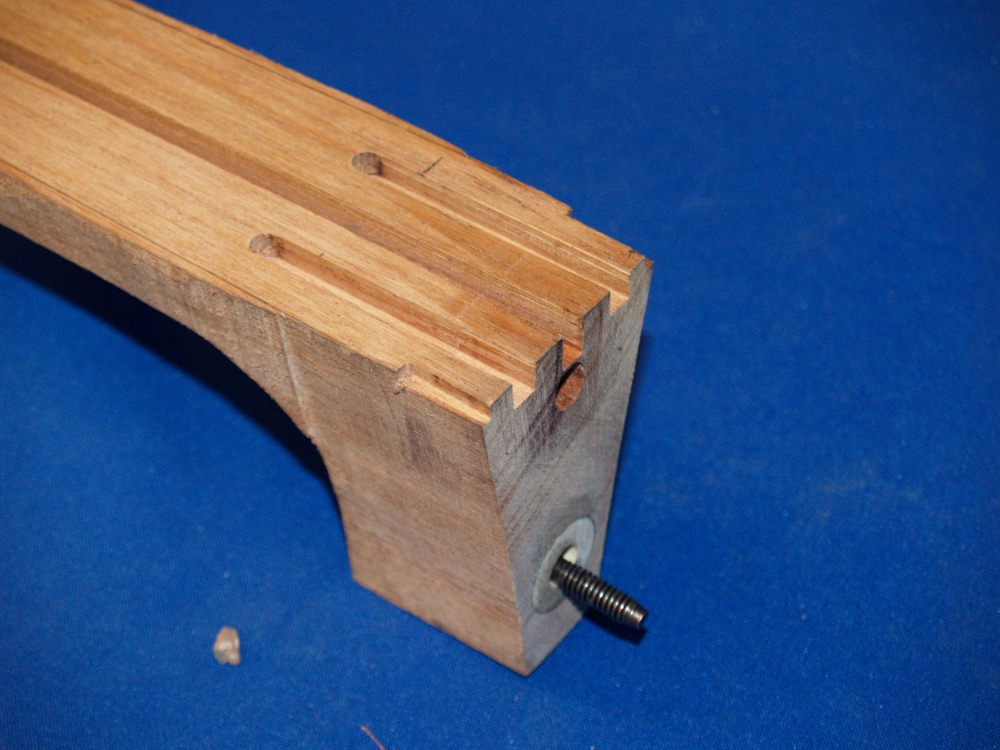 (122) 4-July-2007
Here we see the bare neck ready for the hardware.
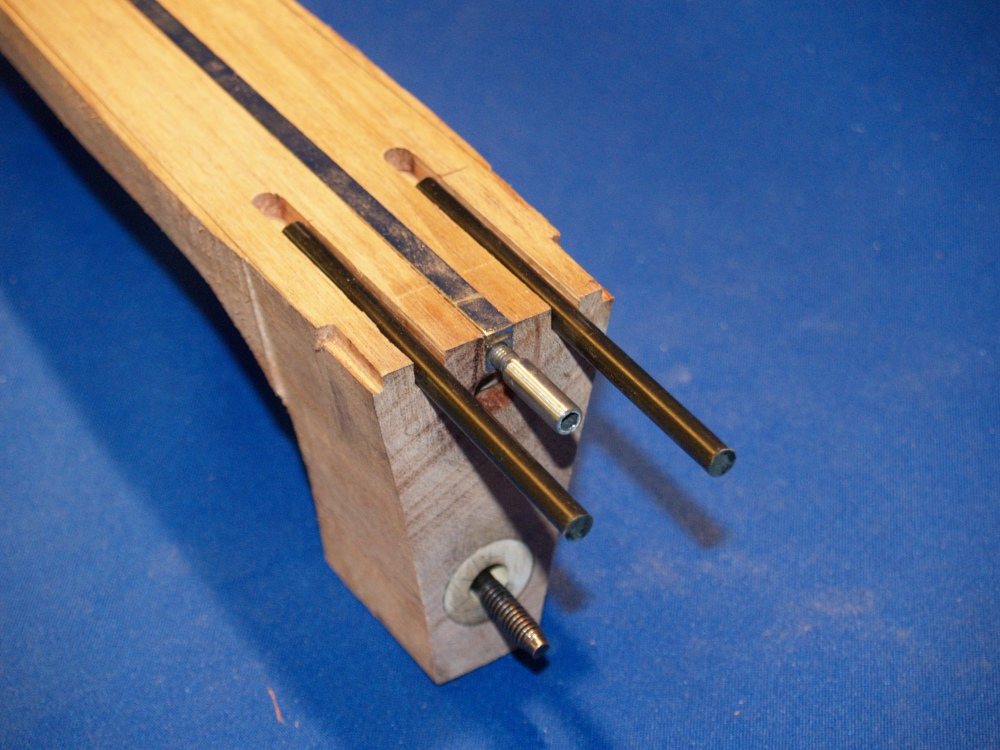 (123) 4-July-2007
And here is all of the hardware that goes into the neck.
 (124) 4-July-2007
Now the fretboard gets glued on. This is a process that requires a fair degree of precision, and lots of clamps.
 (125) 4-July-2007
And the headstock veneer is glued on.
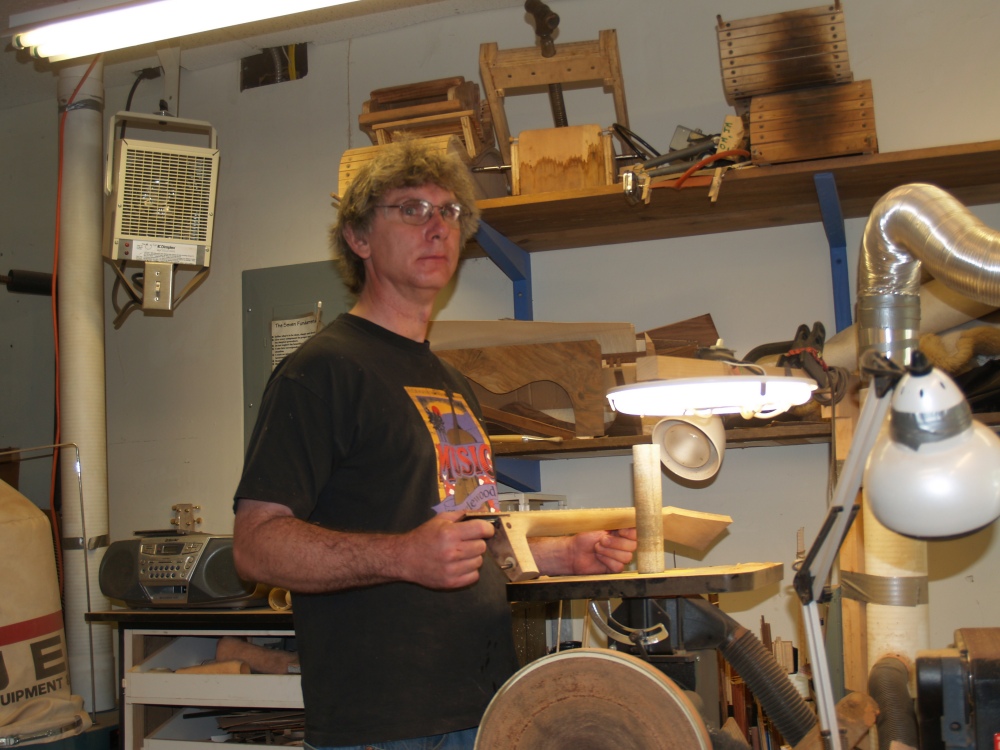 (126) 4-July-2007
This is a really fun part of the process, shaping the neck. I get to make lots of sawdust.
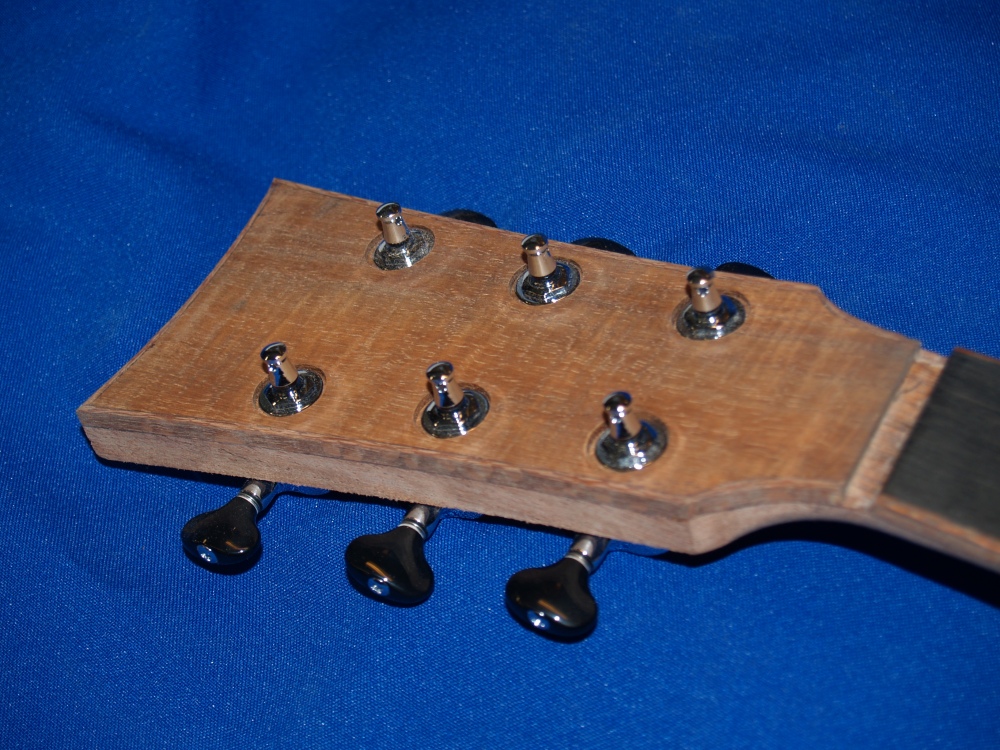 (127) 4-July-2007
After the binding is installed on the headstock I install the tuning machines to see how they will look.
 (128) 4-July-2007
A few more details and here we go, the guitar is substantially
completed. The bridge needs to be made and installed, but this
comes after the finish is applied.
 (129) 24-Aug-2007
Kevin has decided to name his guitar 'Brandeen'. In this picture
we can see the inlay I have created for the backside of the headstock.
This inlay is printed backwards on a piece of transparency
with the lettering printed clear. A layer of gold leaf was
then applied making the lettering gold. The inlay is inset and
lacquered over during the finishing process.
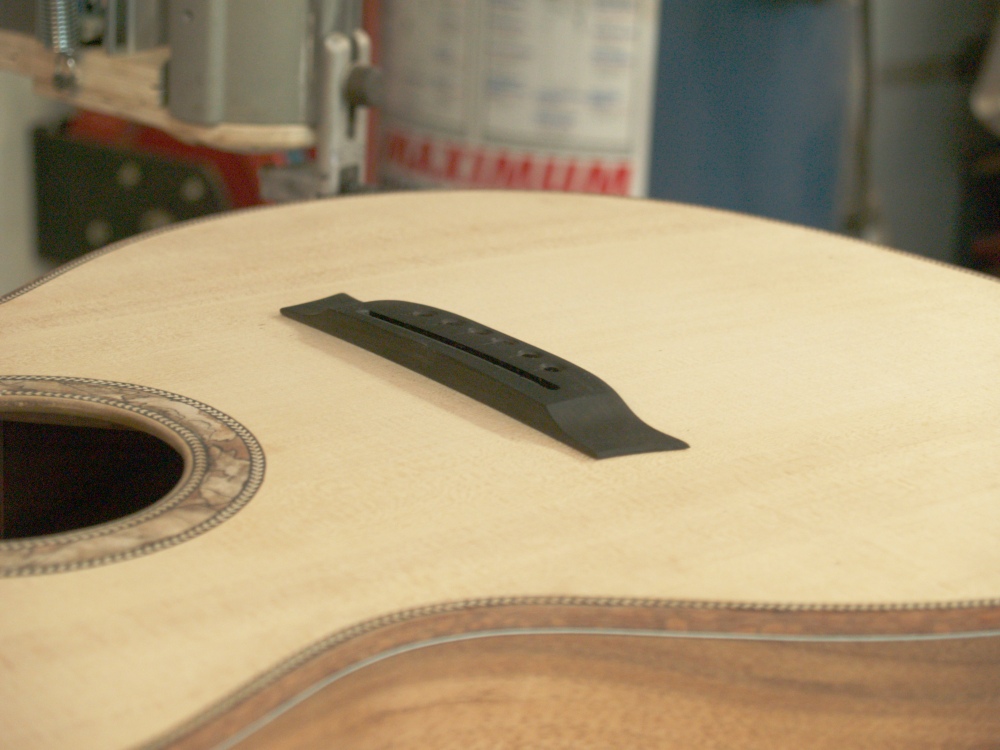 (130) 24-Aug-2007
The bridge is the last major component to be made. It is fitted
to the top, but will not be attached until the finish is applied and
buffed out.
 (131) 24-Aug-2007
Hear I am applying finish to the front .
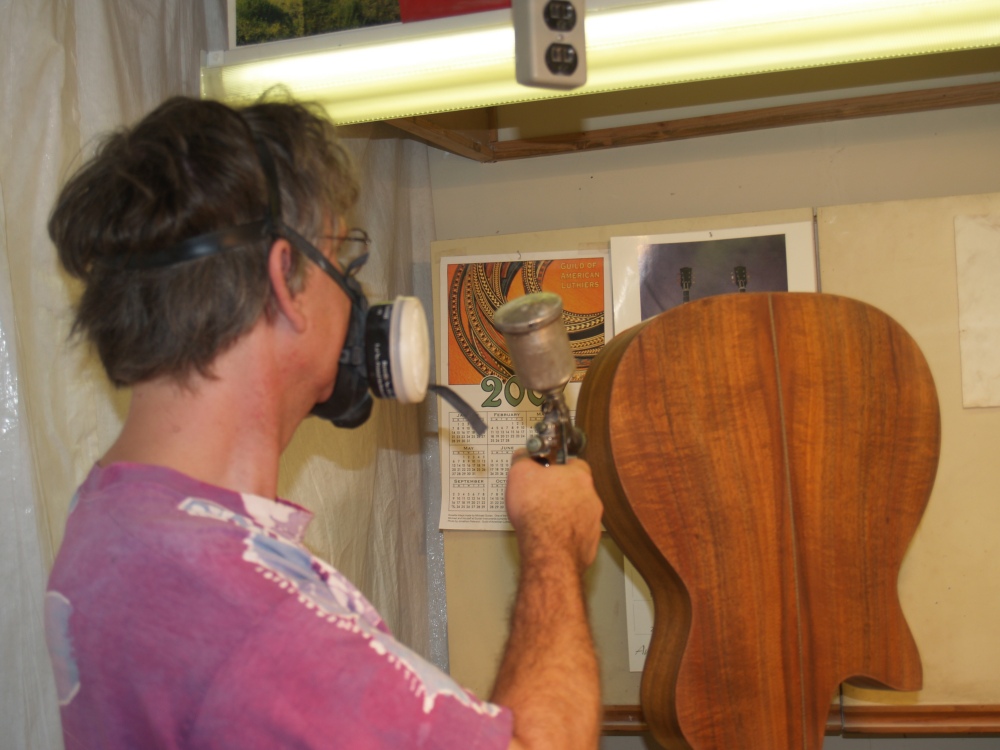 (132) 24-Aug-2007
Applying finish to the back. When the finish is applied we
finally get to see the full beauty of the wood. All of the grain
and figure gets drawn out and contrasted. This is called getting
the pop. This piece of Koa is really beautiful.
 (133) 24-Aug-2007
Applying finish to the neck.
After the finish is applied and leveled out we have to wait for a week
or two for the finish to cure. As the finish cures it gets harder
and will take a high polish.
 (134) 15-Sept-2007
To position the bridge correctly I use a template to measure the distance from the nut to the bridge.
 (135) 15-Sept-2007
After the finish has dried, cured and been polished to a high gloss it
must be very carefully removed where the bridge is attached.
 (136) 15-Sept-2007
A few clamps and a little glue and the bridge is attached. After
this the nut and saddle are shaped and the guitar is strung up. A
bit of time is taken for the set up and then we are finished.
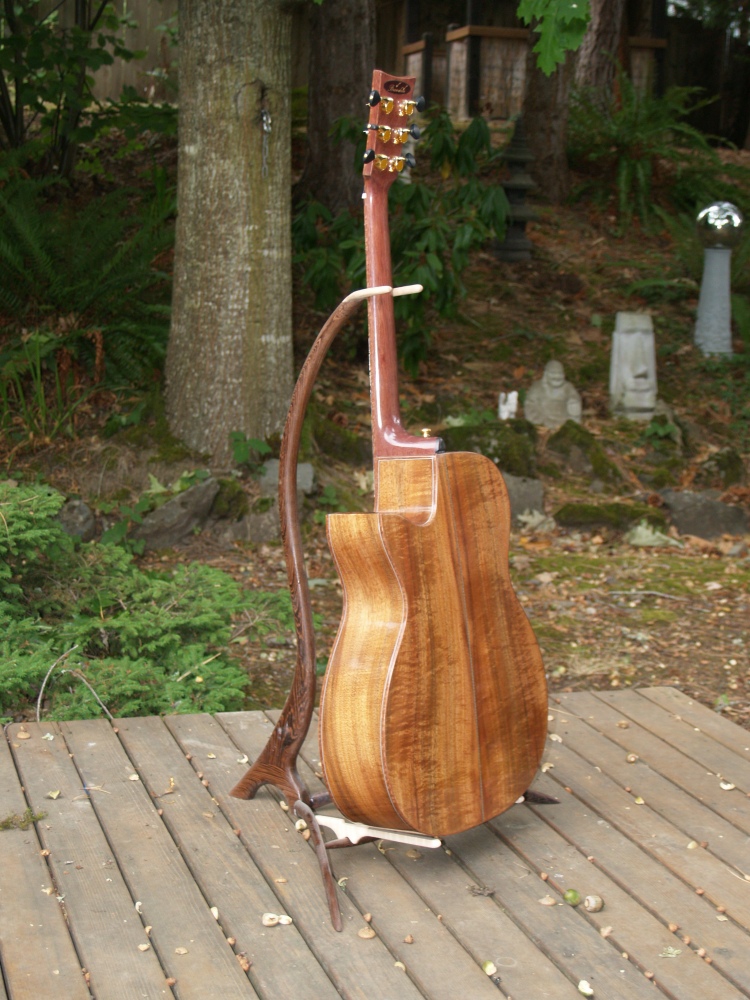 (137) 15-Sept-2007
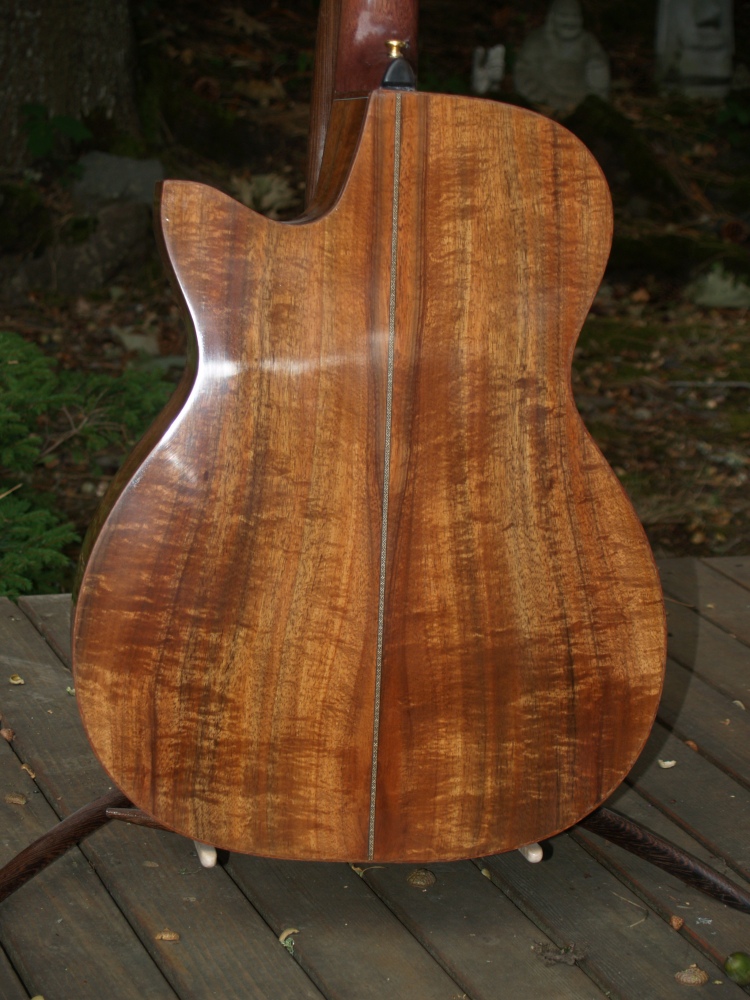 (138) 15-Sept-2007
 (139) 15-Sept-2007
 (140) 15-Sept-2007
 (141) 15-Sept-2007
 (142) 15-Sept-2007
 (143) 15-Sept-2007
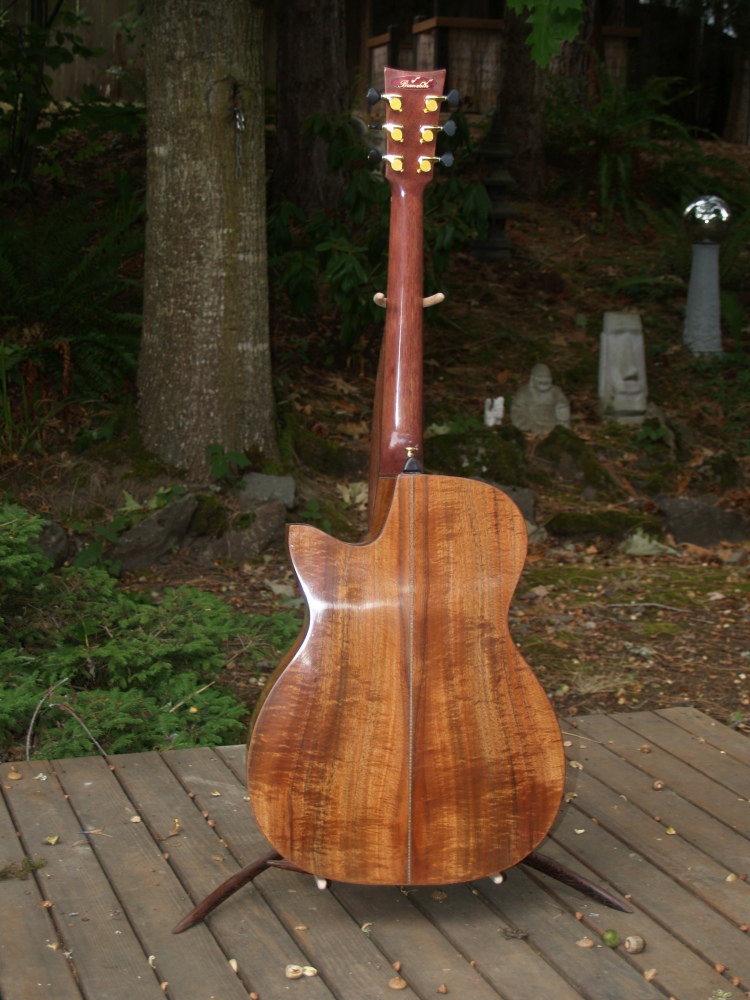
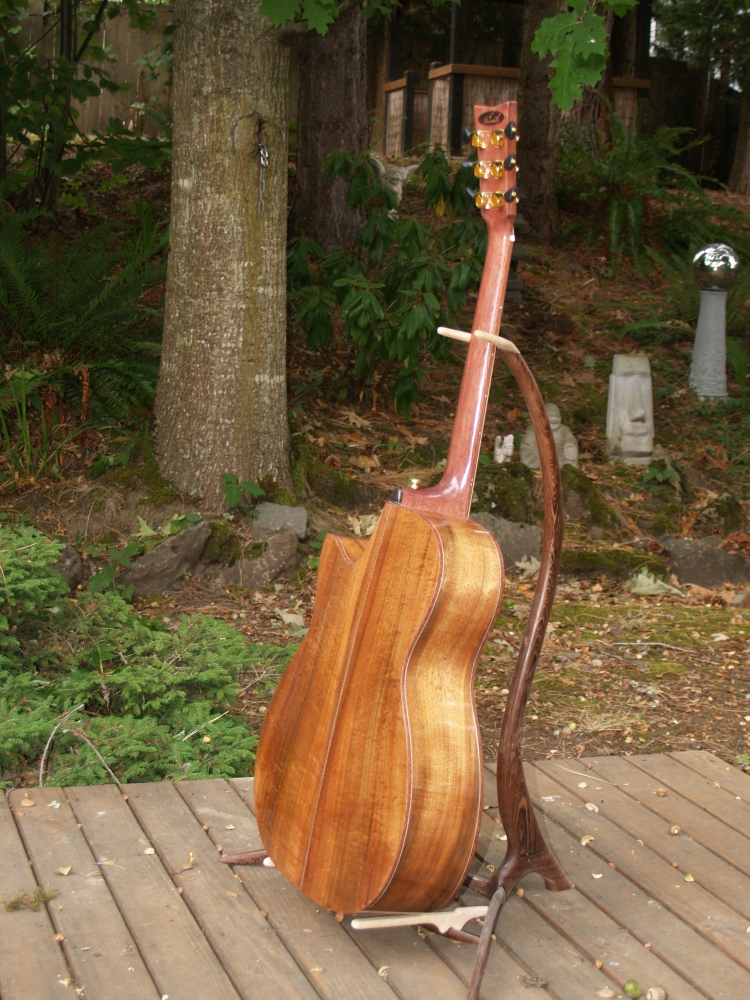
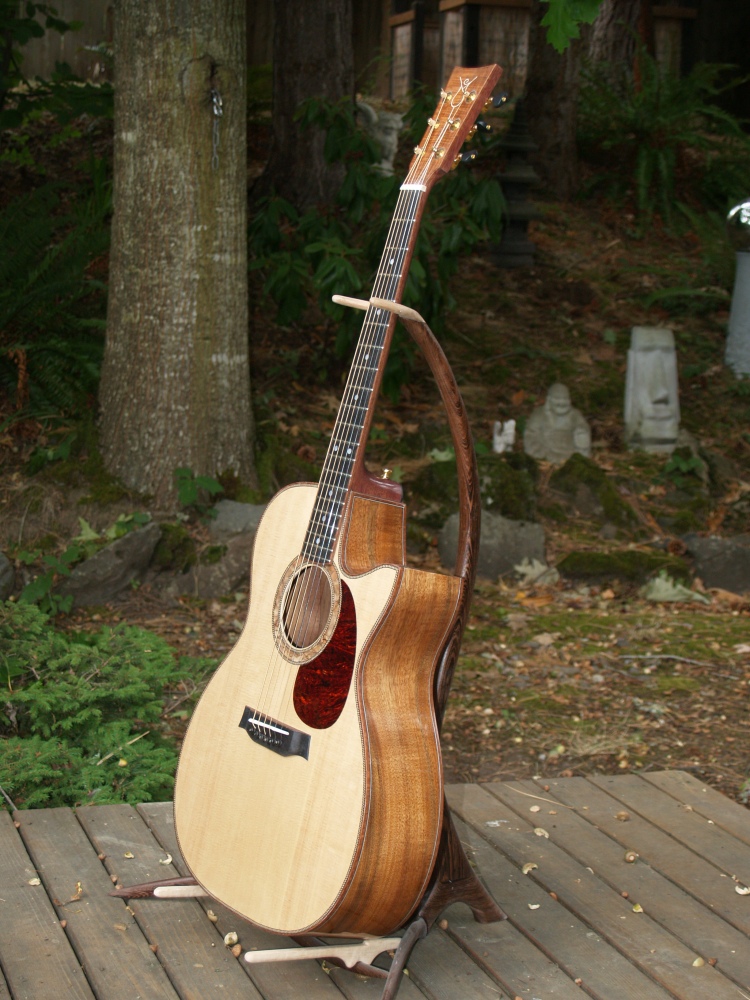
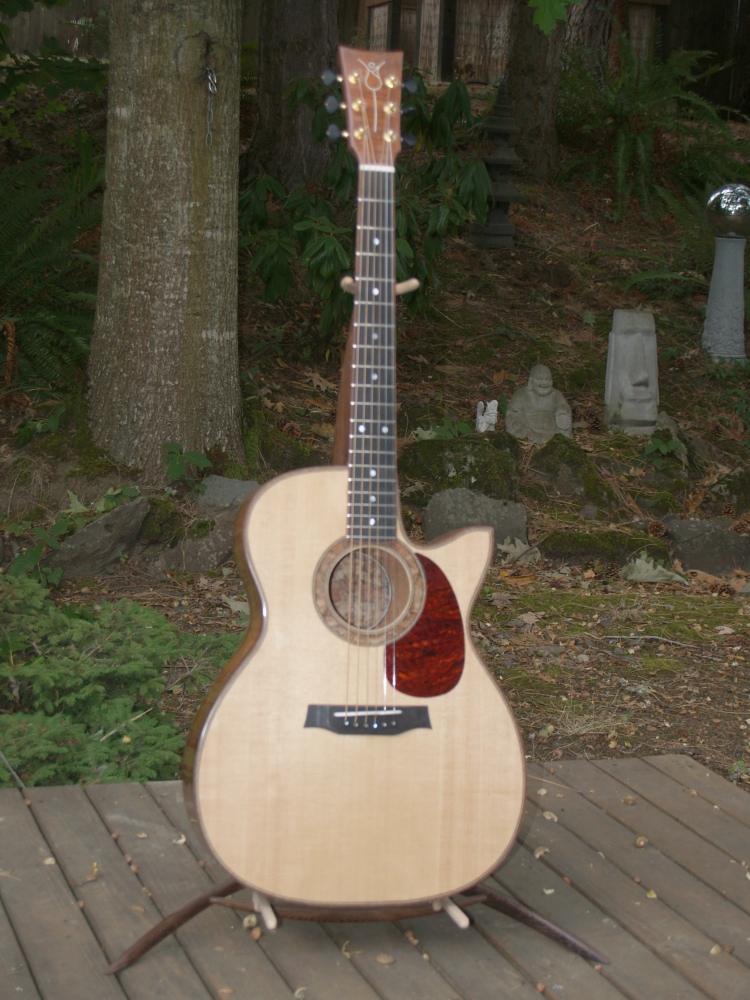
Kevin's Koa Guitar.