 (61) 15-June-2007
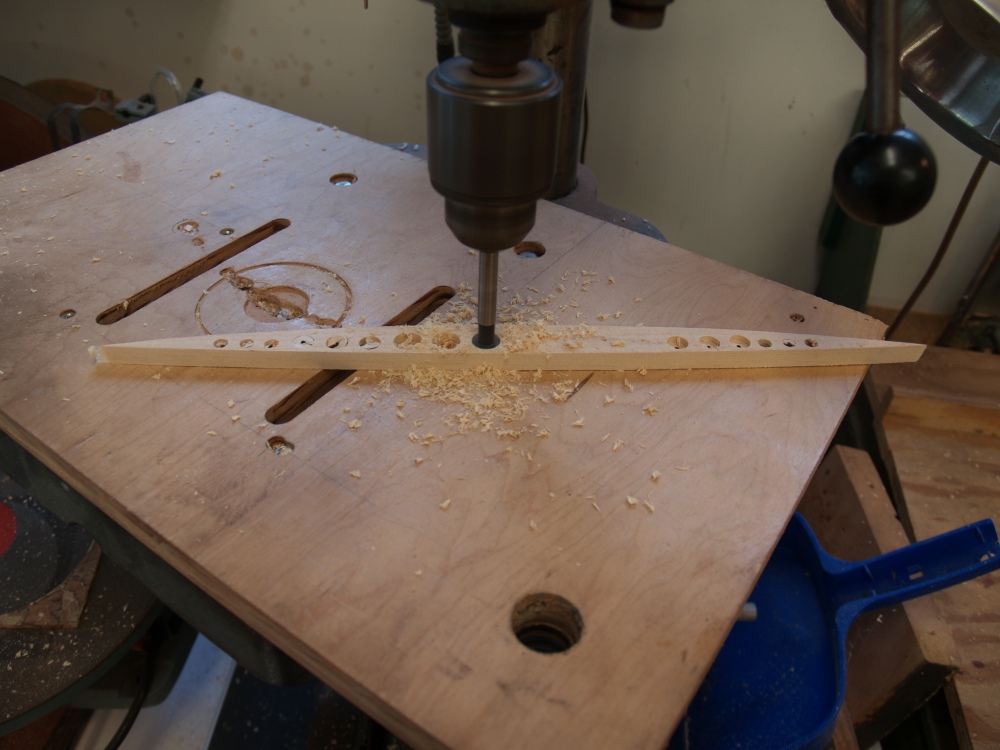
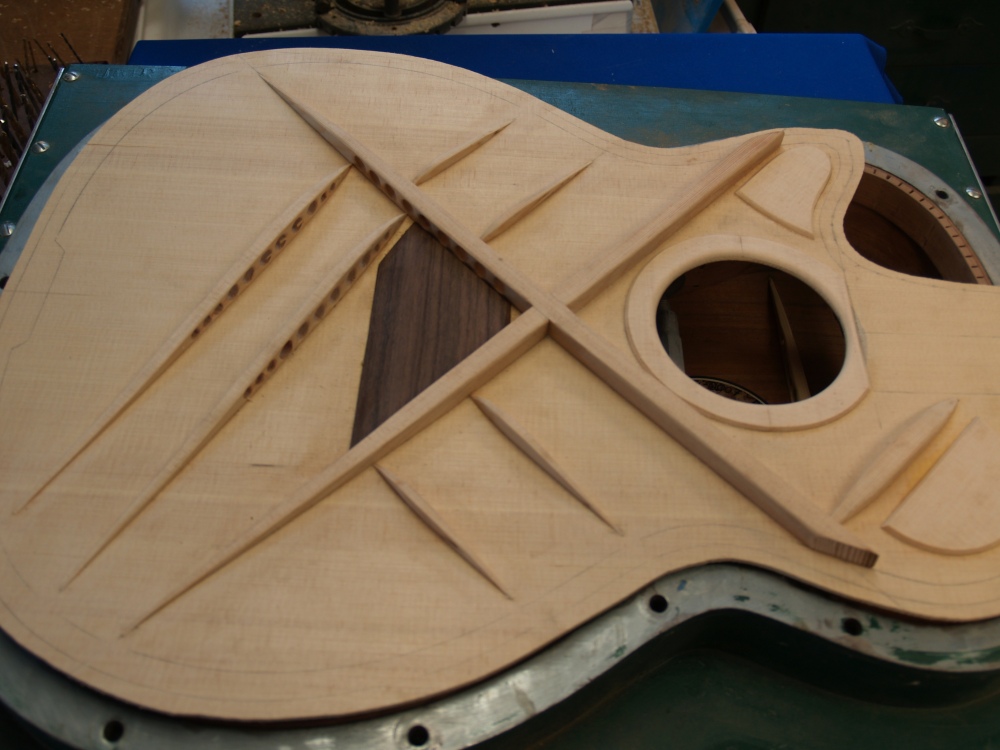
Once I am satisfied with the brace layout I start to remove the
extraneous material in the braces. I remove material from the
middle of the braces because it makes the braces lighter without
reducing the stiffness of the braces. Ultimately this will
make
the guitar more responsive or punchier. Anyway I end up with
cool
aircraft bracing.
Portland Guitar Co. | Portland Oregon | Contact Jay Dickinson-503.245.3276 | jay@portlandguitar.com
Home | Orders & Sales | Photo Gallery | Current Builds | Finished Builds
Rosettes & Marquetry |Shop Tour | Biography | News
Engineered Braces | Tilt Action Neck | Split Saddle Bridge | Split Saddle Nut
Portland Guitar Pretty Good Intonation (PGPG) System
Short Version | Introduction | Intonation Errors | Analysis | PG Approach | Comparisons | Conclusion
Finished Build
JMC 1.1.14
Page 3
 (62) 15-June-2007
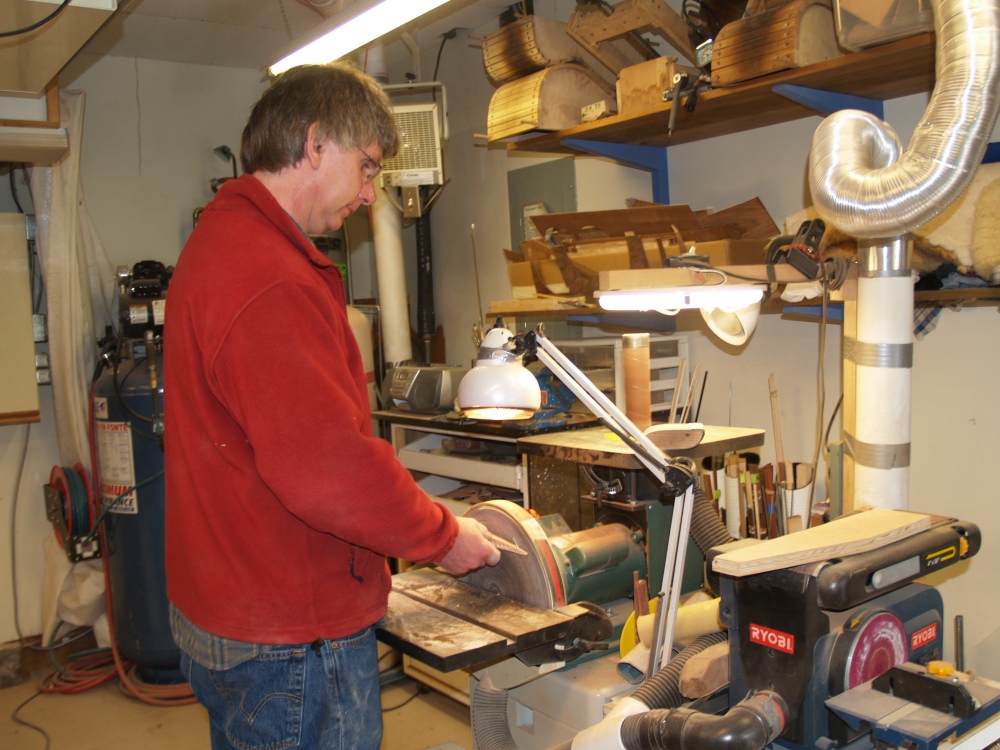
After the holes are cut out of the braces I sand the braces into slim
tapered shapes.
 (63) 15-June-2007
And here we see the result for the main lower bout back brace.
Notice the curve on the bottom of the brace. This
will
force the bottom into the bowl shape I have talked about before.
 (64) 15-June-2007
I have trimmed the back plate into the general shape of the guitar and
have laid out the completed brace structure for the back.
 (65) 15-June-2007
This is a picture of my go-box. ( I don't know why it is
called a
go-box) Nonetheless this is where I glue the braces onto the
back. I use lots of stick that let me apply pressure to the
braces while the back lays in its bowl shaped form.
 (66) 15-June-2007
Next the Contra Rosette gets glued in.
 (67) 15-June-2007
A look at the Contra Rosette. At this point I date and sign
the guitar.
 (68) 15-June-2007
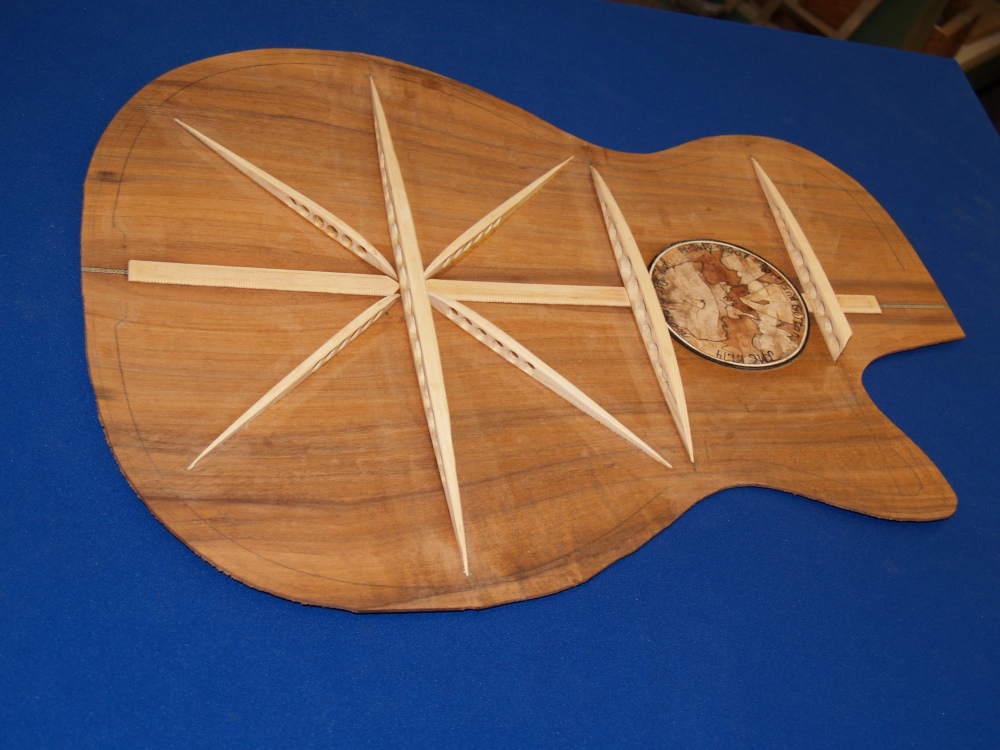
Finally glue on the back reinforcing strips and take a look at the
results.
 (69) 15-June-2007
After shaping the top braces I lay them out to check their placement
one more time. These are perhaps the most important step in
creating the sound of the guitar. I have striven to adopt the
best of the traditional components from Martin's classic X-Brace design
and have added my own innovations. This design attempts to
optimize the compromises between the structural components of the top
braces and the acoustic components of the brace system. In general, the
brace system must be both strong and stiff to prevent the guitar from
collapsing under the tension of the strings and light and flexible so
it responds to the vibrations of the strings.
 (70) 15-June-2007
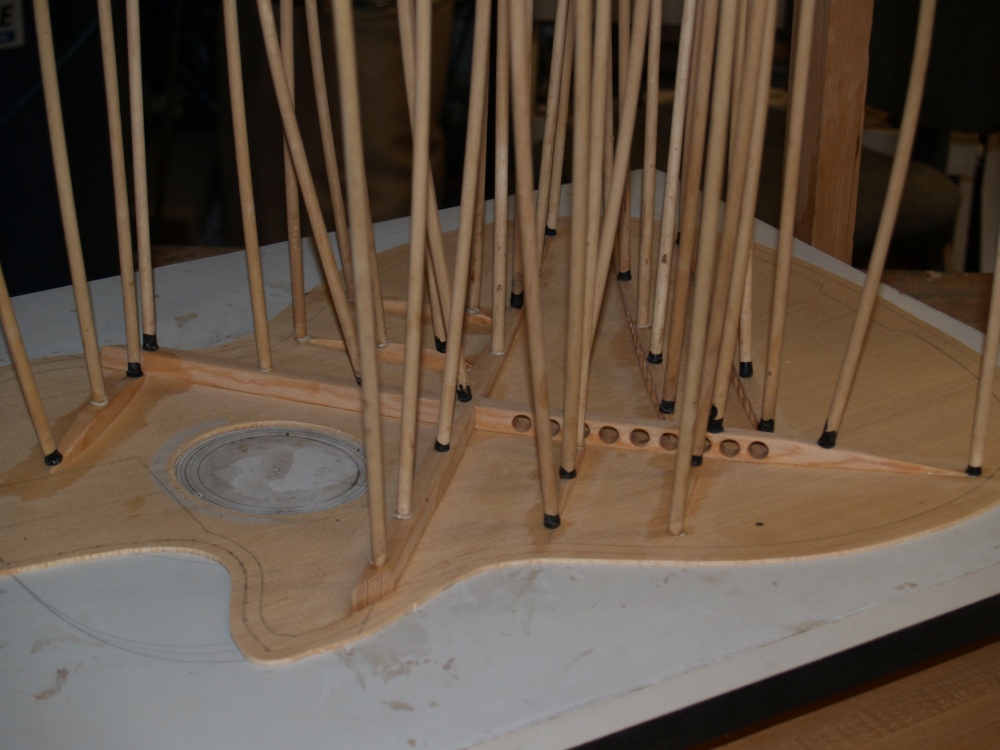
Into the go-box to glue the braces on.
 (71) 15-June-2007
Here the bridge plate is being glued down. Over time I have
fabricated a
variety of special cauls that help the process. Here we see a
split plate caul that covers the bridge plate. The splits
allow
the caul to conform to the curves of the bridge plate.on
 (72) 15-June-2007
After gluing on the sound hole reinforcements ring we get a look at the
results.
 (73) 15-June-2007
This picture shows me gluing the side reinforcement strips in place.
These strips will help hold the sides together should the
guitar
ever experience a short sharp shock. I hope we never get to
test
the efficacy of these strips. Love your guitar, always ...
always.
 (74) 15-June-2007
A look at the reinforcing strips.
 (75) 15-June-2007
Before I glue the top and back on to the sides I have to drill the
holes for the neck attachment hardware. Does it
make you
nervous when I put your guitar into my vice.
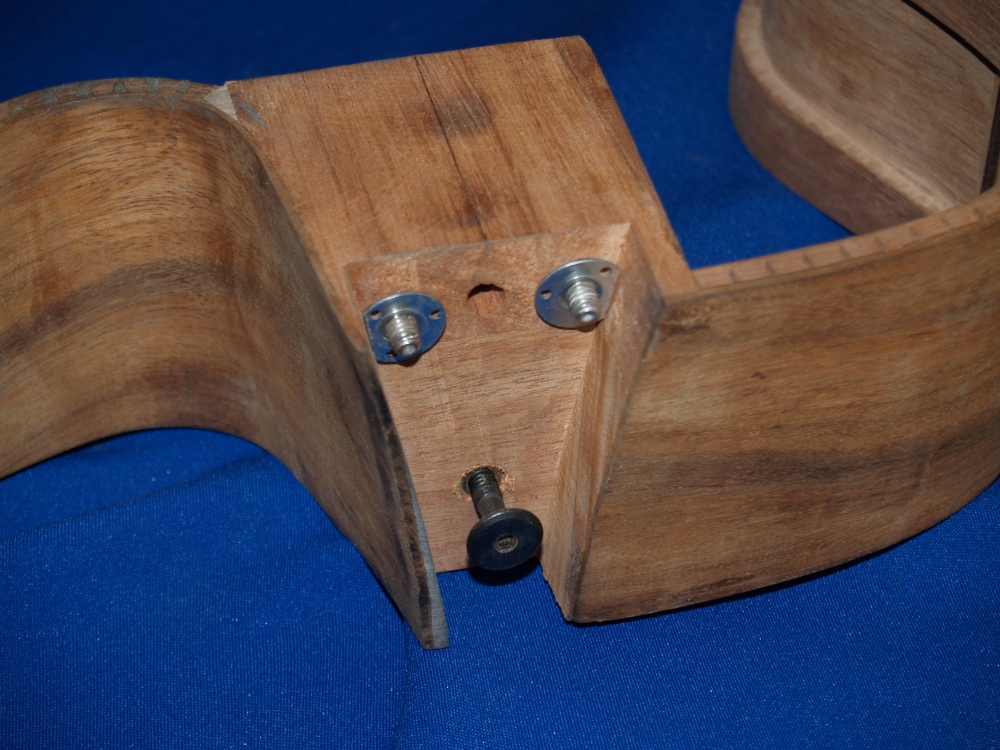 (76) 15-June-2007
This is a look at the hardware.
 (77) 15-June-2007
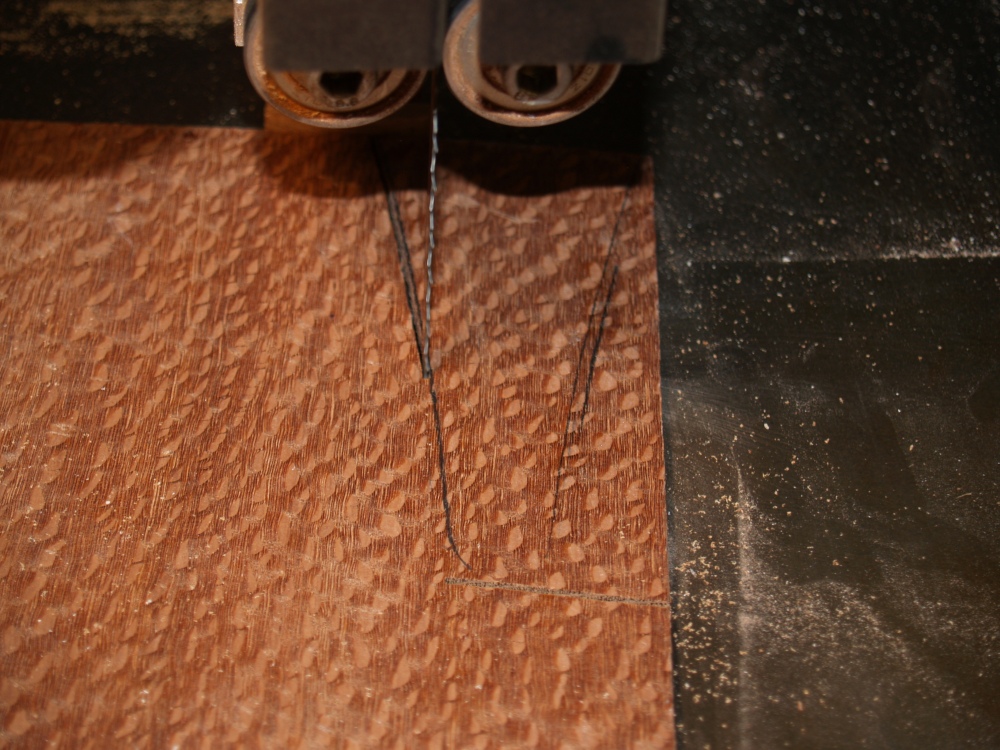
Back to the heal graft. I have chosen to use a Lacewood
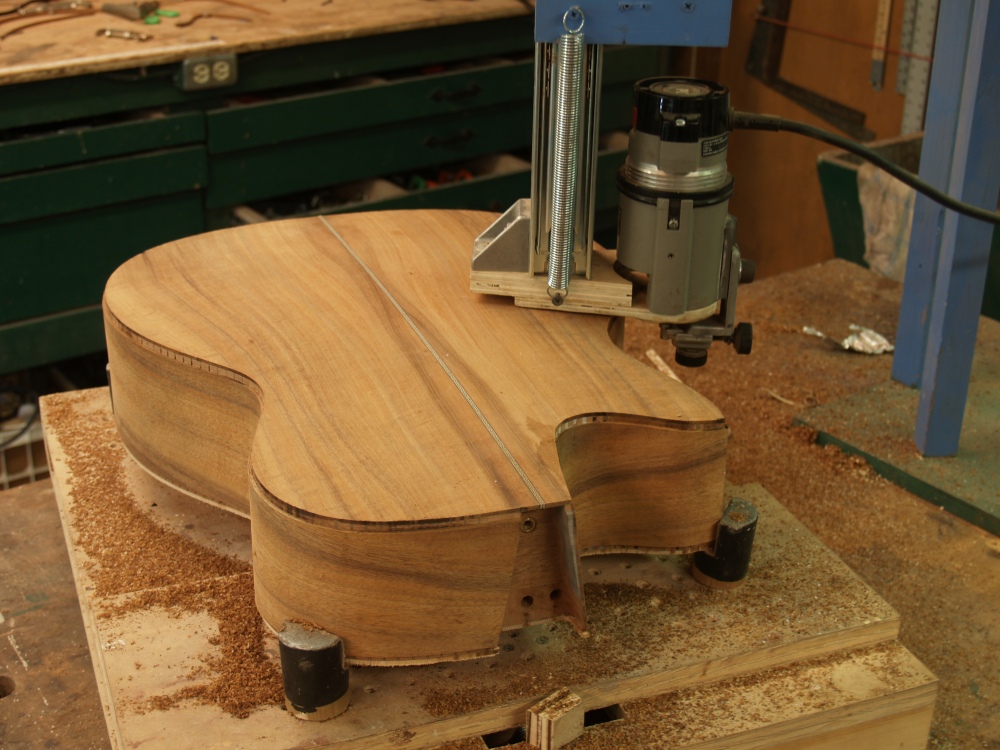
binding
theme for this guitar. This will provide a sophisticated and
dramatic look to the guitar. Here I am cutting out the blank.
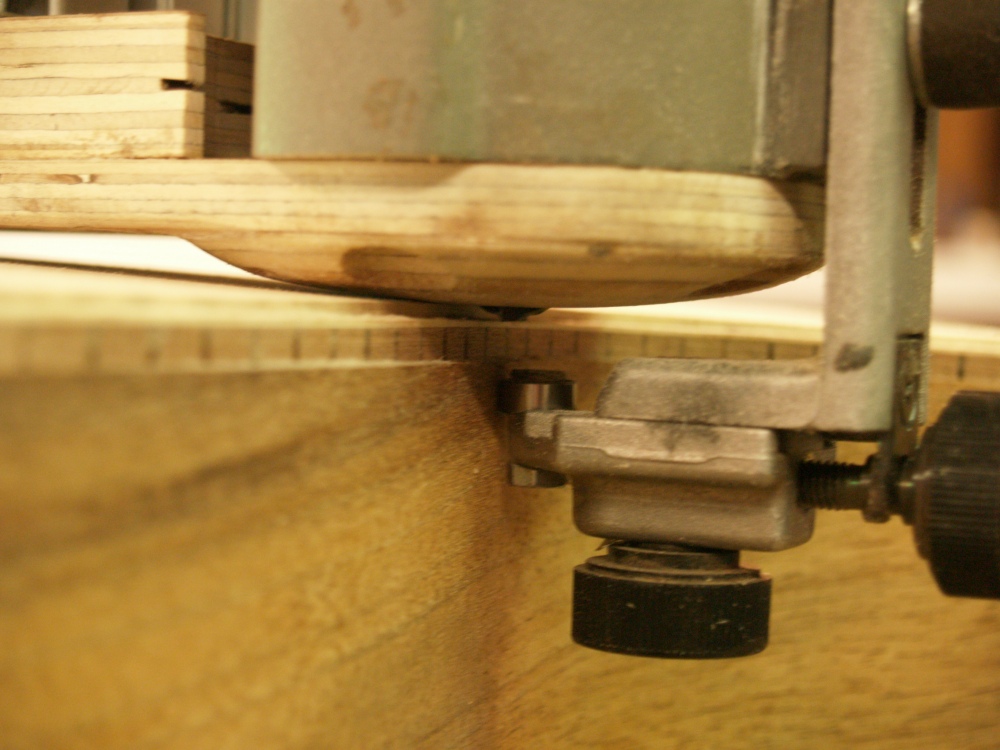
 (78) 15-June-2007
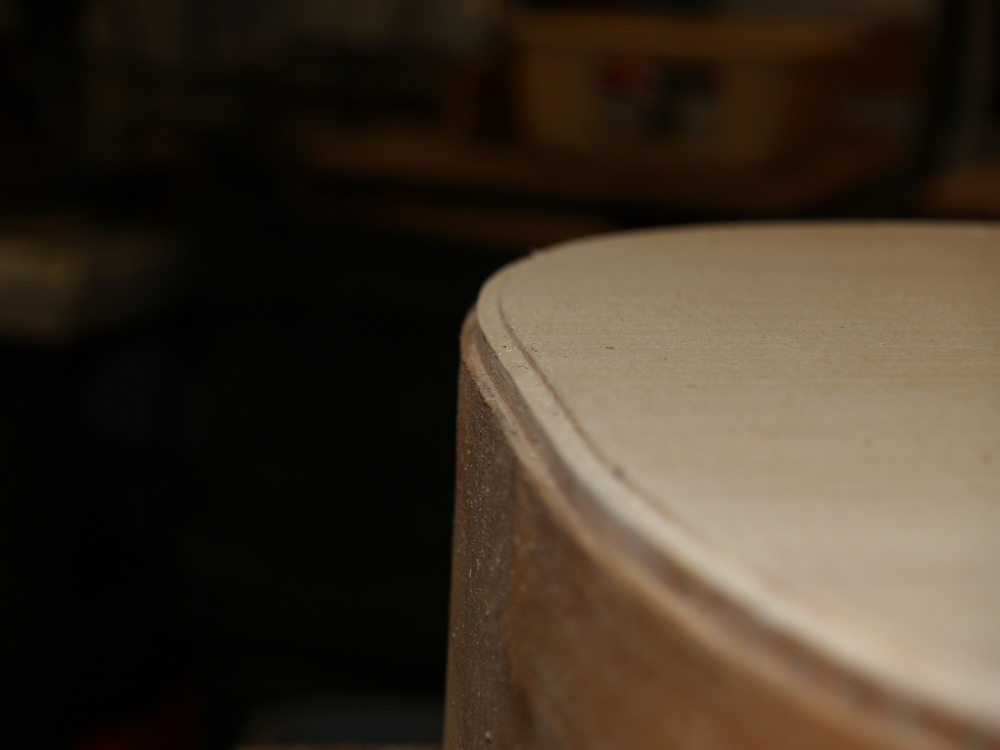
The end graft gets glued into its channel.
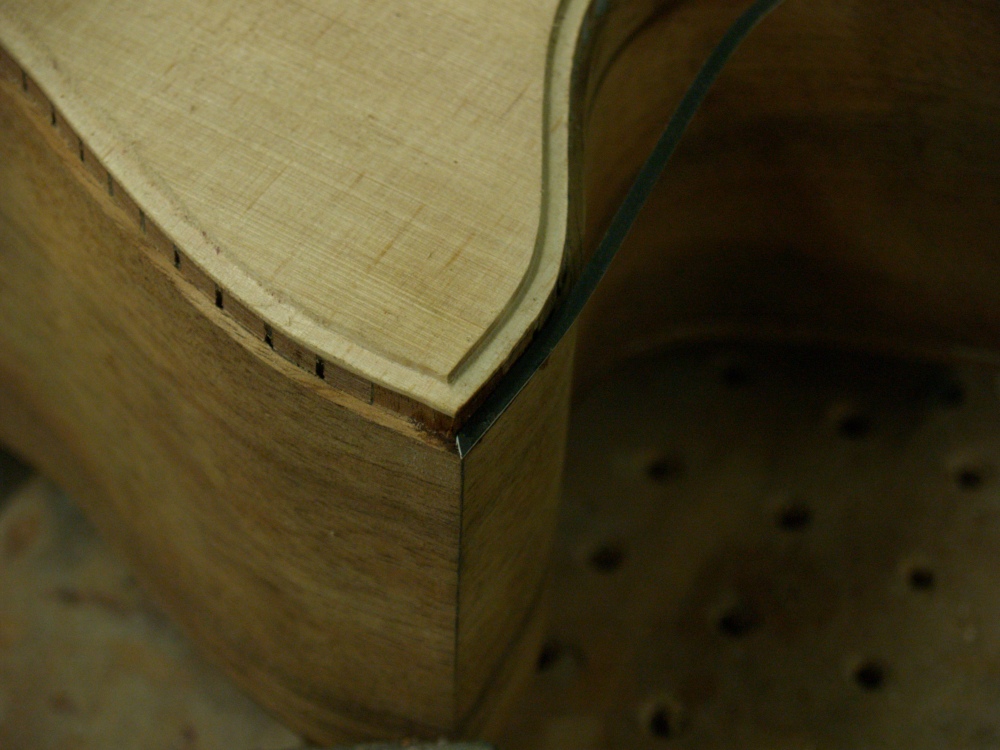
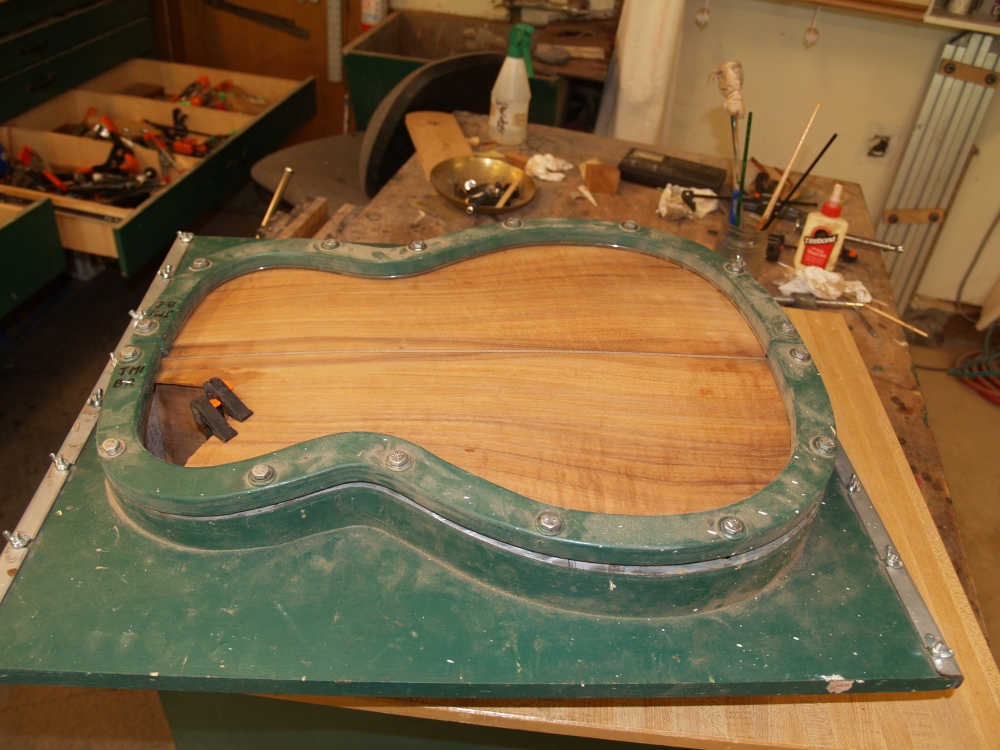 (79) 15-June-2007
After sitting and thinking for a bit to make sure I have done
everything I need to on the inside of the guitar I glue the back on to
the sides. I use my guitar mold for this with the clamping
ring
around the edge.
 (80) 15-June-2007
After the back is glued on I route off the excess edges.
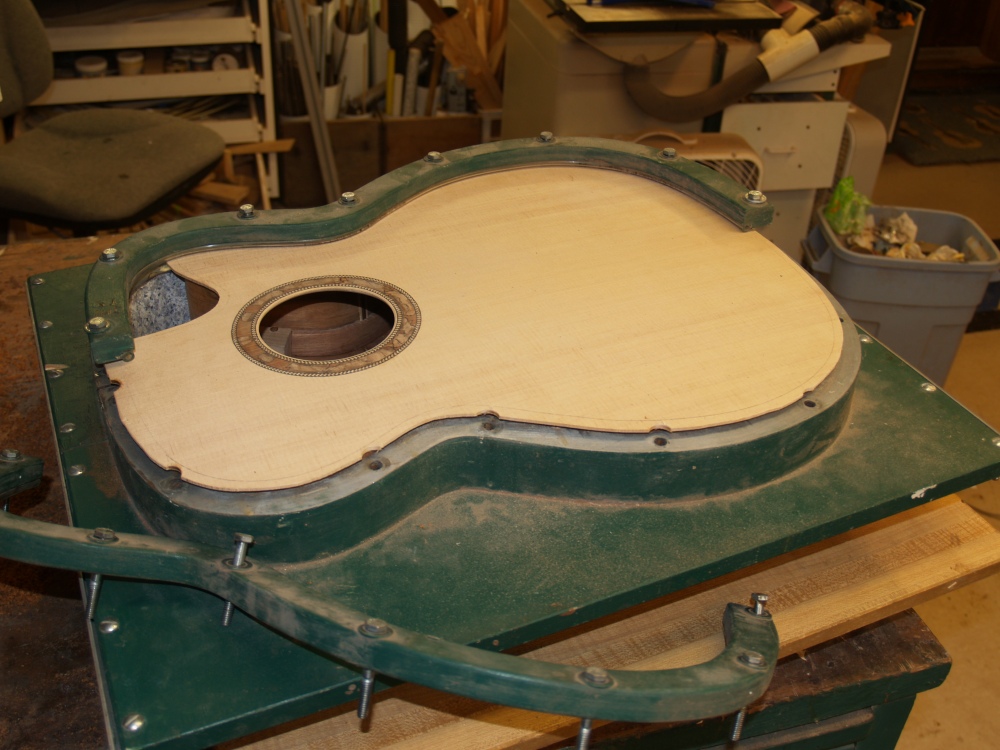 (81) 15-June-2007
The top gets glued on next. This is where I really have to
make
sure everything is finished on the inside. After I glue the
top
on if I need to work on the inside I have to go through the all to
small sound hole.
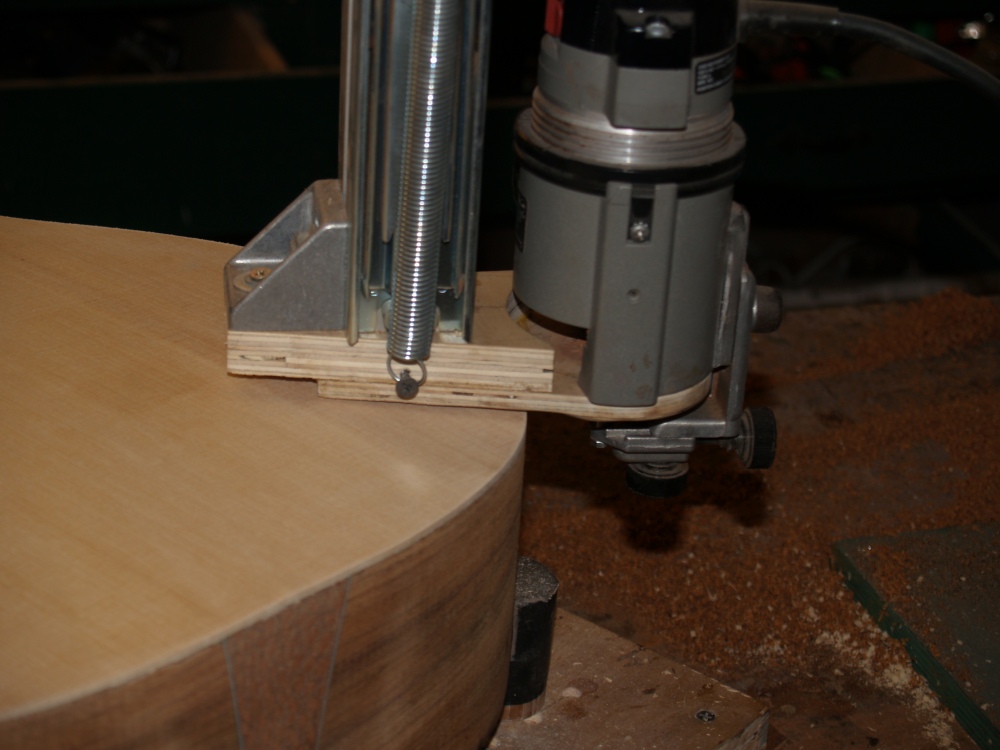 (82) 15-June-2007
The excess edges get routed off the top.
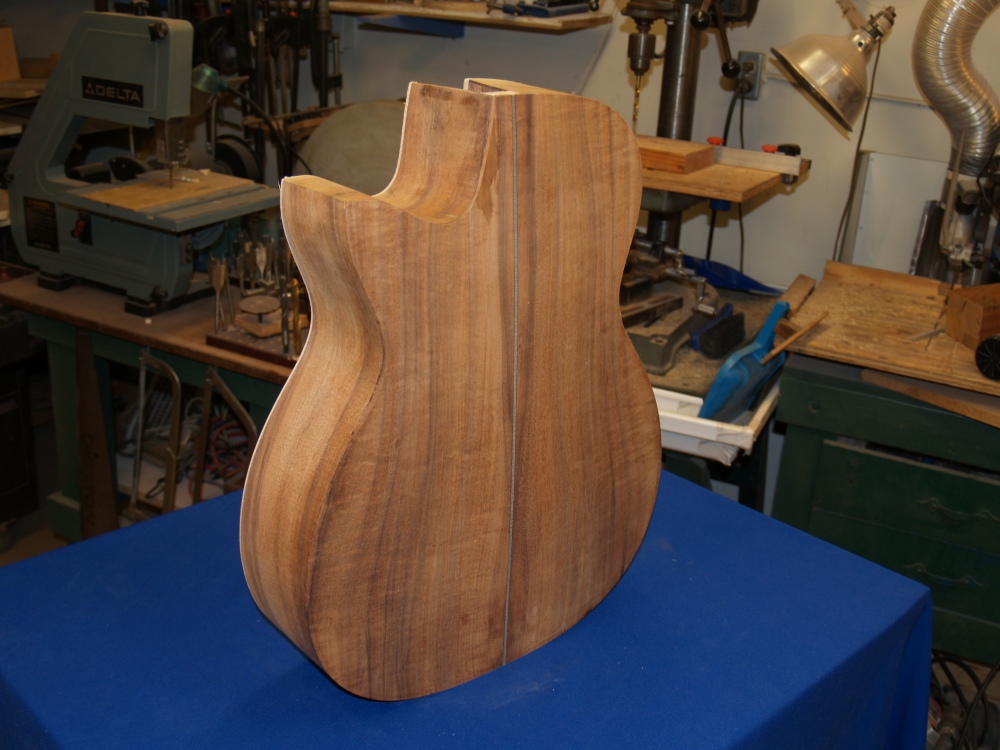 (83) 15-June-2007
A look at the back of the body.
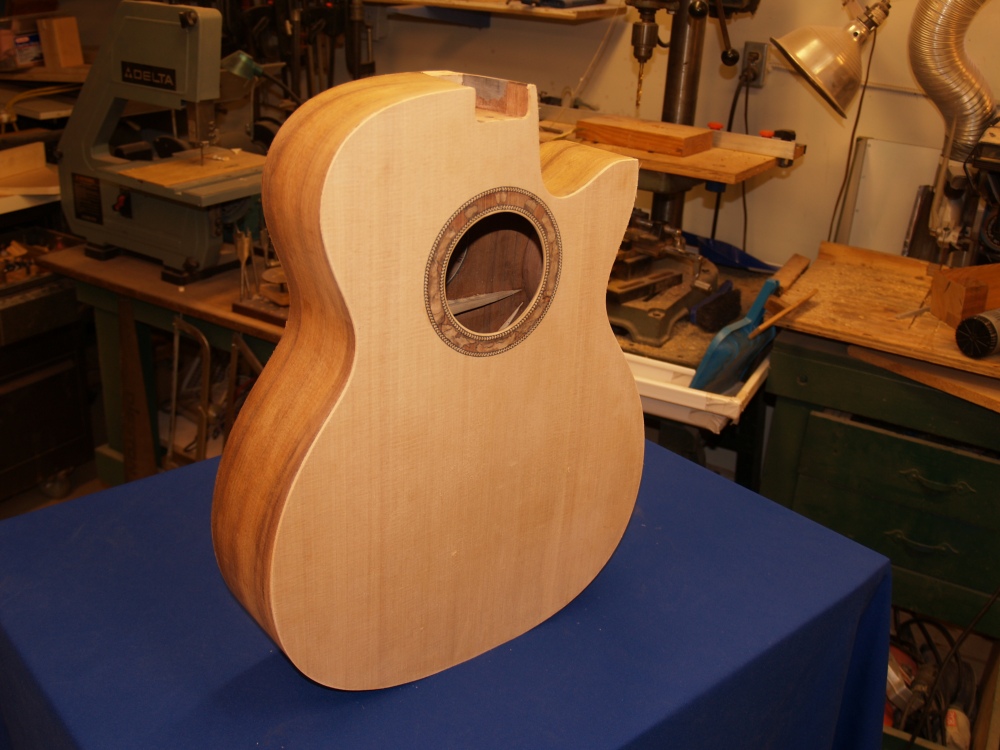 (84) 15-June-2007
The front of the body.
 (85) 4-July-2007
The next major step is to install the binding and purfling. To do
this I have to route out a set of channels for the binding to sit in.
I use a machine I call the universal bindalator to do this job.
This machine holds the router vertical while allowing me to move
it back and forth, up and down, in and out, round and round, while the
guitar is spun on a lazy susan and the depth of cut is controlled in
the horizontal and vertical directions.
 (86) 4-July-2007
This is what the channel looks like on the back of the guitar.
 (87) 4-July-2007
I will cut channels on both the back and top.
 (88) 4-July-2007
Here is a close up look at the router at work on the top. If I
make a mistake here I end up with some very expensive firewood.
 (89) 4-July-2007
A close up look at the channels for the top. The depth of the
channels has to be carefully controlled to accommodate the combination
of materials for the binding and purfling.
 (90) 4-July-2007
A look at the cutawy point.