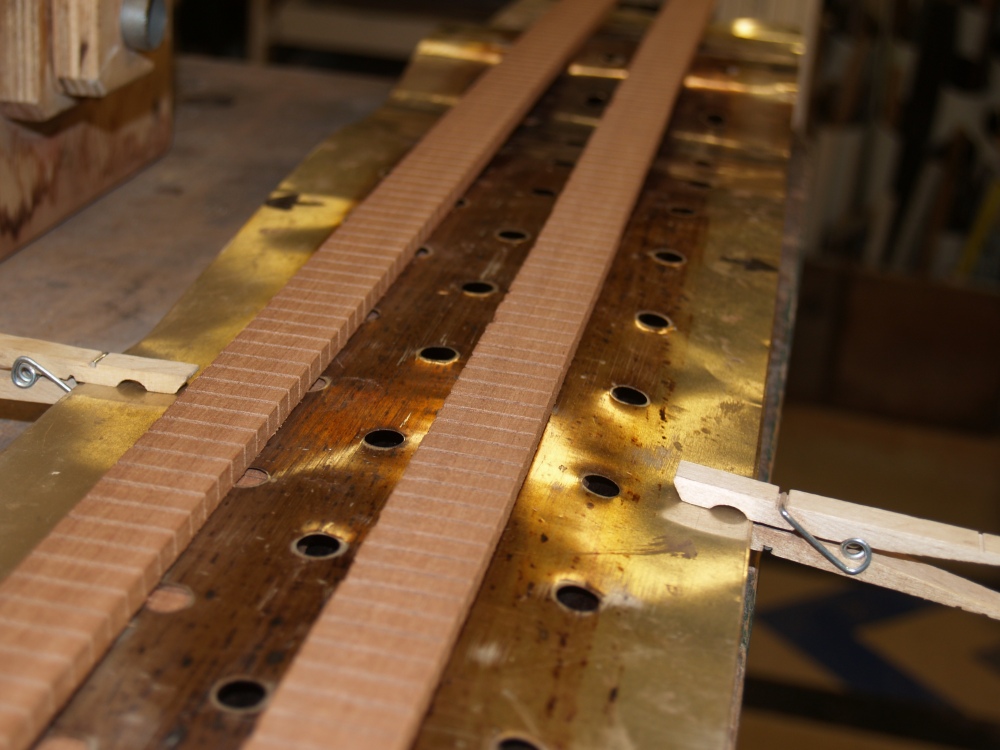
 (31) 24-May-2007
This picture shows the kerfing sitting on top of the heating blanket.
Portland Guitar Co. | Portland Oregon | Contact Jay Dickinson-503.245.3276 | jay@portlandguitar.com
Home | Orders & Sales | Photo Gallery | Current Builds | Finished Builds
Rosettes & Marquetry |Shop Tour | Biography | News
Engineered Braces | Tilt Action Neck | Split Saddle Bridge | Split Saddle Nut
Portland Guitar Pretty Good Intonation (PGPG) System
Short Version | Introduction | Intonation Errors | Analysis | PG Approach | Comparisons | Conclusion
Finished Build
JMC 1.1.14
Page 2
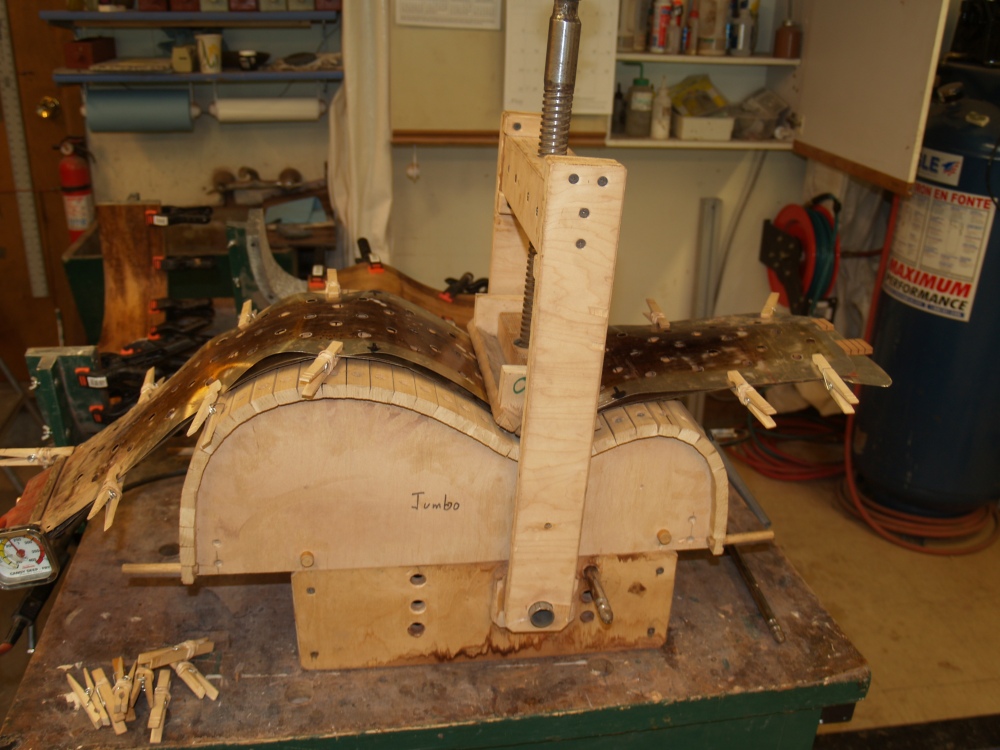 (32) 24-May-2007
And the kerfing being bent to shape.
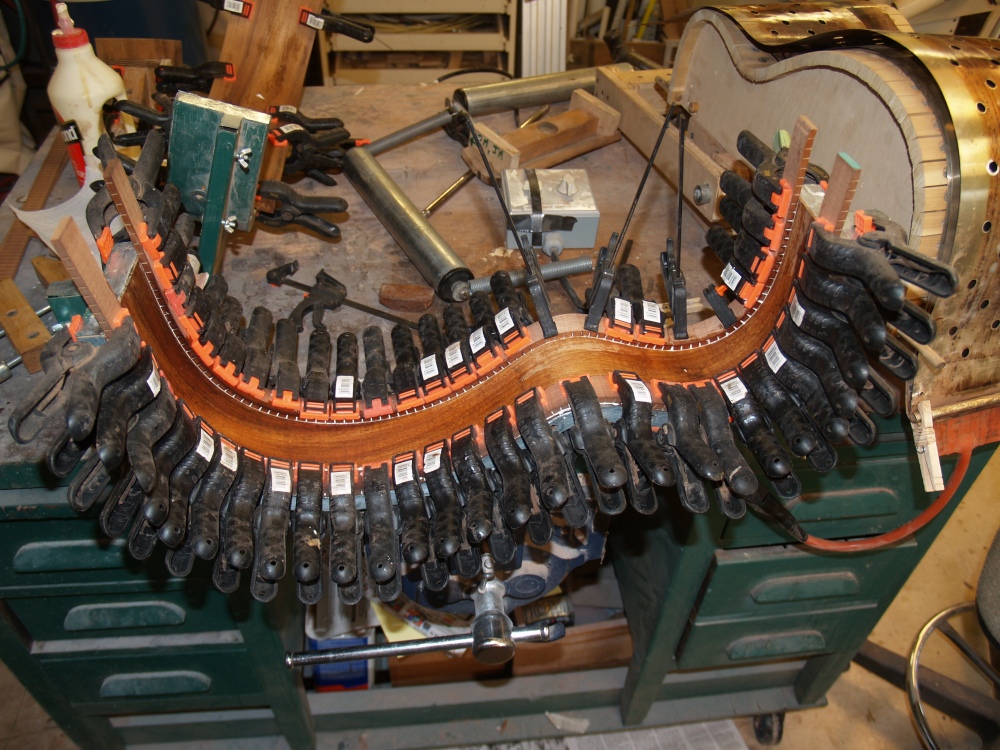 (33) 24-May-2007
This picture shows the kerfing being glued onto the sides. I
wish
I had more clamps! The kerfing performs several functions in
the
guitar. First it provides stiffness and rigidity to the
sides.
I attach the kerfing to the sides with the slots facing in
and
the gunnel on the out side. This makes for a very strong
structure. Second, the kerfing provides a shelf for the top
and
bottom to be glued to. Third, the kerfing provides structure
for
the binding and purfling to be inlayed into.
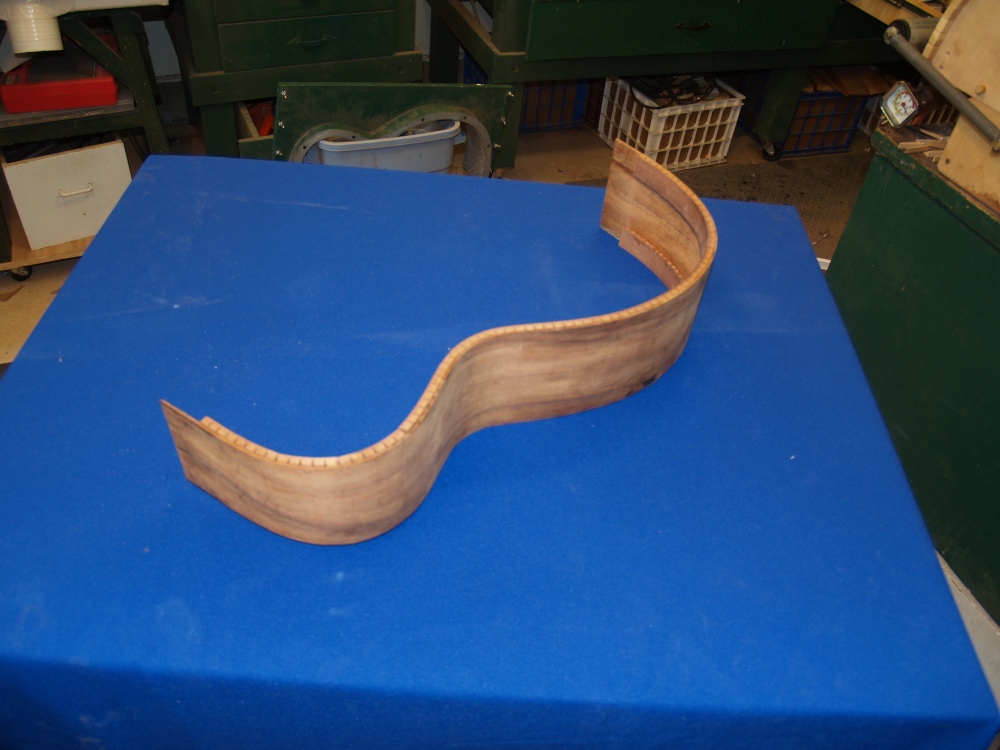 (34) 24-May-2007
When everything has dried we have a nicely shaped side that will hold
its shape.
 (35) 24-May-2007
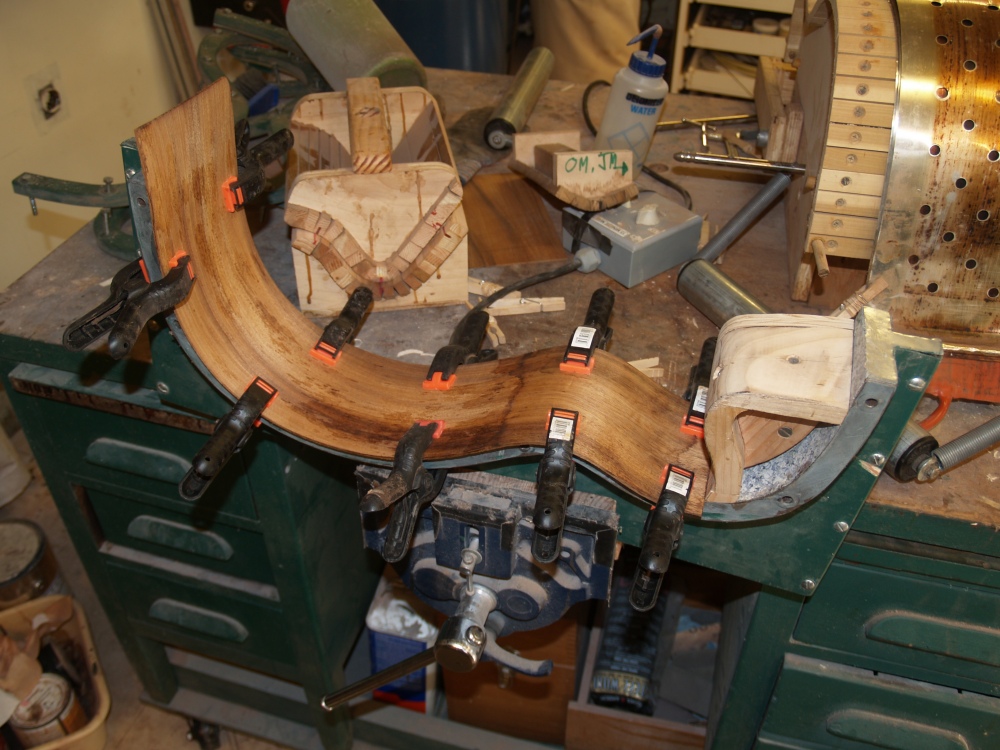
Back to the bendalator to bend the lower section of the cutaway side.
 (36) 24-May-2007
It goes into the mold to keep its shape.
 (37) 24-May-2007
And now the bendalator is being used to bend the cutaway portion of the
side. This requires a special mold.
 (38) 24-May-2007
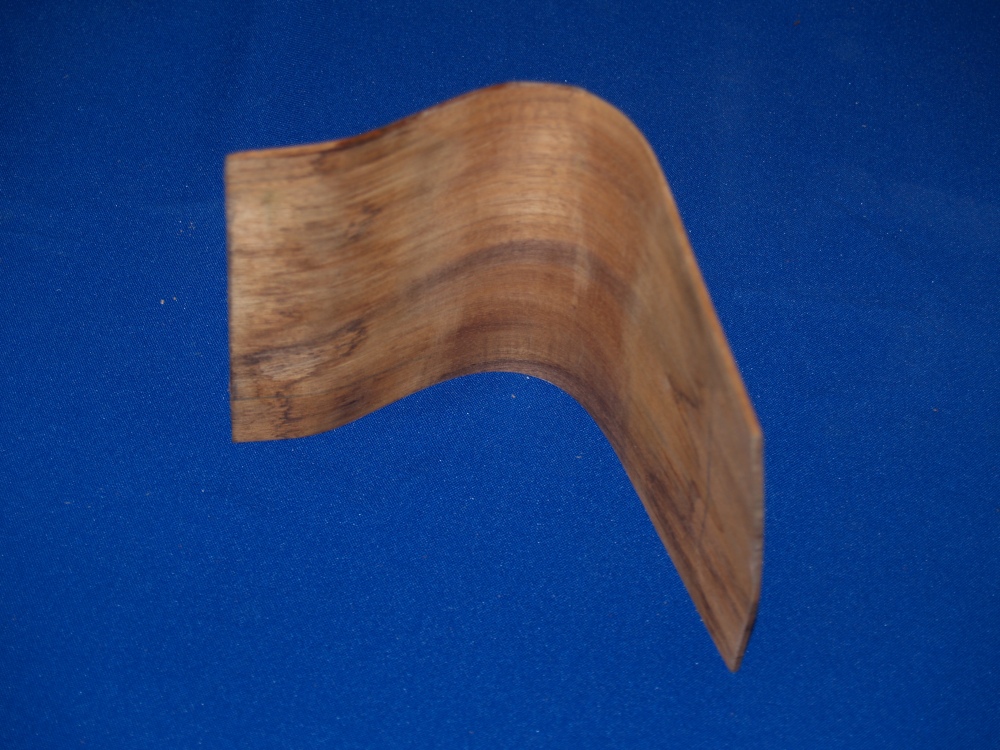
Out pops a funny shaped piece of Koa.
 (39) 24-May-2007
I carefully bevel the edged of the two pieces of the cutaway side and
then glue them together in the mold. I am attempting to
create an
invisible seam and to make sure the grain patterns in the wood line up.
 (40) 24-May-2007
In this picture I am gluing in a reinforcing piece of mahogany at the
peak of the cutaway joint.
 (41) 24-May-2007
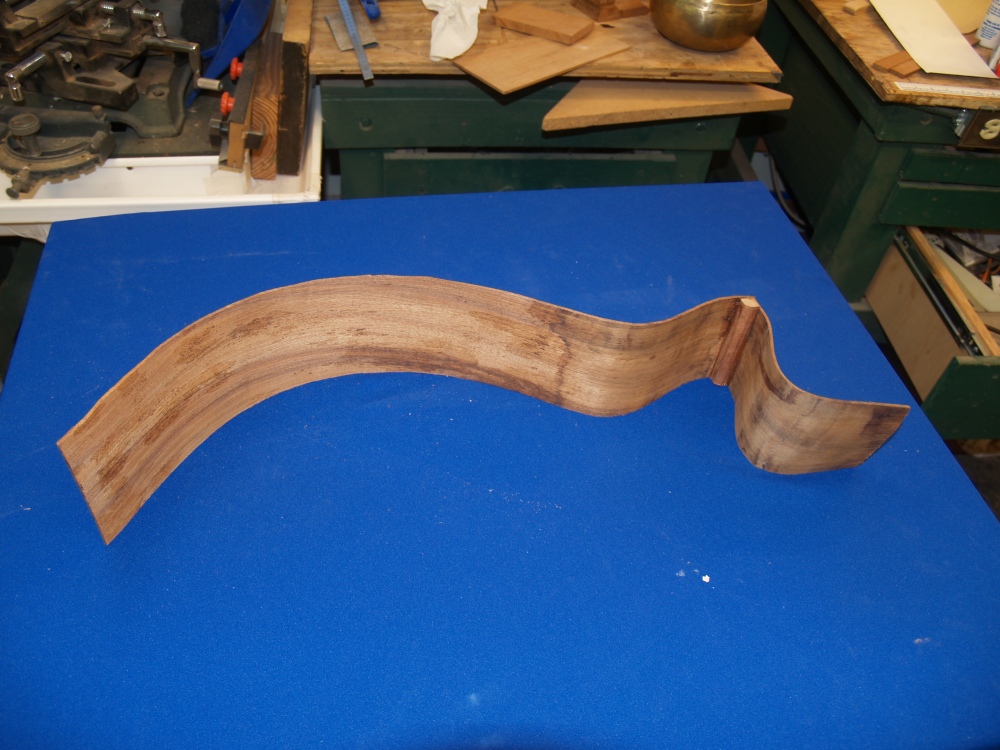
And in the end, after everything is dry, we get a really funny shaped
piece of Koa. I was successful in getting a good invisible joint and
lining up the grain (woo hoo!). Note the compound curve in
the
wood on the right. I make my cutaway guitars so the heal of
the
neck and the body of the guitar are more or less flush. This
is
more work, but it looks better and plays better I think.iption
 (42) 24-May-2007
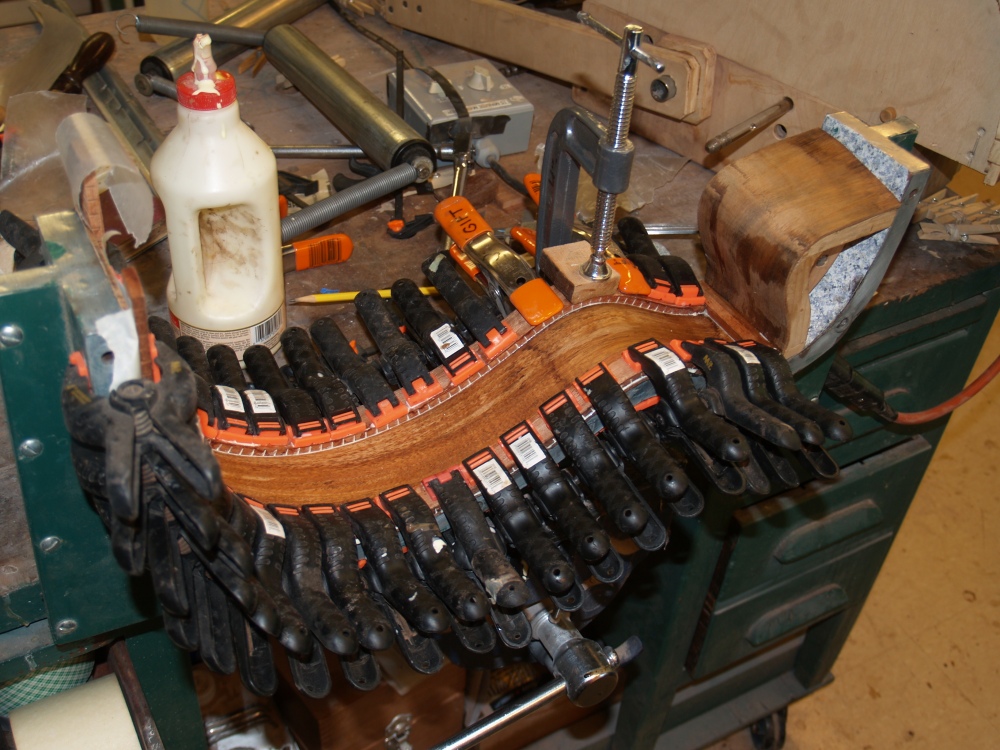
Now I glue in the kerfing.
 (43) 24-May-2007
And more kerfing. I really like lots of clamps.
 (44) 25-May-2007
After all of the clamps come off the side is stiff and strong.
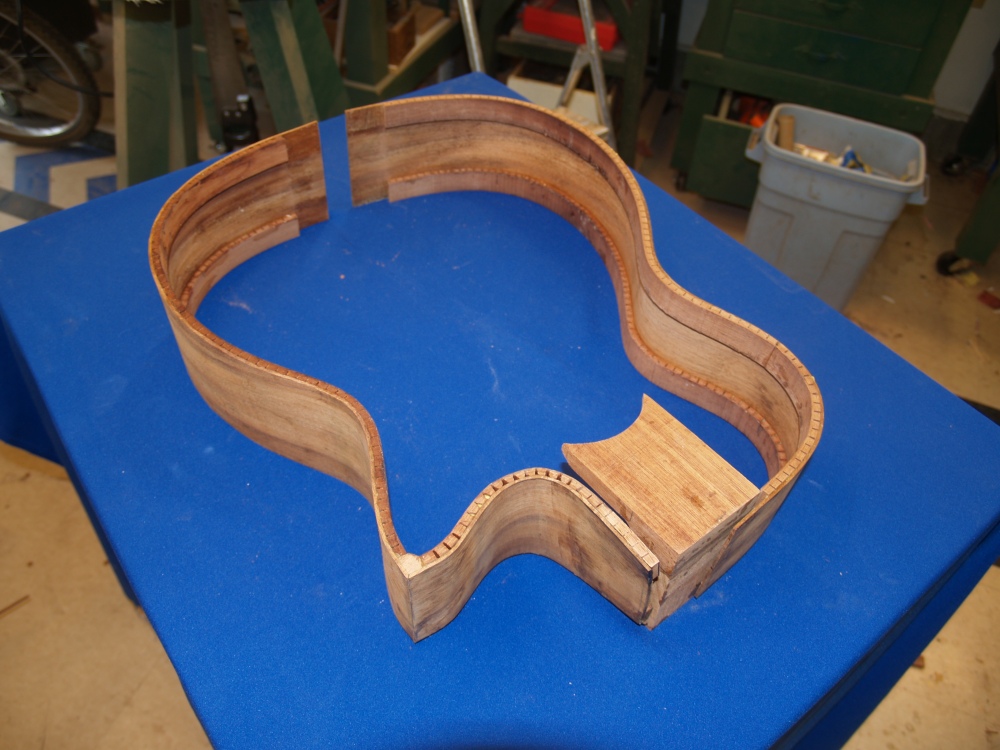 (45) 25-May-2007
Here we can start to get a sense for the shape of the guitar.
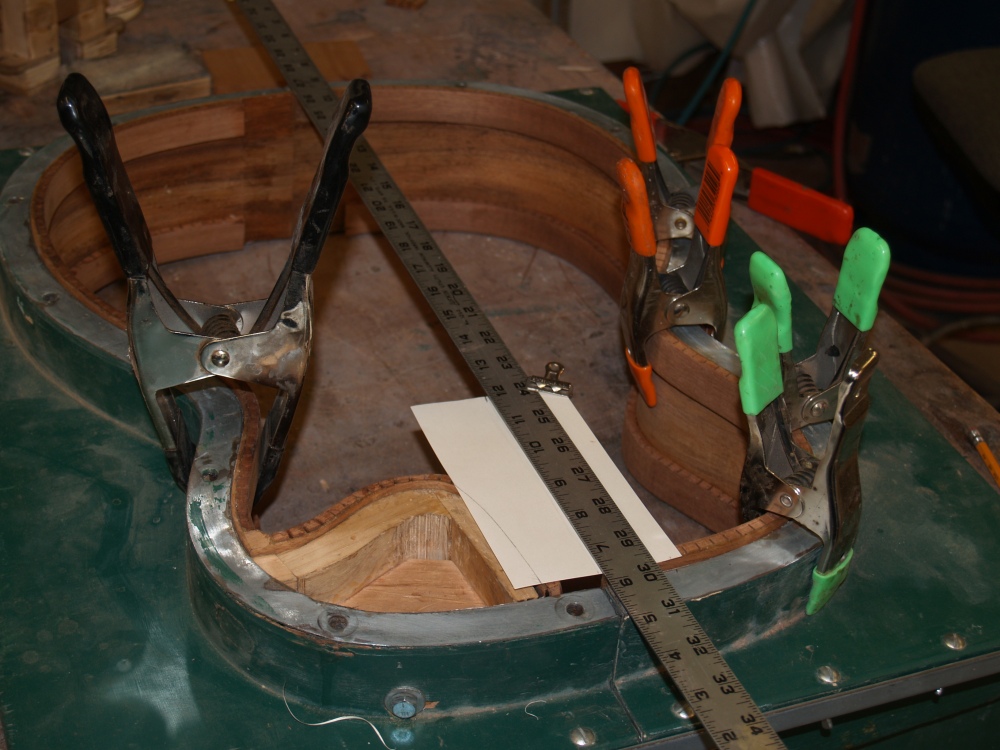 (46) 4-June-2007
The neck block is trimmed to accommodate the compound curve of the
cutaway.
 (47) 4-June-2007
The Two sides go back into the mold and alignment of the neck block is
checked and adjusted.
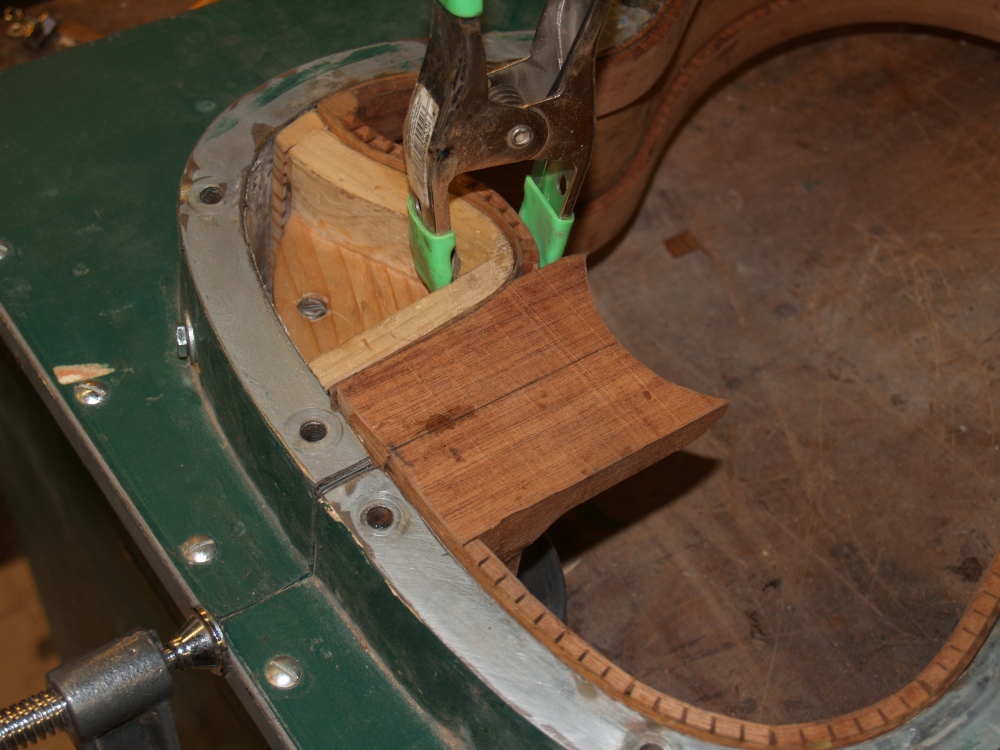 (48) 4-June-2007
And then we get ready to glue the neck block to the cutaway side.
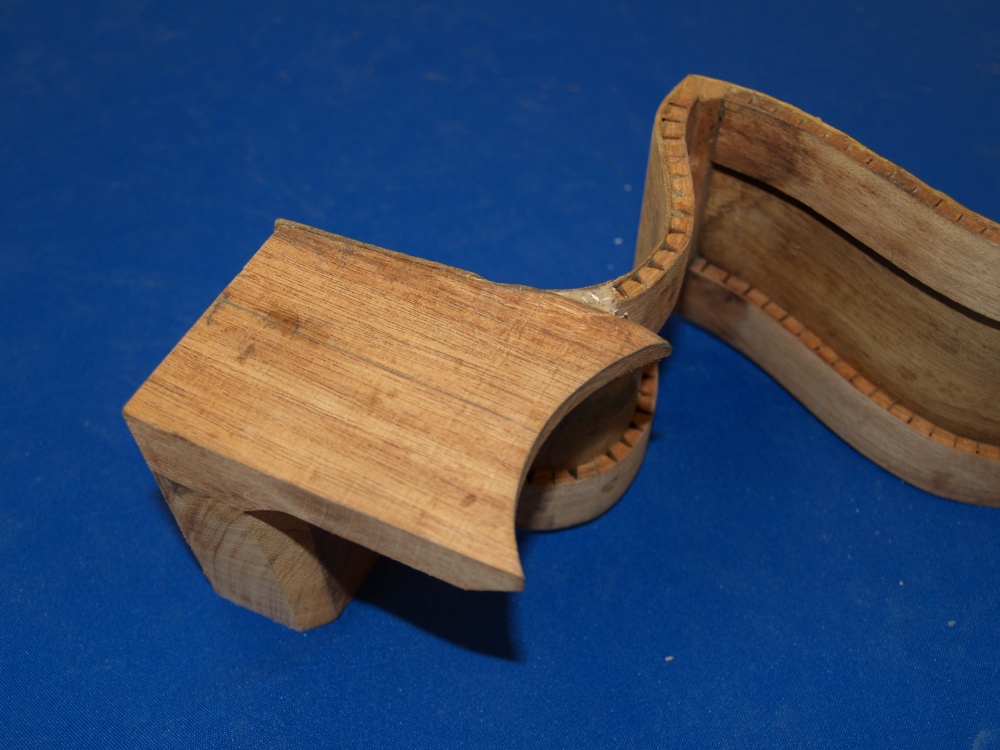 (49) 4-June-2007
The neck block is glued to the cutaway side.
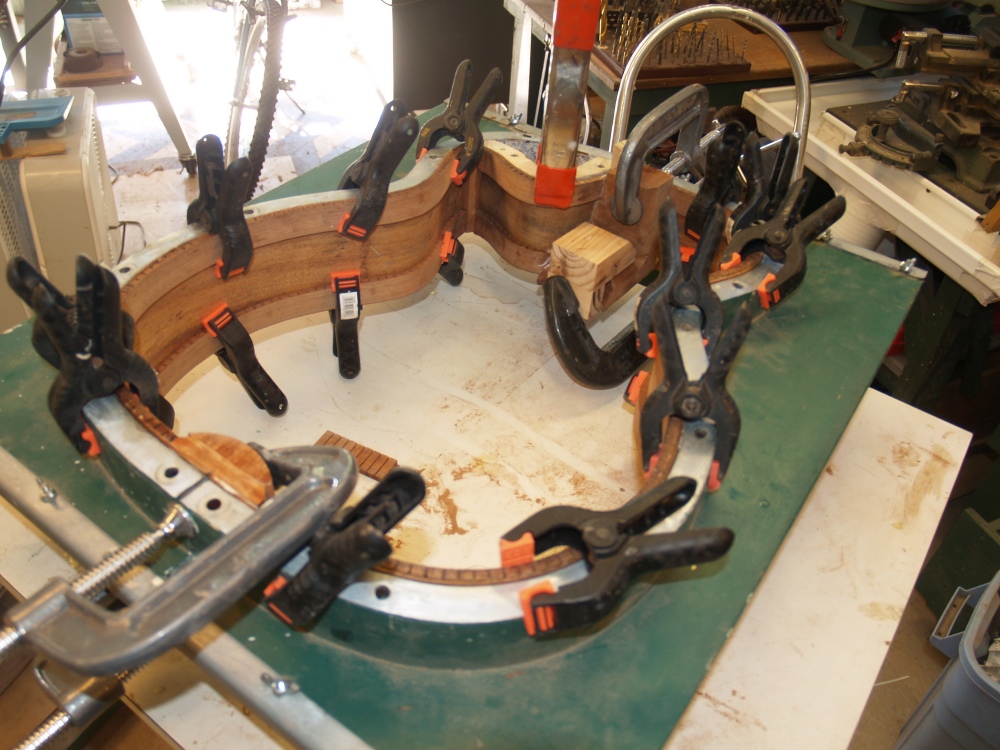 (50) 4-June-2007
The sides go back into the mold and are glued together.
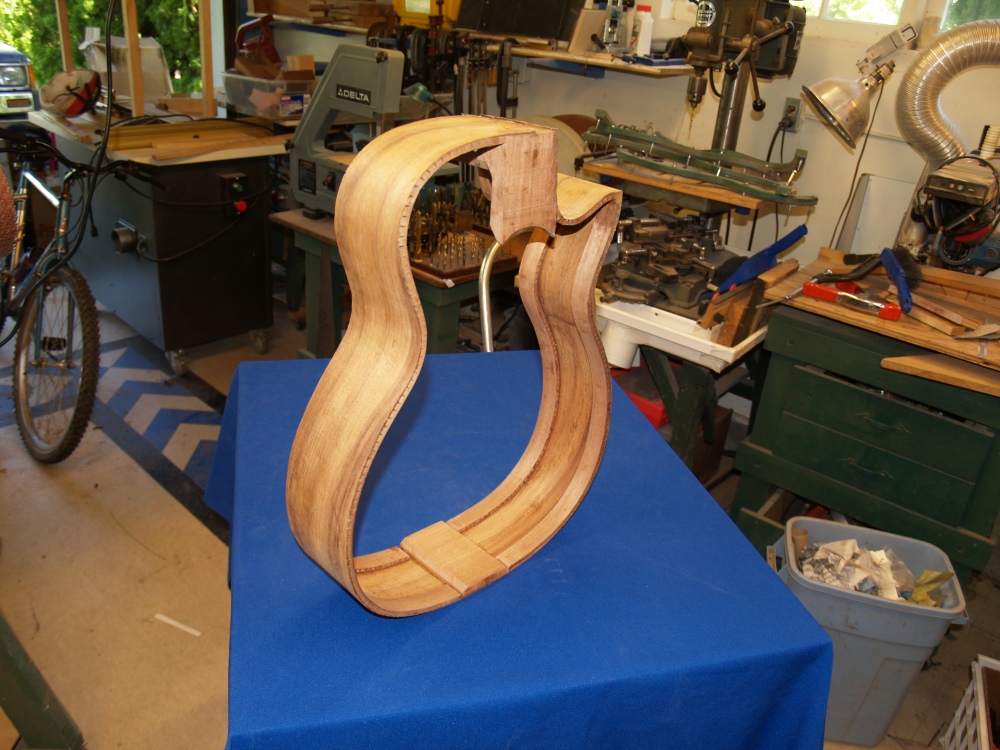 (51) 4-June-2007
Now it is starting to look like a guitar.
 (52) 4-June-2007
Now that the sides are glued together they must be sanded so they will
conform to the top and bottom. The top and bottom are not
flat,
but are shaped like a bowl. The sanding block that the sides
are
sitting on have the same shape as the top will have. With
some
vigorous elbow grease I sand down the top and bottom of the sides so
they conform to the shape of the bowls.
 (53) 4-June-2007
Here we see the jig I use to cut out the neck channel in the neck block.
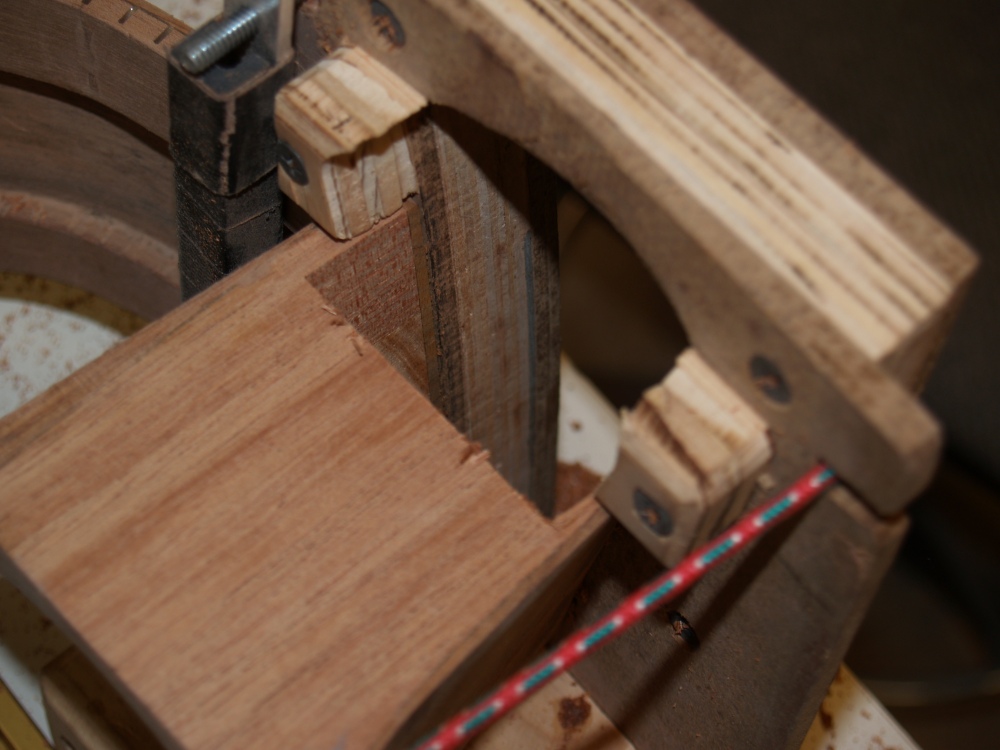 (54) 4-June-2007
A top view of the neck channel.
 (55) 4-June-2007
This is a front view of the neck channel. All of the hardware
that will allow for the adjustable neck will fit in this channel neatly
out of the way.
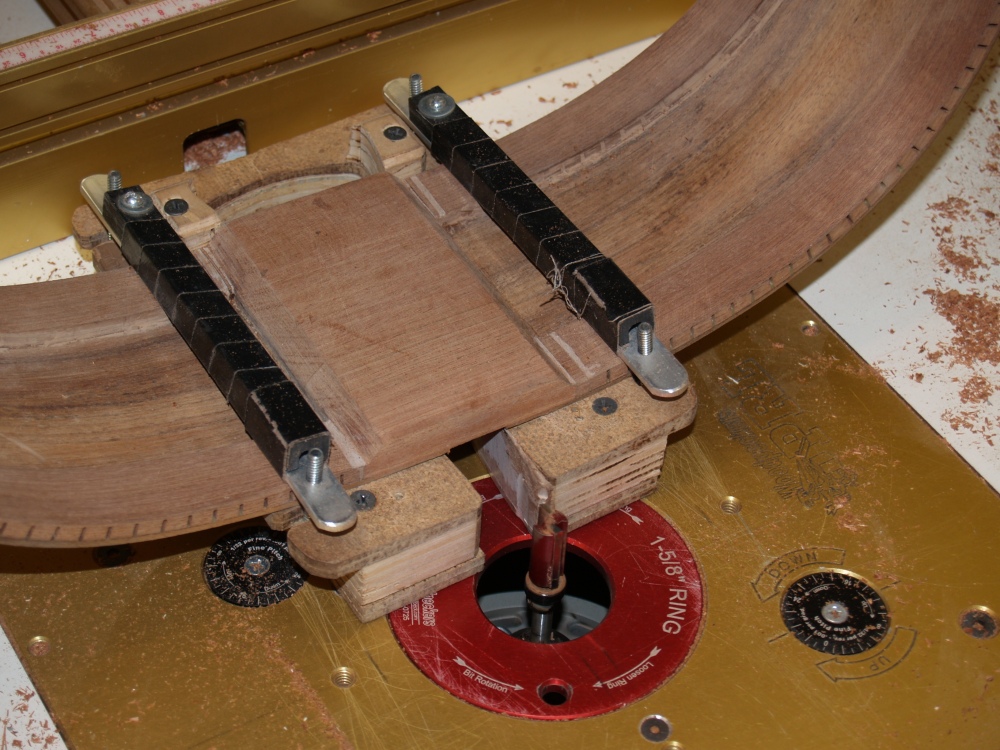 (56) 15-June-2007
I next turn my attention to the heal block. Here I am routing
out a the channel for the heal graft to go into.
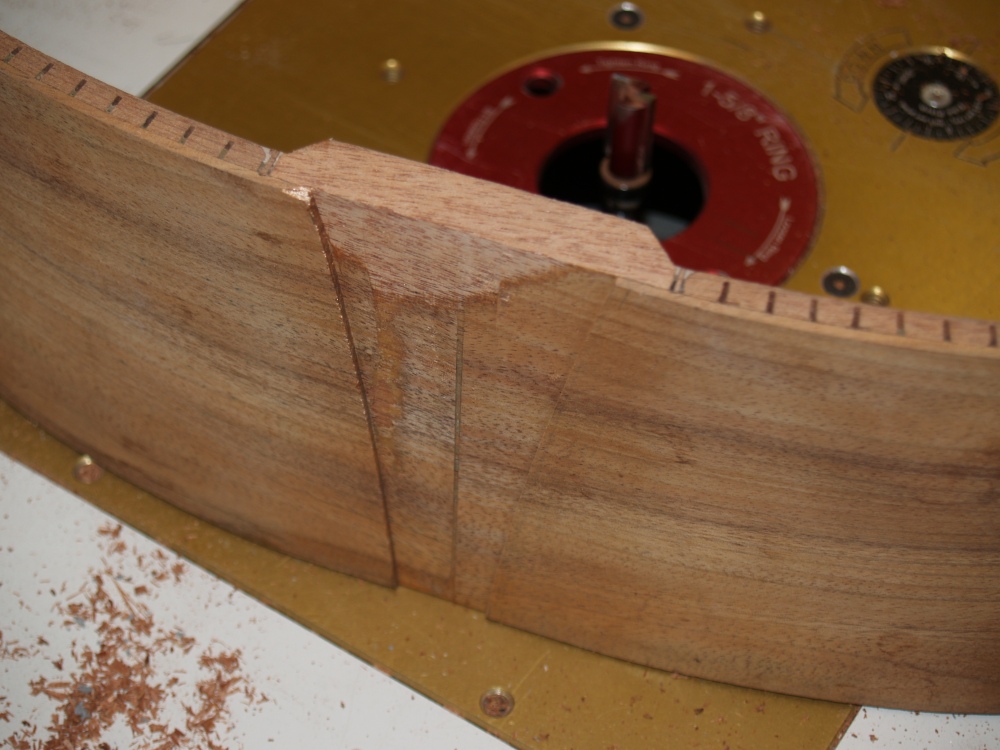 (57) 15-June-2007
This is the channel for the heal graft. It has the same shape
as
the neck heal has. This is both a manufacturing convenience
and
in my opinion lends a degree of consistency and symmetry to the guitar.
Also, I use a wide heal graft because I like to use highly
figured wood for this piece and this lets you get a good look at it.
 (58) 15-June-2007
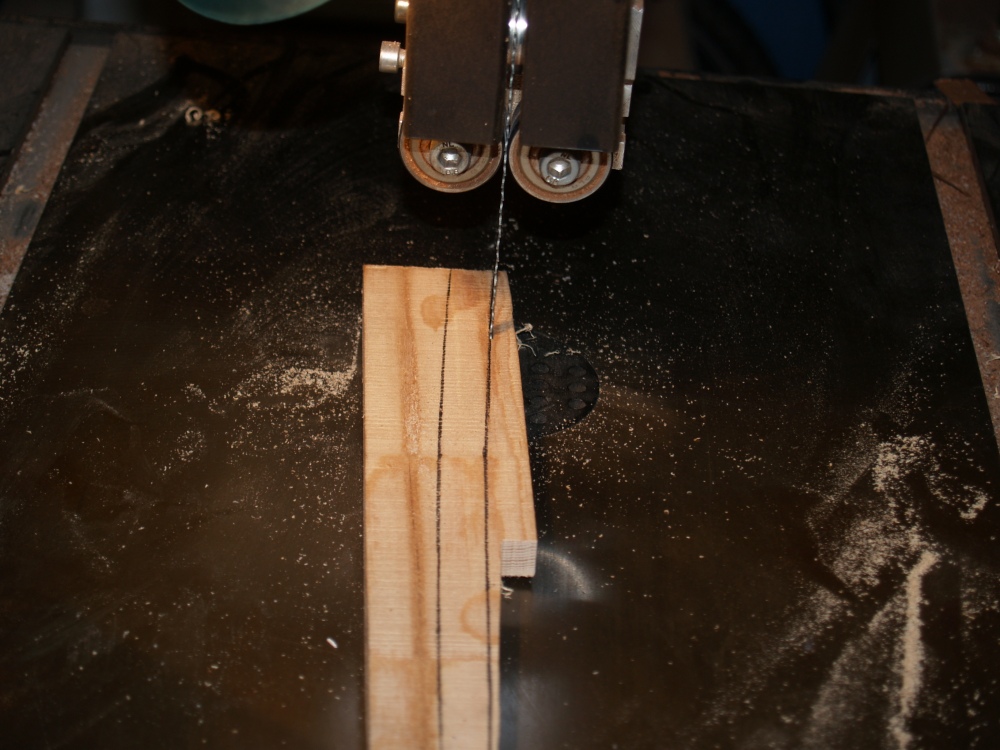
Now I start working on the braces. Here I am at the bandsaw
again
(I love my band saw) cutting out the blanks for the major X-braces.
 (59) 15-June-2007
In this picture I have laid out the braces for the back.
 (60) 15-June-2007
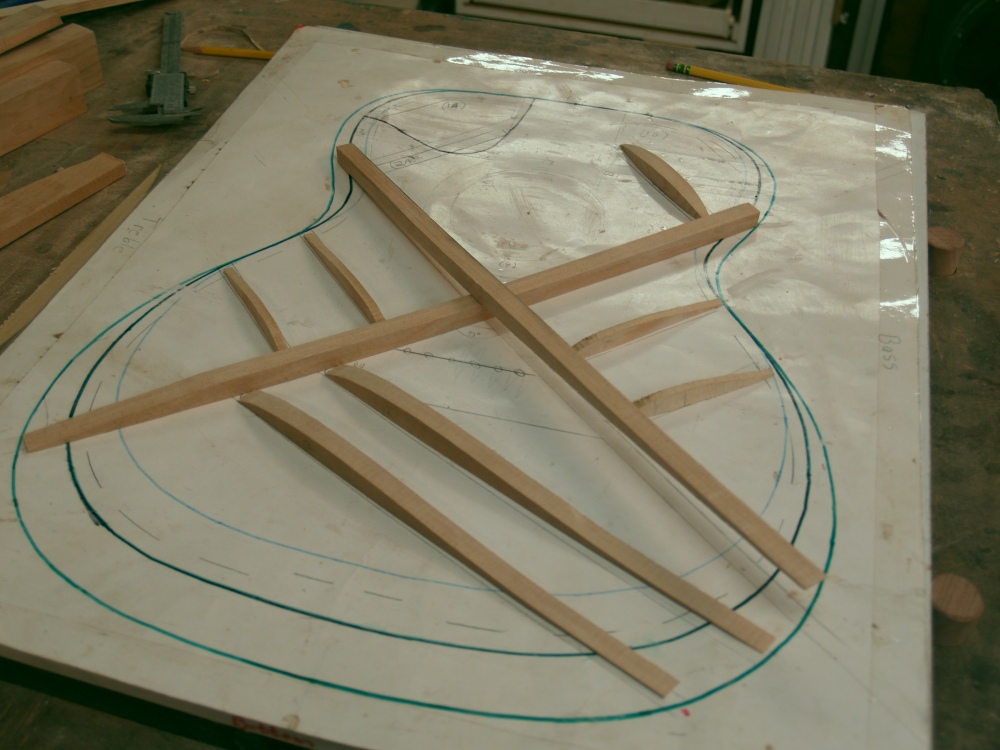
And here we see the layout for the top braces.