 (91) 4-July-2007
Here I am starting to install the pin striping. I use cyanoacrylate glue for the binding.
Portland Guitar Co. | Portland Oregon | Contact Jay Dickinson-503.245.3276 | jay@portlandguitar.com
Home | Orders & Sales | Photo Gallery | Current Builds | Finished Builds
Rosettes & Marquetry |Shop Tour | Biography | News
Engineered Braces | Tilt Action Neck | Split Saddle Bridge | Split Saddle Nut
Portland Guitar Pretty Good Intonation (PGPG) System
Short Version | Introduction | Intonation Errors | Analysis | PG Approach | Comparisons | Conclusion
Finished Build
JMC 1.1.14
Page 4
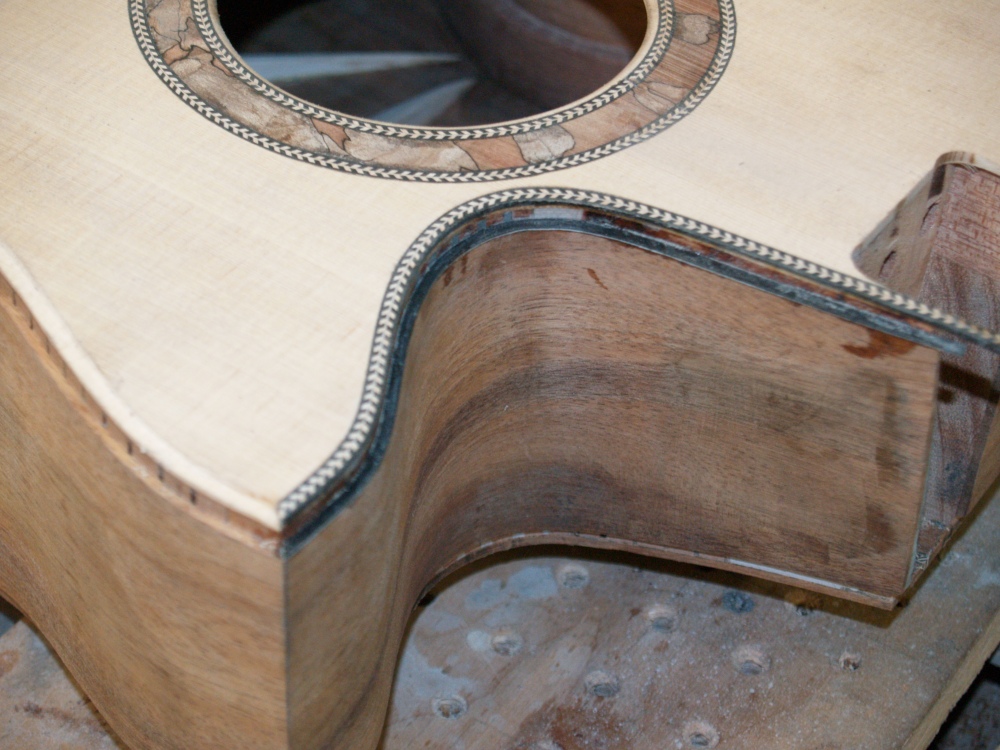 (92) 4-July-2007
Here we see the pin strip and the herringbone installed in the cutaway.
 (93) 4-July-2007
Another look at the cutaway detail.
 (94) 4-July-2007
After the purfling goes in then comes the binding.
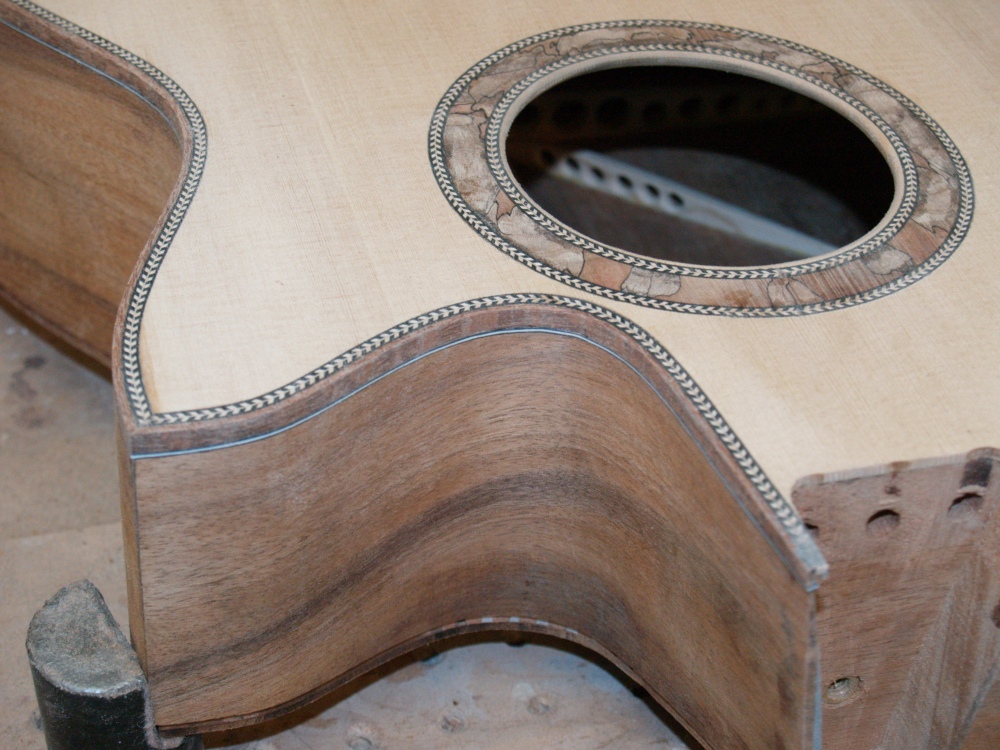 (95) 4-July-2007
Here we see the completed purfling and binding in the cutaway section.
Binding is the material that forms the edge of the guitar while
purfling is the material that is next to the binding on the interior.
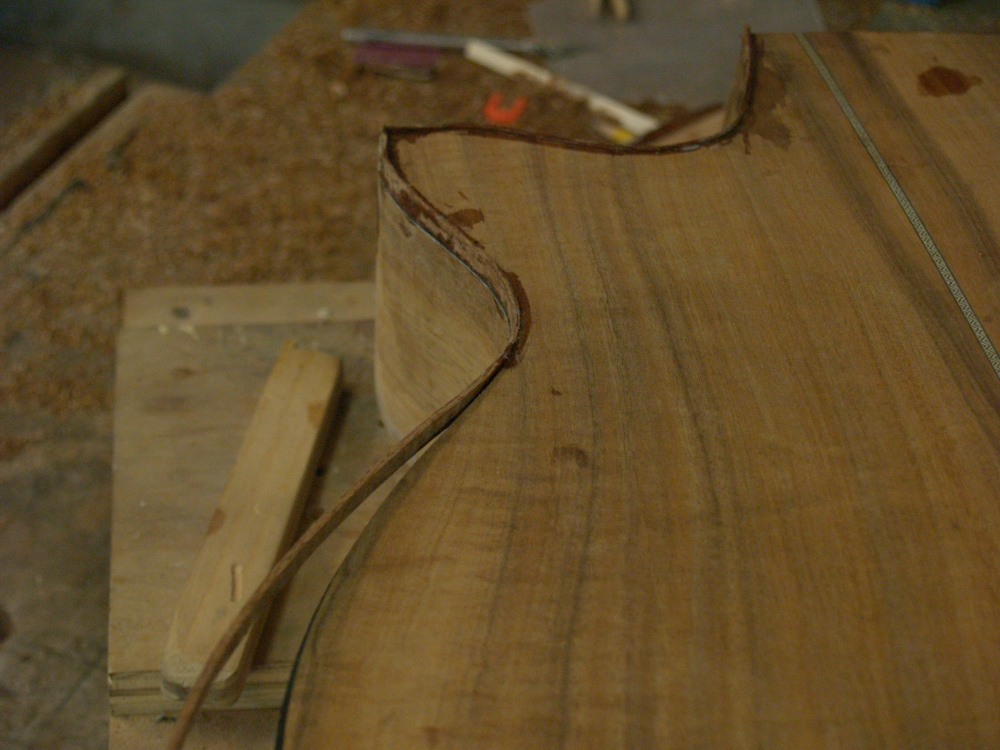 (96) 4-July-2007
A look at the binding going in the back.
 (97) 4-July-2007
And here we get another look at the completed binding on the top.
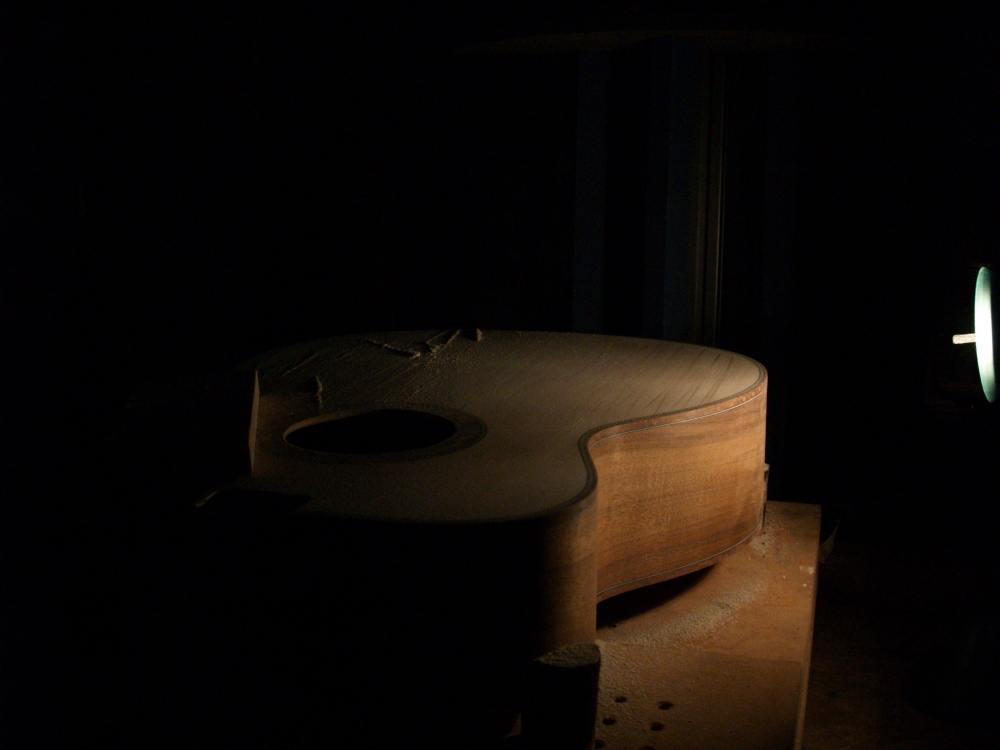 (98) 4-July-2007
Once I have all of the binding installed I level the
top and back to make them as smooth as possible. I use a raking
light to highlight any bumps, and then I sand them away.
 (99) 4-July-2007
Does it make you nervous when I put your guitar in my vice.
 (100) 4-July-2007
A close up of the pin striping being glued in the neck slot.
 (101) 4-July-2007
And here we get a look at the completed binding.
The only thing left to do on the body of the guitar is to cut a channel in the neck slot for the fret board cantilever
 (102) 4-July-2007
Now that the body of the guitar is substantially complete I turn my
attention to the neck. Here we see the rough neck blank sitting
on my slotting jig with the headstock template.
 (103) 4-July-2007() 4-July-2007
After sanding the top of the headstock flat, I use this safety planer
to dimension the thickness of the headstock and to insure the the front
and back a parallel.
 (104) 4-July-2007
I outline the shape of the neck on the rough block and then trim away most of the excess.
 (105) 4-July-2007
It starts to look like a guitar neck.
 (106) 4-July-2007
I use my routing table to cut a channel for the truss rod.
 (107) 4-July-2007
A perfect fit.
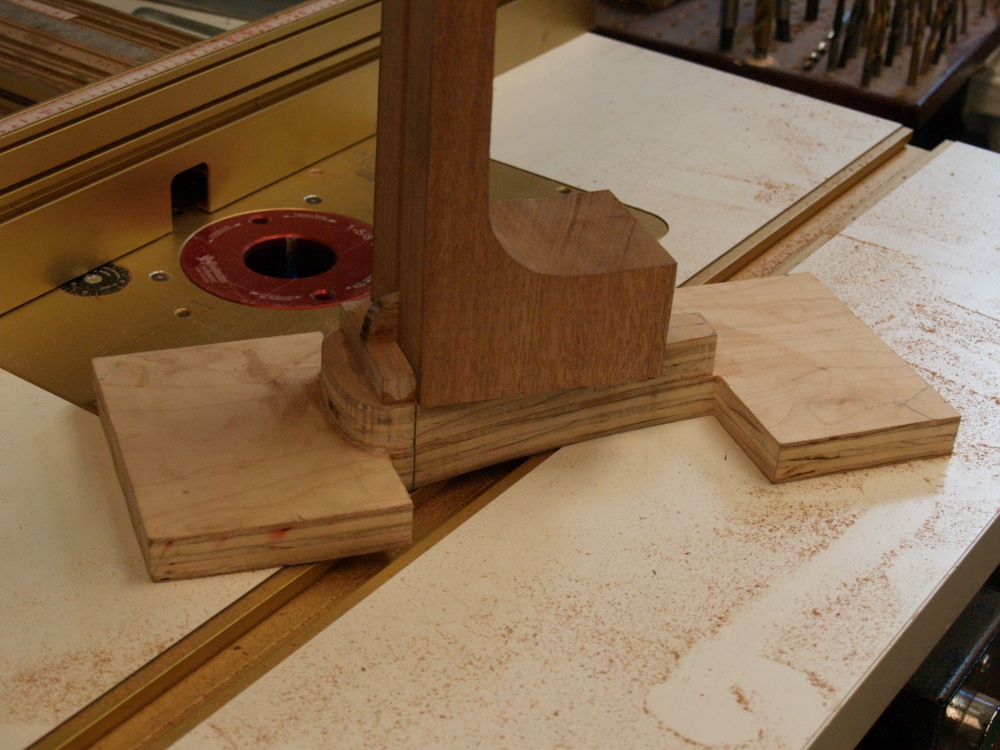 (108) 4-July-2007
Now I use this template and the router table to shape the heal block.
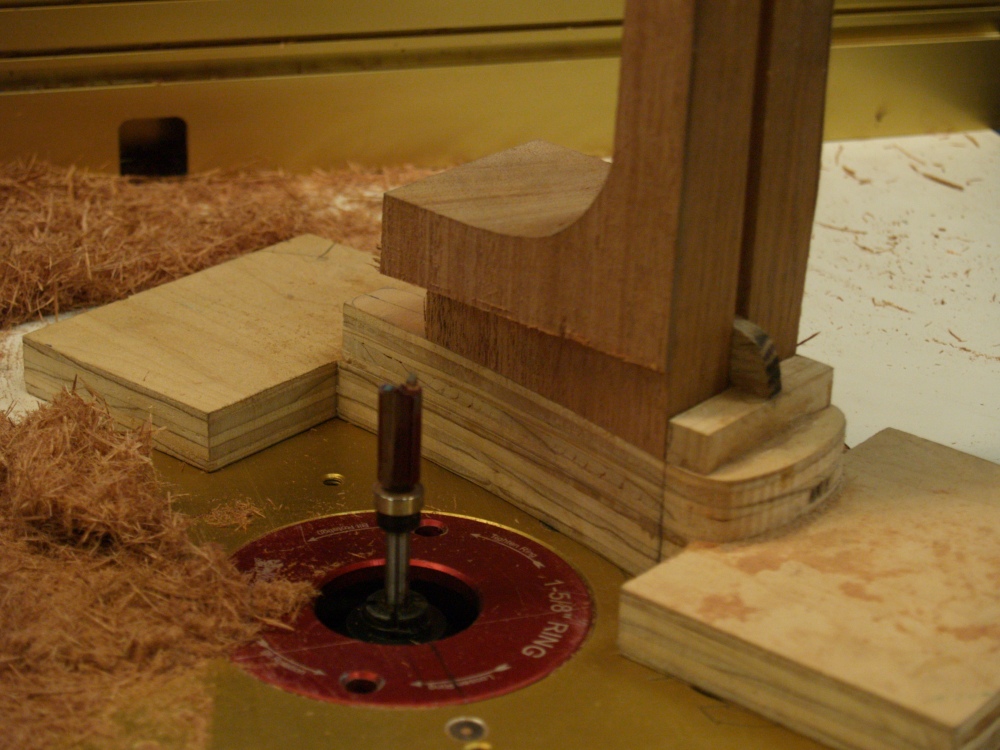 (109) 4-July-2007
This is the portion of the neck that will slide into the neck channel of the body.
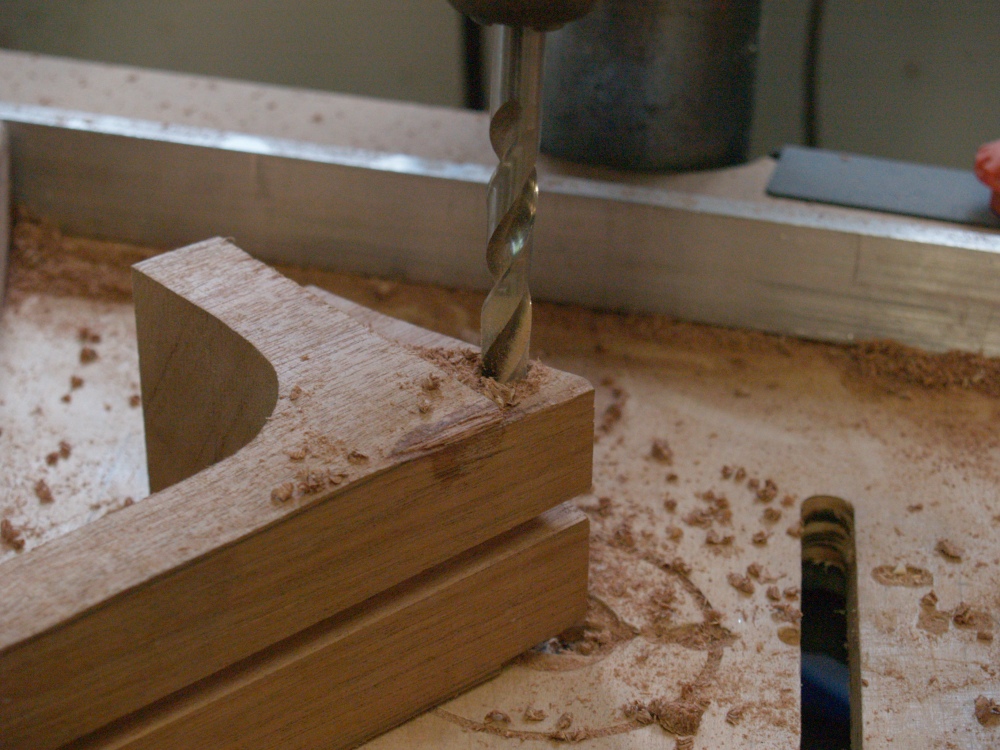 (110) 4-July-2007
Here I am drilling a hole for the anchor bolt that will hold the neck to the body.
 (111) 4-July-2007
A few more details and this is a look at the heal end of the neck.
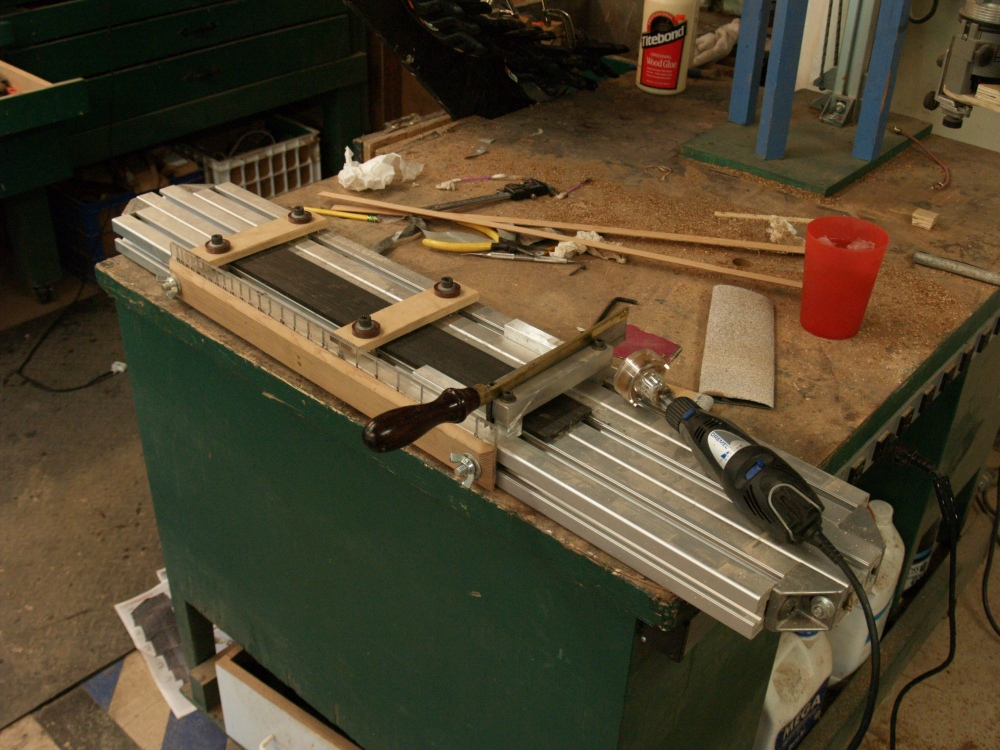 (112) 4-July-2007
I use my slotting rig and a Dremel circular saw to cut the slots for
the fret wire. These slots have to be in just the right spots.
 (113) 4-July-2007
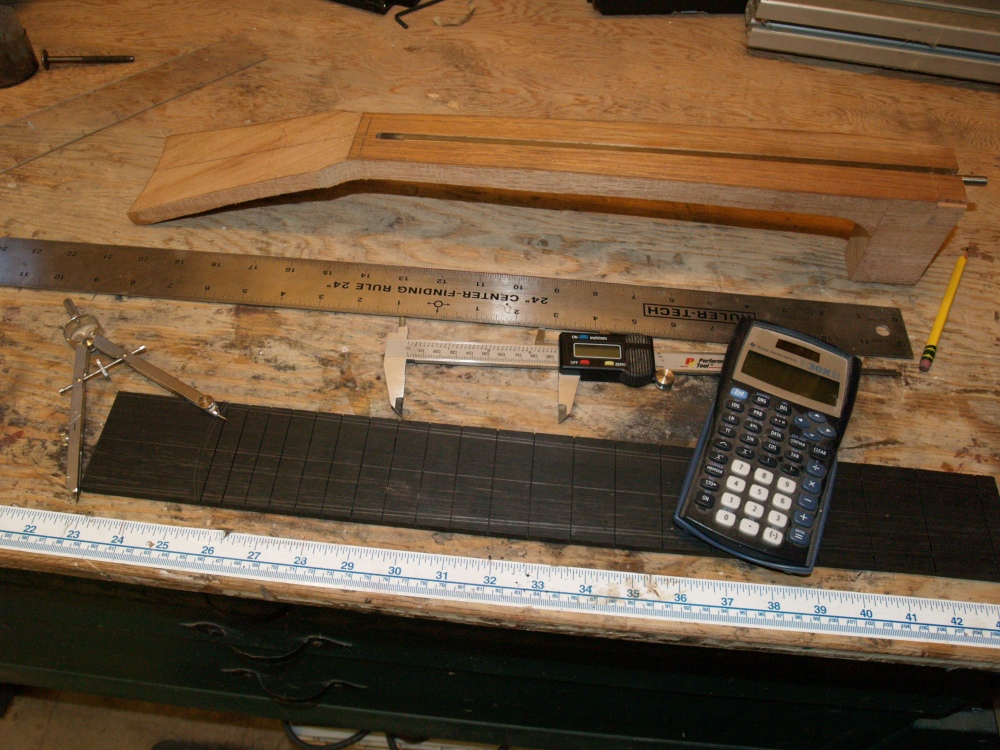
The fretboard with the slots cut.
 (114) 4-July-2007
I outline the fretboard at this point.
 (115) 4-July-2007
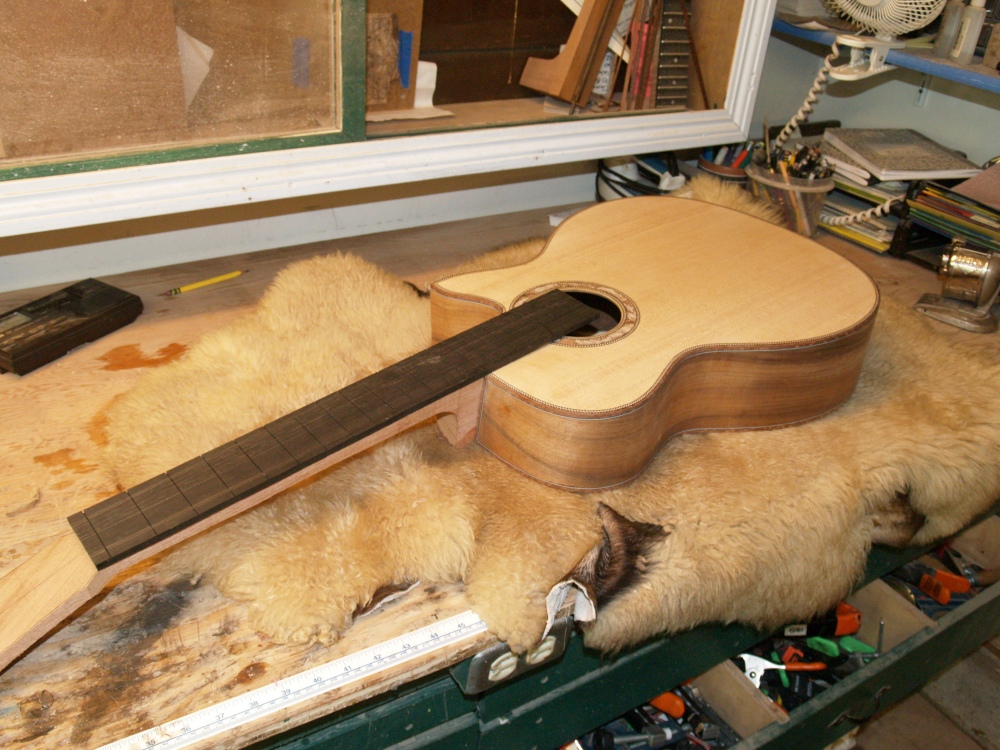
I like to lay out the guitar to see how it will look.
 (116) 4-July-2007
I use the bandsaw to trim the fretboard to size.
 (117) 4-July-2007
Gluing on the binding to the fretboard.
 118) 4-July-2007
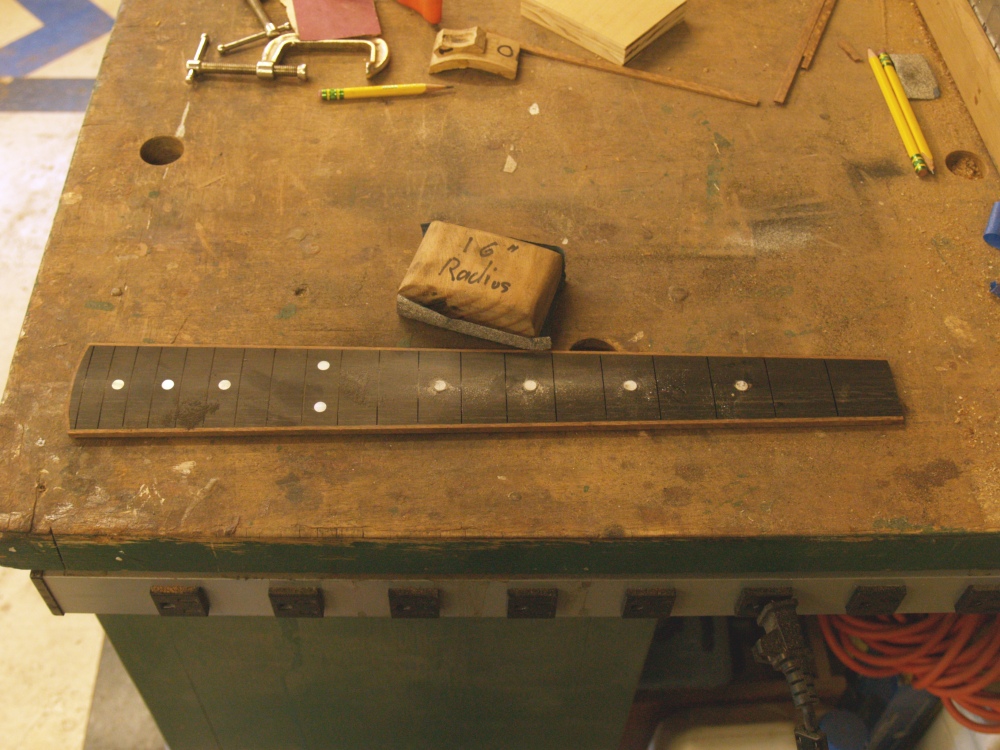
The fretboard dots get installed and the board is sanded to a radius of
16 inches. It is in fact a compound radius of 16 inches at the nut
to somewhat more at the end.
 (119) 4-July-2007
I am getting ready to install the fret wire.
 (120) 4-July-2007
And here we get a look at the completed fretboard.