 (1) 5-May-2007
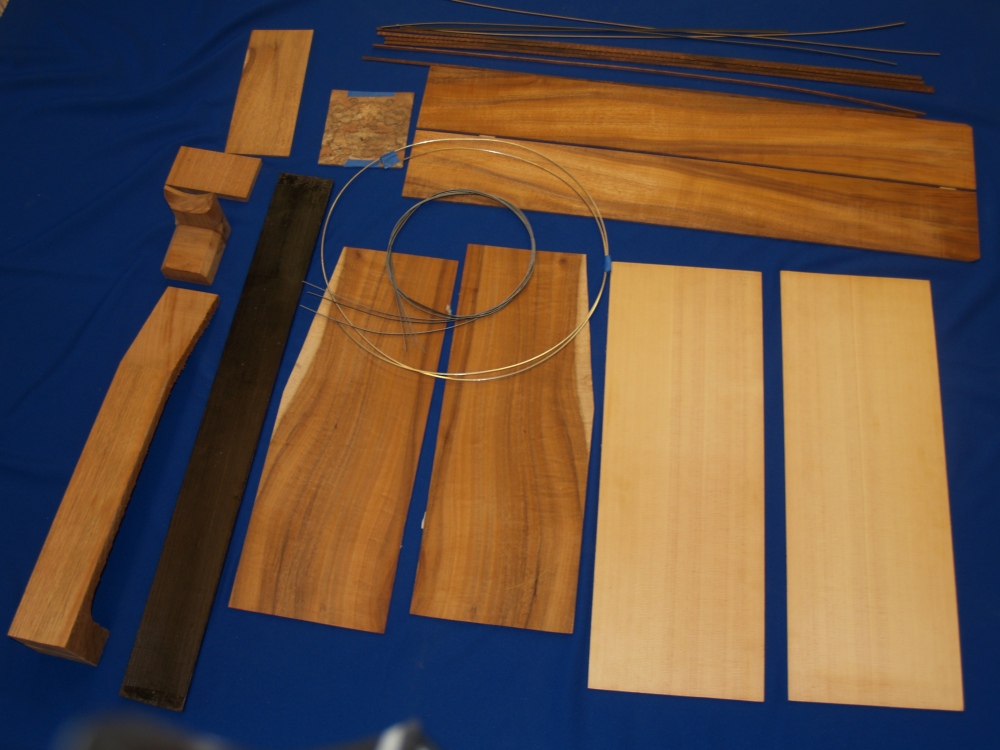
Here we see a collection of much of the raw materials that I will use
in building this instrument. Some of the material such as the
neck blank, the heal block and the binding I have
prefabricated.
When I have the opportunity I make up as many of a part as I
can
at one time so I don't have to recreate the set up. Much of
the
time in fabrication is spent in setting up the tools and fixtures.
Portland Guitar Co. | Portland Oregon | Contact Jay Dickinson-503.245.3276 | jay@portlandguitar.com
Home | Orders & Sales | Photo Gallery | Current Builds | Finished Builds
Rosettes & Marquetry |Shop Tour | Biography | News
Engineered Braces | Tilt Action Neck | Split Saddle Bridge | Split Saddle Nut
Portland Guitar Pretty Good Intonation (PGPG) System
Short Version | Introduction | Intonation Errors | Analysis | PG Approach | Comparisons | Conclusion
Finished Build
JMC 1.1.14
Page 1
 (2) 5-May-2007
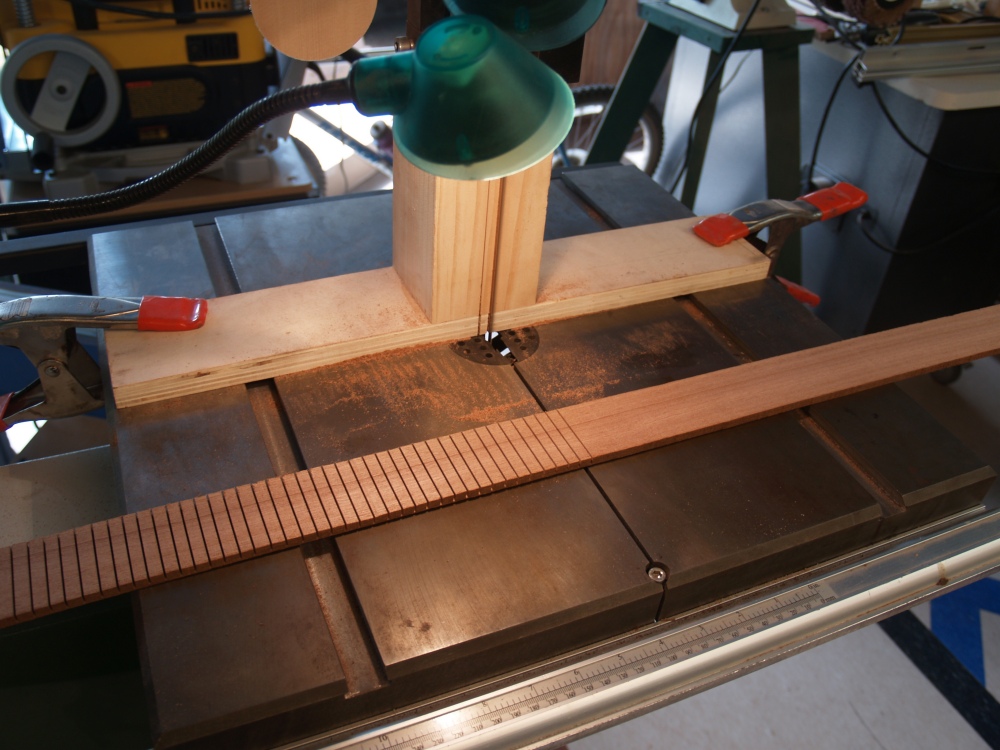
Here we can see the kerfing being fabricated. Lots and lots
of
slots. The slots let me easily bend the wood into the shape
of
the guitar body. The kerfing goes on the inside of the guitar
and
provides a shelf to glue the top and back onto the sides
 (3) 5-May-2007
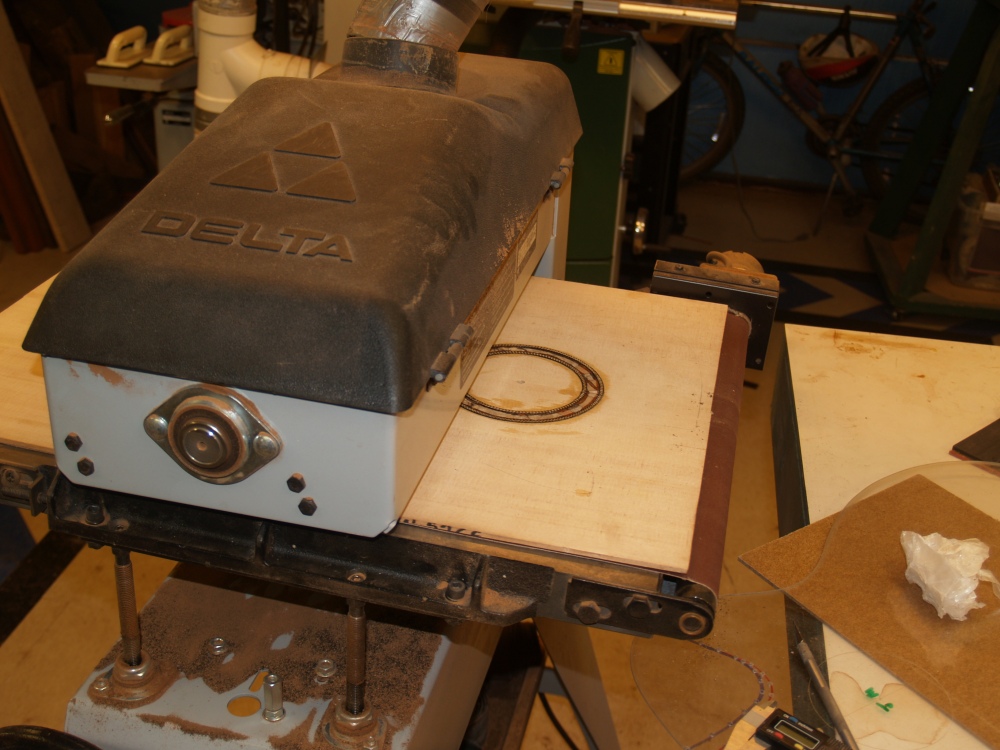
This is my drum sander. Here I am sanding the kerfing blanks
to a
consistent thickness. You can see a stack of kerfing blanks
on the table
to the right.
 (4) 5-May-2007
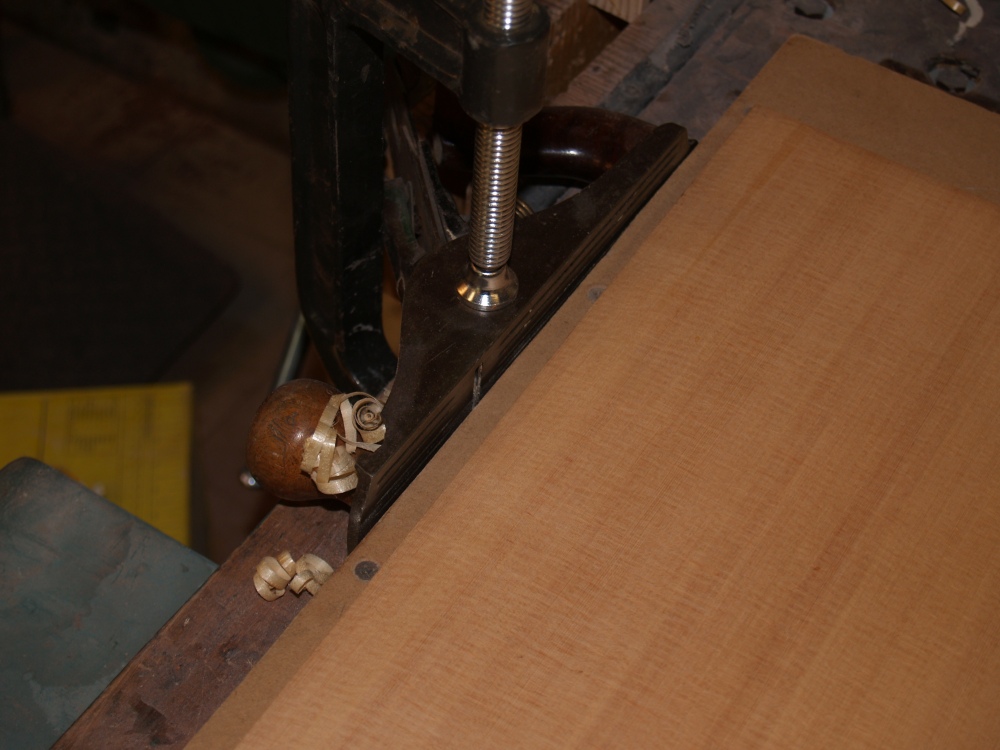
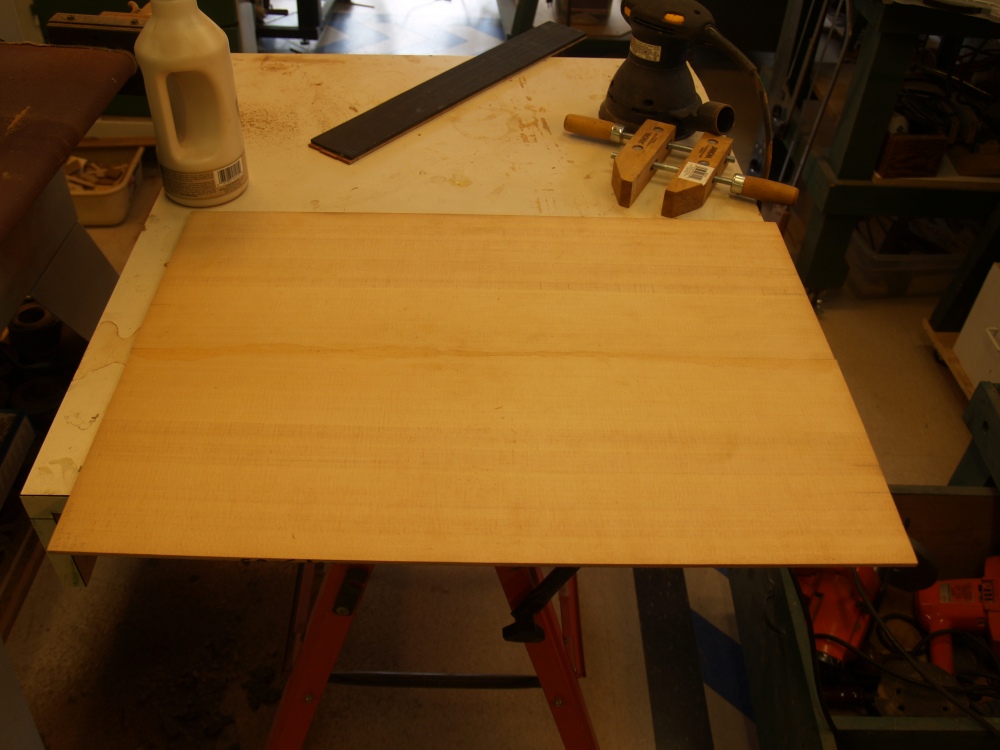
In this picture I am preparing the two halves of the top to be glued
together. One of the objectives when joining the pieces
together
is to make the joint line invisible. This means that the two
pieces must fit together with a high degree of precision.
After
the two pieces of the top have been sawed and the edges are made
straight by sanding them on a straight edge, I use this very sharp
plane to make the edges crisp and perpendicular. This is a
very
important joint for appearances sake, so I take as much time as I need
to to get it right.
 (5) 5-May-2007
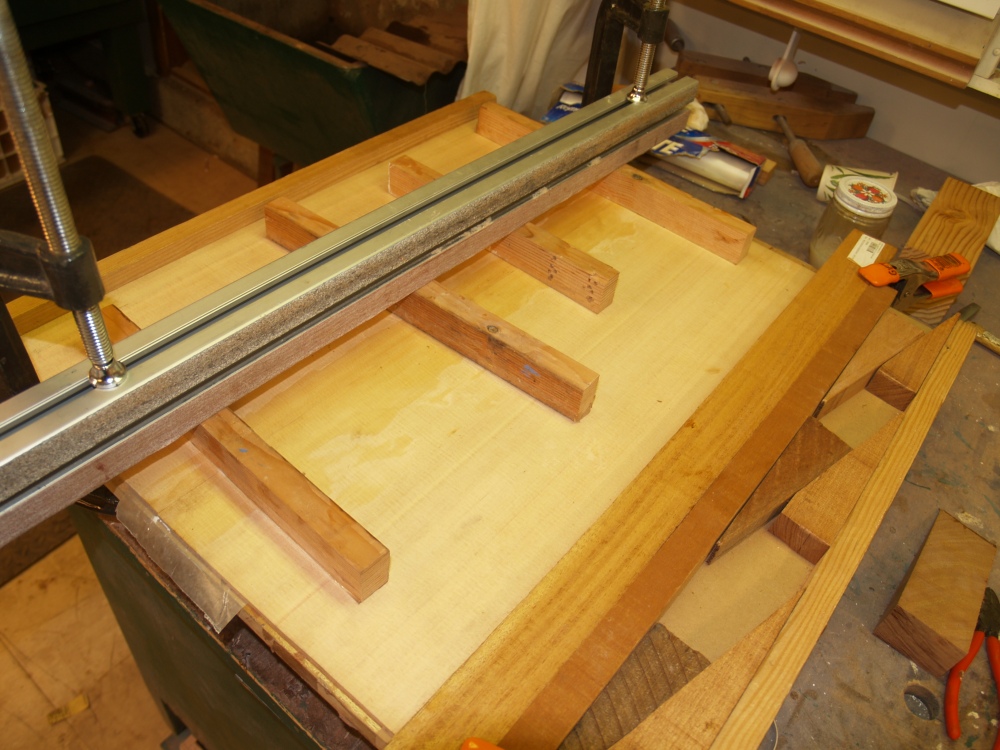
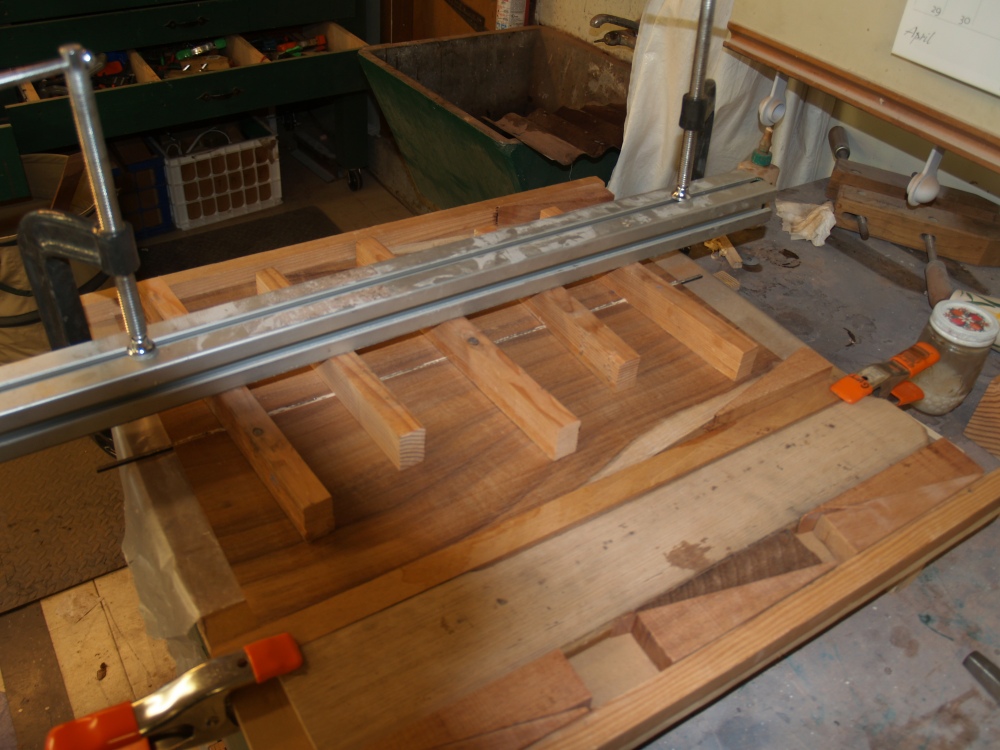
After the edges are ready, I glue the two pieces of the top together in
this vice. The two pieces are laid next to each other and
pressed
together with the wedges you can see in the bottom right of the
picture. The aluminum brace hold down the wooden cross braces
that prevent the top from buckling up when it is under compression.
I use a special white glue that dries clear and hard to join
the
top pieces together.
 (6) 5-May-2007
Her is the joined top.
 (7) 5-May-2007
In this picture I am gluing the back pieces together.
 (8) 5-May-2007
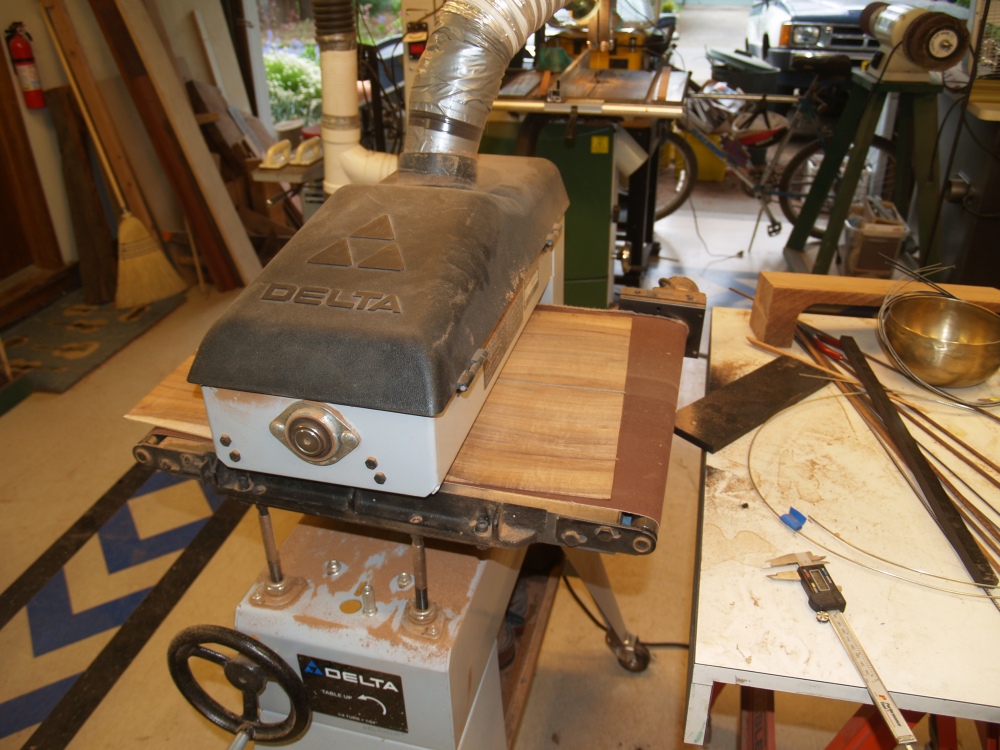
After the back pieces have been joined and the joint is dry I use the
drum sander to dimension the thickness of the back to 100 mils. The
back will loose about 10 mils during subsequent steps.
 (9) 5-May-2007
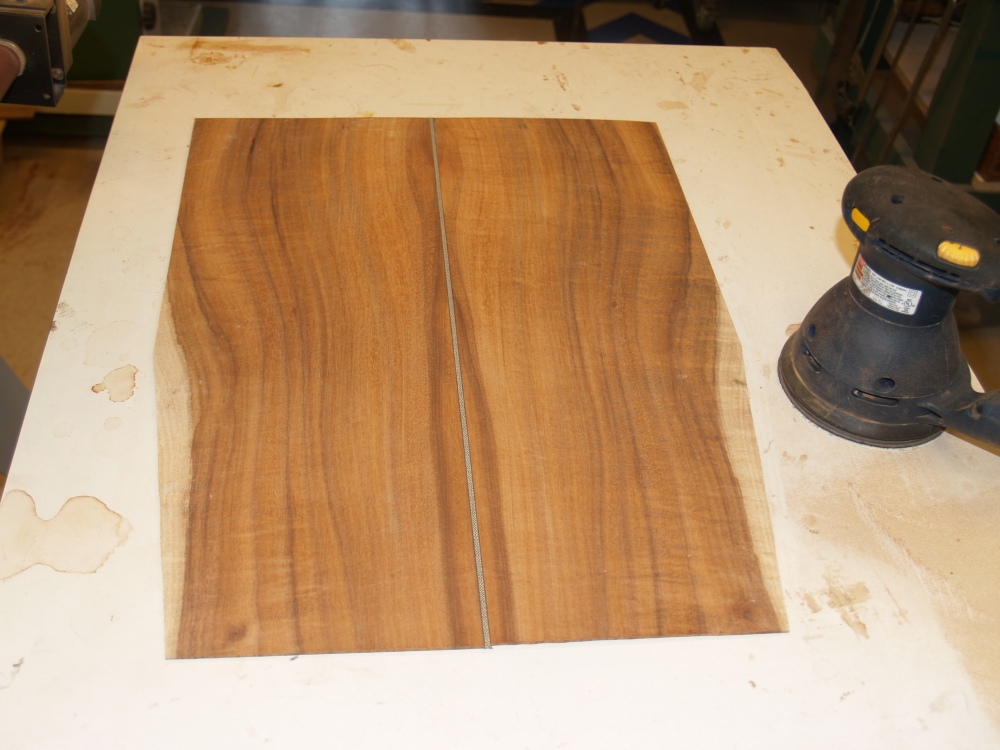
And here is the final result. You can see the center zipper
strip
I inlaid between the two halves of the back. Nice looking
piece
of wood!
 (10) 5-May-2007
Now I am starting to work on the rosette. Kevin chose to use
a piece
of spalted mahogany for the rosette. Spalting is a natural
process of rotting wood. It can make very interesting
absolutely
unique patterns as fungus grows through the wood and it
decays.
I slice off slabs from a block of material and create book
matched sets that are glued together. This material is very
fragile and tends to fall apart until it is inset into the top.
The results are worth to trouble though.
 (11) 5-May-2007
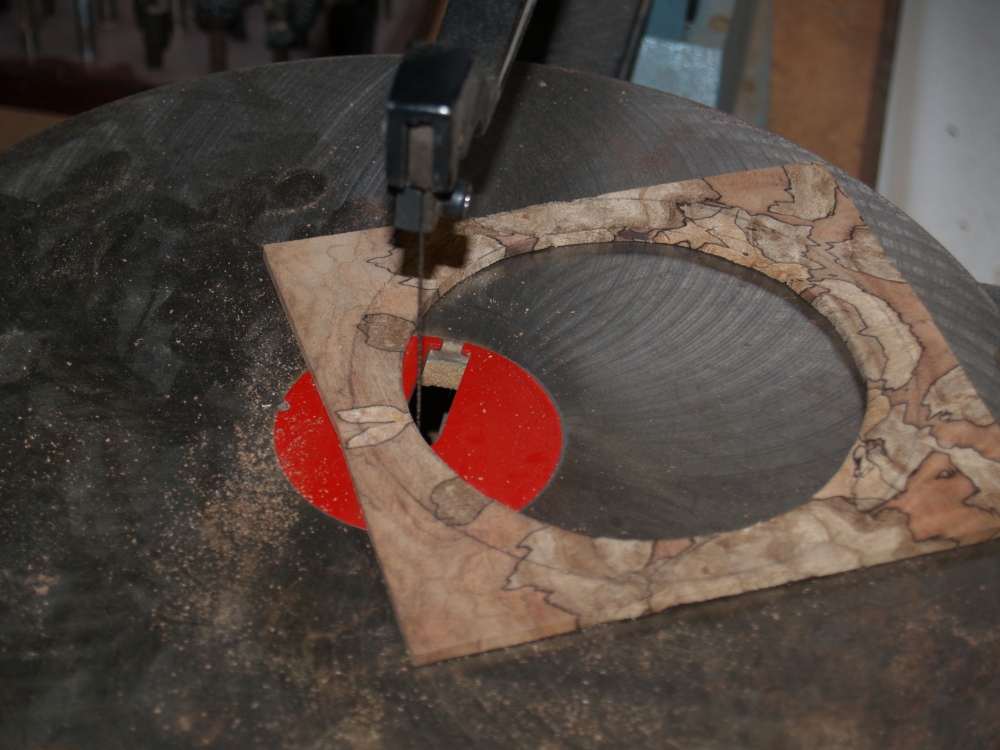
Here I am cutting out the ring for the rosette. I carefully
keep
the inner circle and use it for a contra-rosette that goes on the
inside of the guitar right below the sound hole.
 (12) 5-May-2007
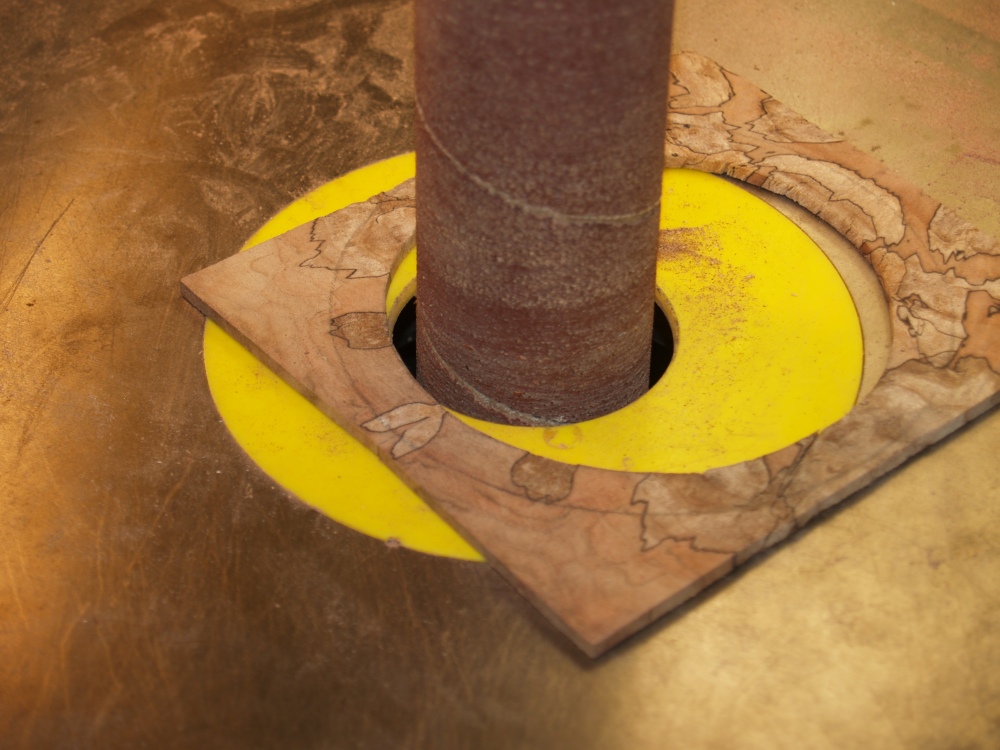
Here I am touching up the rough ring with my oscillating sander.
 (13) 5-May-2007
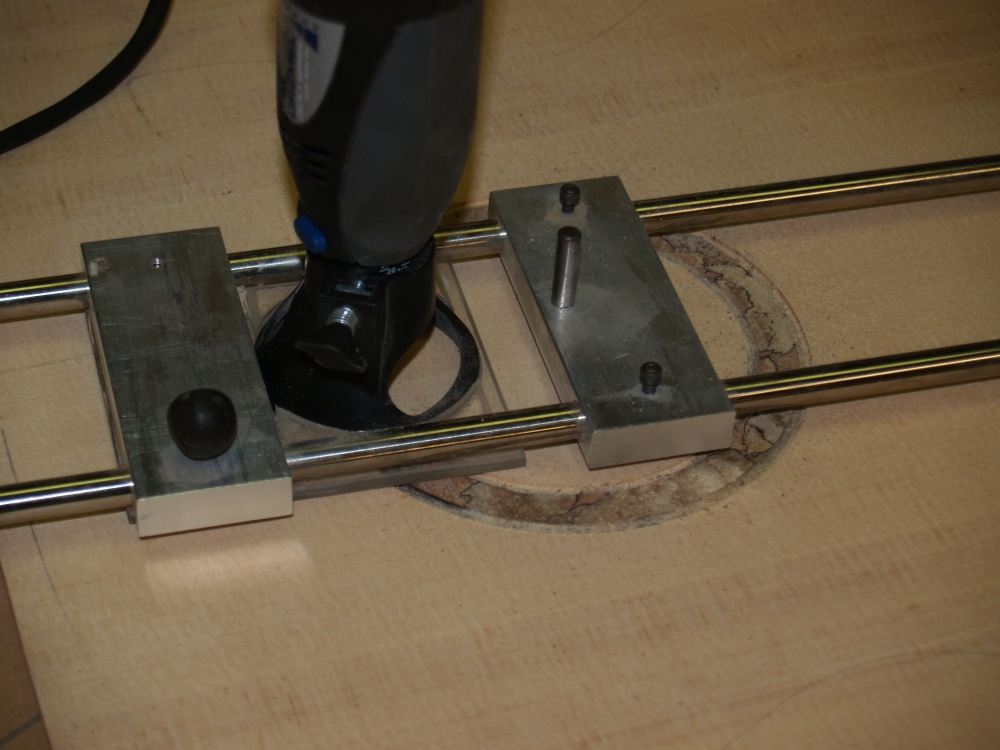
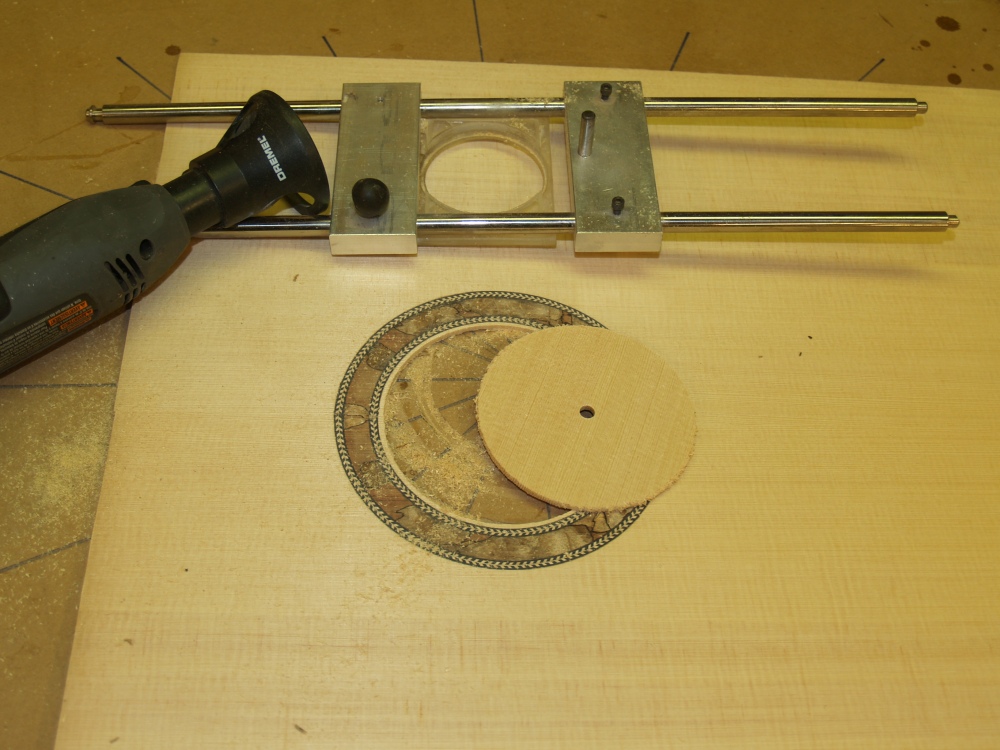
After I have the ring for the rosette cut out, I use this circle router
tool to route out a channel for the ring to fit in to.
 (14) 5-May-2007
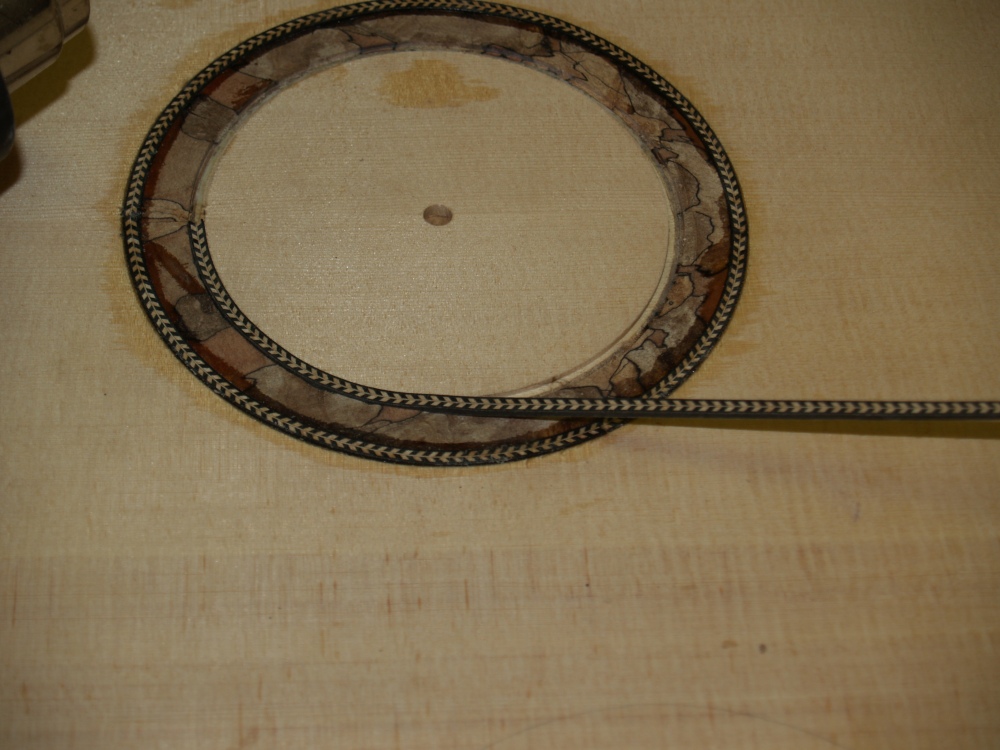
I next trim up the edges of the ring into perfect circles and route out
the channel for the herringbone strip. Using a heat gun to
soften up the herringbone strips I press
them into the
routed channels and then flood the whole assembly with cyanoacrylate
(super)
glue to secure them into place.
 (15) 5-May-2007
After everything is glued in, the rosette stands proud (sticks above)
from the surface
of the top. So, it goes into the drum sander where the inlay
material is sanded flush to the top. I then sand the back side
of
the top so the top has a thickness of 100 mils. As I work on
the
top in subsequent processes it will loose between 10 and 20 mils of
thickness.
 (16) 5-May-2007
After I am satisfied with the thickness of the top I cut out the sound
hole with the circle router.
 (17) 5-May-2007
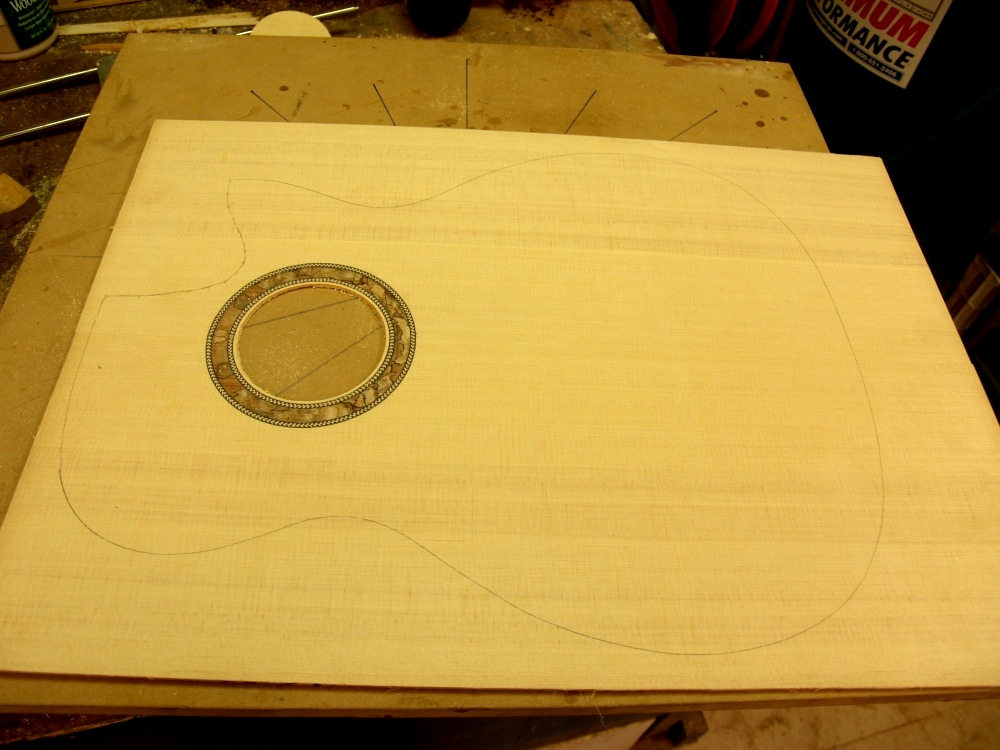
And then I draw on the outline of the top. Building a high
quality guitar requires a certain degree of accuracy and precision.
To get it right there must first be a good design, and then
the
design must be executed correctly. This is one of those times
when we must measure twice, thrice, and more and then cut once. I often
say, "It is much easier to remove wood that is there than to
put
back wood that isn't." To this end I will wait until it is
absolutely necessary to make a cut, and I will draw and measure and
contemplate what I am doing for a long time before I actually do it.
In this game quality starts with the very first cut.
 (18)
5-May-2007
(18)
5-May-2007
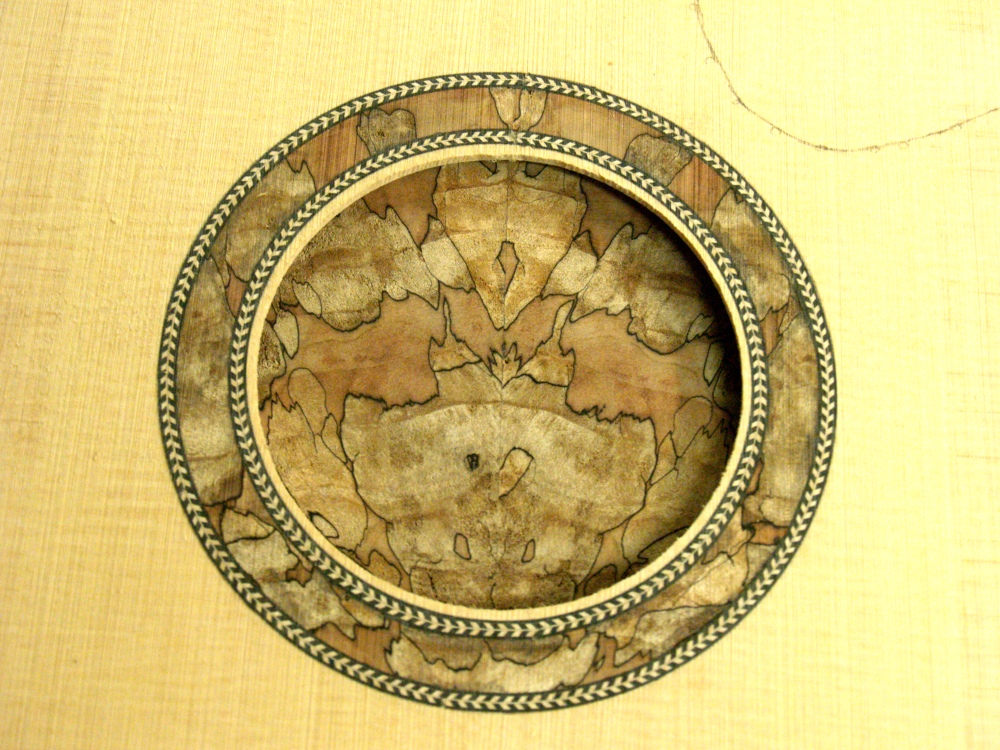
I have set up the top showing the rosette and with the contra-rosette
showing through the sound hole. I think this has turned out
quite
nice. This is a rosette that is absolutely unique.
 (19) 24-May-2007
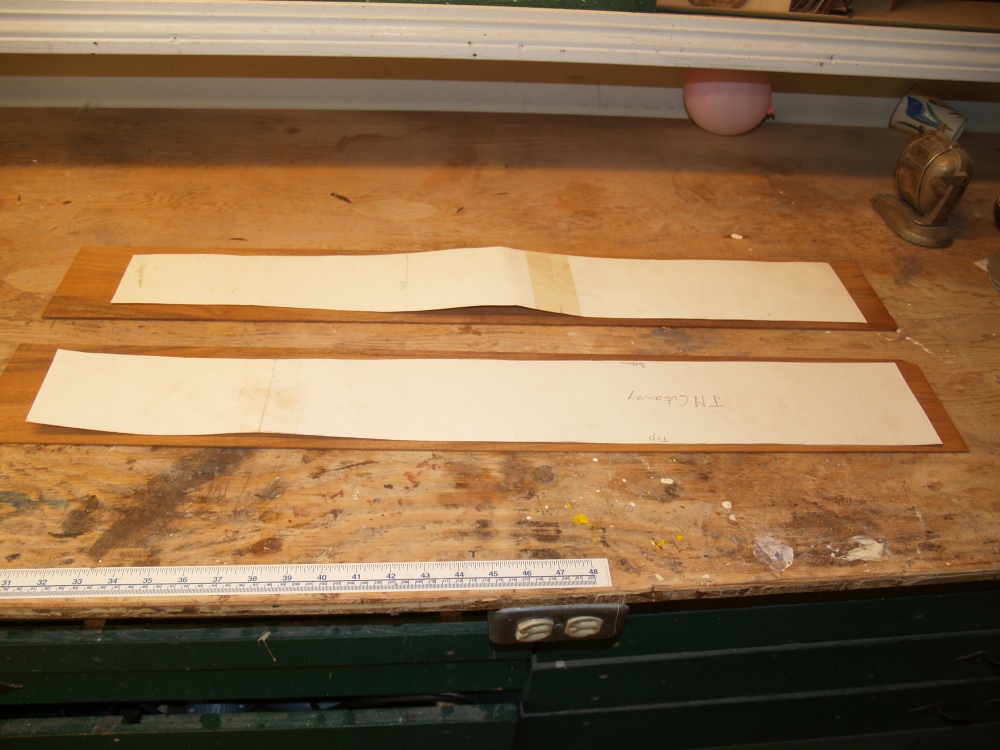
In this picture I am laying out the template for the sides.
It is
important to make sure the sides are set up so that the grain patterns
match and that there is enough material. The cutaway side is
a
little longer than the normal; side.
 (20) 24-May-2007
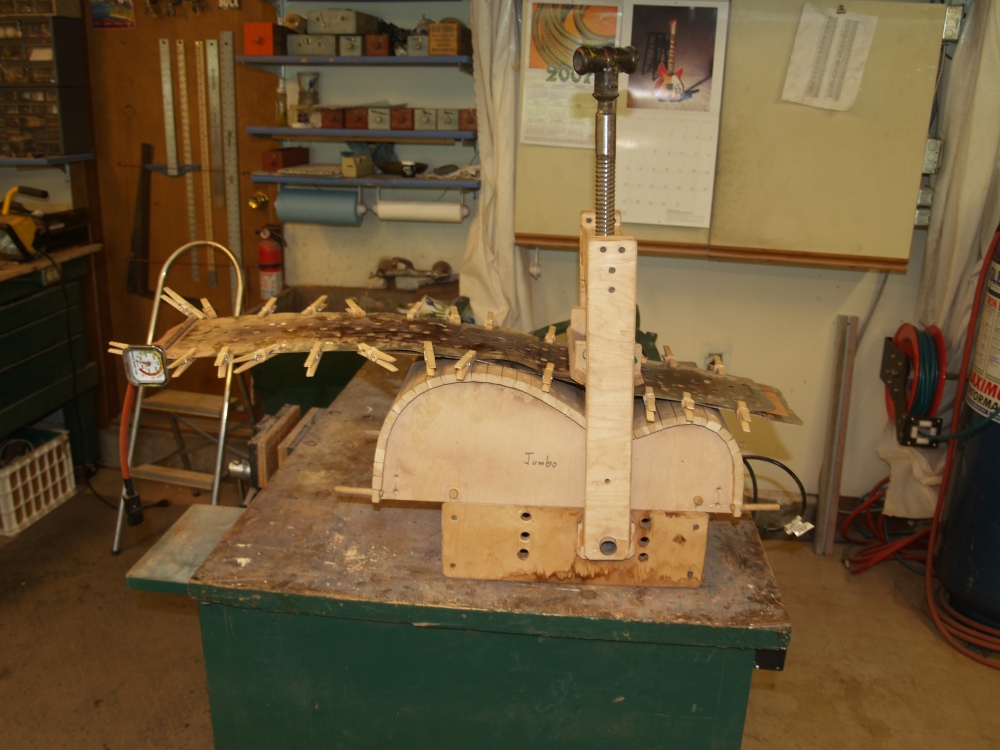
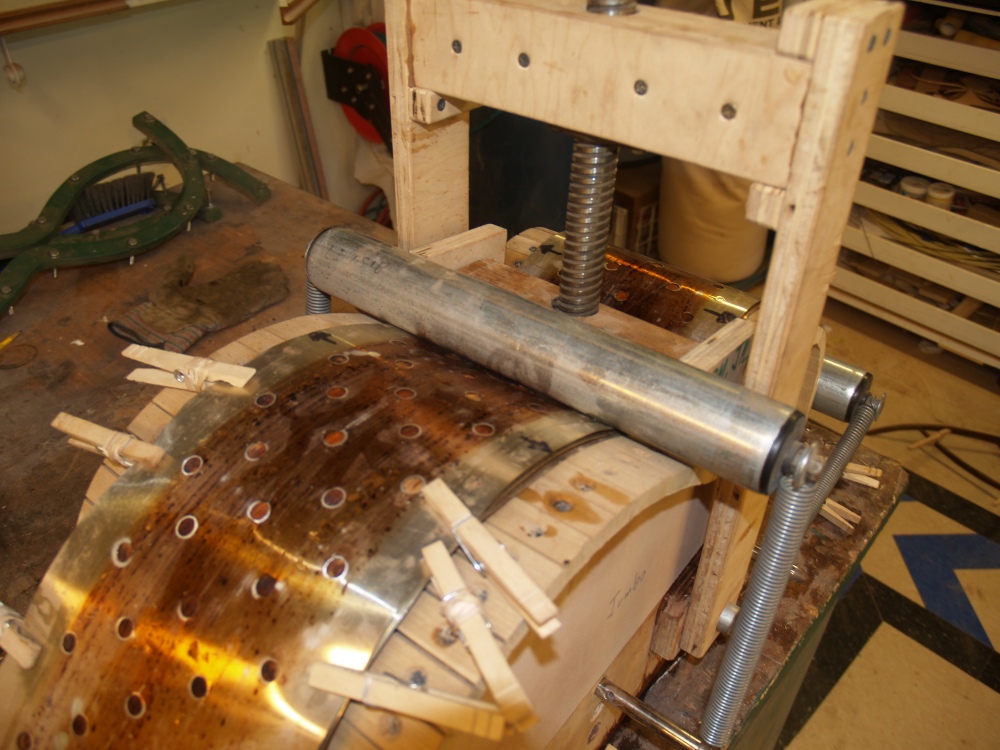
This is the universal bendalator. One of the side pieces has
been slipped between two sheets of aluminum flashing with a heating
blanket slipped between another sheet of flashing. The whole
assembly is held together with clothes pins and the top sheet has holes
punched into it so I can squirt water onto the wood while it is heating
up. When the wood gets hot, ~275 deg F, it becomes quited
soft
and pliable. I keep the wood wet to help prevent scorching,
help
with heat transfer, and it seems to make the wood a bit more pliable.
 (21) 24-May-2007
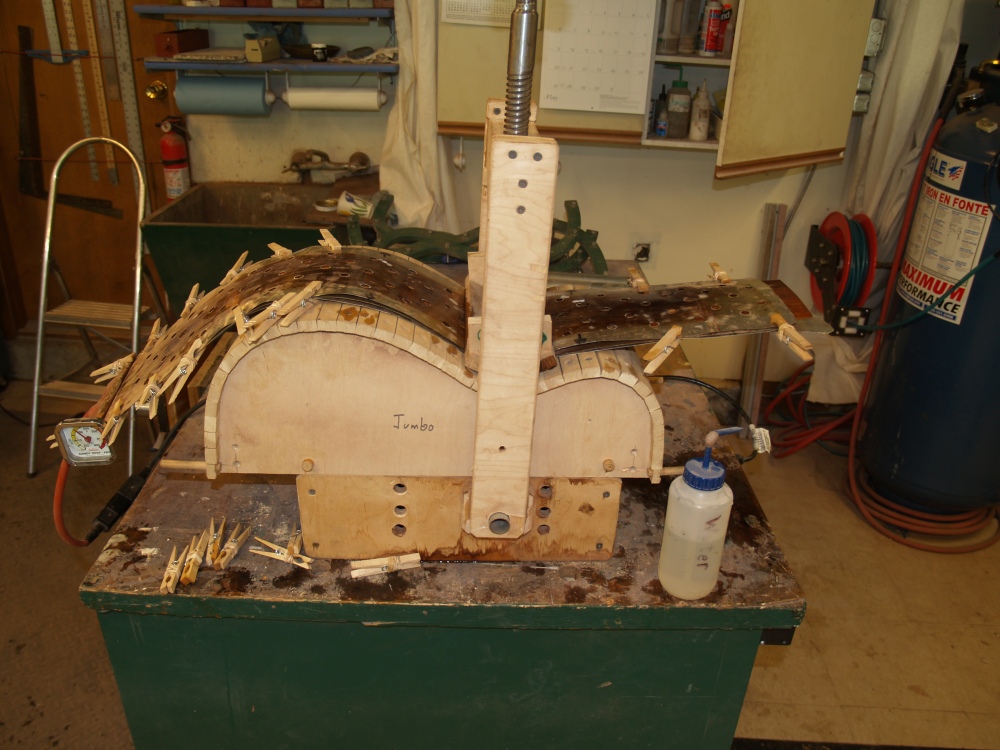
After the wood is hot, I first press the waist into shape.
 (22) 24-May-2007
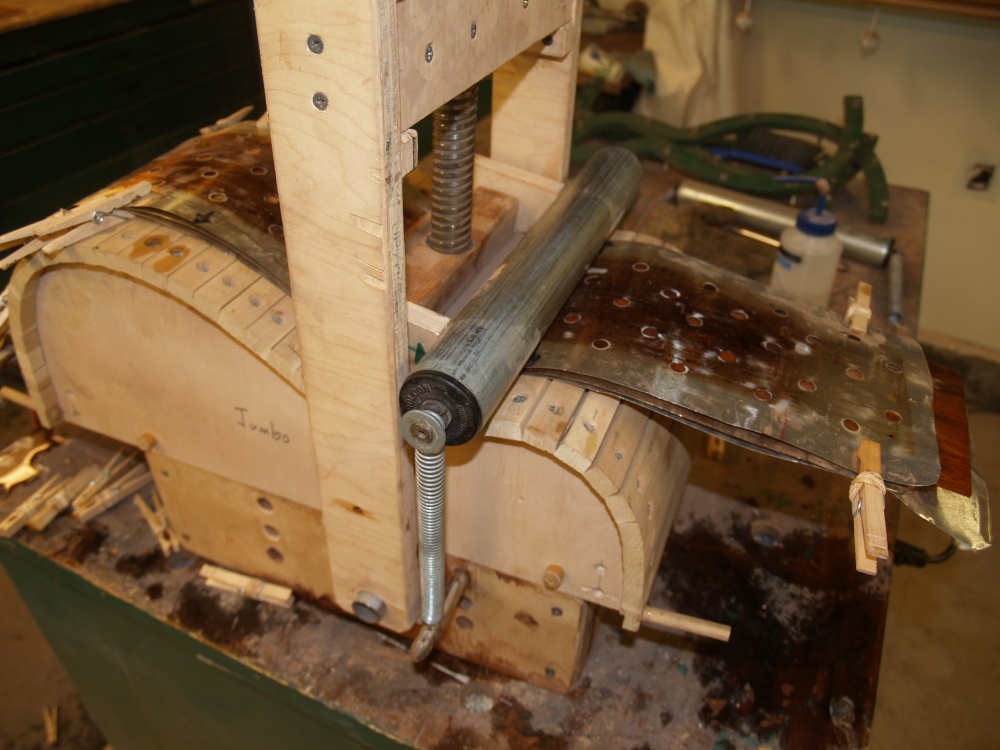
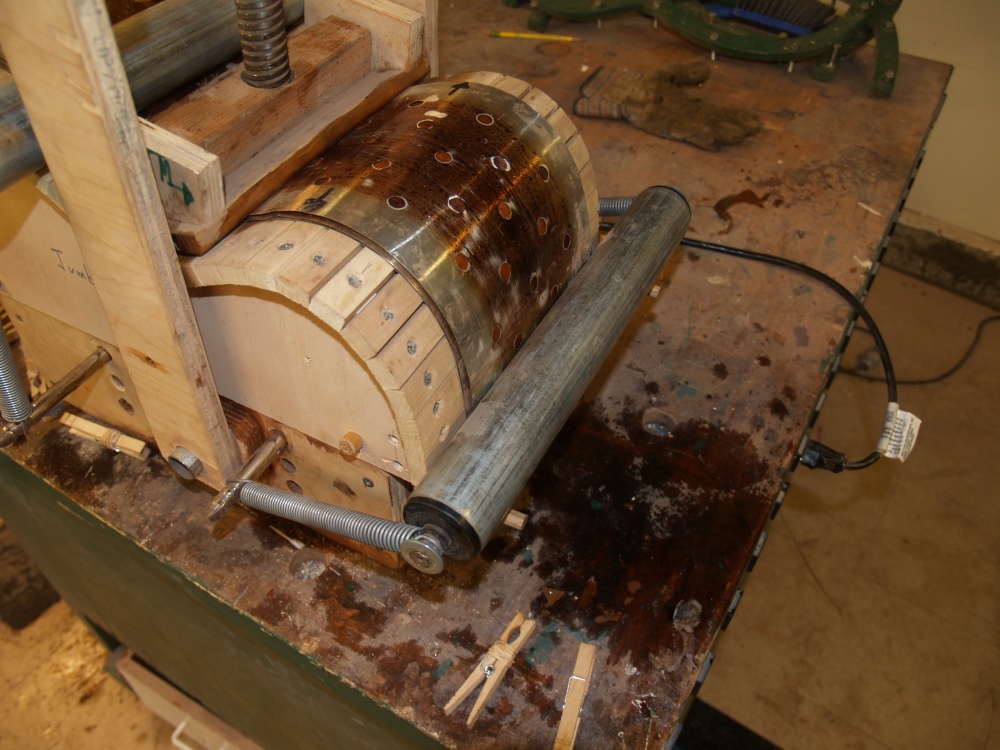
I then attach the upper bout spring loaded roller,
 (23) 24-May-2007
and then the lower bout spring loaded roller.
 (24) 24-May-2007
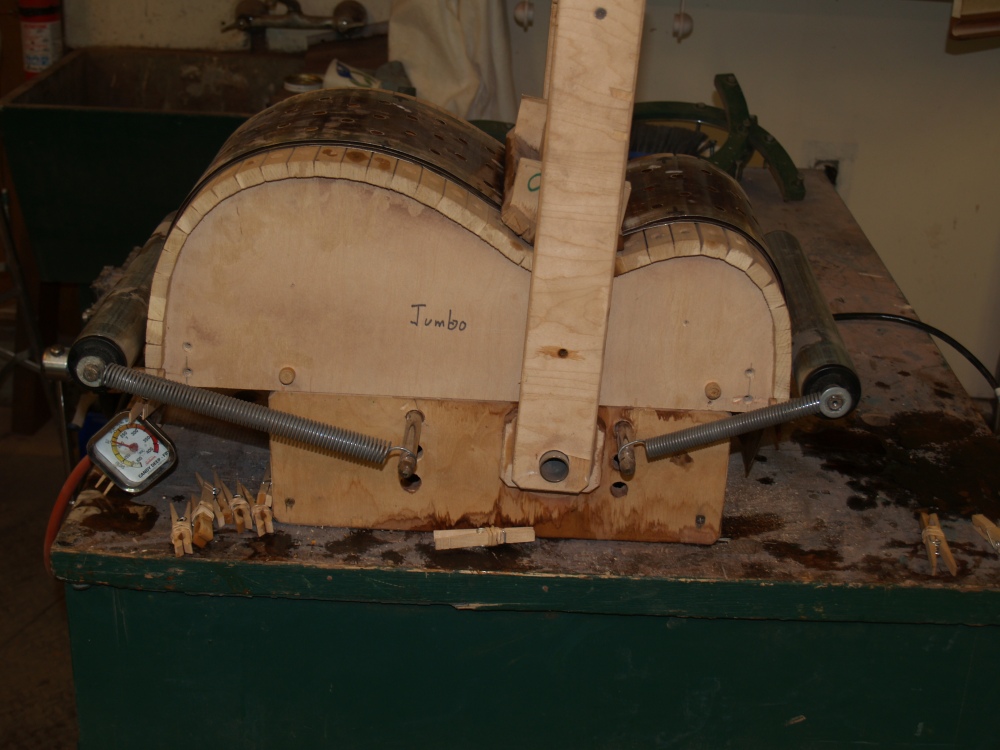
I then carefully roll the upper bout into shape,
 (25) 24-May-2007
Followed by the lower bout.
 (26) 24-May-2007
I then let the whole thing cook at ~ 175 deg F for about 45 minutes or
more.
 (27) 24-May-2007
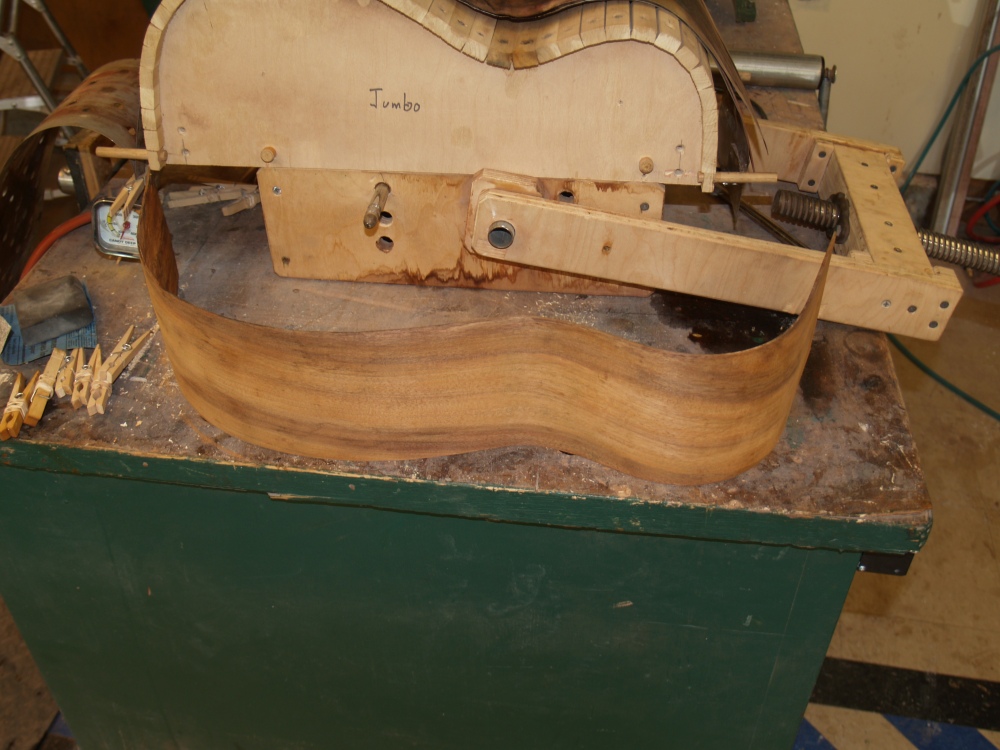
And In the end we get a curvy piece of Koa.
 (28) 24-May-2007
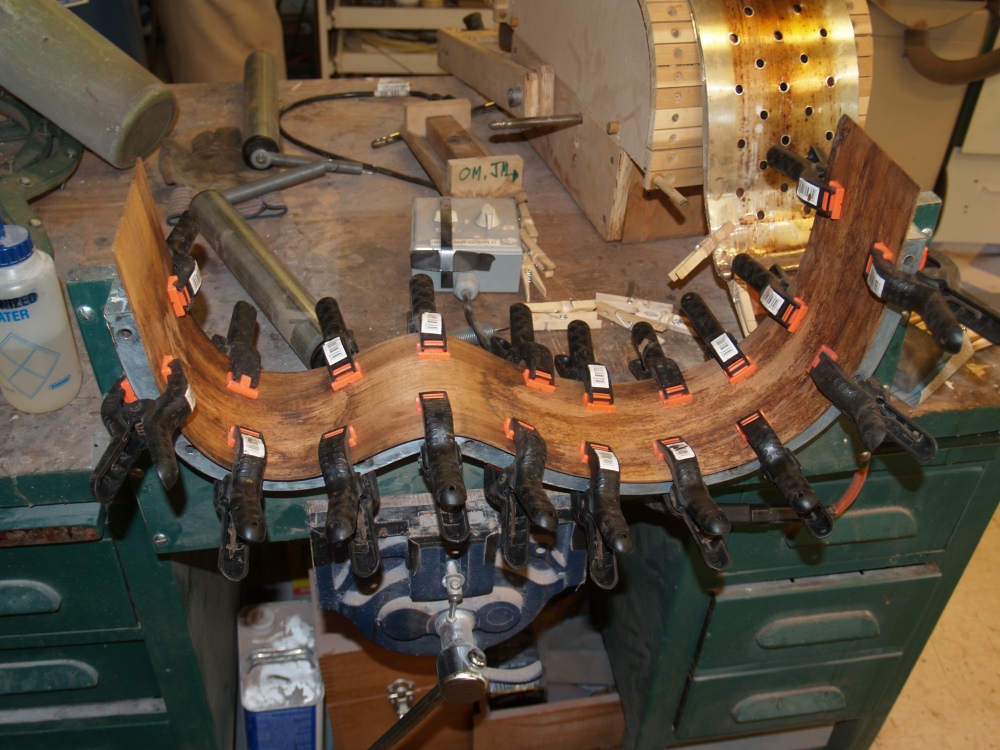
I clamp the side into the mold to help it hold its shape. If
I
left the wood out of the mold it would lose some of its shape.
 (29) 24-May-2007
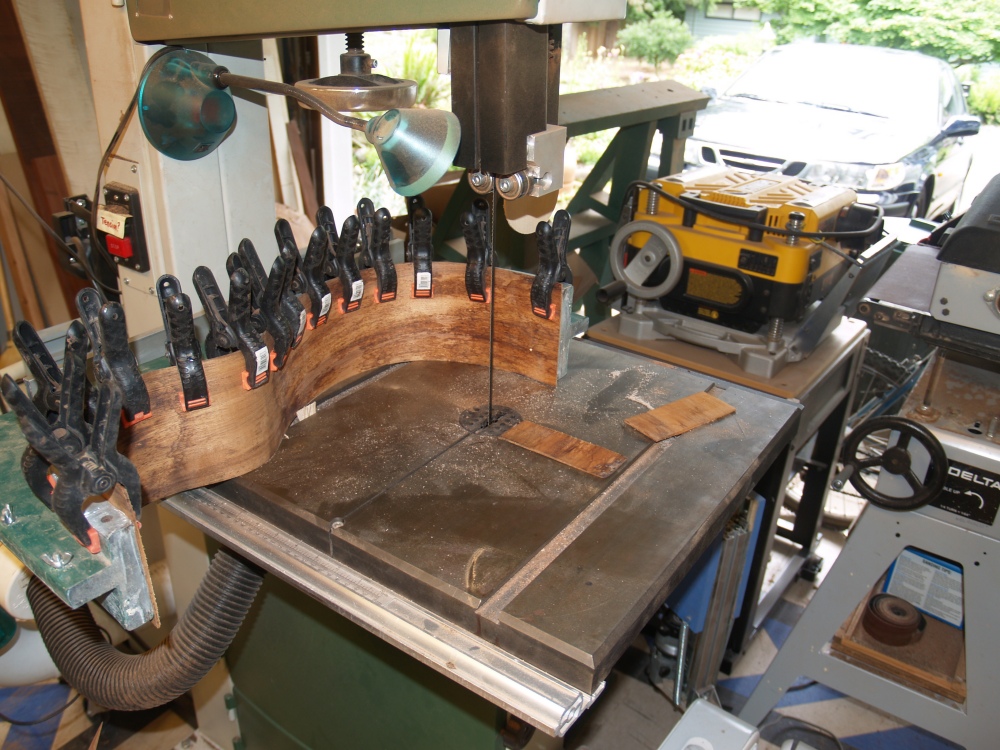
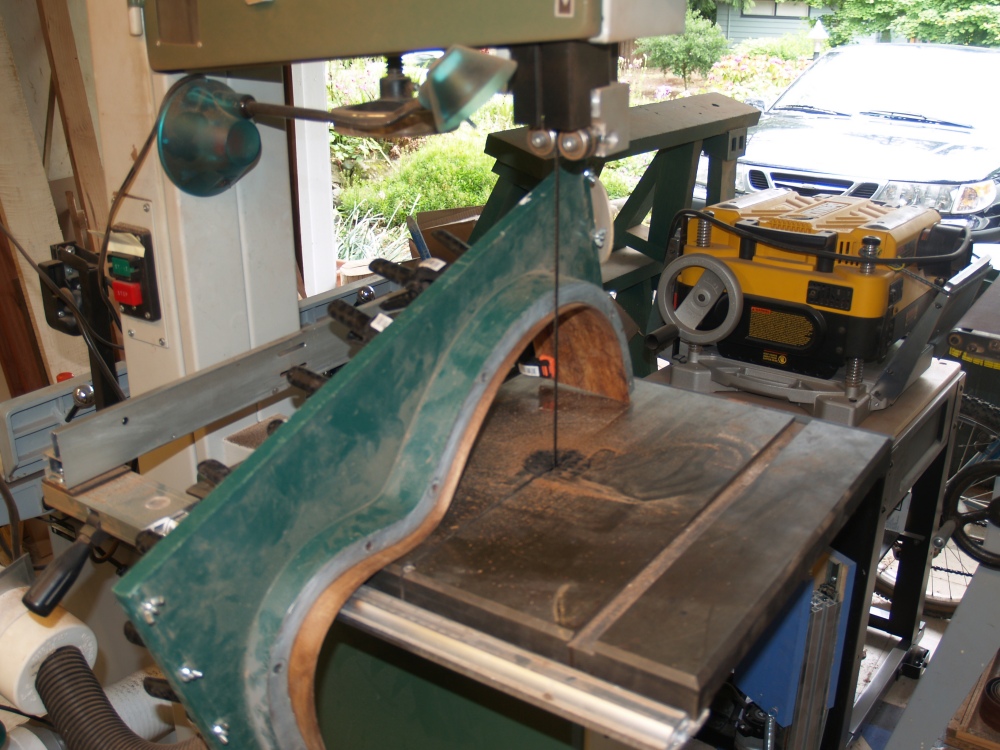
While it is in the mold I cut off the excess wood from the end,
 (30) 24-May-2007
and the top and bottom. I love my bandsaw!