 ( 203 ) 1-Jan-2013
In this picture I am using my milling machine (I love my milling machine) to carve out the volute. The volute has all these complex angles and curves,,, the milling machine makes the job a little bit easier.
 ( 203 ) 1-Jan-2013
In this picture I am using my milling machine (I love my milling machine) to carve out the volute. The volute has all these complex angles and curves,,, the milling machine makes the job a little bit easier.
 ( 204 ) 1-Jan-2013
The roughed out volute. The volute was traditionally used to reinforce the joint between the neck and the headstock. In this case the volute is purely decorative as the neck is carved from a singal piece of wood. Actually to pieces glued together down the centerline.
 ( 205 ) 1-Jan-2013
I use the idler pulley on my belt sander to do some of the rough shaping on the neck.
 ( 206 ) 1-Jan-2013
After I get close to the final shape I use a variety of hand sanders to finalize the shape of the neck.
 ( 207 ) 1-Jan-2013
Here I am working on the volute.
 ( 208 ) 1-Jan-2013
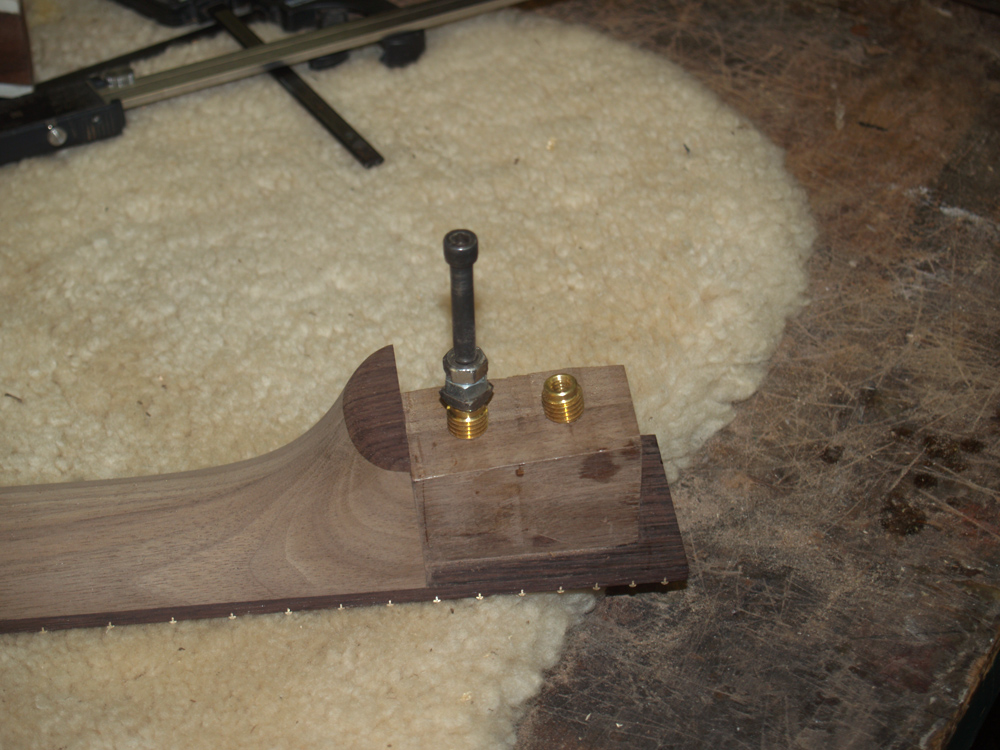
Here I am drilling the holes for the wood inserts that will be used to bolt the neck to the body.
 ( 209 ) 1-Jan-2013
A couple of brass inserts will help make a solid connection.
 ( 210 ) 1-Jan-2013
Two flat head 1/4-20 bolts make the final connection.
 ( 211 ) 1-Jan-2013
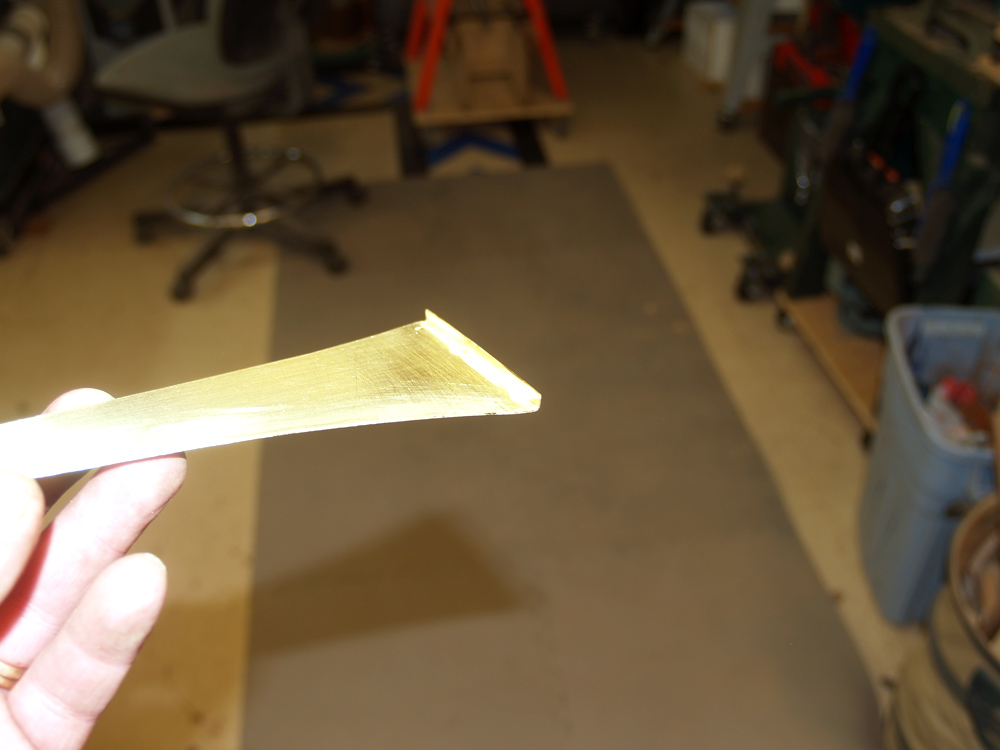
To make a tailpiece that will stand the test of time, I start with a brass core. I don't want to depend on the wood to withstand the the 140 pounds of tension from the strings.
 ( 212 ) 1-Jan-2013
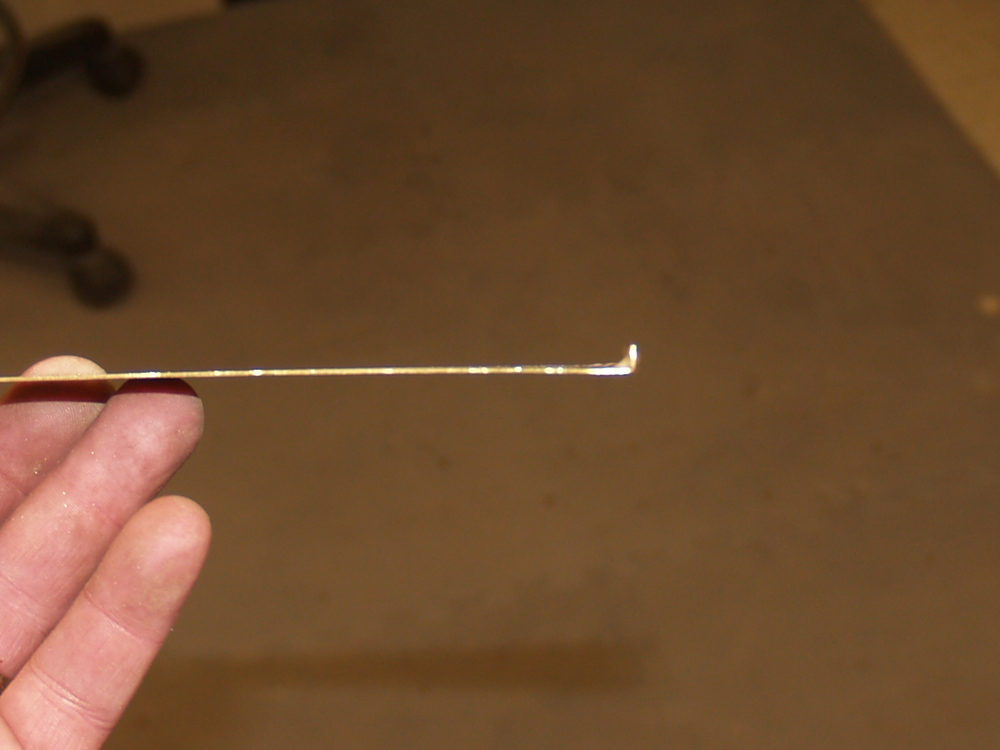
The business end of the core has a lip that will catch the ball end of the strings.
 ( 213 ) 1-Jan-2013
I surround the brass core with Indian Rosewood that matches the rest of the drive chain.
 ( 214 ) 1-Jan-2013
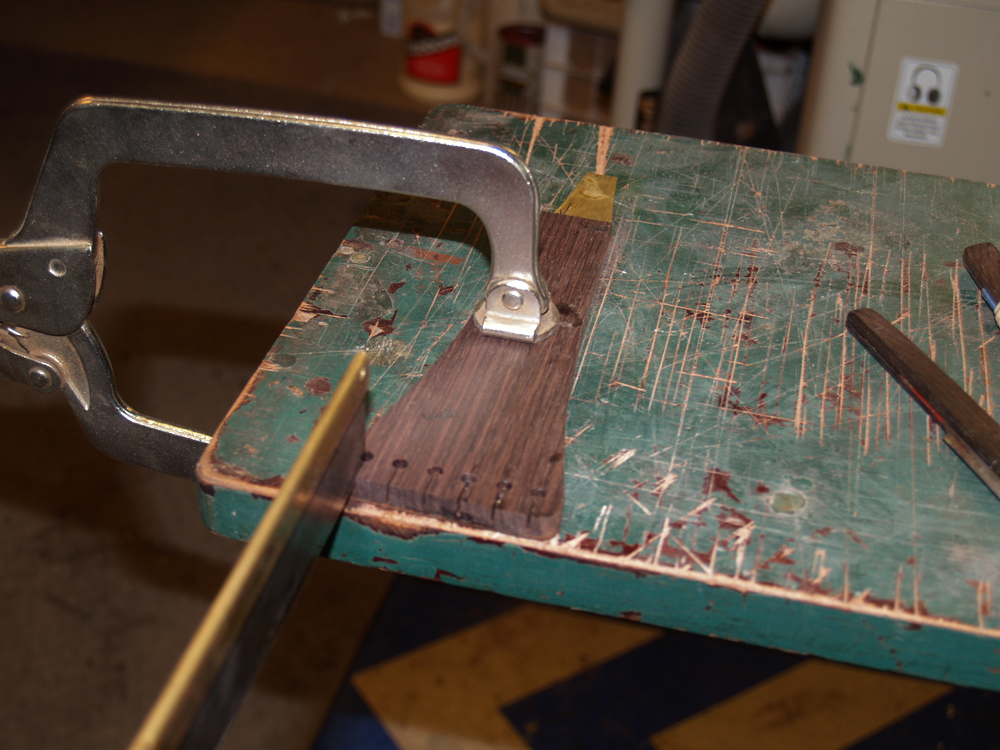
I used a small saw to cut the slots for the strings.
 ( 215 ) 1-Jan-2013
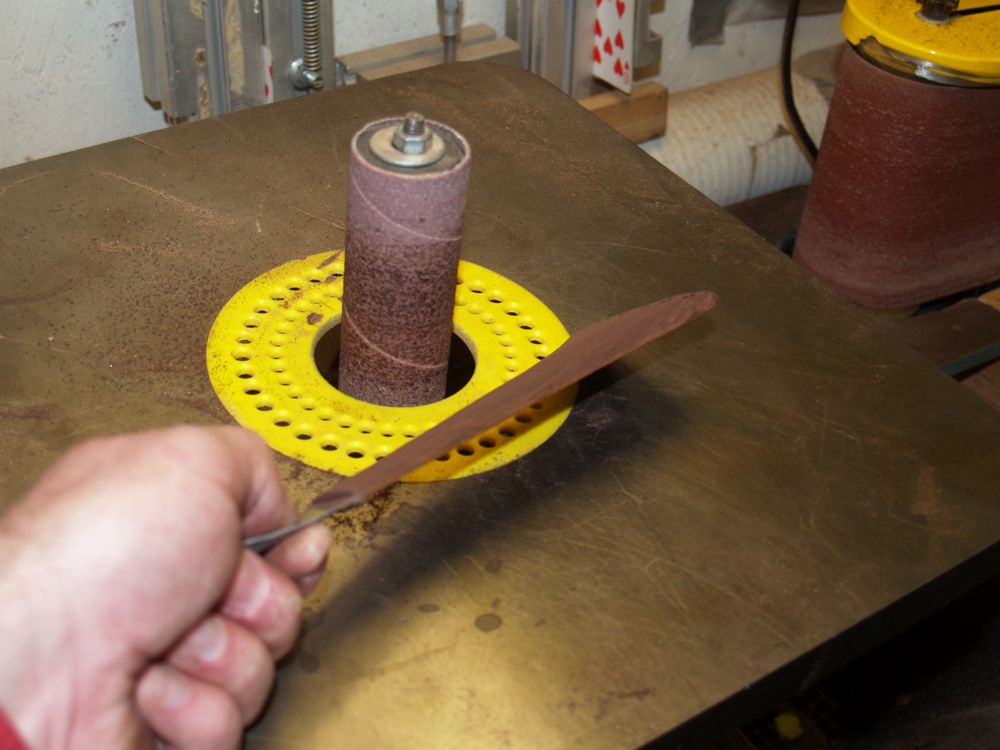
And then finally I use the oscillating sander and hand tools to finish shaping the tail piece.
 ( 216 ) 1-Jan-2013
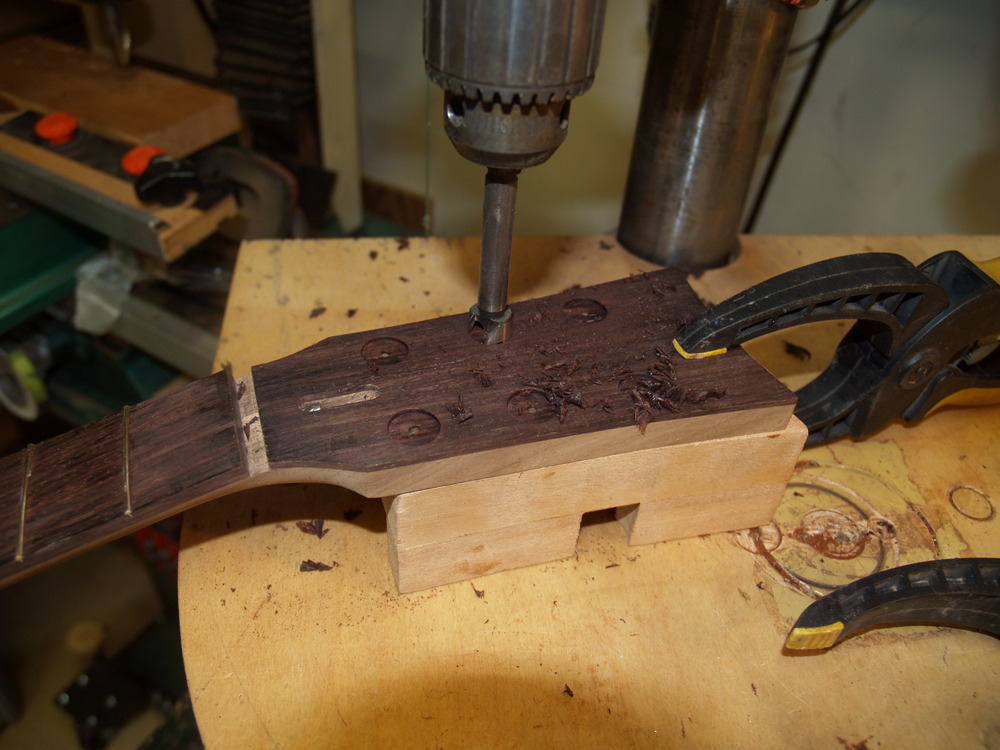
I like to counter sink the tuning machine washers. Here I am using the drill press to drill out the holes.
 ( 217 ) 1-Jan-2013
The Gotoh 510 tuning machines give a smooth sophisticated look and have exceptional action.
 ( 218 ) 1-Jan-2013
Now to finish up the head stock I inlay the Portland Guitar Jasmine Rose. My daughter, Jasmine Rose, designed the rose for me several years ago, ergo the name. I am going to use a routing pantograph to create the channel for the gold wire inlay. In this picture I have applied a couple of strips of turner's tape - very strong double stick tape - to hold the the head stock in place.
 ( 219 ) 1-Jan-2013
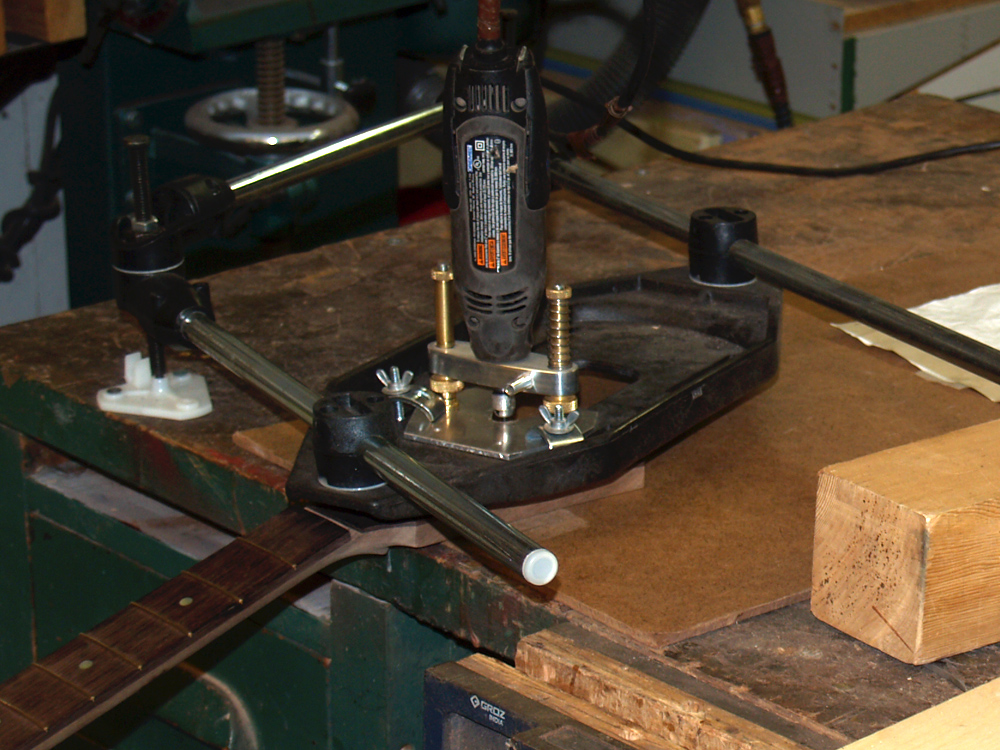
The head stock gets mounted on a board that I can position and then lock down. Here you see the router resting on top of the head stock.
 ( 220 ) 1-Jan-2013
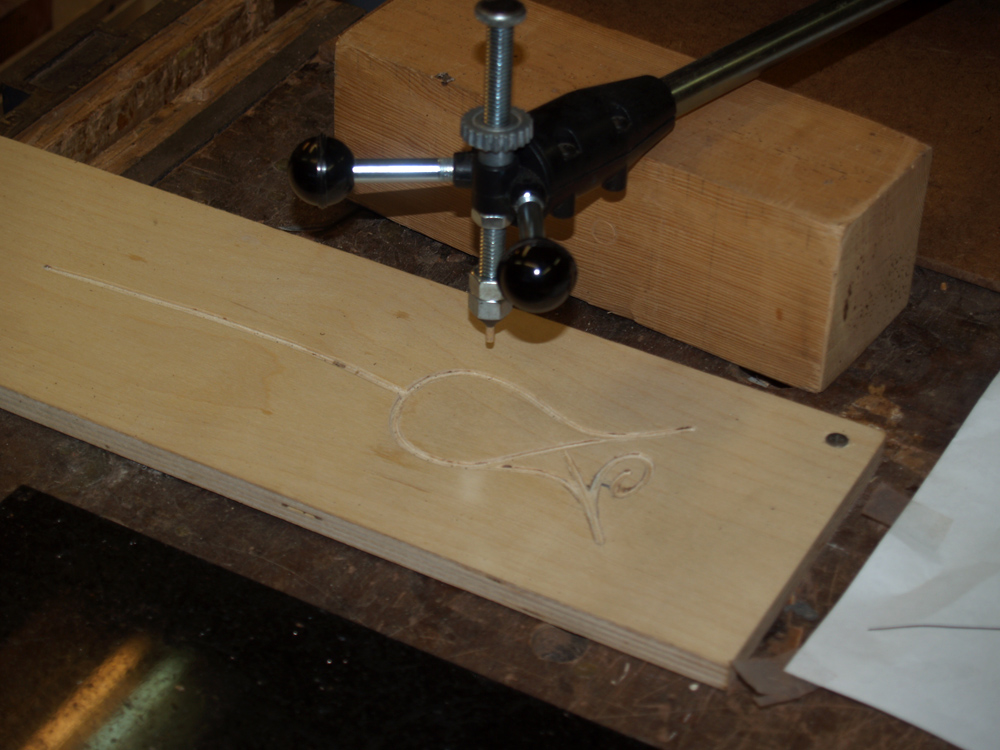
To guide the router I have created an oversized template with a channel to guide the stylist.
 ( 221 ) 1-Jan-2013
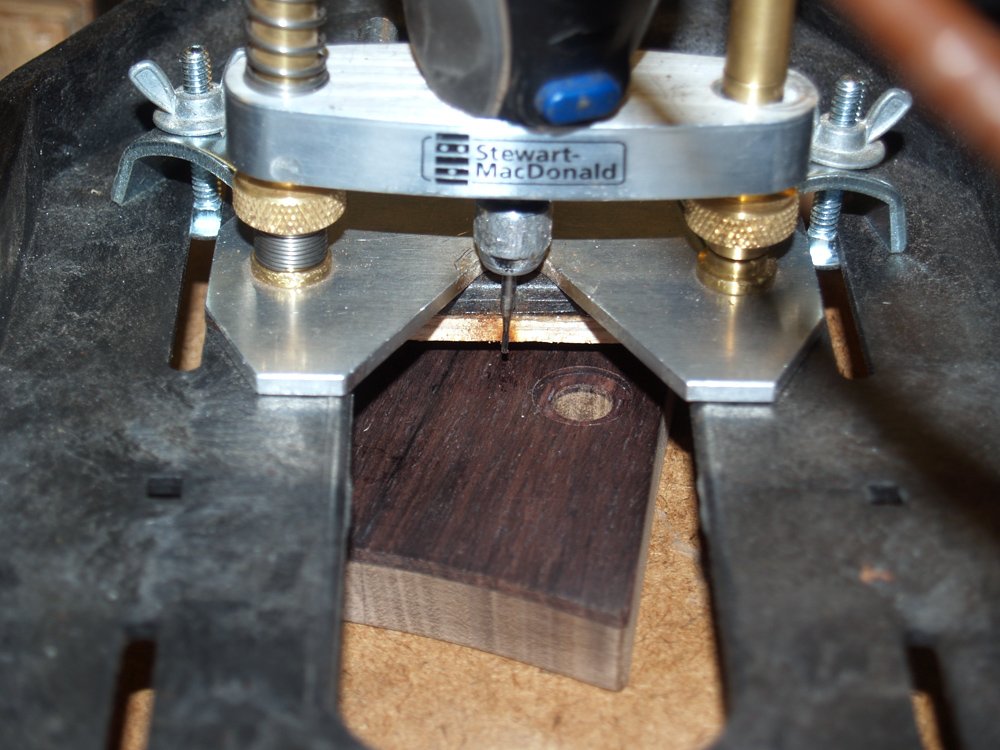
Here is the business end of the pantograph. I carefully set the depth of the cut to match the size if the wire I will inlay.
 ( 222 ) 1-Jan-2013
And here is a picture of the whole set up. A pantograph is an old school tool that allows a high fidelity copy to be made while reducing the size of the original. It is essentially a four bar linkage with a platten to mount a router.
 ( 223 ) 1-Jan-2013
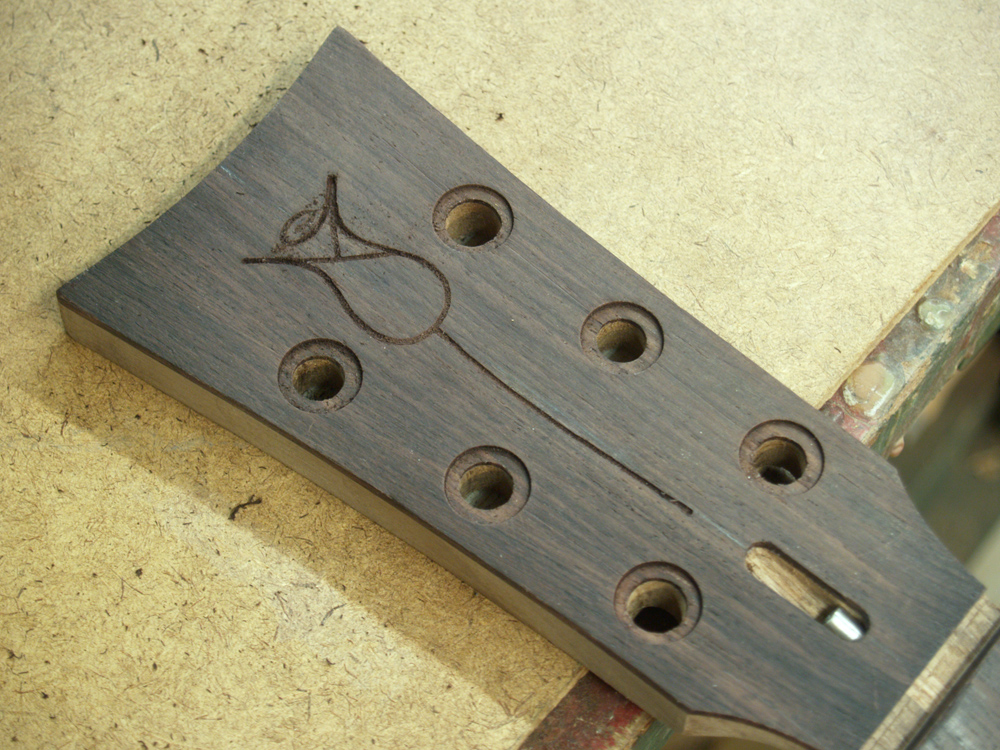
The system does a good job of guiding the router... much better than I can do free hand.
 ( 224 ) 1-Jan-2013
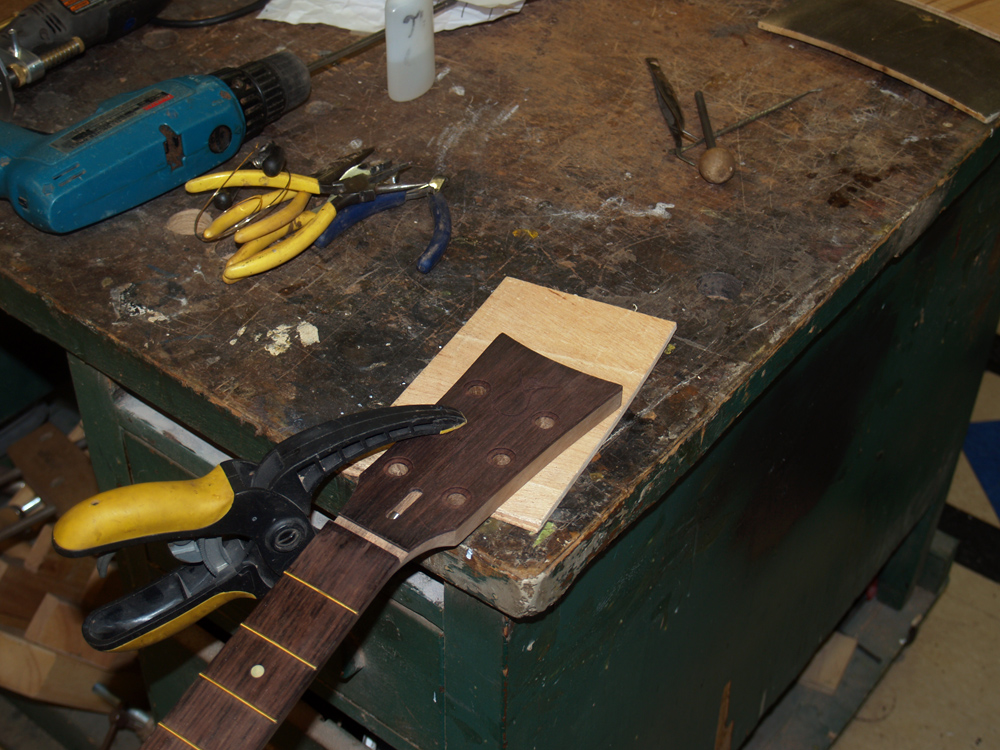
Here I have laid out the tools I will use to inlay the gold wire.
 ( 225 ) 1-Jan-2013
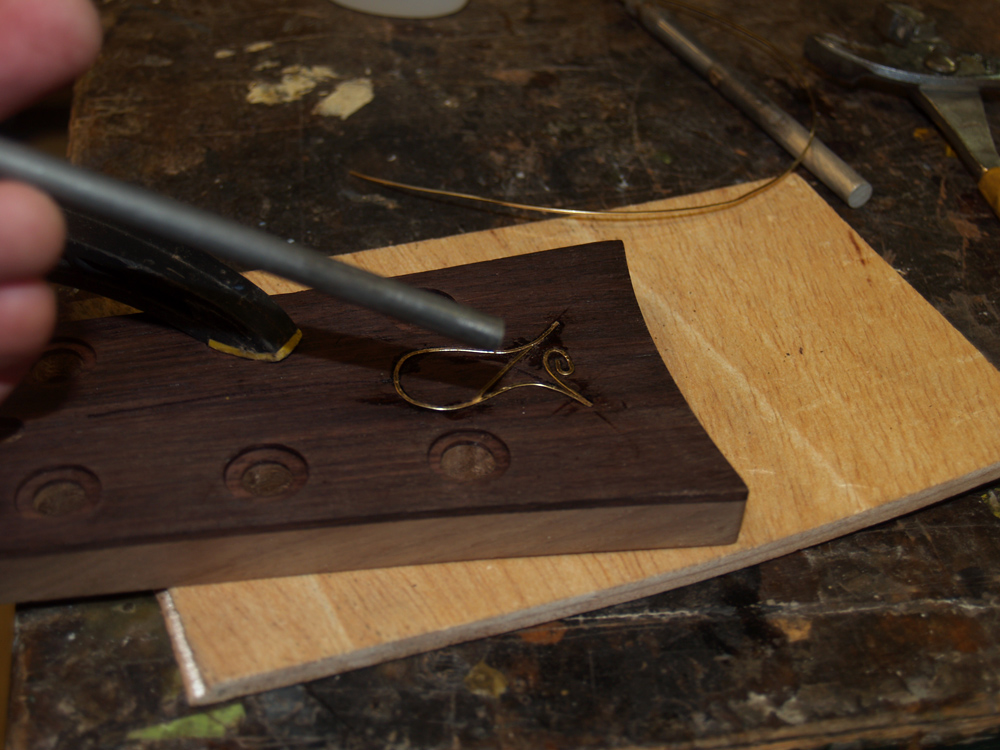
I carefully bend and shape the wire to fit into the channels.
 ( 226 ) 1-Jan-2013
And a bit of cyanoacrylate glue fixes everything in place and fills any gaps that might exist.
 ( 227 ) 1-Jan-2013
Finally I use progressively finer sandpaper to sand the wire flush to the surface.
 ( 228 ) 1-Jan-2013
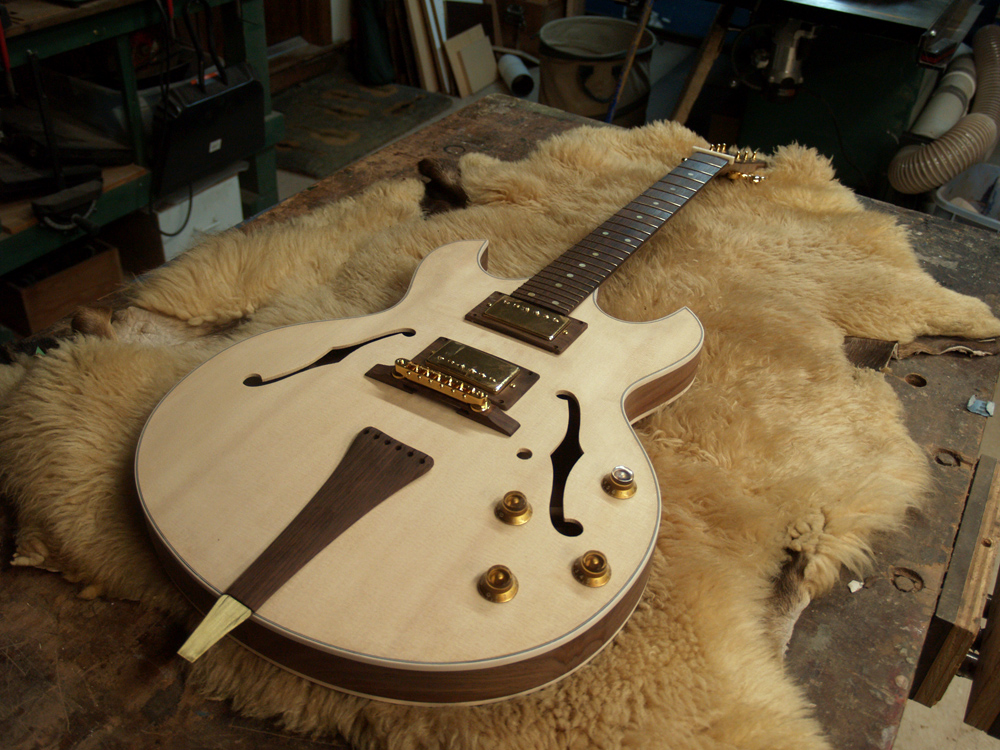
A dry run at the assembled guitar.
 ( 229 ) 1-Jan-2013