 ( 137 ) 18-Dec-2012
The case arrived and the guitar fits.
 ( 137 ) 18-Dec-2012
The case arrived and the guitar fits.
 ( 138 ) 18-Dec-2012
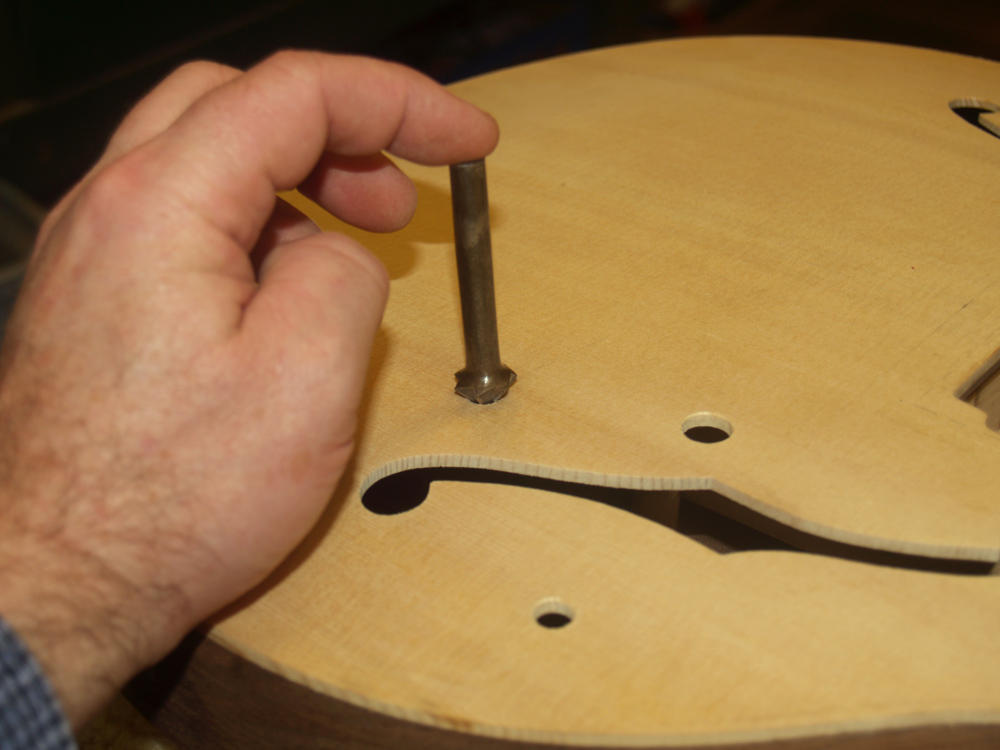
A few small details get taken care of, here I am putting a small bevel on the control knob holes.
 ( 139 ) 18-Dec-2012
The fretboard, tail piece, and head stock are all going to be made from Indian Rosewood. I want the wood for each piece to match the otheres. I used my bandsaw to cut out a set of blanks for the fretboard and tail piece from a single piece of rosewood.
 ( 140 ) 18-Dec-2012
I lay the blanks out to make sure I am happy with the look of each piece.
 ( 141 ) 18-Dec-2012
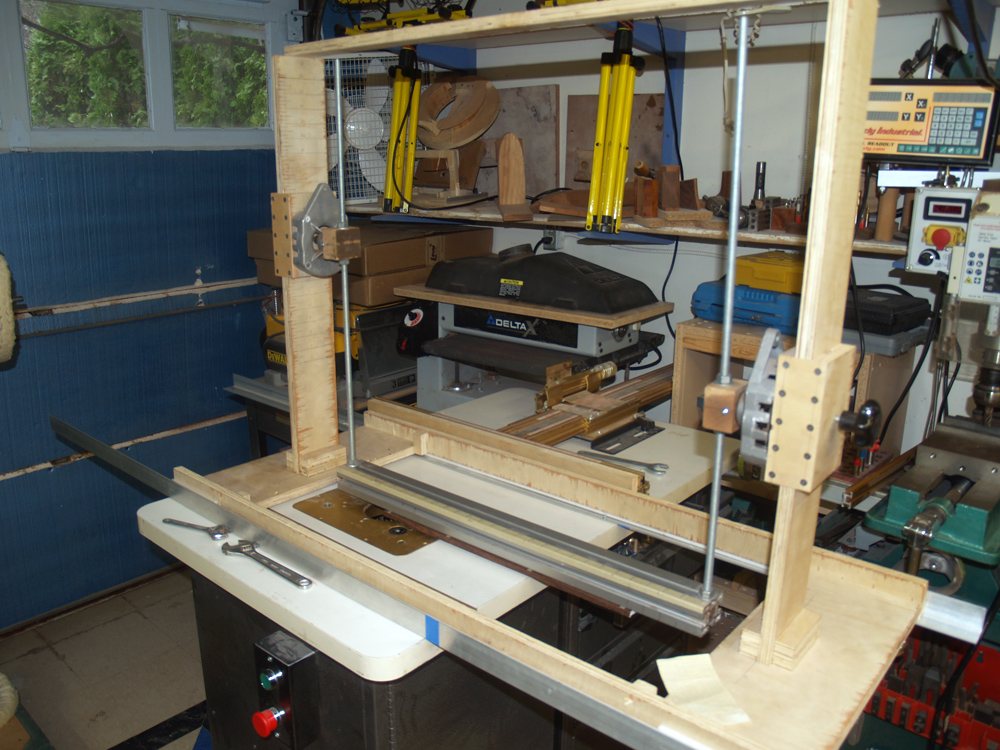
The fretboard will have a 16 inch compound radius. I use my universal radiusator to shape the fretboard. This tool is essentially a pendulum with two arms that are different lengths that cause the supporting bar to sweep out a cone. By judiciously setting the length of each arm I can control the degree of radius. Here I have attach the fretboard blank to the bottom of the support bar.
 ( 142 ) 18-Dec-2012
As I swing the support bar back and forth above the router bit I push the sled forward with each swing. The radius of the arc slowly changes from the short arm length to the long arm length.
 ( 143 ) 18-Dec-2012
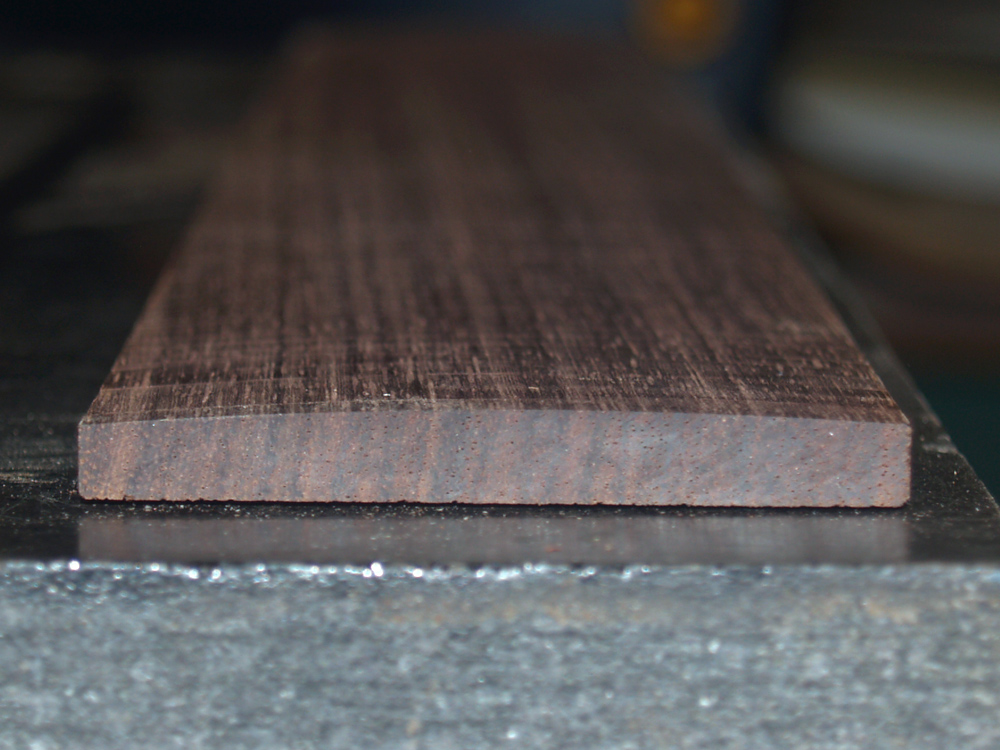
Here is a picture of the end of the fretboard blank.
 ( 144 ) 18-Dec-2012
I use a very flat sanding bar to remove the tooling marks from the fretboard blank.
 ( 145 ) 18-Dec-2012
And I use my straight edge and a feeler gauge to make sure the surface is as straight as I can make it. This will help insure the frets line up so there won't be any buzzing.
 ( 146 ) 18-Dec-2012
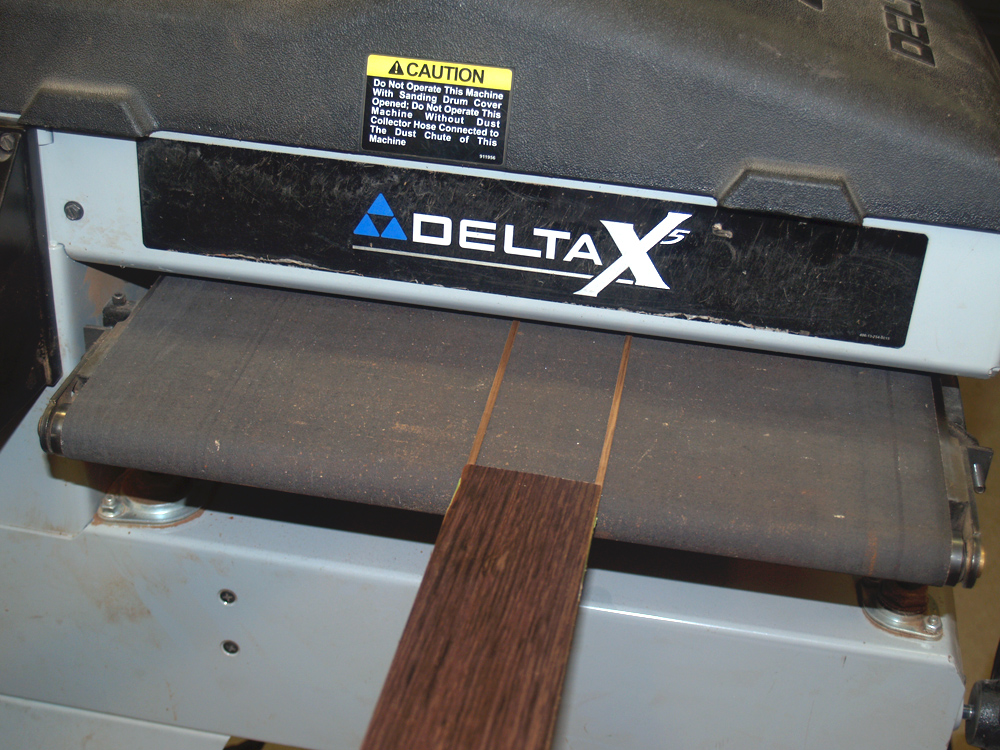
With the top surface set, I use my drum sander to reduce the thickness to 1/4 of an inch.
 ( 147 ) 18-Dec-2012
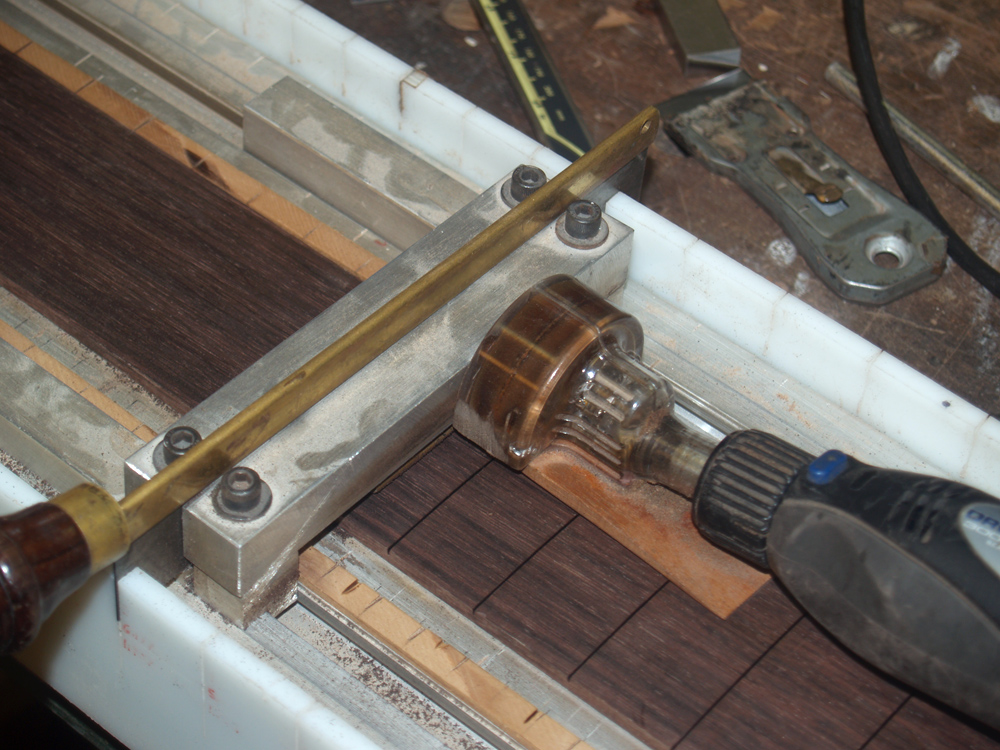
Now I am ready to set up the fret slotting tool. I use a small circular saw attachment to cut the fret slots. This tool allows me to easily index the saw to the correct position.
 ( 148 ) 18-Dec-2012
Here you can see the slotted fretboard.
 ( 149 ) 18-Dec-2012
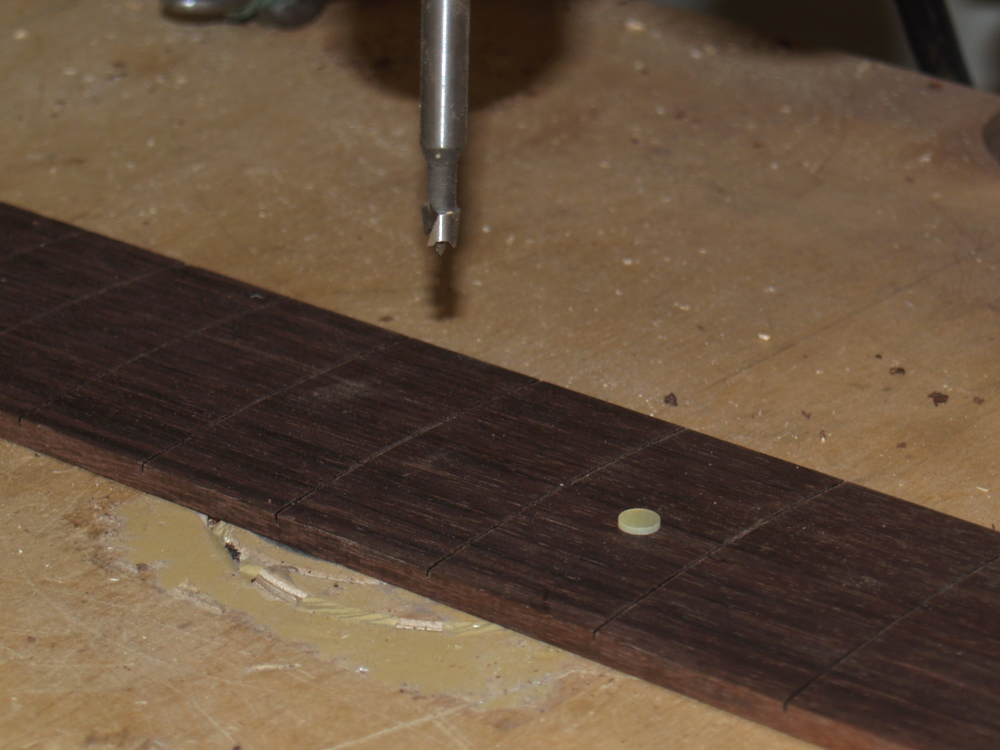
Using my magnifying glass and centering tool I mark the center of the fretboard. and the position of the fretboard dots.
 ( 150 ) 18-Dec-2012
I then drill a 1/4 inch hole for each dot.
 ( 151 ) 18-Dec-2012
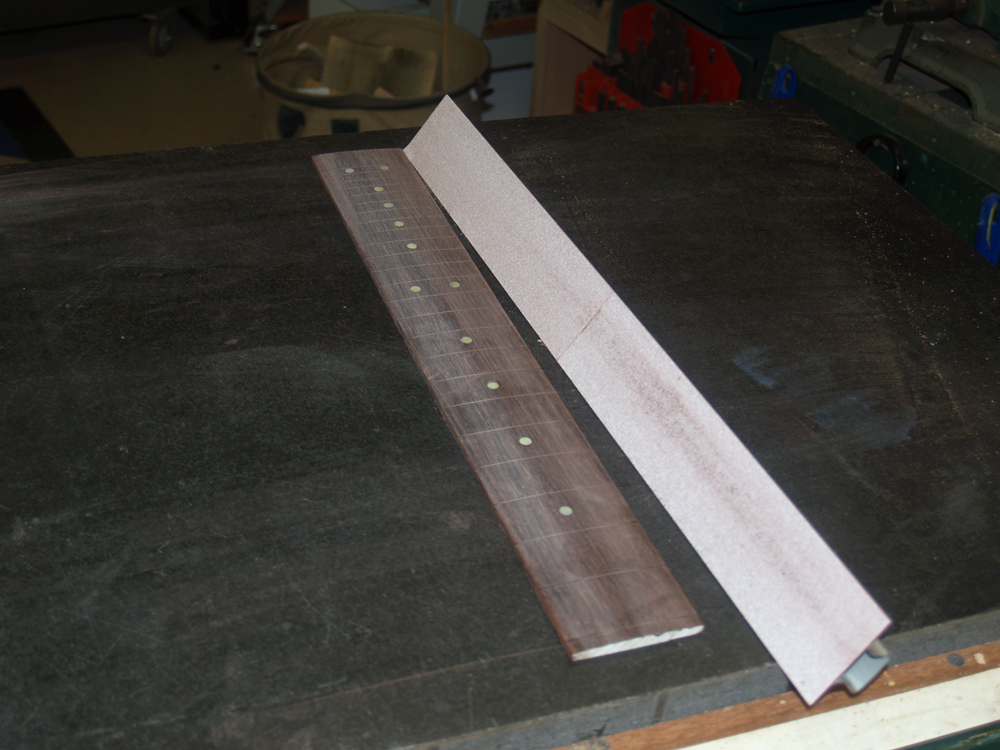
A little cyanoacrylate glue secures the dots in place.
 ( 152 ) 18-Dec-2012
And then I sand the dots flush with the surface.
 ( 153 ) 18-Dec-2012
The width and depth of the slots are fine tuned with a handsaw.
 ( 154 ) 18-Dec-2012
I use a small tool to make sure the slots are deep enough. I want to make sure the fret wire will fully seat against the surface of the fretboard.
 ( 155 ) 18-Dec-2012
And finally I sand the surface very smooth with progressively finer sanding blocks.
 ( 156 ) 18-Dec-2012
After marking the outline of the fretboard I trim away the excess.
 ( 157 ) 18-Dec-2012
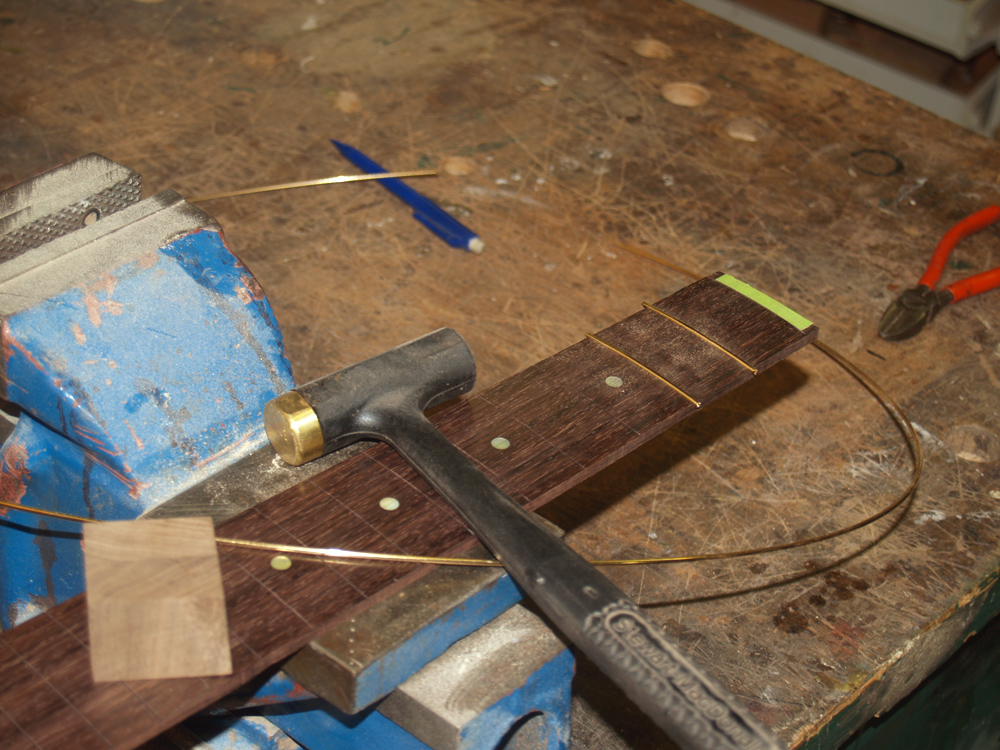
Here are the set of tools I use to install the fretwire.
 ( 158 ) 18-Dec-2012
I use a small wood block and a hammer to drive the fretwire into the slots.
 ( 159 ) 18-Dec-2012
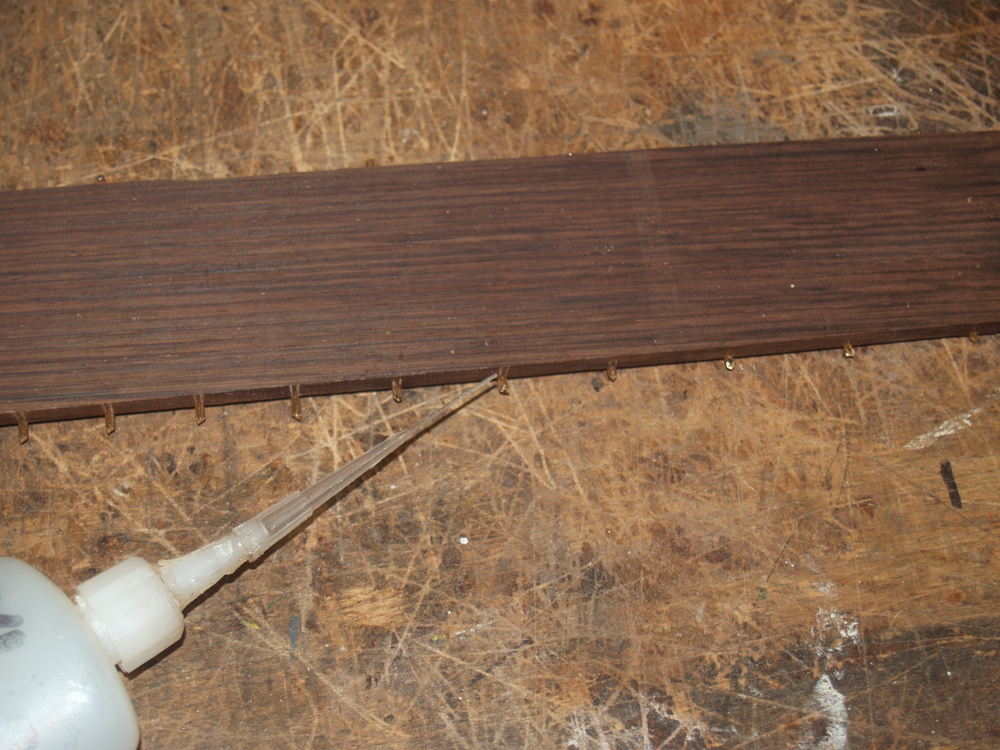
When I am happy that the fretwire is fully seated I put a small drop of glue on the overhang where it will wick into the slot and secure the fretwire in place.
 ( 160 ) 18-Dec-2012
I use my belt sander to trim off the excess wire.
 ( 161 ) 18-Dec-2012
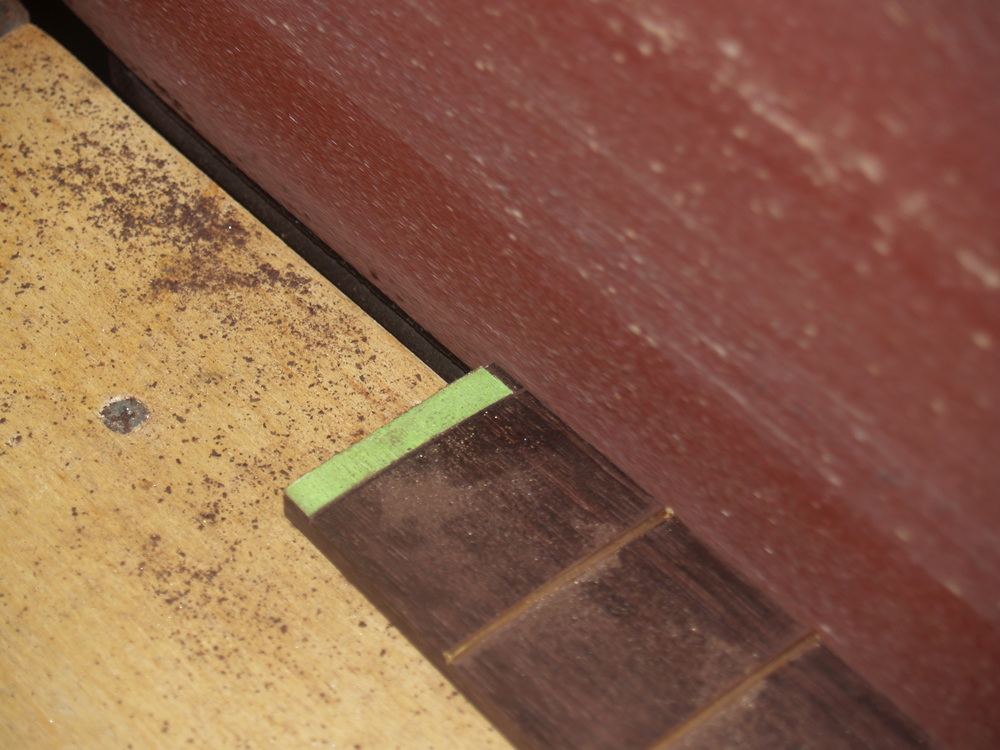
And then carefully trim the fretboard blank to its final dimensions.
 ( 162 ) 18-Dec-2012
A long view look at the fretboard.
 ( 163 ) 18-Dec-2012
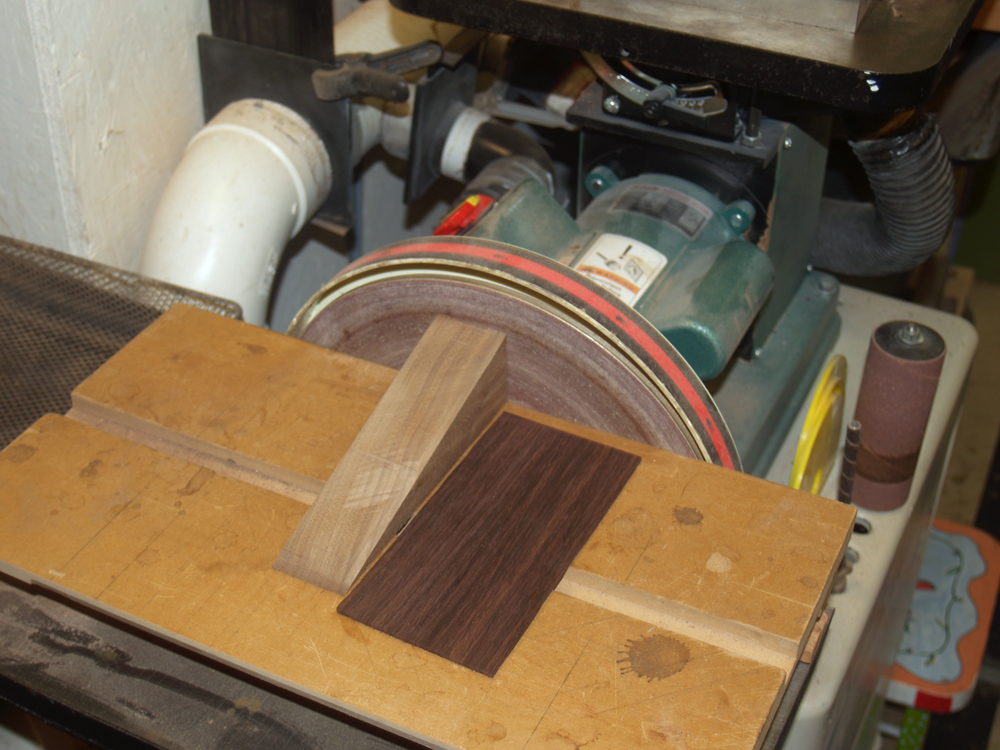
The nut end of the fretboard gets trimmed on the disk sander.
 ( 164 ) 18-Dec-2012
And the saddle end gets marked and trimmed.
 ( 165 ) 18-Dec-2012
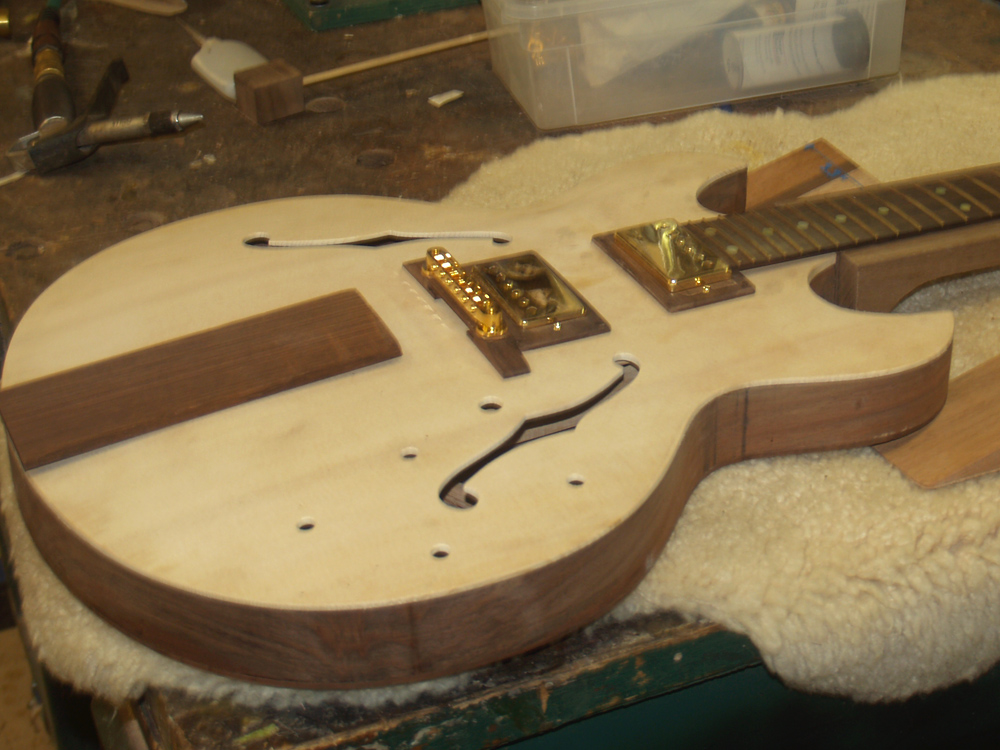
Once again I lay out the guitar to make sure I am happy with the fit of everything.
 ( 166 ) 18-Dec-2012
Before I glue the fretboard to the neck blank I have to route out the channel for the truss rod. The truss rod will help control the shape of the fretboard while it is under tension from the strings. .
 ( 167 ) 18-Dec-2012
The truss rod in its slot.
 ( 168 ) 18-Dec-2012
The edge of the headstock veneer gets trimmed to the 15 deg angle of the head stock.
 ( 169 ) 18-Dec-2012
With the nut in place there will be no gaps.
 ( 170 ) 18-Dec-2012
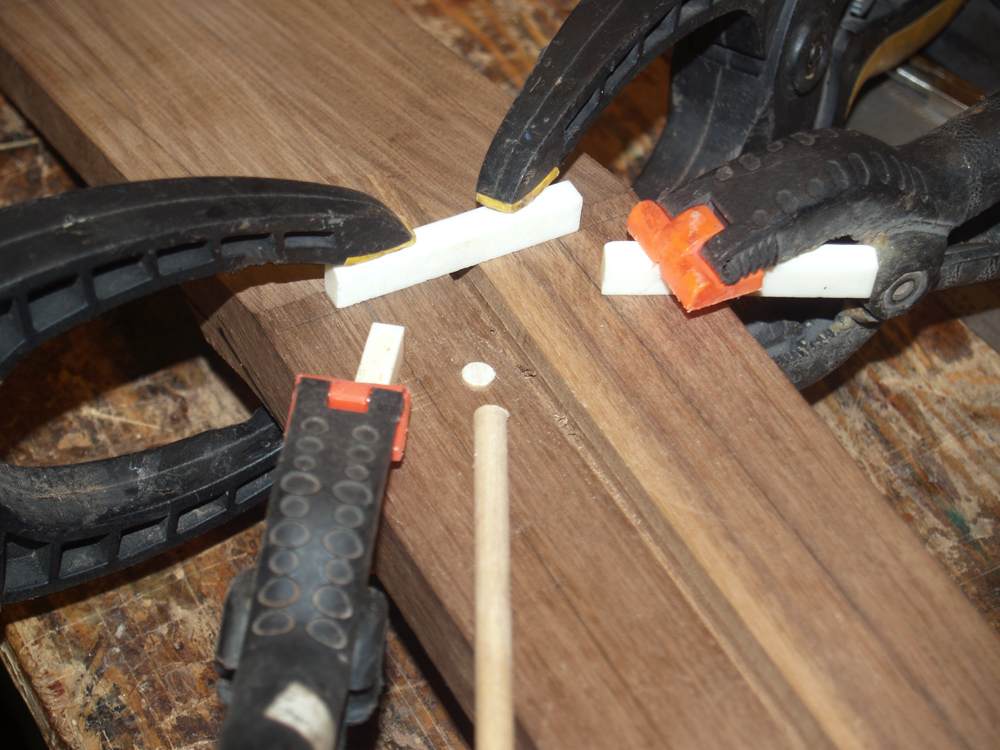
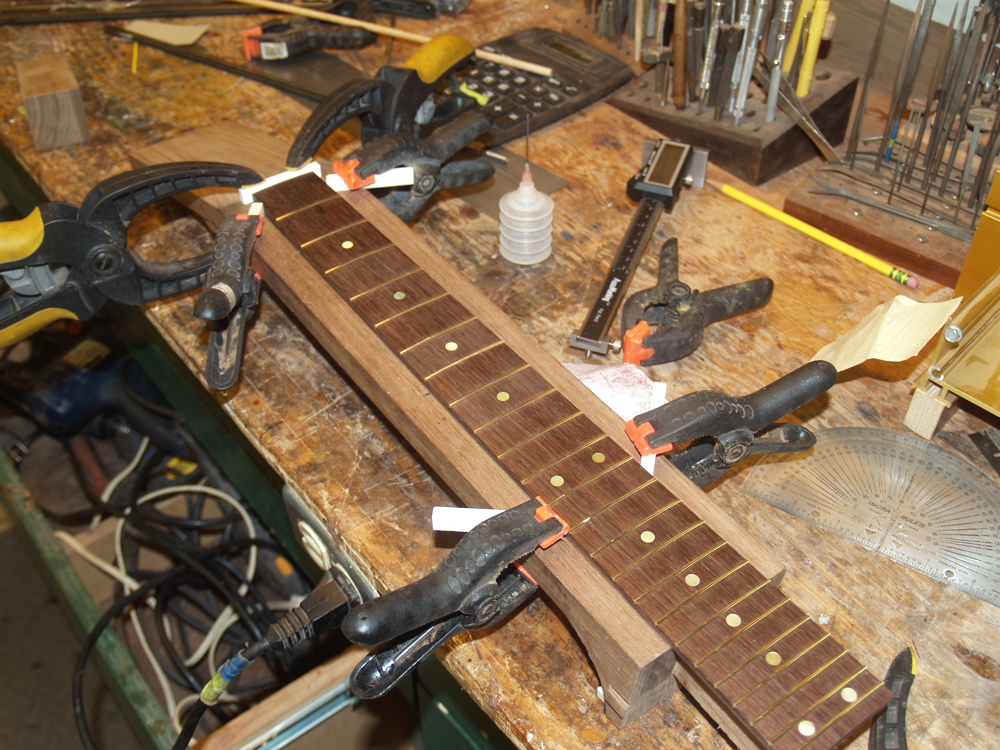
I use a set of fiducial buttons to hold the fretboard in place when it gets glued to the neck blank. I drill a 1/4 inch hole into the neck blank and then glue a small bit of doweling to the bottom of the fretboard.
 ( 171 ) 18-Dec-2012
I use bone nut blanks to position the fretboard as the buttons get glued in place.
 ( 172 ) 18-Dec-2012
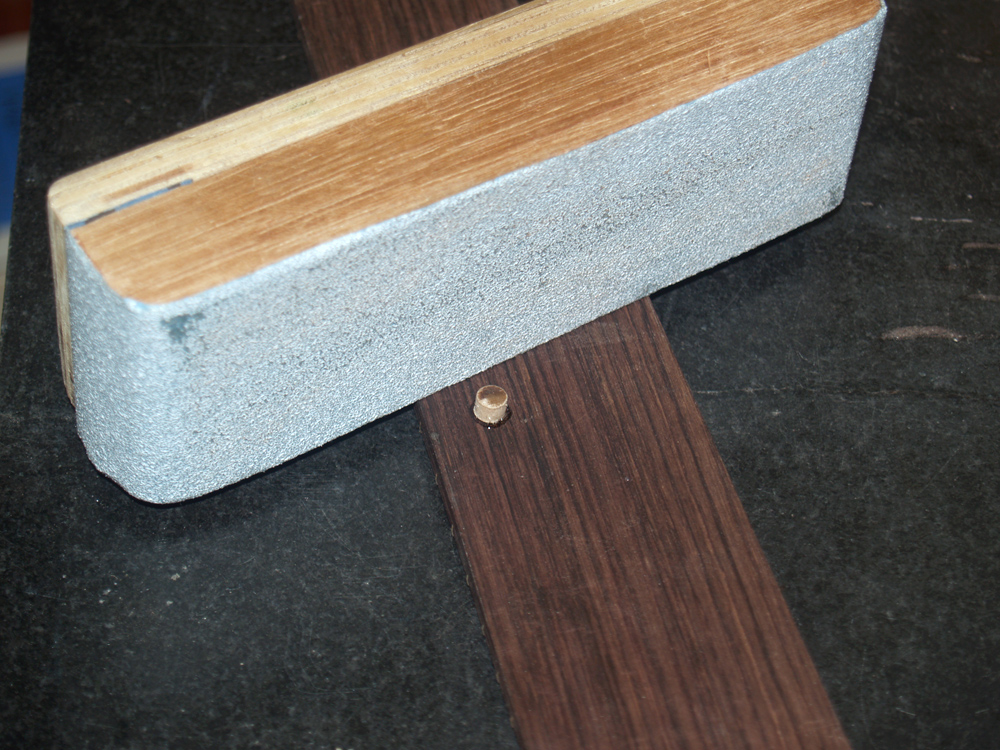
After the buttons are glued to the bottom of the fretboard I trim them down to size.
 ( 173 ) 18-Dec-2012
Now, I can accurately place the fretboard on the neck blank. When gluing the fretboard in place I won't have to make any adjustment to its position.
 ( 174 ) 18-Dec-2012
A small detail is to install this small plug over the end of the truss rod.
 ( 175 ) 18-Dec-2012
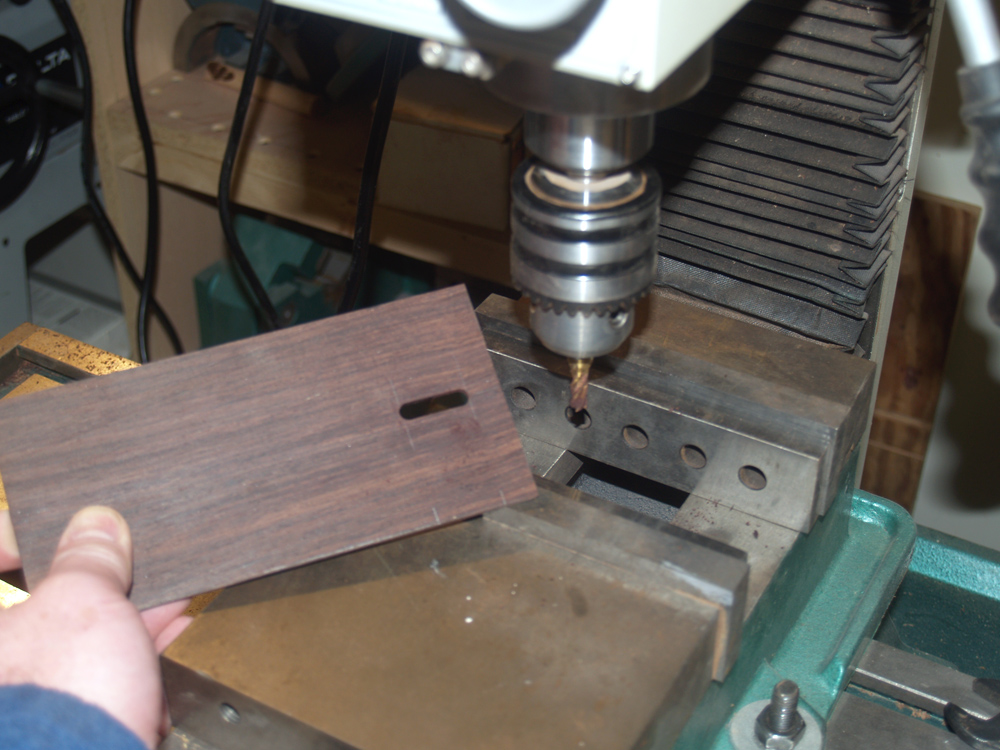
I use my milling machine to route out an access slot for the truss rod in the head plate.
 ( 176 ) 18-Dec-2012
Now, every thing lines up nicely.
 ( 177 ) 18-Dec-2012
And finally, before gluing the fretboard in place I use my straight edge and feeler gauge to make sure the surface is flat.
 ( 178 ) 18-Dec-2012
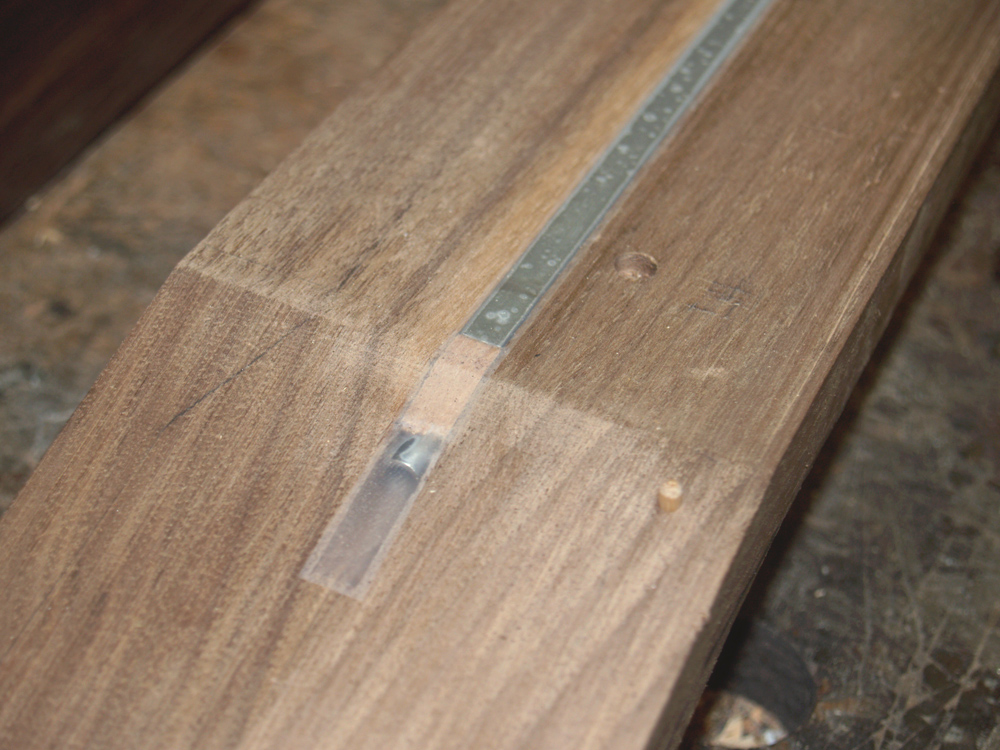
And one more small detail is a plug at the end of the truss rod.
 ( 179 ) 18-Dec-2012
I use a carefully positioned strip of tape to cover the truss rod. This will keep glue from getting into the works.
 ( 180 ) 18-Dec-2012
I use epoxy to glue the fretboard to the neck blank.
 ( 181 ) 18-Dec-2012
Got clamps!
 ( 182 ) 18-Dec-2012
After the glue sets up over night everything is glued in place.
 ( 183 ) 18-Dec-2012
I heat up the glue squeeze out to soften it up so it can easily be removed.
 ( 184 ) 18-Dec-2012
Here I am using my milling machine to trim the neck blank to its final thickness.
 ( 185 ) 18-Dec-2012
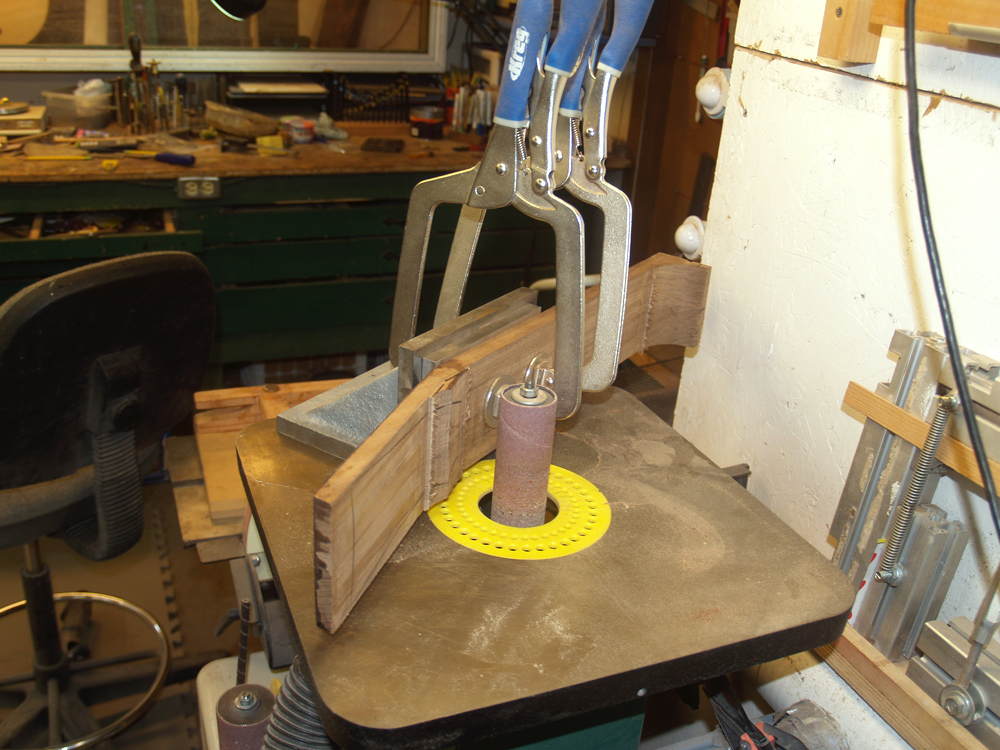
I am leaving a bit at the headstock break so I can create a volute.
 ( 186 ) 18-Dec-2012
My oscillating sander helps to shape the volute. The volute is a purely decorative element on this neck. On a spliced neck it adds a bit of strength to the joint.
 ( 187 ) 18-Dec-2012
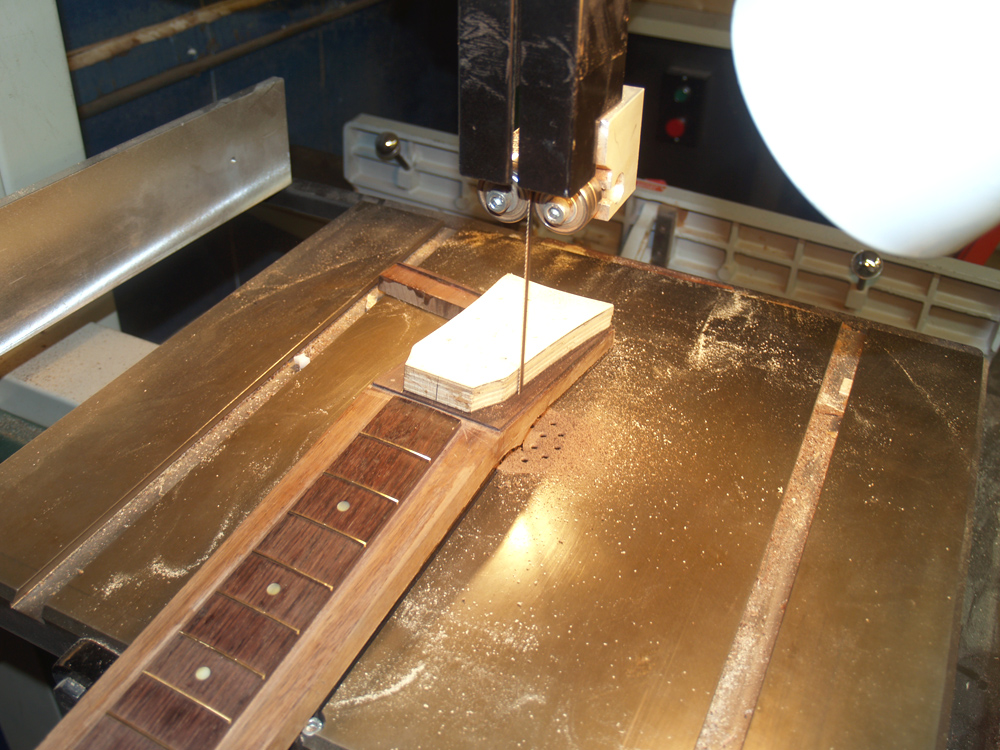
Now, I use my bandsaw to trim the neck to shape.
 ( 188 ) 18-Dec-2012
Nice.
 ( 189 ) 18-Dec-2012
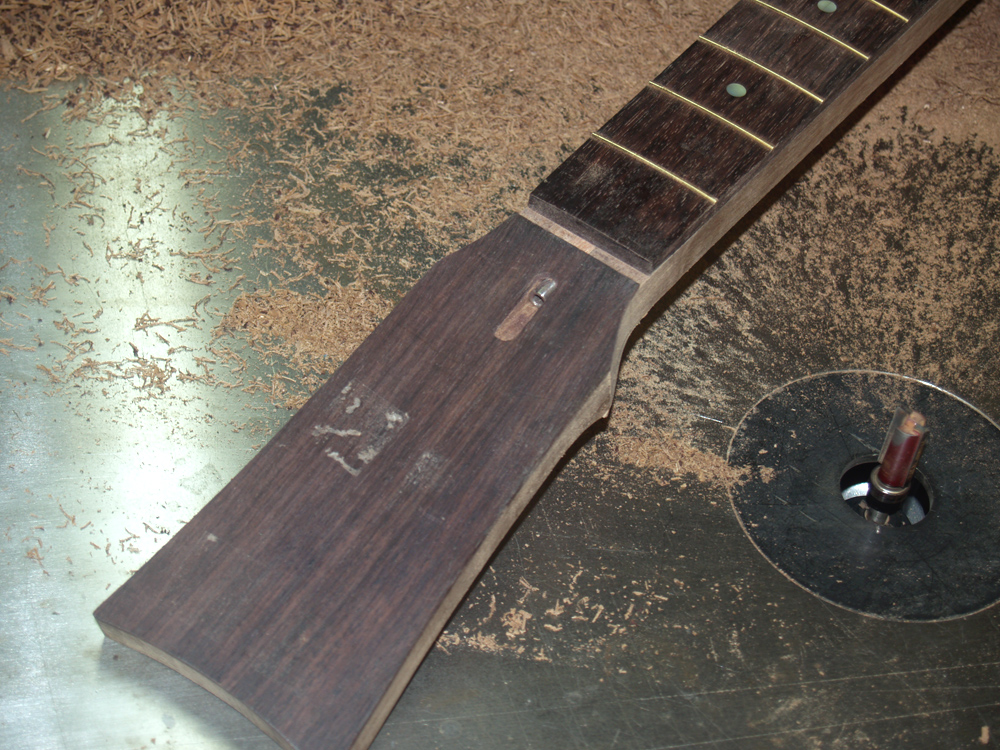
I use a router table to do the final trimming.
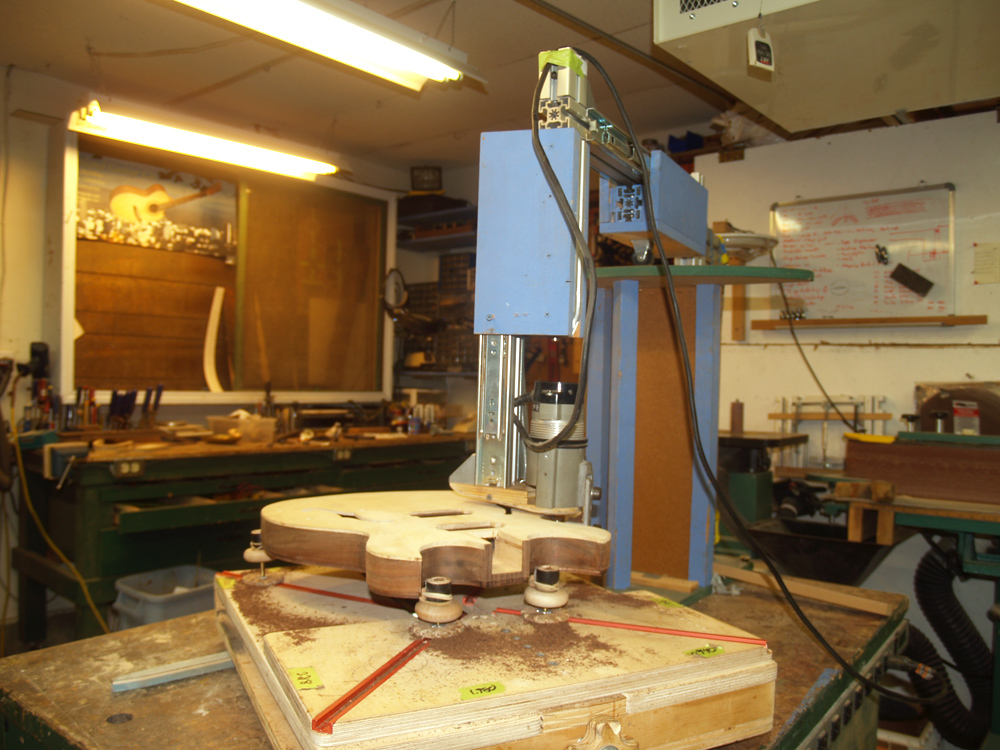 ( 190 ) 18-Dec-2012
Now I turn my attention to installing the binding.
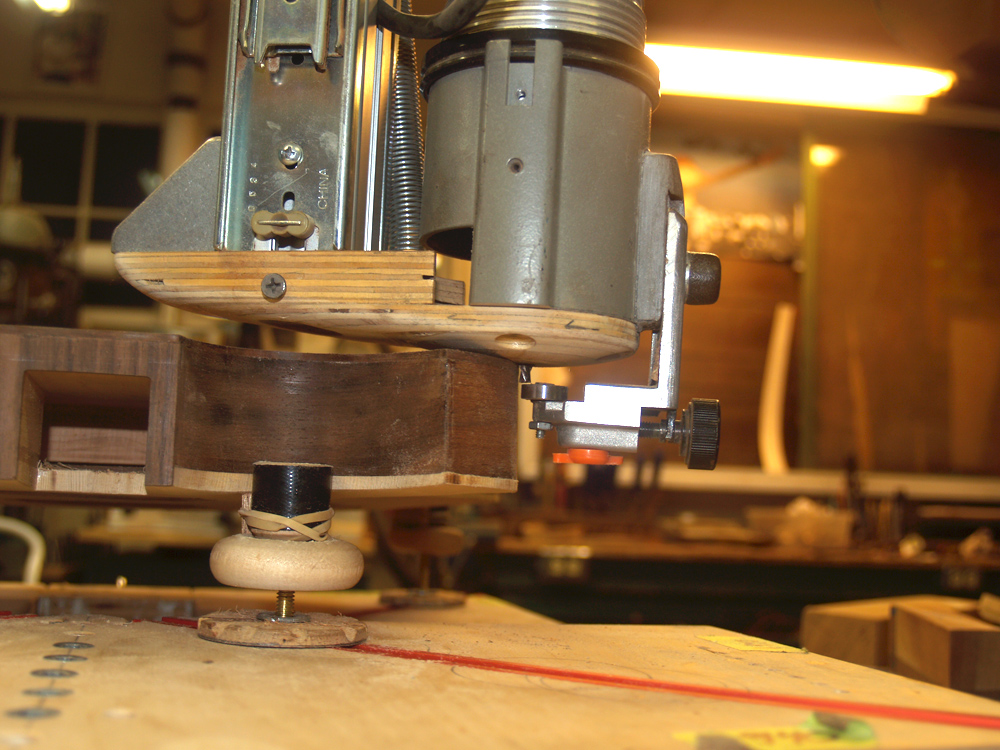 ( 191 ) 18-Dec-2012
I use this tool I built I call a Universal Bindalator to hold the router parallel to the sides of the guitar while it allows me to move the router around the perimeter of the guitar.
 ( 192 ) 18-Dec-2012
I can adjust the depth of the channels by changing the exposure of the router bit below the convex platen and the position of the guide wheel.
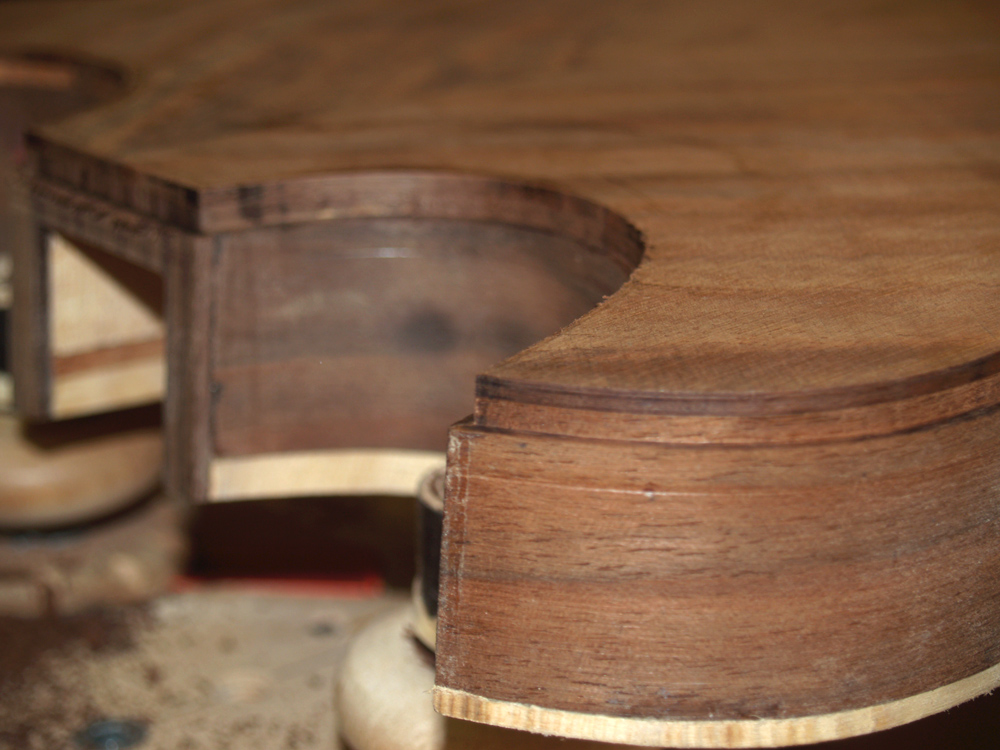 ( 193 ) 18-Dec-2012
Here is the channel cut for the bottom binding.
 ( 194 ) 18-Dec-2012
The top gets an extra channel for the pinstriping.
 ( 195 ) 18-Dec-2012
After cleaning up the channels I start to install the purfling and binding. Here I am starting with the black/white/black pinstriping.
 ( 196 ) 18-Dec-2012
I work my way around the perimeter.
 ( 197 ) 18-Dec-2012
And then before installing the binding I clean up the channels once again.
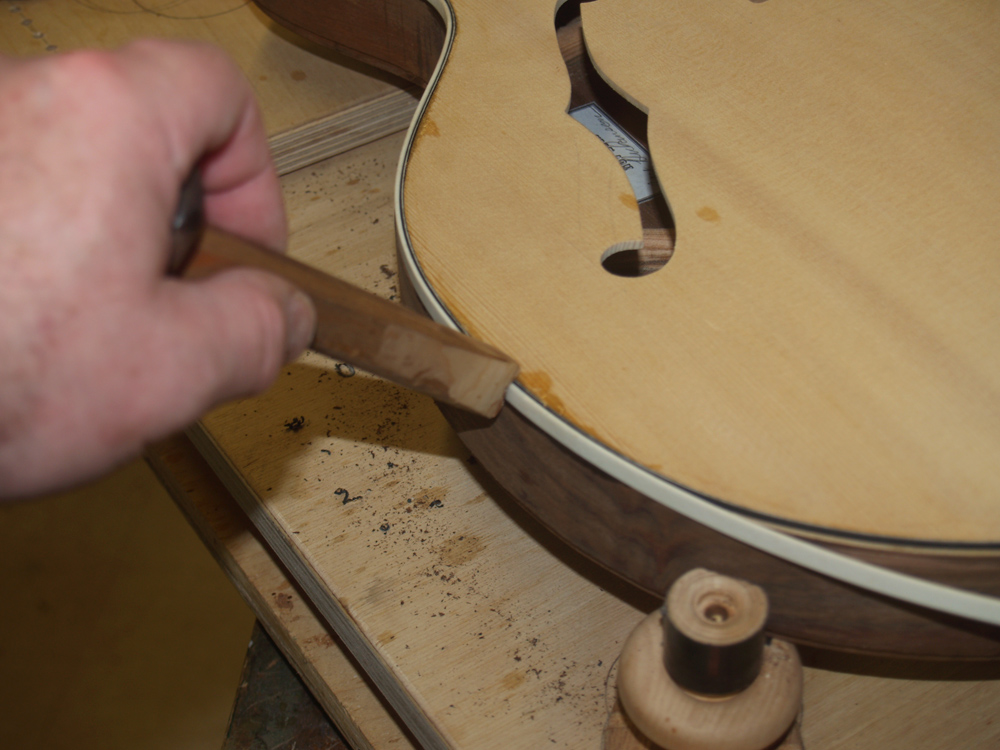 ( 198 ) 18-Dec-2012
Here I am installing the white binding.
 ( 199 ) 18-Dec-2012
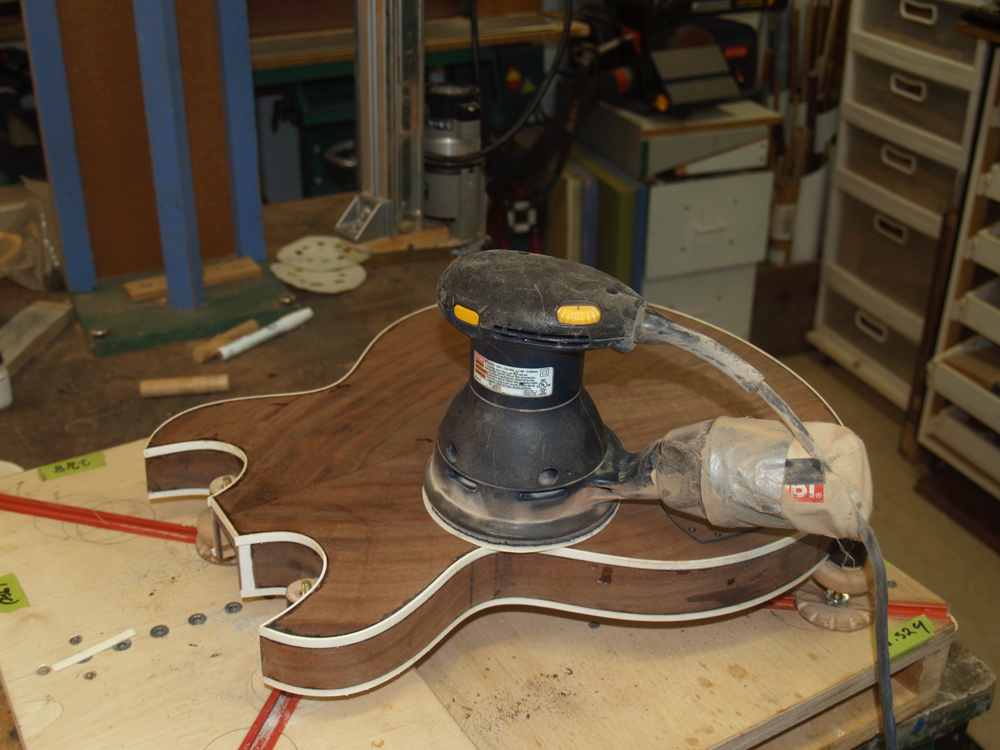
When I cut the channels for the binding I set them up so the binding and purfling would stand slightly proud of the surface. Here I am using a palm sander to trim the binding flush to the surface of the top. .
 ( 200 ) 18-Dec-2012
The back gets the same treatment as the top, and a drum sander is used to trim the sides.
 ( 201 ) 18-Dec-2012
A look at the peak of the cutaway with all of the surfaces sanded flush.
 ( 202 ) 18-Dec-2012
And a look at the side near the F hole.