 ( 073 ) 29-Nov-2012
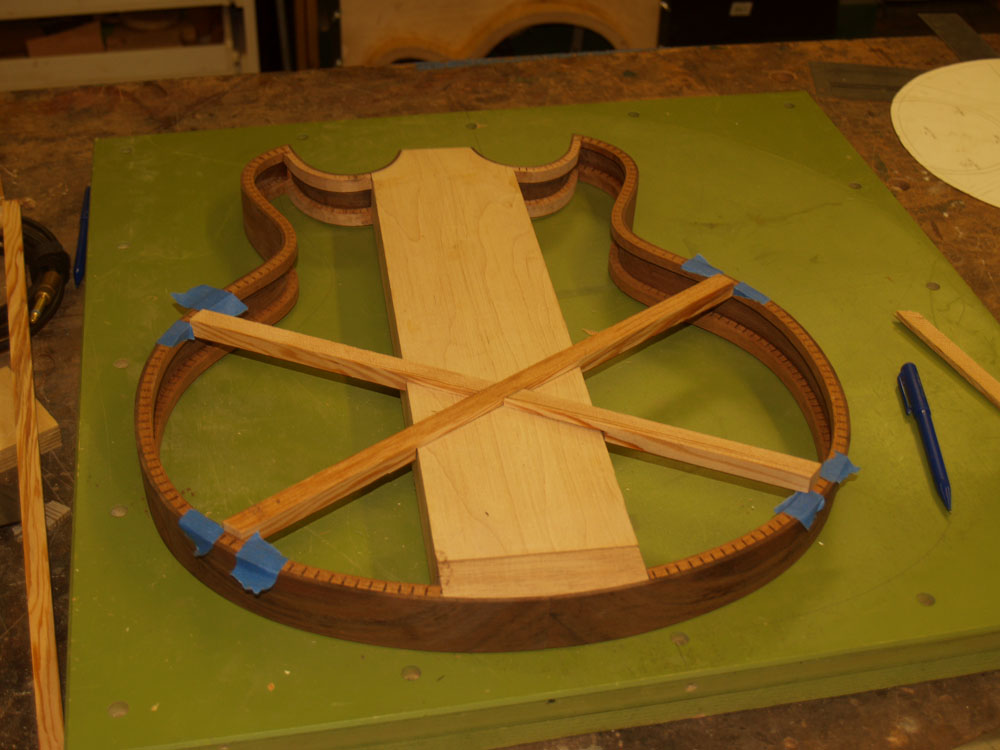
I am installing an X-Brace on the back side.
 ( 073 ) 29-Nov-2012
I am installing an X-Brace on the back side.
 ( 074 ) 29-Nov-2012
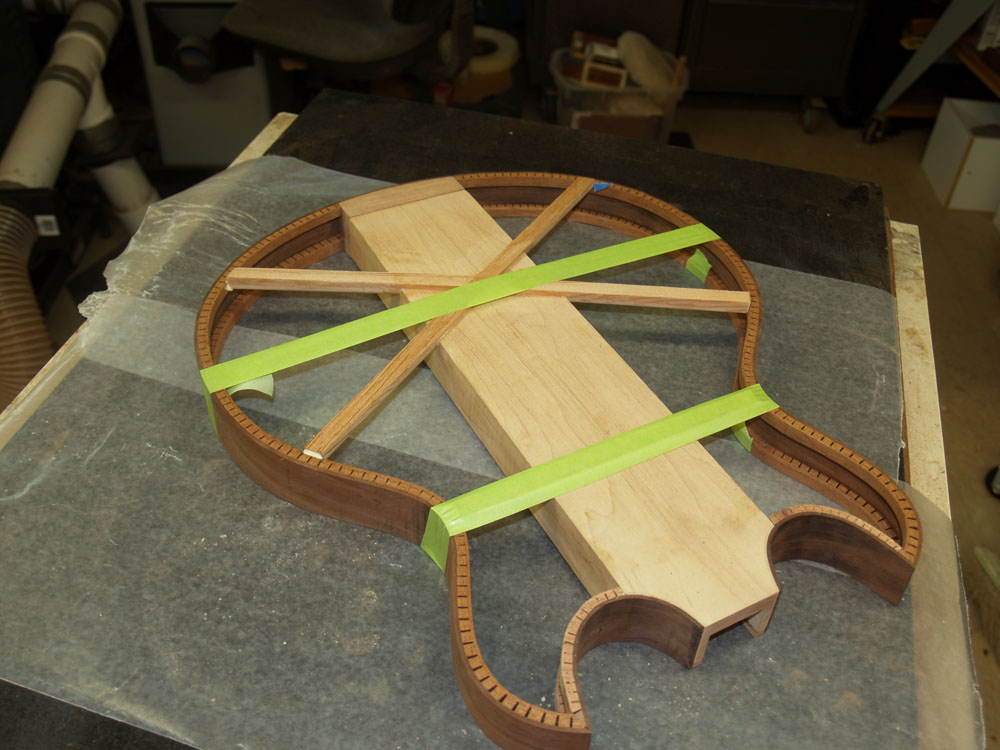
These braces will define the bowl shape of the back. I first install the over sized brace blanks.
 ( 075 ) 29-Nov-2012
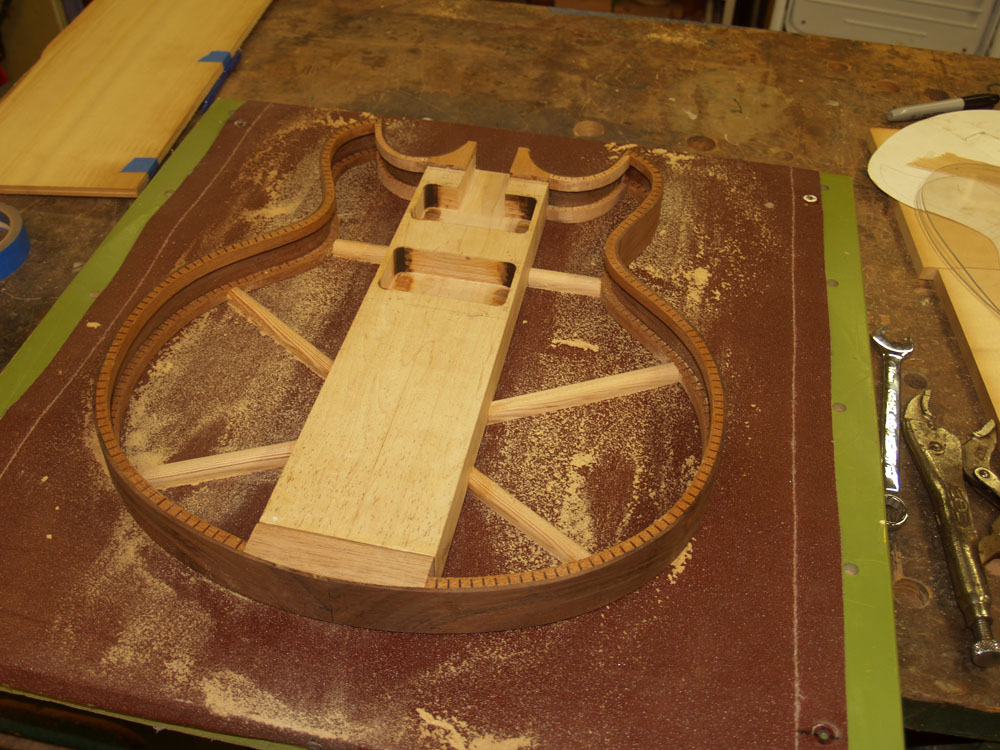
And then I sand the braces in the sanding bowl.
 ( 076 ) 29-Nov-2012
To prepare to cut out the top plate, I outline onto the top blank the shape of the guitar with a bit of over hang.
 ( 077 ) 29-Nov-2012
And then I use my bandsaw to cut it out.
 ( 078 ) 29-Nov-2012
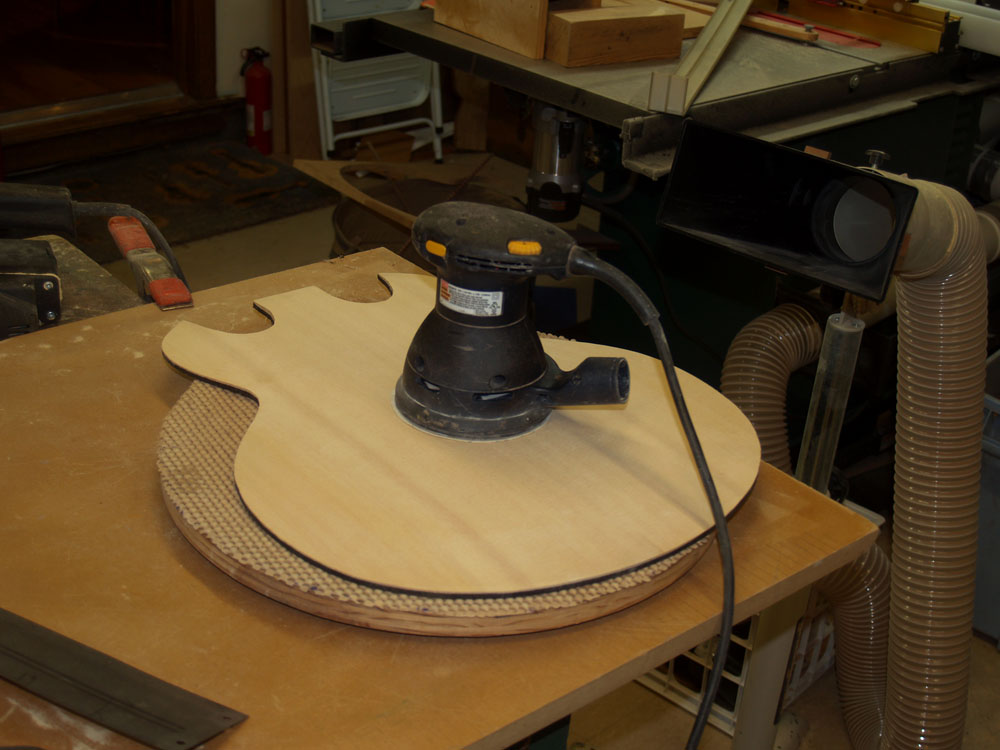
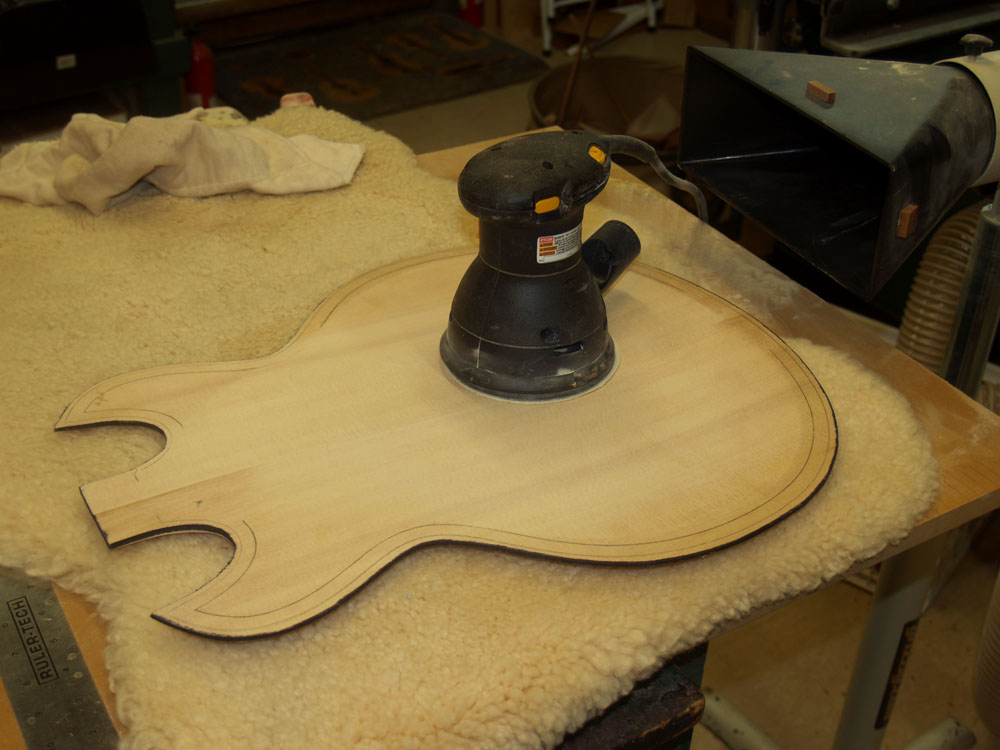
The top of this guitar is shaped out of a 1/2 inch thick piece of book matched Sitka Spruce. To shape the top I am using a palm sander. Lots and Lots of saw dust.
 ( 079 ) 29-Nov-2012
You can kind of see the sculpted nature of the top here.
 ( 080 ) 29-Nov-2012
The inside of the top gets sculpted to match the top surface. I have to constantly check on the thickness of the top as I sand it down. More saw dust.
 ( 081 ) 29-Nov-2012
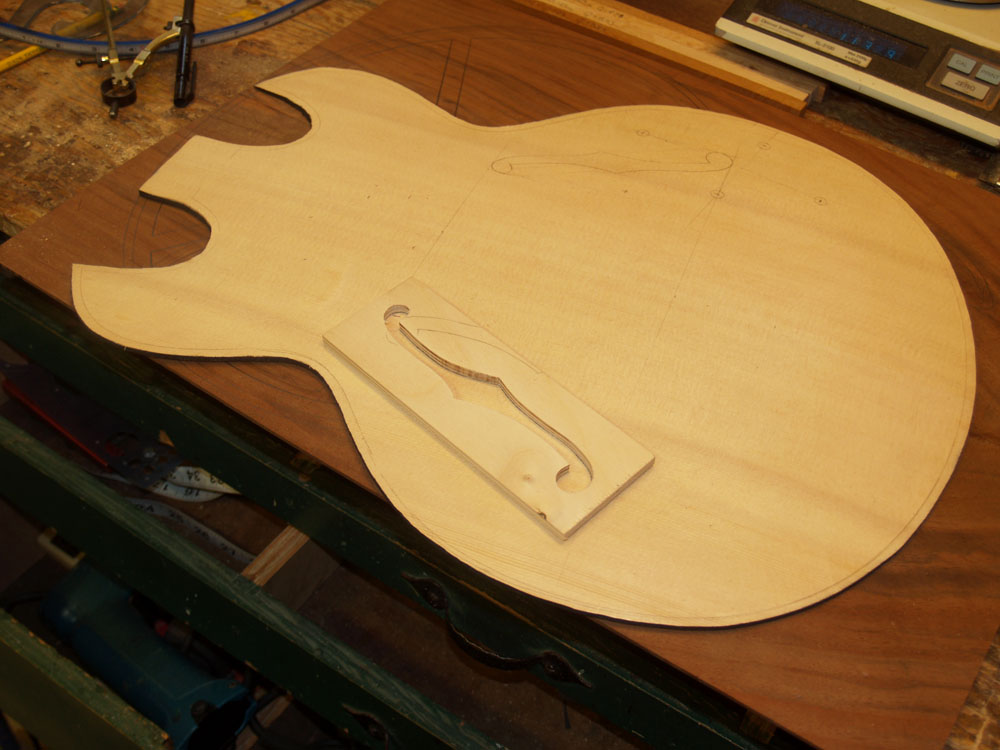
The back of the top gets sanded into a shallow bowl.
 ( 082 ) 29-Nov-2012
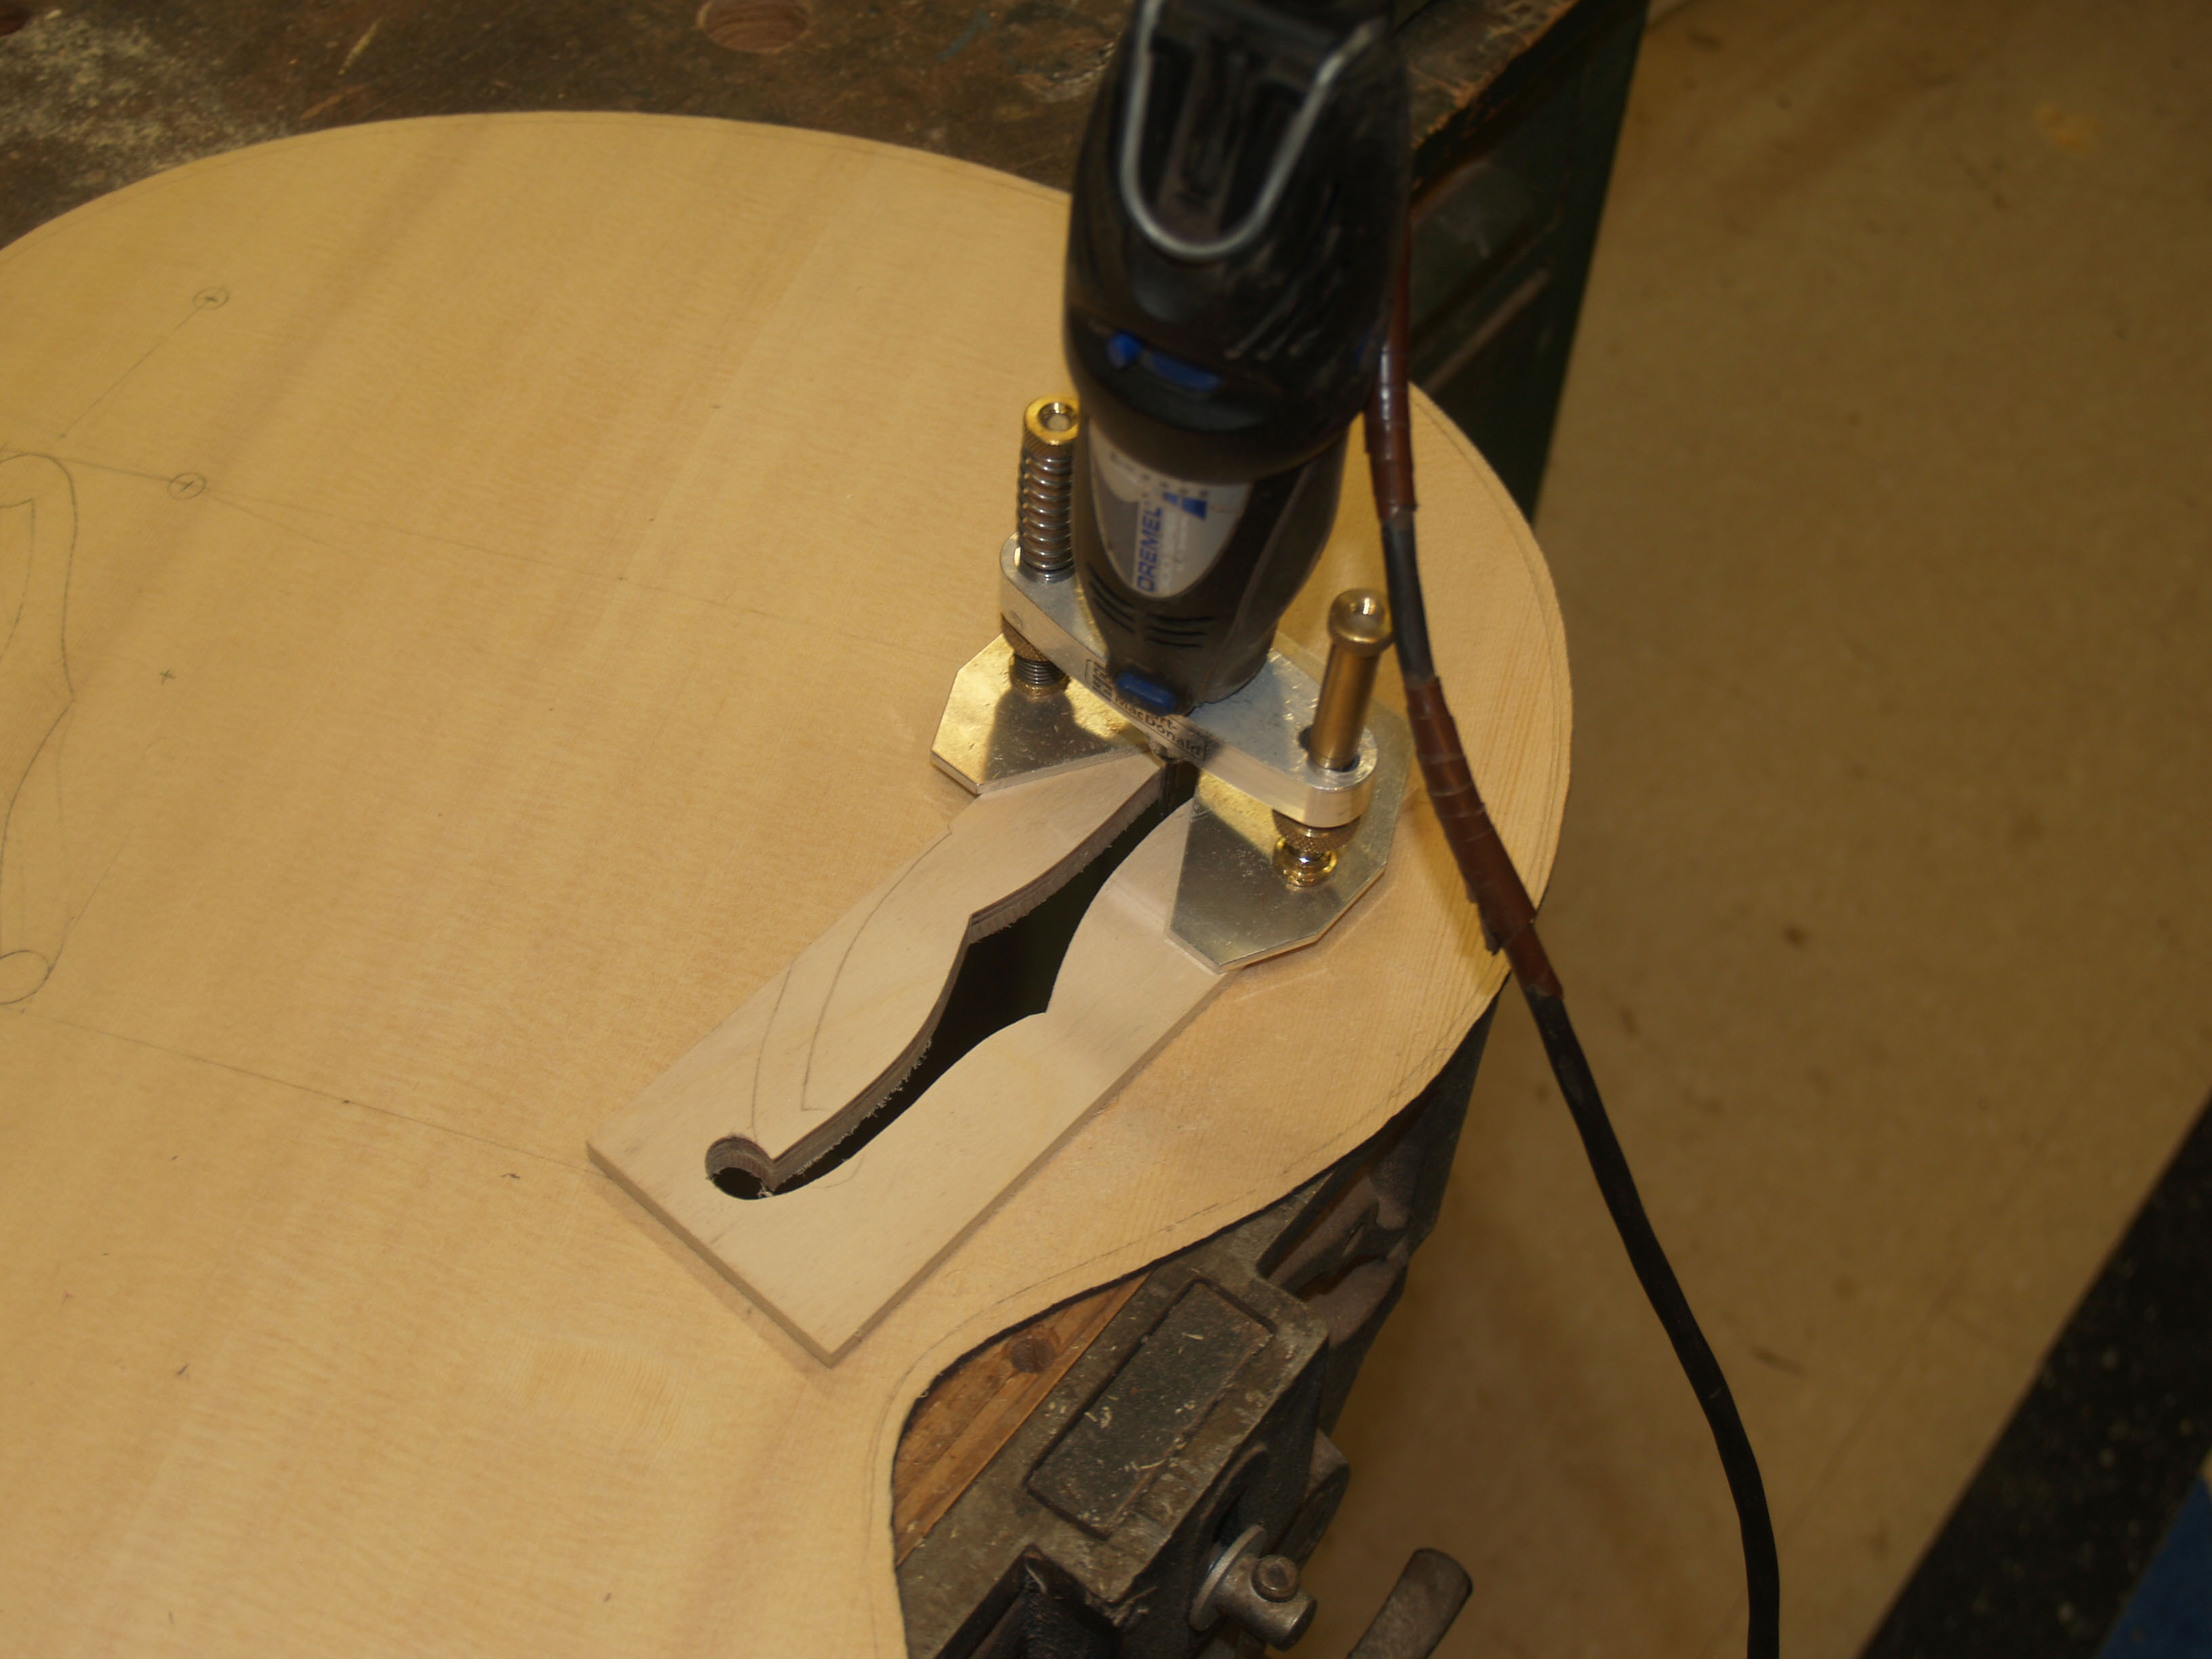
I have created an F-hole template to guide the small router I will use to cut it out.
 ( 083 ) 29-Nov-2012
The template is taped down with double sided tape.
 ( 084 ) 29-Nov-2012
Two beautiful F-holes.
 ( 085 ) 29-Nov-2012
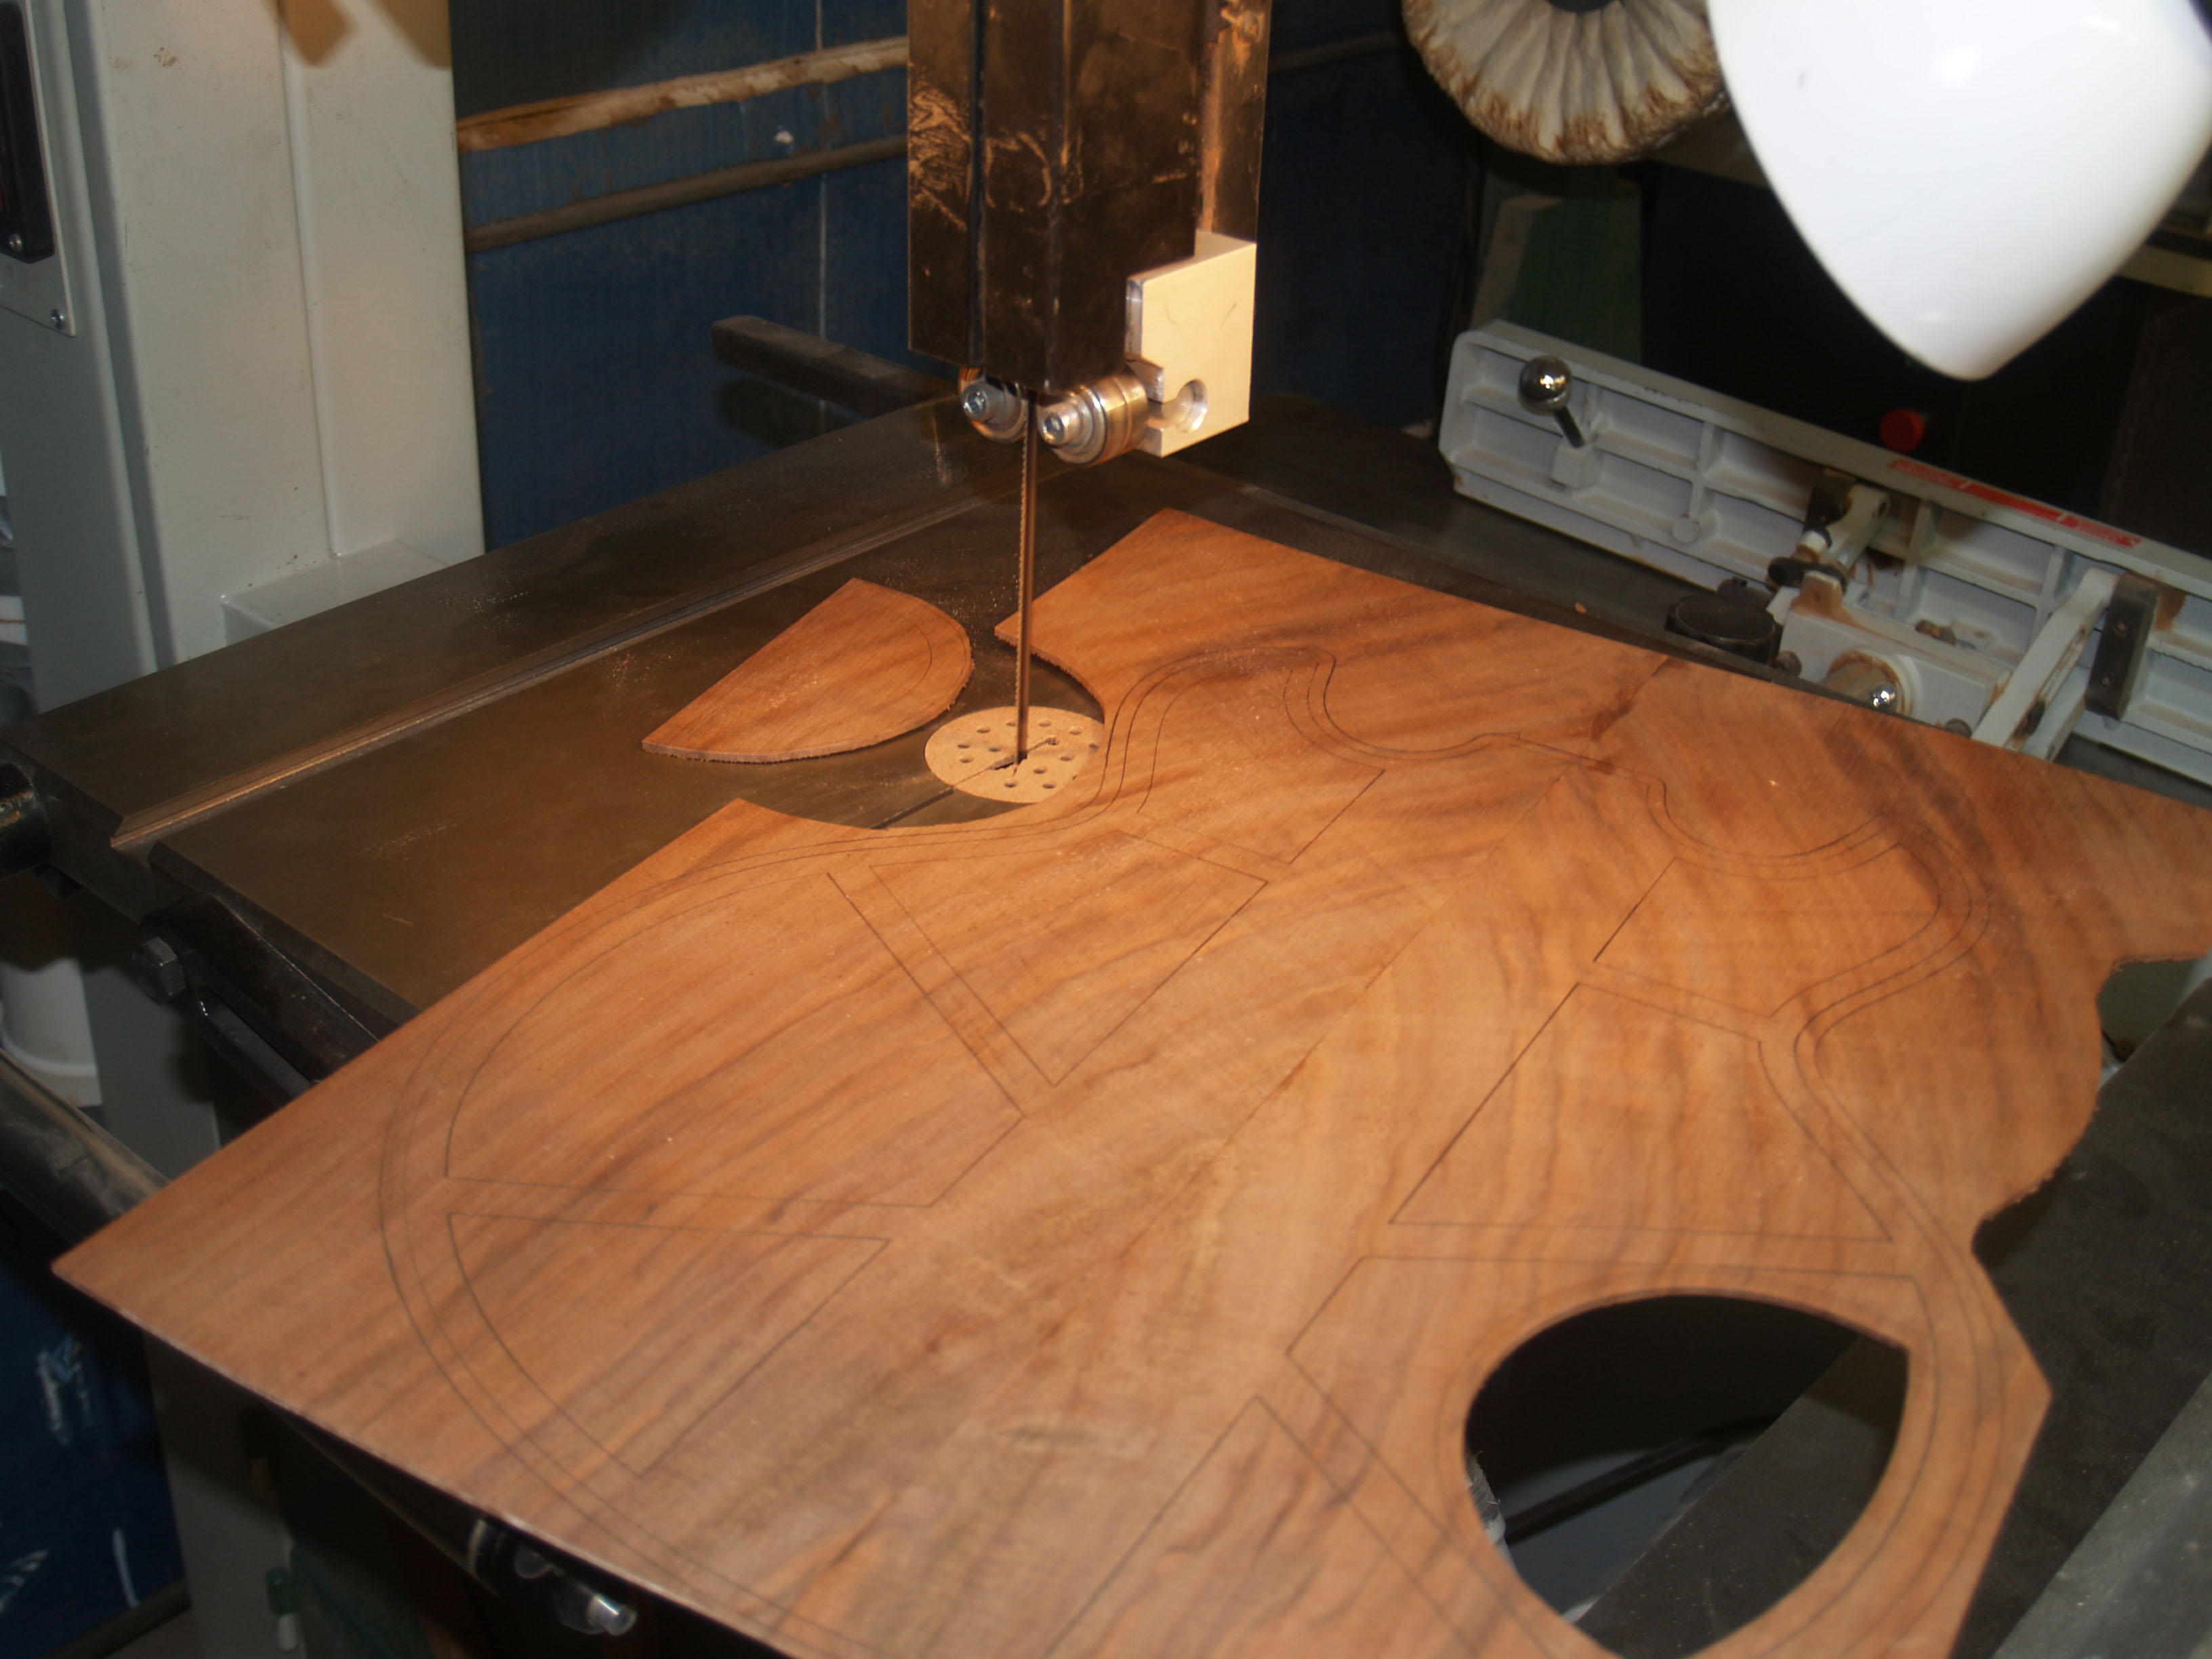
I am installing an access door on the back of the guitar. I made another template to guide the router once again.
 ( 086 ) 29-Nov-2012
With care, a neat job.
 ( 087 ) 29-Nov-2012
I am using a bit of the excess back plate to create a reinforcing ring to go around the access hole.
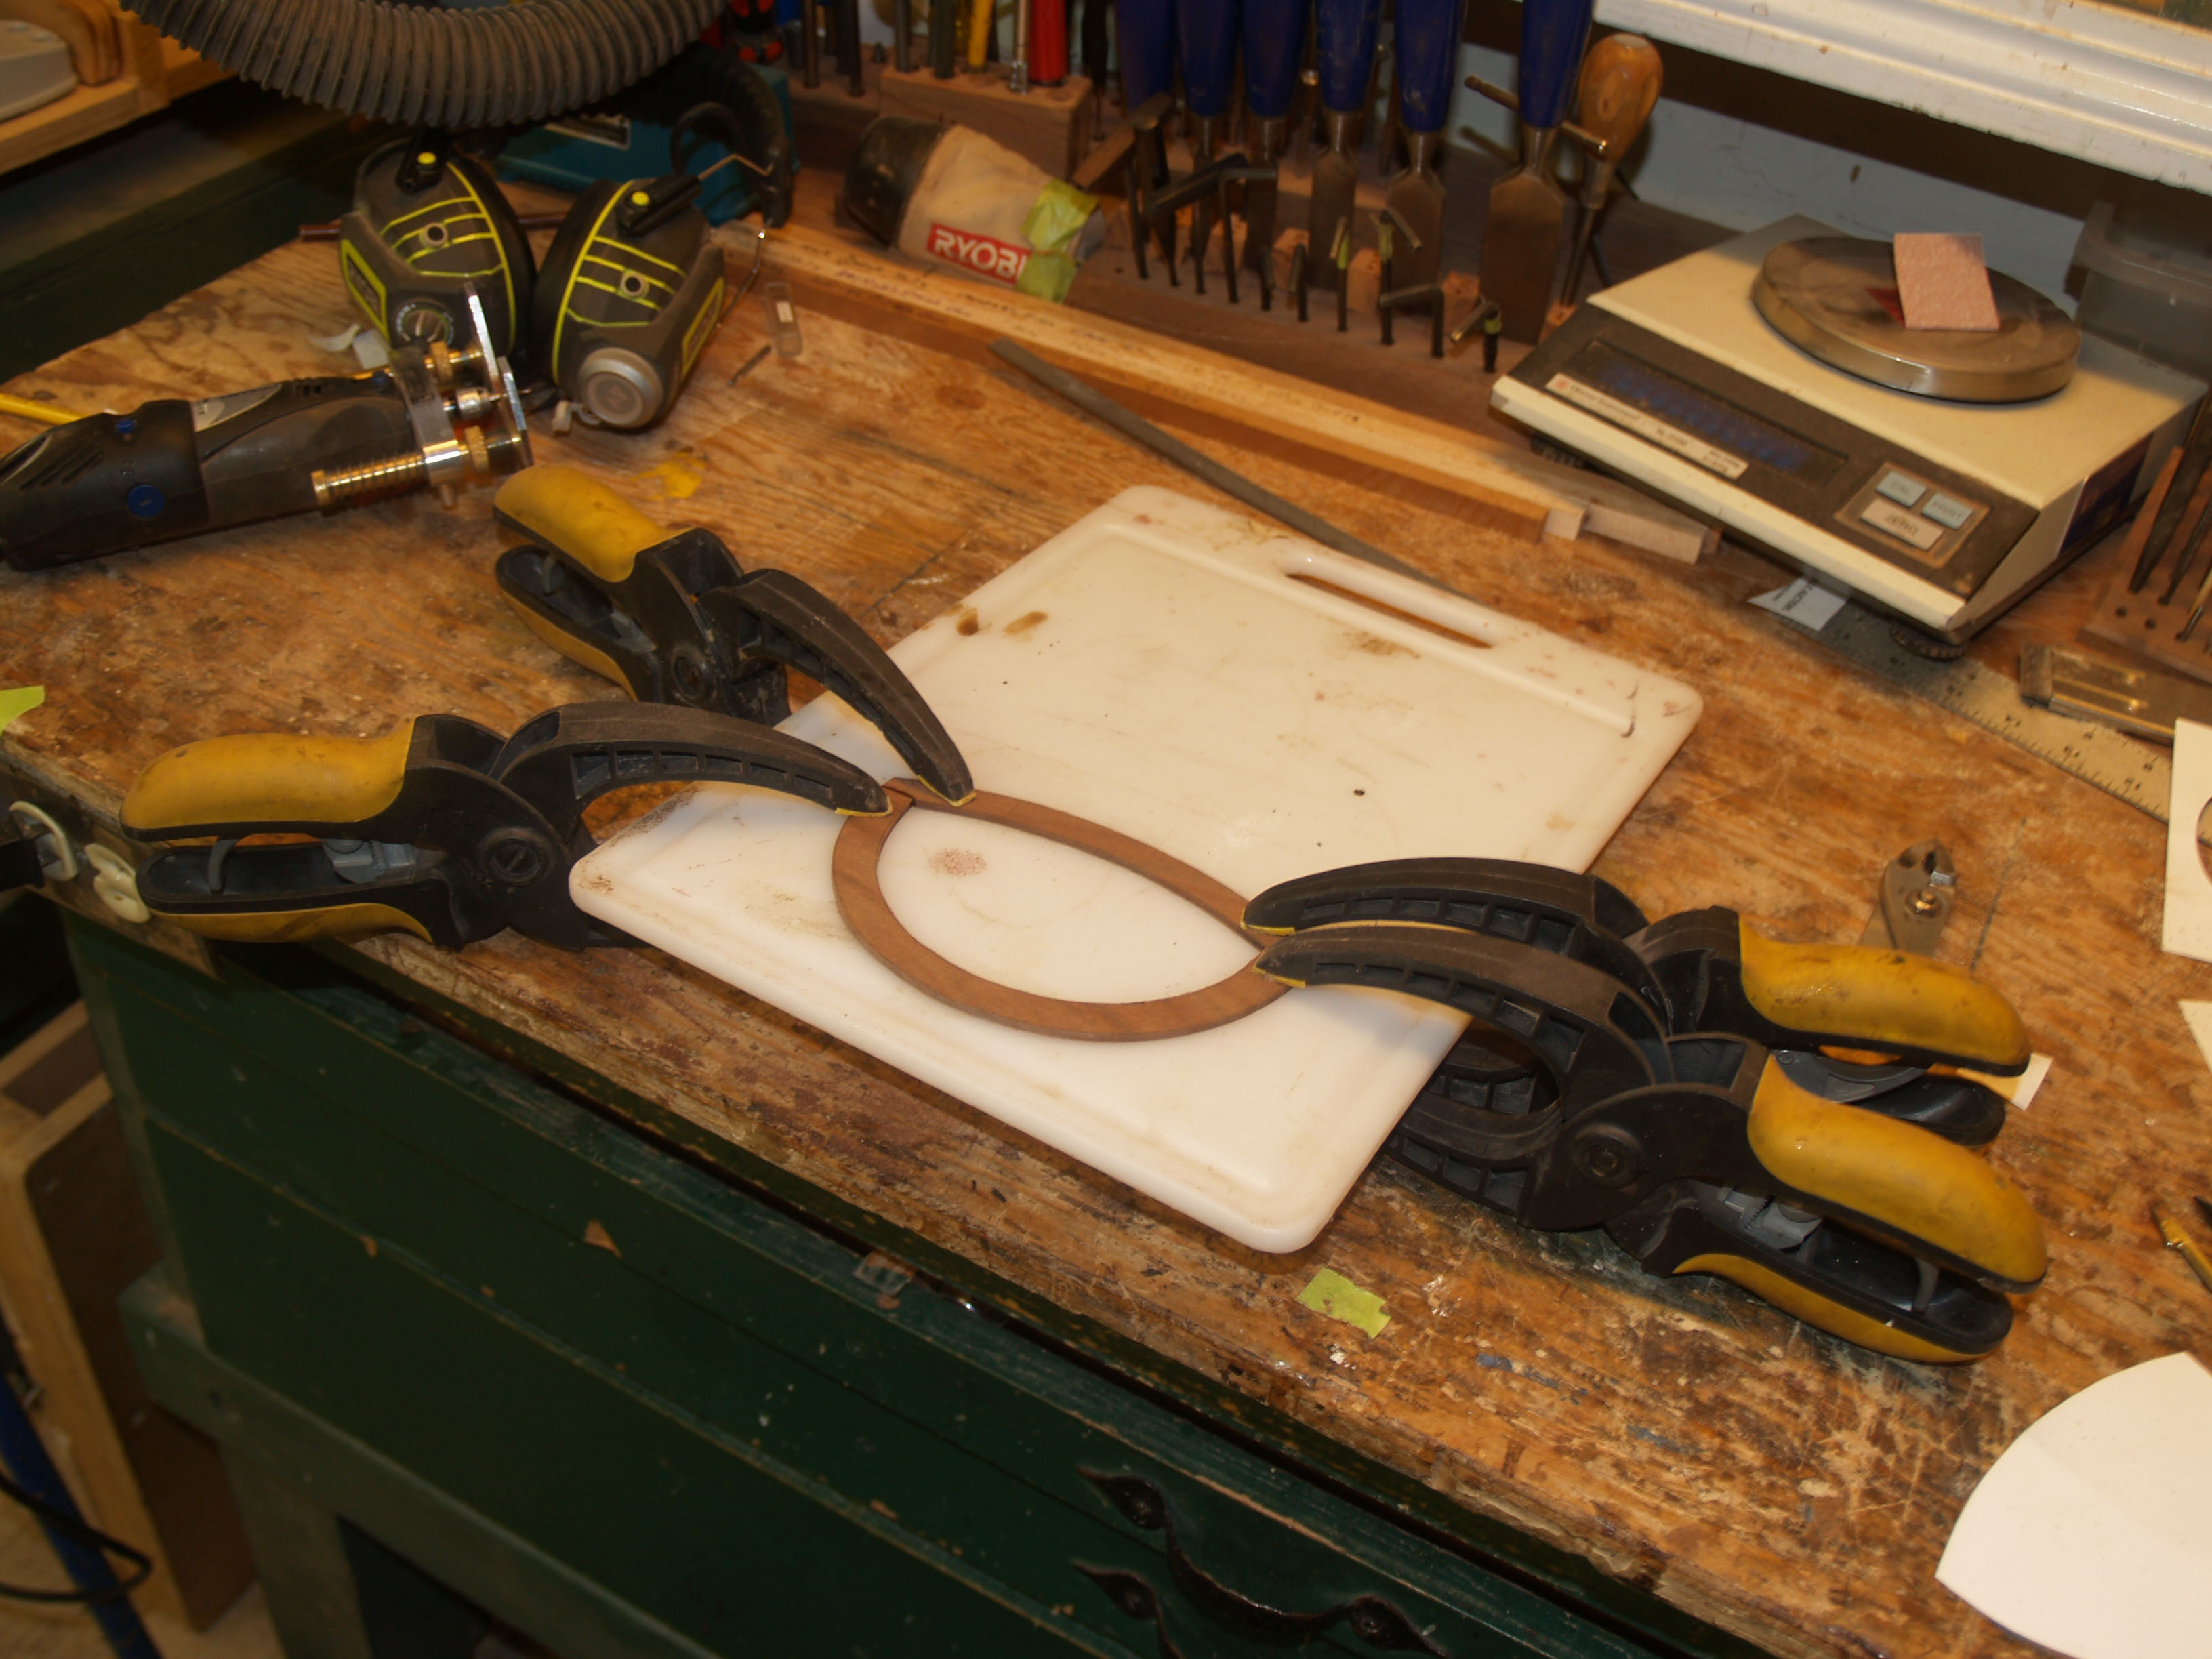 ( 088 ) 29-Nov-2012
Gluing the ring together.
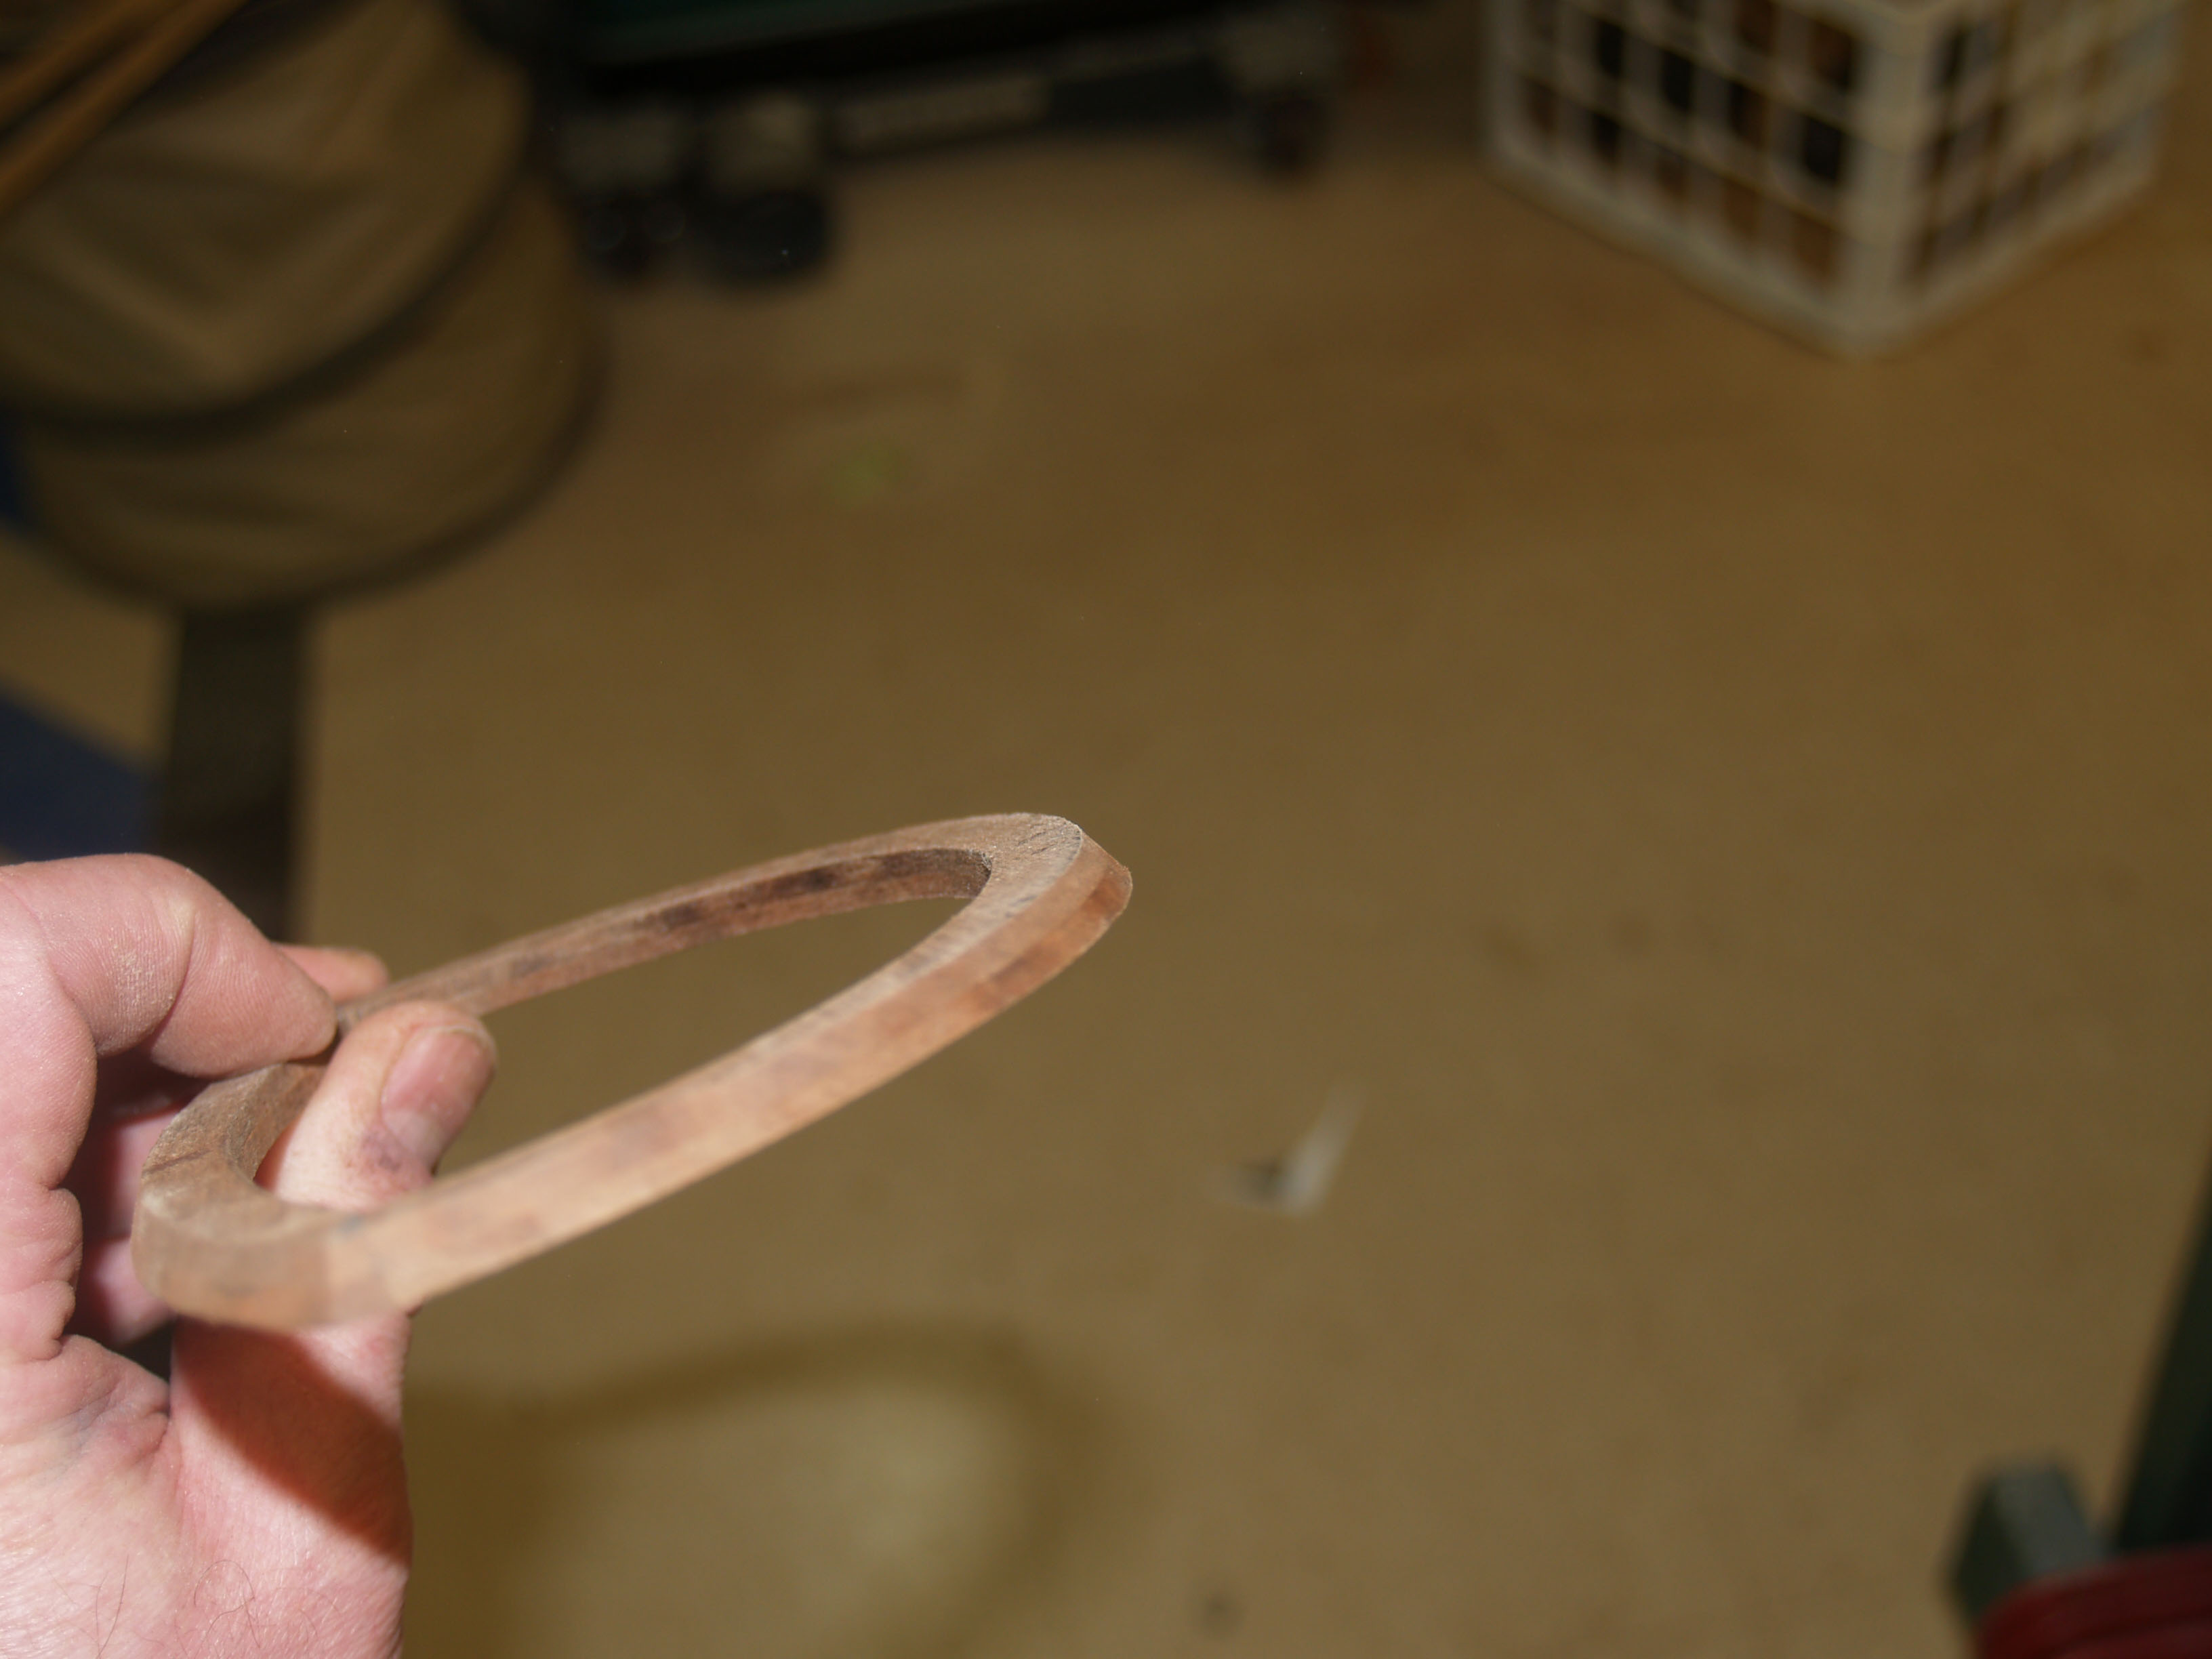 ( 089 ) 29-Nov-2012
I beveled the ring just to make it look nice.
 ( 090 ) 29-Nov-2012
Now I am ready to cut out the back plate.
 ( 091 ) 29-Nov-2012
I carefully align the reinforcing ring and glue it in place.
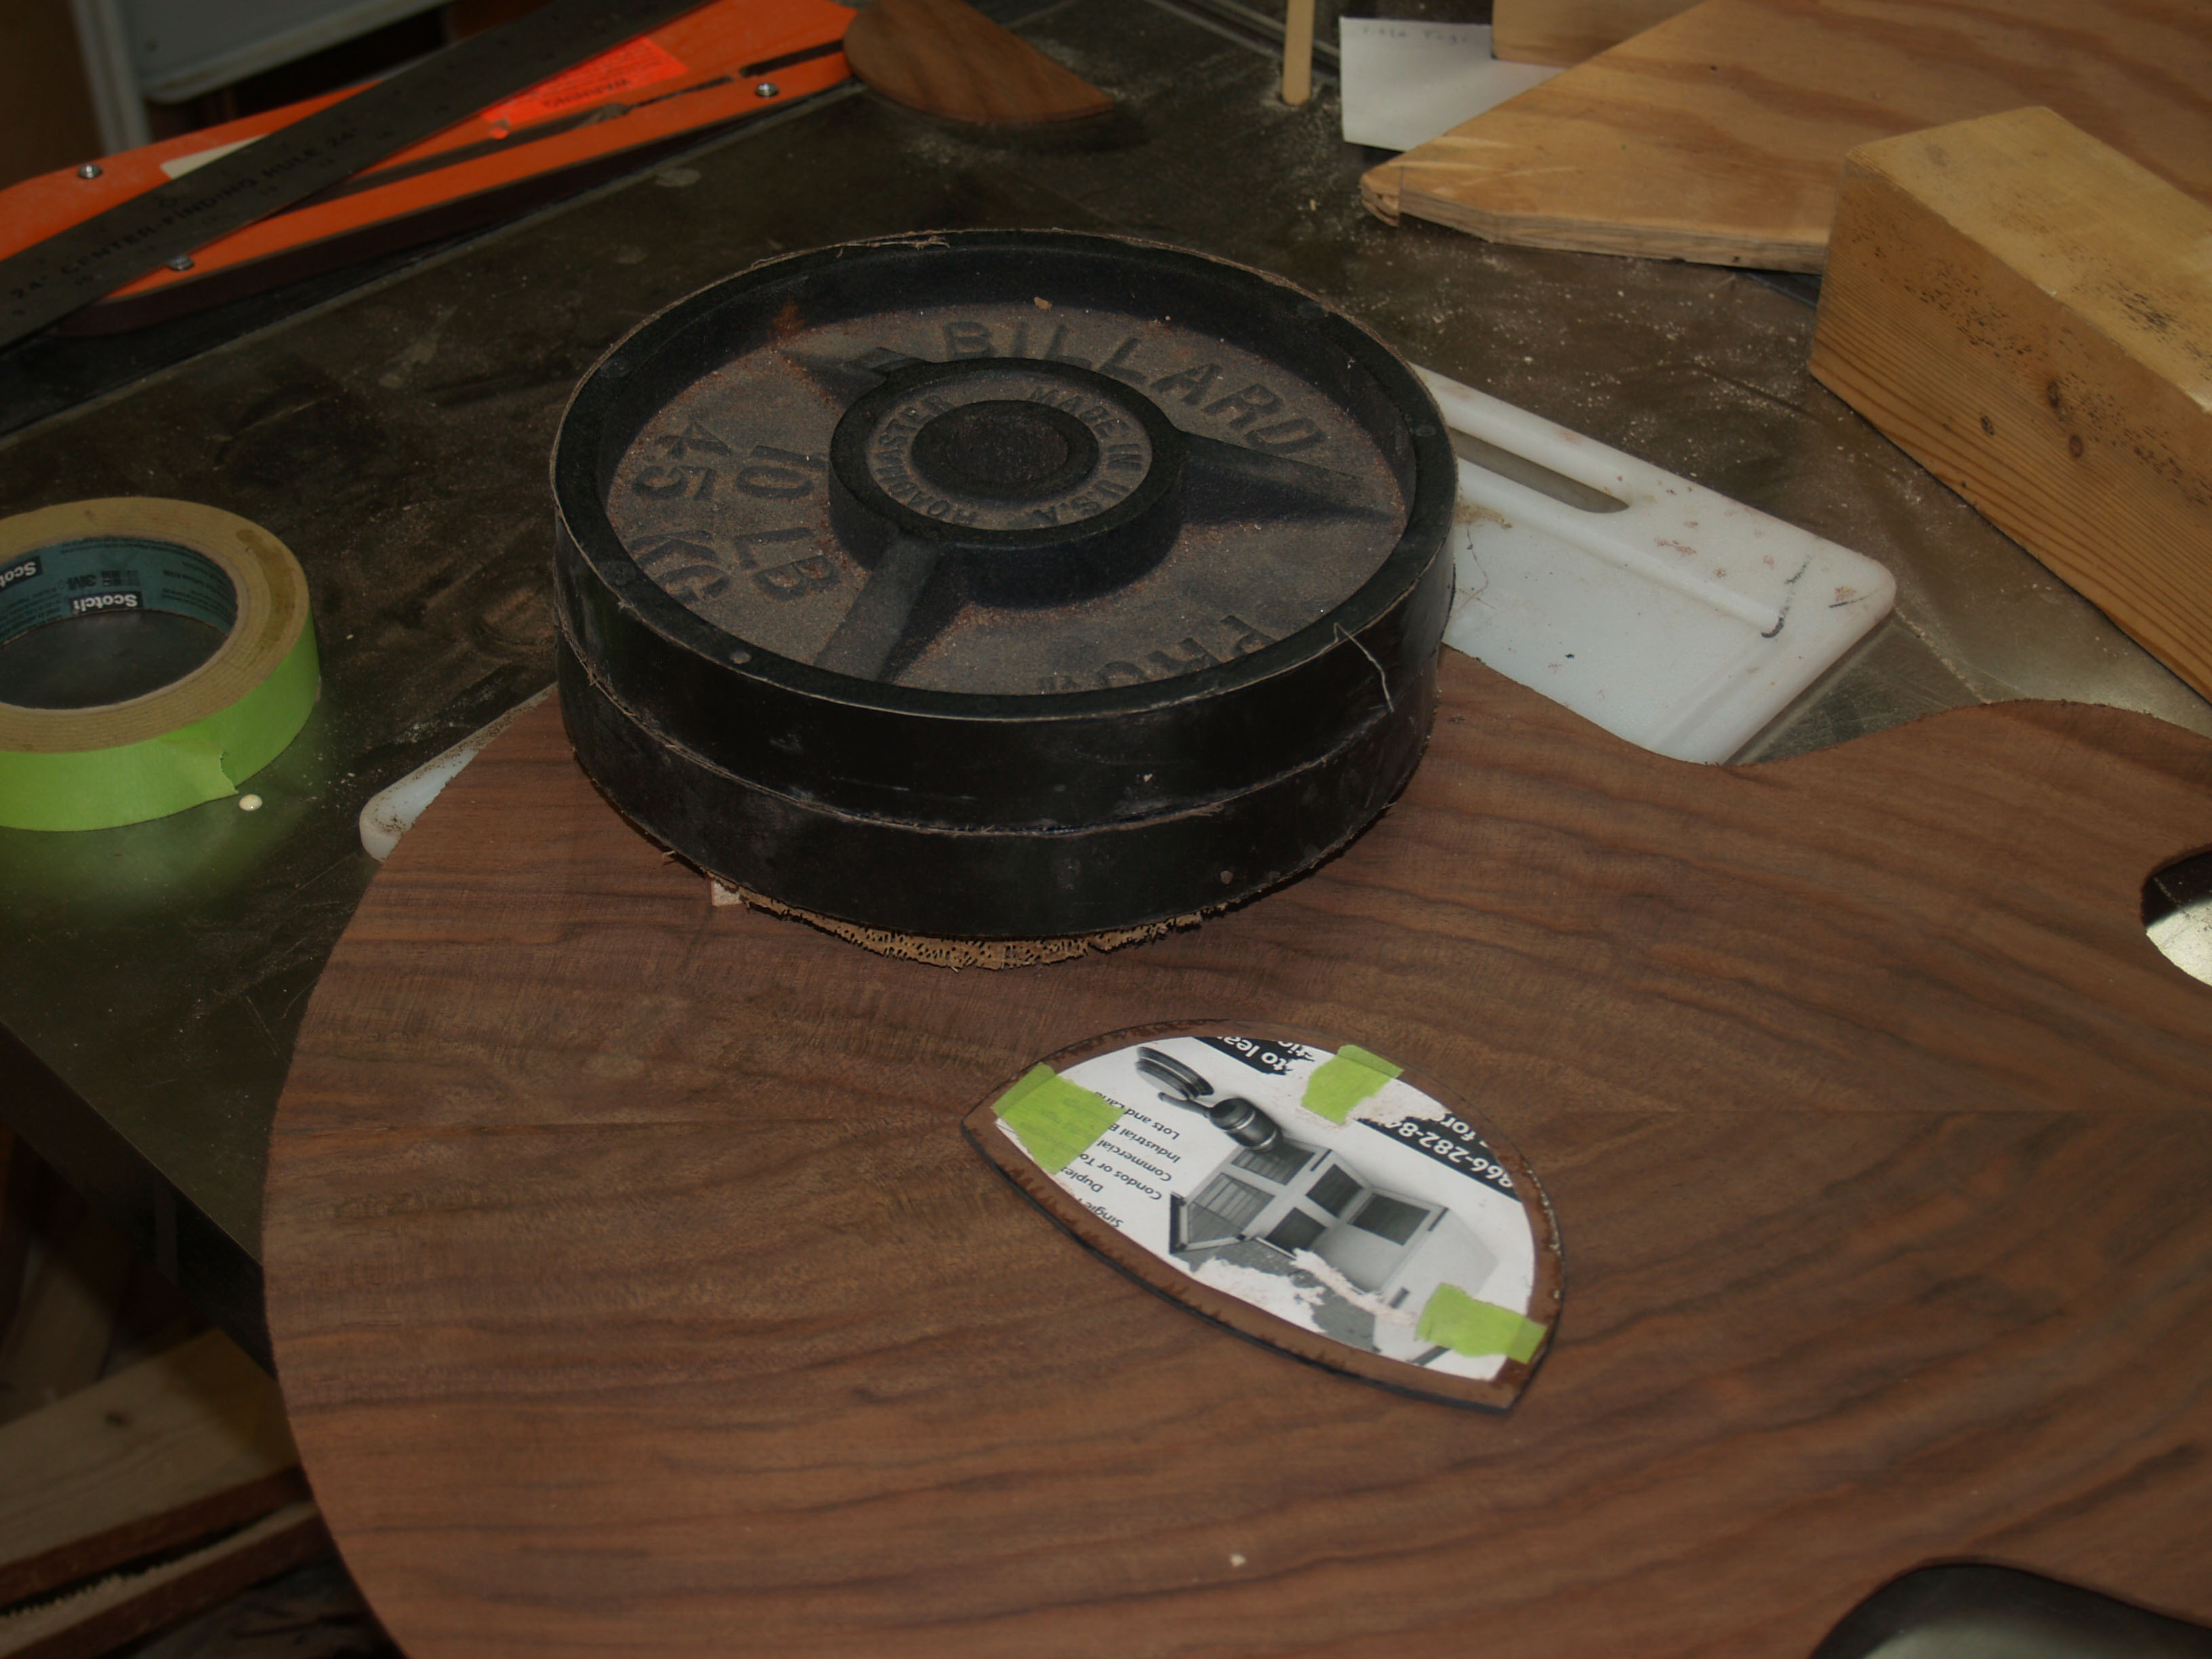 ( 092 ) 29-Nov-2012
A few weights help press the ring in place.
 ( 093 ) 29-Nov-2012
A perfect fit.
 ( 094 ) 29-Nov-2012
I am using a few small screws to hold the access door in place.
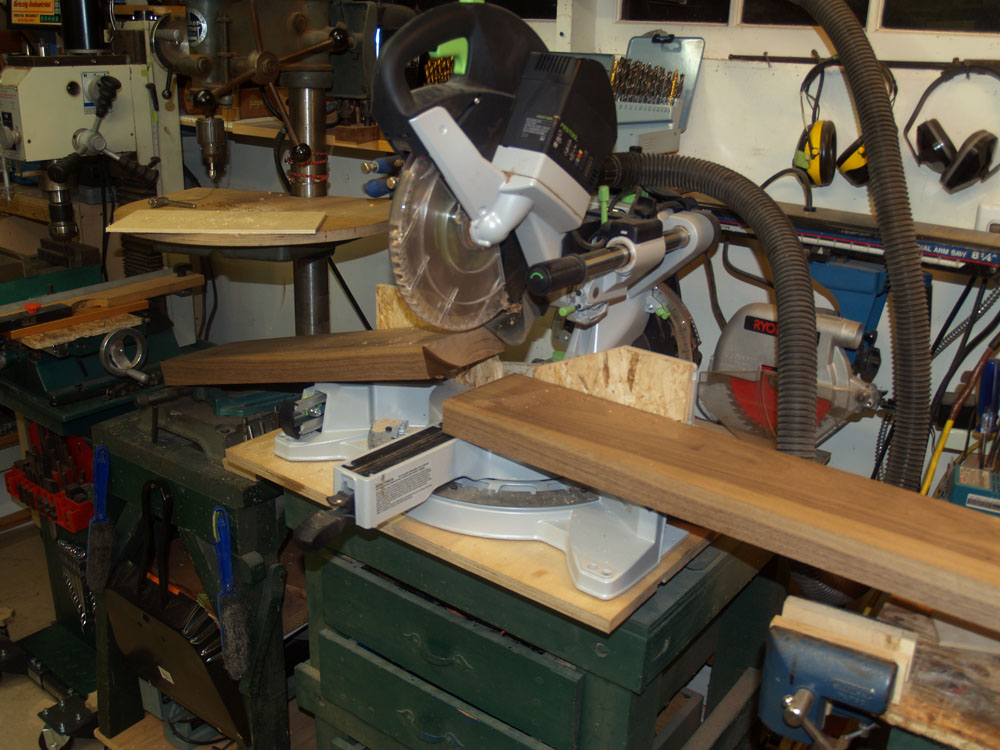 ( 095 ) 29-Nov-2012
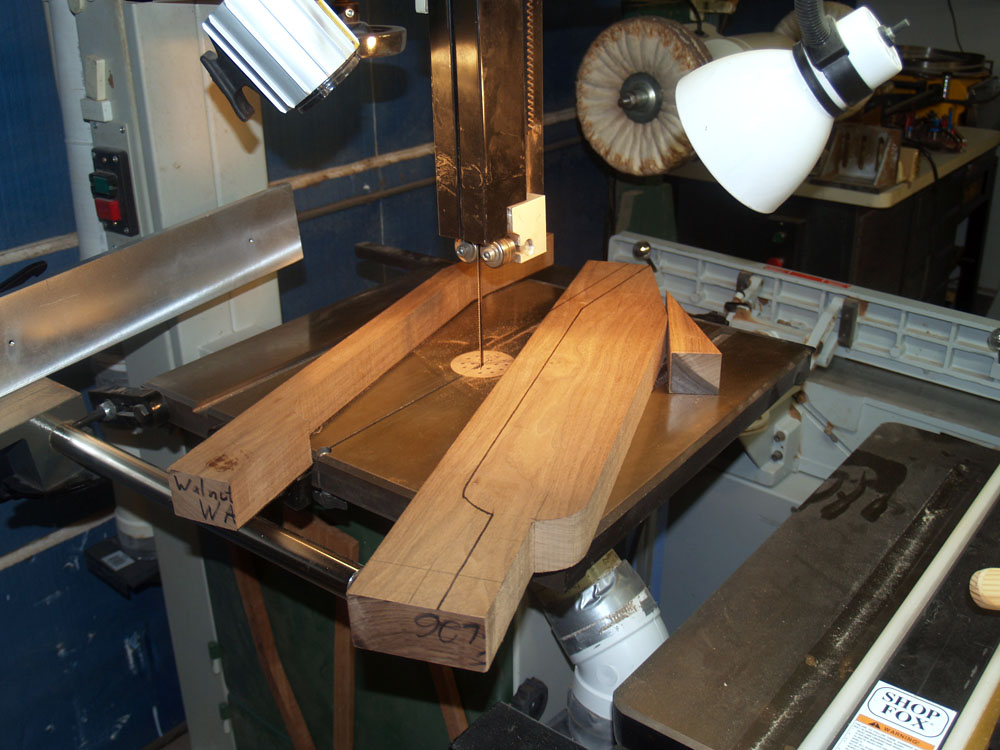
In this picture I am cutting off a piece of Walnut to use for the neck.
 ( 096 ) 29-Nov-2012
I use my bandsaw to carve out the neck blanks.
 ( 097 ) 29-Nov-2012
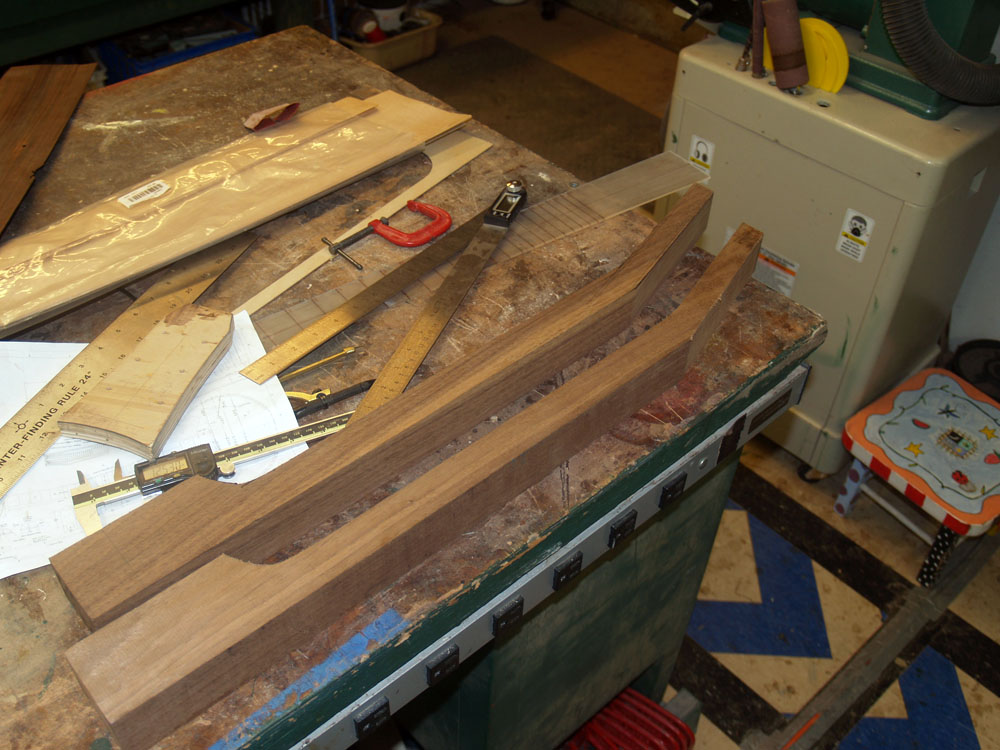
The two halves of the neck blank.
 ( 098 ) 29-Nov-2012
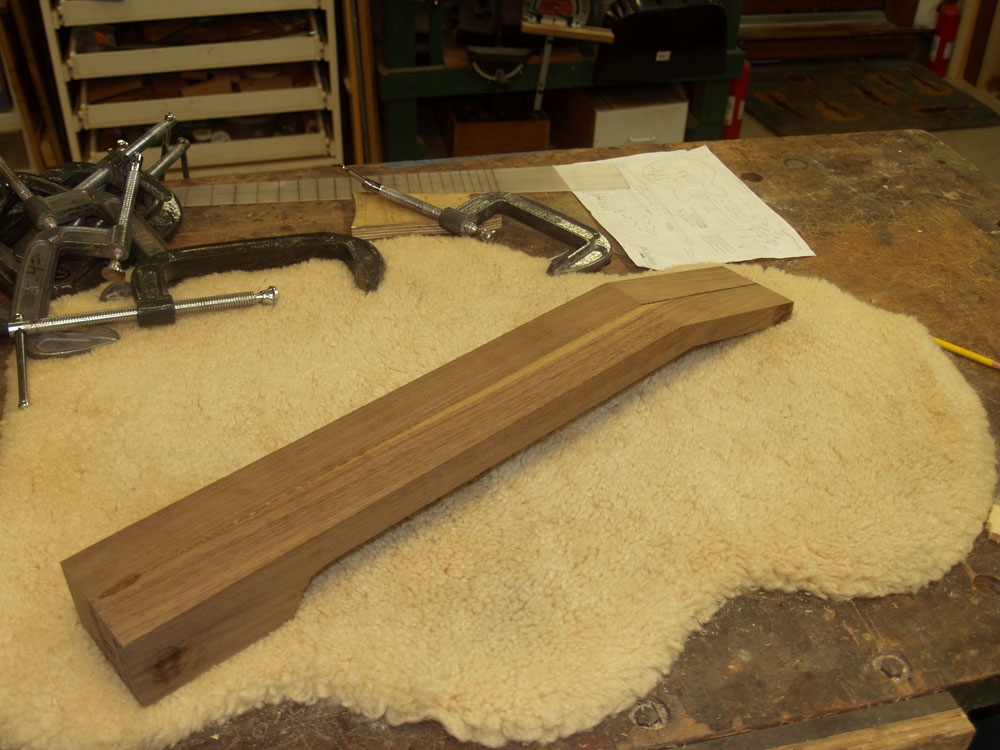
A bit of glue and a few clamps secures the two halves together.
 ( 099 ) 29-Nov-2012
The finished neck blank. Now all I have to do is carve away everything that isn't the neck.
 ( 100 ) 29-Nov-2012
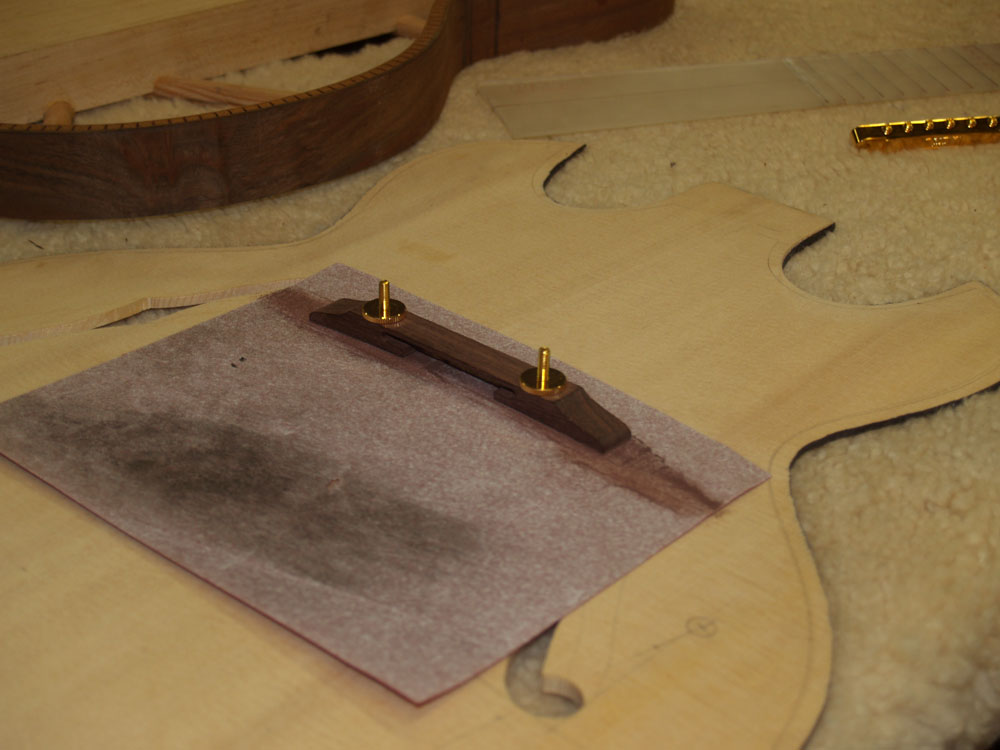
I have purchased a Tunamatic bridge. This bridge will give us height and intonation control. I have to sand the bottom of the bridge to match the curve of the top.
 ( 101 ) 29-Nov-2012
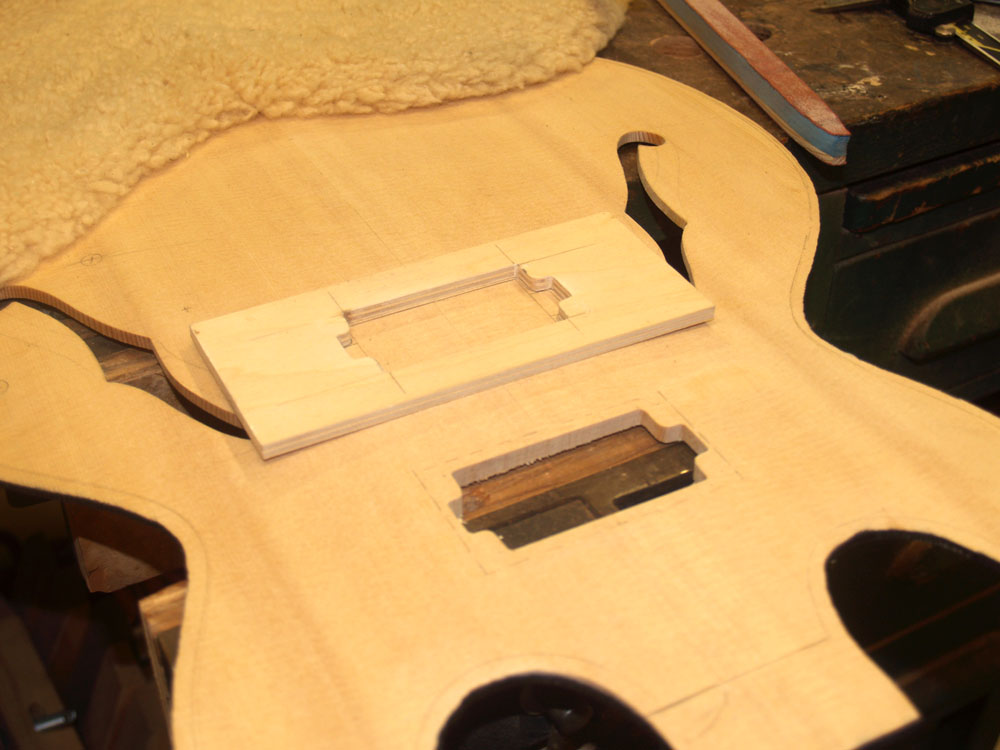
The pickup holes are cut out of the top using yet another template.
 ( 102 ) 29-Nov-2012
Cutting the holes out of the top.
 ( 103 ) 29-Nov-2012
A funny shaped hole, but all to a purpose.
 ( 104 ) 29-Nov-2012
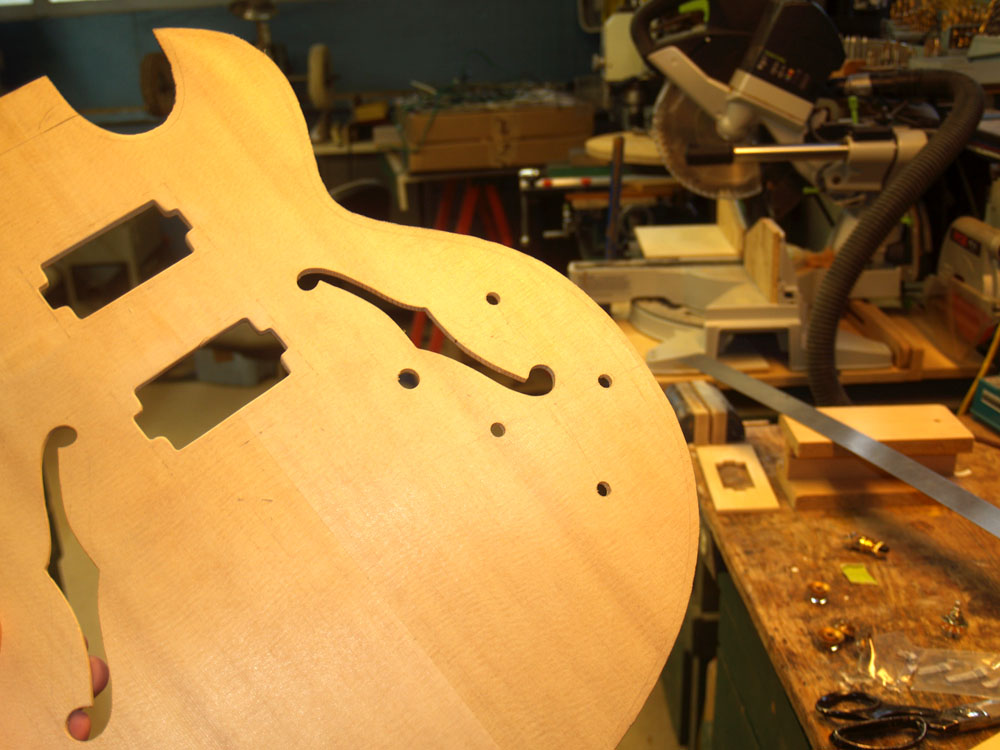
There are five holes for the electronics controls.
 ( 105 ) 29-Nov-2012
Holes run through my guitar.
 ( 106 ) 29-Nov-2012
I've installed all of the controls to make sure everything fits.
 ( 107 ) 29-Nov-2012
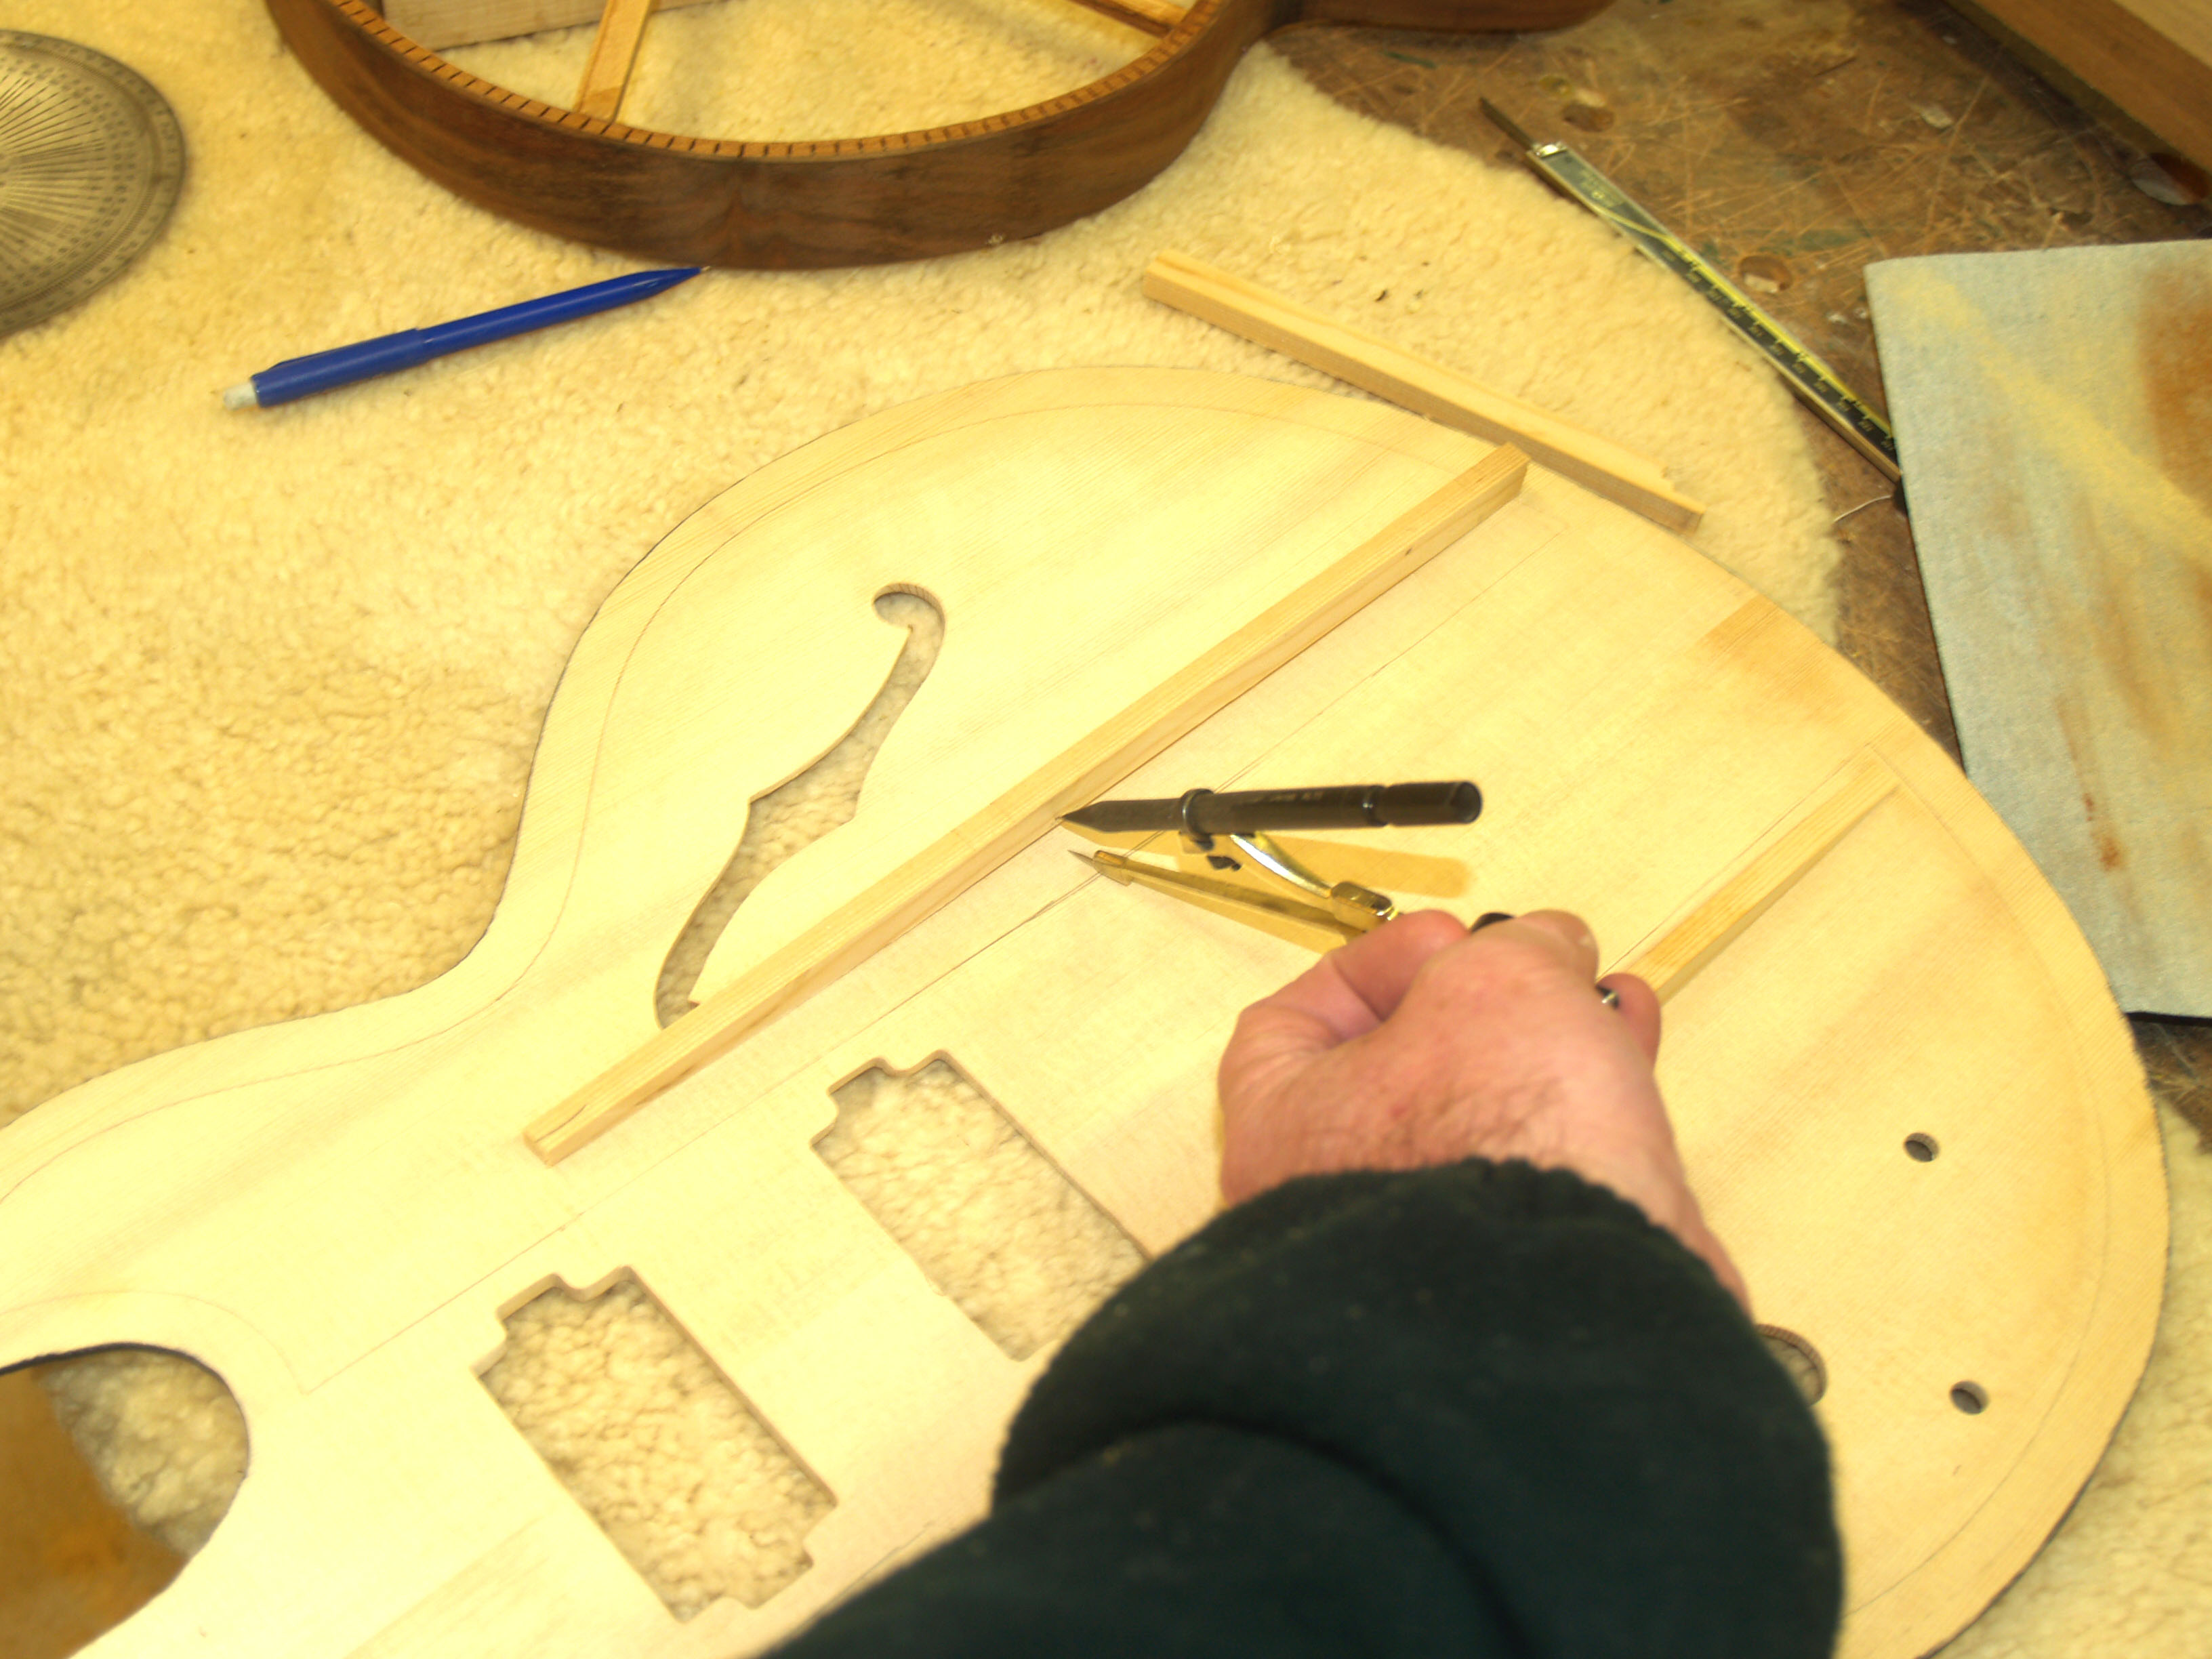
To reinforce the top I am installing two braces down the length of the top. I use my compass to scribe the shape of the top onto the braces.
 ( 108 ) 29-Nov-2012
Shaping the brace on the disk sander.
 ( 109 ) 29-Nov-2012
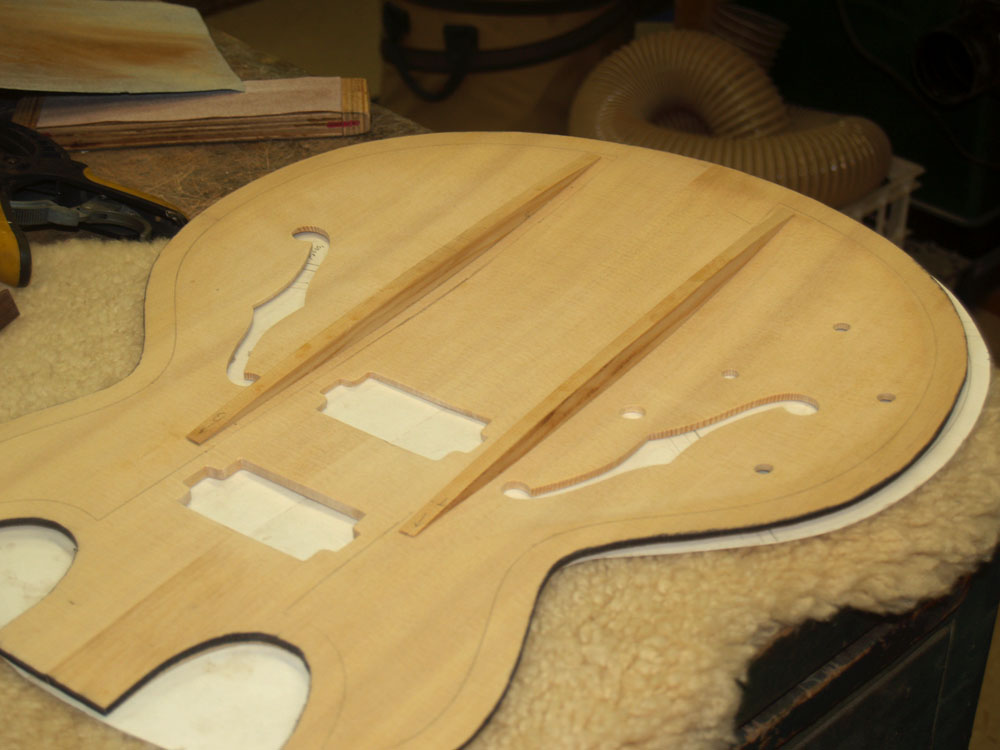
I test the braces to make sure the make a good fit.
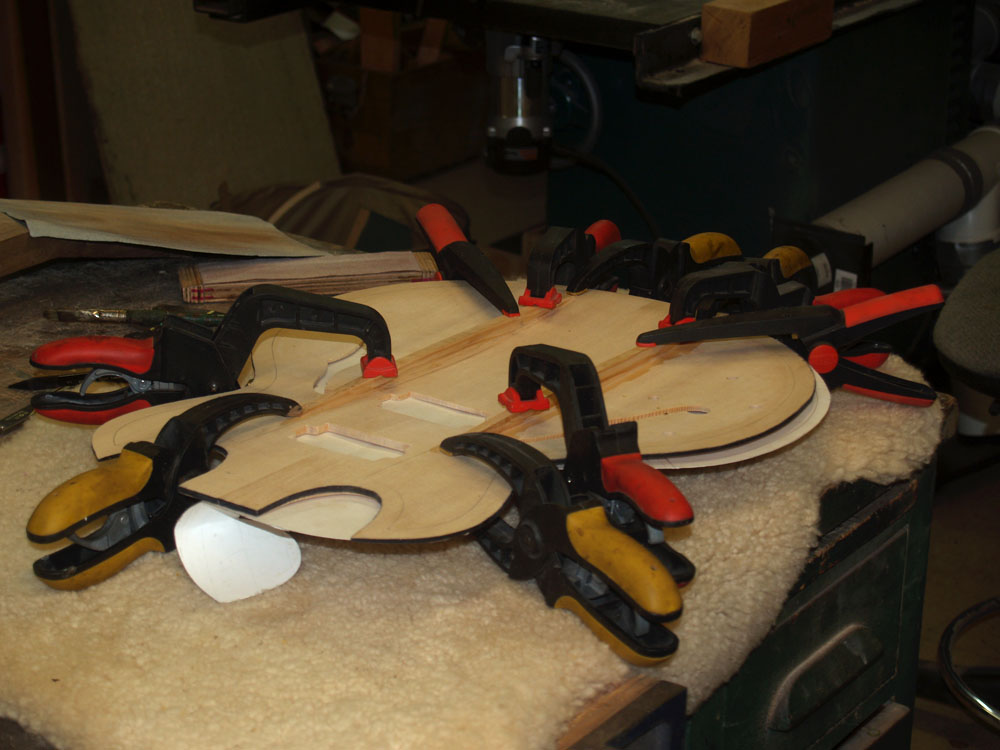 ( 110 ) 29-Nov-2012
A few clamps holds the braces as they are glued in place.
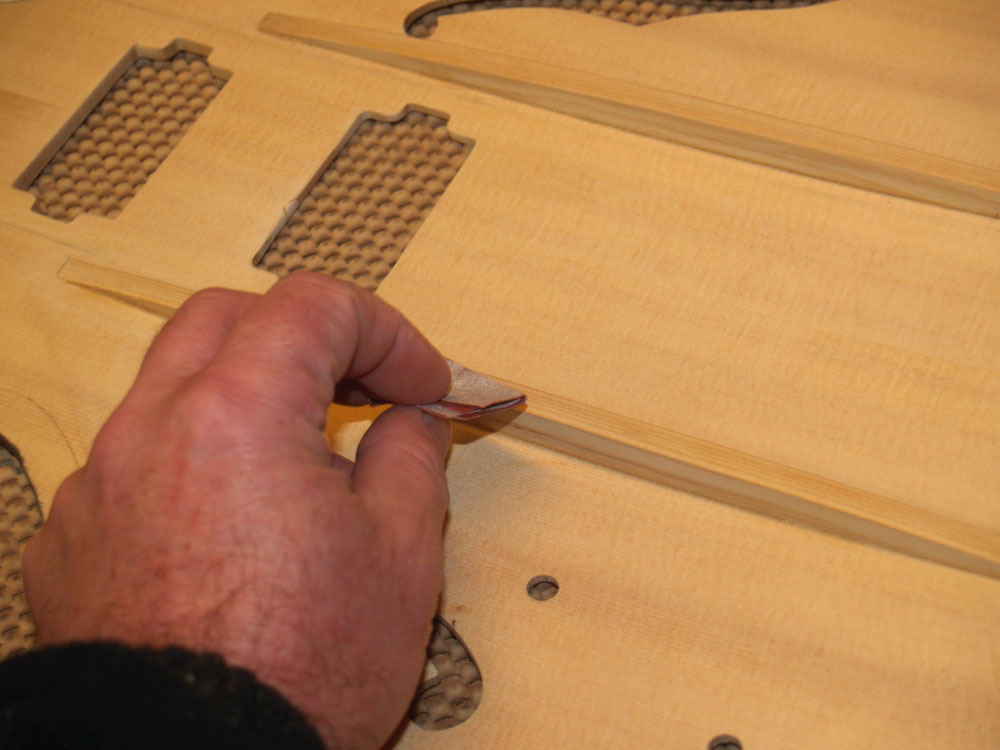 ( 111 ) 29-Nov-2012
A bit of hand sanding makes them look good.
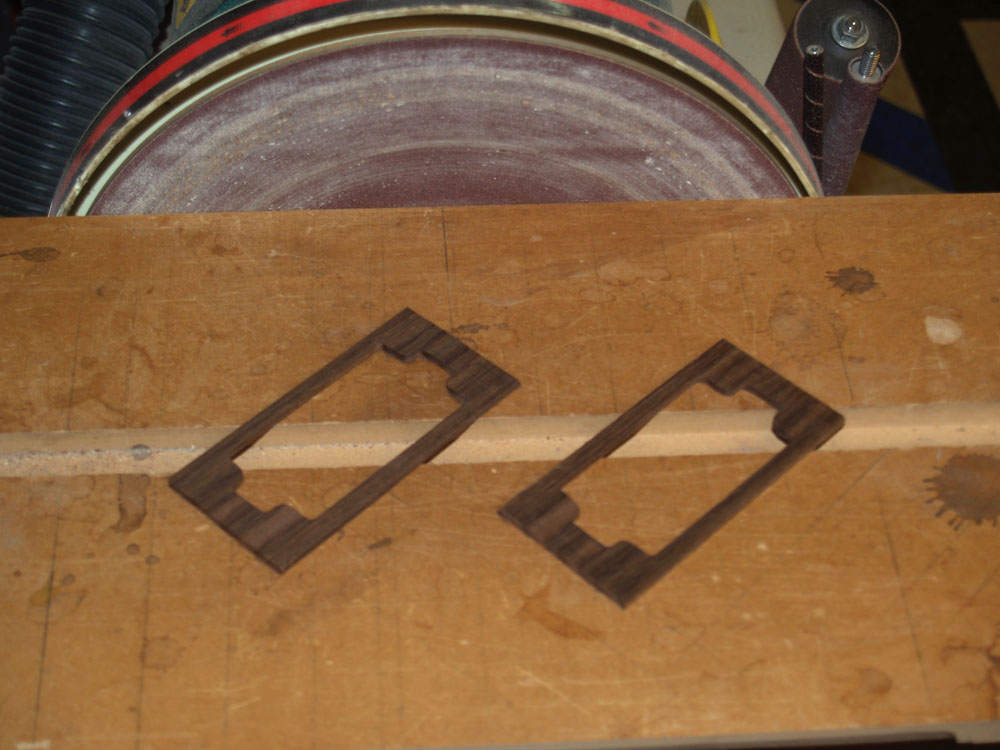 ( 112 ) 29-Nov-2012
Here I am making the pickup mounting rings out of Indian Rosewood. These will match the other parts of the string chain.
 ( 113 ) 29-Nov-2012
I am installing reinforcing rings on the inside of the pickup holes.
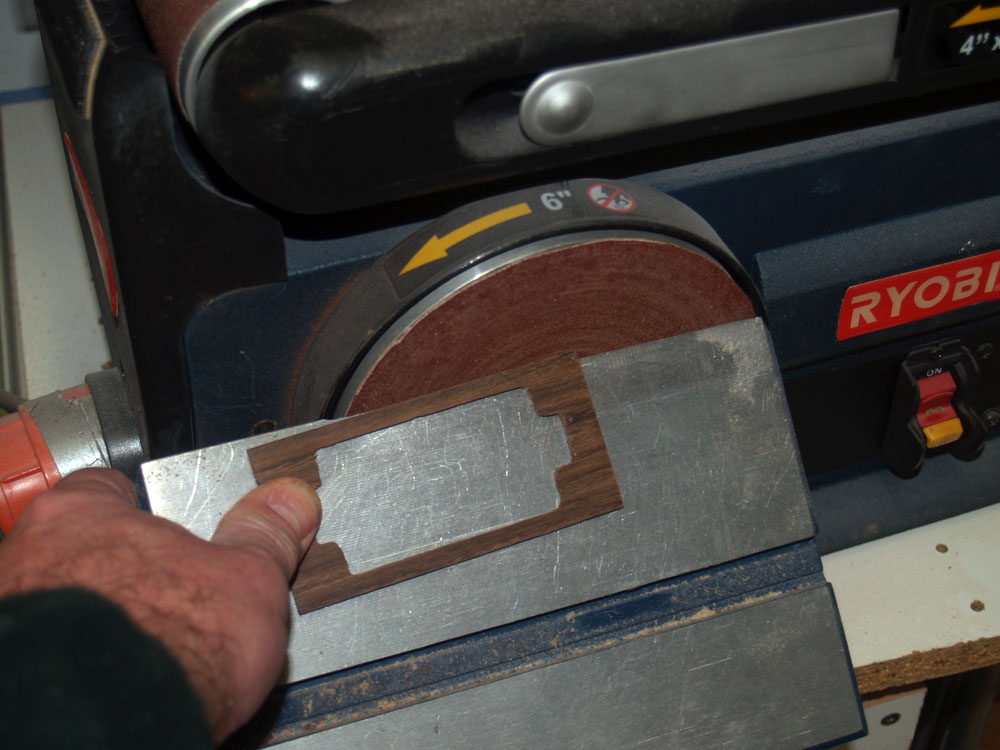 ( 114 ) 29-Nov-2012
Here I am putting a bevel on the mounting ring.
 ( 115 ) 29-Nov-2012
And here is pickup installed in its mounting ring. This system allows the height of the pickup to be adjusted.
 ( 116 ) 29-Nov-2012
And here is all of the hardware mounted in the top.
 ( 117 ) 29-Nov-2012
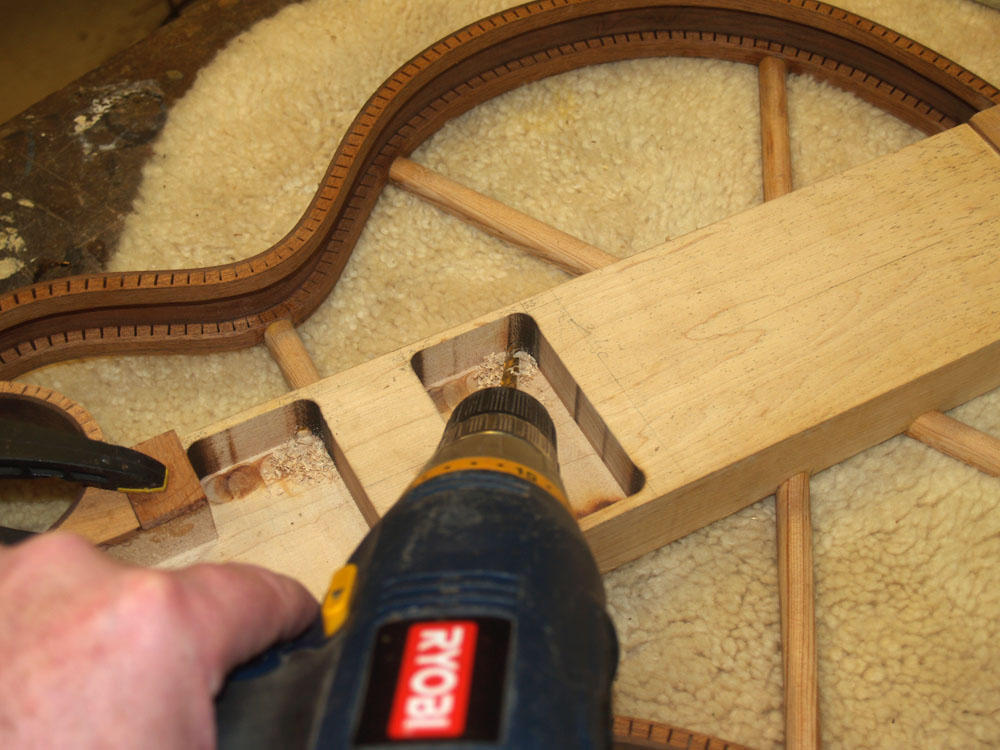
After a bit of consideration I have decided to extend the neck support area. This area will be glued to the bottom of the top.
 ( 118 ) 29-Nov-2012
A small detail before gluing the top to the sides. A hole for the pickup wire.
 ( 119 ) 29-Nov-2012
I have created a channel for the tail graft, made from Indian rosewood.
 ( 120 ) 29-Nov-2012
 ( 121 ) 29-Nov-2012
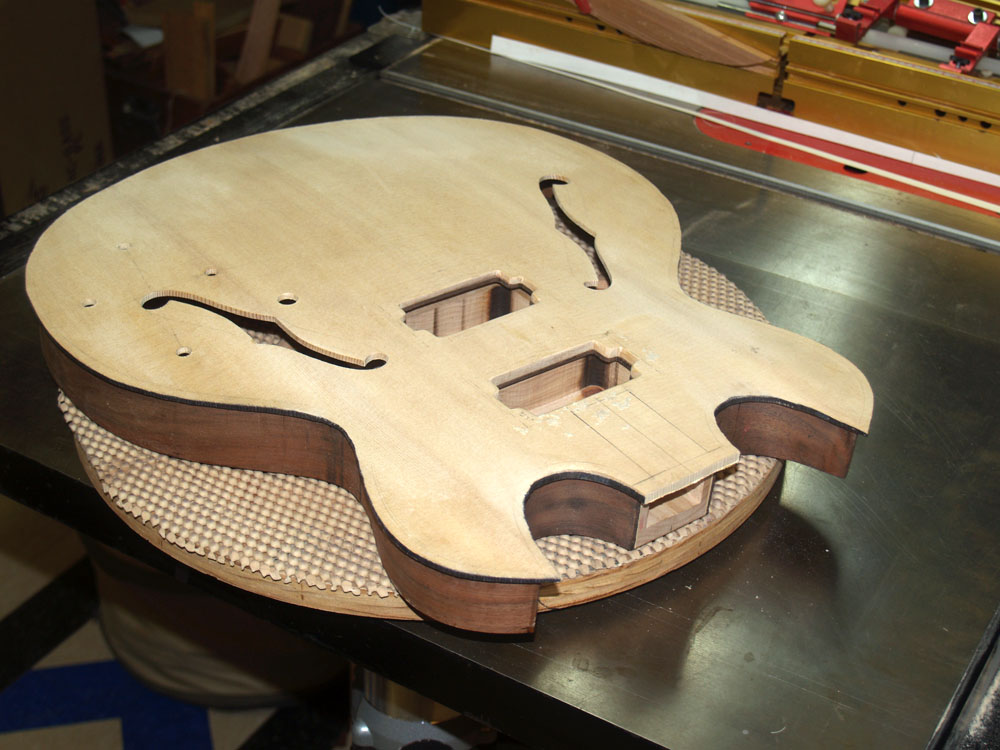
I carefully lay out the glue on the edge of the rim.
 ( 122 ) 29-Nov-2012
And with the help of a few clamps I glue the top to the side rim.
 ( 123 ) 29-Nov-2012
 ( 124 ) 29-Nov-2012
I have a small router to trim the excess off of the top plate.
 ( 125 ) 29-Nov-2012
 ( 126 ) 29-Nov-2012
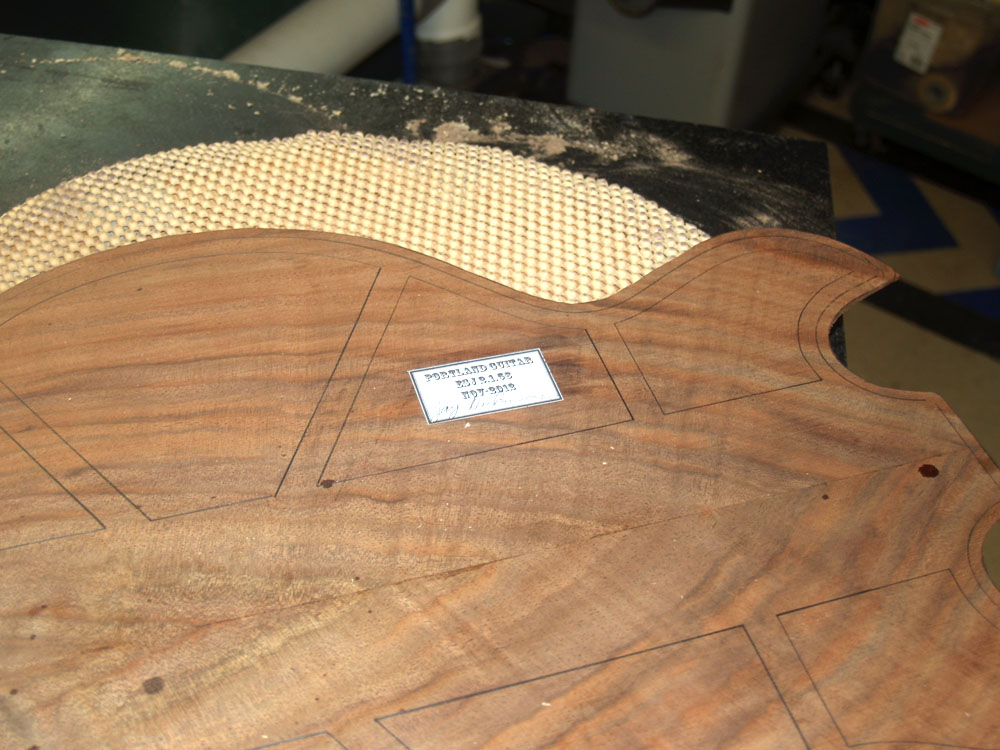
Before I glue on the back I out on the label.
 ( 127 ) 29-Nov-2012
The back rim and braces get a layer of glue.
 ( 128 ) 29-Nov-2012
A with a little help from my friends I glue the back to the sides.
 ( 129 ) 29-Nov-2012
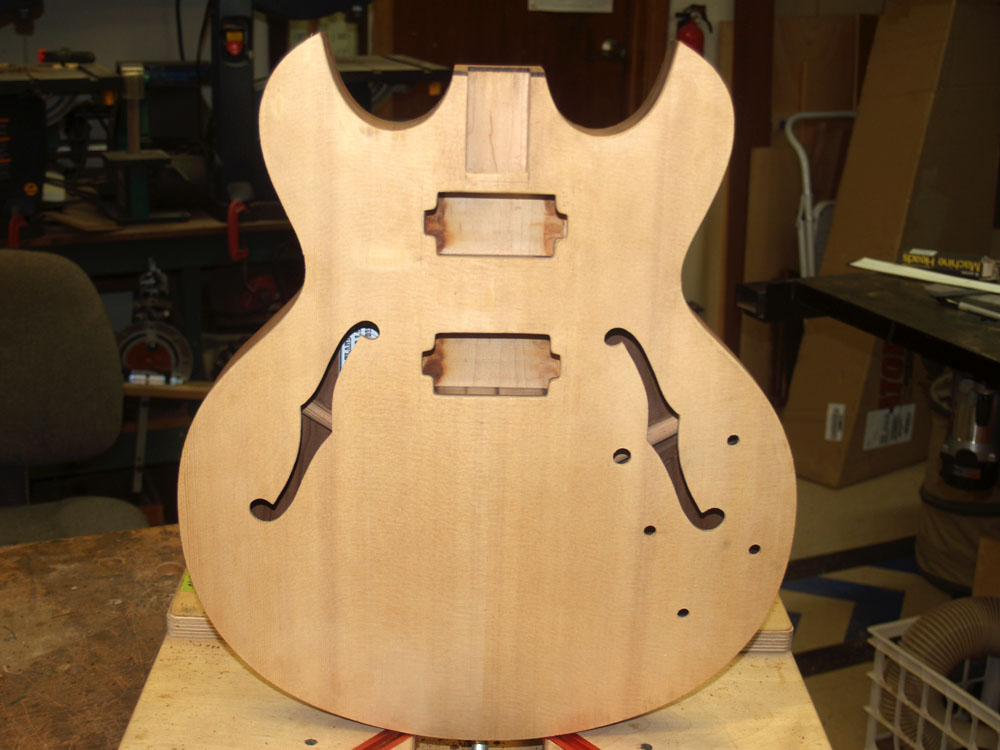
I use the router again to trim away the edge lip.
 ( 130 ) 29-Nov-2012
 ( 131 ) 29-Nov-2012
Next up is to install the binding.
 ( 132 ) 29-Nov-2012
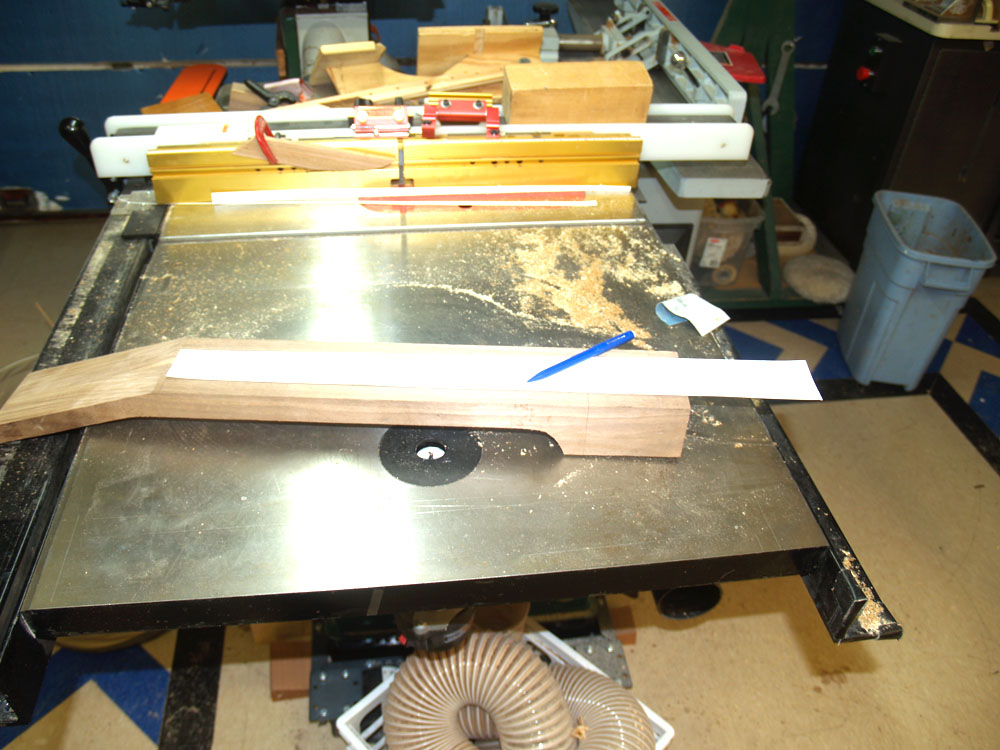
Now with the body glued together I can fit the neck blank to the body. I first lay out the design of the neck on the blank.
 ( 133 ) 29-Nov-2012
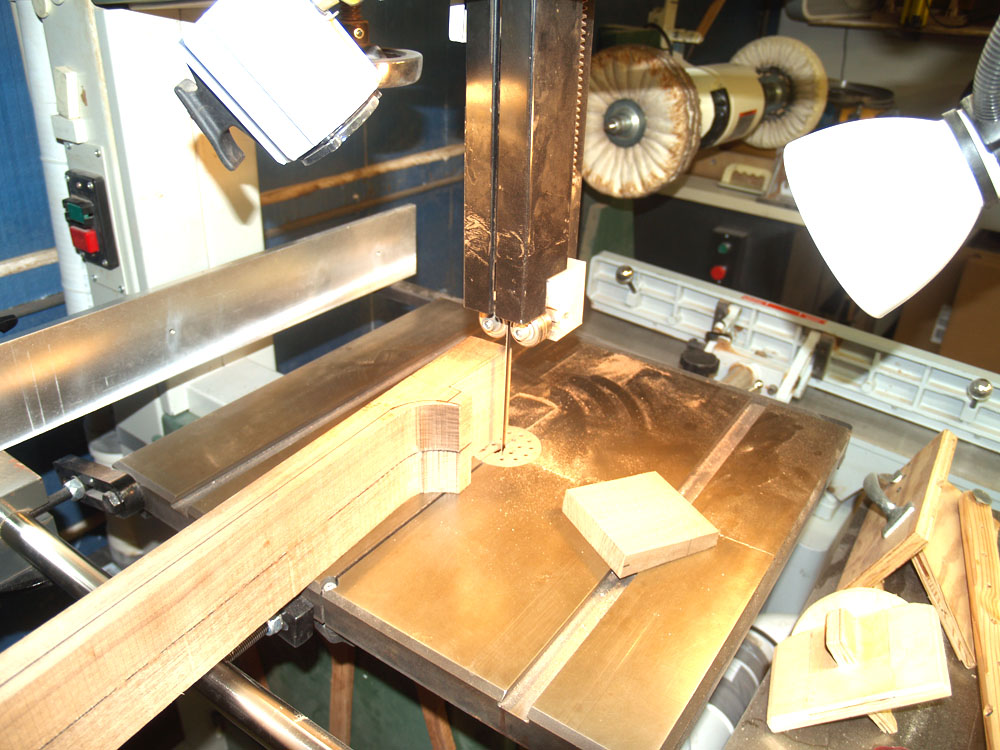
I use my bandsaw to trim away the excess.
 ( 134 ) 29-Nov-2012
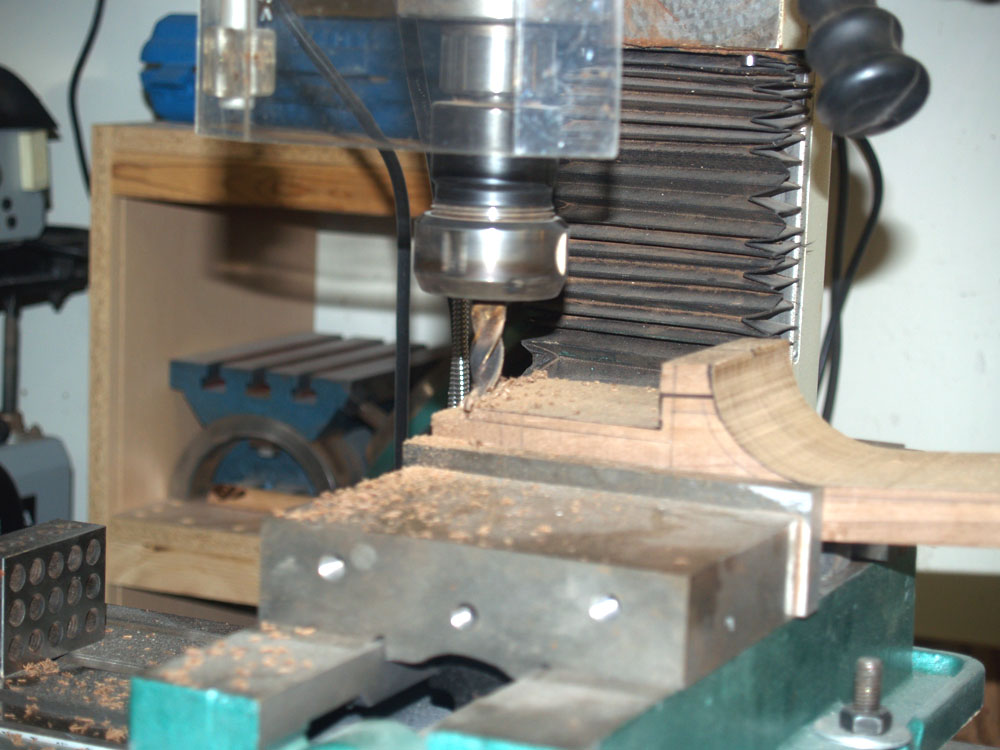
And Then I use the milling machine to shape the tenon.
 ( 135 ) 29-Nov-2012
The neck is tilted 4 degrees to the body, so the bottom of the tenon angles away from the top.
 ( 136 ) Date
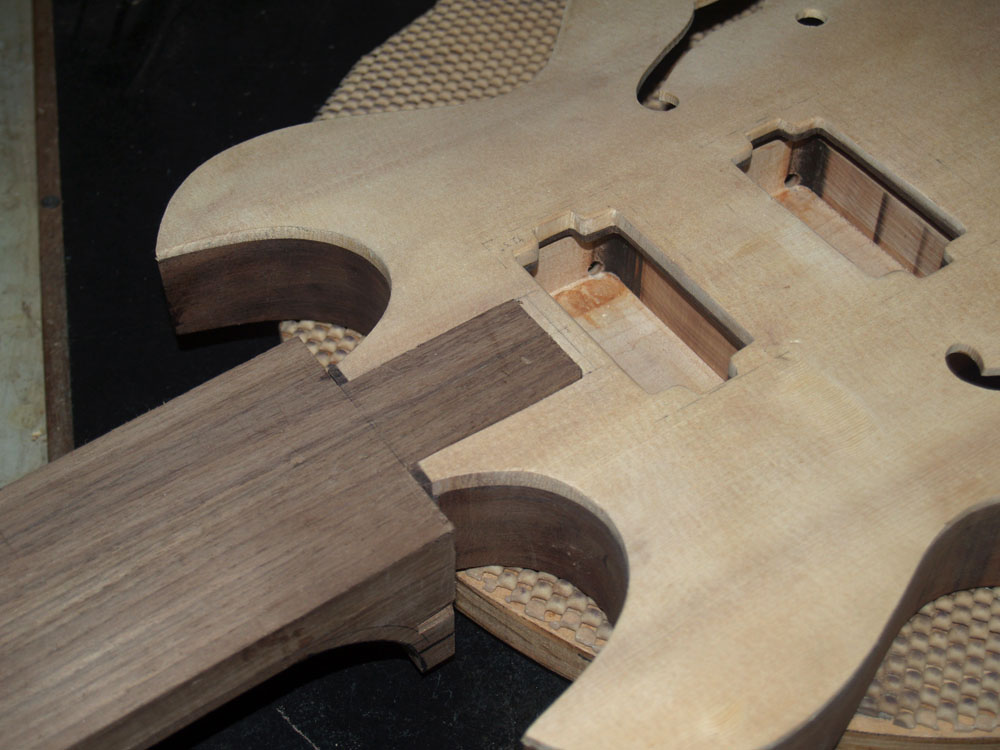
A nice mortise and tenon fit. The neck will be attached to the body with a set of bolts.