Portland Guitar Co. | Portland Oregon | Contact Jay Dickinson-503.245.3276 | jay@portlandguitar.com
Portland Guitar Pretty Good Intonation (PGPG) System
Finished Build
Electro-Spanish Small Jumbo
Serial # ESJ 2.1.56
Body: Figured Walnut
Top: Sitka Spruce
Neck: Walnut
Binding: White
Fretboard: Indian Rosewood
Hardware: Gold
Pickups: Vintage Humbucking
Page 1
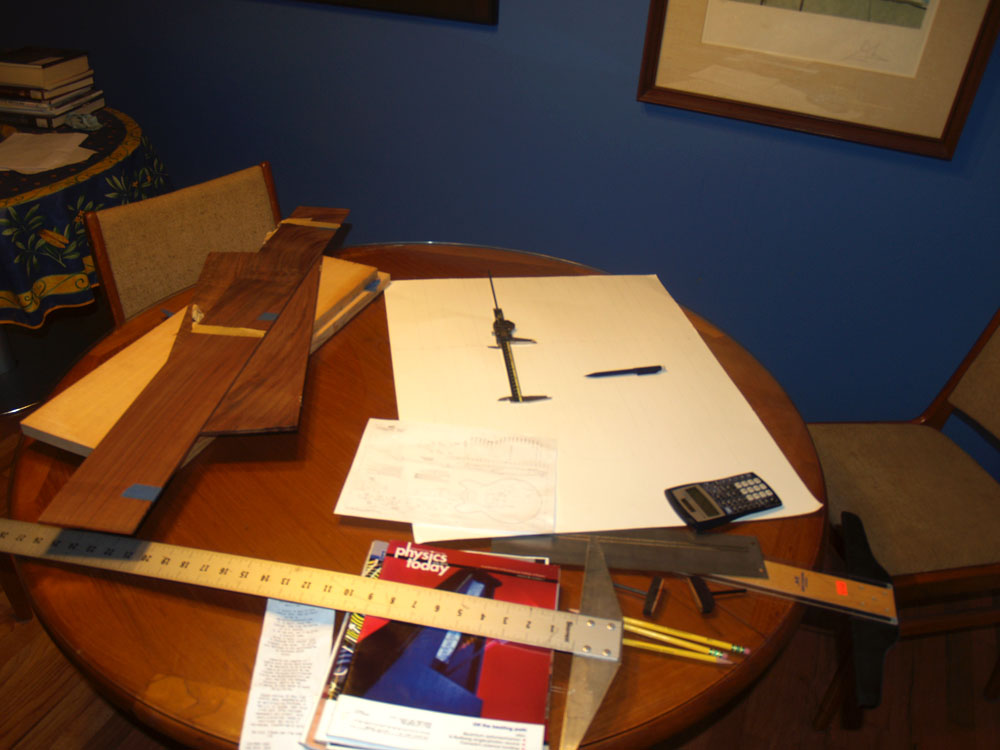 ( 1 ) 19-Sept-2012
This is a new model guitar for me and Portland Guitar, so there is a bit of research and design work to be done before I start making sawdust. My strategy is to take time to envision what the final instrument will look like and then develop the tools and processes I will need to realize that vision.
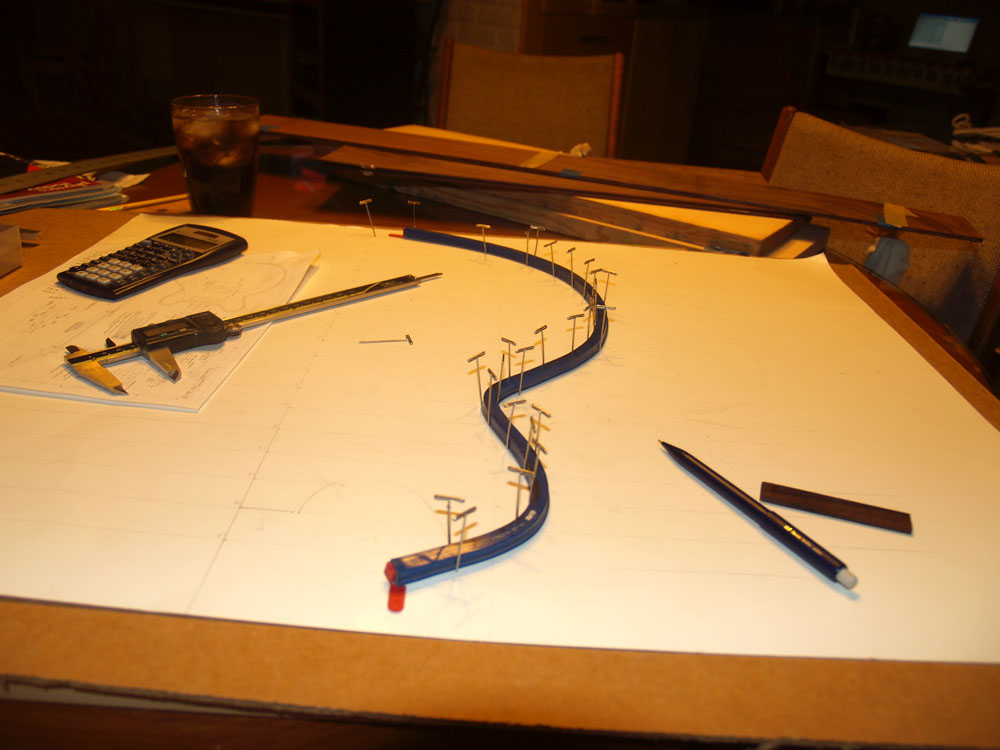 ( 2 ) 19-Sept-2012
In these first few pictures I am drawing out the shape of the body. I use this flexible drawing aid to create a smooth set of curves. I am using the shape of a Gibson's ES 335 as a starting place. However, we are going to have two Florentine cutaway sections framing the neck rather than the rounded cutaways typical on an ES 335.
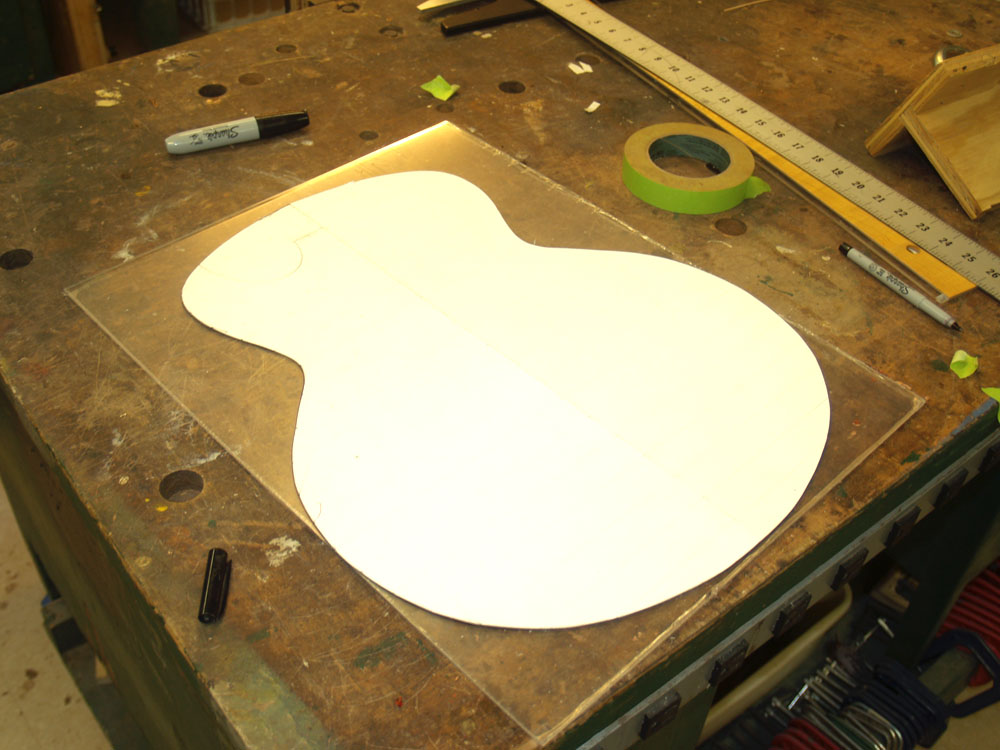 ( 3 ) 19-Sept-2012
The strategy I have adopted is to create a set of forms and templates that will allow me the flexibility to build a variety of guitar models. In this picture I am laying out the posterboard template I created on a piece of Plexiglas. I will use the Plexiglas template to layout the top and back pieces. The Plexiglas lets me see the figure of the wood as draw the outline of the guitar. This template doesn't include the cutaway sections that this guitar will have; these will be added later.
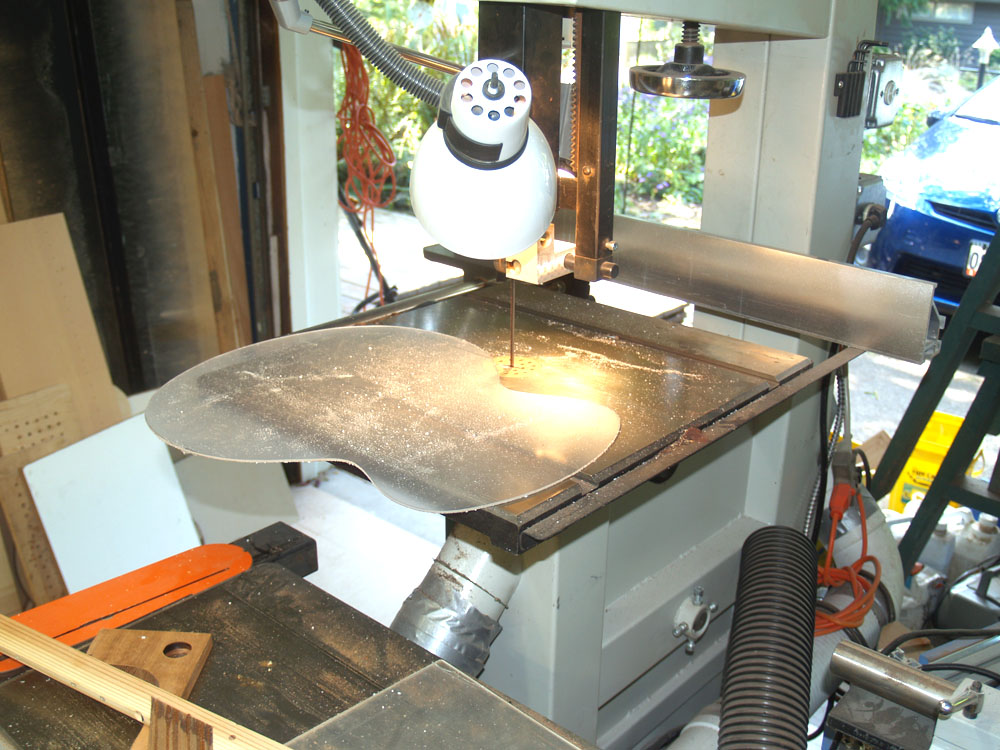 ( 4 ) 19-Sept-2012
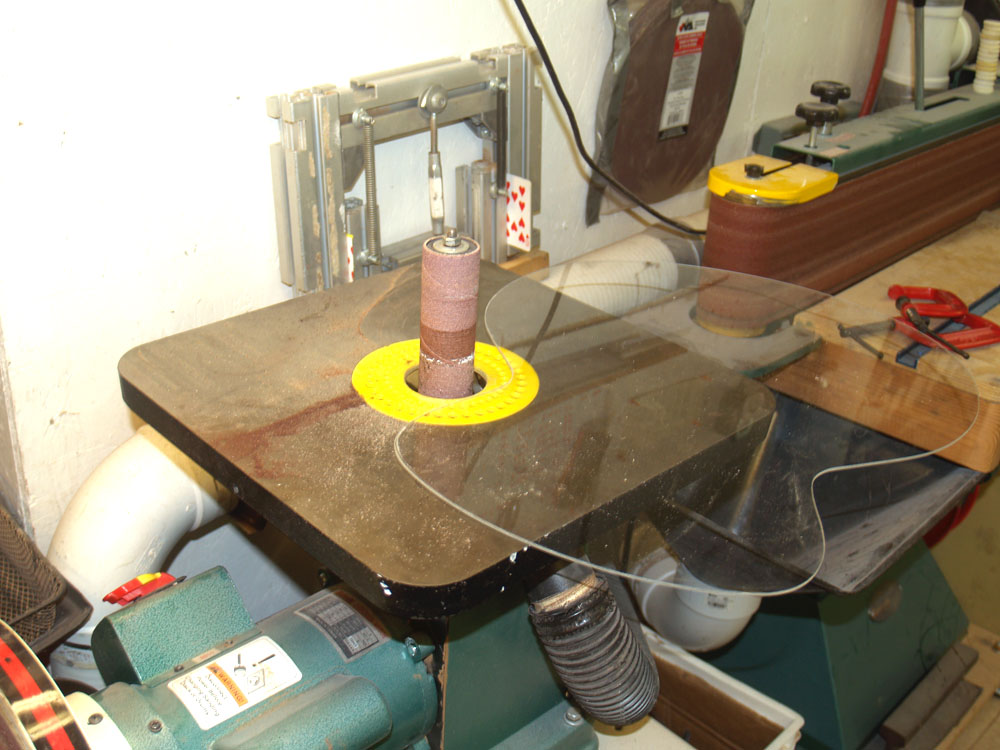
I use my bandsaw to cut out the Plexiglas template.
 ( 5 ) 19-Sept-2012
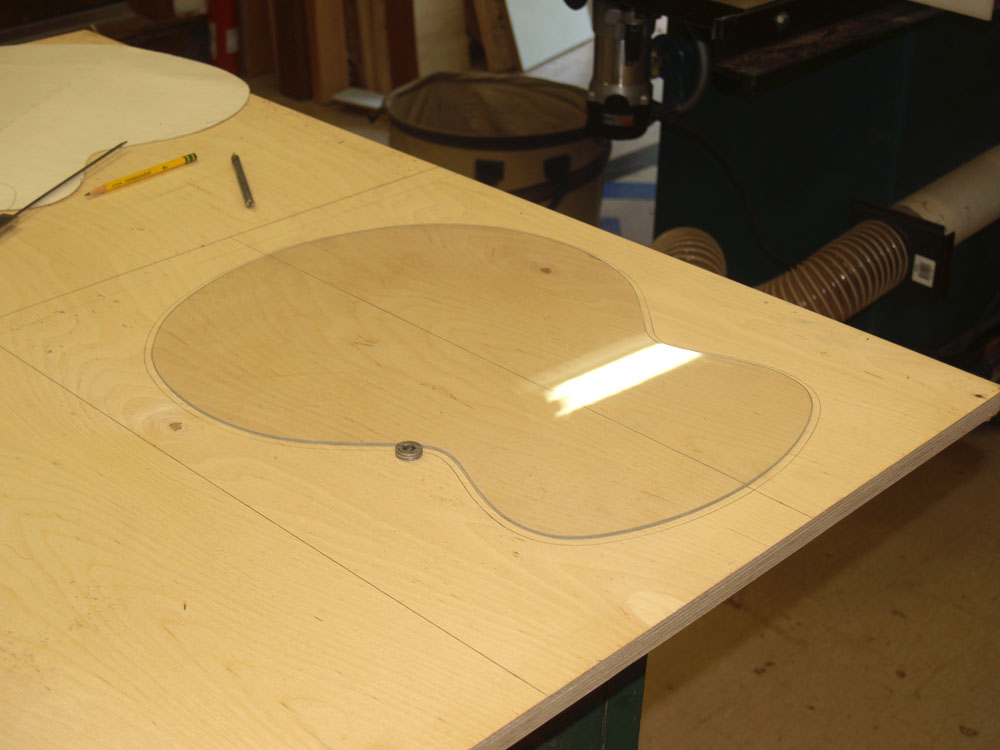
And then I use my oscillating sander to trim the edges to their final shape.
 ( 6 ) 19-Sept-2012
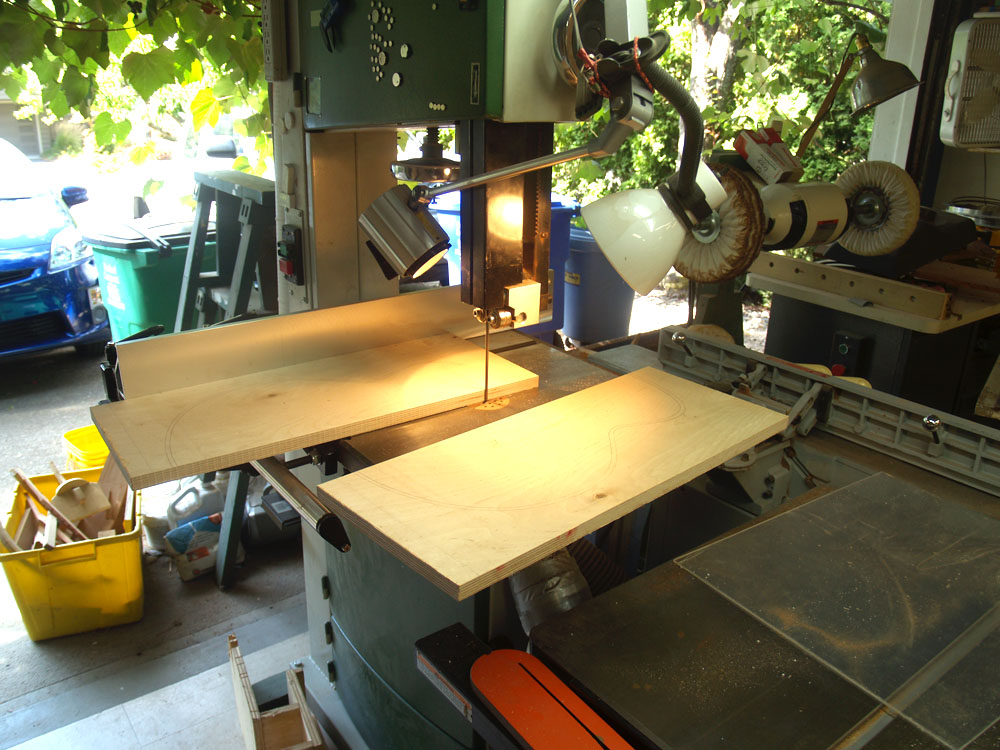
The method I use to build guitars is to use a side bending machine and a bending form to shape bend the sides and then another set of forms to build up the body. In this picture I am using the template to draw the shapes for the forms.
 ( 7 ) 19-Sept-2012
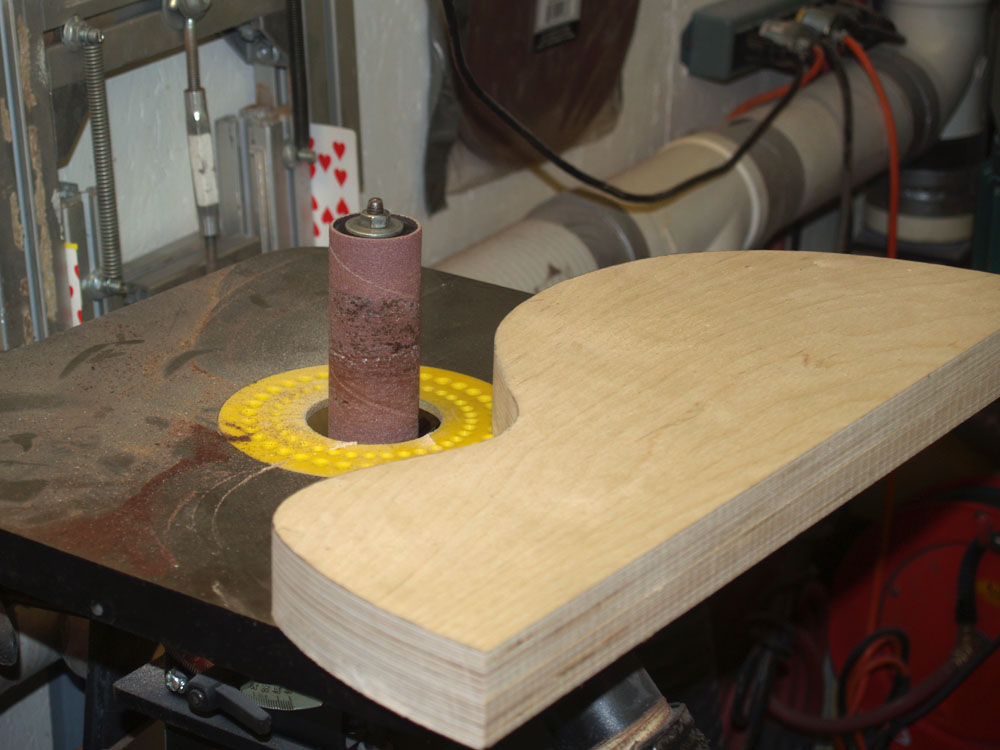
The form are symmetrical down the center of the guitar, so to insure that the two halves are identical I join the two haves together, back to back, and then cut and shape them both at the same time.
 ( 8 ) 19-Sept-2012
Here you can see the doubled up set of bending form sides being sanded to their final shape.
 ( 9 ) 19-Sept-2012
Wigglewood has been one of the great discoveries I made in developing my tool set. Wigglewood is used in the construction trades to build architectural details like curved walls or stairs. Wigglewood is a bit like plywood but is flexible in one direction. Here I am cutting the wigglewood for the surface of the bending form.
 ( 10 ) 19-Sept-2012
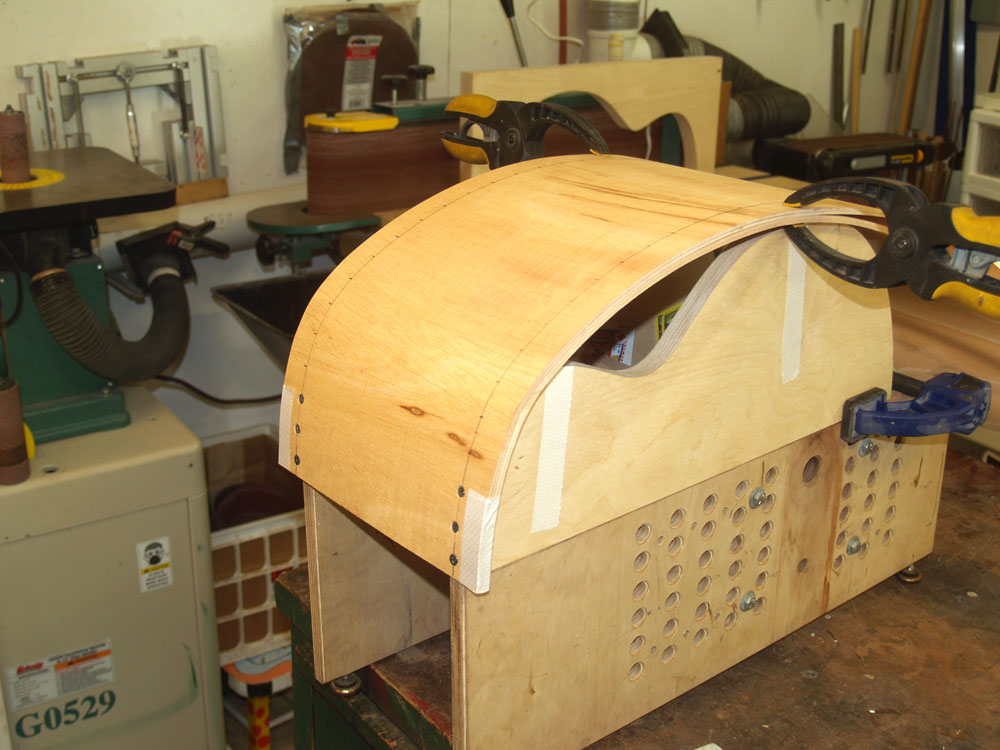
To make sure the surface of the bending form is stiff enough I use a double layer of wigglewood. Here I am screwing the wigglewood (I love that name) to the bending form sides.
 ( 11 ) 19-Sept-2012
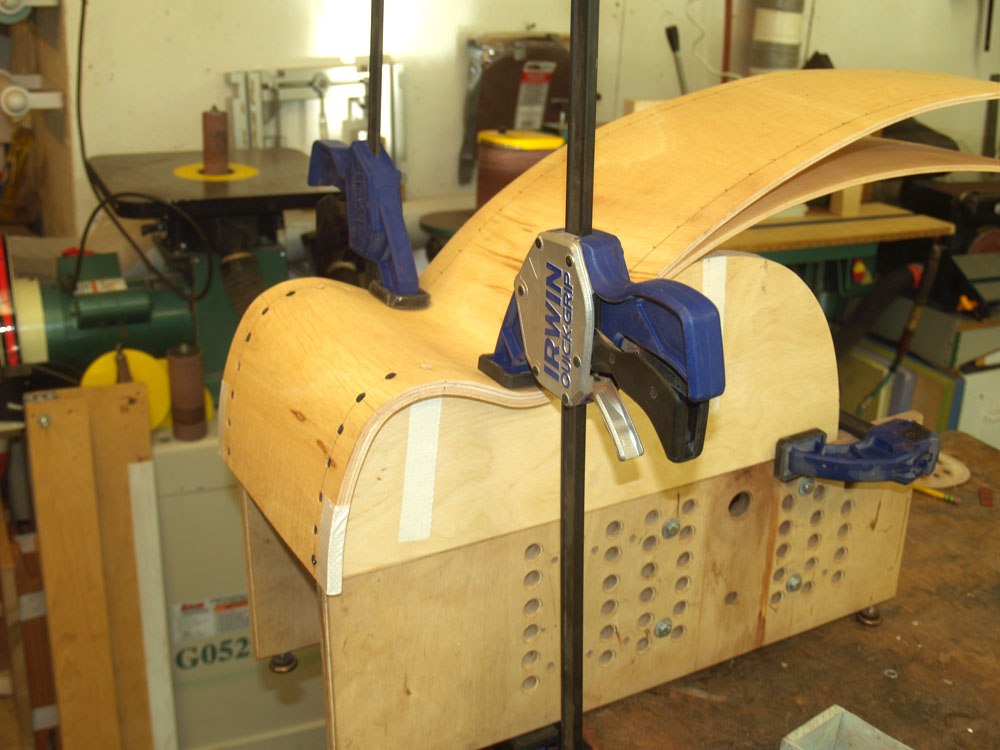
A couple of clamps press the wigglewood into the waist. Having the right tools makes a big difference in making a high quality instrument. I am a clamp aficionado. If I see a clamp that will perform a unique function I'll pick up a few of them. It really helps to have the perfect clamp for the job.
 ( 12 ) 19-Sept-2012
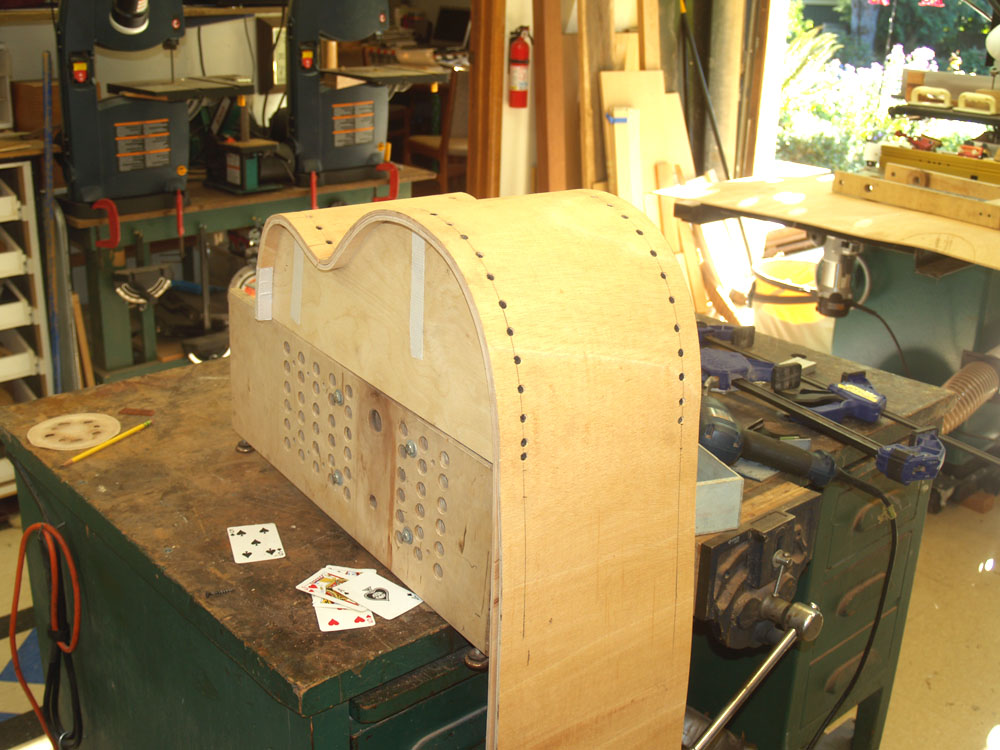
I continue to work my way over the lower bout screwing down the wigglewood every inch. When I am finished I trim the end off.
 ( 13 ) 19-Sept-2012
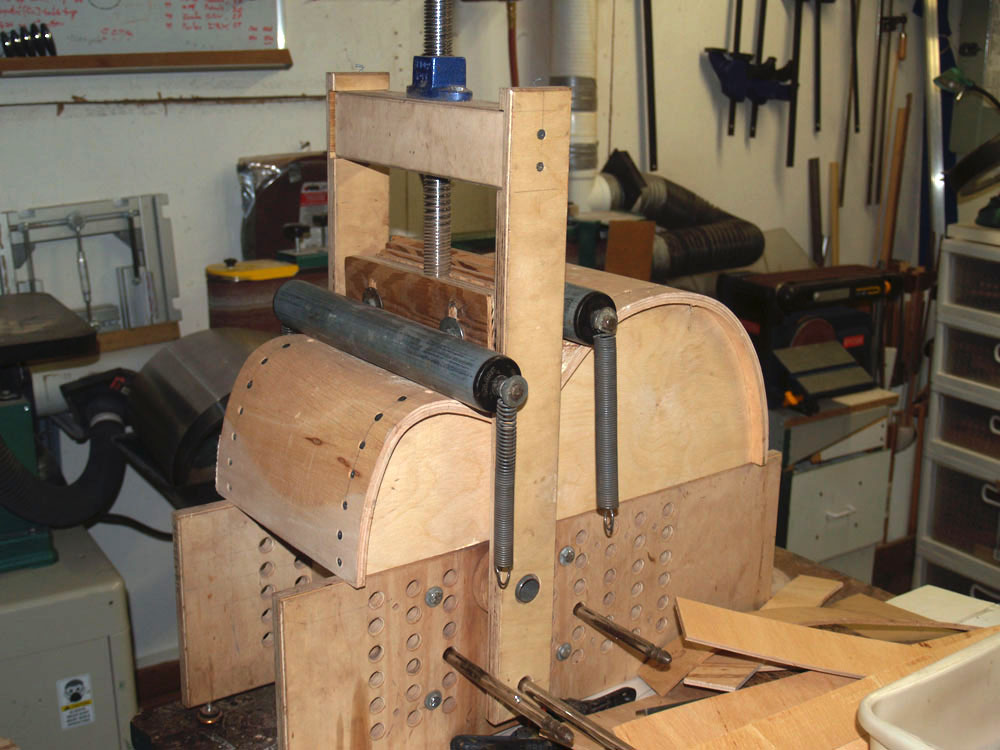
Now you can see the form in the bending press. When I get ready to bend the sides I will use an electric heating blanket to make the wood hot and flexible. Wood is a bit like a thermoplastic, when it gets warm it becomes flexible, and after it cools down it will hold its new shape. While I am heating the wood I put the assembly into this bending machine. I have bending forms for each size and shape of guitar that I build. The central tower pushed a shoe into the waist, and the two rollers pull the wood over the upper and lower bouts.
 ( 15 ) 19-Sept-2012
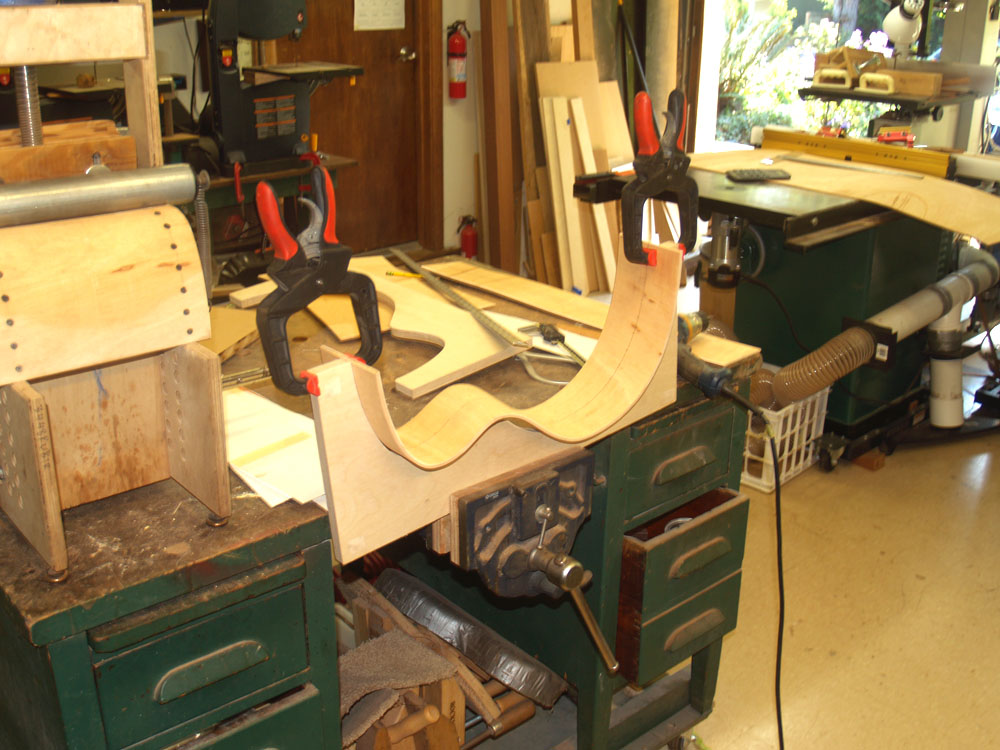
Here I am starting to work on the body form. This form will define the final shape of the sides of the guitar and allows me to perform a variety of process on them as I build up the body. Once again I use wigglewood to create the sides of the form. Ultimately I will end up with four layers of wigglewood to make the form's sides. I start out with a single layer that is a bit over sized.
Sidebar: This is a general purpose form and as such it is sized for a full depth guitar, about 4 1/2 inches. The electric guitar we are building will have sides that are 1 1/2 inches deep.
 ( 15 ) 19-Sept-2012
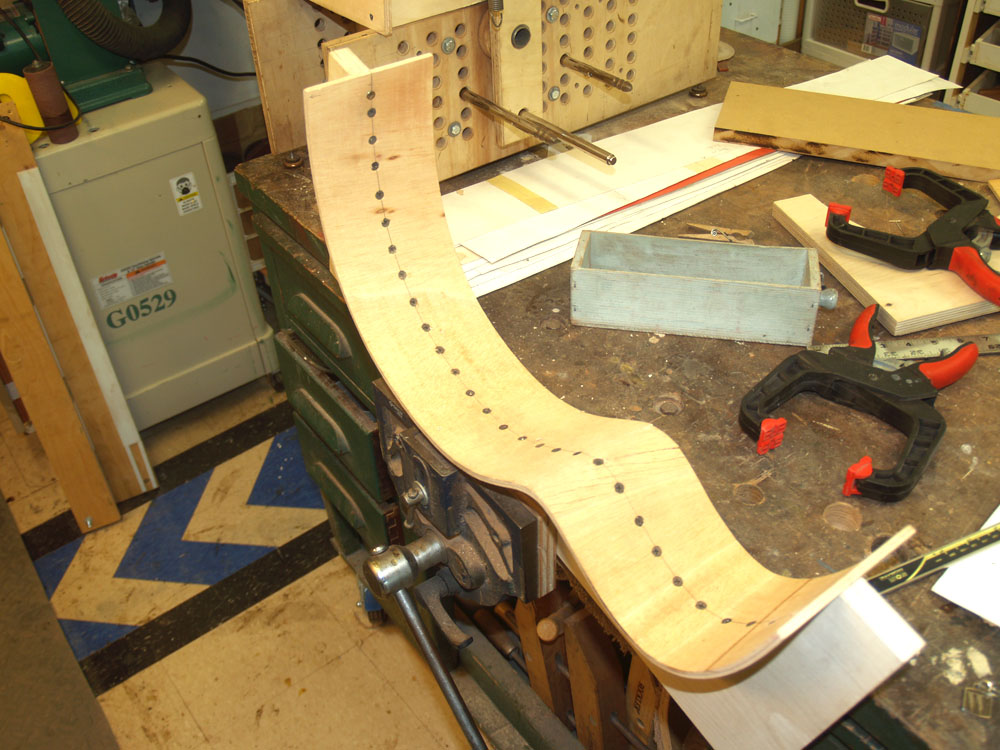
To fasten the inside layer of wigglewood to the form's frame I use wood screws every inch.
 ( 16 ) 19-Sept-2012
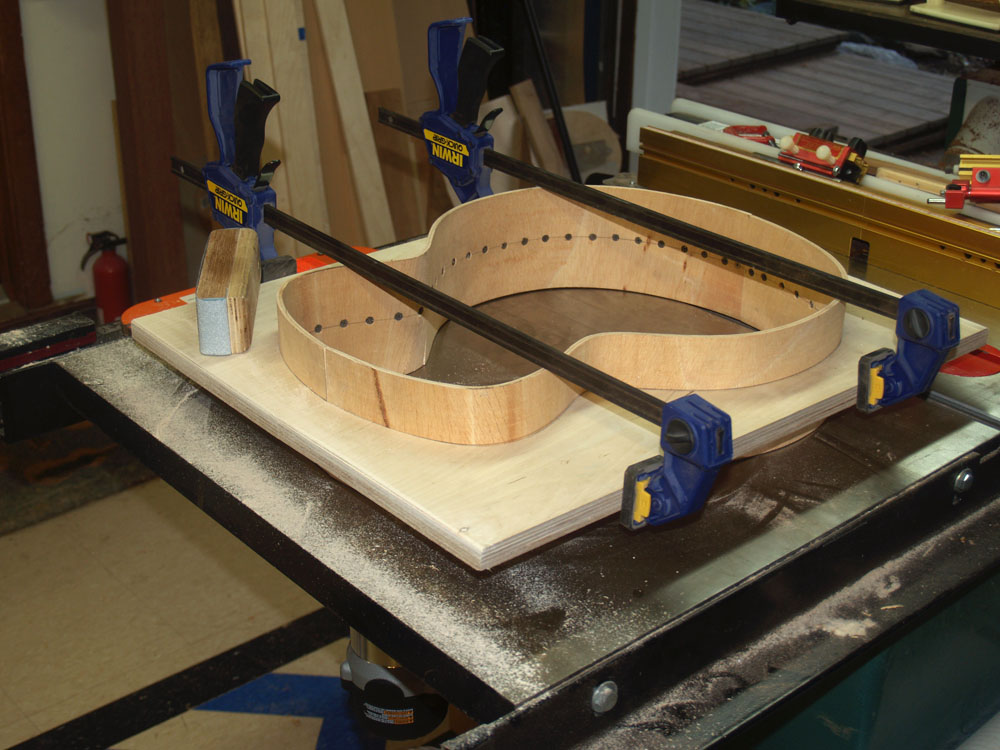
With the first layer in place I press the two halves of the form together with a couple of clamps.
 ( 16b ) 19-Sept-2012
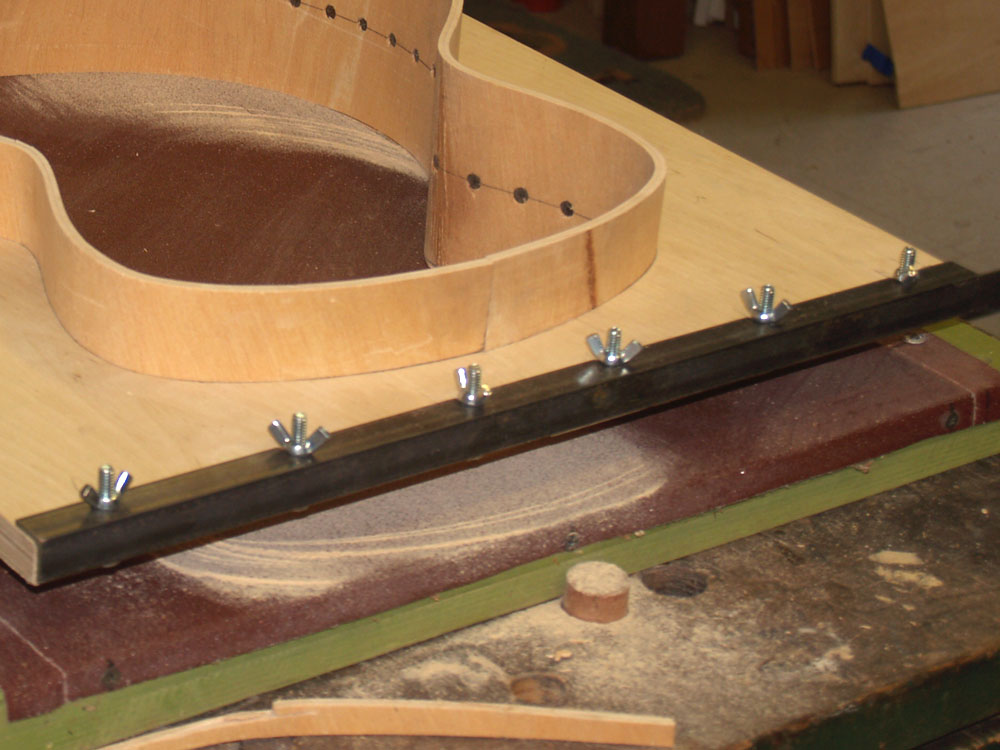
And then I use a piece of angle iron to attach the two halves together. The two halves allow me to work on the sides of the guitar to create what we call the "rim", and then take the form apart to easily get it out of the form.
 ( 17 ) 19-Sept-2012
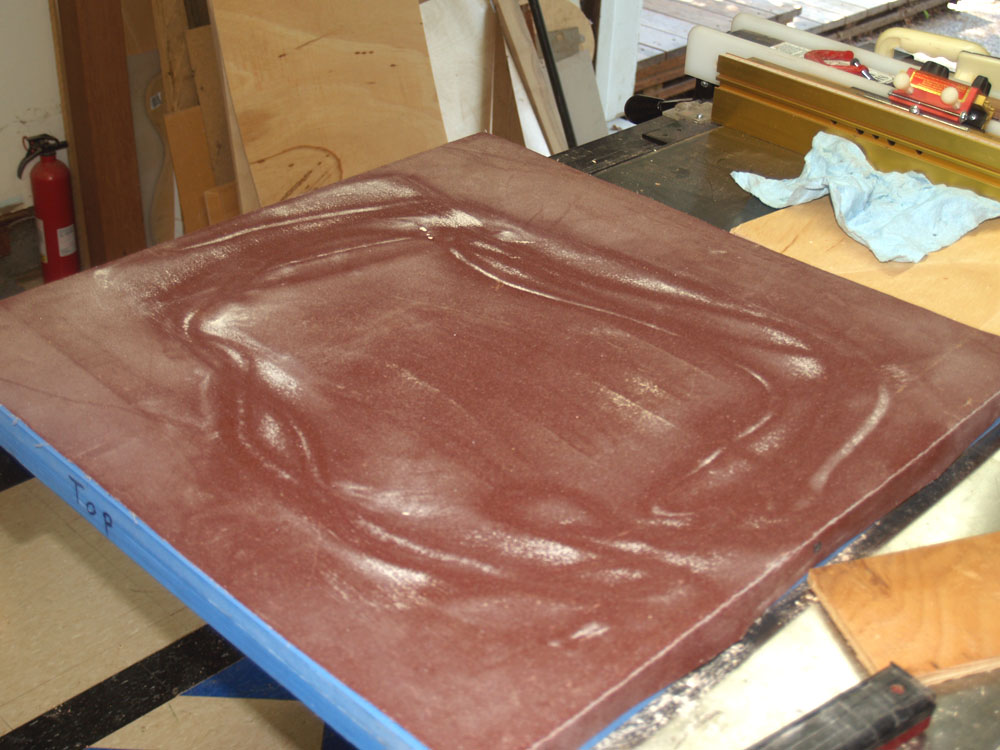
When I build an acoustic guitar I use a set of forms to shape the top and back. These forms are essentially shallow bowls. To build a guitar I need the edges of the rim to follow the shape of the top and back bowls. To sand the rim to the final shape I put a large piece of sand paper on the bowl and use it to sand the edges of the rim to shape. Here you can see the sandpaper on the top form.
 ( 18 ) 19-Sept-2012
Here I am sanding the first layer of the rim to the shape of the back plate. I usually place a ten pound weight on top of the rim and then push the rim back and forth until the edge of the rim touches the back form everywhere. I use a magic marker to mark the edge of the roughed out rim, when all of the magic marker is gone I know I am done.
 ( 19 ) 19-Sept-2012
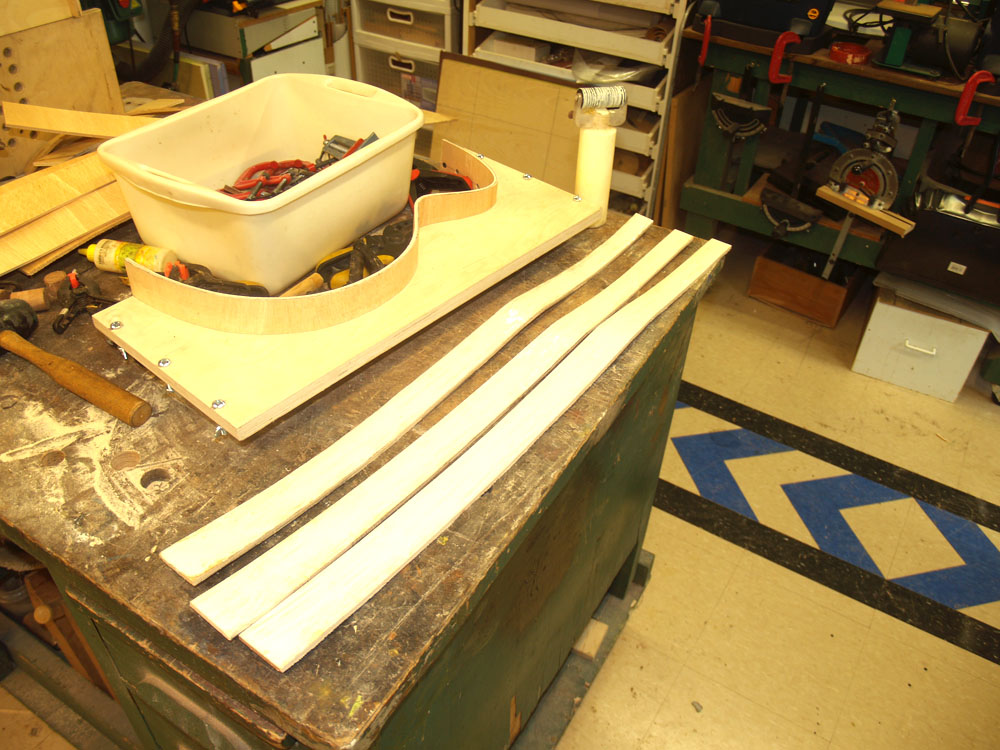
To build up the four layers I want on the rim form I carefully trace out the shape of the rim on to three pieces of wigglewood and cut them to shape.
 ( 20 ) 19-Sept-2012
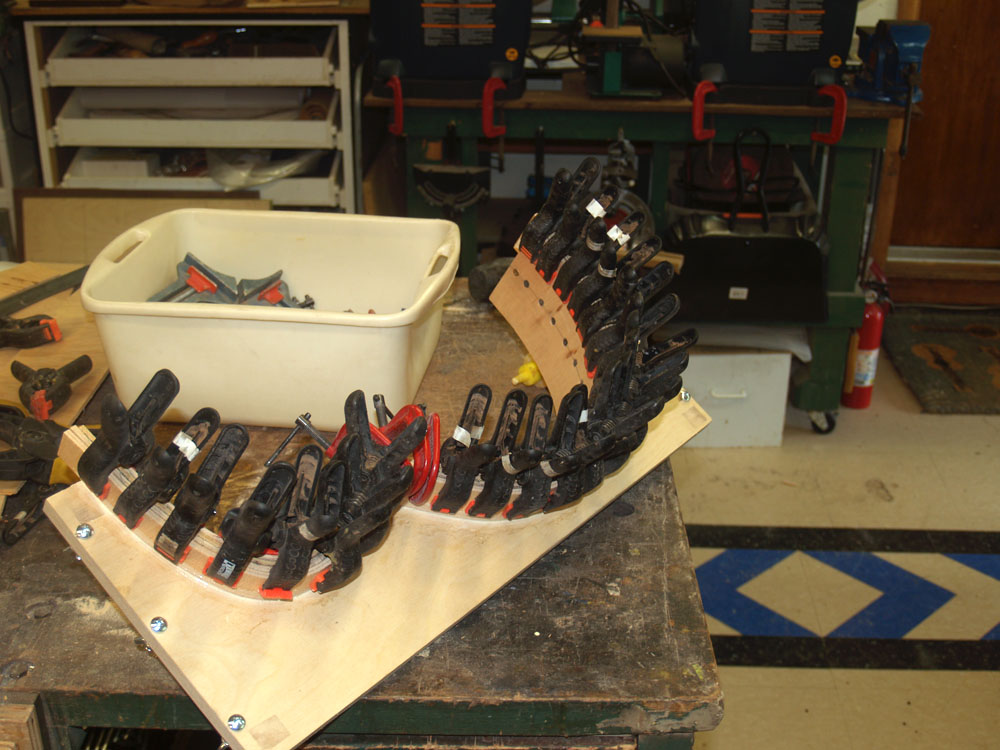
Then I glue and press the three pieces onto the outside surface of the form. Here I have started the gluing process by clamping down the end of the three pieces of wigglewood to the end of the rim. This way I will glue up all three pieces at the same time. To finish the form I will build up the top and back sides of both halves of the body form.
 ( 21 ) 19-Sept-2012
Here I have used lots of clamps to press the three pieces of wigglewood in to place. I buy these clamps by the hundreds; the luthier's sage says "he with the most clamps wins."
 ( 22 ) 19-Sept-2012
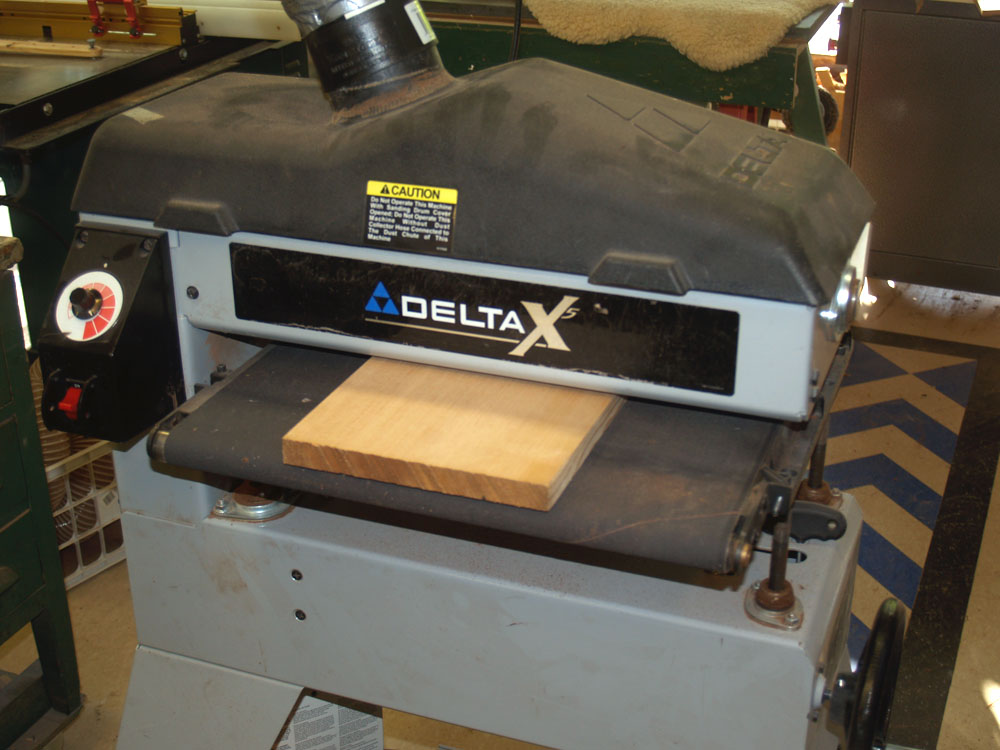
Now with the forms more or less finished I am ready to start work on the guitar itself. This guitar is going to have a carved top made out of Sitka Spruce, and a shaped back made out of Walnut. Here I am using my drum sander to sand the two halves of the top to the same thickness, about one inch.
 ( 23 ) 19-Sept-2012
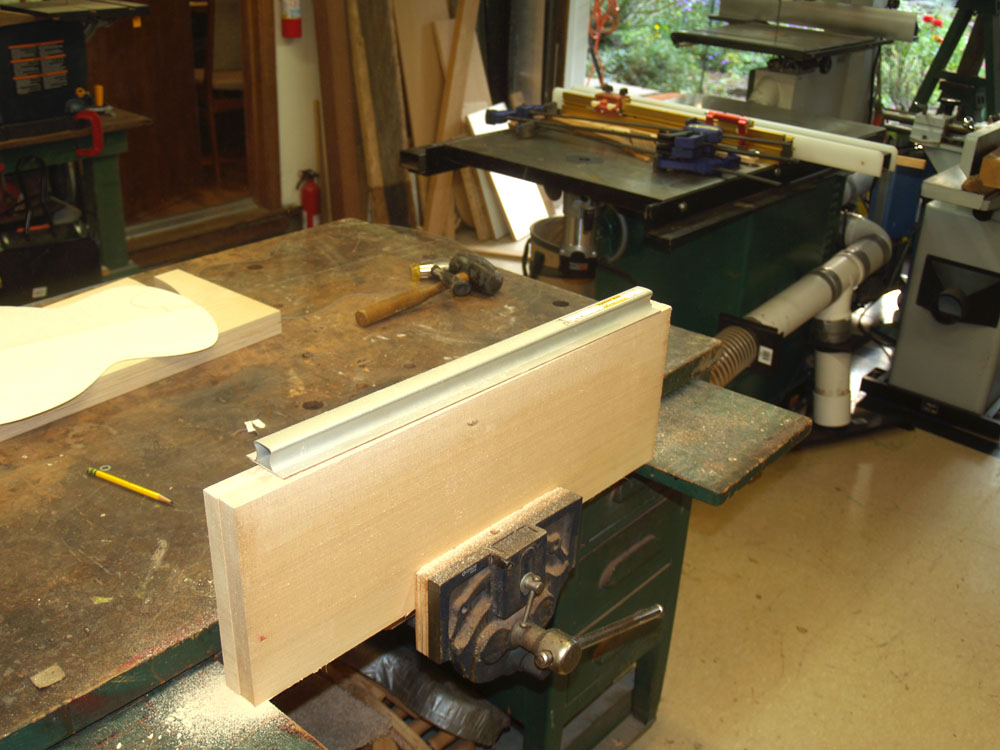
When I glue the two halves of the top together I want a joint that is all but invisible. To get a good joint I need to make the two edges to be glued together to match up perfectly. Here I am preparing one edge with a straight edge sanding block.
 ( 24 ) 19-Sept-2012
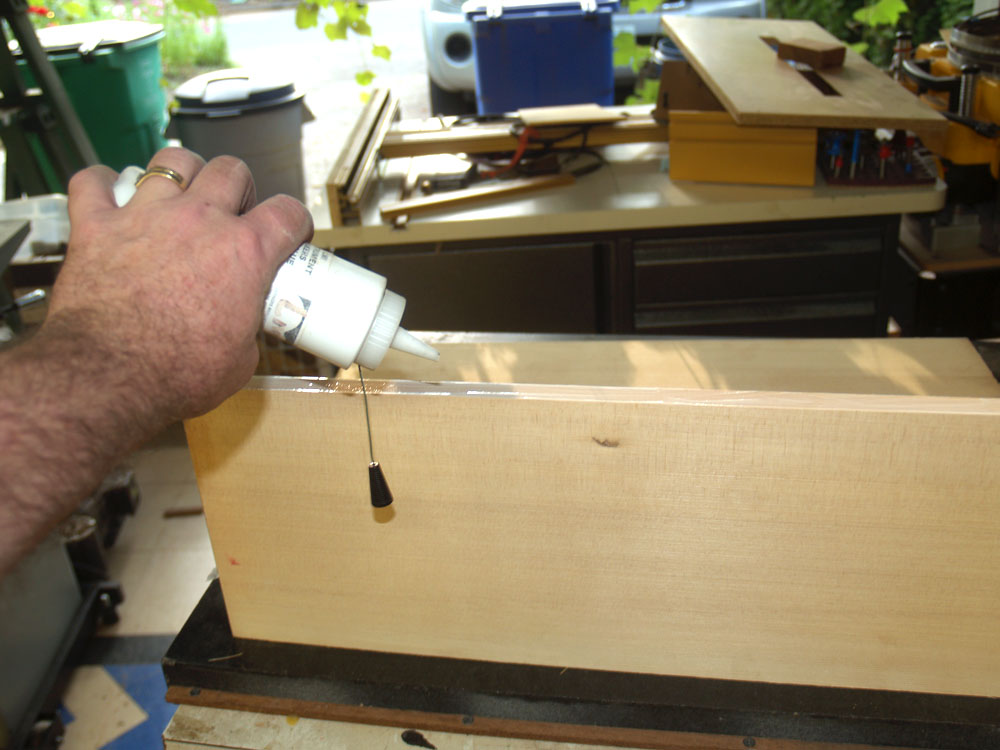
I spread a bit a luthier's white glue, (it dries hard and clear) on the prepared edge.
 ( 25 ) 19-Sept-2012
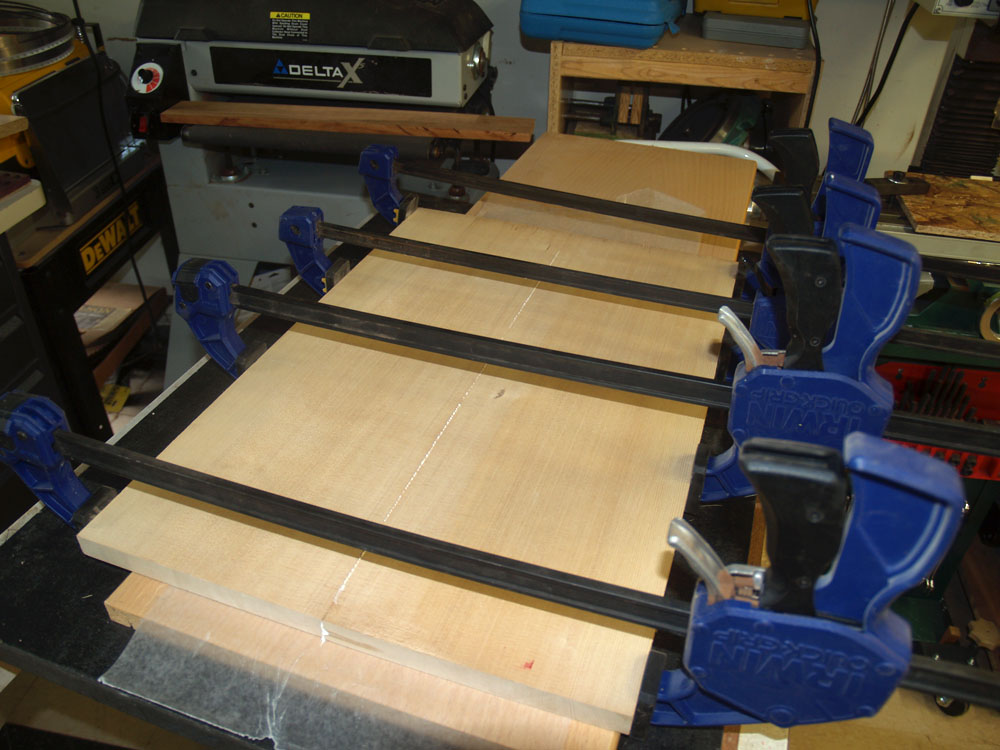
And then I use a few clamps to press the two halves together.
 ( 26 ) 19-Sept-2012
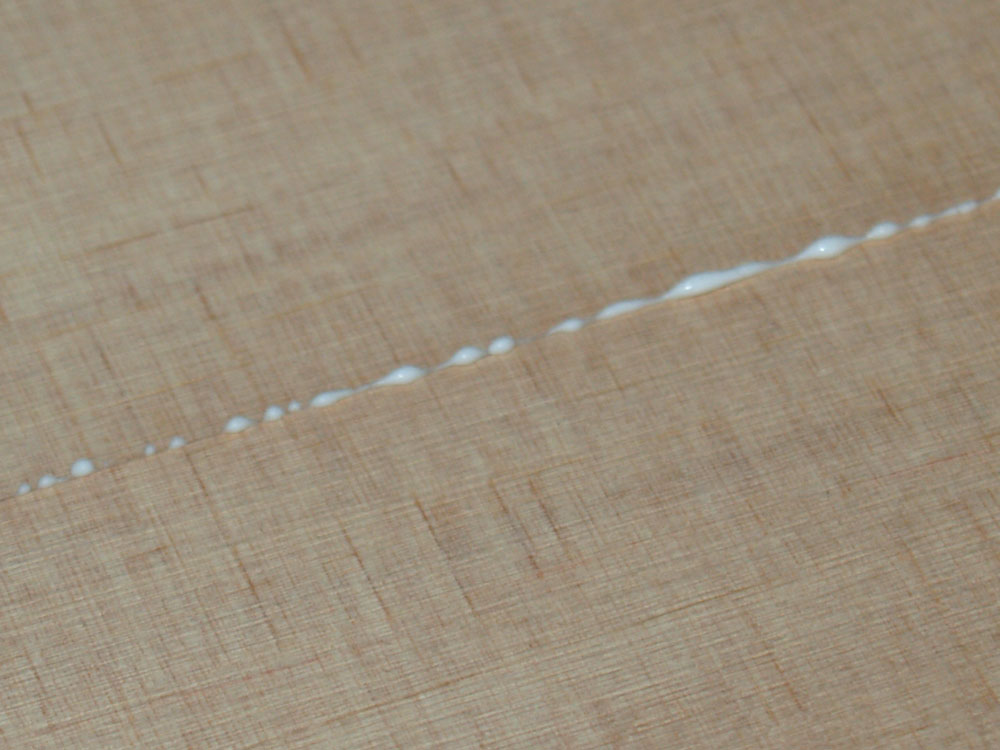
If I have used the right amount of glue, not too much and not too little, I will get a string of squeeze out beads.
Sidebar: When Sitka Spruce is well quarter sawn, i.e., the annular rings are perpendicular to the surface, we get what we call "medullar rays", or "silk" running across the grain. You can see the effect here running perpendicular to the glue line.
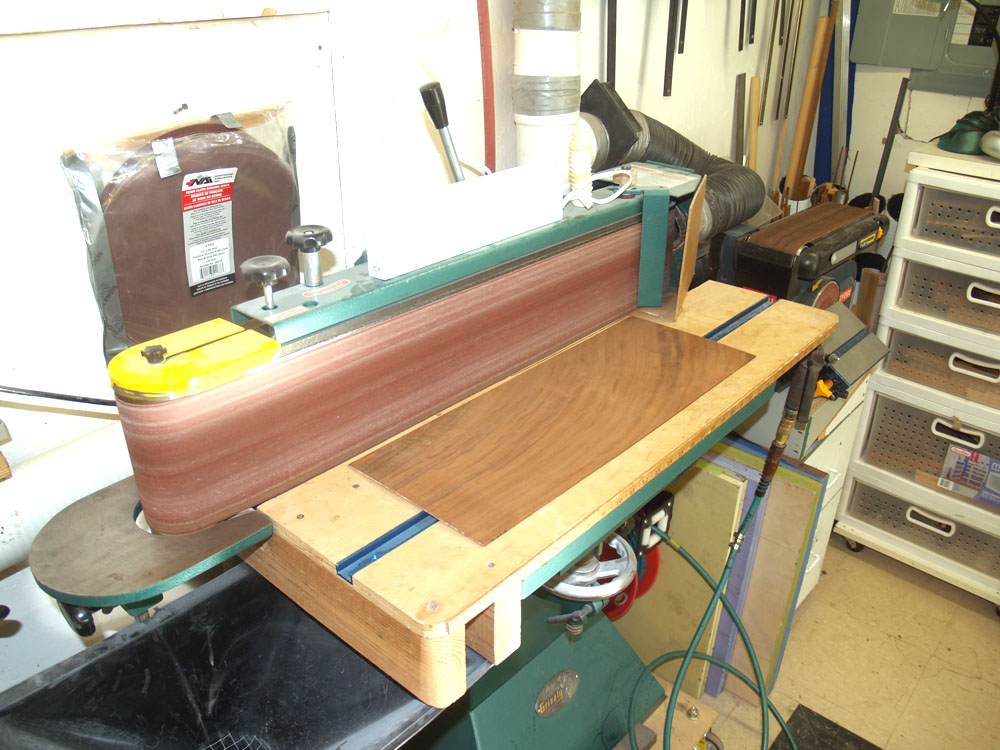 ( 27 ) 19-Sept-2012
Here I am using my belt sander to rough out the edge of the back plates.
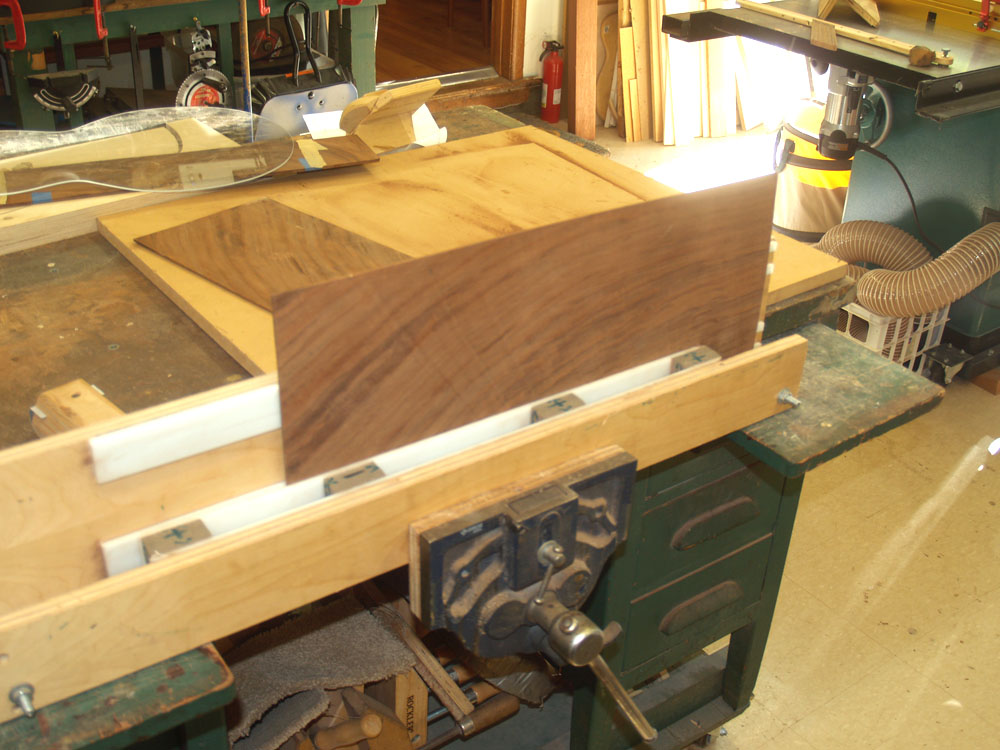 ( 28 ) 19-Sept-2012
To finish up the gluing edge I use this sanding tool to hold the plate perpendicular to a strip of sandpaper mounted on a very flat surface,
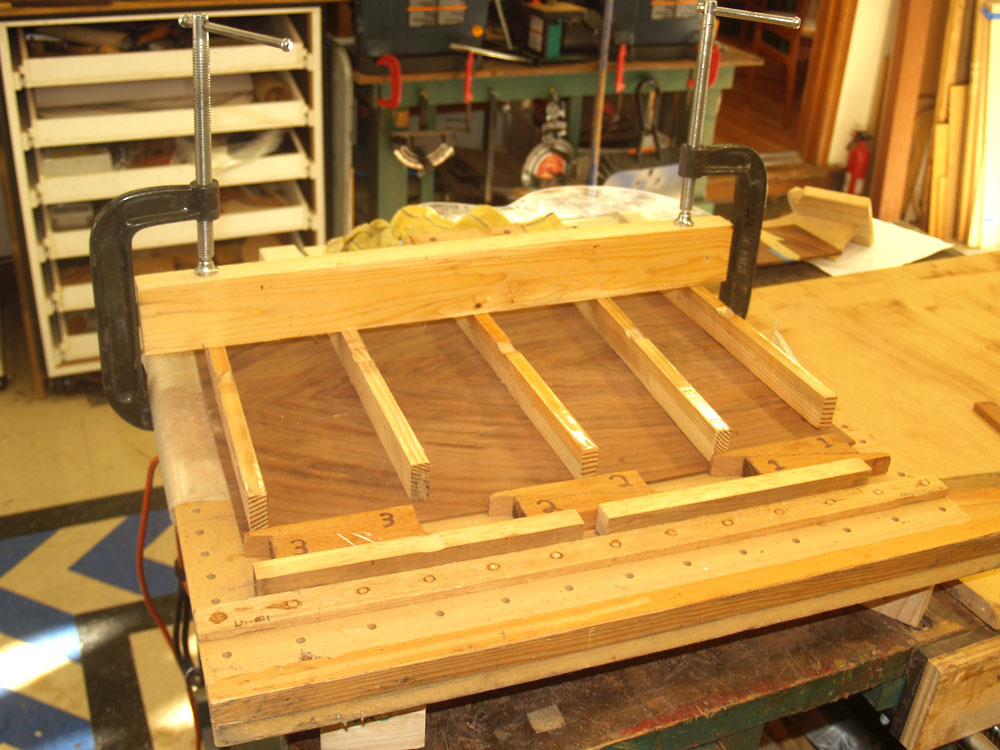 ( 29 ) 19-Sept-2012
Since the back plate is relatively thin, about 100 mils thick (100/1000 of an inch) when the two halves are pressed together they will buckle. To prevent this from happening I use this jointing tool to hold the plates flat while wedges press the two halves together.
 ( 30 ) 19-Sept-2012
Here is a picture of the back plate joined together and wetted down with a bit of water to show the grain, beautiful!
 ( 1 ) 19-Sept-2012
 ( 2 ) 19-Sept-2012
 ( 3 ) 19-Sept-2012
 ( 4 ) 19-Sept-2012
 ( 5 ) 19-Sept-2012
 ( 6 ) 19-Sept-2012
 ( 7 ) 19-Sept-2012
 ( 8 ) 19-Sept-2012
 ( 9 ) 19-Sept-2012
 ( 10 ) 19-Sept-2012
 ( 11 ) 19-Sept-2012
 ( 12 ) 19-Sept-2012
 ( 13 ) 19-Sept-2012
 ( 15 ) 19-Sept-2012
 ( 15 ) 19-Sept-2012
 ( 16 ) 19-Sept-2012
 ( 16b ) 19-Sept-2012
 ( 17 ) 19-Sept-2012
 ( 18 ) 19-Sept-2012
 ( 19 ) 19-Sept-2012
 ( 20 ) 19-Sept-2012
 ( 21 ) 19-Sept-2012
 ( 22 ) 19-Sept-2012
 ( 23 ) 19-Sept-2012
 ( 24 ) 19-Sept-2012
 ( 25 ) 19-Sept-2012
 ( 26 ) 19-Sept-2012
 ( 27 ) 19-Sept-2012
 ( 28 ) 19-Sept-2012
 ( 29 ) 19-Sept-2012
 ( 30 ) 19-Sept-2012