 ( 266 ) 20-May-2013
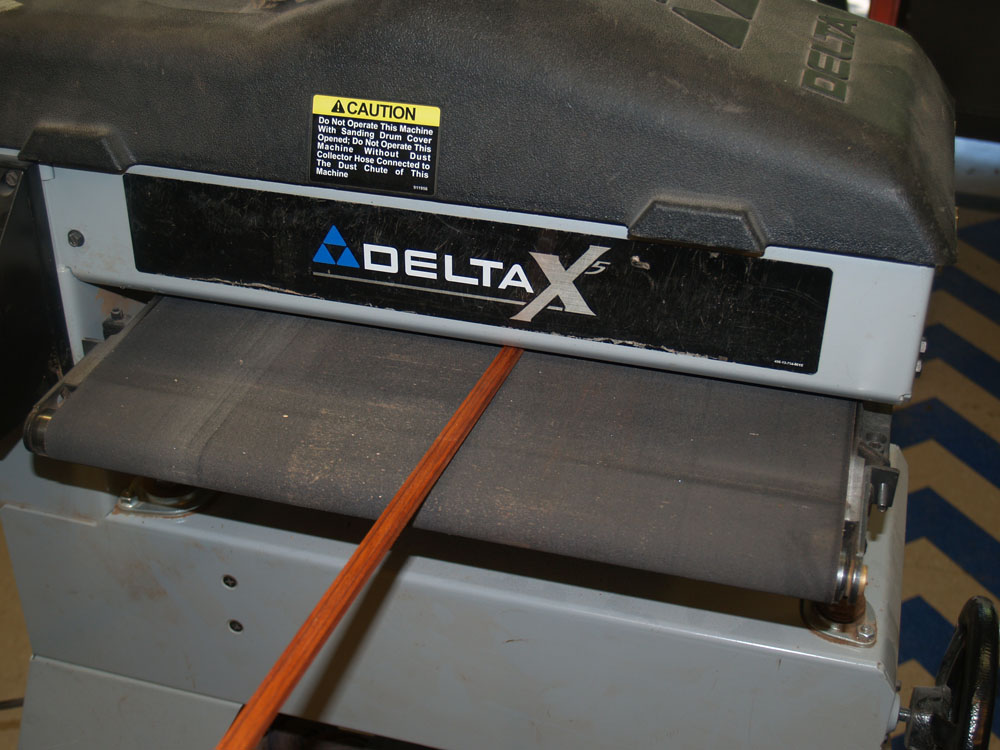
We are going to use padauk for the binding, here I am making all of the pieces the same thickness with the drum sander.
Cocobolo Body 15 inch lower bout
Adirondack Spruce Top
Lion Theme Marquetry
Mahogany Neck
Ebony Fretboard
Gold Frets & Gotoh Tuners
Padauk
Binding
25.4 Inch Scale Length
( 266 ) 20-May-2013
We are going to use padauk for the binding, here I am making all of the pieces the same thickness with the drum sander.
 ( 267 ) 20-May-2013
I will use the bending machine to shape the binding. Here I have laid them out on the heating blanket.
 ( 268 ) 20-May-2013
And into the bending machine they go.
 ( 269 ) 20-May-2013
I remove the top layer to let them dry out and set.
 ( 270 ) 20-May-2013
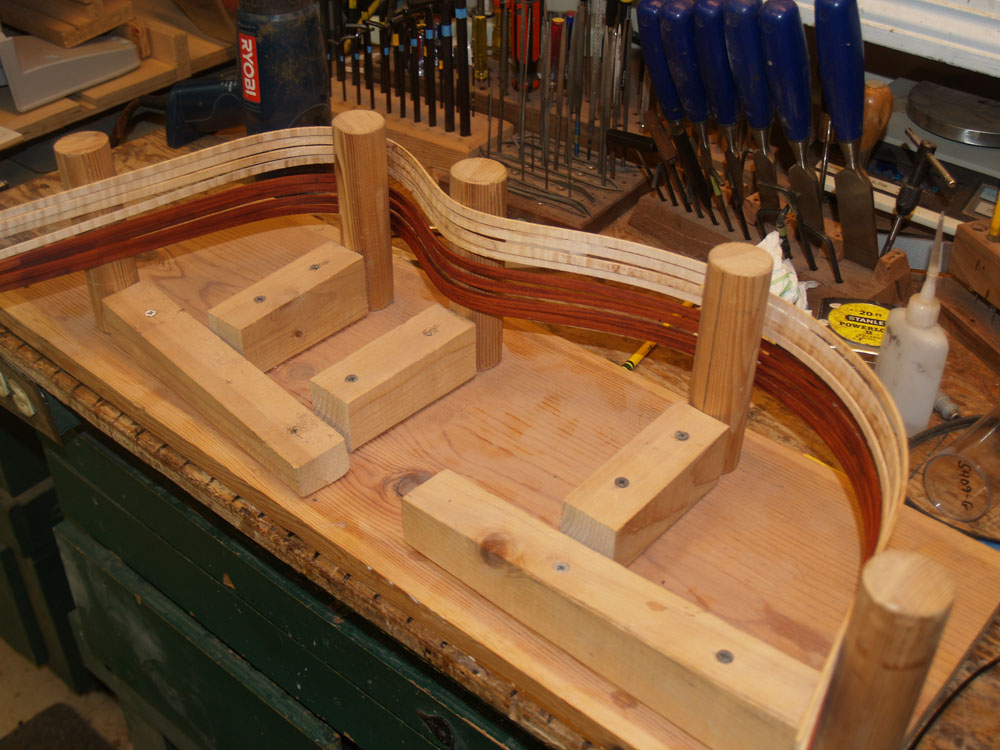
It will be some time until I use the binding, so I have placed the strips in a rack form so theywill hold their shape.
 ( 271 ) 20-May-2013
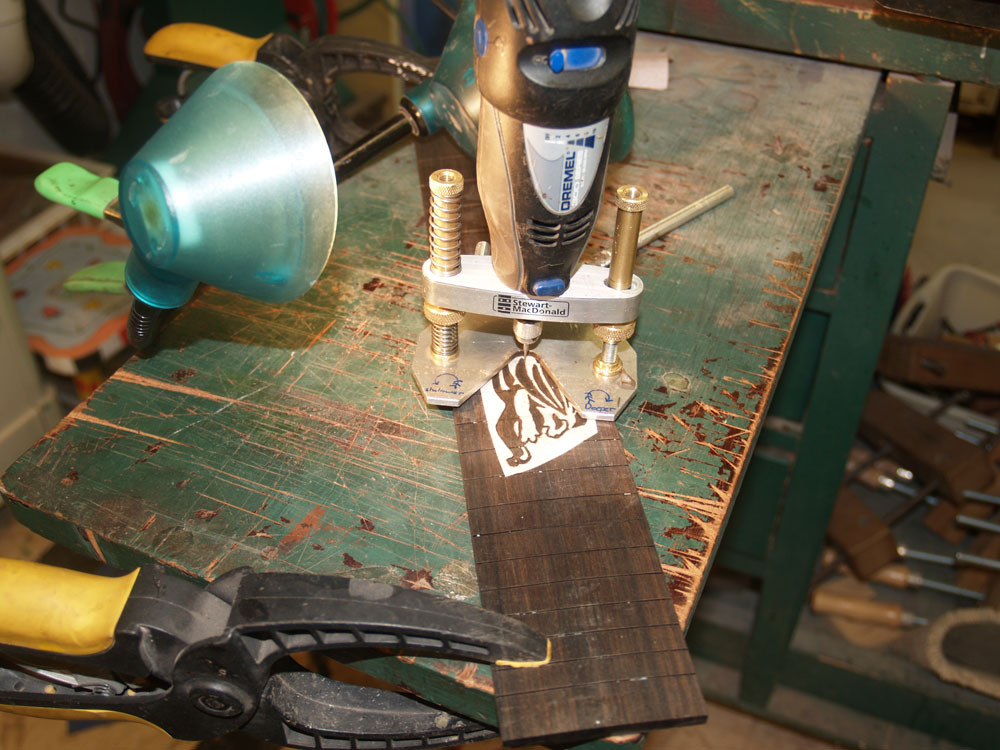
In this picture I have glued the cartoon of the lion on the fretboard. I am using the Dremel tool to route out the shape of the lion.
 ( 272 ) 20-May-2013
This is very closeup detailed work.
 ( 273 ) 20-May-2013
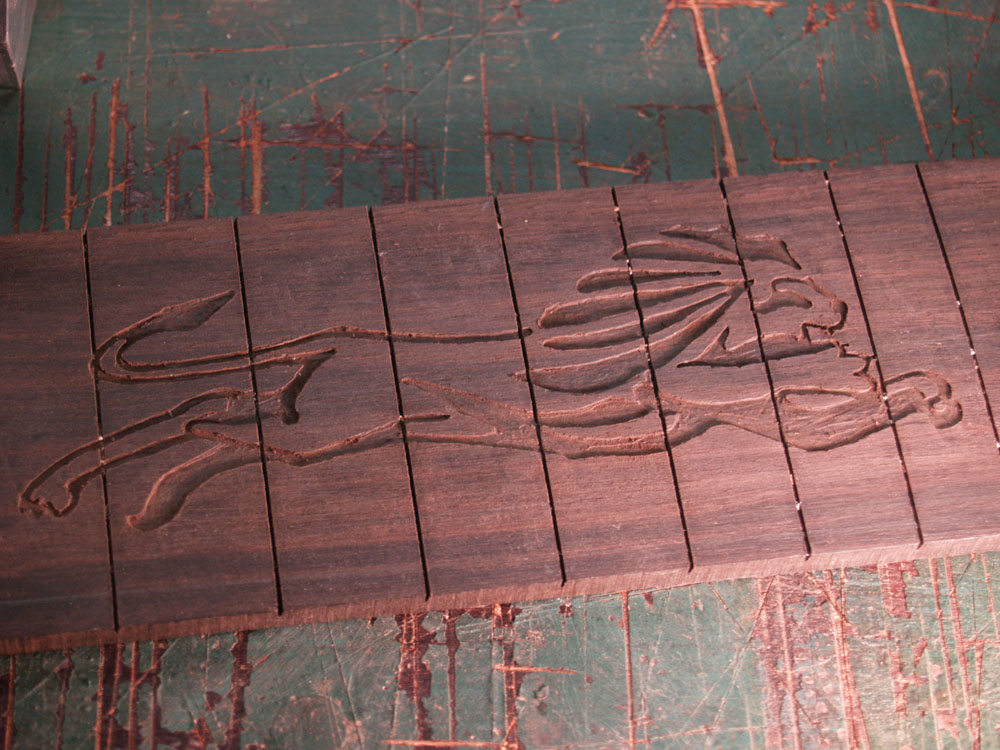
Here you can see the channels with a raking illumination.
 ( 274 ) 20-May-2013
I have created a maple mastic to fill in the channels.
 ( 275 ) 20-May-2013
I overstuff the mastic to make sure I will be able to sand the surfaces flush.
 ( 276 ) 20-May-2013
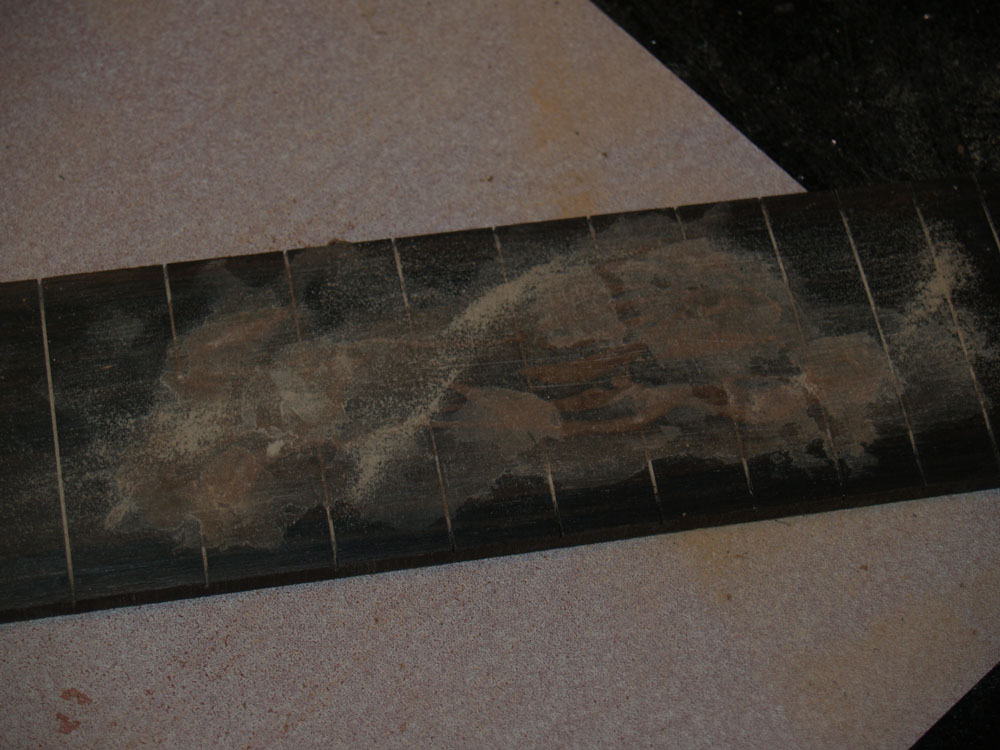
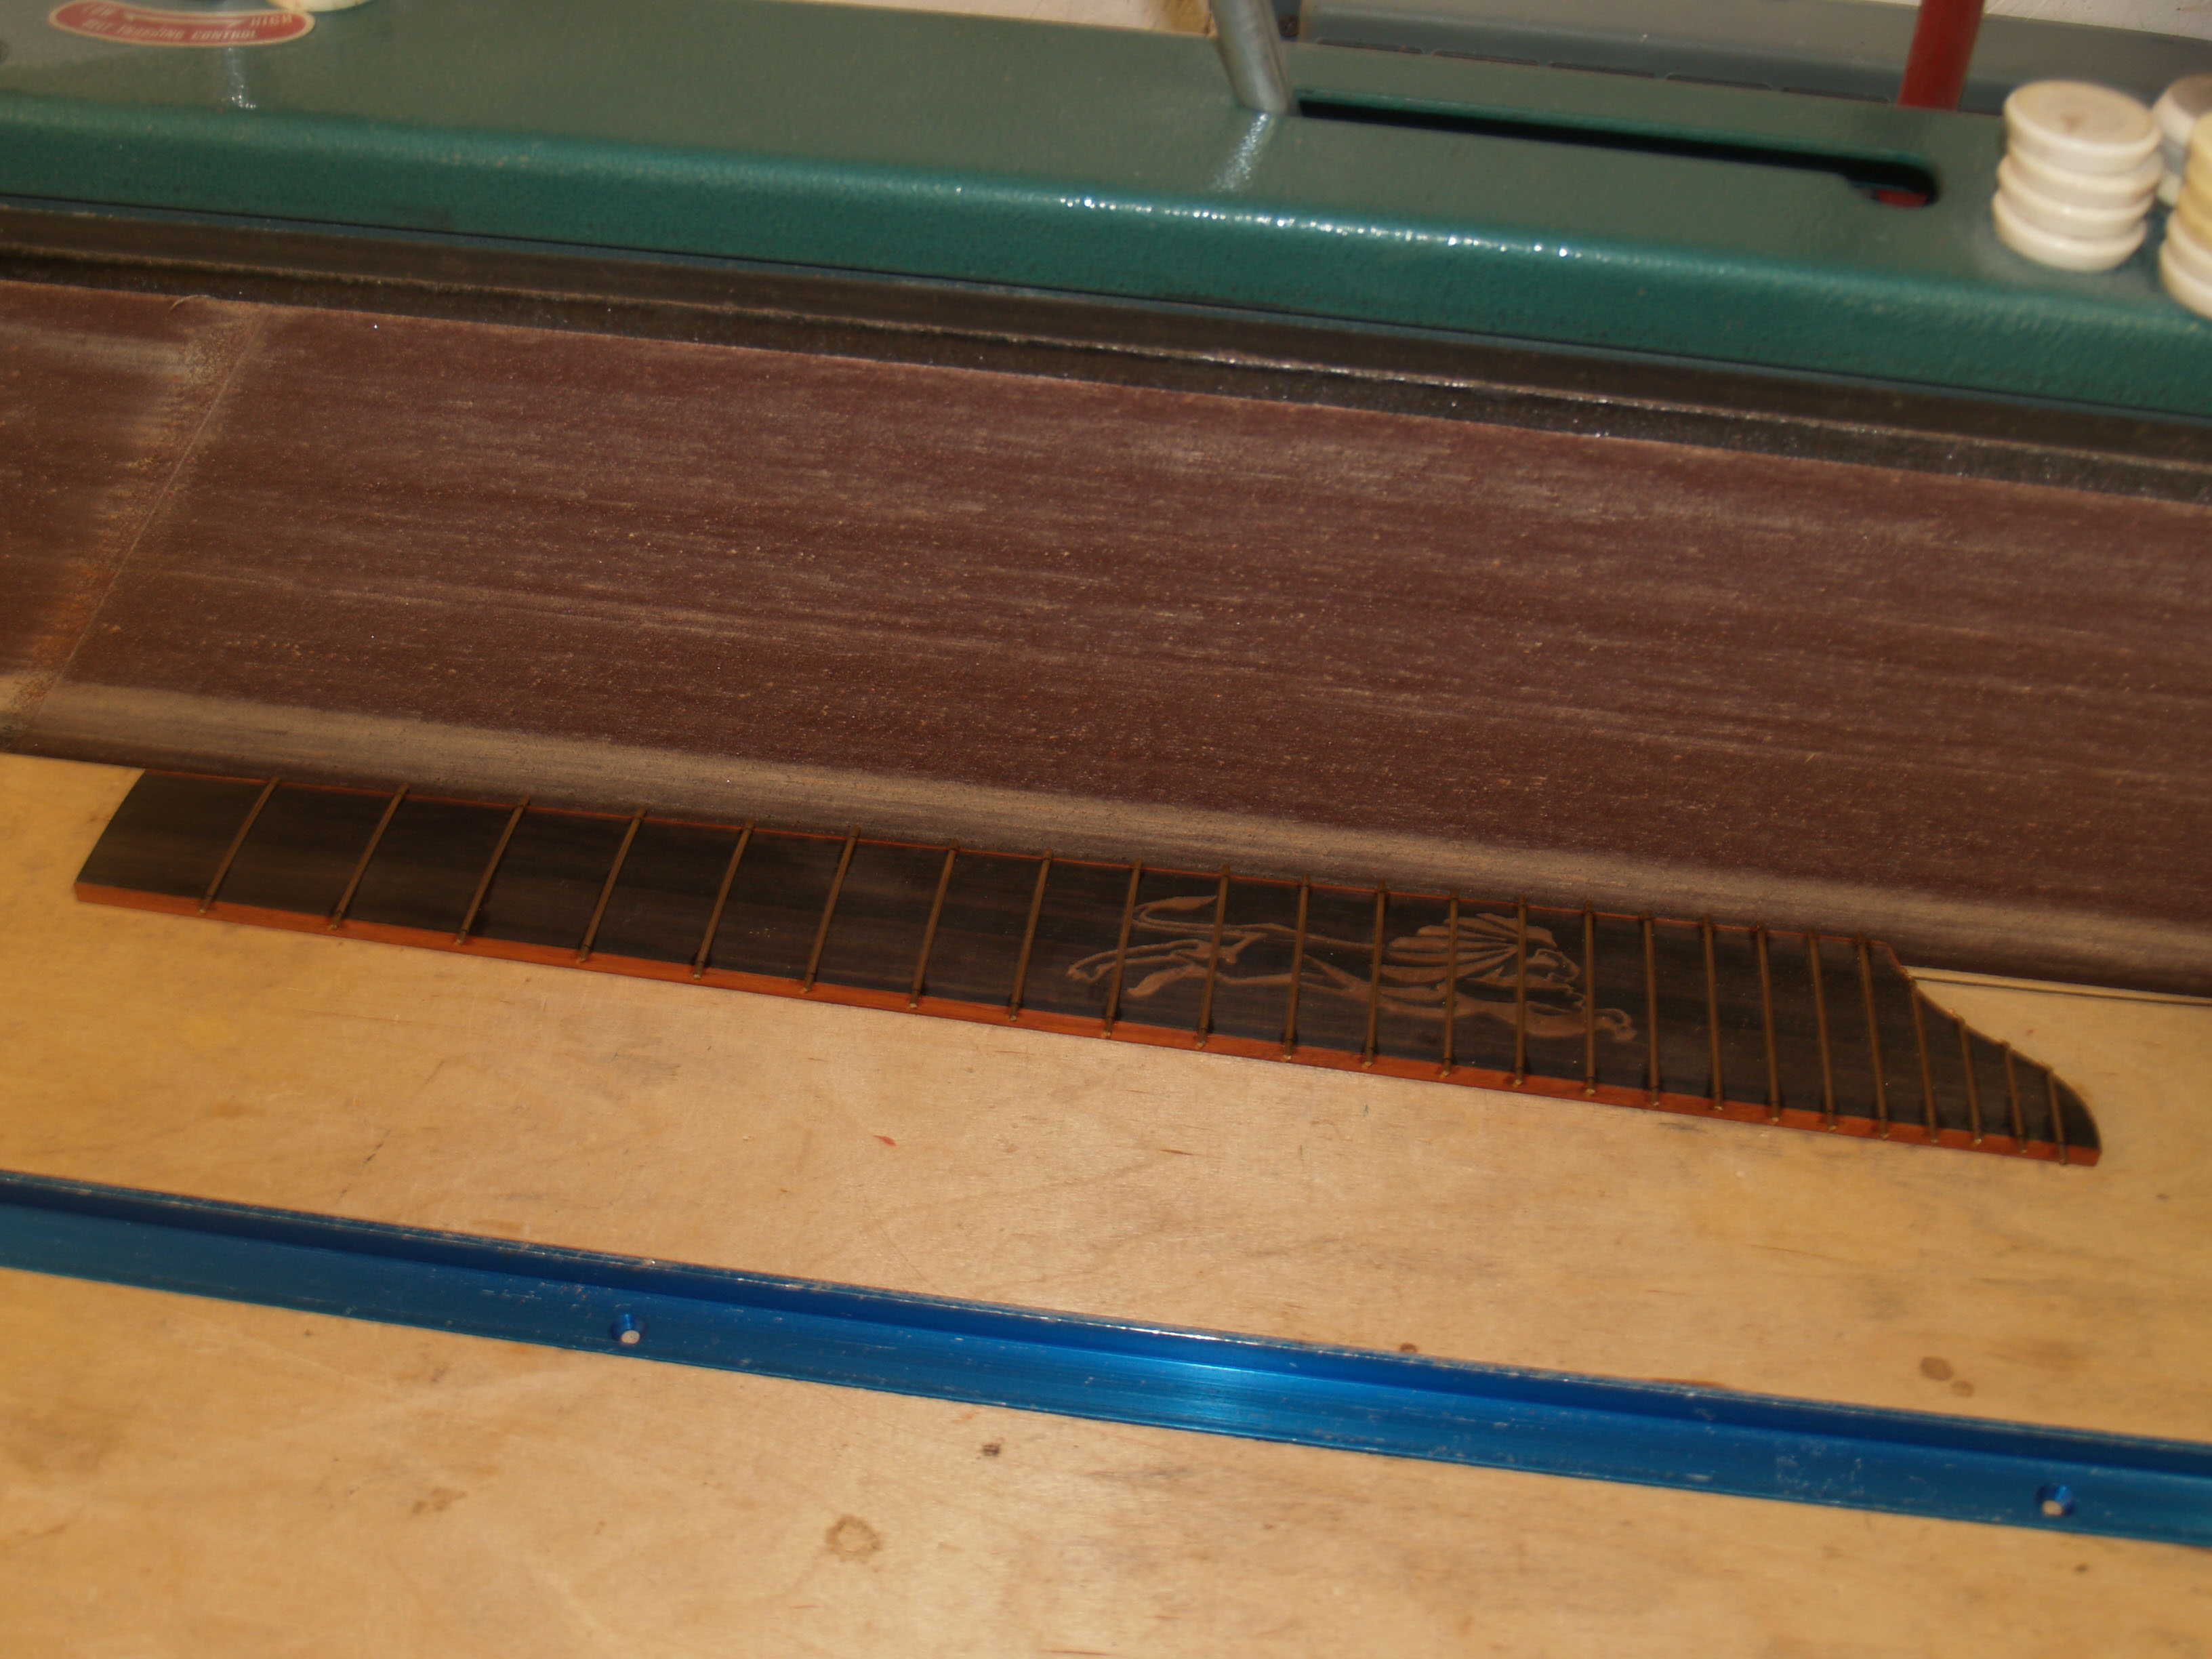
After the mastic has set up and thoroughly dried I sand everything flush and the lion appears.
 ( 277 ) 20-May-2013
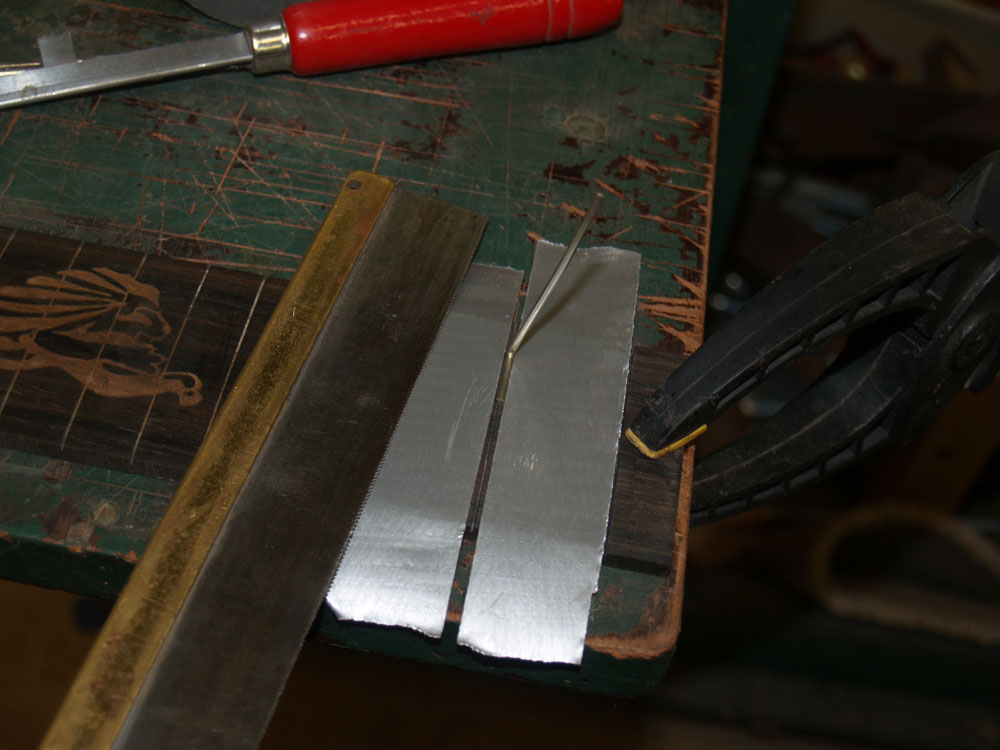
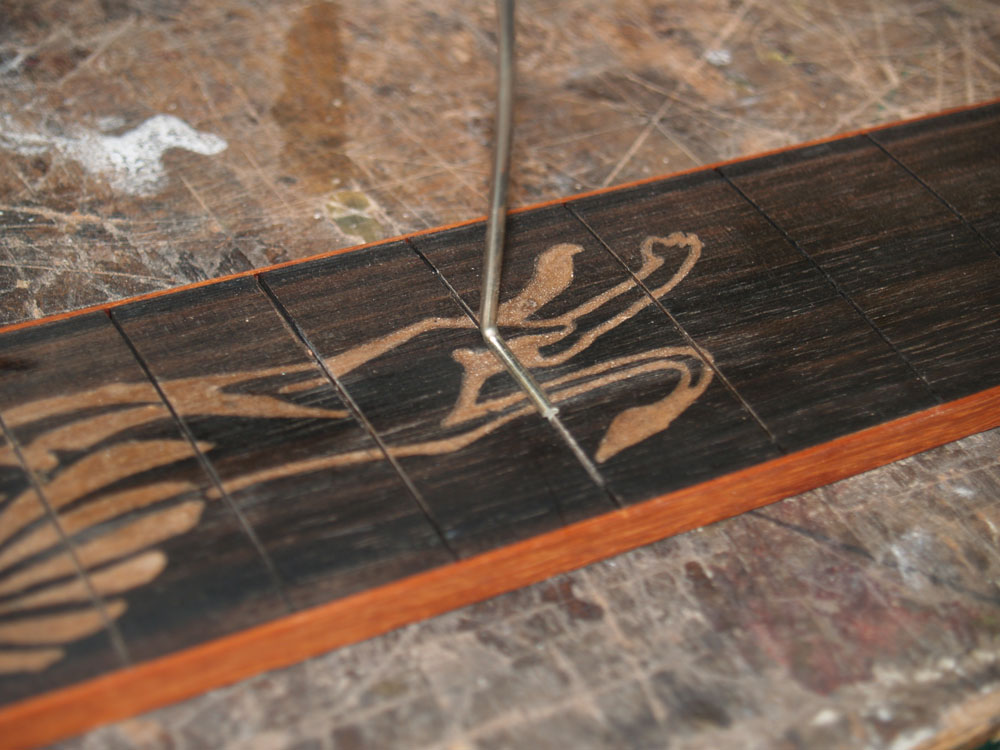
Now I am on to installing the frets. First I saw through the mastic that filled the fret slots, and then I check to make sure all of the slots are deep enough using a small feeler gauge made from spare fretwire.
 ( 278 ) 20-May-2013
Here I am trimming off the end of the fretboard.
 ( 280 ) 20-May-2013
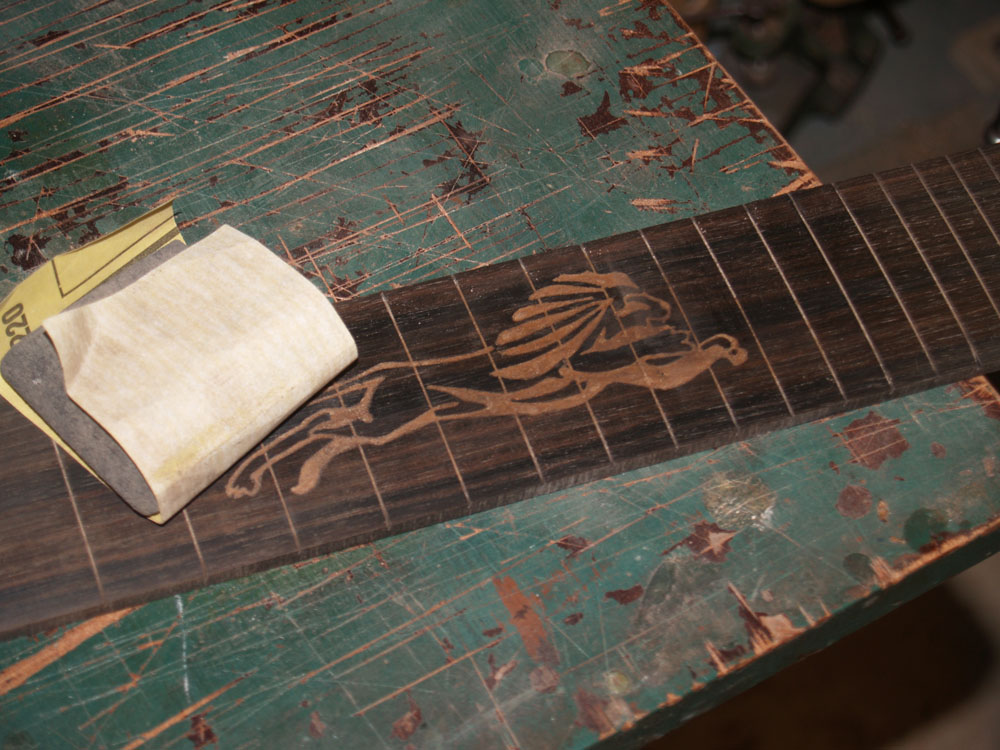
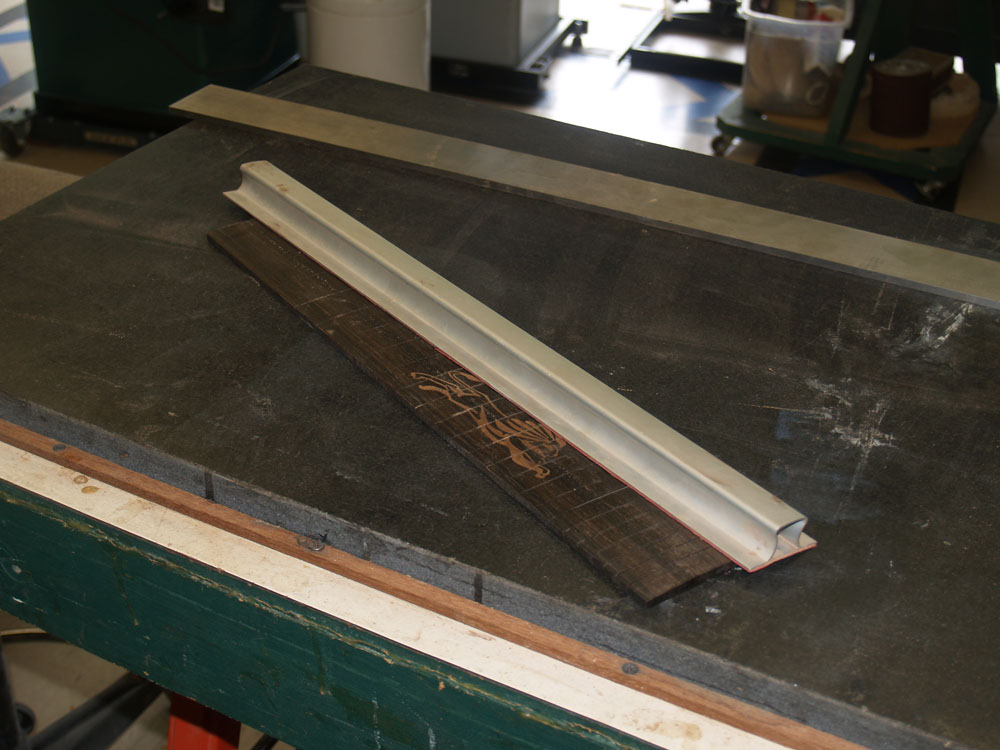
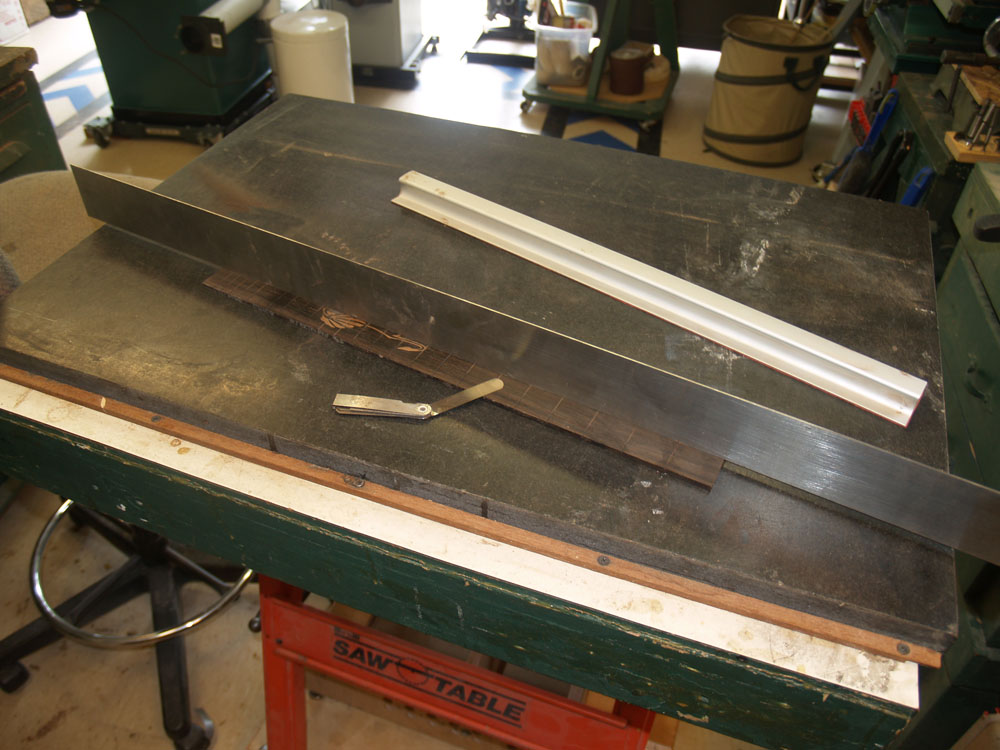
Before I install the frets I use this very flat sanding block to level out the fretboard.
 ( 281 ) 20-May-2013
I use a straight edge and feeler gauge to make sure it is level.
 ( 282 ) 20-May-2013
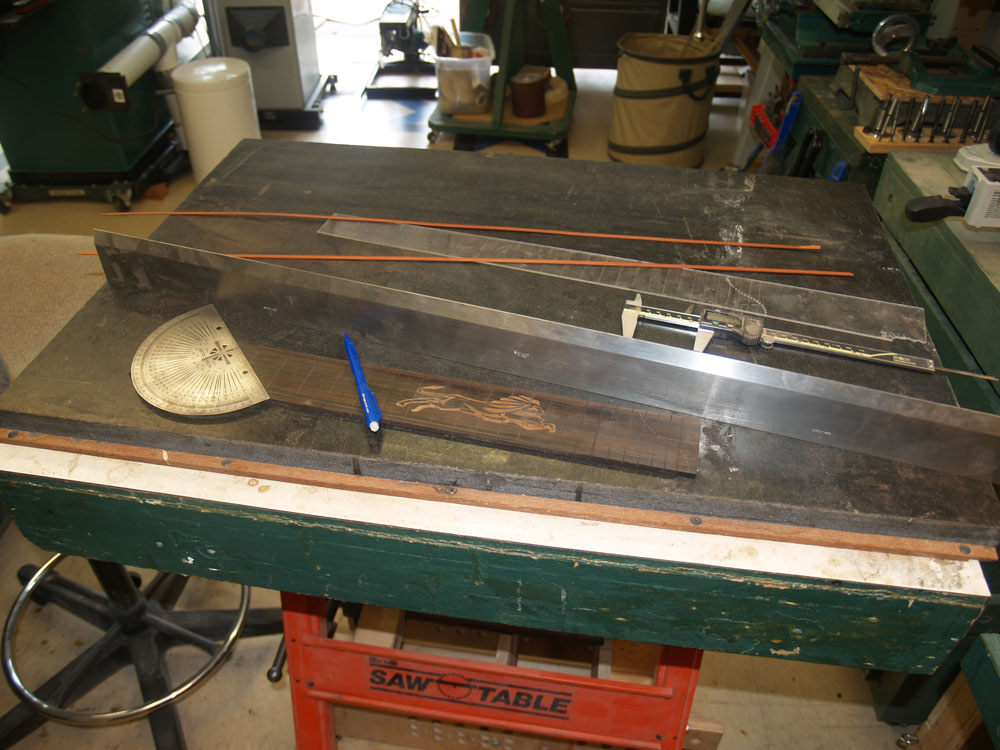
Then I mark the outline.
 ( 283 ) 20-May-2013
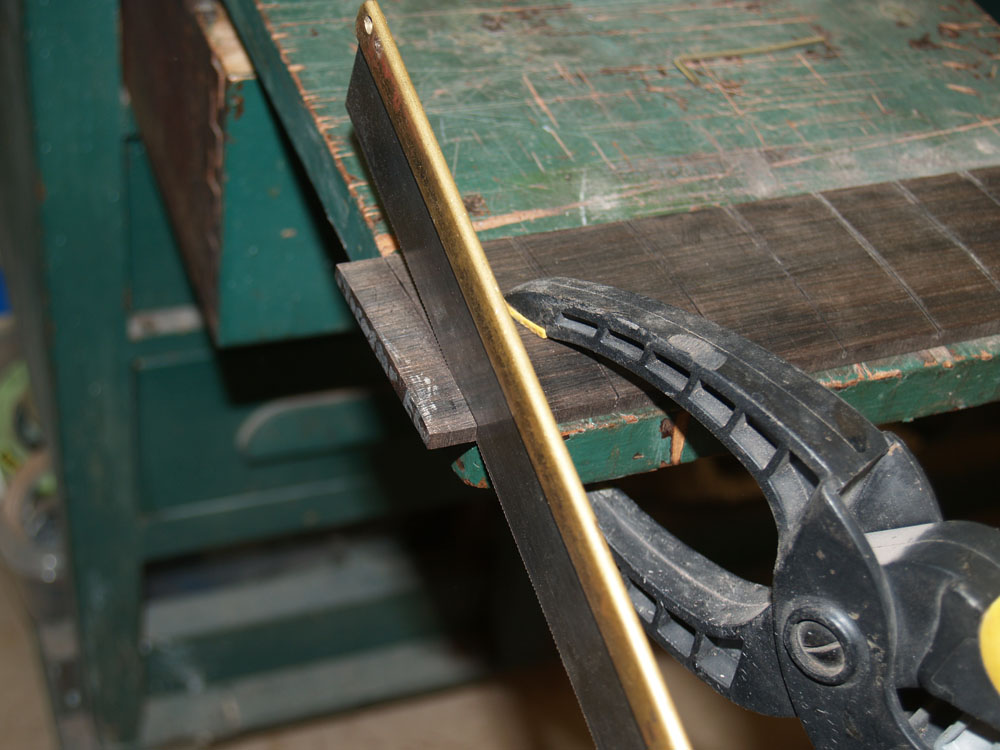
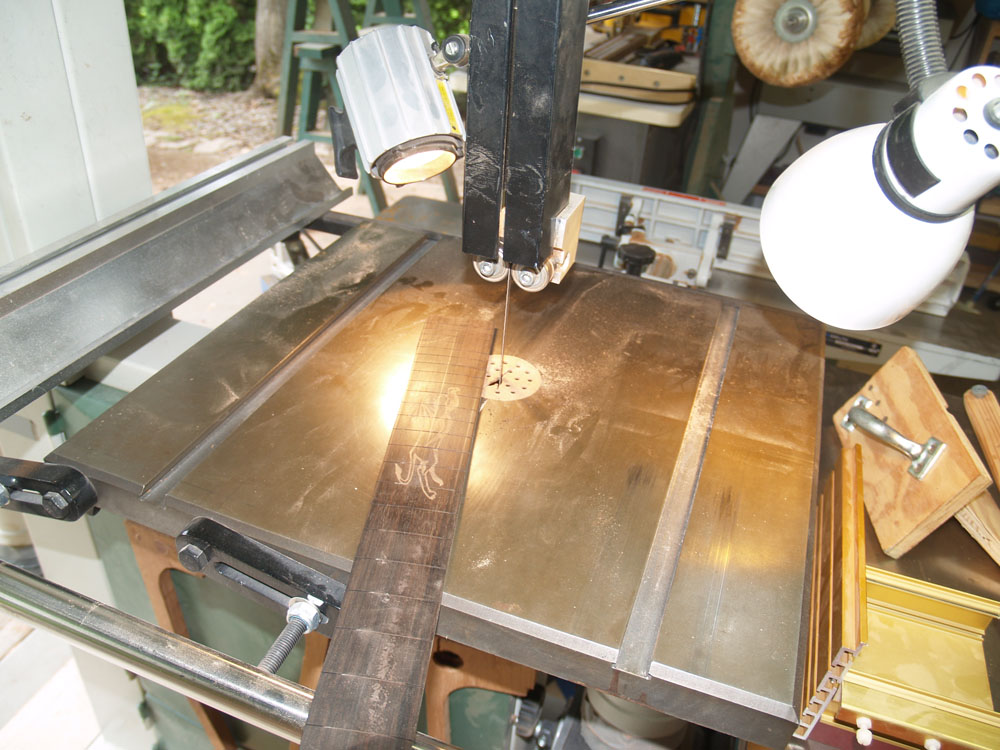
And trim off the excess with the bandsaw.
 ( 284 ) 20-May-2013
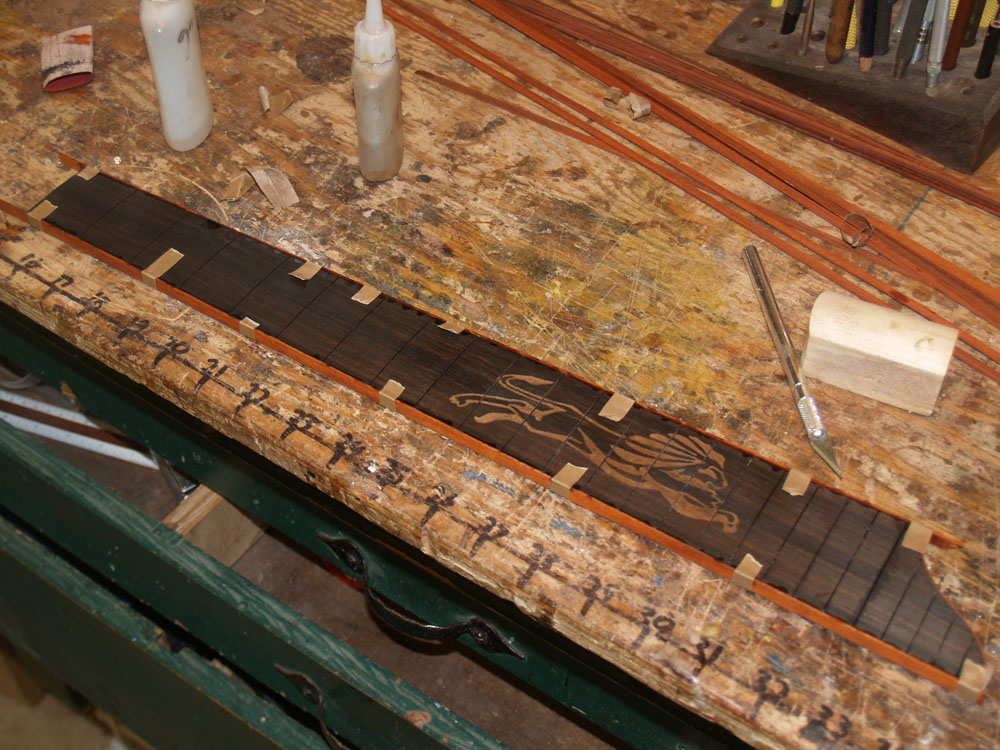
I place a couple of pieces of masking tape on the fretboard to mark the edges of the fretboard. Then I use my belt sander to trim the fretboard to dimension.
 ( 285 ) 20-May-2013
I have very accurately scribed the masking tape so I know just how far to sand. When I cant see te ebony between te belt the masking tape I stop.
 ( 286 ) 20-May-2013
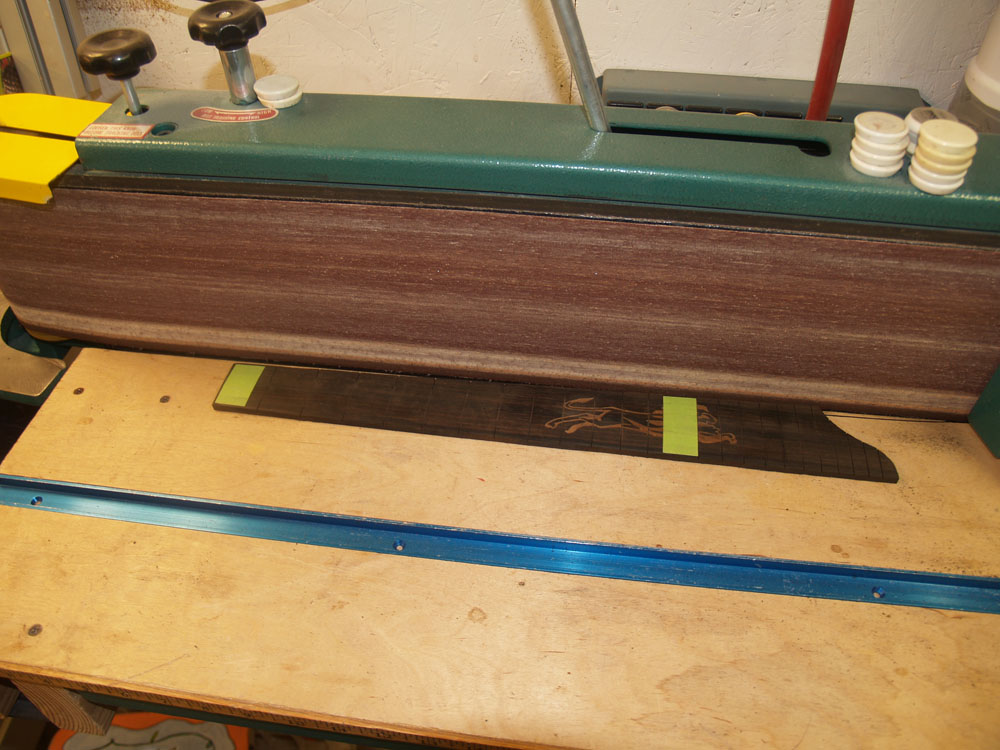
The extended portion of the fretboard gets trimmed with the oscillating sander.
 ( 287 ) 20-May-2013
I use binders tape hold down the binding as it is being glued in place.
 ( 288 ) 20-May-2013
The edge binding.
 ( 289 ) 20-May-2013
Here I am sanding the binding that stands proud flush with the fretboard.
 ( 290 ) 20-May-2013
 ( 291 ) 20-May-2013
 ( 292 ) 20-May-2013
Just to make sure, I check the slot depths again. It is very important that the fretwire lies flush to the surface of the fretboard, or the fretwire will end up too high. The fretboard is a very precise element of the guitar so I spend a lot of time making sure it is right.
 ( 293 ) 20-May-2013
Now I start to cut the fretwire and marking the slot length on them.
 ( 294 ) 20-May-2013
Keeping everything well ordered.
 ( 295 ) 20-May-2013
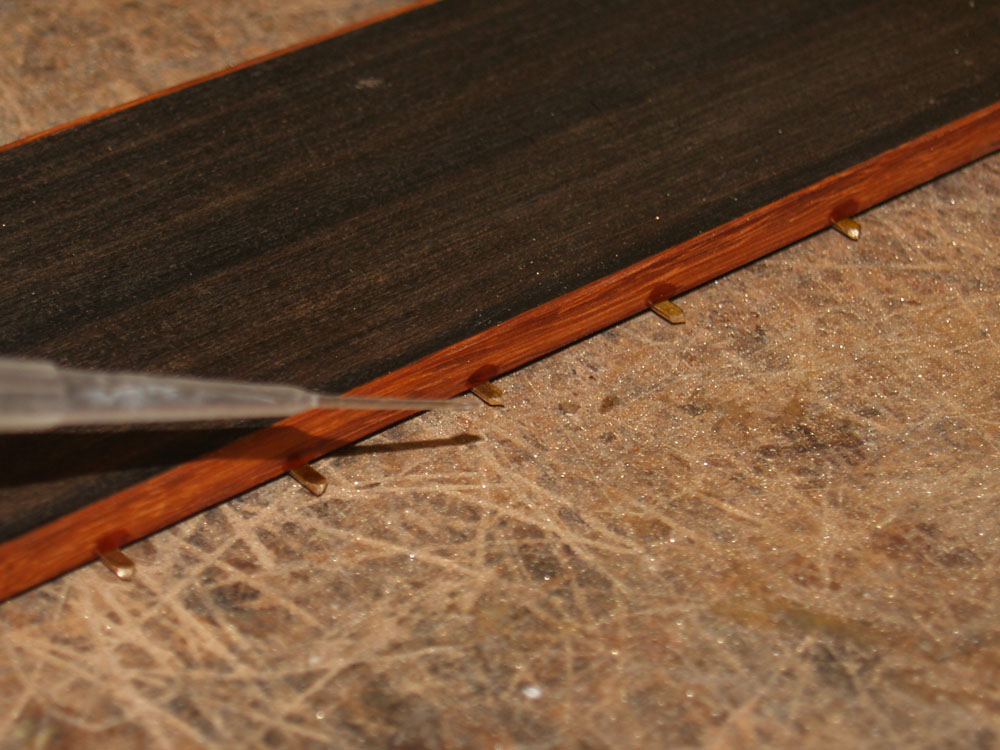
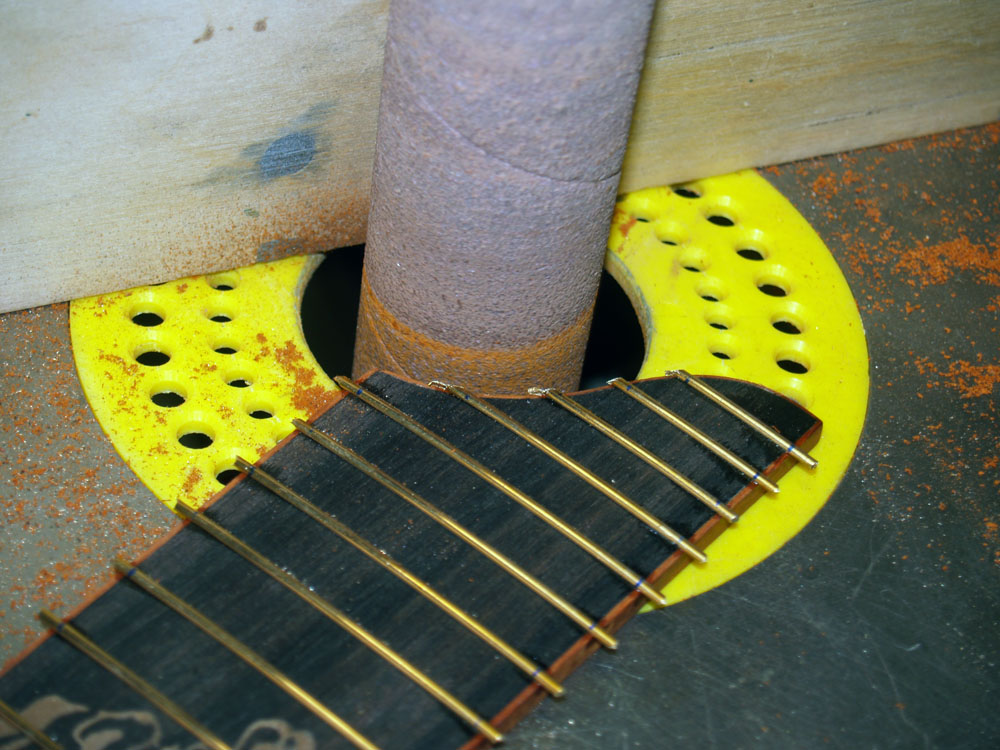
Since the fretboard is bound, I need to remove the portion of the tang that interferes with the binding so the crown goes all of the way to the edge. I have a special fixture to hold the raw fretwire at just the right angle to the sanding belt.
 ( 296 ) 20-May-2013
To prevent marring and scaring I use a walnut block to hammer the fretwire into the slots.
 ( 297 ) 20-May-2013
 ( 298 ) 20-May-2013
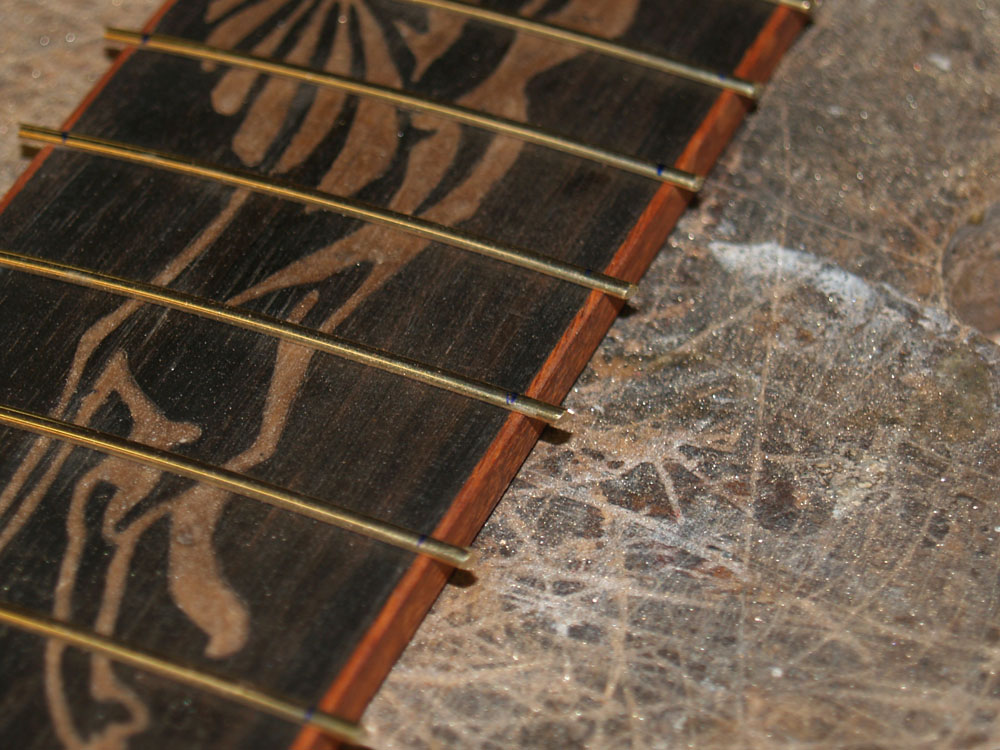
The crown over hangs the edge of the fretboard.
 ( 299 ) 20-May-2013
I place a drop of cyanoacrylate glue on the end of each fretwire and it is drawn into the slot via capillary action. This tacks down the free floating end of the fretwire.
 ( 300 ) 20-May-2013
I use the oscillating sander to remove the overhang on the end of the fretboard.
 ( 301 ) 20-May-2013
And the belt sander to remove the overhang on the edges.
 ( 302 ) 20-May-2013
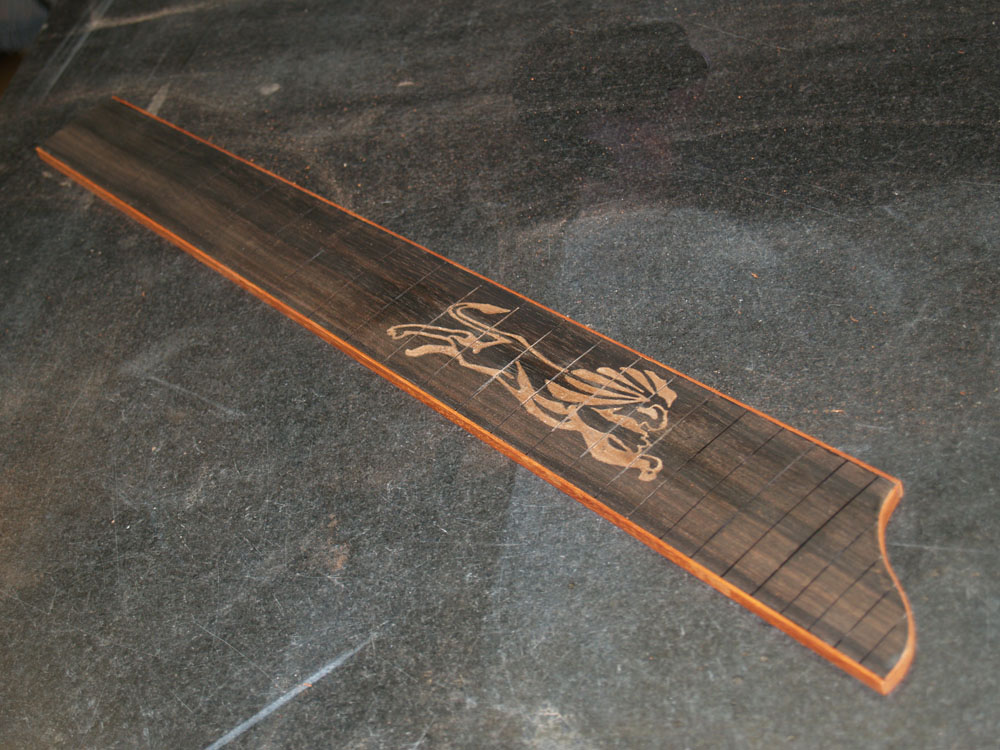
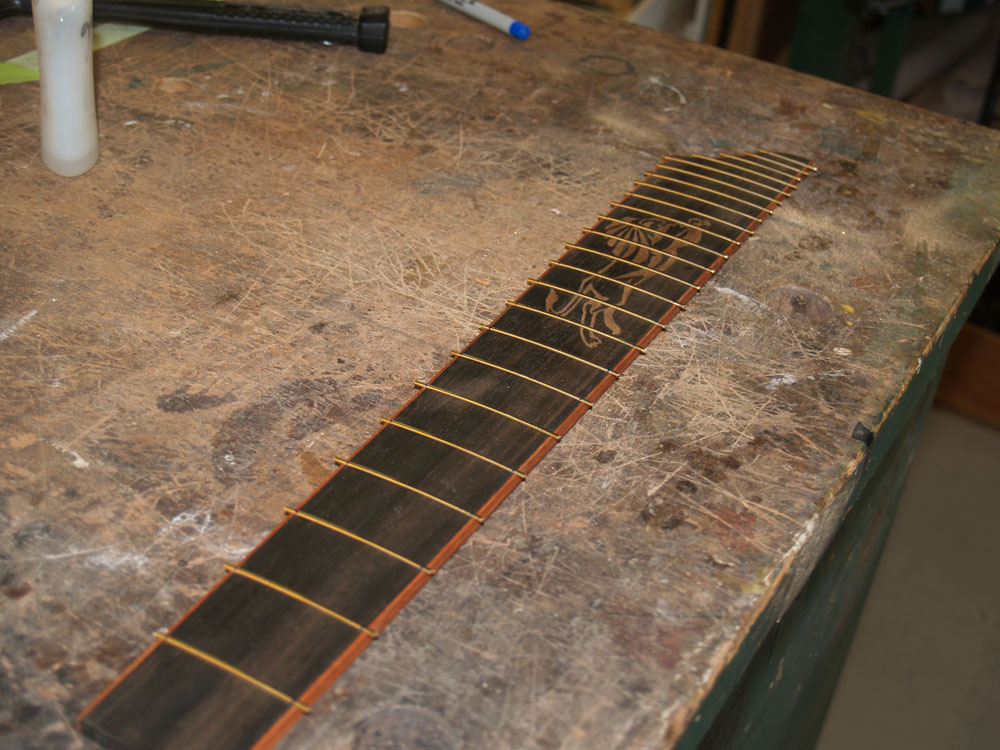
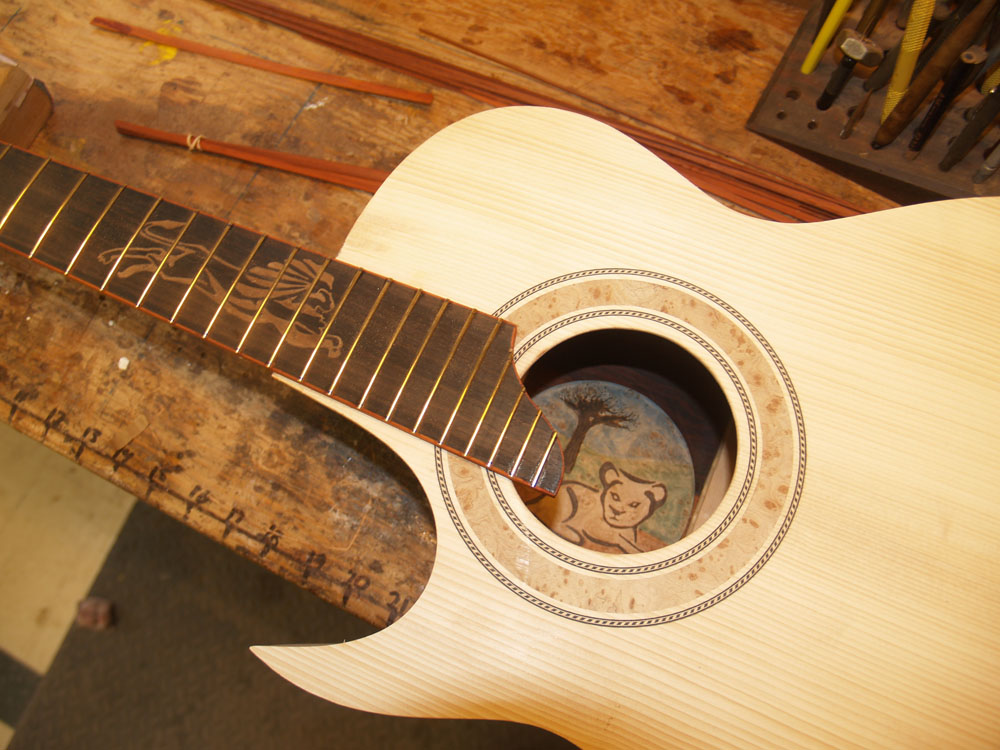
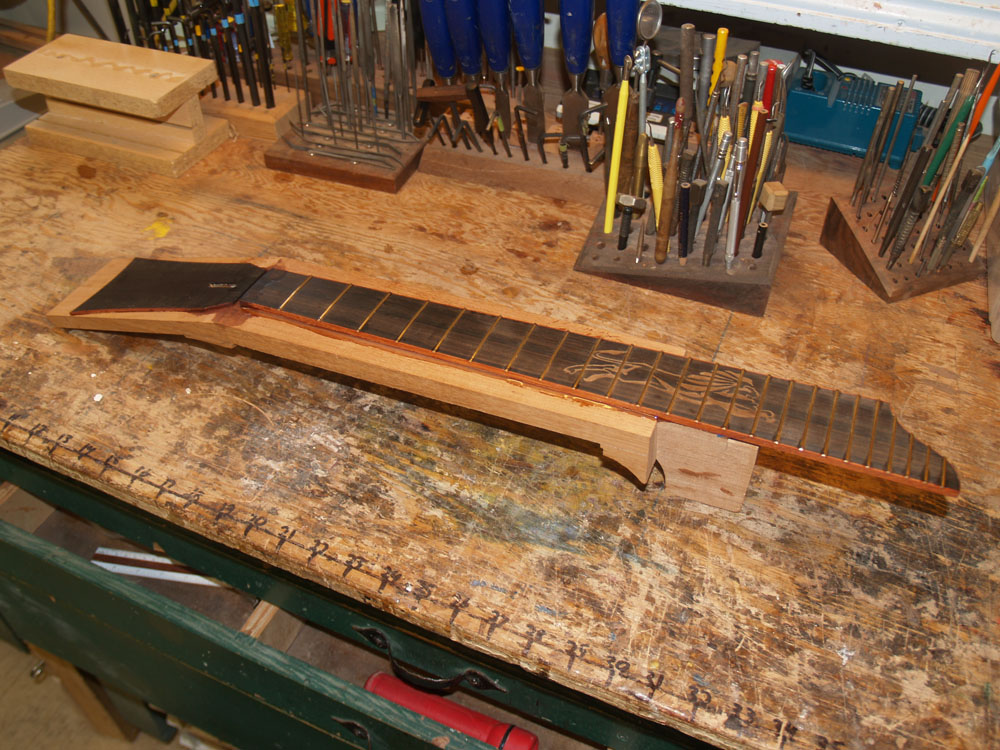
Here is what the fretboard and rosettes will look like.
 ( 303 ) 20-May-2013
Now I prepare to mount the fretboard to the neckblank. Lots of measurements first.
 ( 304 ) 20-May-2013
The first thing is to route out the wing channels and the cantilever channel.
 ( 305 ) 20-May-2013
 ( 306 ) 20-May-2013
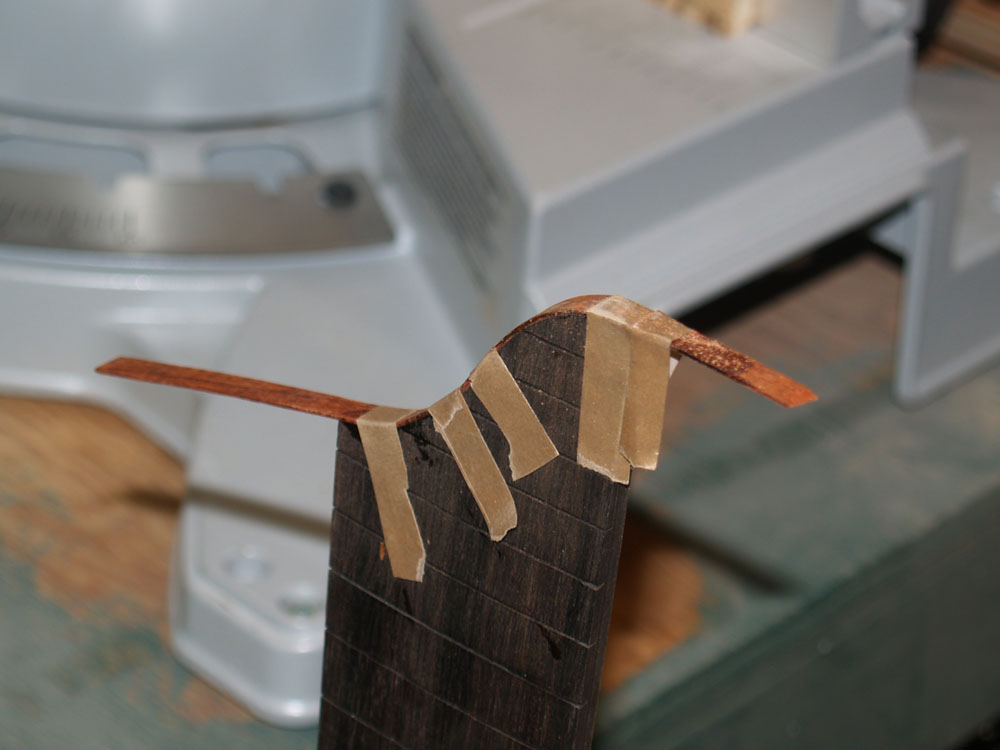
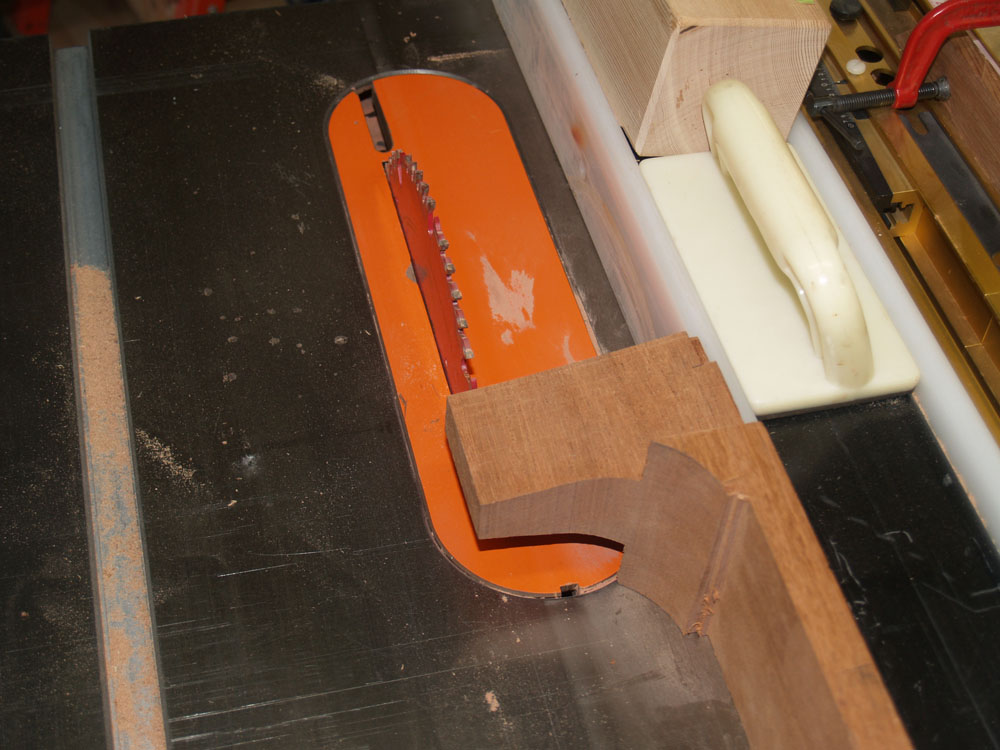
And to trim the end of the heel so it will fit into the heel channel.
 ( 307 ) 20-May-2013
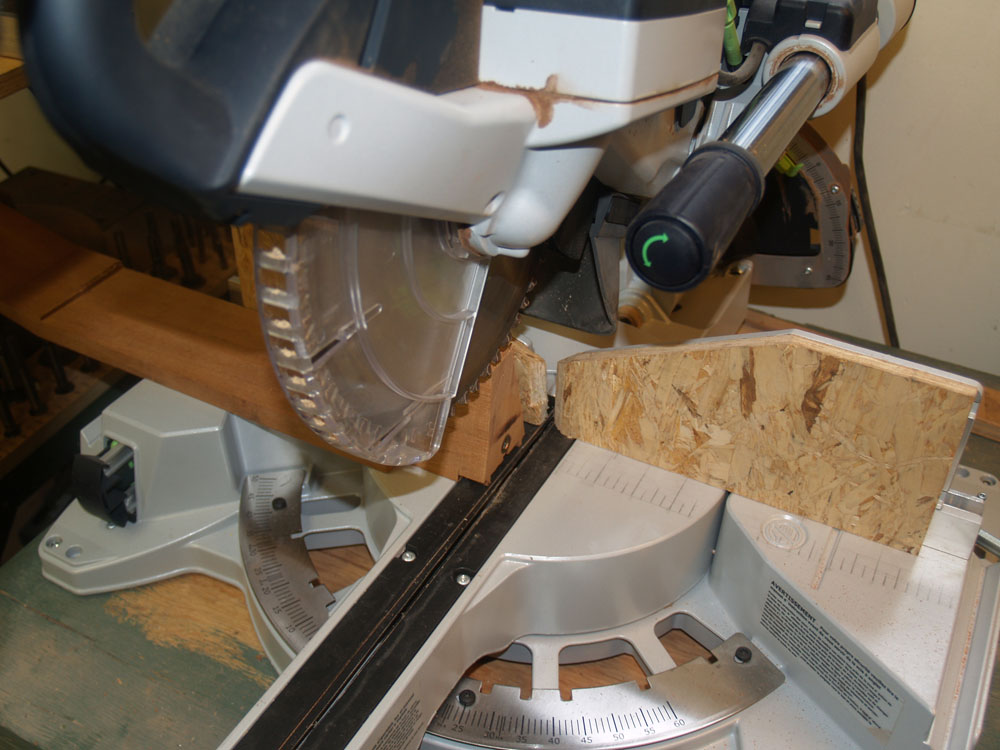
I use the miter saw to put a 3 deg. bevel onto the end of the heel. This gives the heel room to move in the heel channel.
 ( 308 ) 20-May-2013
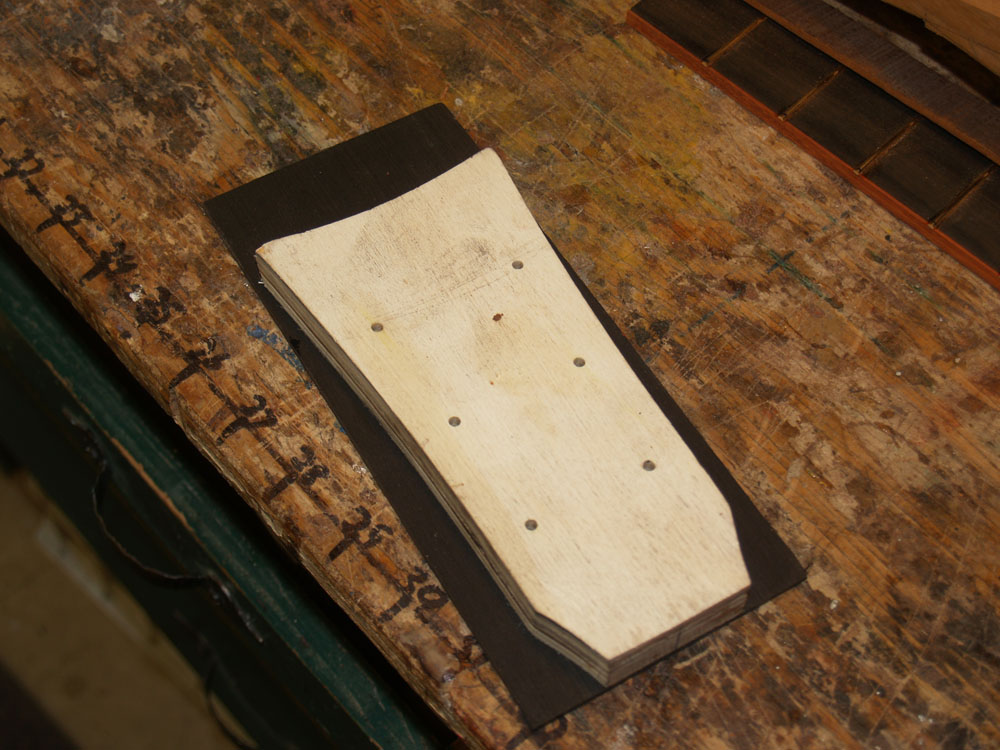
Here I am sanding the headstock plate to dimension.
 ( 309 ) 20-May-2013
And lay out the shape of the headstock on the veneer.
 ( 310 ) 20-May-2013
The band saw trims away the excess.
 ( 311 ) 20-May-2013
And I mount the veneer on the template.
 ( 312 ) 20-May-2013
The router table trims the veneer to its final shape.
 ( 313 ) 20-May-2013
However, I still need to reduce the veneer by the thickness of the binding. I scribe a line and use the oscillating sander and a hand block to trim it up.
 ( 314 ) 20-May-2013
The binding tape hold the binding in place as it is glued to the edge of the veneer.
 ( 315 ) 20-May-2013
A little CA glue fixes the binding in place.
 ( 316 ) 20-May-2013
 ( 317 ) 20-May-2013
I lay out the fretboard and veneer to check alignment.
 ( 318 ) 20-May-2013
The end of the veneer gets a 13 degree bevel so it will butt up against the nut.
 ( 319 ) 20-May-2013
I use bone blocks and sticks to align the fretboard on the neck blank.
 ( 320 ) 20-May-2013
I install fiducial buttons so the fretboard won't slide around as I glue it down.
 ( 321 ) 20-May-2013
Wooden block are used to align the veneer on the head stock.
 ( 322 ) 20-May-2013
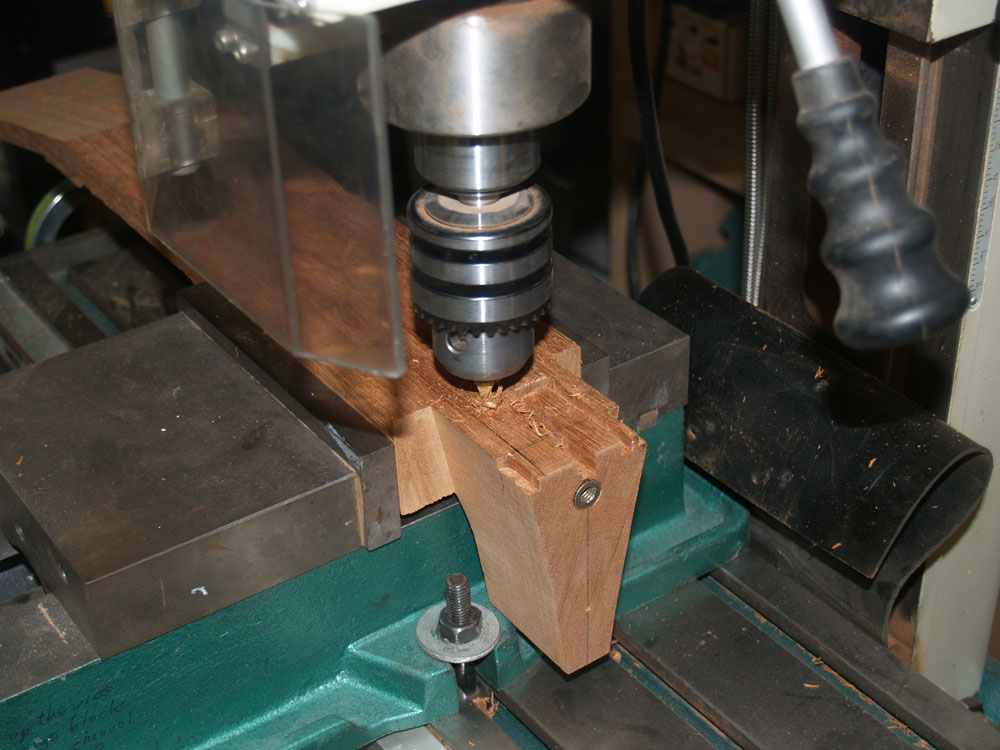
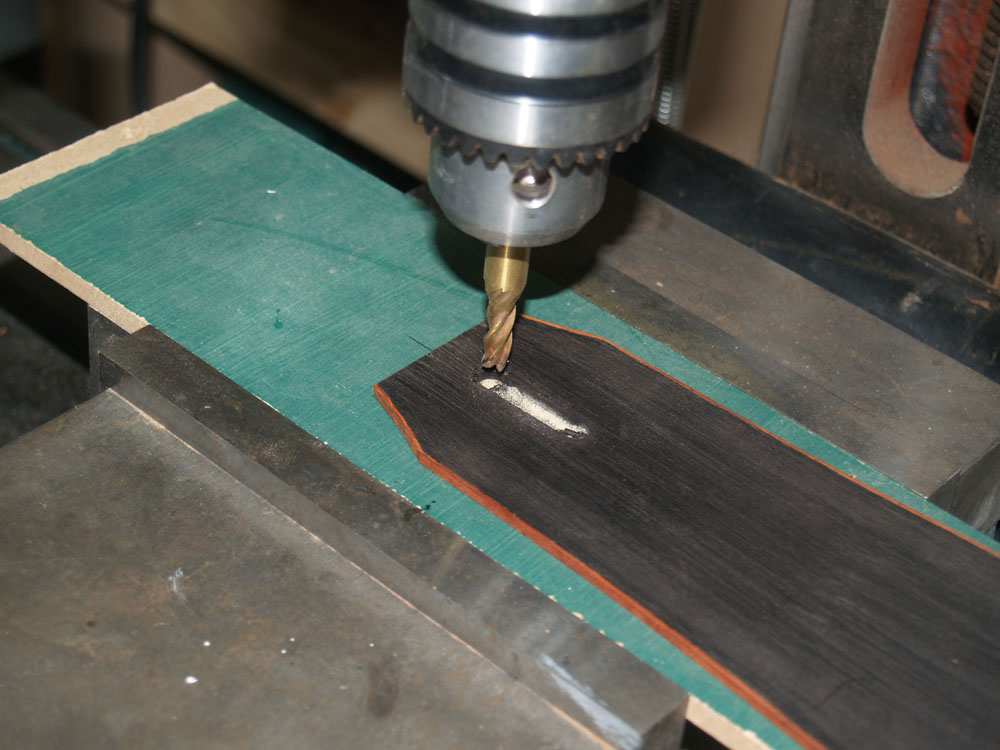
The milling machine is used to route out a hole for the truss rod access.
 ( 323 ) 20-May-2013
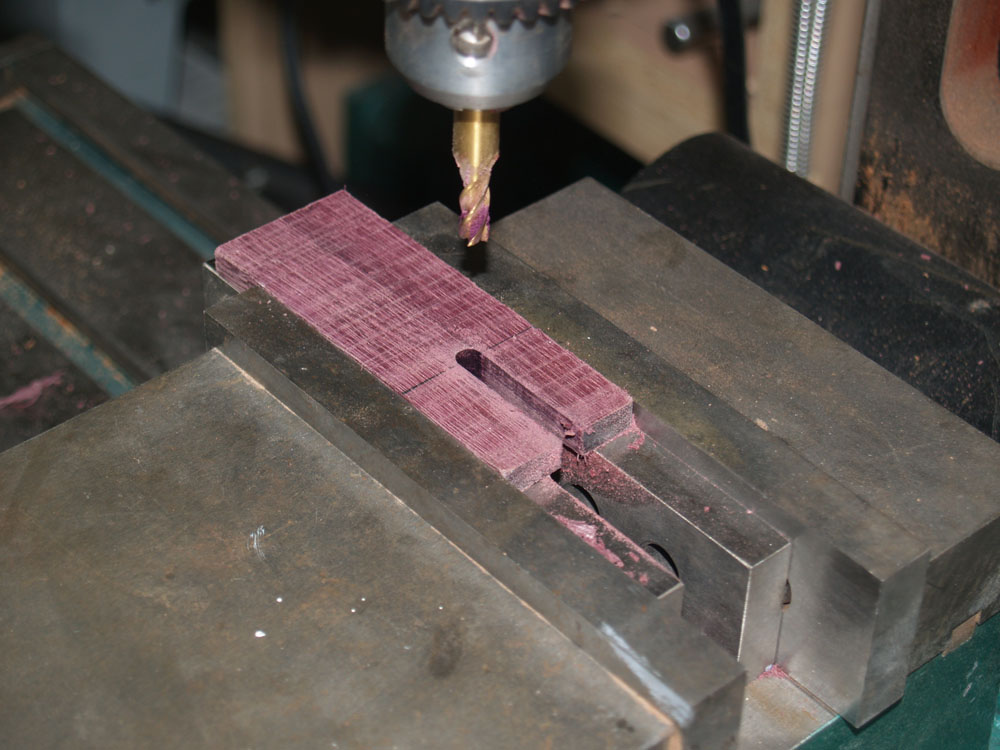
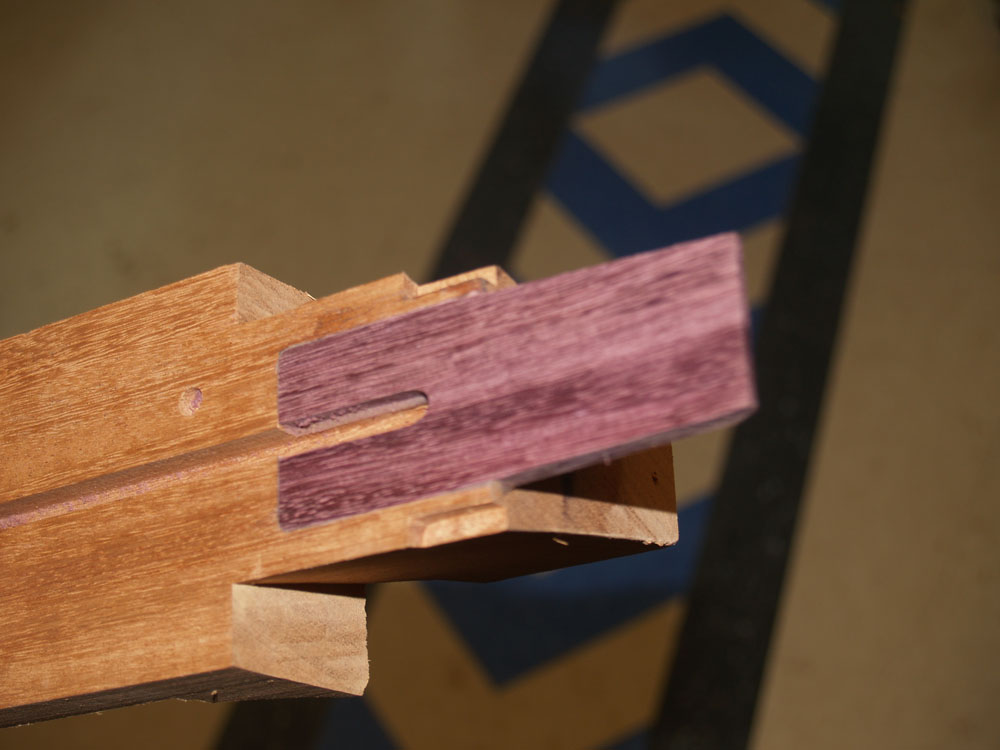
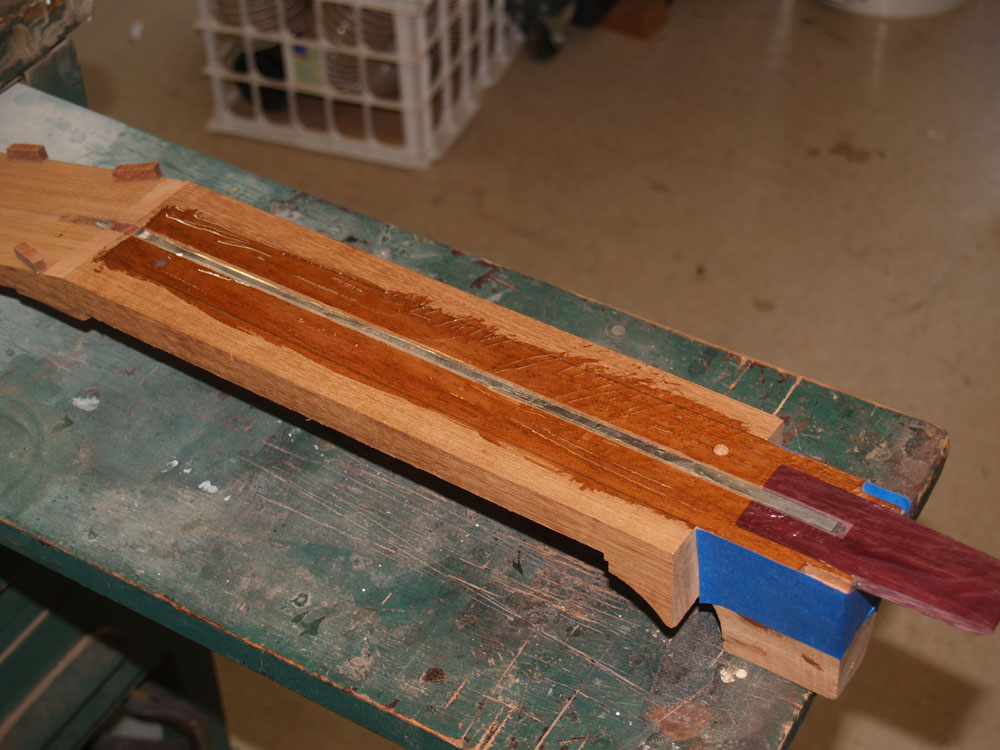
The fretboard cantilever is made from purpleheart, a very stiff wood. Here I am routing out a channel for the truss rod.
 ( 324 ) 20-May-2013
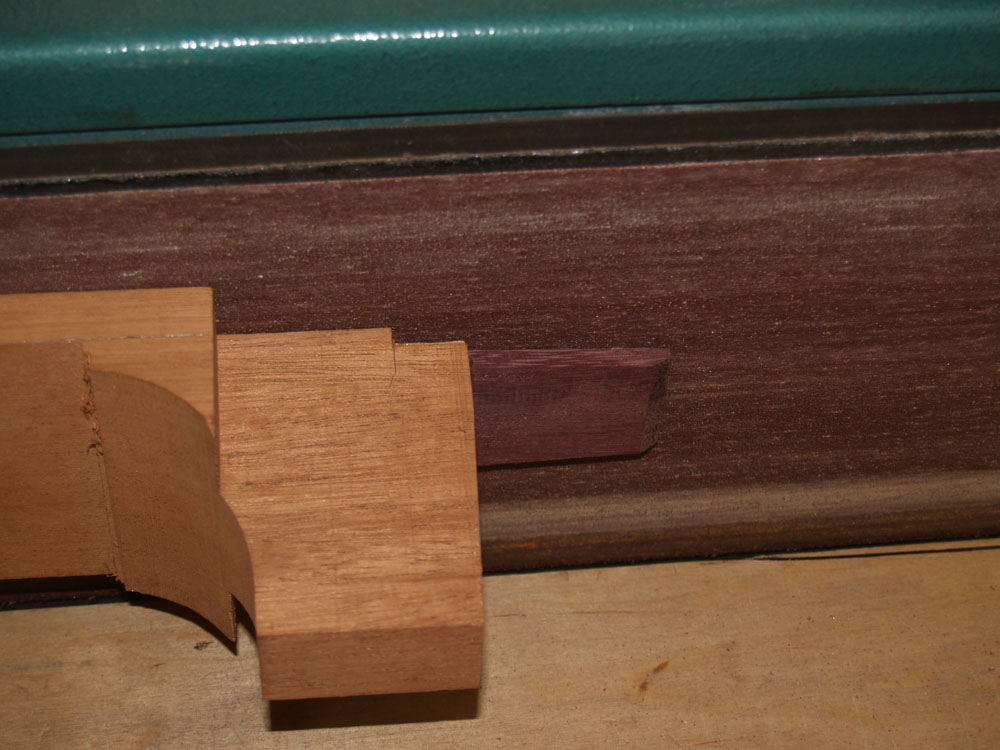
The cantilever drops into the cantilever channel, standing a bit proud of the surface.
 ( 325 ) 20-May-2013
A little epoxy is used to glue the channel in place.
 ( 326 ) 20-May-2013
 ( 327 ) 20-May-2013
I sand the cantilever flushto te surface of the neck blank using the belt sander.
 ( 328 ) 20-May-2013
 ( 329 ) 20-May-2013
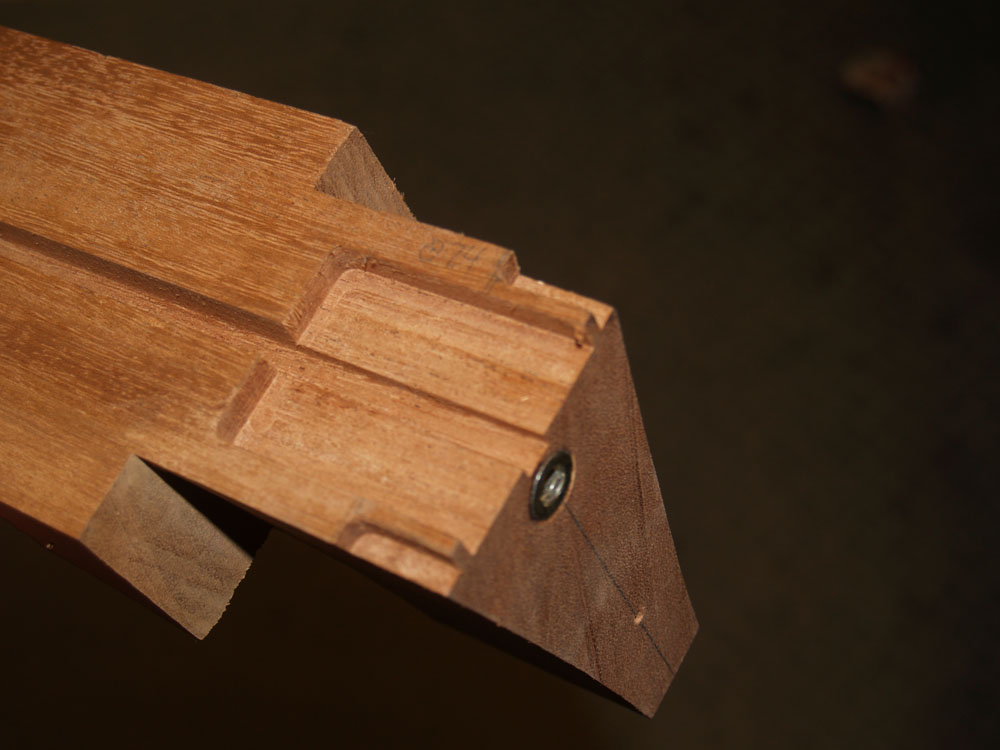
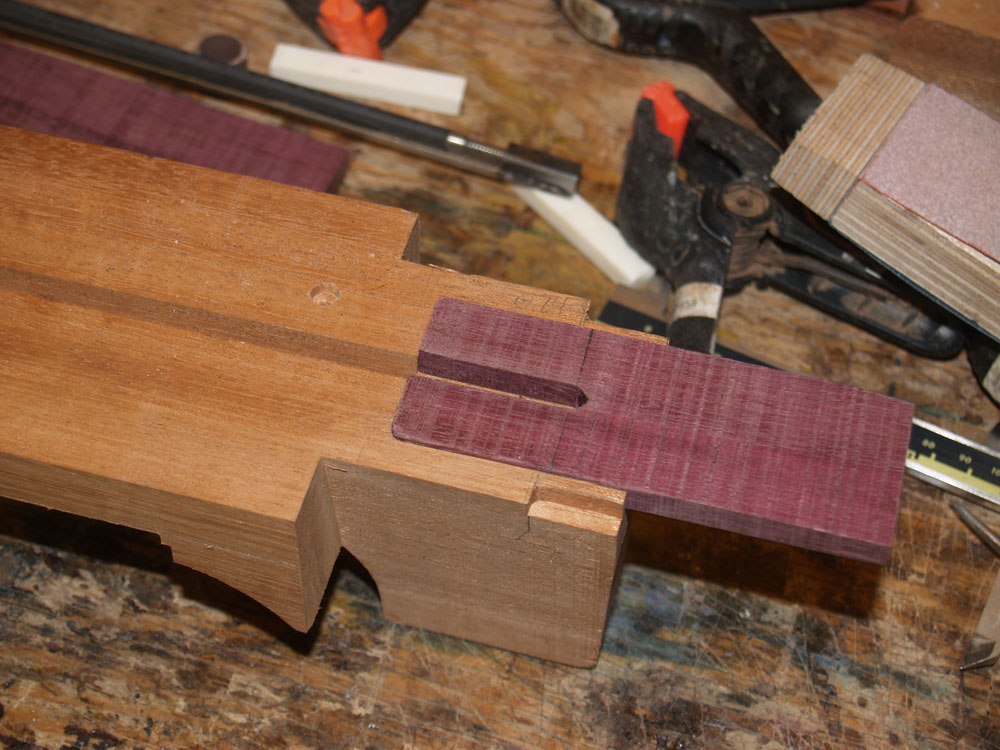
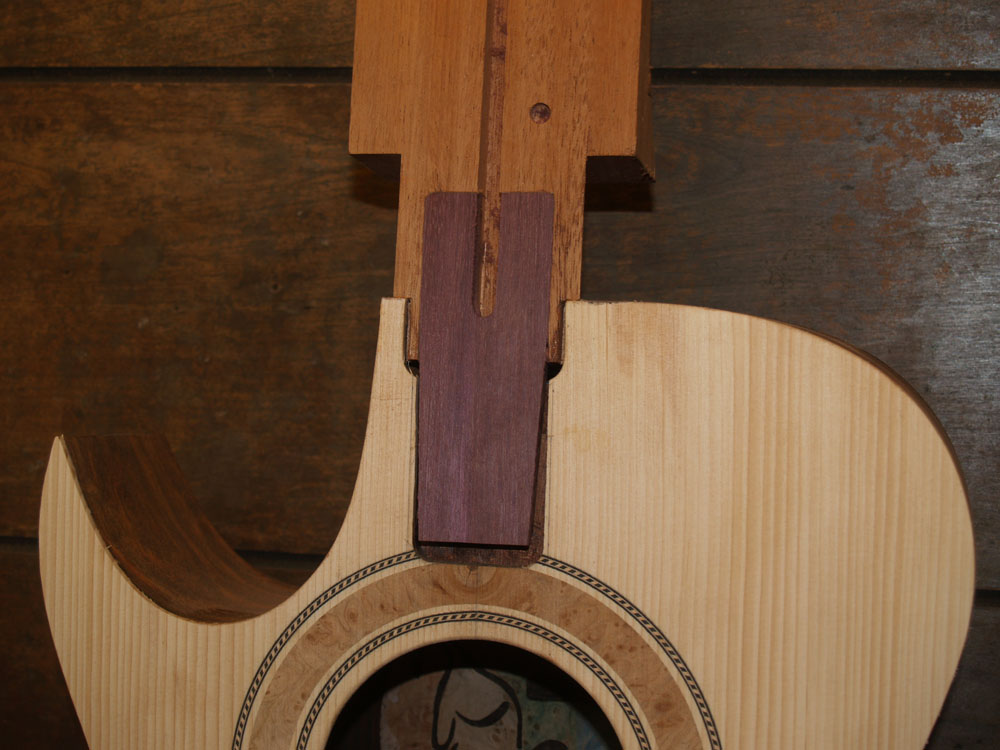
Here is a view of the cantilever and channel wings setup. The channel wings slip into the channels in the neck blank and will be covered up by the fretboard. This arrangement hides the seam between the neck and the body.
 ( 330 ) 20-May-2013
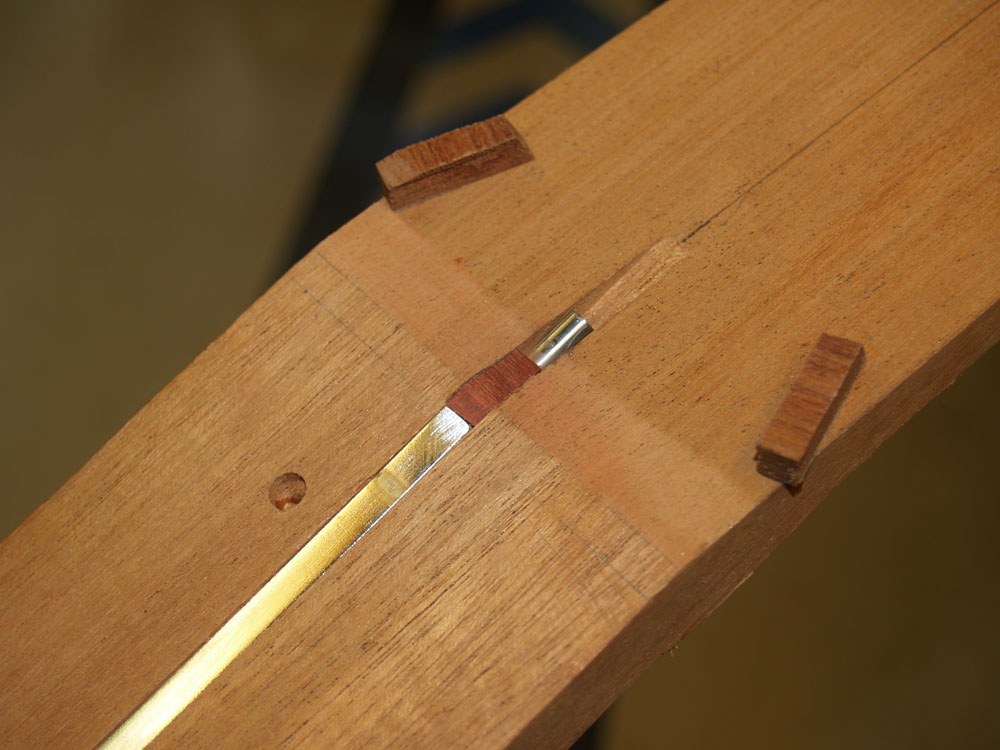
I add a small block of hardwood over the end of the truss rod. This will provide some grip for the truss rod cover screw.
 ( 331 ) 20-May-2013
A little hard to see, but I cover the truss rod with tape so no glue will get into the works when I glue on the fretboard.
 ( 332 ) 20-May-2013
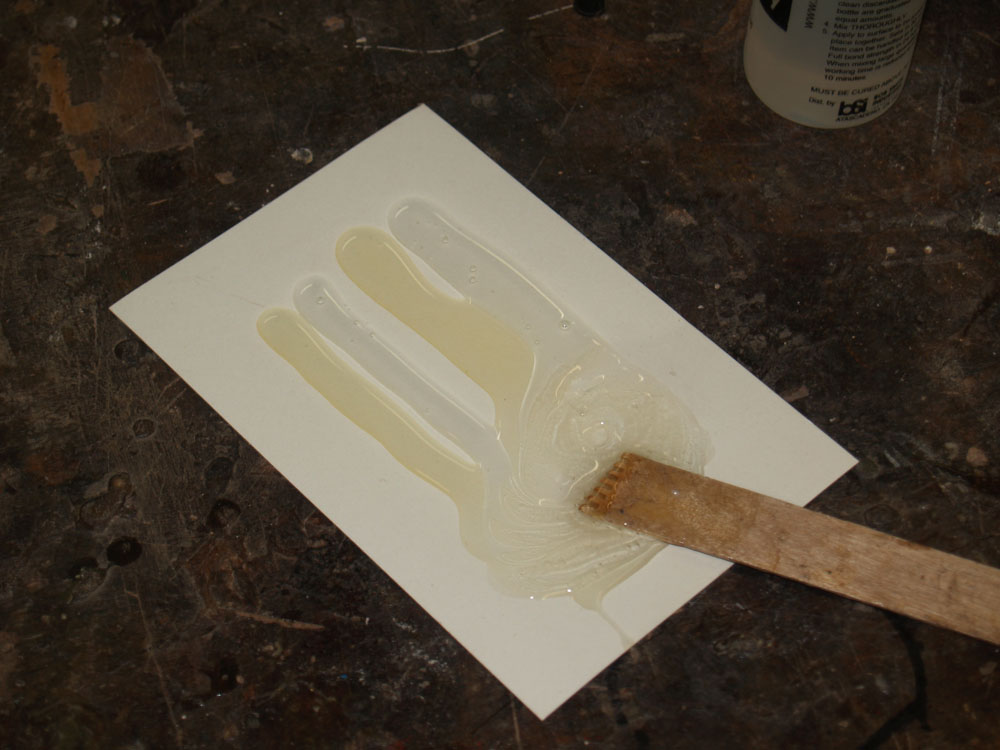
I carefully measure out and mix some epoxy.
 ( 333 ) 20-May-2013
And apply a thin coat to the the neck blank.
 ( 334 ) 20-May-2013
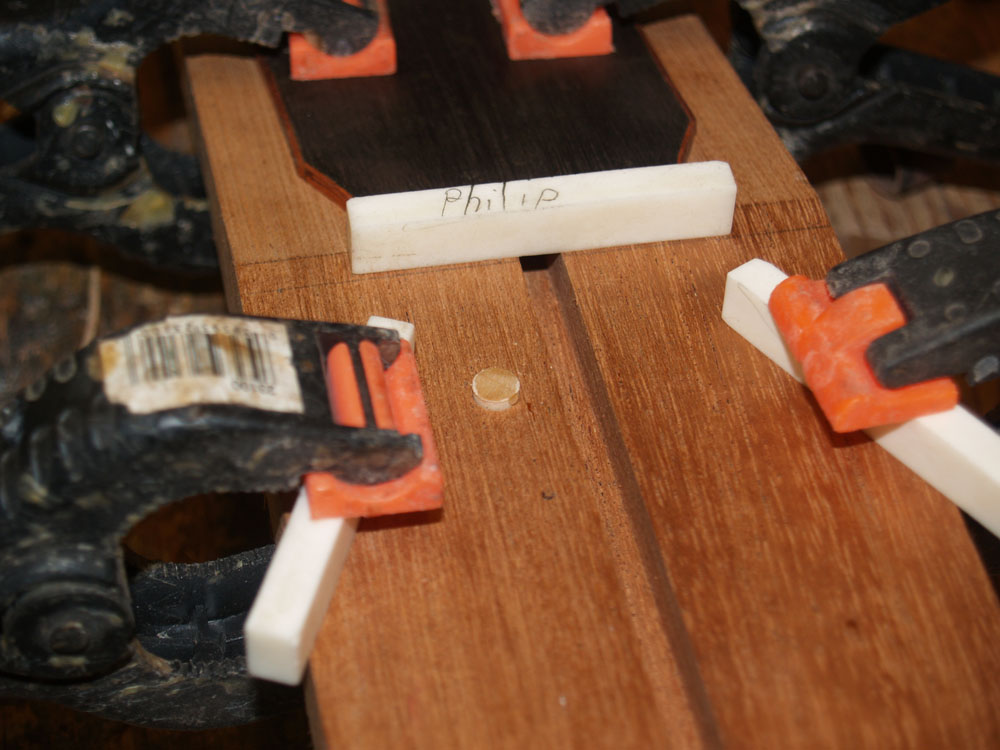
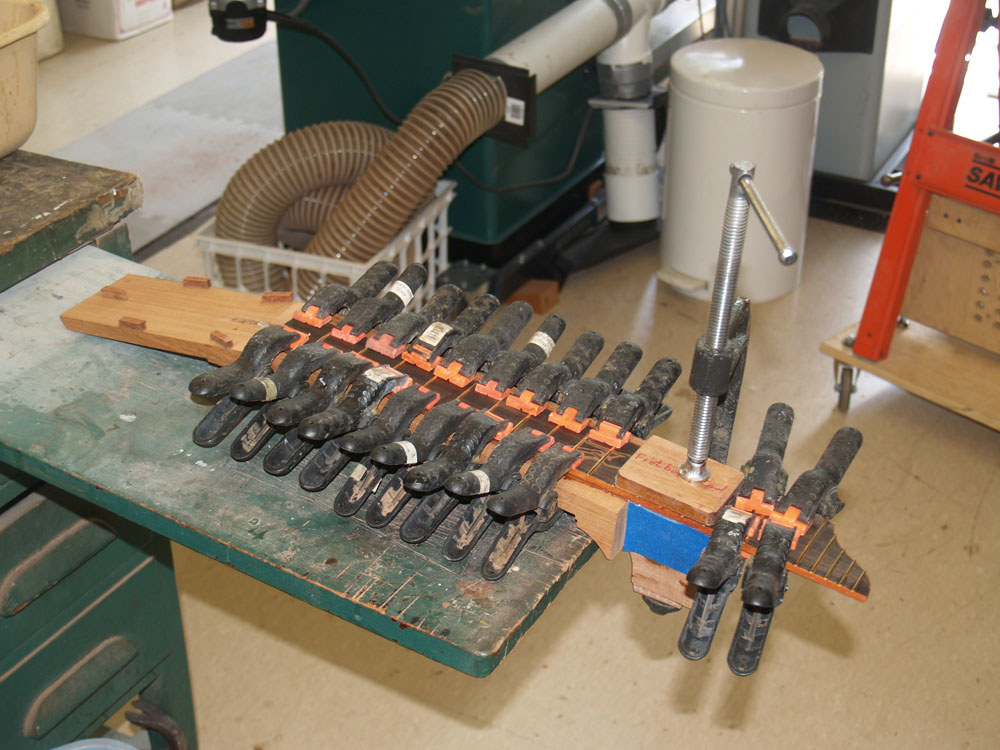
Using lots of clamps, I glue the fretboard to the neck blank. Glue is actually quite slippery until it sets up, but since I used my fiducial button technique, I don't have to worry about the fretboard sliding around as I press it into place.
 ( 335 ) 20-May-2013
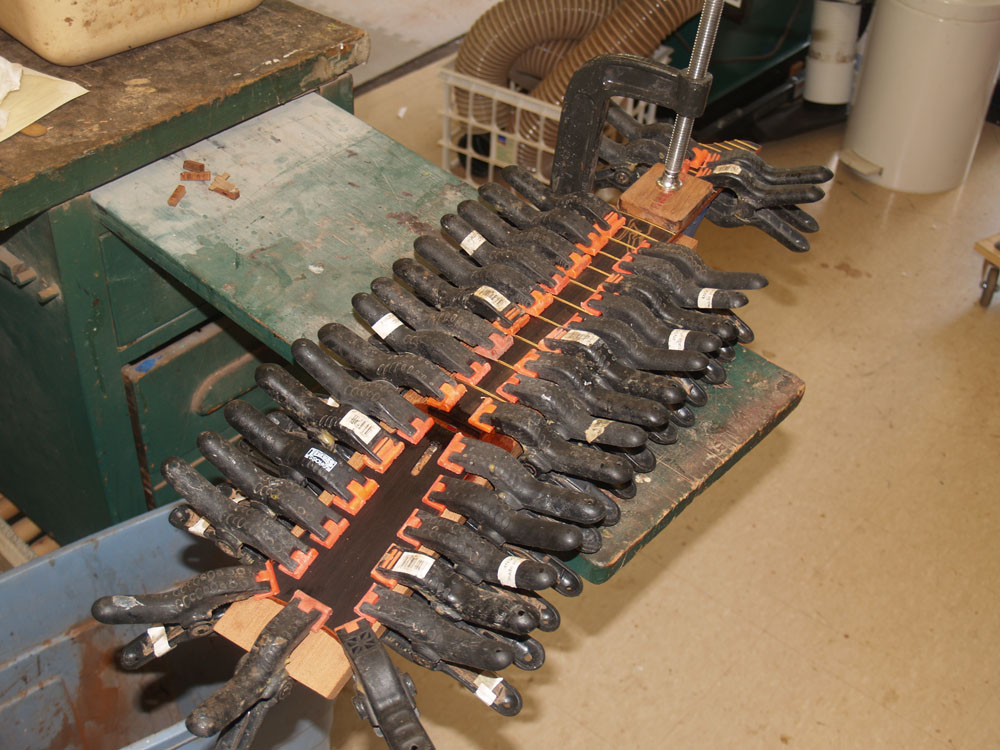
The headstock veneer gets glued in place using even more clamps... have I mentioned I have lots of clamps.
 ( 336 ) 20-May-2013
After setting up over night the clamps come off and we are ready to shape the neck.