Portland Guitar Co. | Portland Oregon | Contact Jay Dickinson-503.245.3276 | jay@portlandguitar.com
Portland Guitar Pretty Good Intonation (PGPG) System
Finished Build
Orchestral Model Lefthanded Cutaway
The Lion's Claw
OMCL 2.1.57 for Phil R.
Cocobolo Body 15 inch lower bout
Adirondack Spruce Top
Lion Theme Marquetry
Mahogany Neck
Ebony Fretboard
Gold Frets & Gotoh Tuners
Padauk
Binding
25.4 Inch Scale Length
Page 1
 ( 1 ) 6-Dec-2012
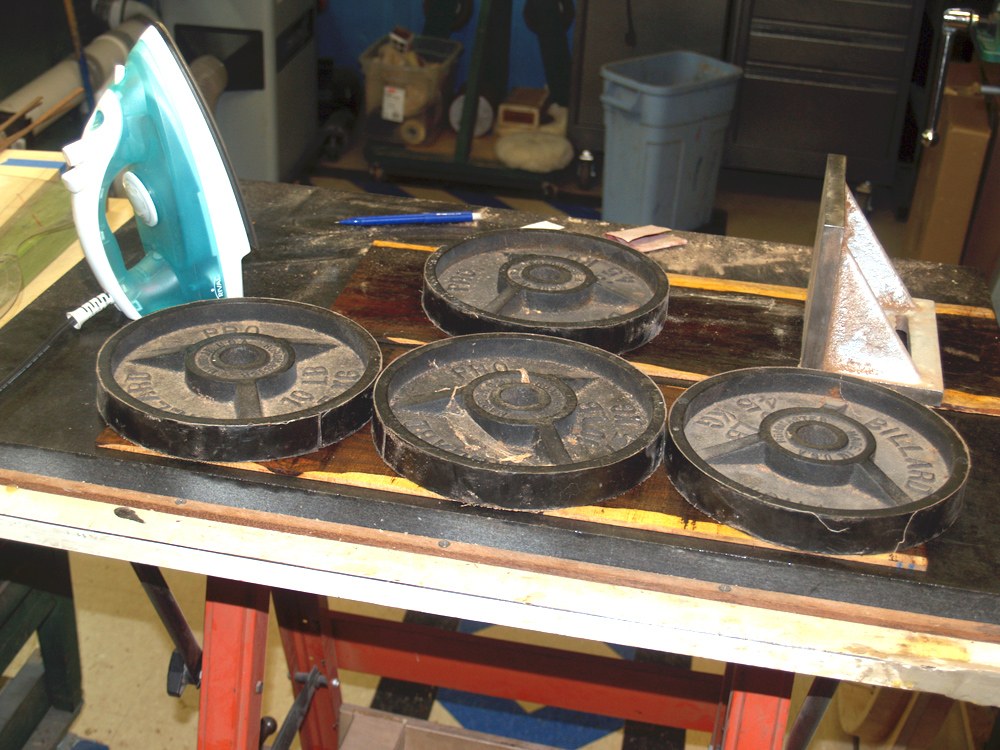
Sometime last year I purchased a couple of Cocobolo boards to resaw into back and side sets. This is done by sawing off ~1/5 inch thick boards from the original 1 inch thick board. This results in two book matched sets. After the wood was cut it relaxed and took on a slight cup that I am flattening out with the aid of an old iron and a few weights. When wood is heated it becomes quite pliable, and will hold its new shape after it cools down. To start this project , here I am flattening out the back plates.
 ( 2 ) 6-Dec-2012
In this picture I have laid out the set of Adirondack Spruce we will use for the top. We use spruce for the top because it is has a very low density yet is quite stiff. This property of the wood will help make the guitar responsive, i.e., it will have a fast attack, will reach a high volume, and will have long sustain. Everything you might want in a guitar.
 ( 3 ) 6-Dec-2012
A close up look at the grain of the Adirondack Spruce.
 ( 4 ) 6-Dec-2012
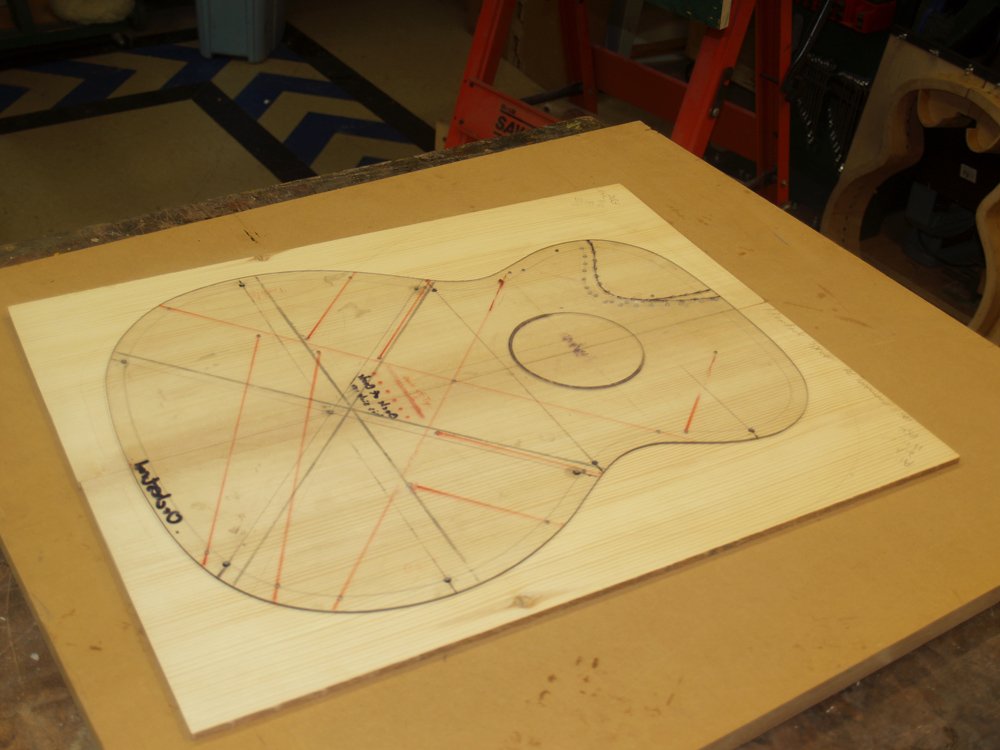
Here I am laying out the template for the top.
 ( 5 ) 6-Dec-2012
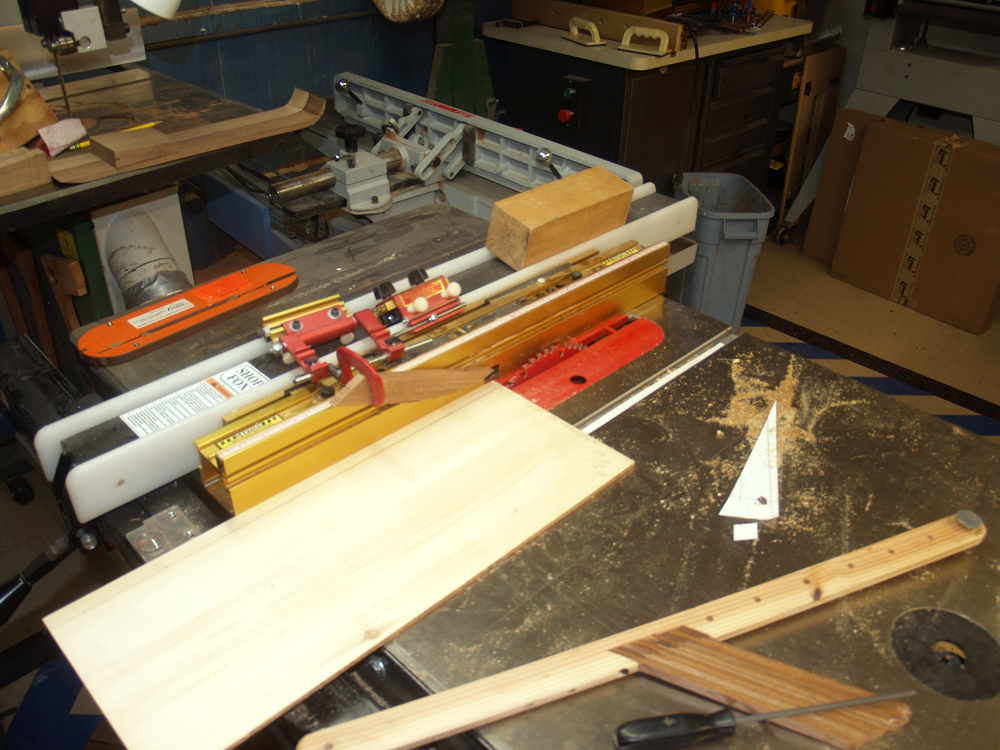
I use my table saw to trim off a bit of the plates.
 ( 6 ) 6-Dec-2012
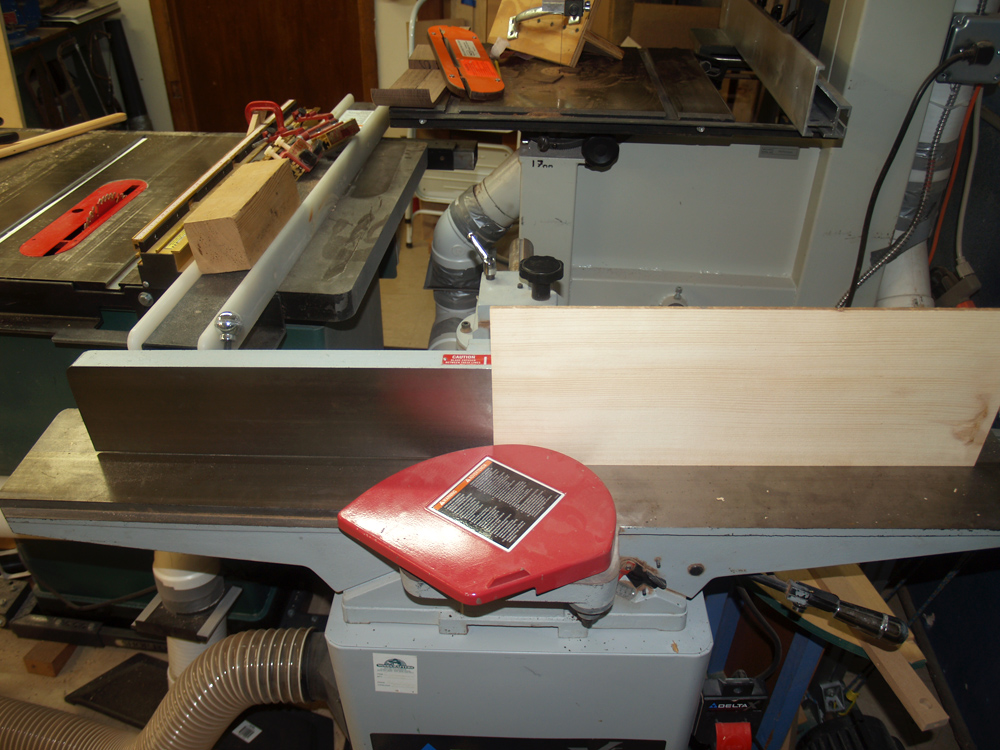
My jointer trims the glue edge so it is nearly straight.
 ( 7 ) 6-Dec-2012
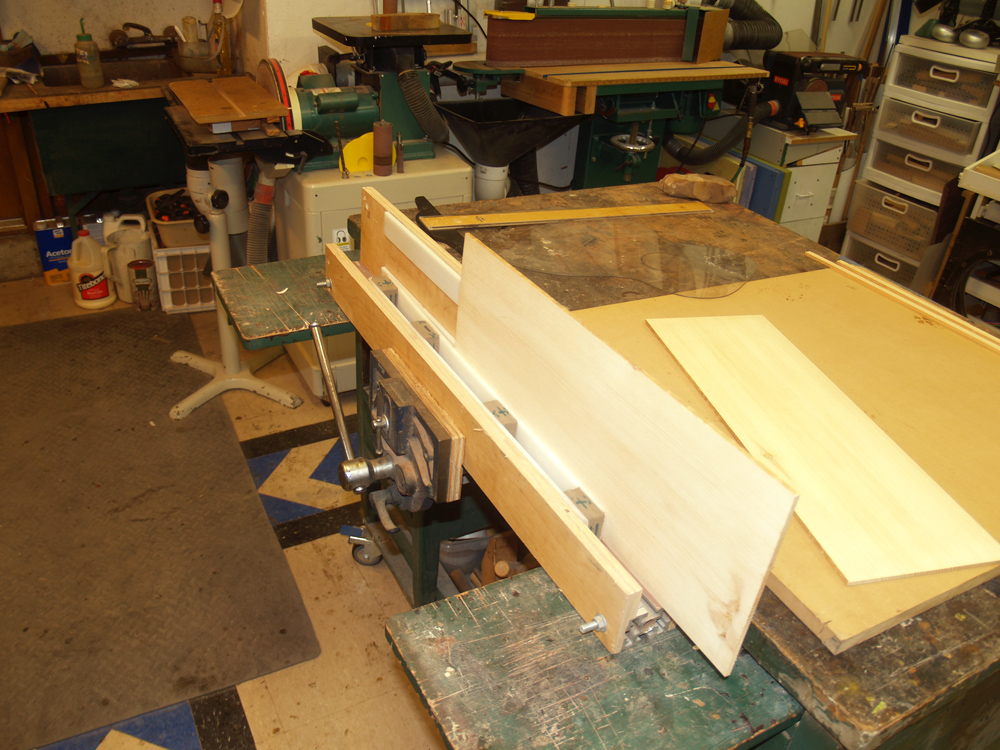
And finally I use this Sanding Jointer I made to sand the glue edge of the top plates almost perfectly straight. I go through these steps so that the joining edges line up without any gaps. My objective is to create a joint that is all but invisible.
 ( 8 ) 6-Dec-2012
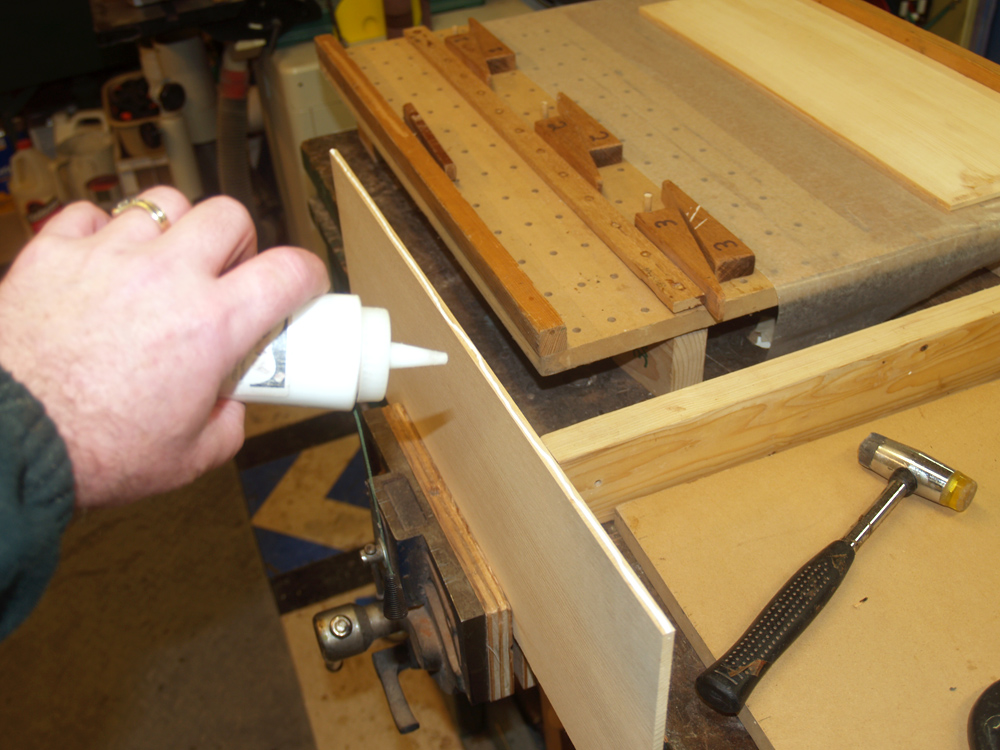
I use a special luthier's glue that dries clear and hard to glue the two halves of the top together.
 ( 9 ) 6-Dec-2012
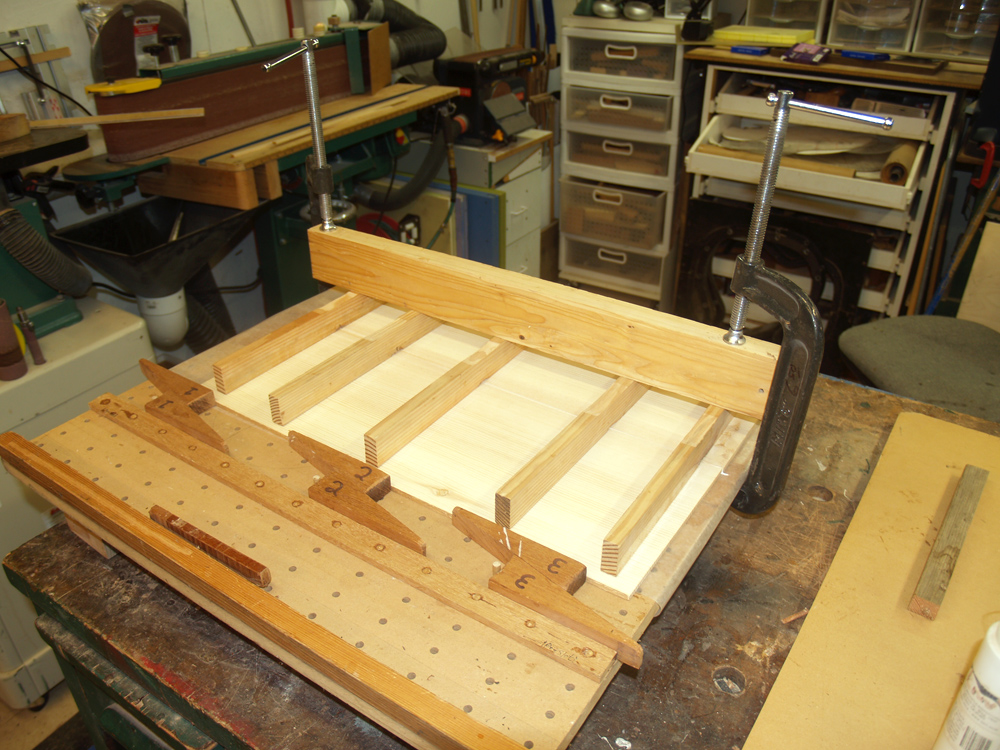
I built this joining press to hold the two halves flat and to prevent buckling as the wedges force them together.
 ( 10 ) 6-Dec-2012
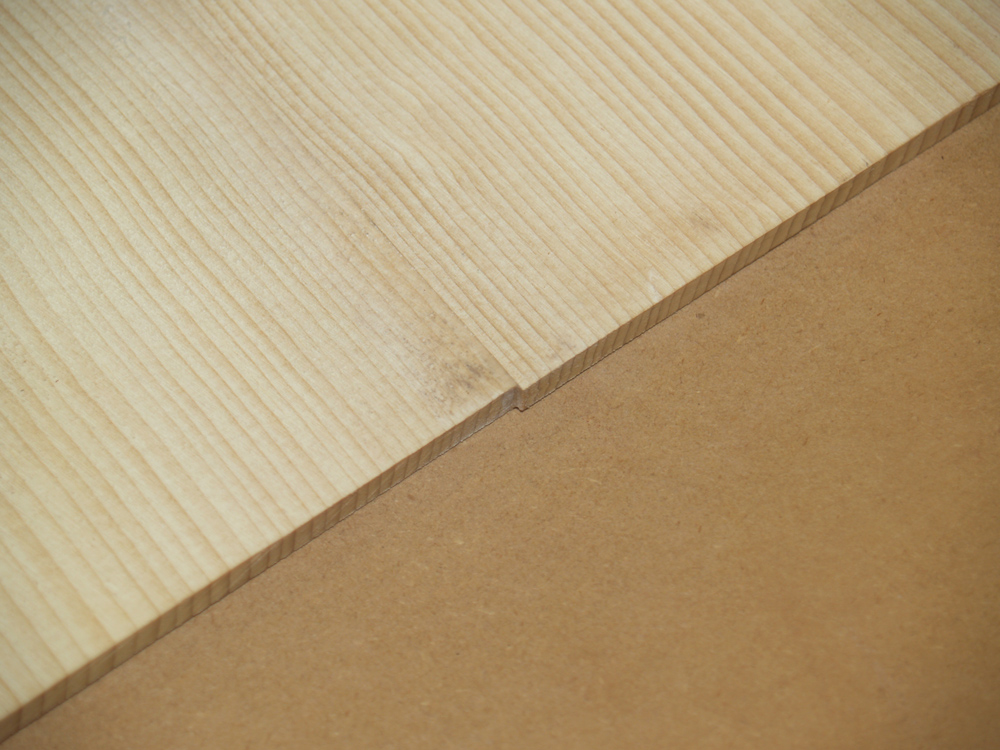
Since the joint is going to be very hard to see, I offset the two halves so I can find the center line when I am done.
 ( 11 ) 6-Dec-2012
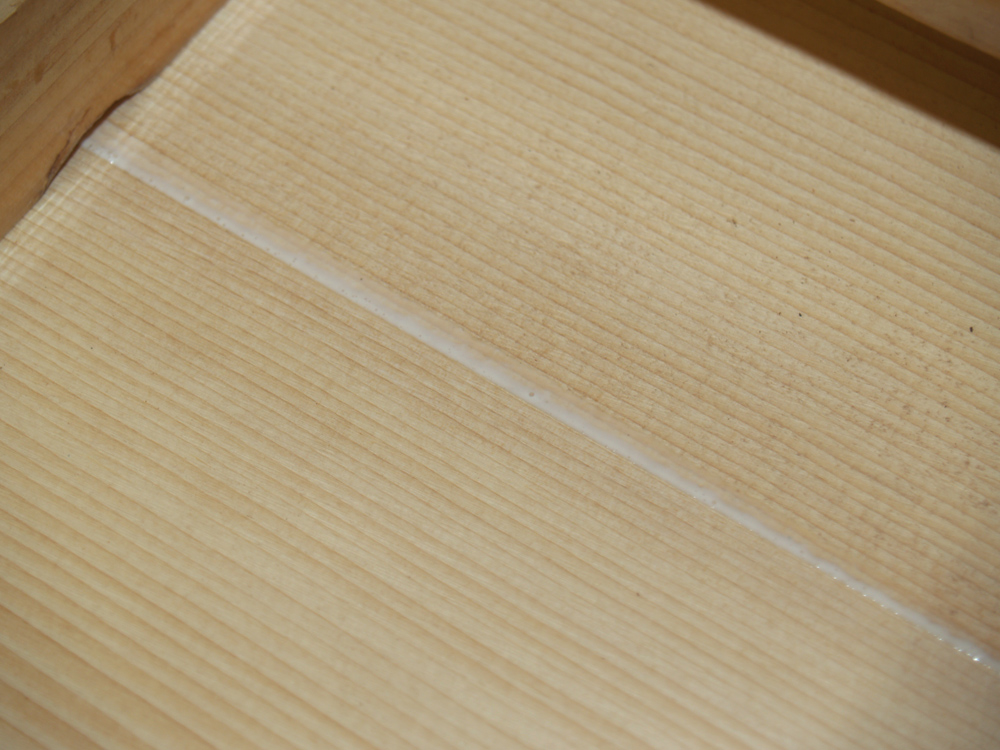
When the two halves are pressed together I get a little bit of glue squeeze out that I will clean up before it dries.
 ( 12 ) 6-Dec-2012
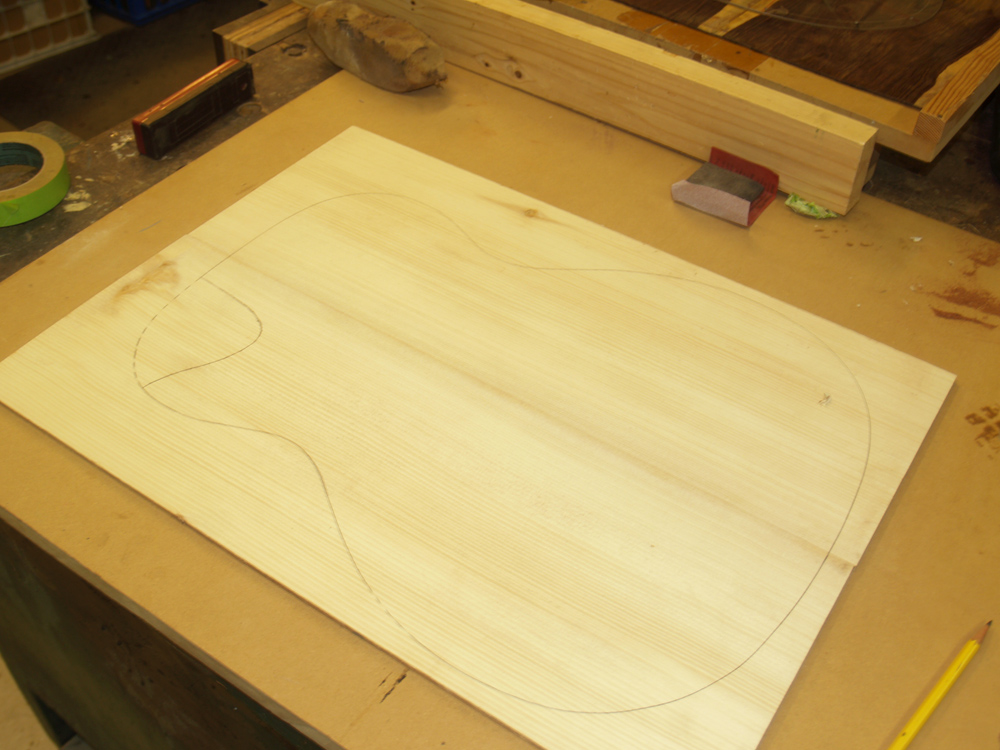
After the glue sets up I pull the joined set out of the press and mark the outline of the guitar.
 ( 13 ) 6-Dec-2012
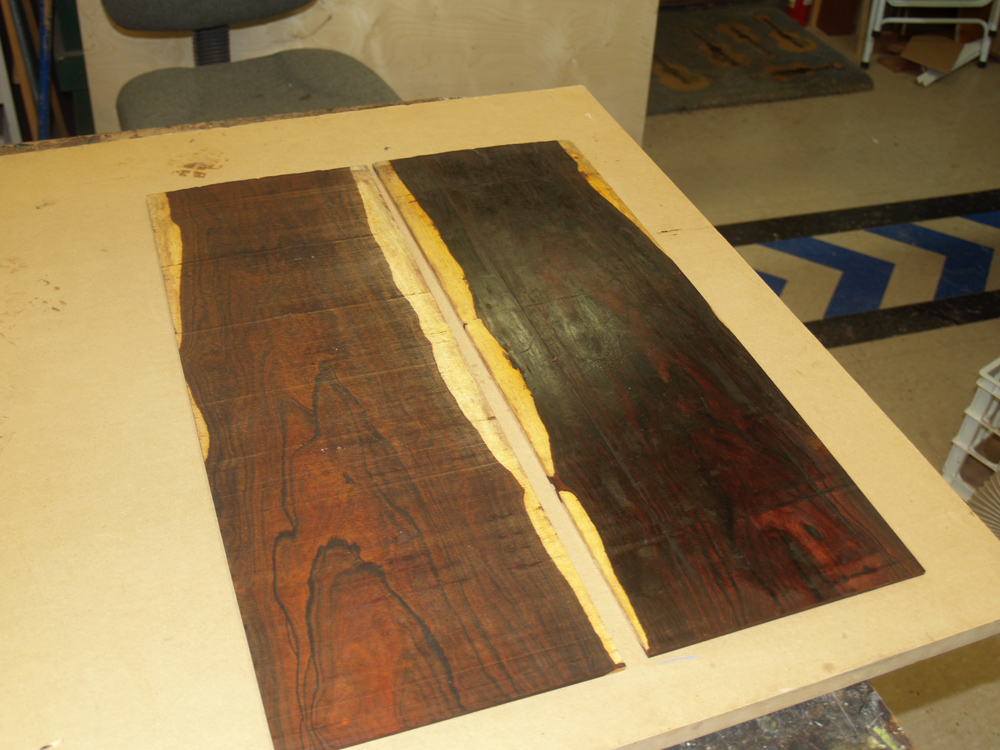
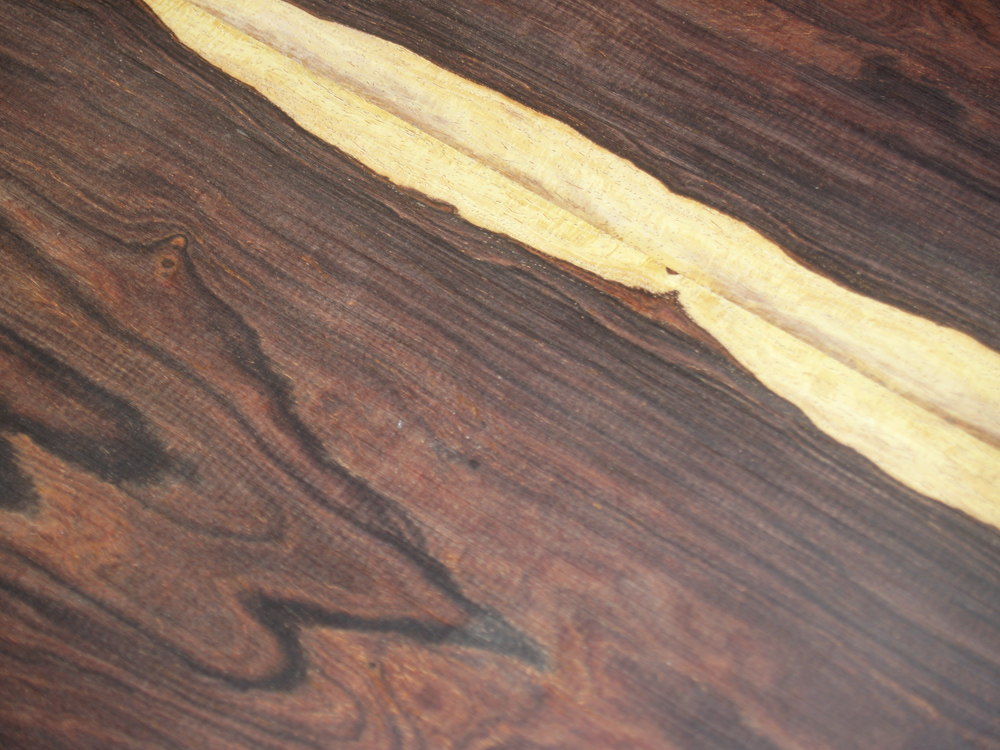
Here are the two pieces of the back set. The light portion of the wood is the sap wood. When the pieces are joined together the sap wood will make an interesting and organic center strip down the middle of the back.
 ( 14 ) 6-Dec-2012
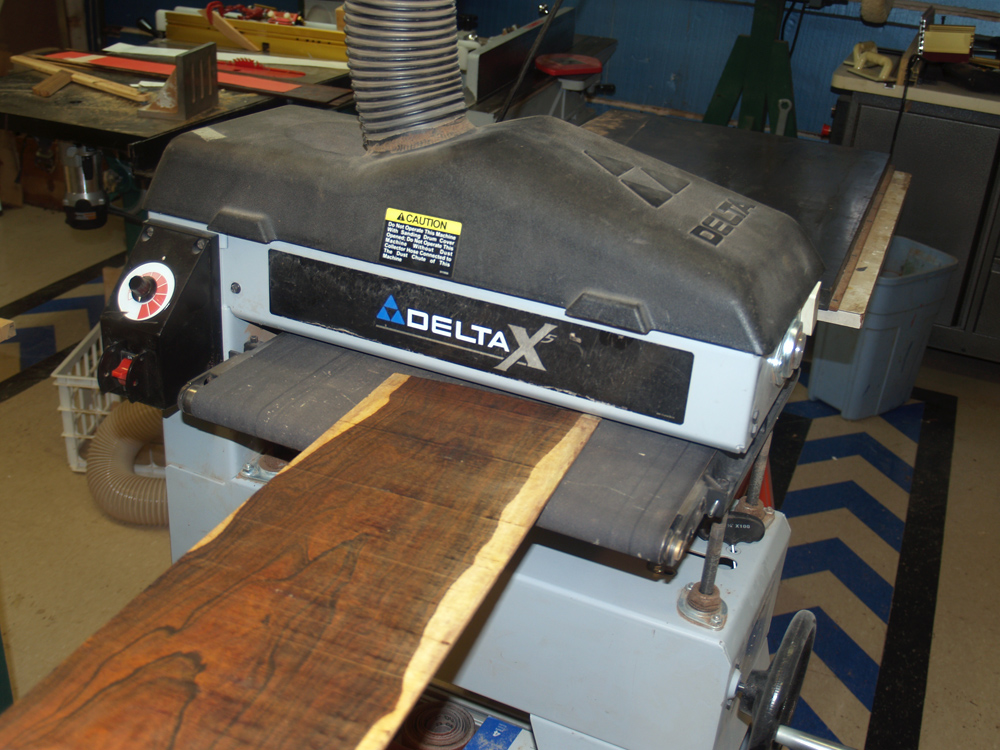
I use my drum sander to sand the surfaces smooth.
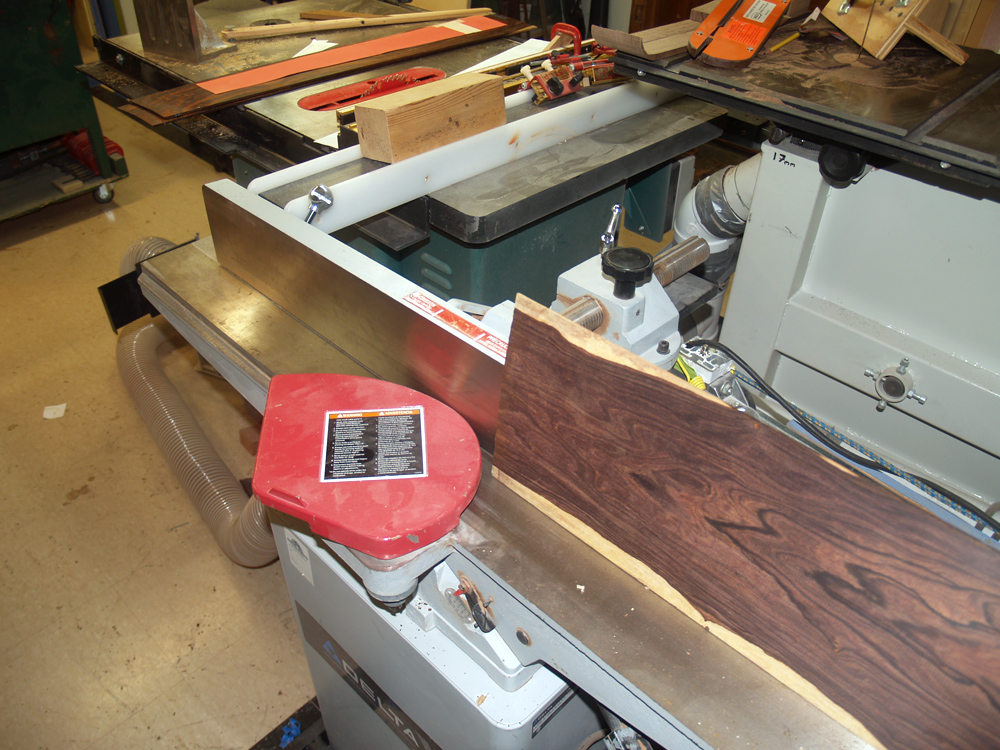 ( 15 ) 6-Dec-2012
The jointer trims the edges straight.
 ( 16 ) 6-Dec-2012
And the edges are fined tuned with the Sanding Jointer.
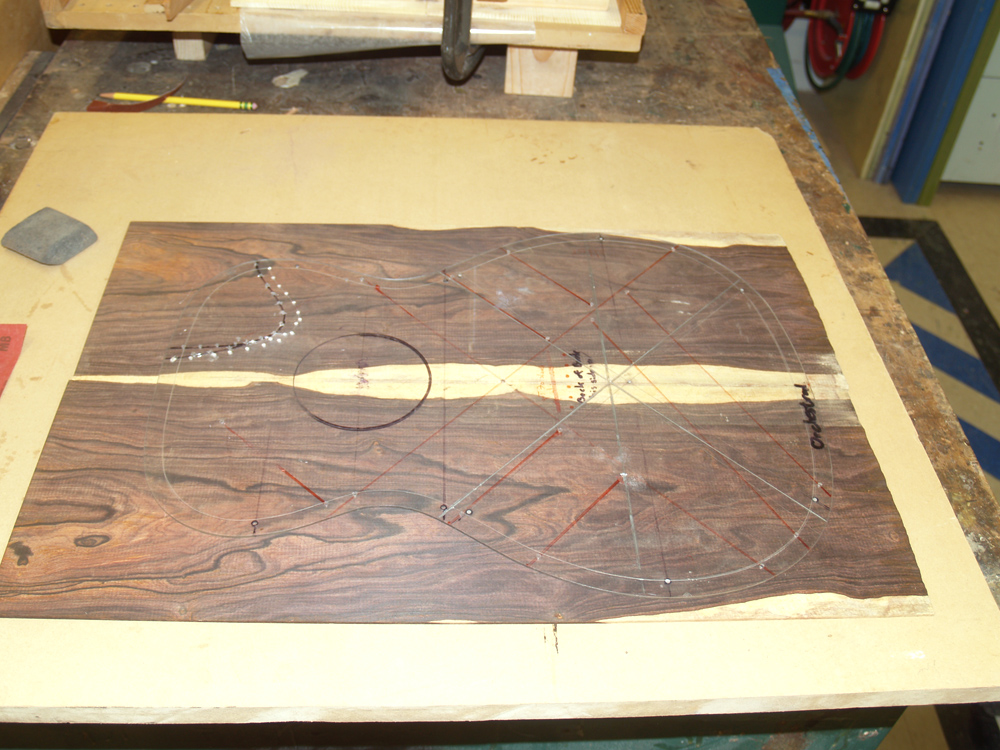 ( 17 ) 6-Dec-2012
I am using the clear template to make sure everything will line up.
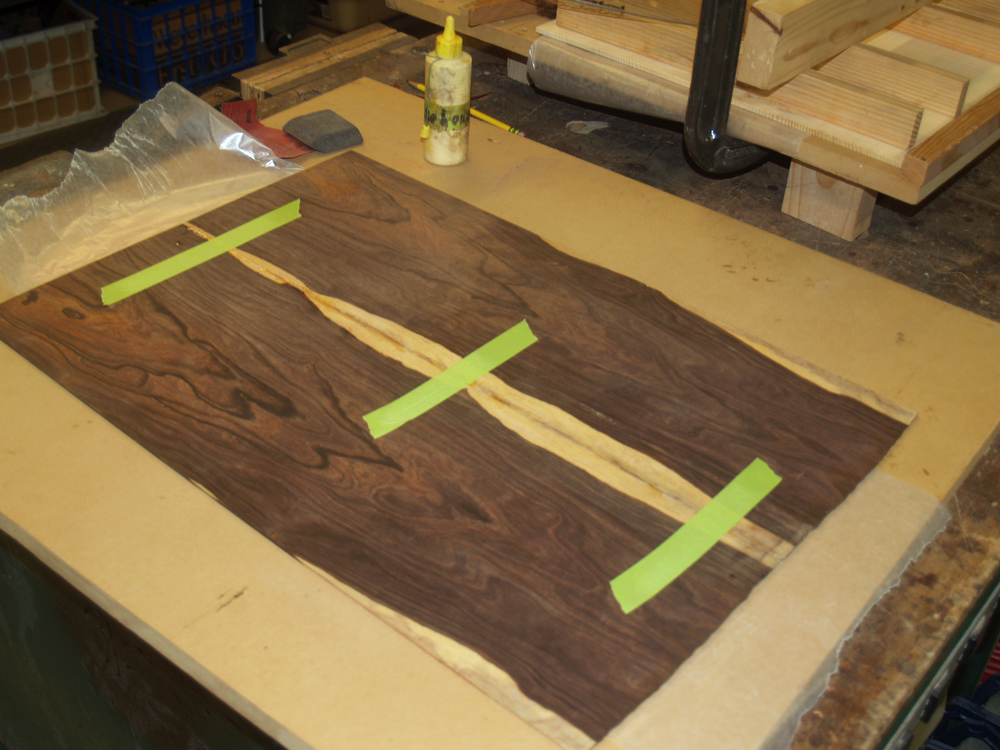 ( 18 ) 6-Dec-2012
Here I am using a bit of tape to glue together the two halves of the back.
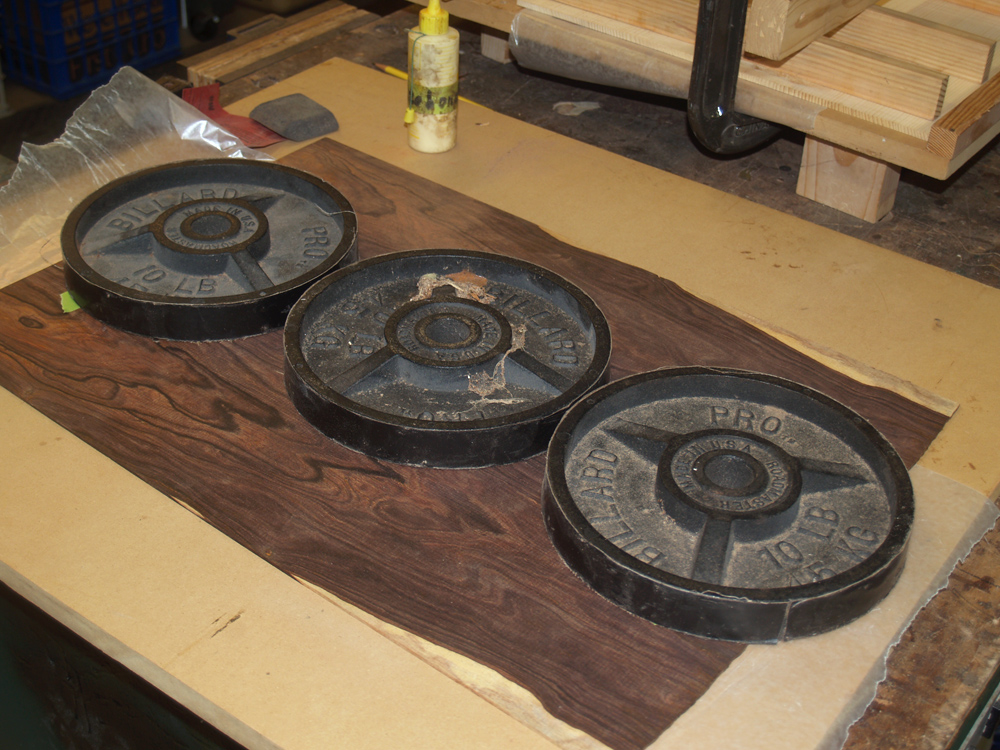 ( 19 ) 6-Dec-2012
And a few weights presses them flat.
 ( 20 ) 6-Dec-2012
A look at the joined back set.
 ( 21 ) 6-Dec-2012
And a closer look.
 ( 22 ) 6-Dec-2012
And a close up of the grain.
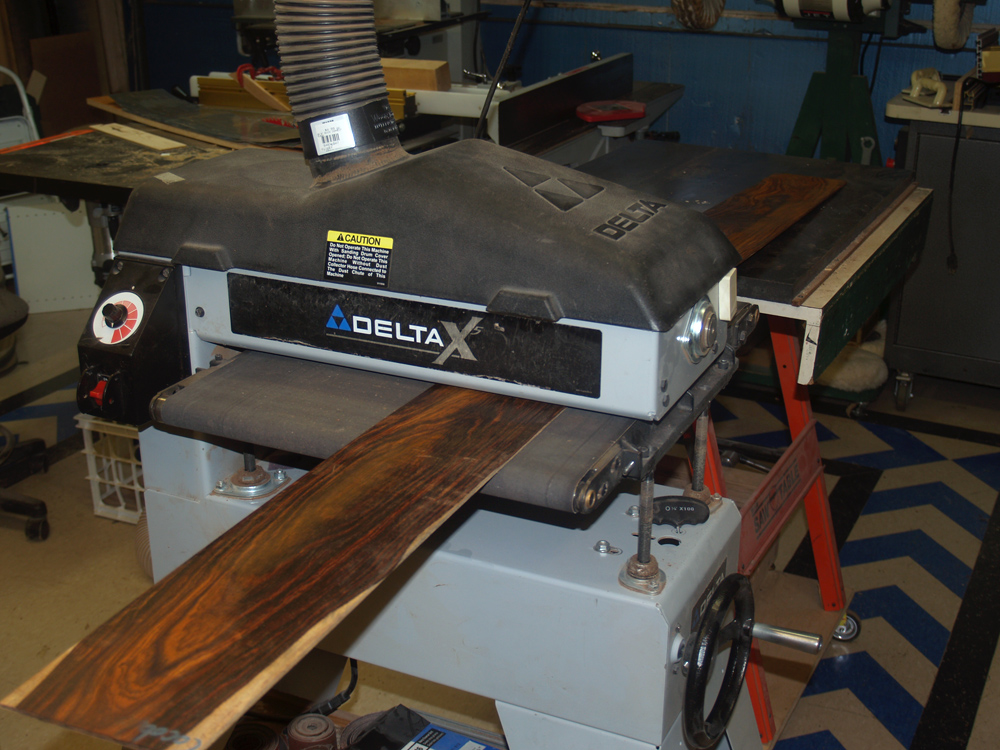 ( 23 ) 6-Dec-2012
The side set gets sanded to about 100 mils (100/1000 of an inch) thickness.
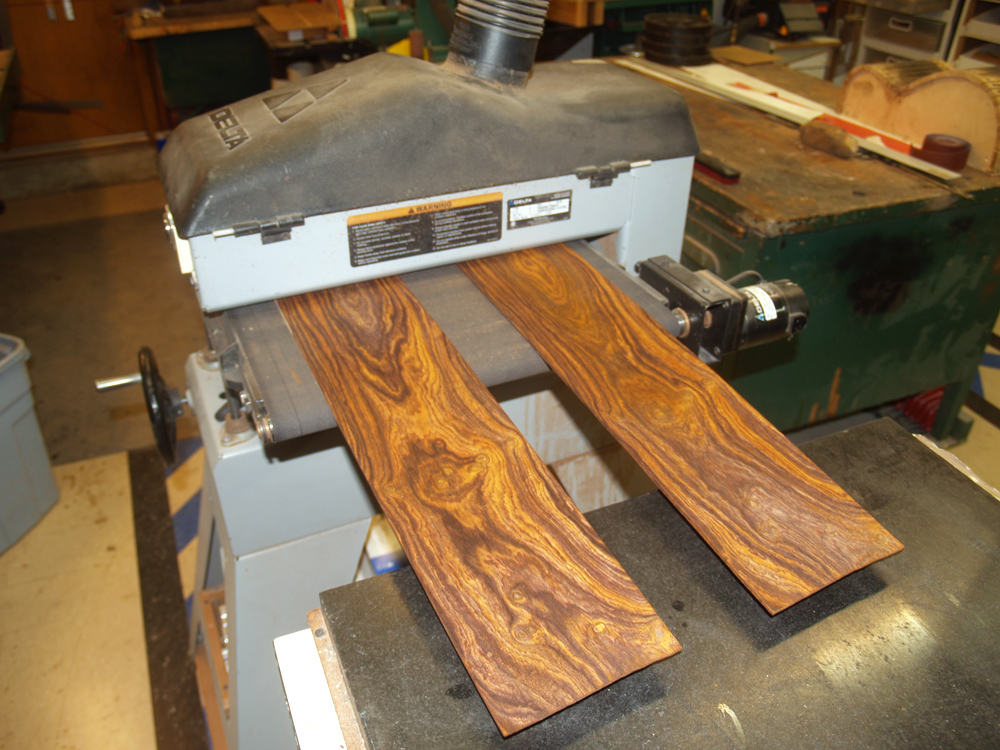 ( 24 ) 6-Dec-2012
Cocobolo is a very oily wood and has to be sanded very slowly or it will gum up the sandpaper.
 ( 25 ) 6-Dec-2012
And here finally is the dimensioned and joined set of wood we will use for the body of the guitar. So, all I have to do now is glue everything together and whittle away anything that doesn't look like a guitar.
 ( 1 ) 6-Dec-2012
 ( 2 ) 6-Dec-2012
 ( 3 ) 6-Dec-2012
 ( 4 ) 6-Dec-2012
 ( 5 ) 6-Dec-2012
 ( 6 ) 6-Dec-2012
 ( 7 ) 6-Dec-2012
 ( 8 ) 6-Dec-2012
 ( 9 ) 6-Dec-2012
 ( 10 ) 6-Dec-2012
 ( 11 ) 6-Dec-2012
 ( 12 ) 6-Dec-2012
 ( 13 ) 6-Dec-2012
 ( 14 ) 6-Dec-2012
 ( 15 ) 6-Dec-2012
 ( 16 ) 6-Dec-2012
 ( 17 ) 6-Dec-2012
 ( 18 ) 6-Dec-2012
 ( 19 ) 6-Dec-2012
 ( 20 ) 6-Dec-2012
 ( 21 ) 6-Dec-2012
 ( 22 ) 6-Dec-2012
 ( 23 ) 6-Dec-2012
 ( 24 ) 6-Dec-2012
 ( 25 ) 6-Dec-2012