 |
(1) 23-Dec-2006
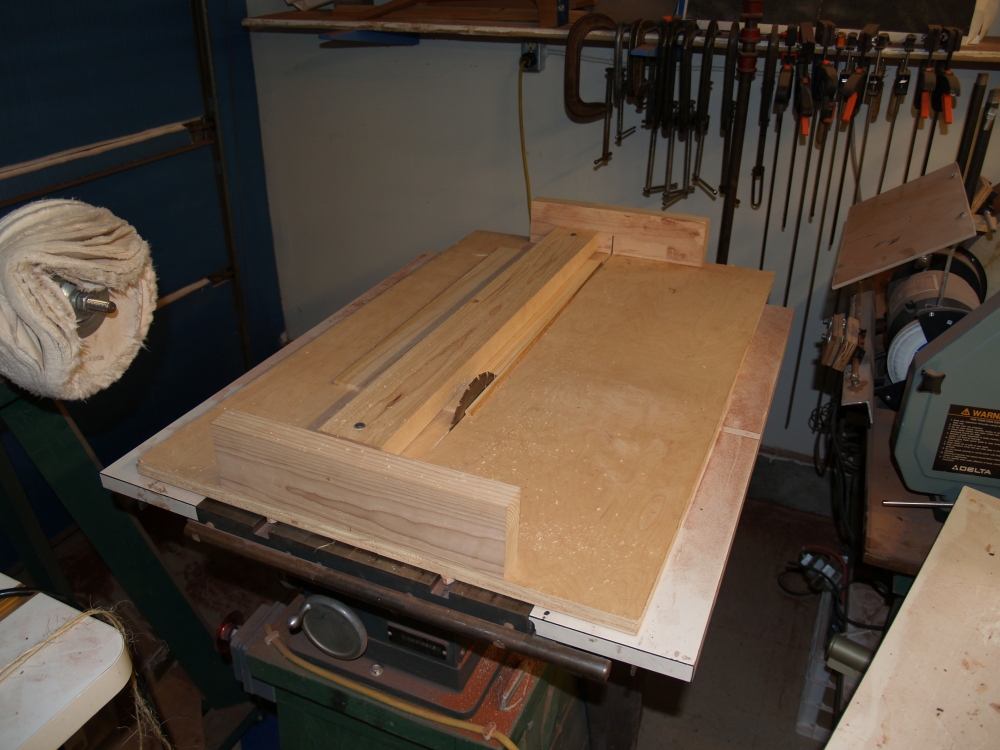
I started building this guitar by selecting the top pieces, Sitka
Spruce, matching them up and the cutting the two pieces so
that the
grain runs as parallel to the edge as possible. I cut the two
pieces
in a sled on my table saw. |
 |
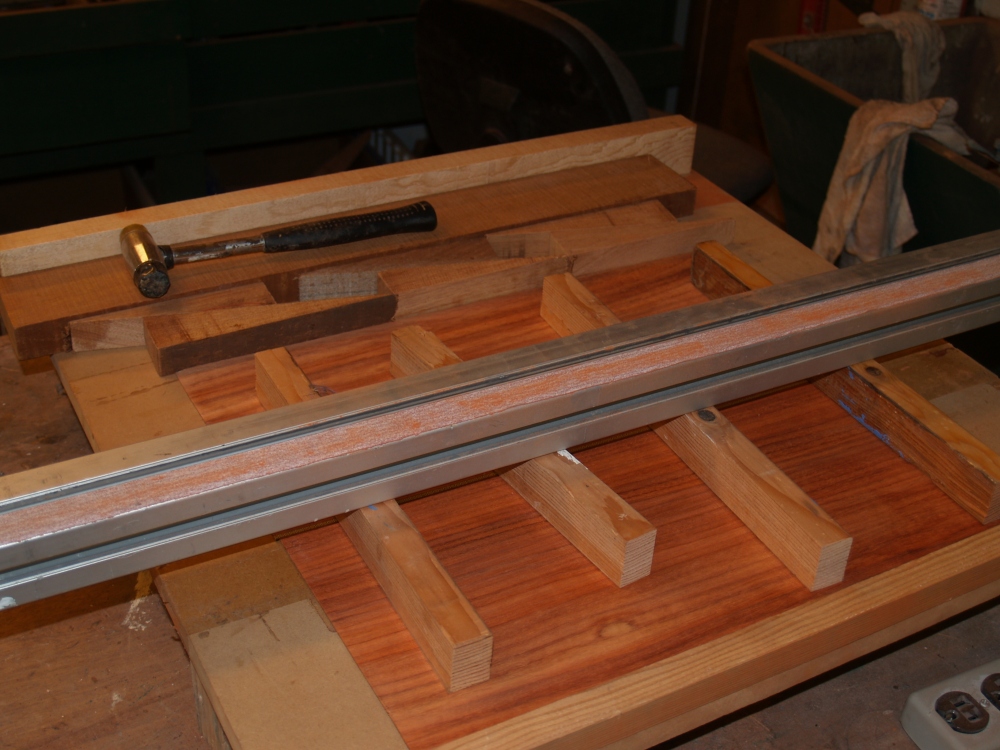
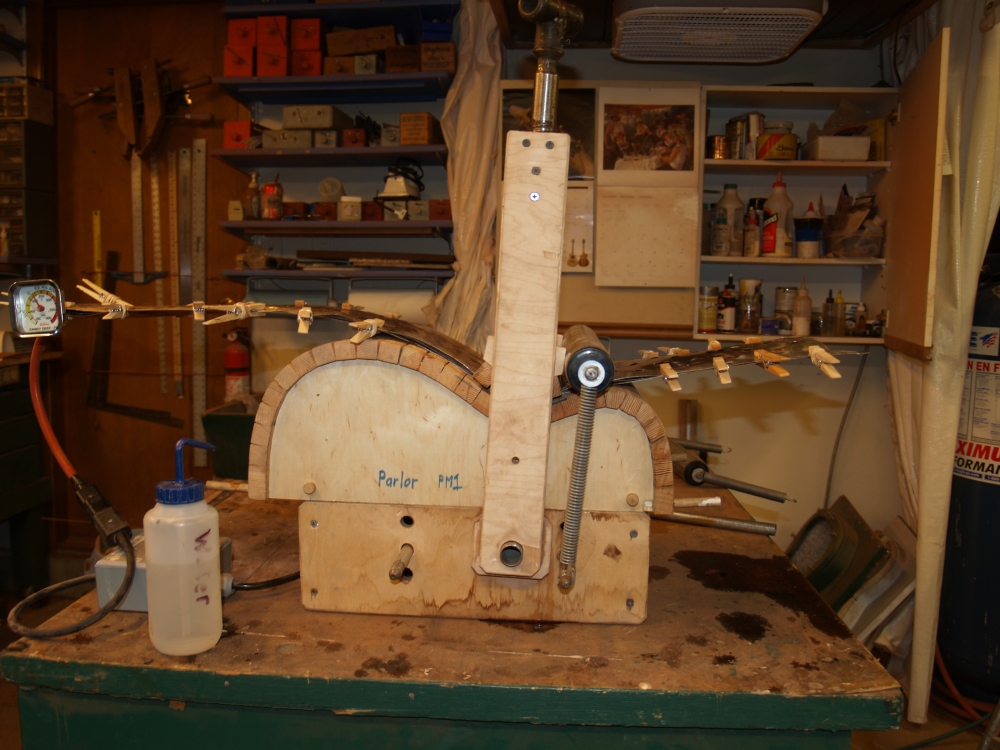
(2) 23-Dec-2006
I open the two pieces up so they are book matched
and after running them through a jointer and a little sanding to make
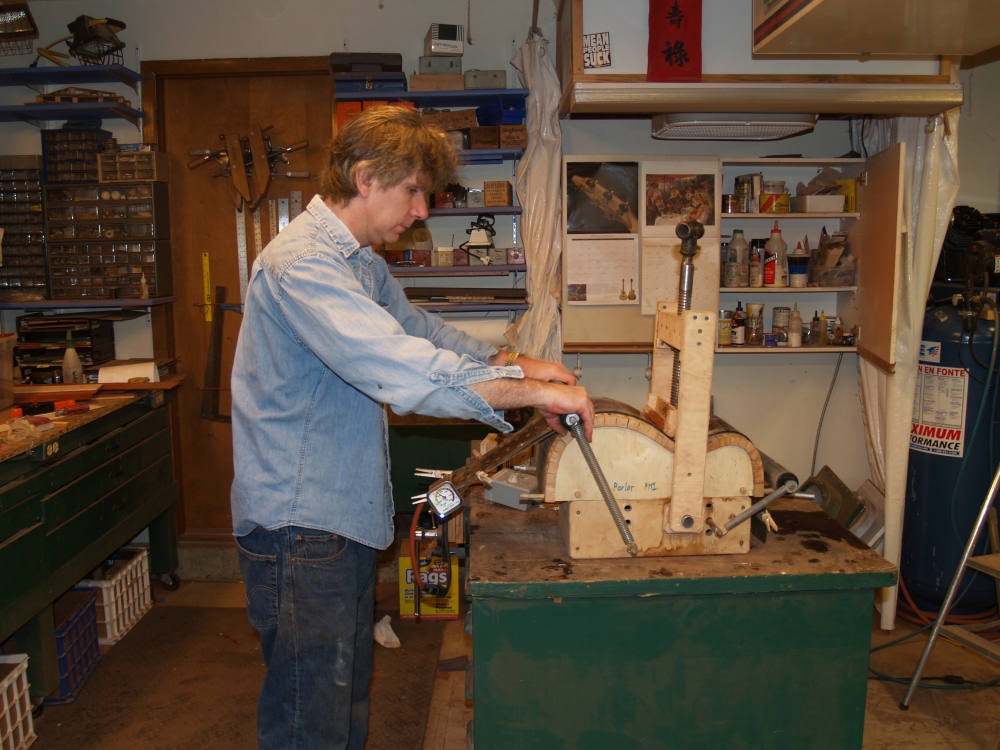
sure the two edged perfectly match I glue them together on
this
compression table. The wedges in the back press the two
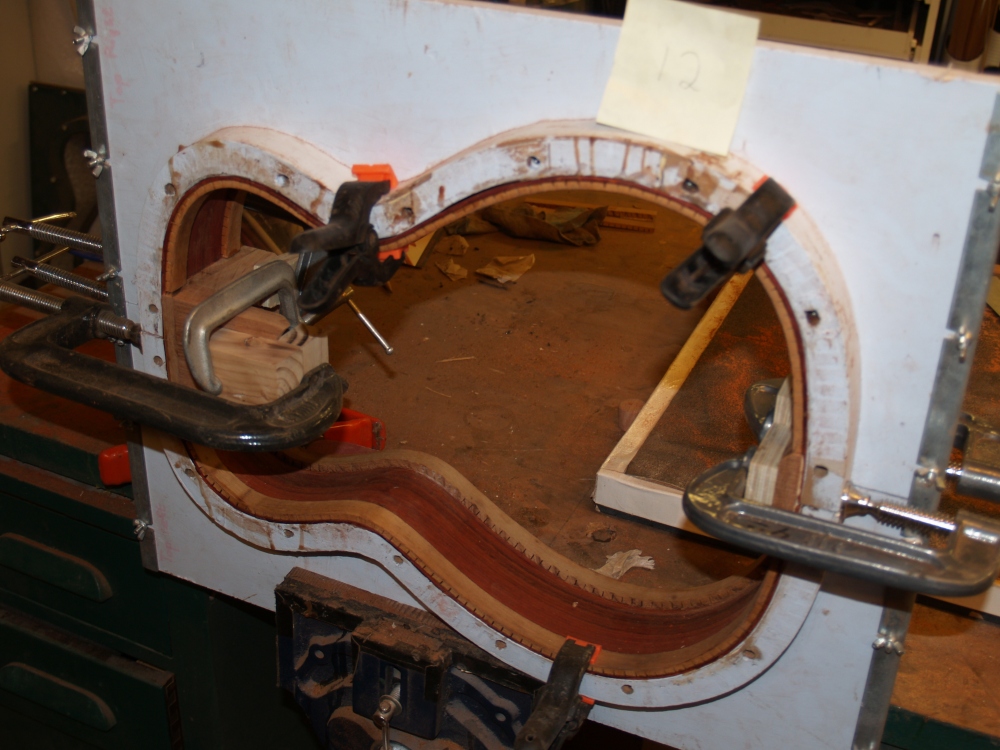
halves
together while the cross pieces on the top keeps the wood from bowing
up. |
 |
(3) 23-Dec-2006
The same process is used for the back pieces. |
 |
(4) 23-Dec-2006
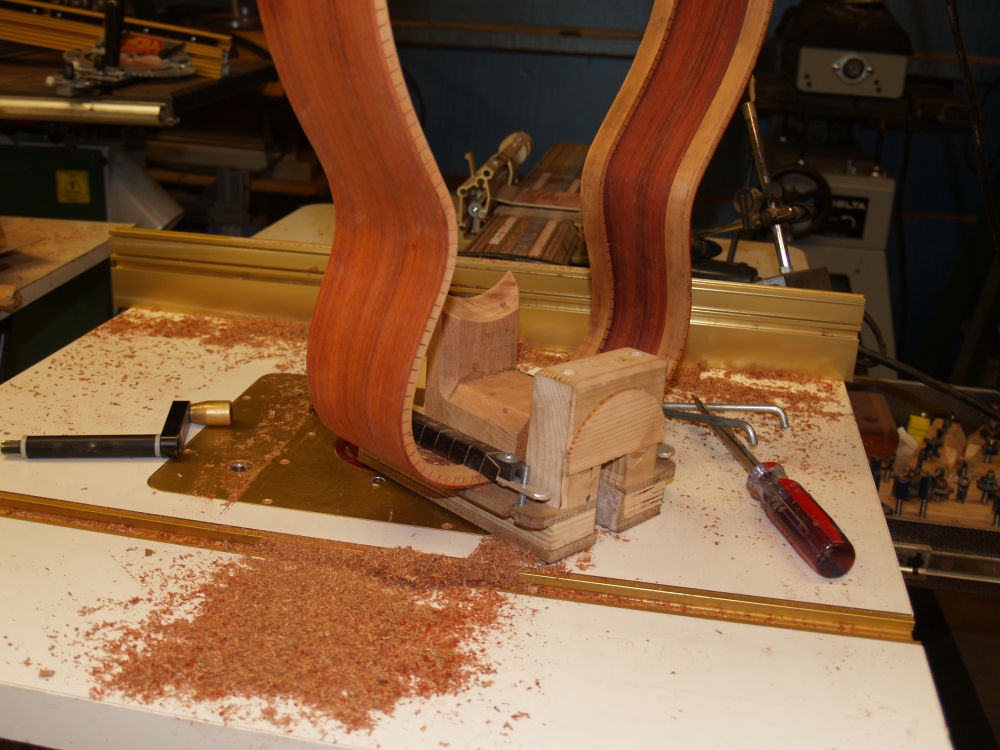
One of the objectives in joining the top and back pieces is to make the
seams between the two pieces undetectable. |
 |
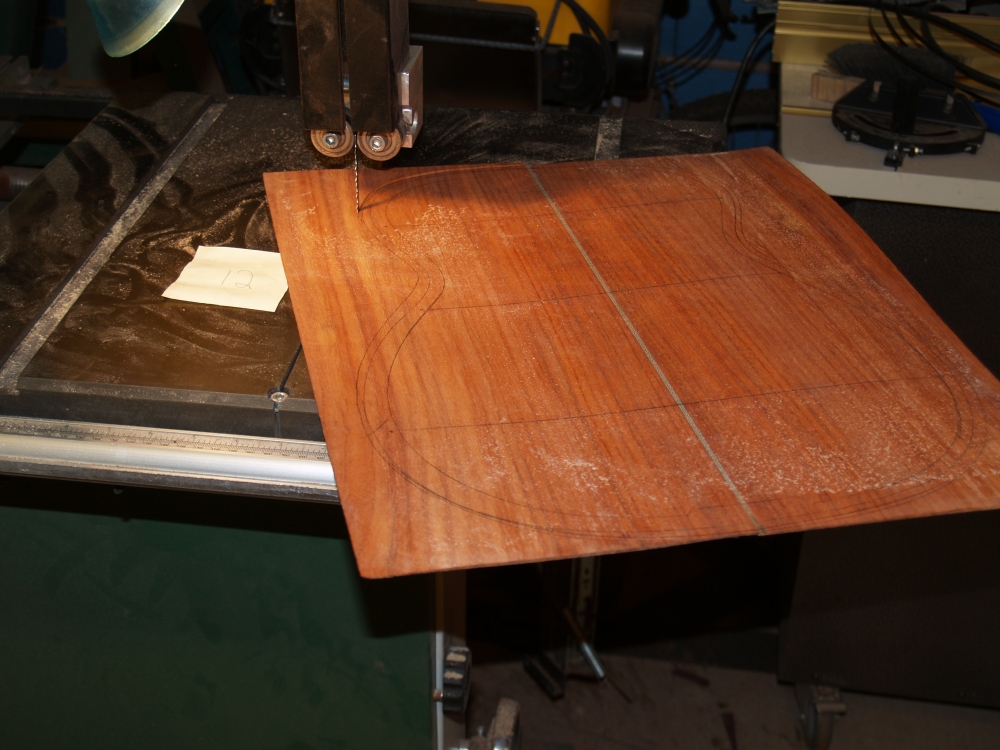
(5) 23-Dec-2006
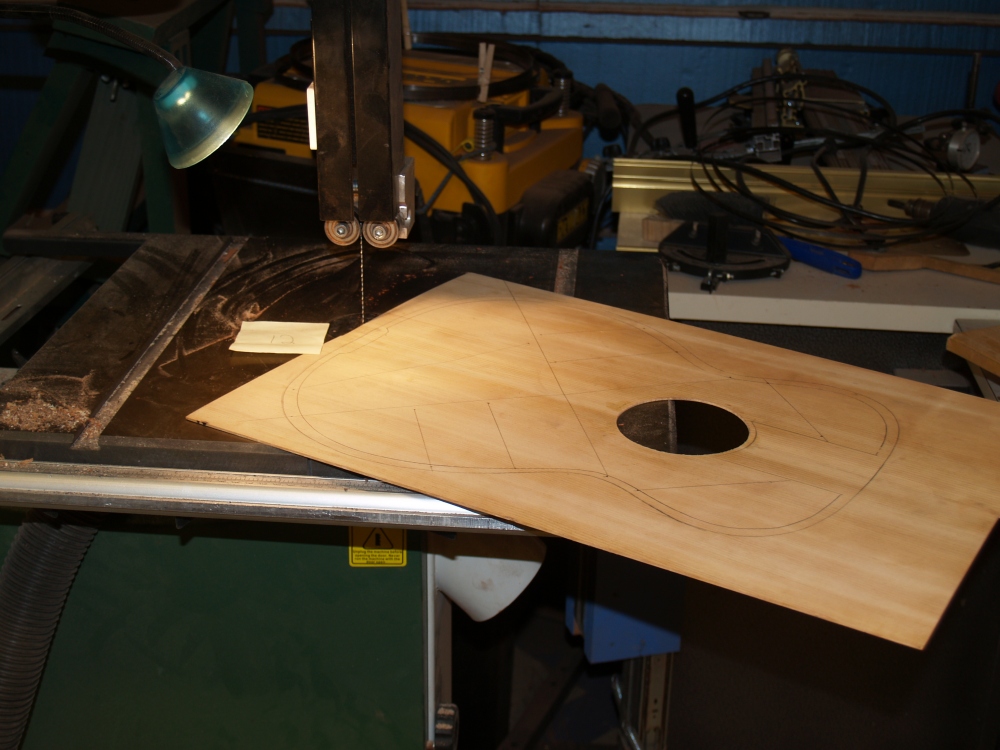
Here is a macro shot of the back pieces after they have been joined. |
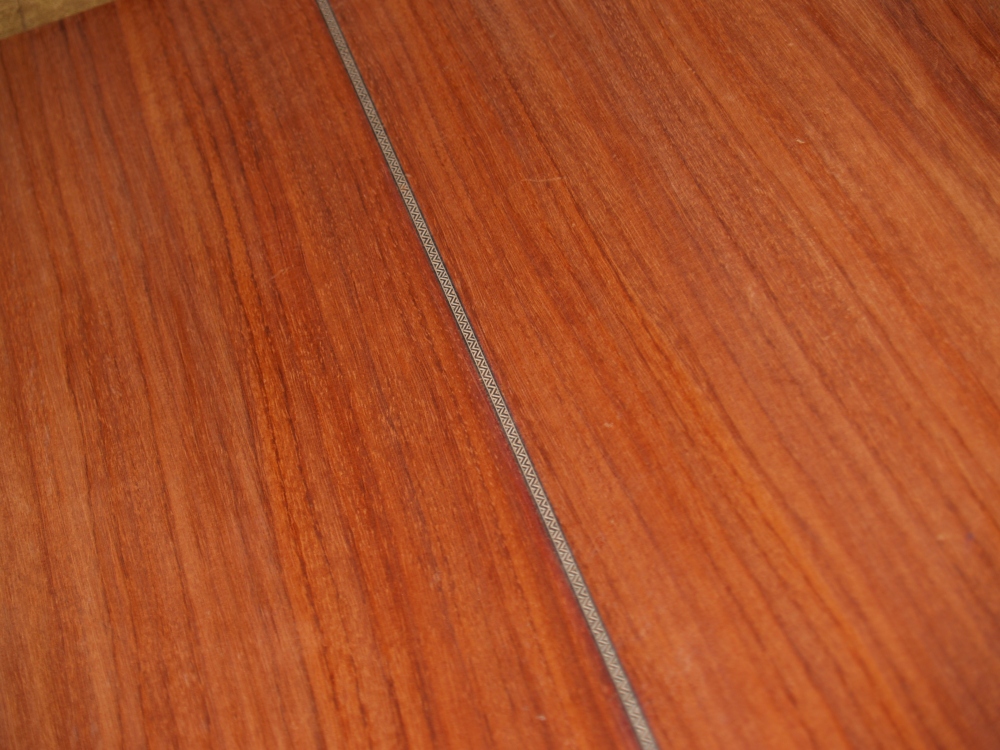 |
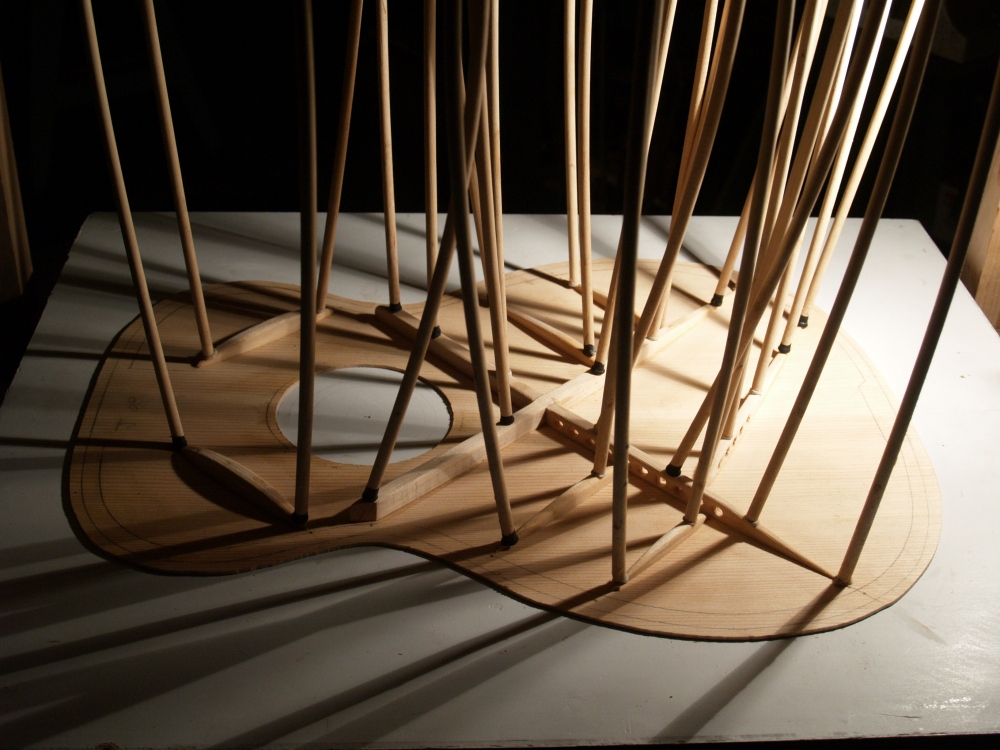
(6) 23-Dec-2006
Between the back pieces on this guitar I have installed a piece of
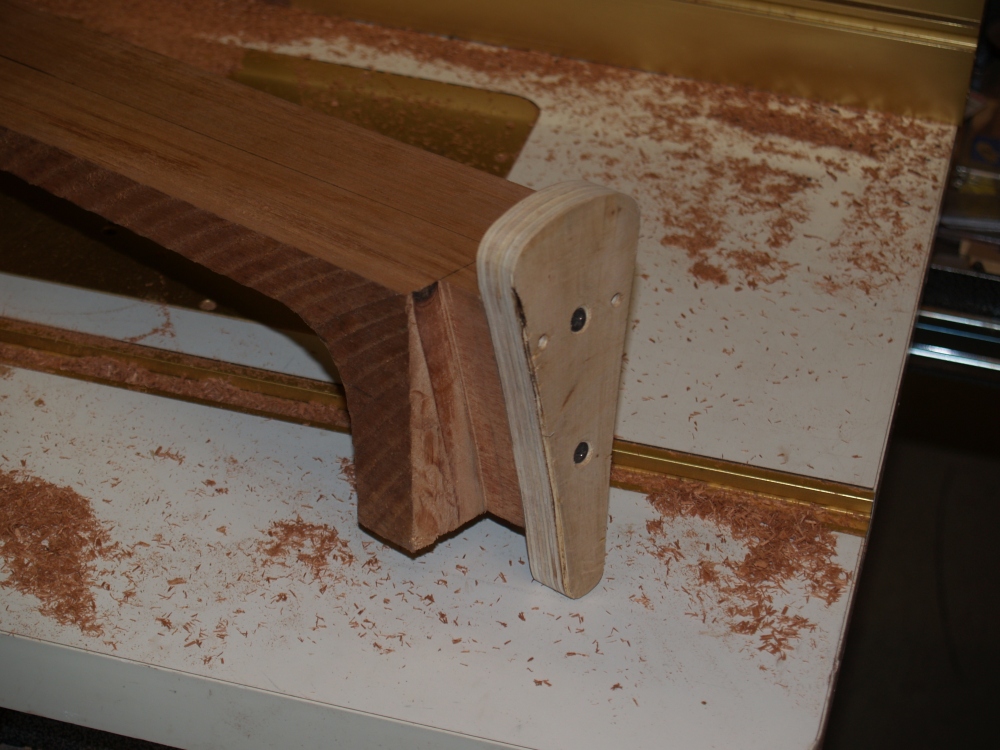
zipper purfling. It makes it look pretty. |
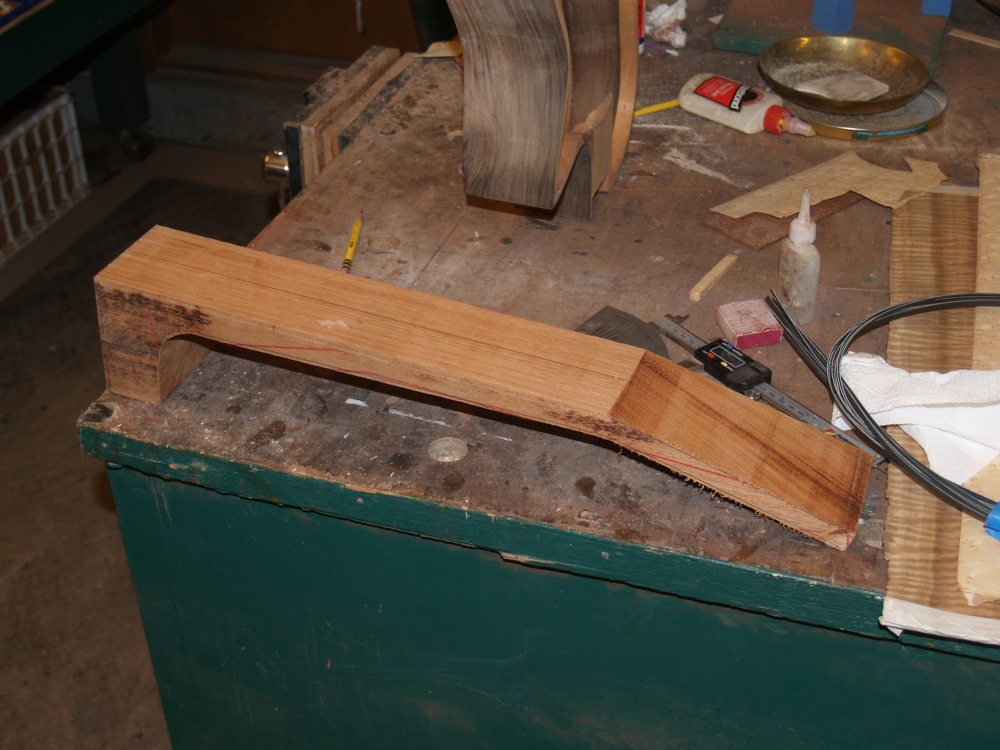
 |
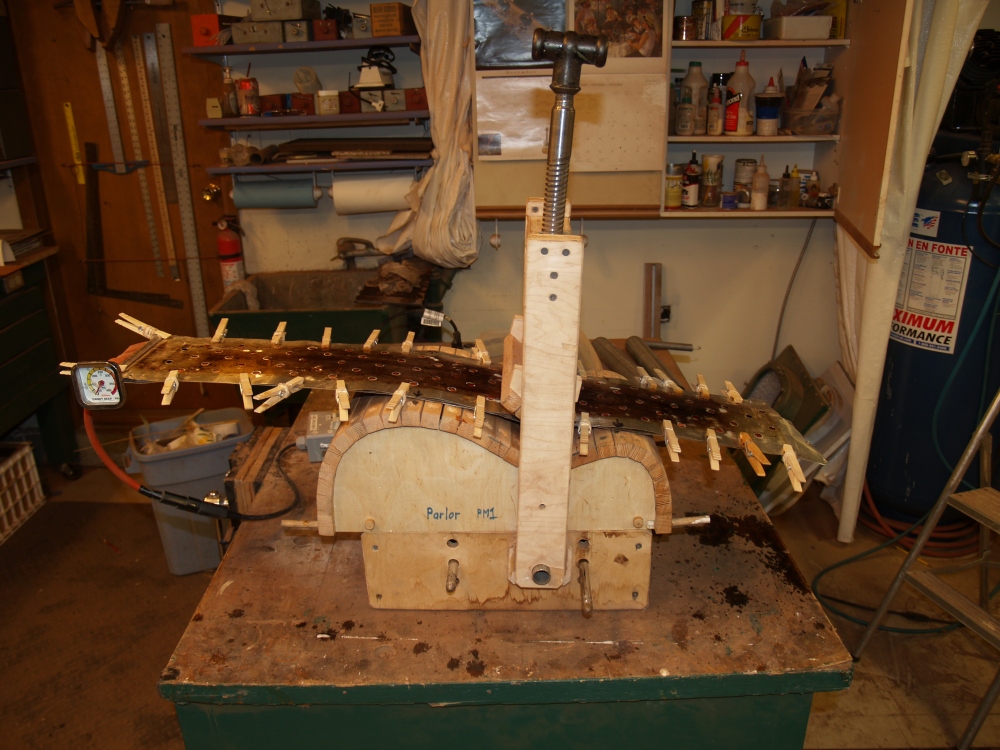
(7) 23-Dec-2006
I next move on to the sides. After the sides have
been dimensioned to about 90 mils I get ready to bend them in the
Universal Bendalator. This picture shows the heating blanket
arrangement I use to get the wood hot and pliable. The orange piece
with the tail in the front is the heating blanket. It will
sit between
two pieces of aluminum flashing. The straight orange piece in
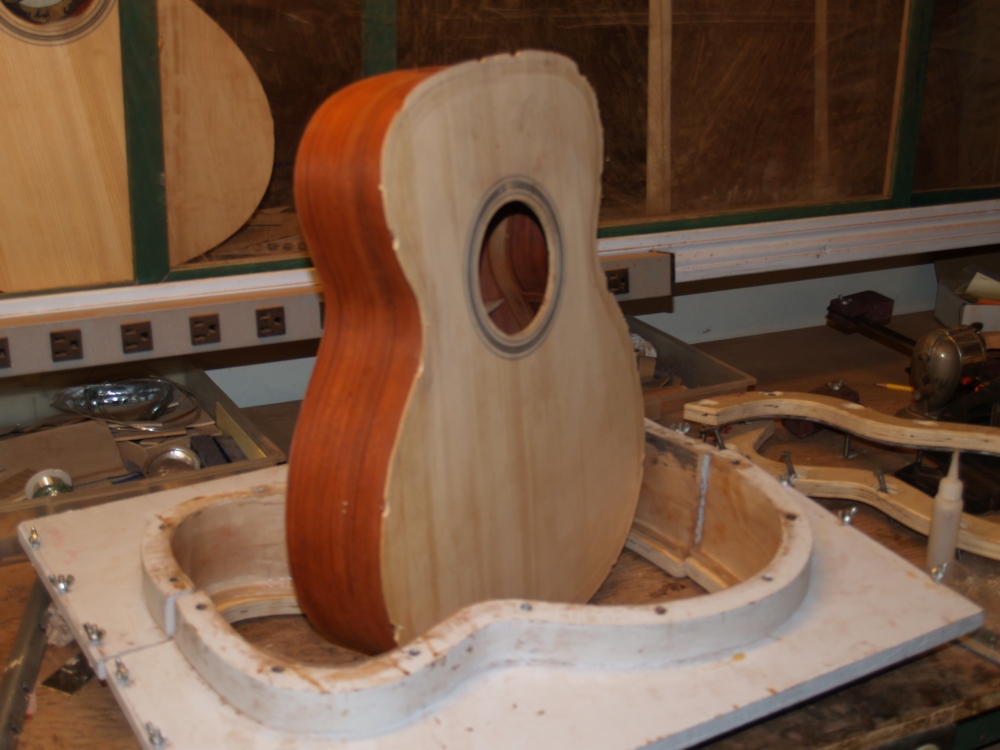
the
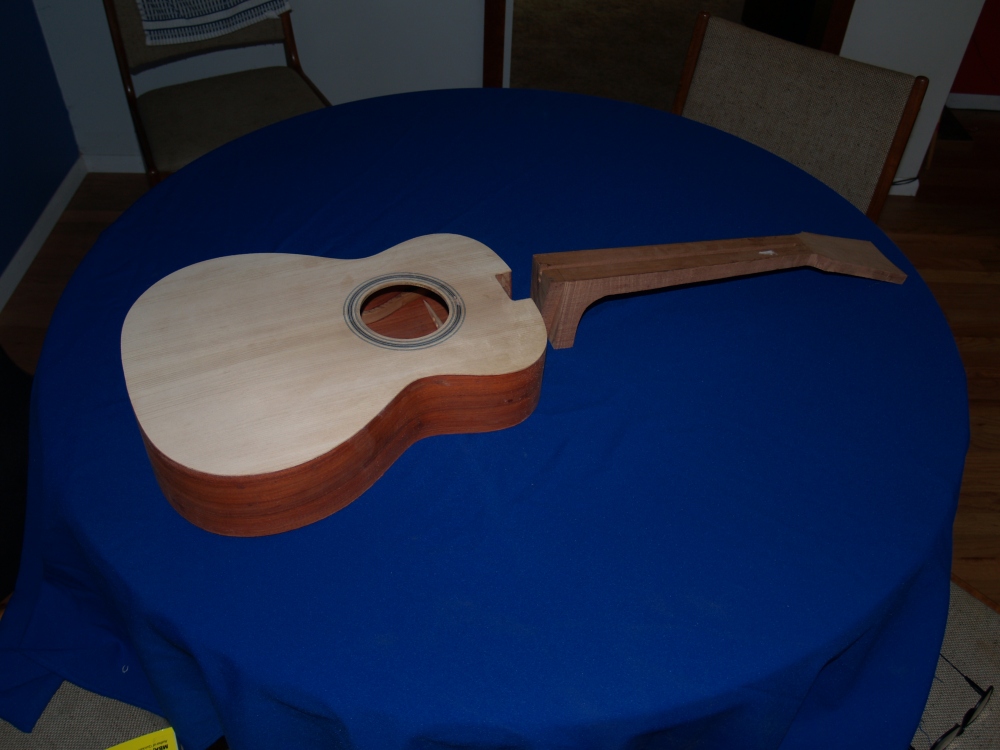
middle is the piece of Padauk I am going to bend. On top of
the piece
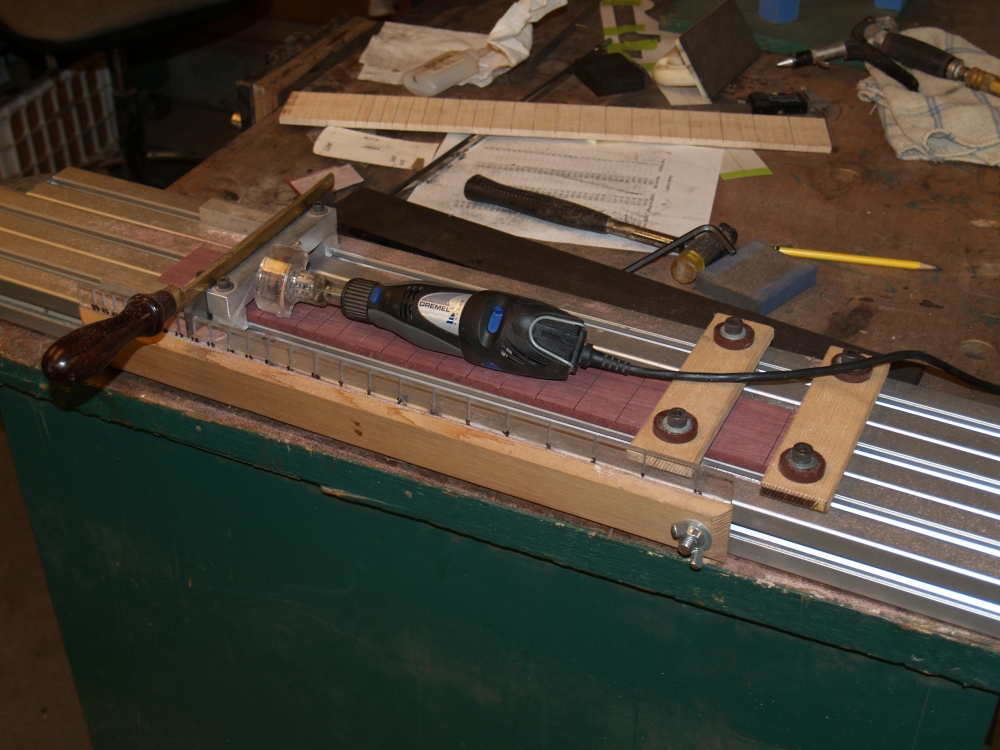
of wood goes a third piece of flashing with a matrix of holes cut into
it. These are so I can wet down the wood as it is being
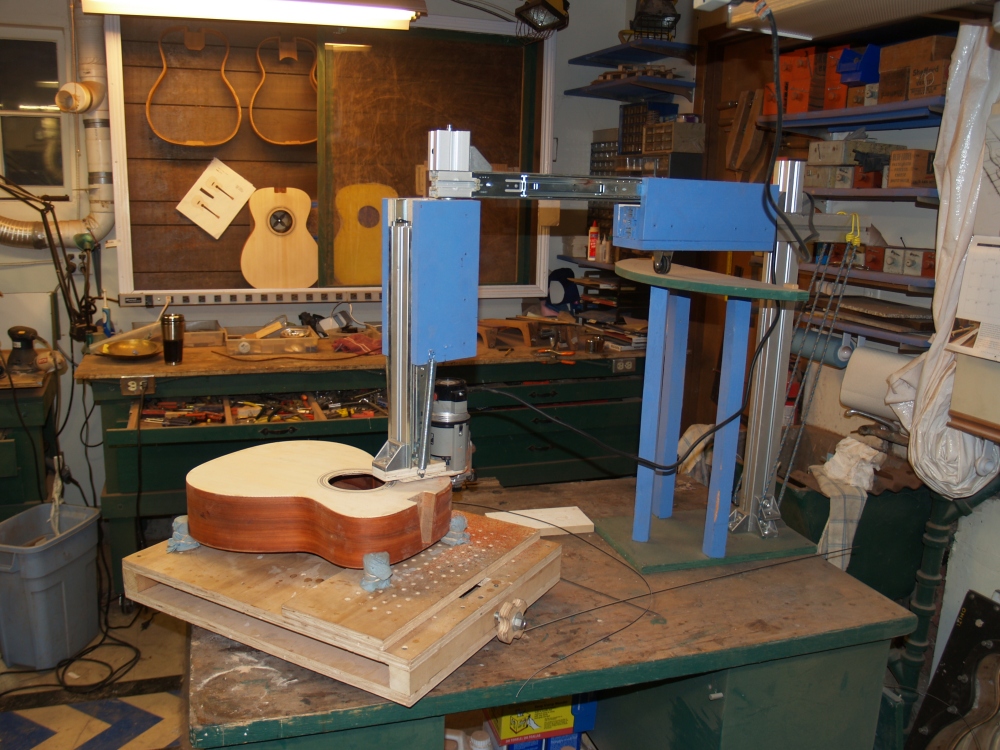
heated. |
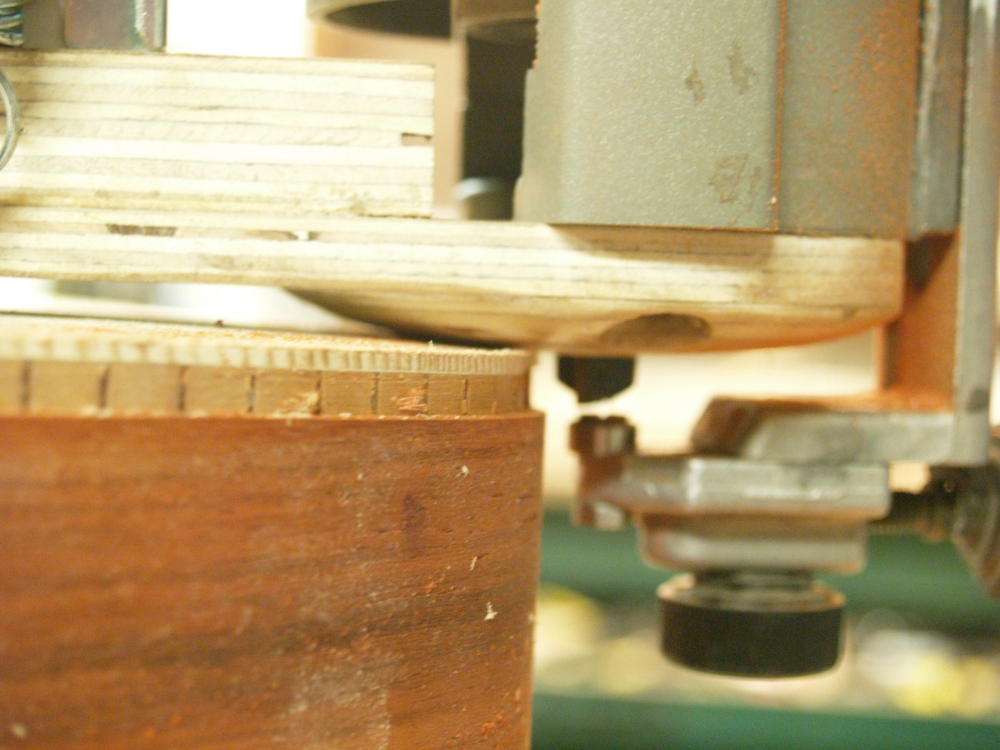
 |
(8) 23-Dec-2006
The heating blanket, pieces of flashing, and the
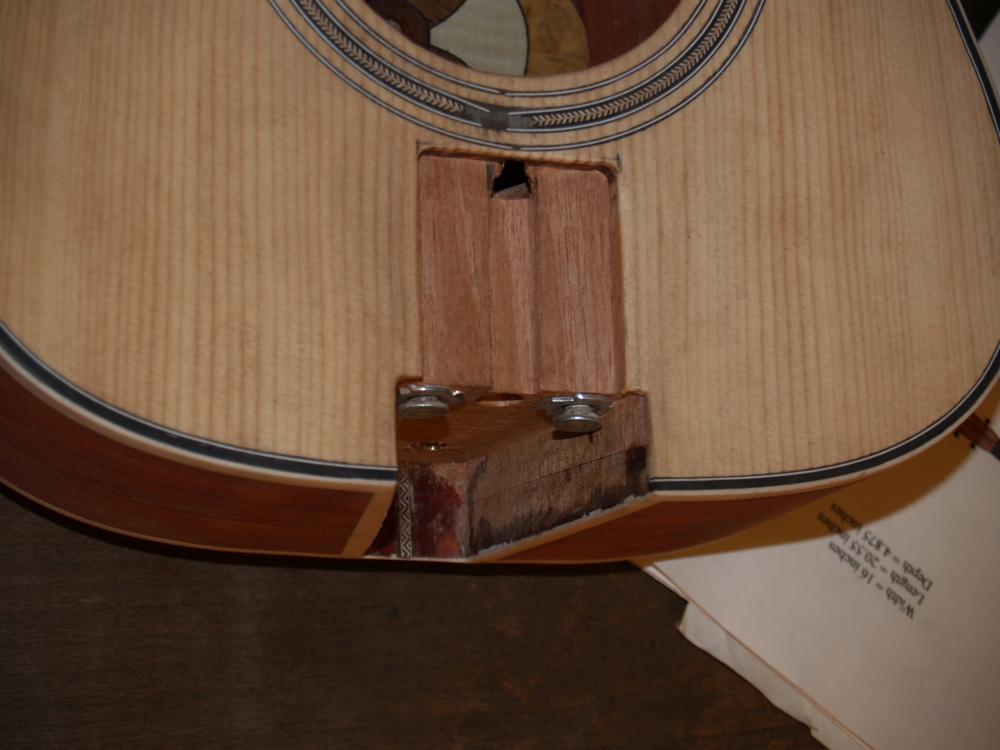
wood are all held together with clothes pin. As the wood is bent I will
remove the pins. |
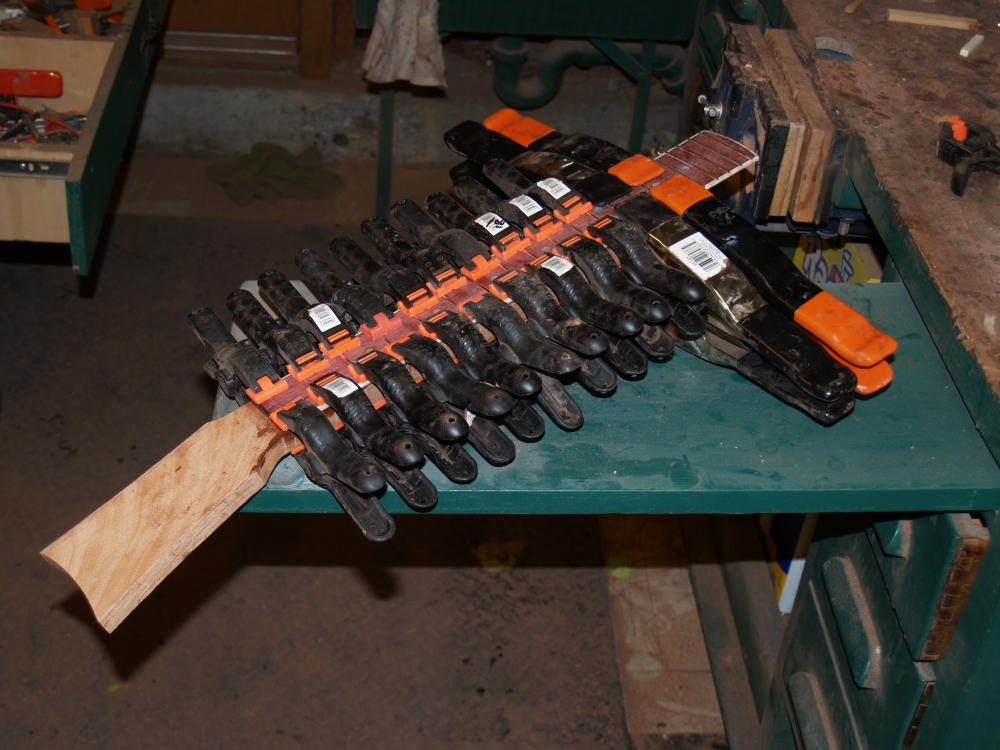
 |
(9) 23-Dec-2006
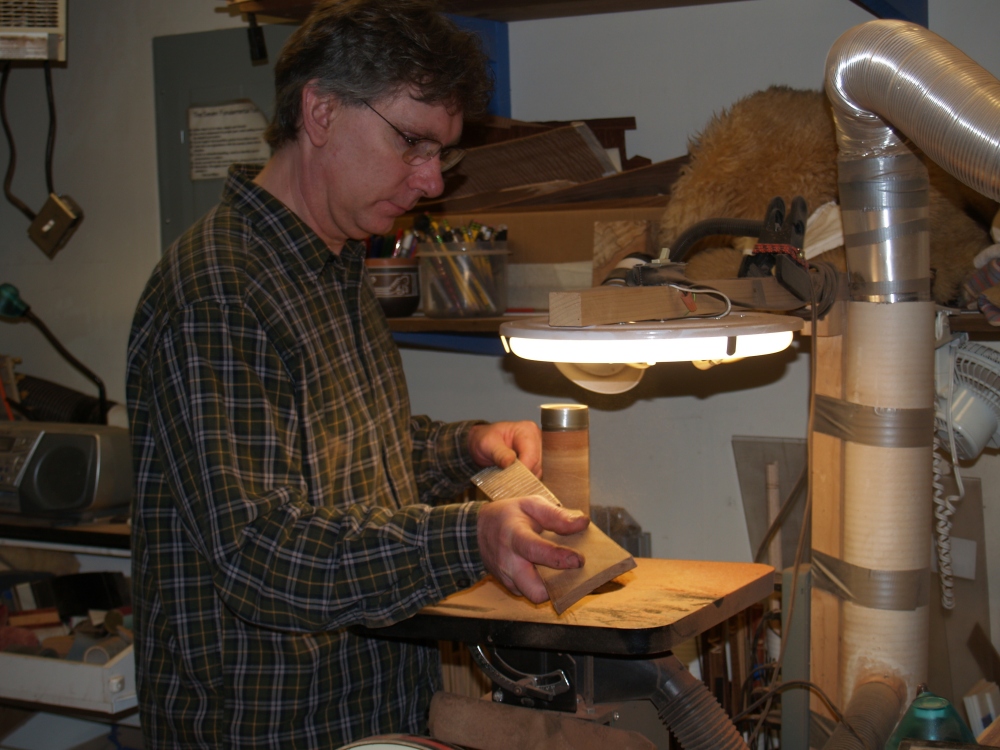
I place the sandwich into the bending press, heat
the wood up to about 275 degs F while applying a little water.
I
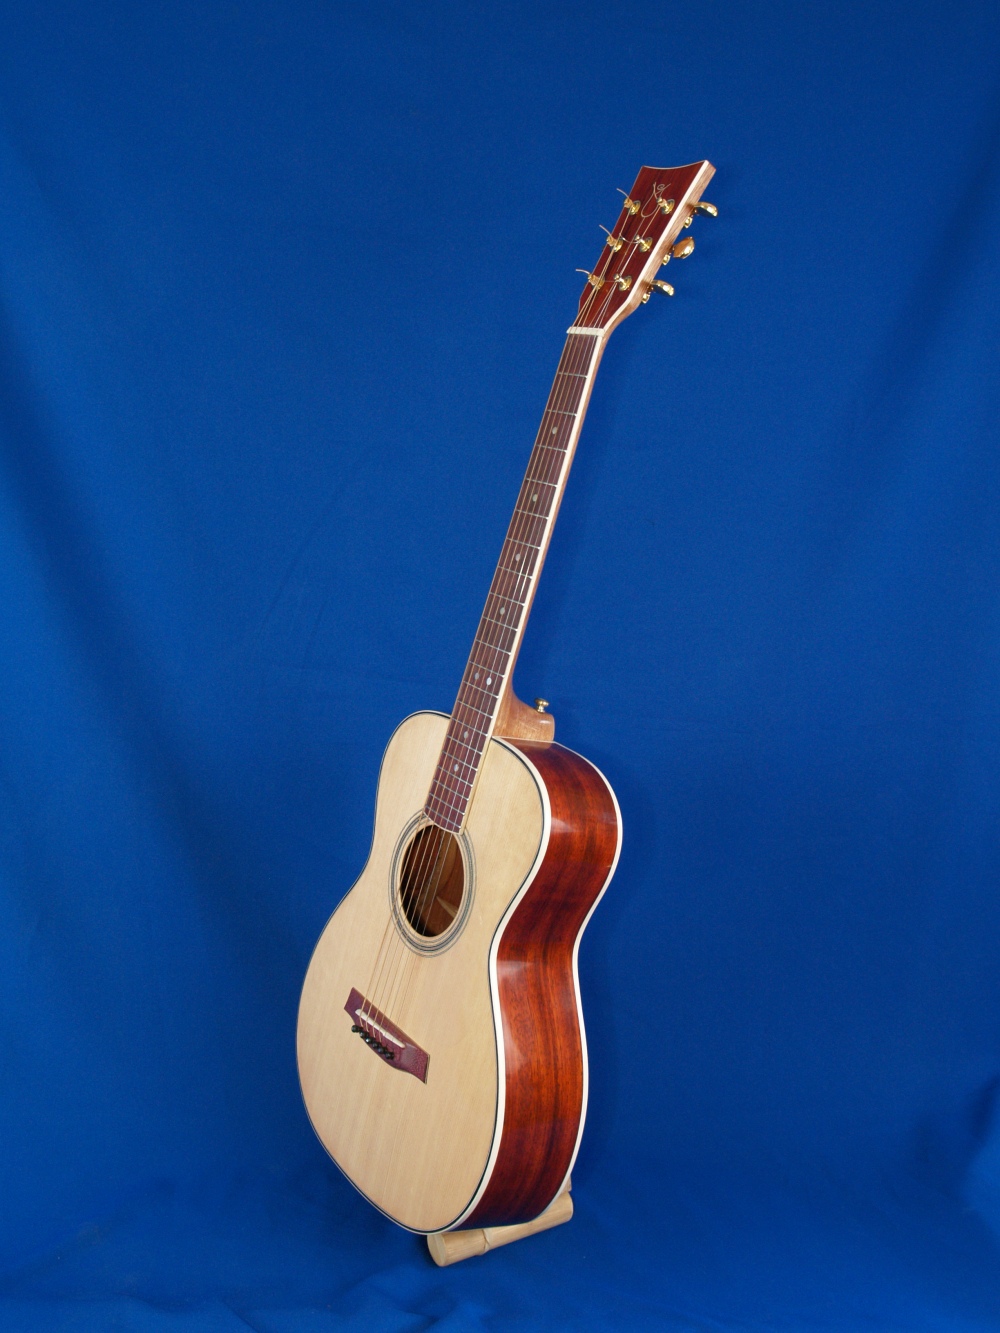
use a thermometer near the end of the heating blanket to monitor the
temperature. If it gets to hot the wood will scorch. |
 |
(10) 23-Dec-2006
Here you can see a close up of the shoe and vice before they have been
pressed into the waist |
 |
(11) 23-Dec-2006
Here I have pressed the vice and shoe into waist. |
 |
(12) 23-Dec-2006
I then install a roller in the front bout. |
 |
(13) 23-Dec-2006
And pull the roller over the wood. If everything goes well
all I hear
is the sweet sound of steam, hopefully I never hear a cracking sound. |
 |
(14) 23-Dec-2006
I do the same thing for the lower bout. |
 |
(15) 23-Dec-2006
Here we see the side in its form while the kerfing is being glued on.
I use a kerfing system that slots the kerfing on the inside
leaving a
gunnel in the outside. After it is installed and dried the
sides are
very stiff and strong. I can never have enough clamps it
seems like. |
 |
(16) 23-Dec-2006
And here we see the final results, two sides that will hold their shape. |
 |
(17) 10-Jan-2007
Now I am joining the two sides together in the side form. The
sides
are glued together with a heel block that will hold the mounting
hardware for the neck, and an end block at the rear of the guitar.
The
form ensures that the two sides are aligned properly |
 |
(18) 10-Jan-2007
After the sides are glued together the top and bottom edges are sanded
to the correct profile. To sand the edges of the sides I use
sanding plates that I have formed into the shape that the top
and
back will ultimately take. With a little bit of elbow grease
and
care the edges are sanded to the correct width and the kerfing shelf
has the correct angle all the way around. |
 |
(19) 10-Jan-2007
I use this circle cutting router machine to route out the channels for
the rosette. These are important cuts... (I call them money
cuts
because if I blow it I have to spend a bunch of money and time to
replace the wood)... in that the edges must be clean and smooth with no
tear outs, and the width and depth of the cuts must be precise and
accurate to hold the purfling without any gaps. |
 |
(20) 10-Jan-2007
Here we see the results of my handy work.
|
 |
(21) 10-Jan-2007
After bending the herringbone purfling into a circle I press the pieces
into the channels and flood the assembly with cyanoacurate glue |
 |
(22) 10-Jan-2007
After I sand the rosette flush with the top and dimension the depth of
the top to about 90 mils I once again use the circle cutting machine to
cut out the sound hole. |
 |
(23) 10-Jan-2007
The finished rosette. The part of the rosette that does not
look complete will be covered by the fretboard.
|
 |
(24) 22-Jan-2007
Using a template guide on the router table I cut a channel in the heel
block. The channel that is cut will house the hardware for
the
adjustable neck. |
 |
(25) 22-Jan-2007
After routing out a channel I have installed a Purpleheart end graft. |
 |
(26) 22-Jan-2007
Next I rough out the back on the band saw. |
 |
(27) 22-Jan-2007
I use a Go-Box to press the back braces onto the back as they are being
glued down. All of the braces have been formed to fit the
final
shape of the back, which is a shallow bowl. I use a form that
is
in the shape of a bowl to do all of the gluing. This insures
that
that final shape of the back is just right. |
 |
(28) 22-Jan-2007
Just like the back the top gets roughed out on the band saw before the
braces are glued on. |
 |
(29) 22-Jan-2007
This is an artistic shot of the main x-brace that goes on the top.
This picture shows the subtle curves that the top will take.
|
 |
(30) 22-Jan-2007
Here we see the go-box at work. It is very important that the
braces are firmly held in place so that they make good contact with the
top. |
 |
(31) 7-Feb-2007
Now I am going to turn my attention to the neck. I first
select a
neck blank that I have previously roughed out of a big beam of Mahogany. |
 |
(32) 7-Feb-2007
I use my router table and a template screwed onto the end to route out
the heal of the neck. This is a critical cut in that it must snuggly
fit into the heal pocket in the body of the guitar. |
 |
(33) 7-Feb-2007
I next route out the slot for the double action truss rod. |
 |
(34) 7-Feb-2007
And then I rough out the basic shape pf the neck. |
 |
(35) 7-Feb-2007
In this picture I am gluing on the contra-rosette. This is
when I date, sign and serialize the guitar. |
 |
(36) 7-Feb-2007
Before the back and top get glued on I have to drill the holes for the
mounting and adjustment hardware for the neck. Does it make
you
nervous when I put your guitar in my vice? |
 |
(37) 7-Feb-2007
This picture shows the guitar after the back has just been glued on. |
 |
(38) 7-Feb-2007
There is a lip of excess material on the back that I am going to route
off. |
 |
(39) 7-Feb-2007
Lots of orange sawdust, and a trimmed up back. |
 |
(40) 7-Feb-2007
In this step I am gluing on reinforcement strips to the sides.
These are added in case the guitar should get severely bumped
someday, these should help prevent the back from splitting.
Don't' bump the guitar, I don't want to know if these work!
Actually I do know they work, but I wish I didn't... oh well,
that's how you get experience. I dropped one of my first
guitars.
I don't do that anymore. |
 |
(41) 7-Feb-2007
Here I am gluing the top on. I use my guitar building form
and
this flange that allows me to apply even pressure all of the way around
the edge of the guitar. After this step if I need to make any
adjustments inside the guitar I have to go through the sound hole.
Little hands would be helpful. |
 |
(42) 7-Feb-2007
Out of the form and ready to be trimmed up. |
 |
(43) 7-Feb-2007
Putting it all together and it is starting to look like a guitar. |
 |
(44) 24-Feb-2007
Here we see the tools I use to cut the slots for the frets. The
aluminum sled is indexed to the proper position with the plastic
template and the small circular saw cuts the slots. |
 |
(45) 24-Feb-2007
And this is the collection of tools I use to install the frets. |
 |
(46) 24-Feb-2007
The universal bindalator is used again, this time to cut the shelves for the binding. |
 |
(47) 24-Feb-2007
This picture shows the details of the router base in the bindalator and the shelf . |
 |
(48) 24-Feb-2007
A nicely routed out guitar body ready to be bound. |
 |
(49) 24-Feb-2007
After the binding and purfling has been installed, all of the surfaces are sanded down smooth and flat. |
 |
(50) 24-Feb-2007
Because this guitar has an adjustable neck, i.e., the neck angle can be
changed on the fly, the fretboard will extend over the end of the neck
and will float freely above the soundboard on the guitar. This
means the fretboard must be reinforced. I use two carbon fiber
cantilevers to act as stiffeners. |
 |
(51) 24-Feb-2007
The cantilevers will float inside the routed out portion of the heel
block. We can also see in this picture the set screws that are
used to adjust the side to side angle of the neck. |
 |
(52) 24-Feb-2007
Here we see the the fretboard being glued onto the neck. |
 |
(53) 24-Feb-2007
And the guitar gets its first neck installation. |
 |
(54) 24-Feb-2007
This is one of the best parts of making the guitar, shaping the neck.
The neck is like a sculpture, all I have to do is take
everything away that doesn't look a neck. Lots of saw dust. |
 |
(55) 24-Feb-2007
Another angle. |
 |
(56) 24-Feb-2007
After the neck is shaped I add the head stock veneer. |
 |
(57) 24-Feb-2007
And I install the head stock binding and the tuning machines for a test run and put all of the pieces together. |
 |
(58) 10-Mar-2007
A water based urethane is applied and buffed to a high polish, the bridge is attached and the instrument is ready to go. |


