 |
(1) 23-Dec-2006
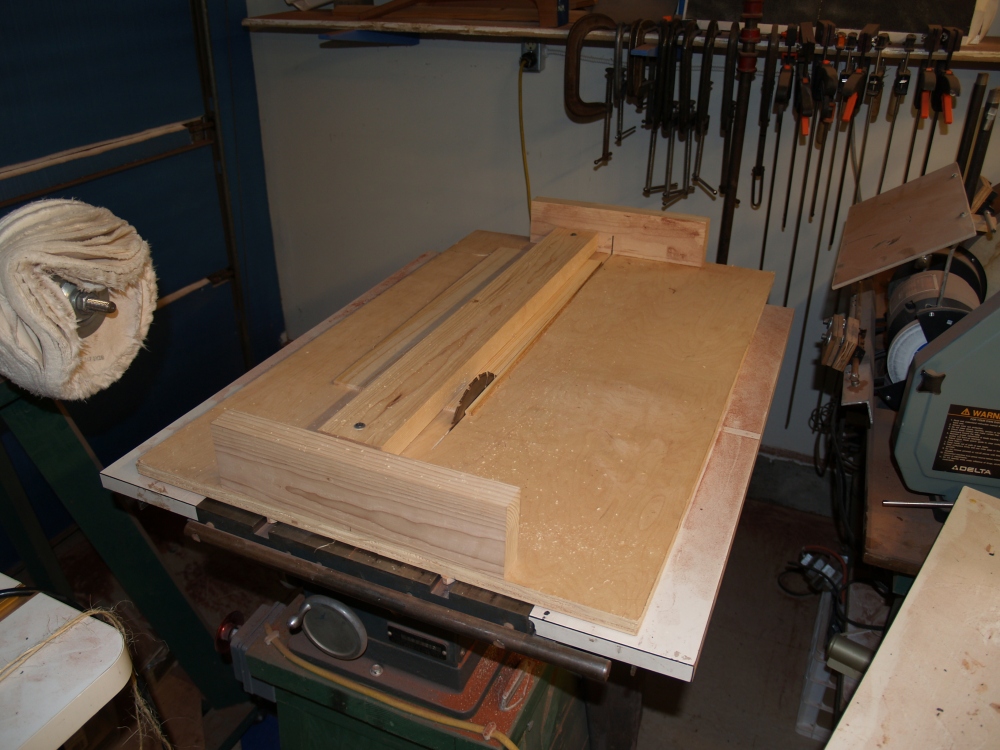
I started building this guitar by selecting the top pieces, Sitka
Spruce, matching them up and the cutting the two pieces so
that
the grain runs as parallel to the edge as possible. I cut the
two
pieces in a sled on my table saw. |
 |
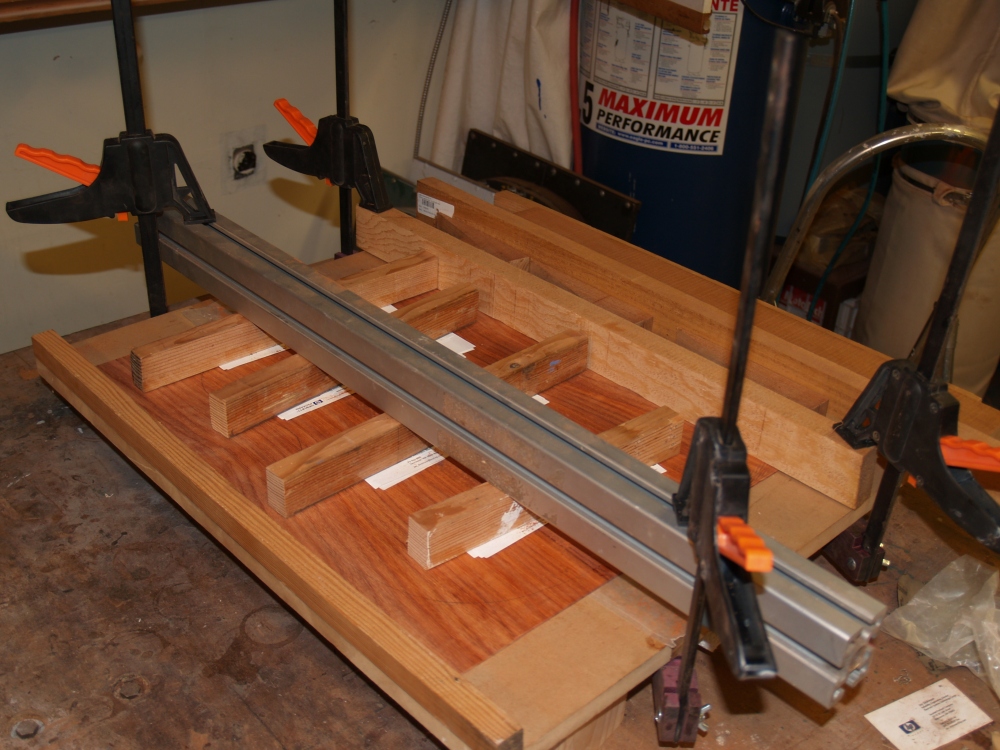
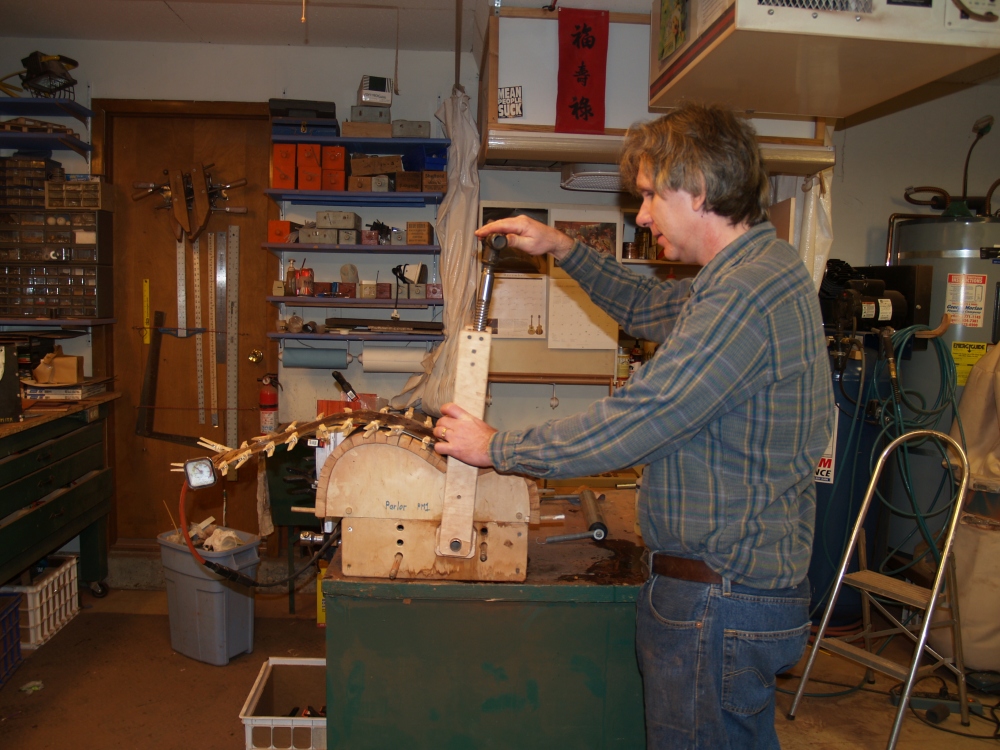
(2) 23-Dec-2006
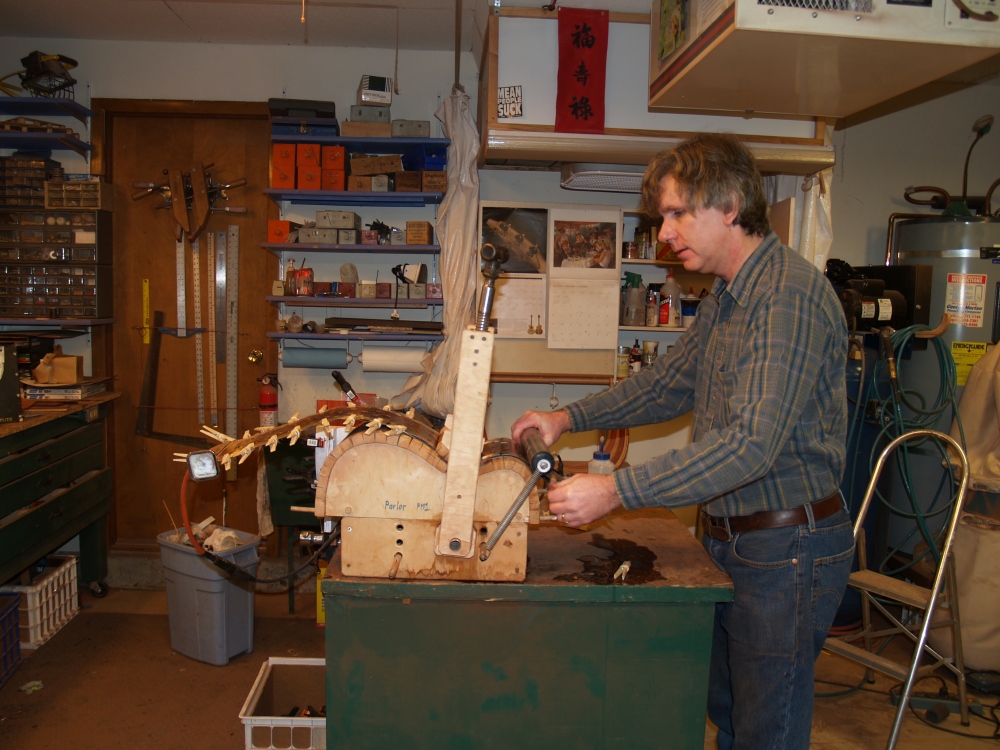
I open the two pieces up so they are book matched and after running
them through a jointer and a little sanding to make sure the two edges
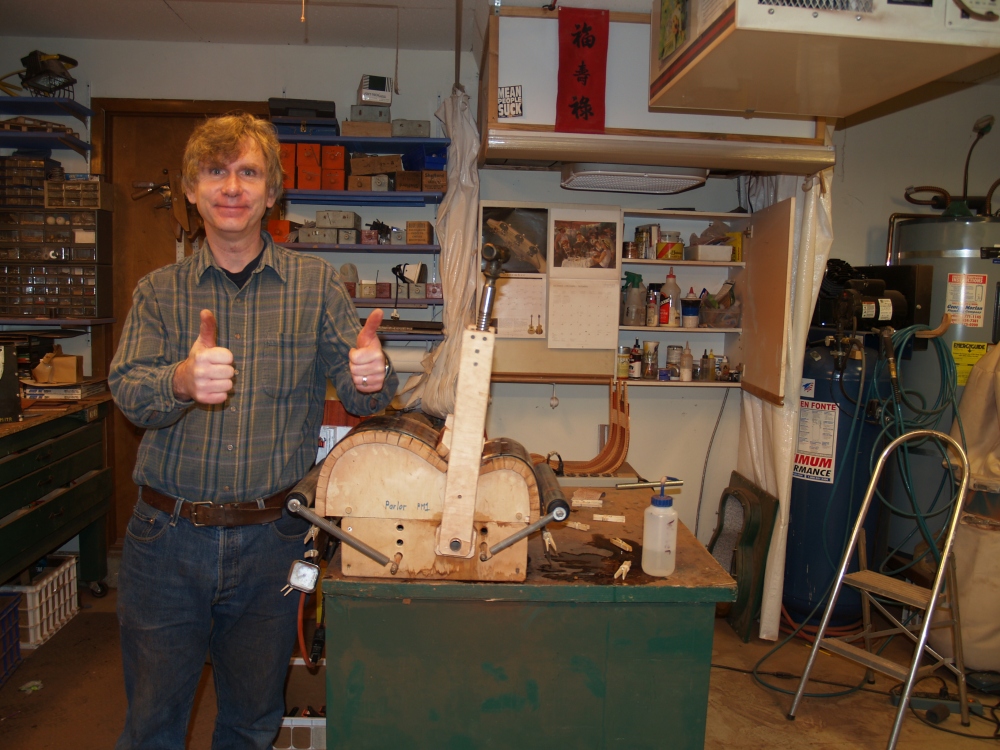
perfectly match I glue them together on this compression
table.
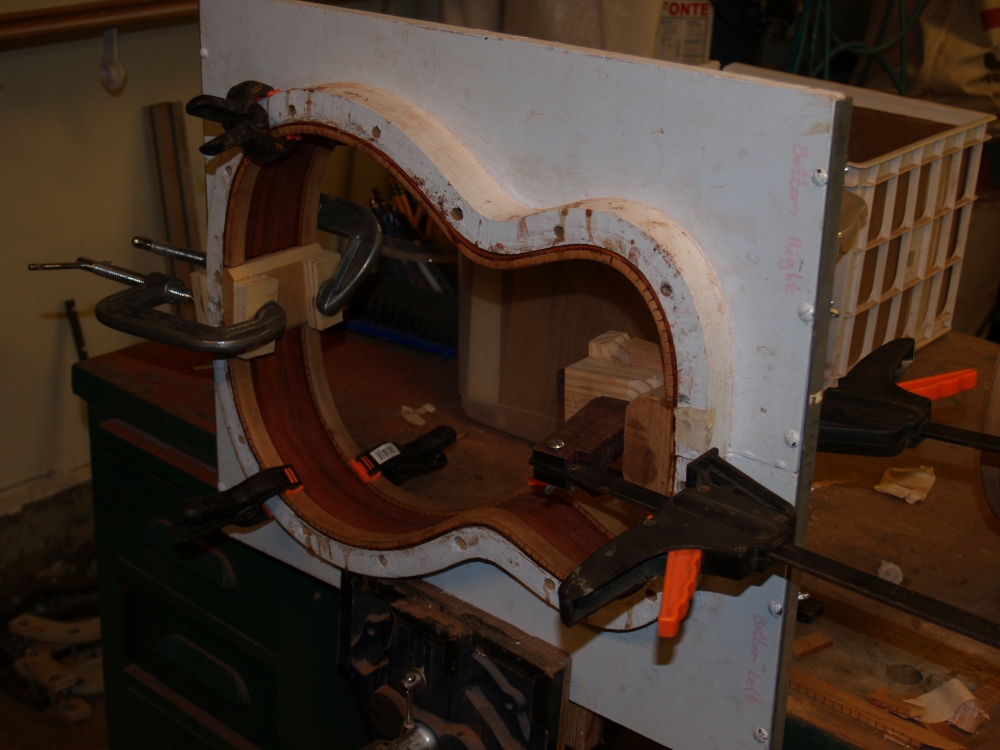
The wedges in the back press the two halves together while
the
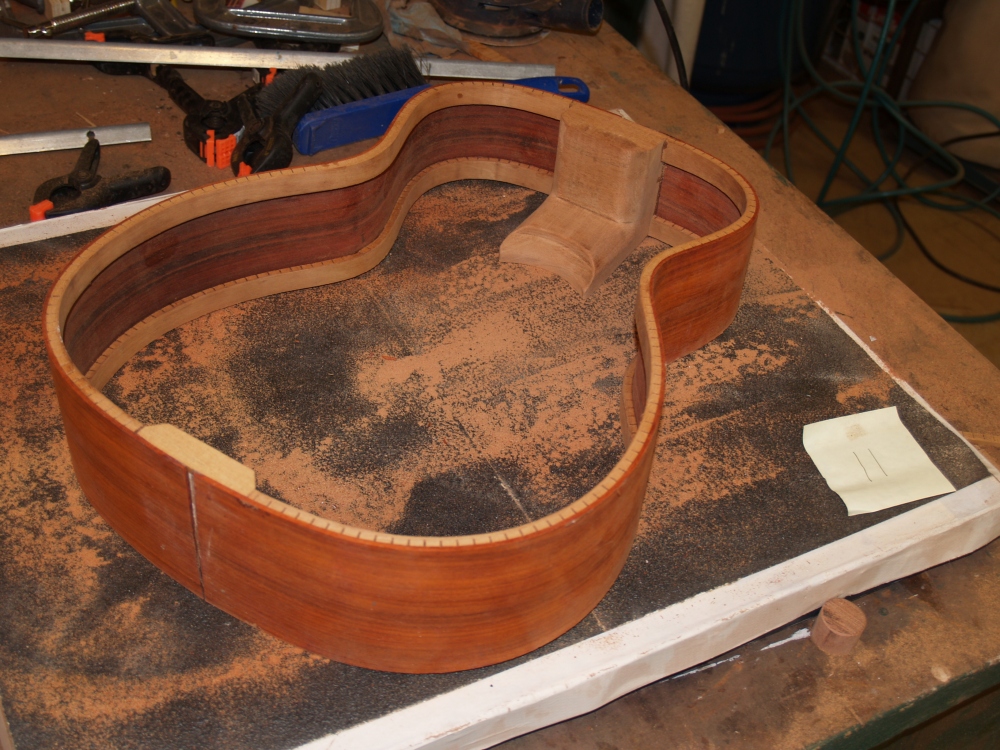
cross pieces on the top keeps the wood from bowing up. |
 |
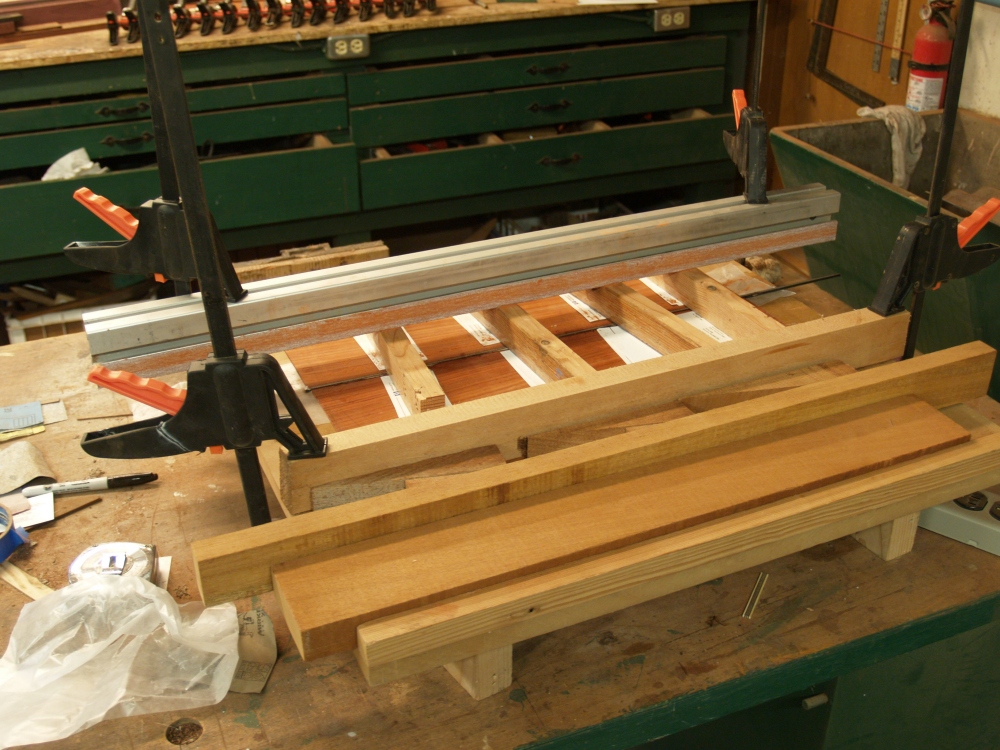
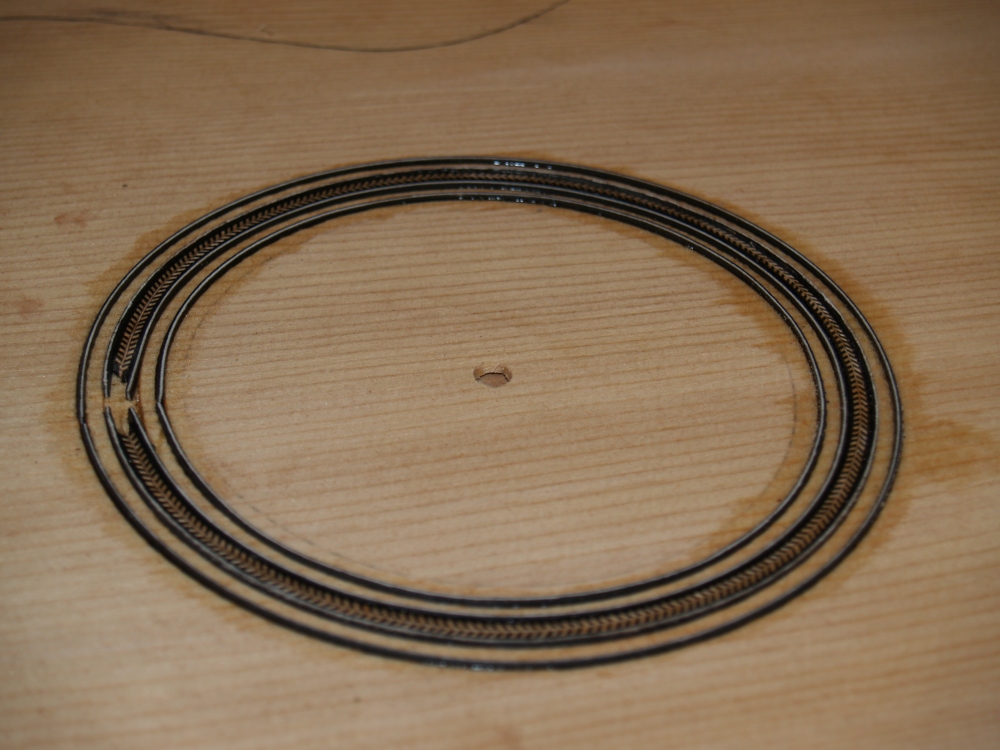
(3) 23-Dec-2006
The same process is used for the back pieces. |
 |
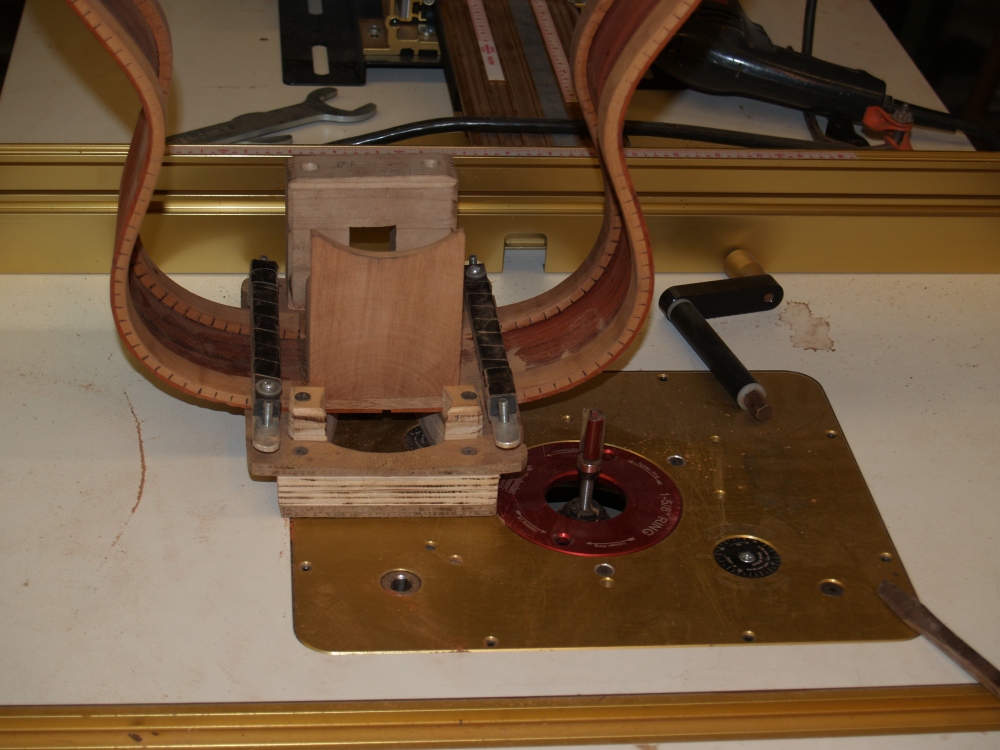
(4) 23-Dec-2006
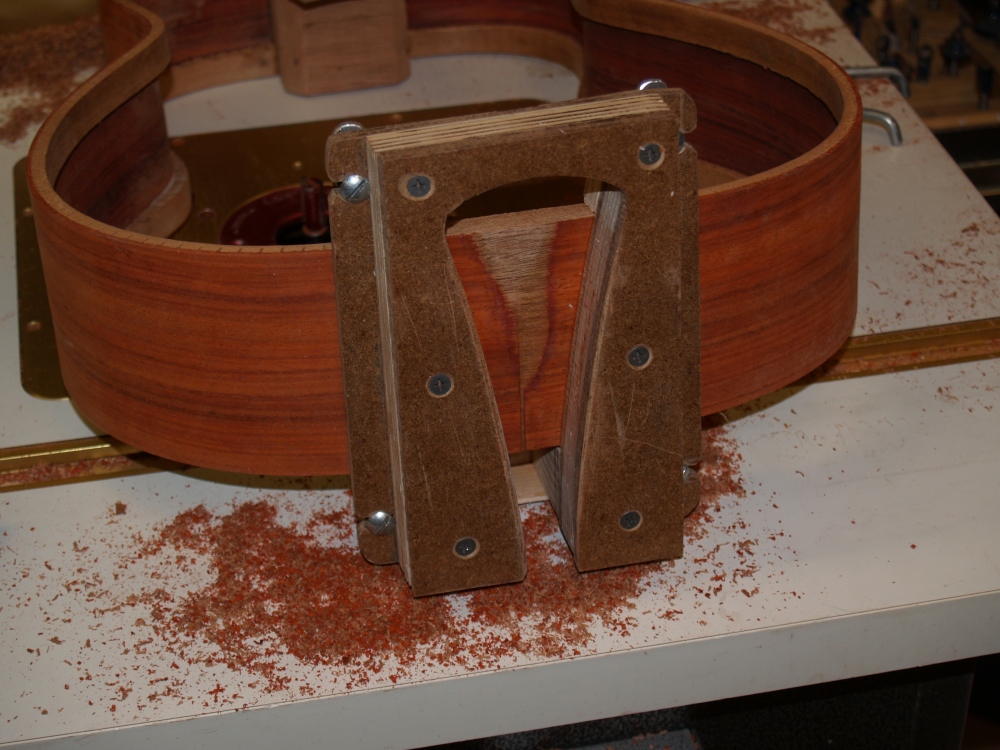
One of the objectives in joining the top and back pieces is to make the
seams between the two pieces undetectable. |
 |
(5) 23-Dec-2006
Here is a macro shot of the back pieces after they have been joined. |
 |
(6) 23-Dec-2006
Between the back pieces on this guitar I have installed a piece of
zipper purfling. It makes it look pretty. |
 |
(7) 23-Dec-2006
I next move on to the sides. After the sides have been
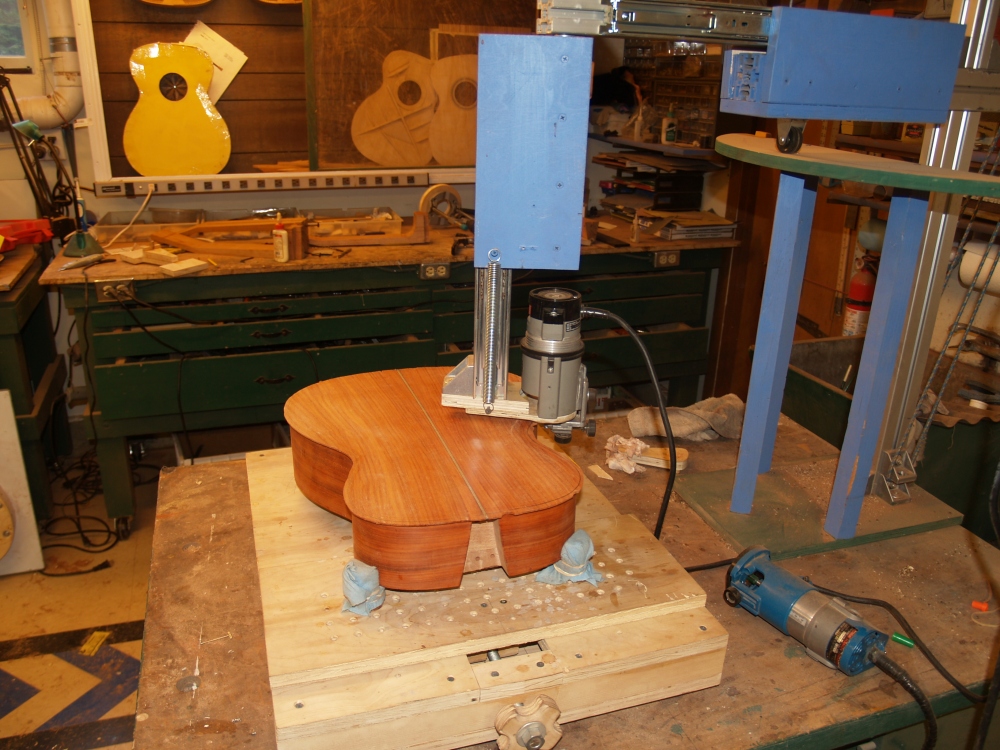
dimensioned to about 90 mils I get ready to bend them in the Universal
Bendalator. This picture shows the heating blanket
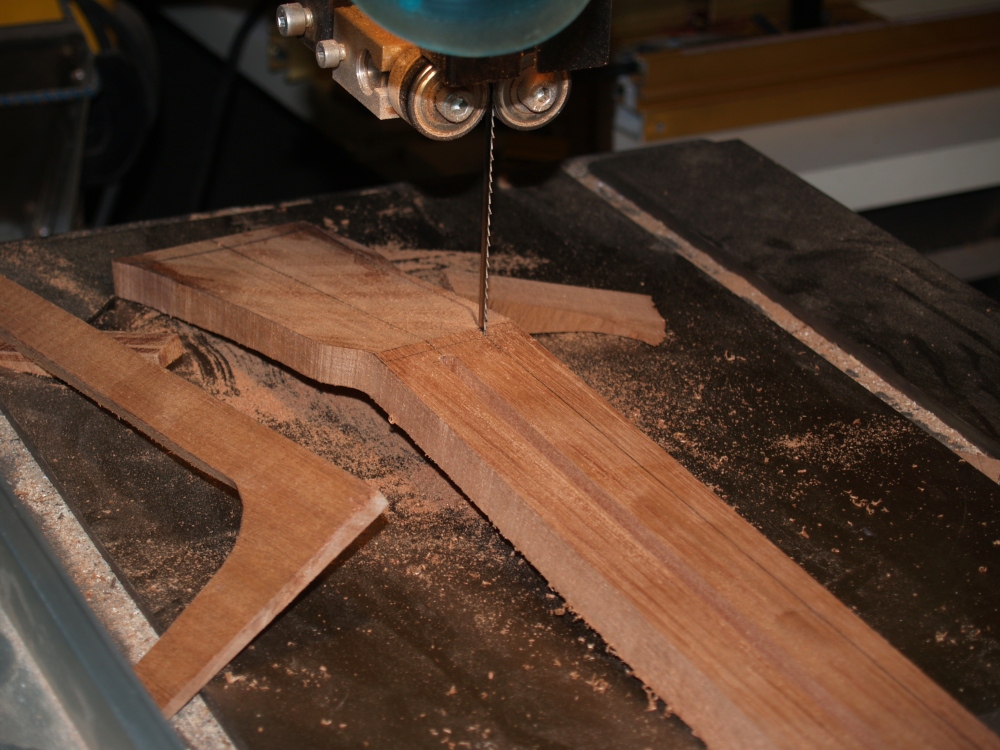
arrangement I
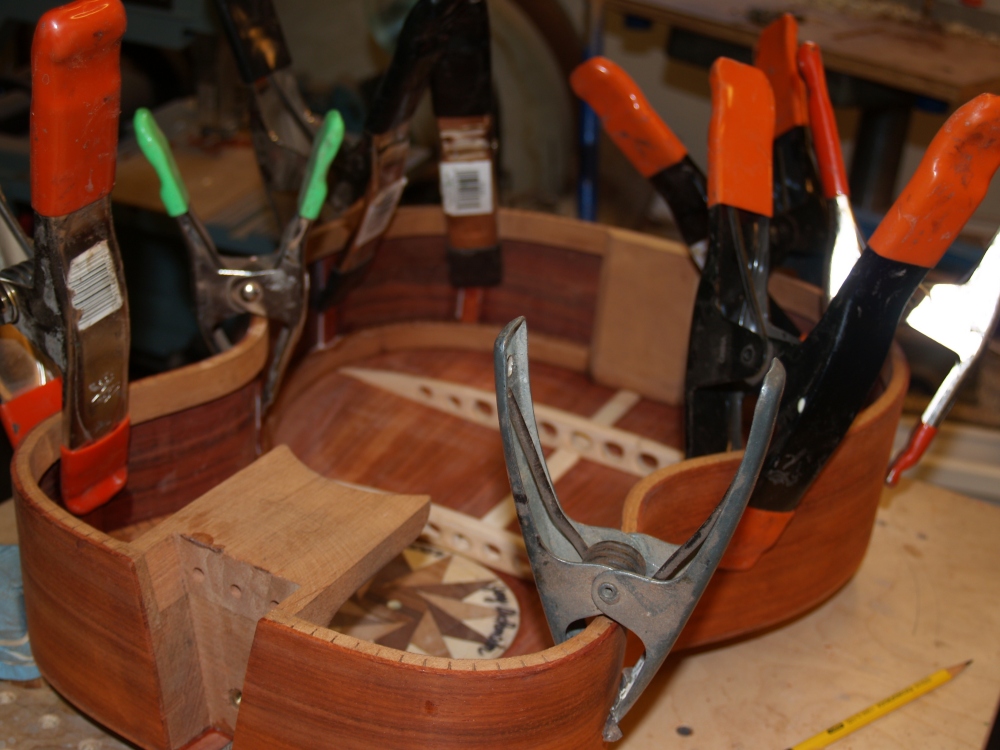
use to get the wood hot and pliable. The orange piece with the tail in
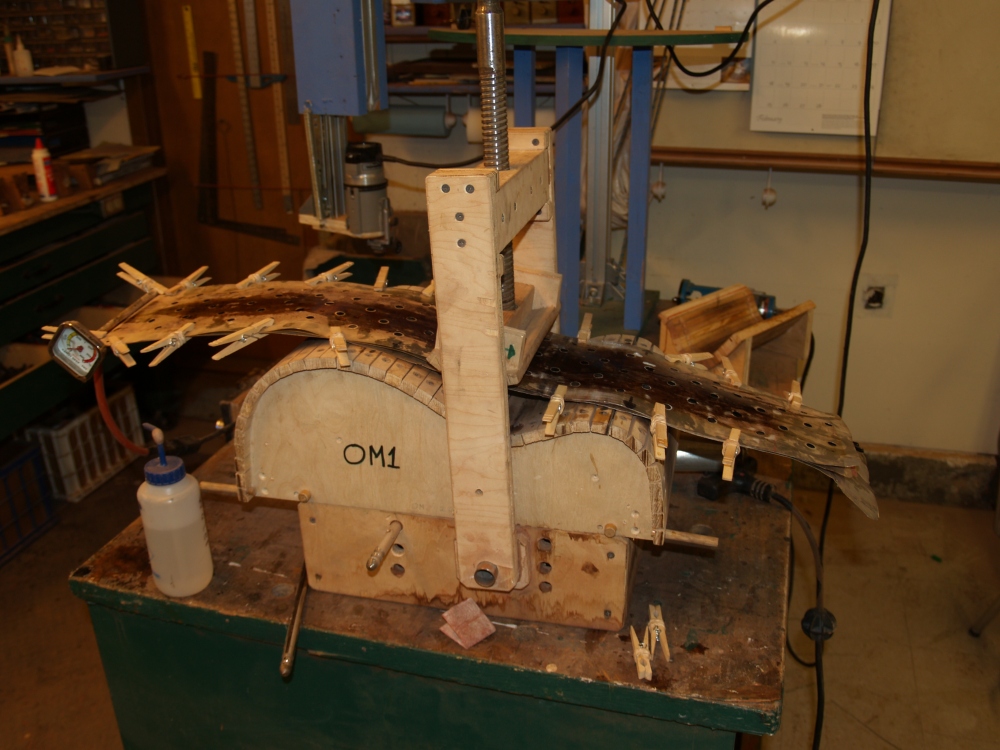
the front is the heating blanket. It will sit between two
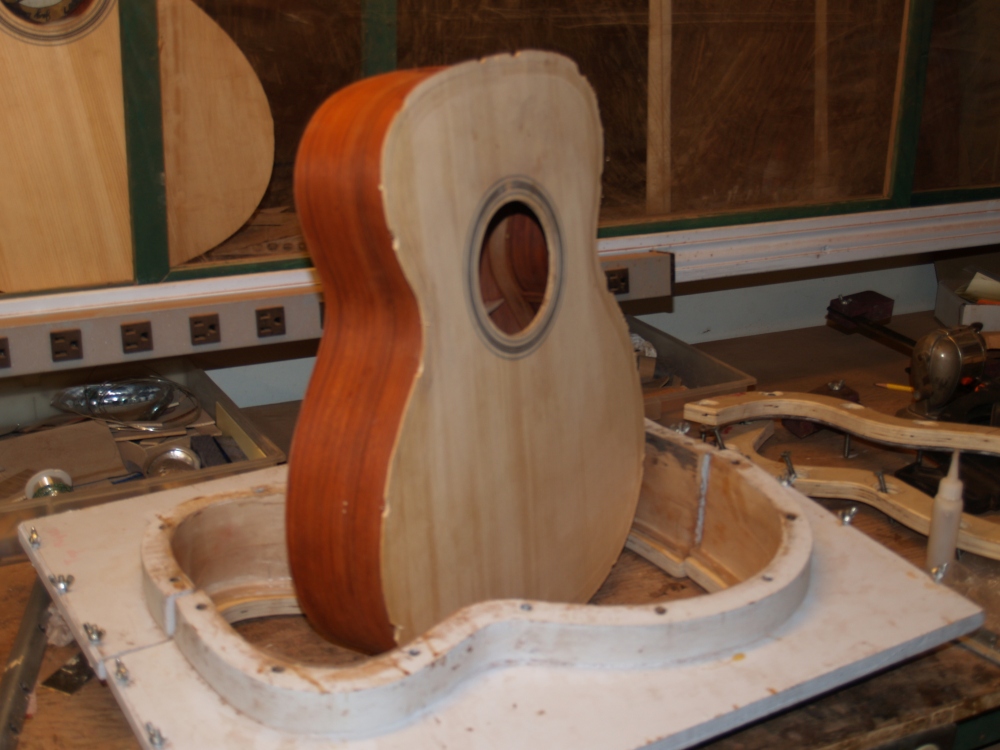
pieces
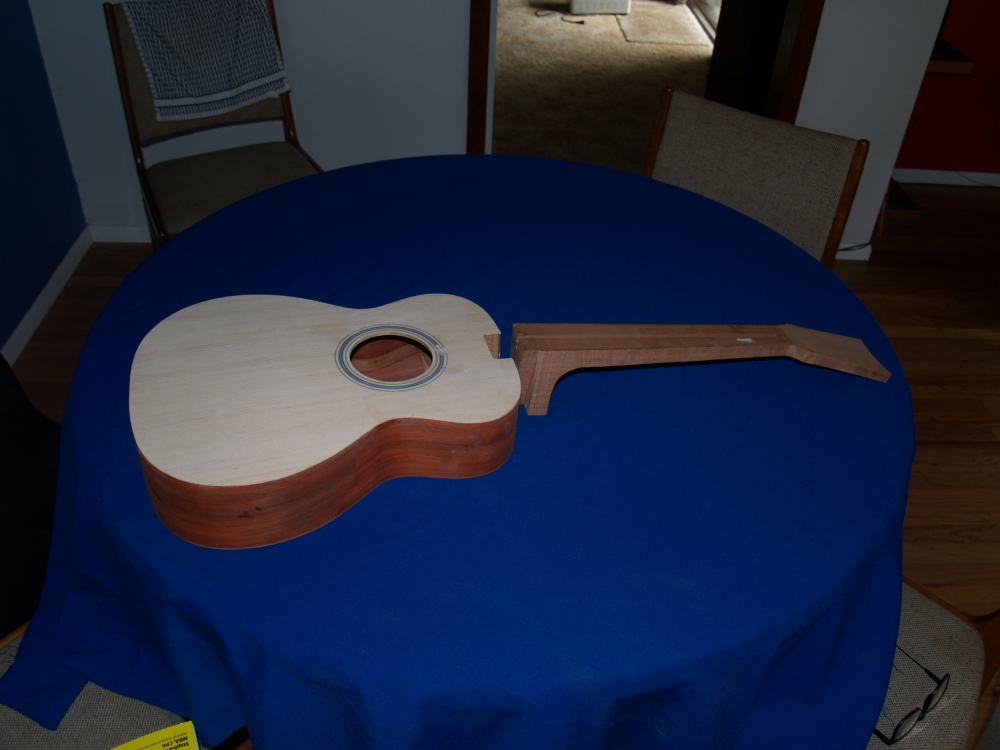
of aluminum flashing. The straight orange piece in the middle
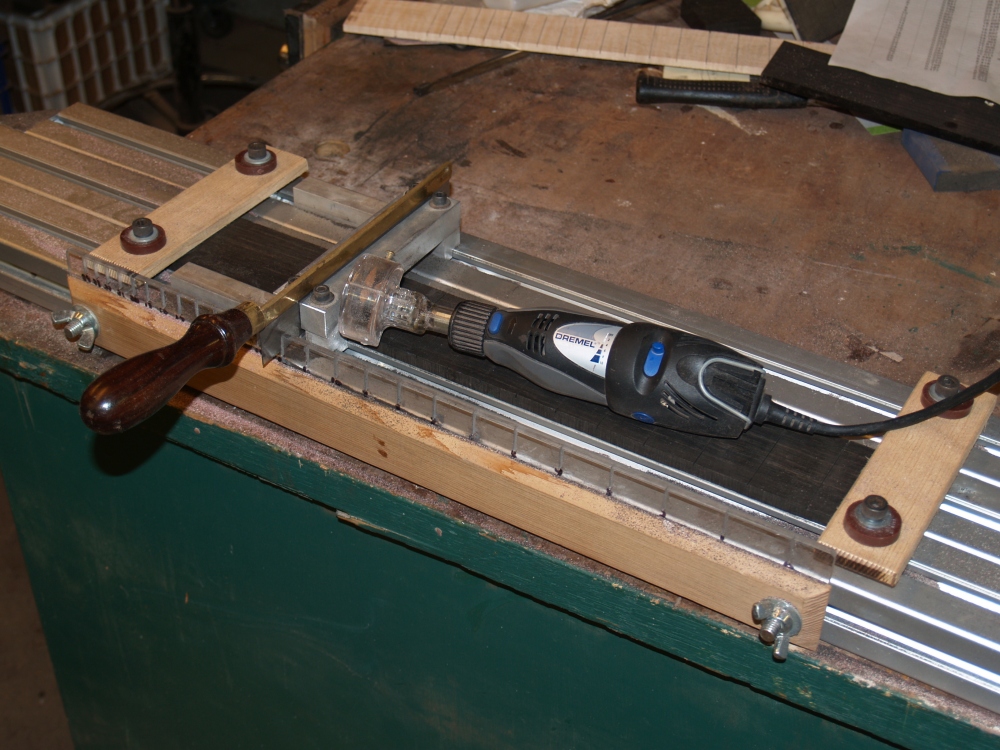
is
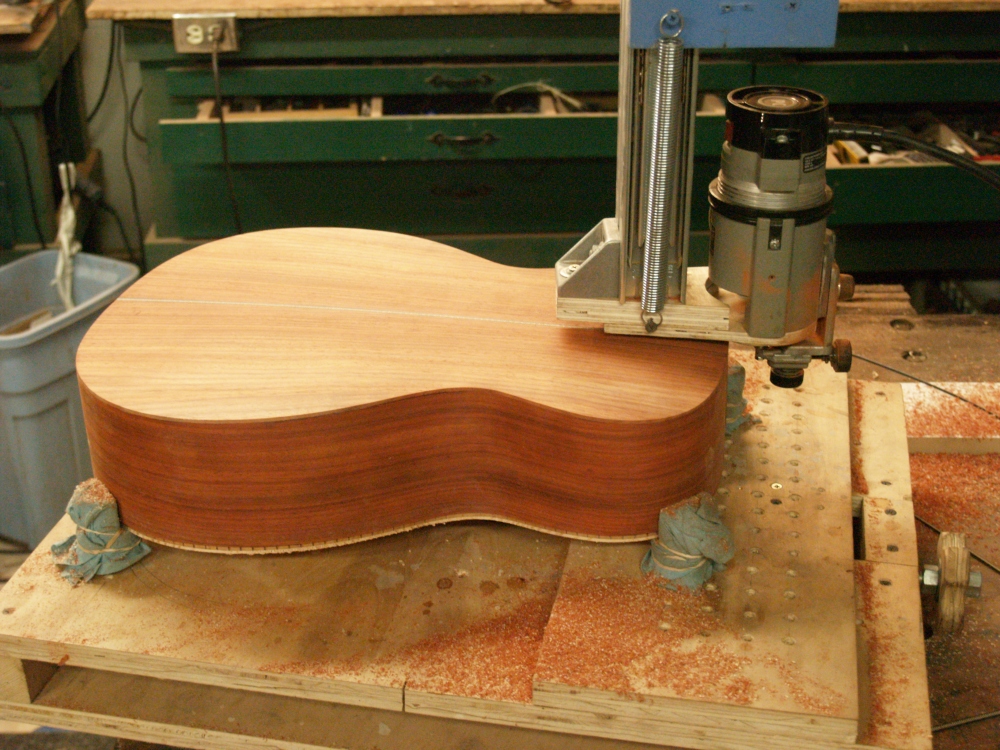
the piece of Padauk I am going to bend. On top of the piece
of
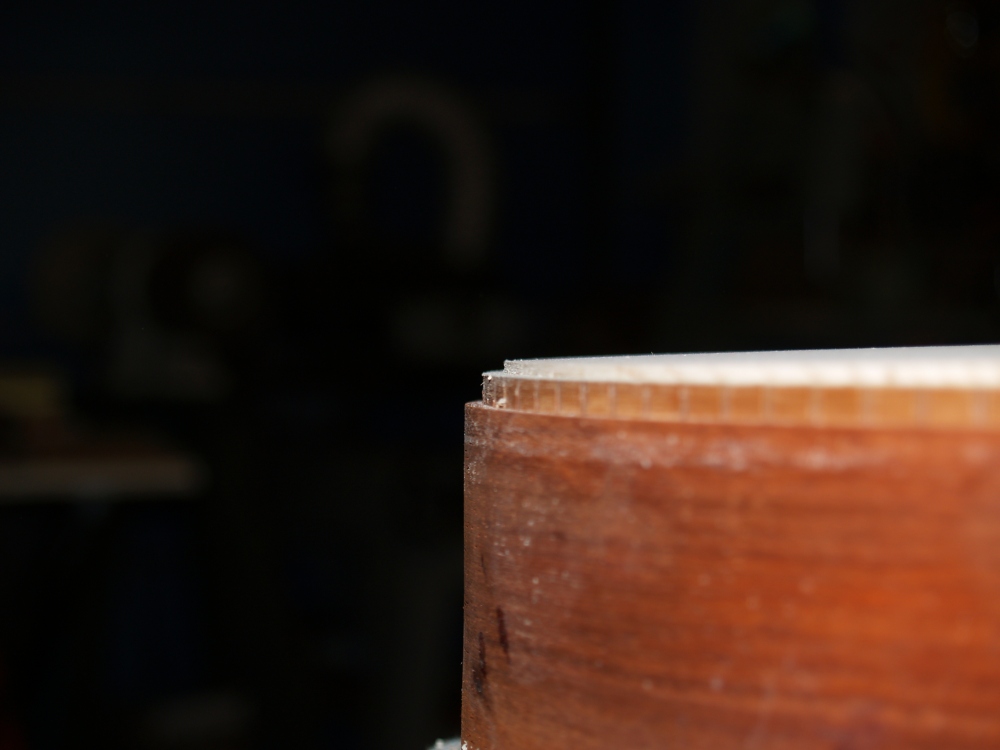
wood goes a third piece of flashing with a matrix of holes cut into it.
These are so I can wet down the wood as it is being heated. |
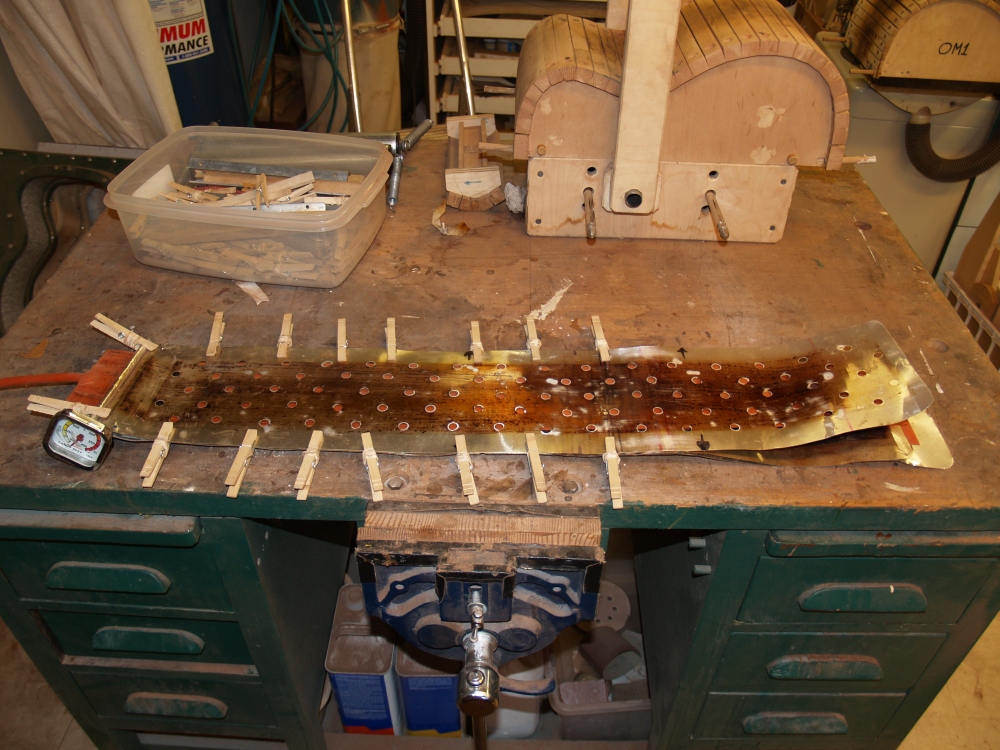 |
(8) 23-Dec-2006
The heating blanket, pieces of flashing, and the wood are all
held together with clothes pin. As the wood is bent I will remove the
pins. |
 |
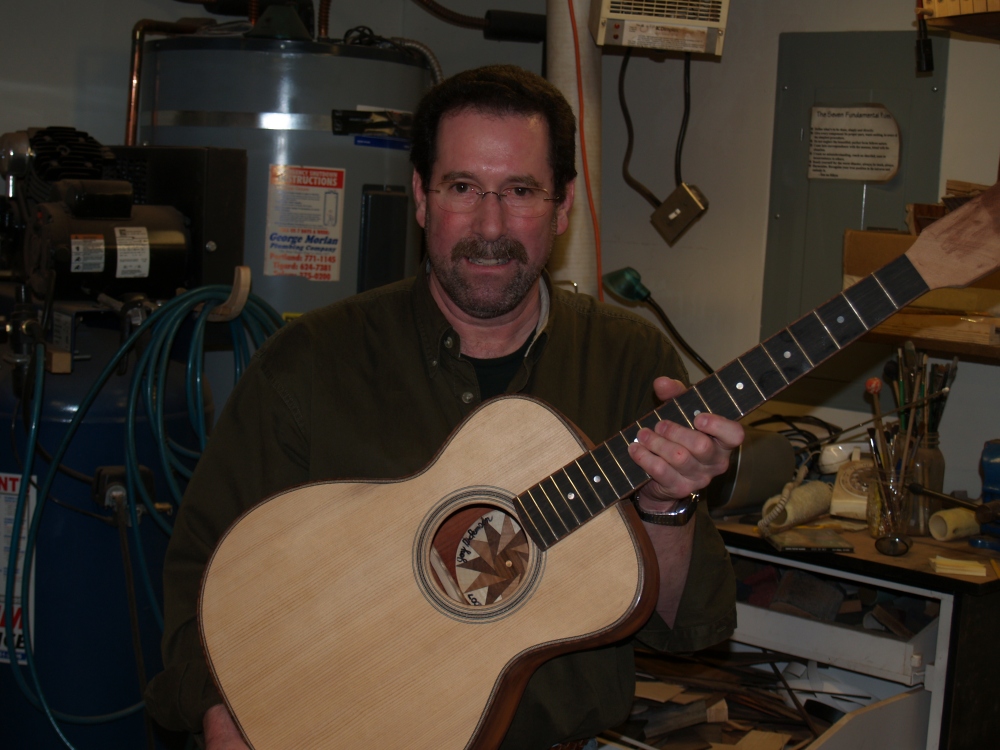
(9) 23-Dec-2006
I place the sandwich into the bending press, heat the wood up to about
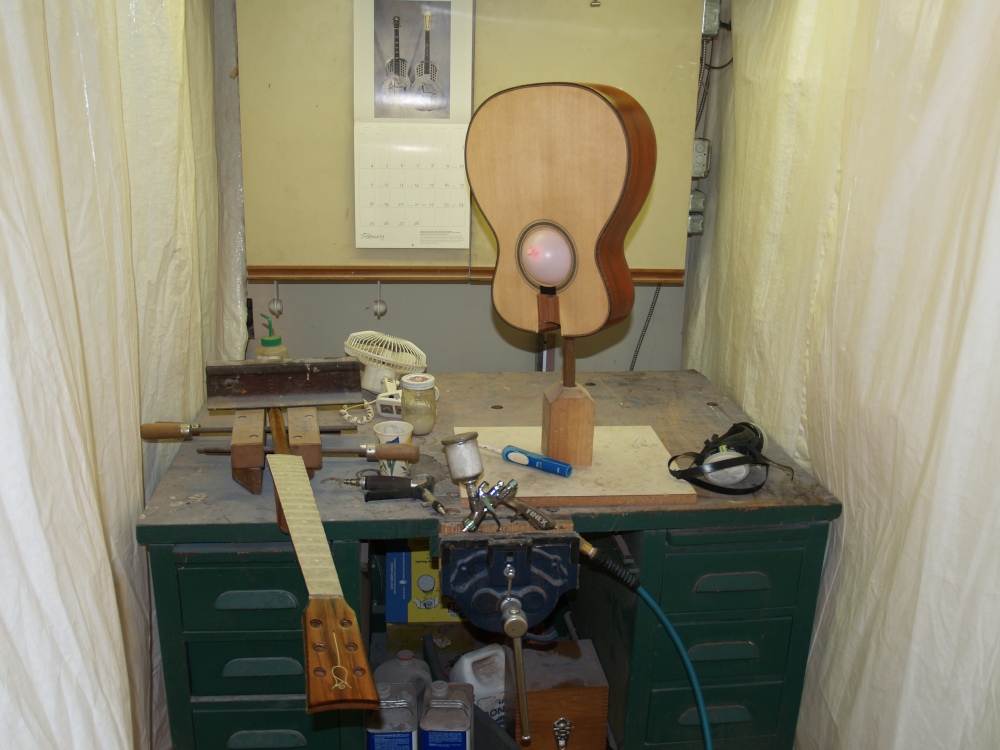
275 degs F while applying a little water and with a shoe and vice I
press the waist into the wood. |
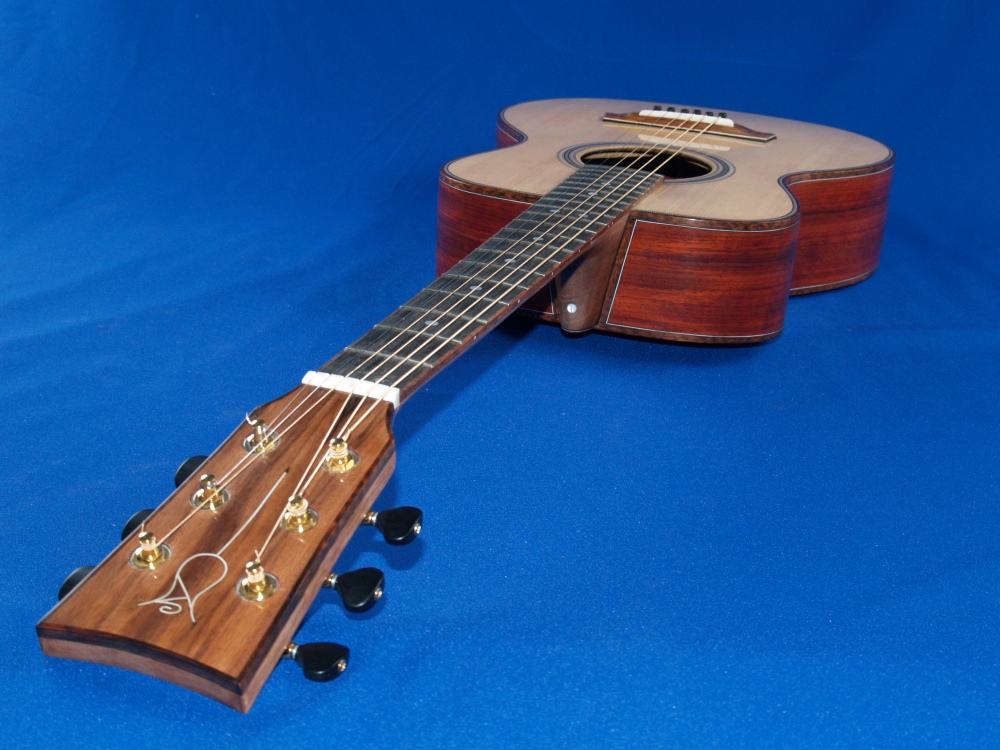
 |
(10) 23-Dec-2006
I then install a roller in the front bout. |
 |
(11) 23-Dec-2006
And pull the roller over the wood. If everything goes well
all I
hear is the sweet sound of steam, hopefully I never hear a cracking
sound. |
 |
(12) 23-Dec-2006
I do the same thing for the lower bout. |
 |
(13) 23-Dec-2006
And in the end I have a piece of wood bent into the shape of half of a
guitar. I will do the same thing for the other half after the
wood dries out and cools down. When I take it out of the
press I
immediately put it into its form so that it will hold its shape. |
 |
(14) 23-Dec-2006
Here we see the side in its form while the kerfing is being glued on.
I use a kerfing system that slots the kerfing on the inside
leaving a gunnel in the outside. After it is installed and
dried
the sides are very stiff and strong. More clamps maybe? |
 |
(15) 23-Dec-2006
And here we see the final results, two sides that will hold their shape. |
 |
(16) 10-Jan-2007
Now I am joining the two sides together in the side form. The
sides are glued together with a heel block that will hold the mounting
hardware for the neck, and an end block at the rear of the guitar.
The form ensures that the two sides are aligned properly. |
 |
(17) 10-Jan-2007
After the sides are glued together the top and bottom edges are sanded
to the correct profile. To sand the edges of the sides I use
sanding plates that I have formed into the shape that the top
and
back will ultimately take. With a little bit of elbow grease
and
care the edges are sanded to the correct width and the kerfing shelf
has the correct angle all the way around. |
 |
(18) 10-Jan-2007
I use this circle cutting router machine to route out the channels for
the rosette. These are important cuts... (I call them money
cuts
because if I blow it I have to spend a bunch of money and time to
replace the wood)... in that the edges must be clean and smooth with no
tear outs, and the width and depth of the cuts must be precise and
accurate to hold the purfling without any gaps. |
 |
(19) 10-Jan-2007
Here we see the results of my handy work. |
 |
(20) 10-Jan-2007
After bending the herringbone purfling into a circle I press the pieces
into the channels and flood the assembly with cyanoacurate glue. |
 |
(21) 10-Jan-2007
I next sand the rosette flush with the top and dimension the depth of
the top to about 90 mils and cut out the hole. The part of
the
rosette that does not look complete will be covered by the fretboard. |
 |
(22) 22-Jan-2007
Using a template guide on the router table I cut a channel in the heel
block. The channel that is cut will house the hardware for
the
adjustable neck. |
 |
(23) 22-Jan-2007
I am suing the same template guide to route out a channel for the end
graft. |
 |
(24) 22-Jan-2007
And here is the end graft being glued into place. |
 |
(25) 22-Jan-2007
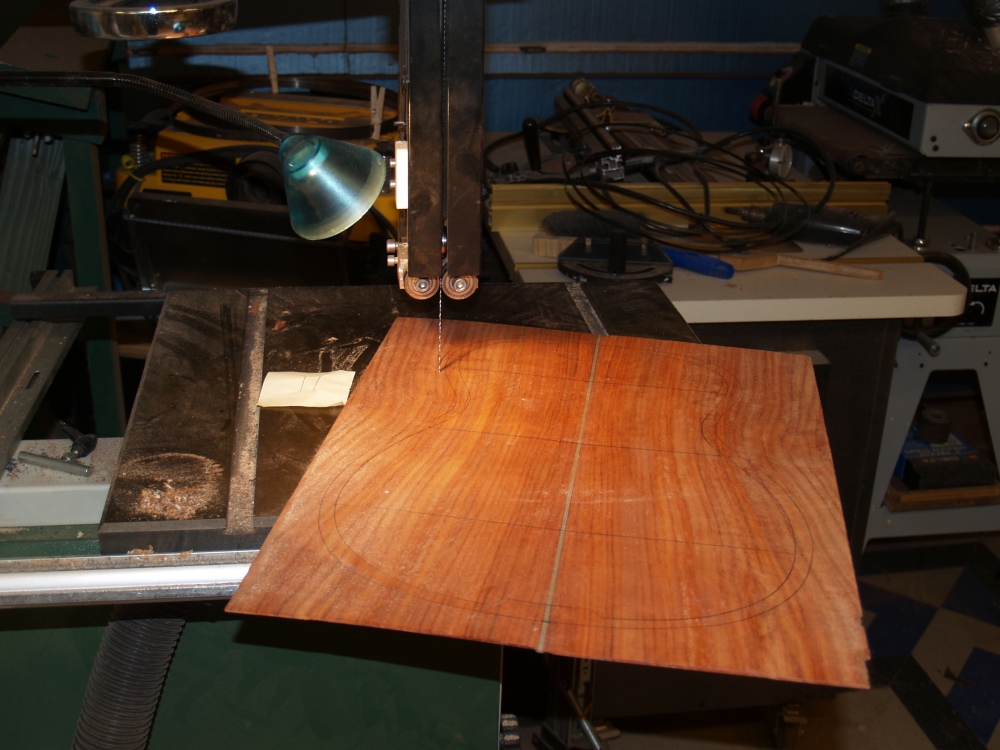
Next I rough out the back on the band saw. |
 |
(26) 22-Jan-2007
I use a Go-Box to press the back braces onto the back as they are being
glued down. All of the braces have been formed to fit the
final shape
of the back, which is a shallow bowl. I use a form that is in
the
shape of a bowl to do all of the gluing. This insures that
that final
shape of the back is just right. |
 |
(27) 22-Jan-2007
Just like the back the top gets roughed out on the band saw before the
braces are glued on. |
 |
(28) 22-Jan-2007
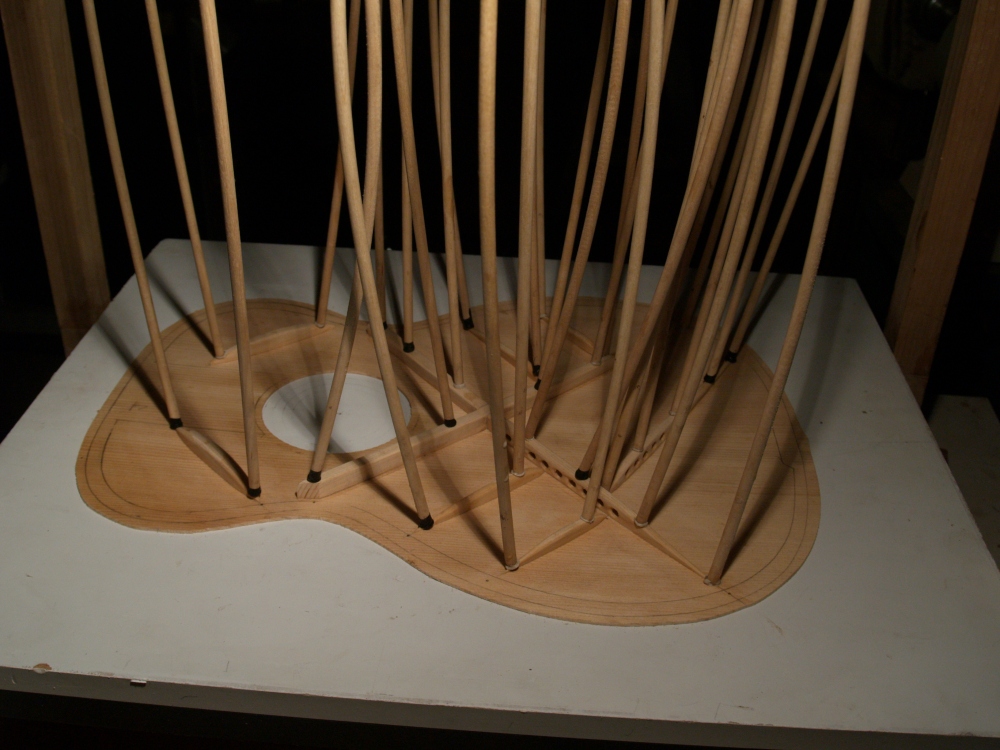
This is an artistic shot of the main x-brace that goes on the top.
This picture shows the subtle curves that the top will take.
|
 |
(29) 22-Jan-2007
Here we see the go-box at work. It is very important that the
braces
are firmly held in place so that they make good contact with the top. |
 |
(30) 22-Jan-2007
And here is a picture of the contra-rosette being glued up.
This will go inside the guitar below the sound hole. |
 |
(31) 6-Feb-2007
The contra-rosette goes into the go-box to be glued in place.
This is when I date, sign, and serialize the guitar. |
 |
(32) 6-Feb-2007
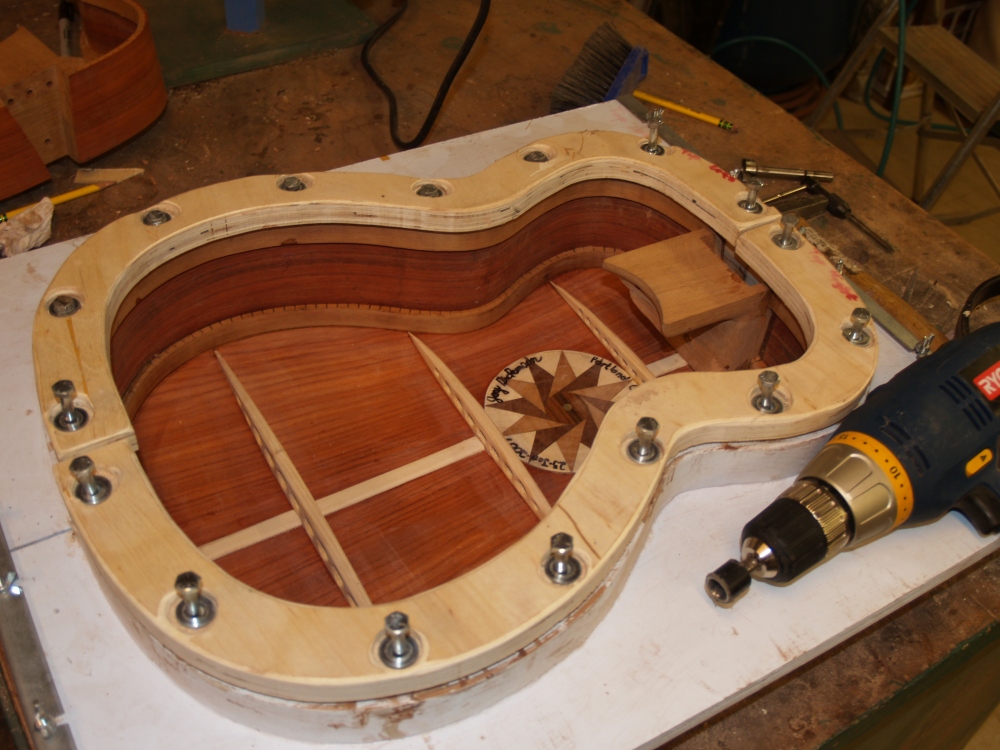
Before the back and top are glued on the holes for the neck mounting
hardware are drilled. Does it make you nervous when I put
your
guitar into a vice? |
 |
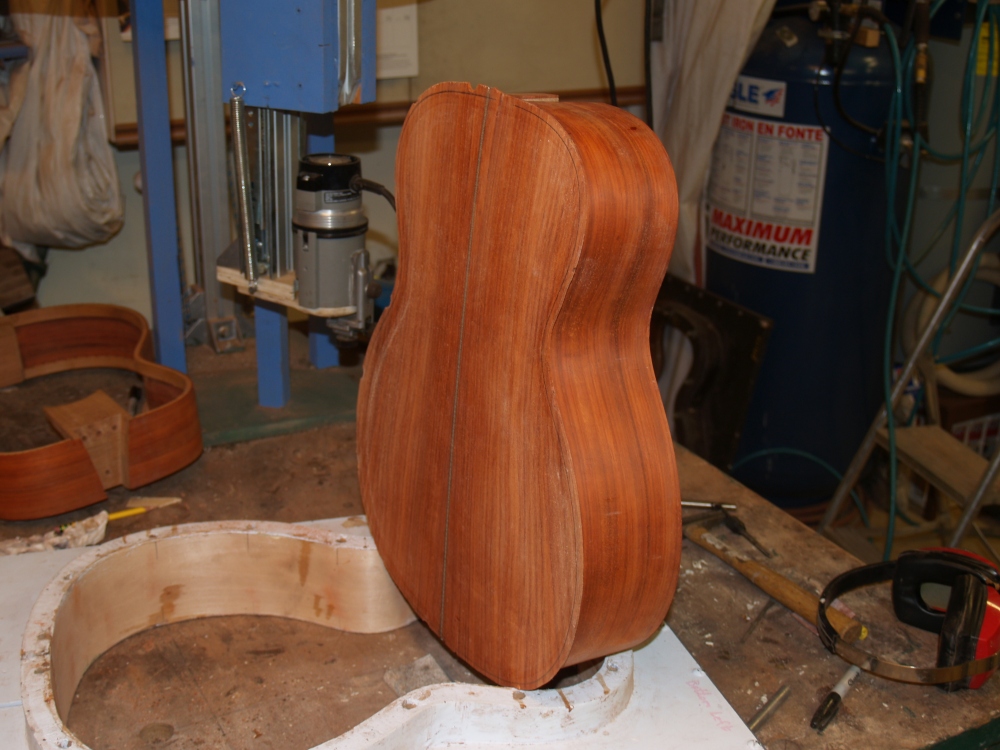
(33) 6-Feb-2007
The sides are mounted in the guitar form and the back is positioned and
glued on. |
 |
(34) 6-Feb-2007
When it comes out of the form there is some excess left on the back
edges. |
 |
(35) 6-Feb-2007
I use this edge routing tool I have created, the Universal Bindalator,
to trim the excess off of the edges. |
 |
(36) 6-Feb-2007
For a change of pace I roughed out the neck after routing out a slot
for the truss rod. |
 |
(37) 6-Feb-2007
A small but important detail is the addition of vertical reinforcing
braces on the sides. These will help prevent the sides from
splitting should the guitar ever experience a sudden shock.
Don't
do that! |
 |
(38) 6-Feb-2007
In the mean time I go back to the Universal Bendalator to bend the
Snakewood bindings. |
 |
(39) 6-Feb-2007
Now the big moment comes when I glue the top to the sides. Up
to
this point if I needed to make any adjustment inside the guitar it has
been easy. After this I have to work though the sound hole.
Skinny arms help. |
 |
(40) 6-Feb-2007
Out of the guitar form and back to the bindalator for edge trimming. |
 |
(41) 6-Feb-2007
And putting it all together it is starting to look like a guitar. |
 |
(42) 24-Feb-2007
These are the tools I use to cut the fret slots. The aluminum
sled is indexed to proper position with the plastic template and the
slot is cut with a small circular saw. |
 |
(43) 24-Feb-2007
The universal bindalator is used to cut the shelf for the binding. |
 |
(44) 24-Feb-2007
This is a close up of the router on the bindalator. |
 |
(45) 24-Feb-2007
And a close up of the routed shelf. |
 |
(46) 24-Feb-2007
After the binding is installed, all of the surfaces are sanded flat and
smooth. I use a raking light to highlight any bumps. |
 |
(47) 24-Feb-2007
These are the tools I use to install the frets. The tangs on each fret must be ground off to fit within the binding. |
 |
(48) 24-Feb-2007
Because this guitar has an adjustable neck, i.e., the neck angle can be changed
on the fly, the fretboard will extend over the end of the neck and will float
freely above the soundboard on the guitar. This means the fretboard must be
reinforced. I use two carbon fiber cantilevers to act as stiffeners. |
 |
(49) 24-Feb-2007
The cantilevers will float inside the routed out portion of the heel block. We
can also see in this picture the set screws that are used to adjust the side to
side angle of the neck.
|
 |
(50 24-Feb-2007
The fret board is glued onto the neck. It gets firmly clamped down to insure good contact. |
 |
(51) 24-Feb-2007
I love this part; shaping the neck is like sculpture. All I have
to do is take everything away that doesn't look like a neck. |
 |
(52) 24-Feb-2007
More saw dust. |
 |
(53) 24-Feb-2007
Doug gets a look at his guitar and gets to make some decisions. |
 |
(54) 24-Feb-2007
The headstock veneer gets glued on. |
 |
(55) 1-Mar-2007
All of the parts are ready to go. The bridge will be attached
after the finish is applied. I use a paint booth in my shop made
up of a curtained off area with a recirculating filter and an exhaust
fan. This keeps the dust down to an acceptable level. This
is a process of applying several coats of finish, then sanding out all
of the irregularities, then applying more coats. This process is
repeated until I am a happy painter. I estimate that when all of
the application, sanding and polishing is done that there is perhaps 1
to 2 mils of finish on the guitar. |
 |
(56) 15-Mar-2007
And here is the finished product. After the finish is dried and
cured, I polish it to a high gloss, then remove the finish where the
bridge will be attached. |


