 |
(1) 12-Dec-06
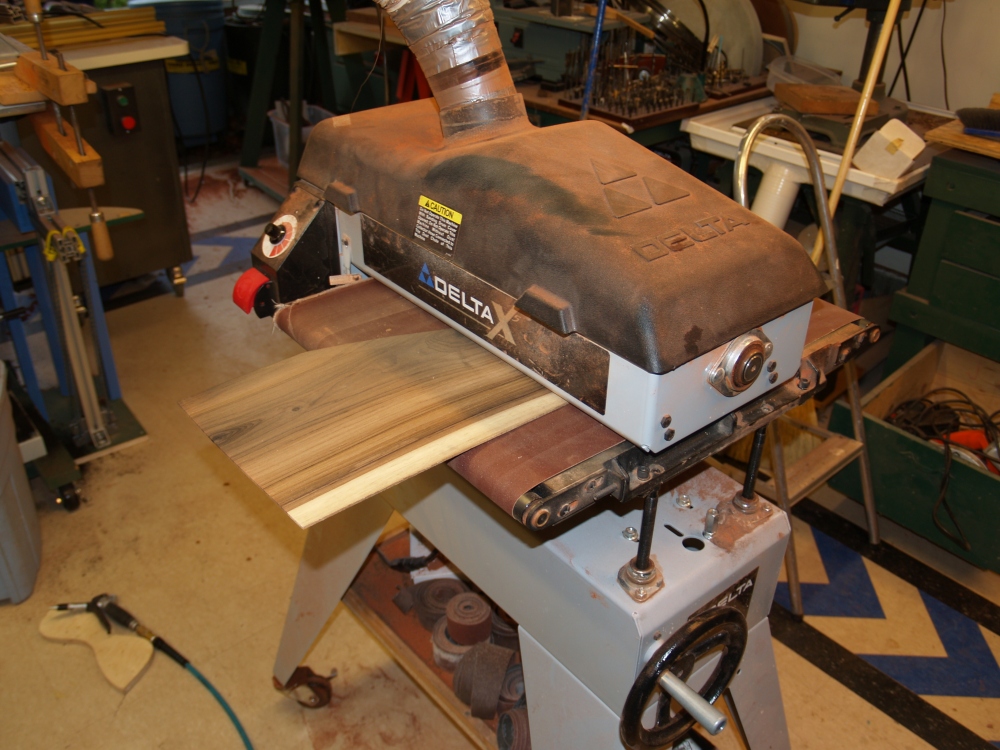
I start building the guitar by using this drum sander to sand
the
individual pieces of the back smooth and flat. The final
thickness of the back pieces at this time are about 100mils. |
 |
(2) 12-Dec-06
This machine does a very good job of sanding large flat
pieces of
wood to a precise thickness. It essentially does the same job
as
a planer, but it is much less aggressive and never causes tearout. |
 |
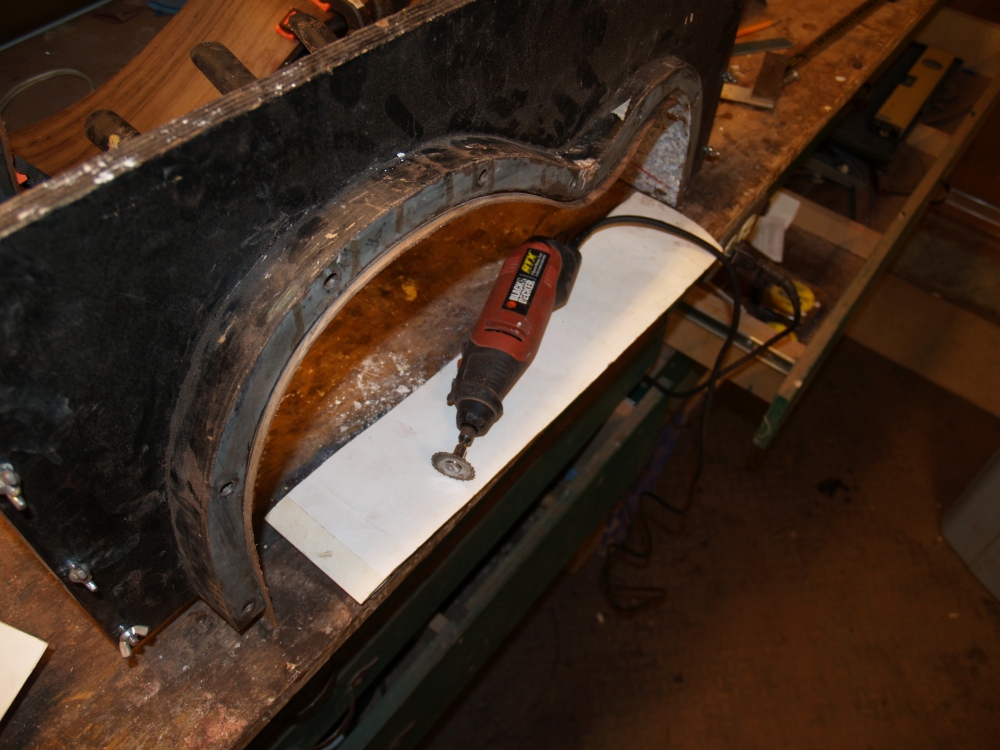
(3) 12-Dec-06
The side pieces get the same treatment as the back pieces.
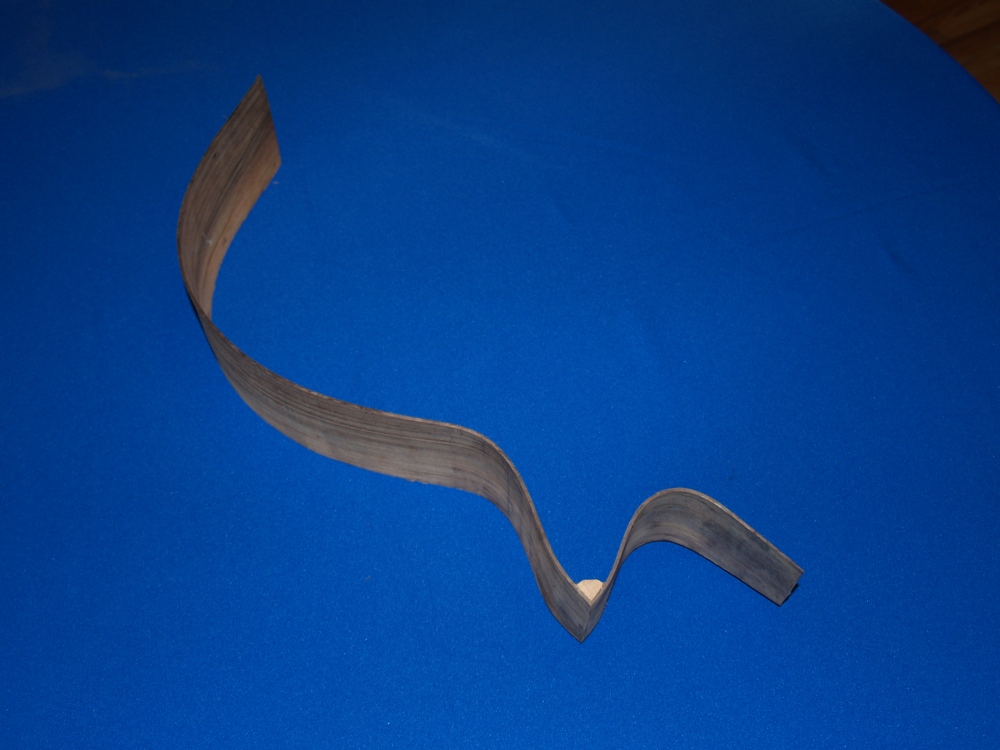
These
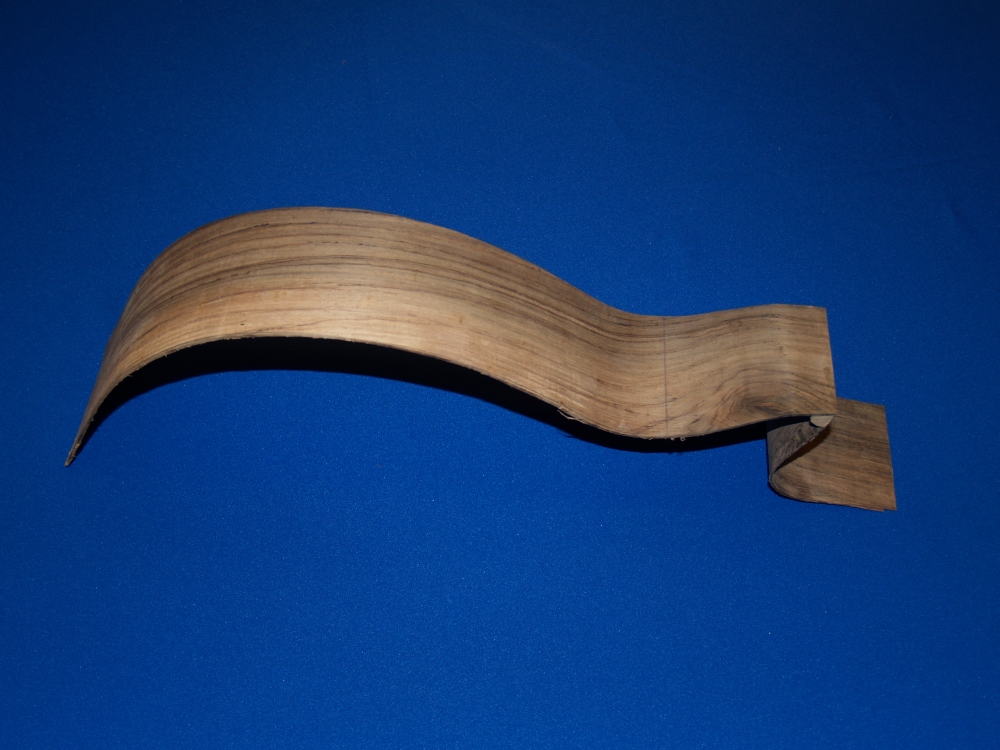
pieces are dimensioned to about 90 mils. The sides need to be
thin enough that they can easily be bent. |
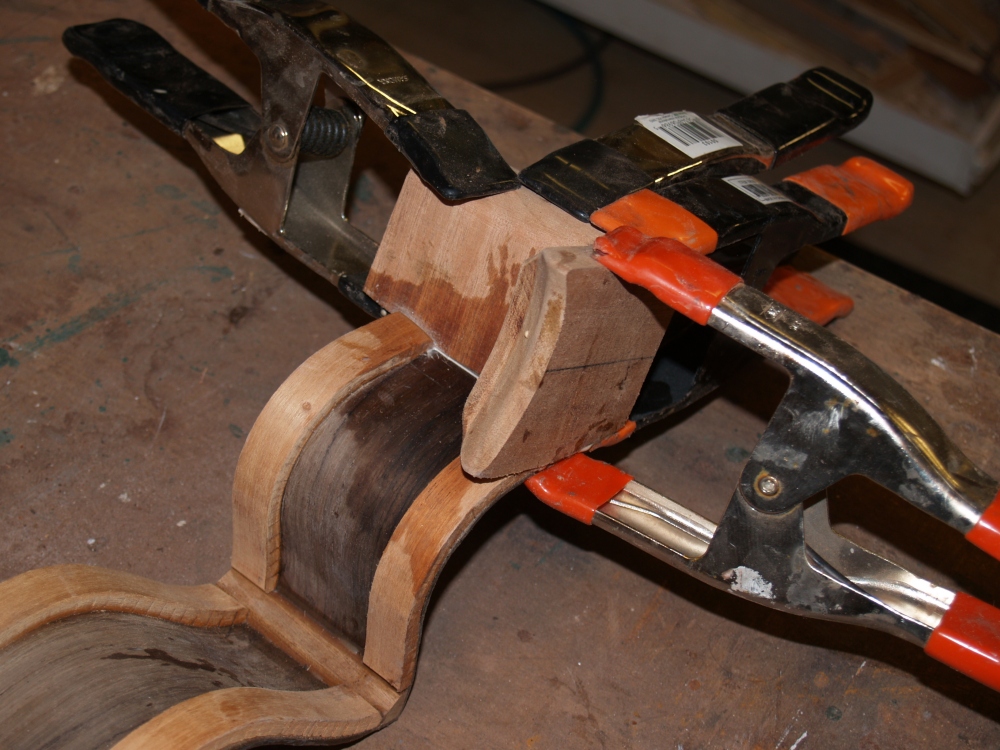
 |
(4) 12-Dec-06
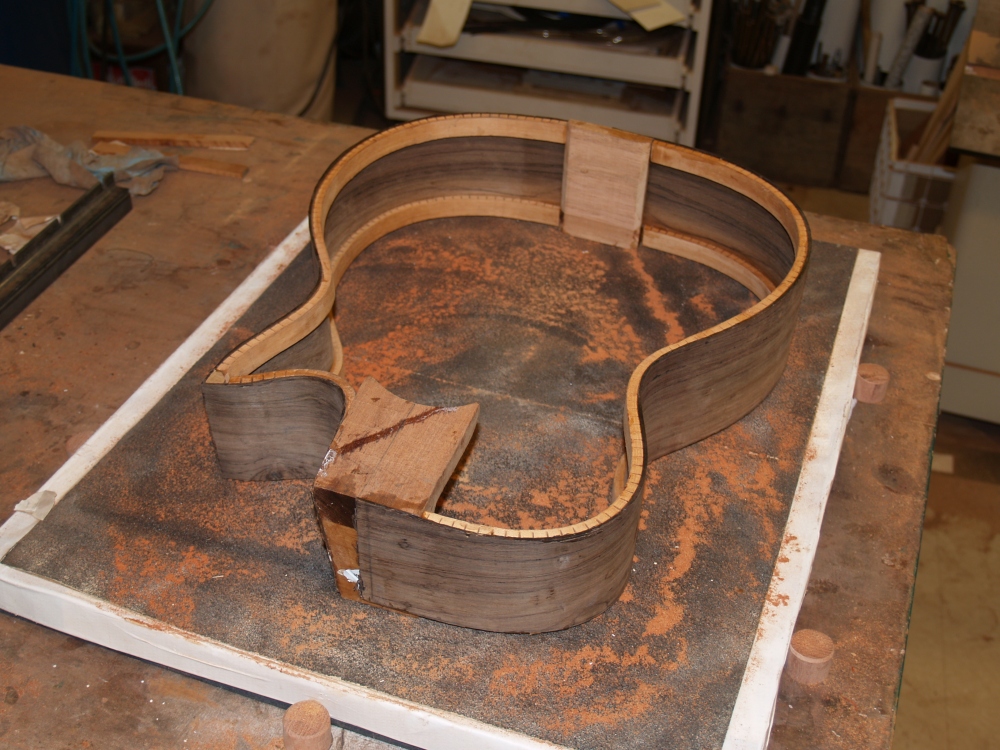
A picture of the sides and back before they are joined together. |
 |
(5) 12-Dec-06
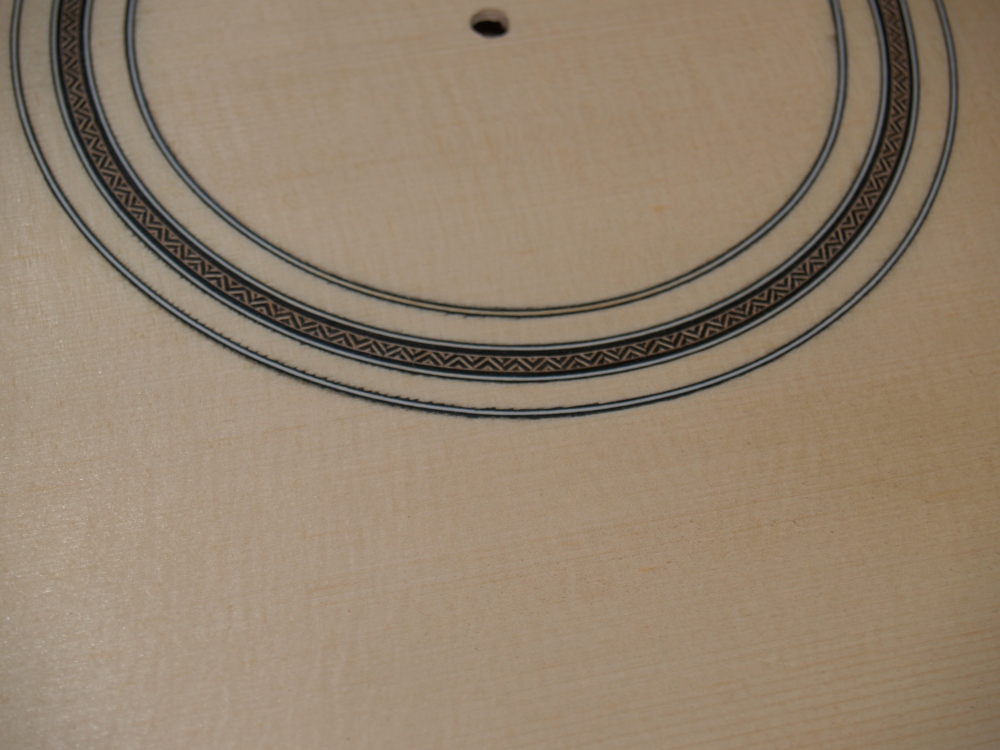
Joining the back pieces together. This device holds the
pieces
flat while they are squeezed together. The set of double
wedges
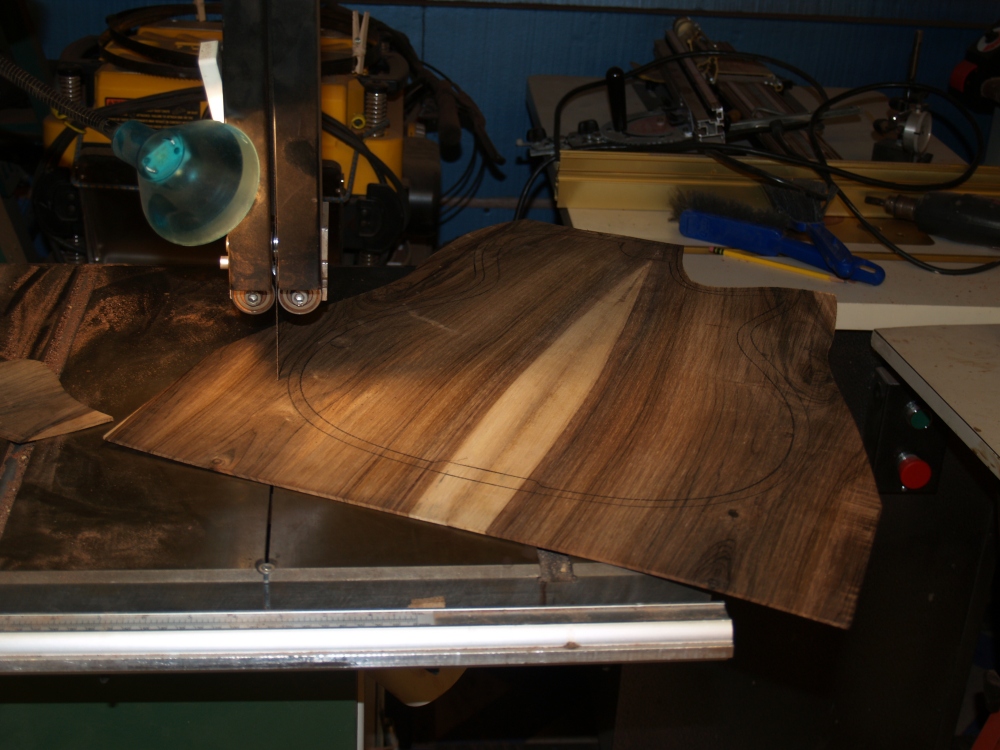
on the left are used to push the pieces together. Simple yet
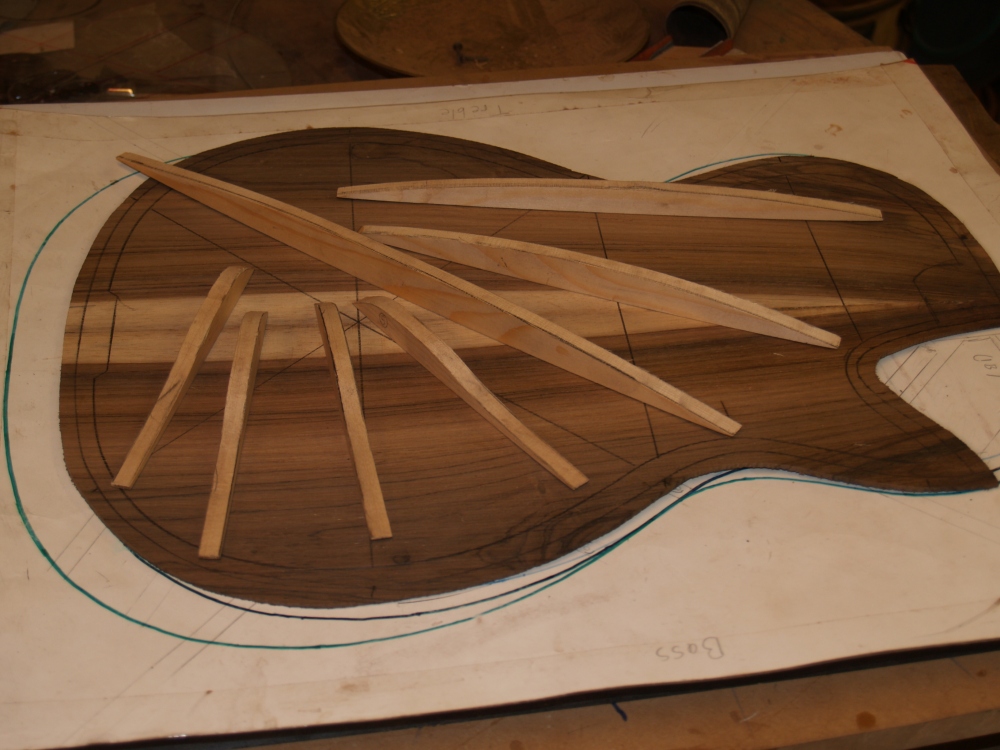
effective. |
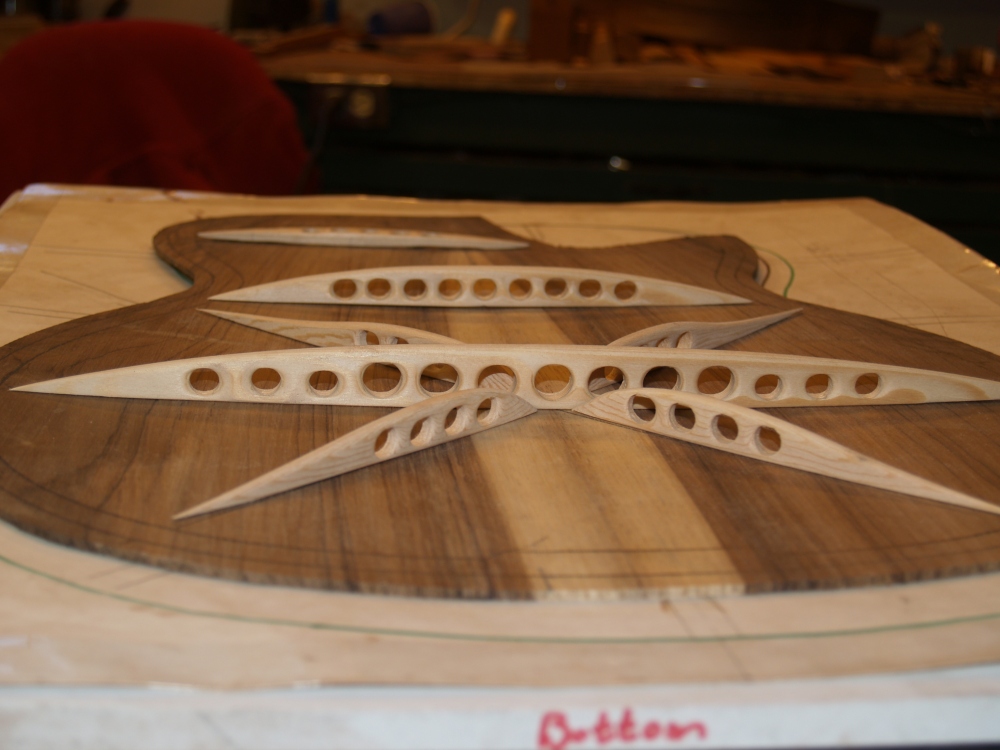
 |
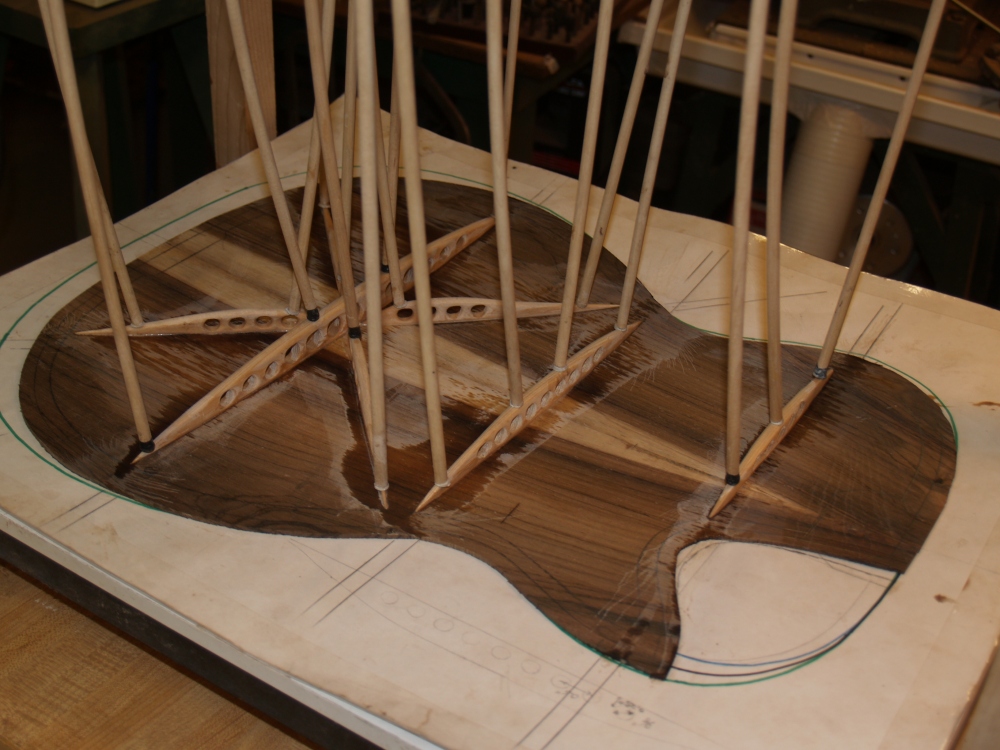
(6) 12-Dec-06
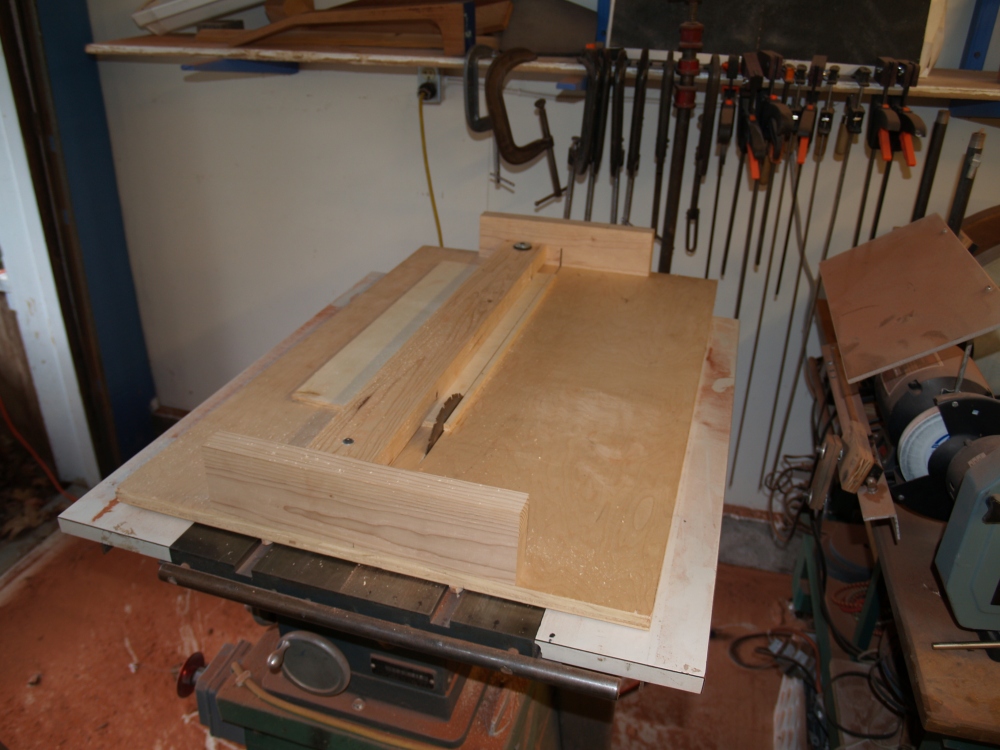
The top pieces in the table saw sled having the edges trimmed.
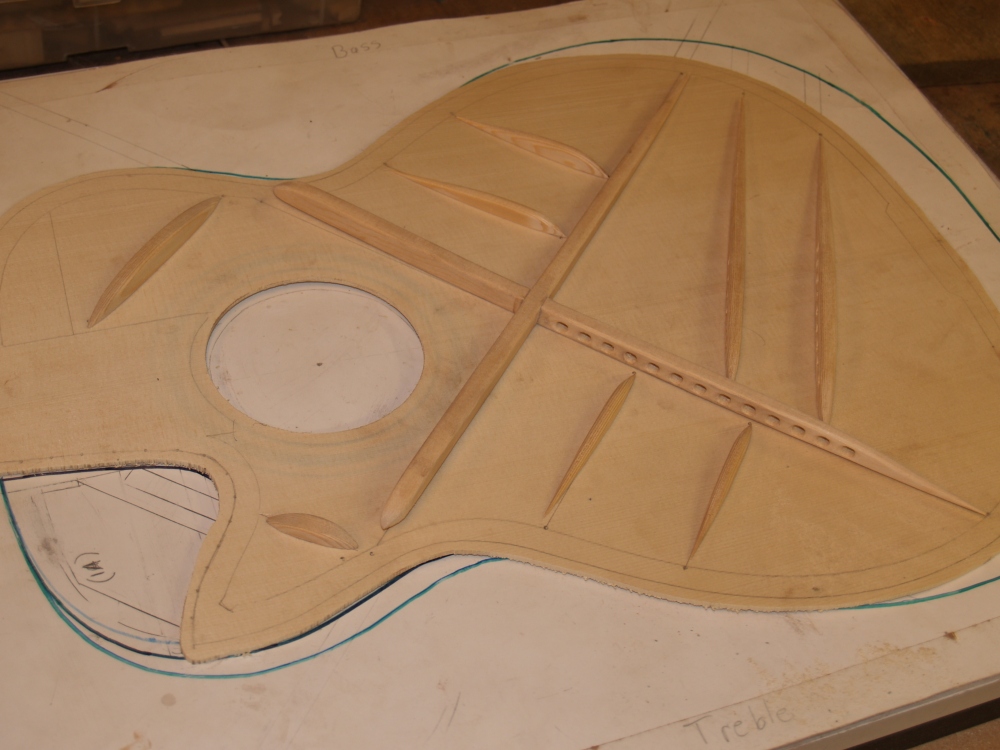
After the pieces are cut to match the grain, the edges are
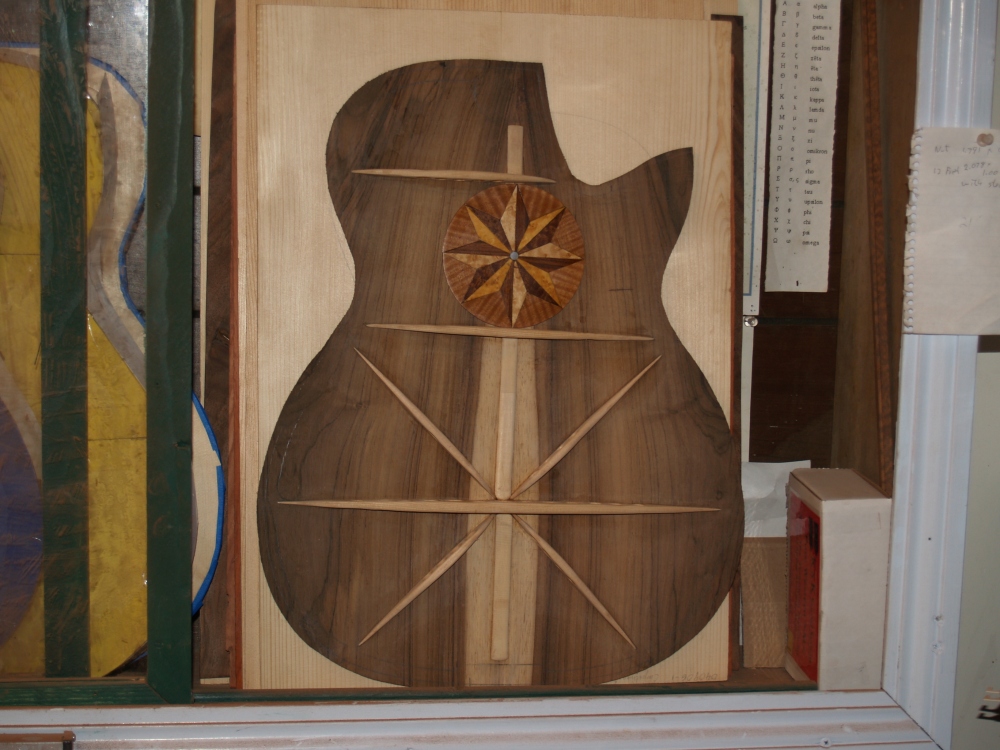
plained flat so that the joined edges are undetectable, or so
we
hope. |
 |
(7) 12-Dec-06
The jointing fixture doing its thing to the top pieces. |
 |
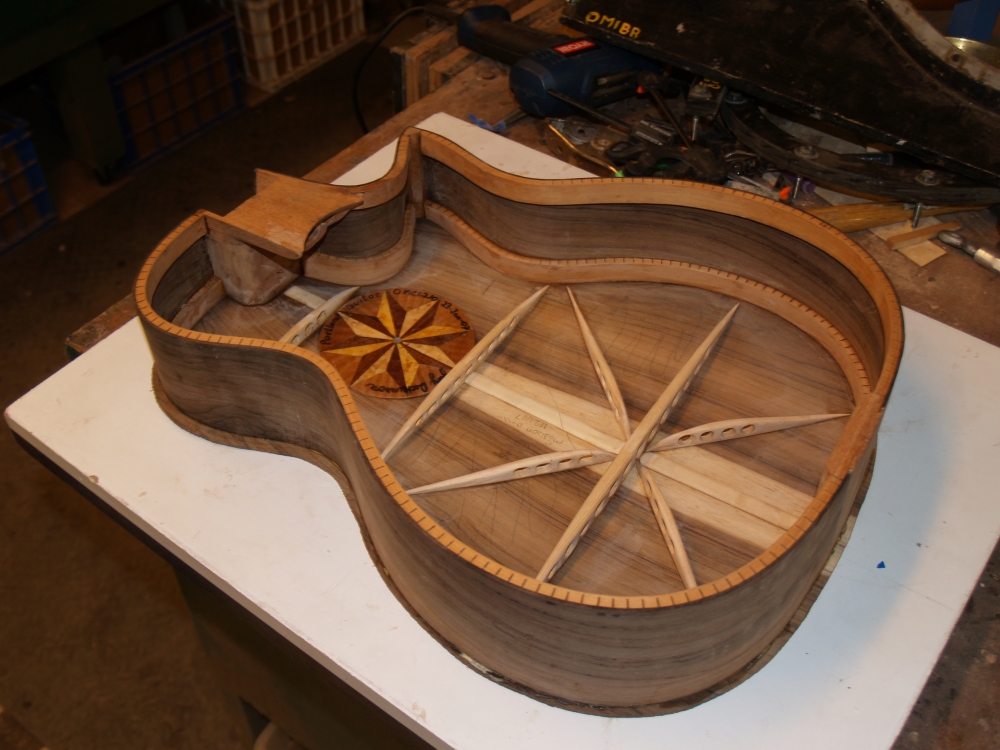
(8) 12-Dec-06
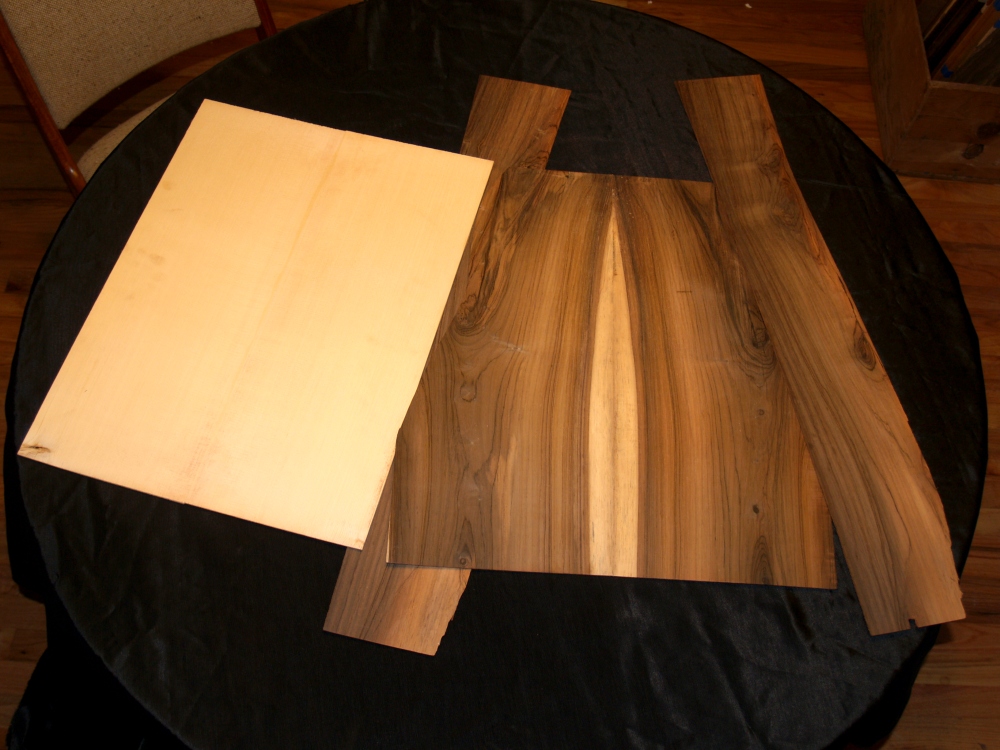
And ta da, a nice set of top, sides and back. |
 |
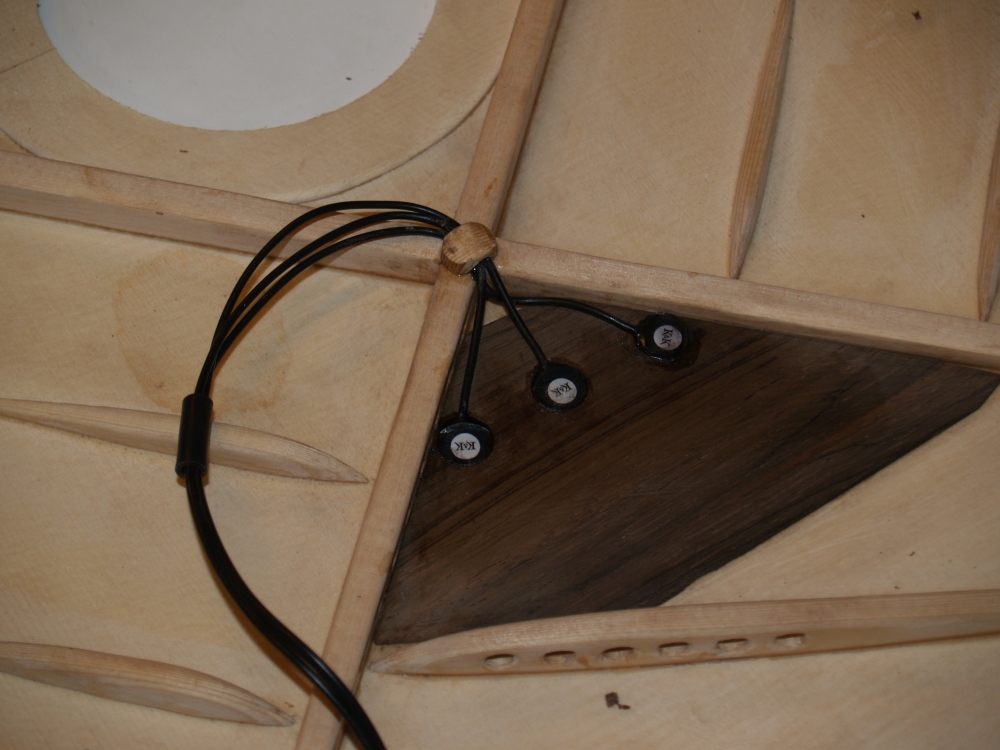
(9) 29-Dec-06
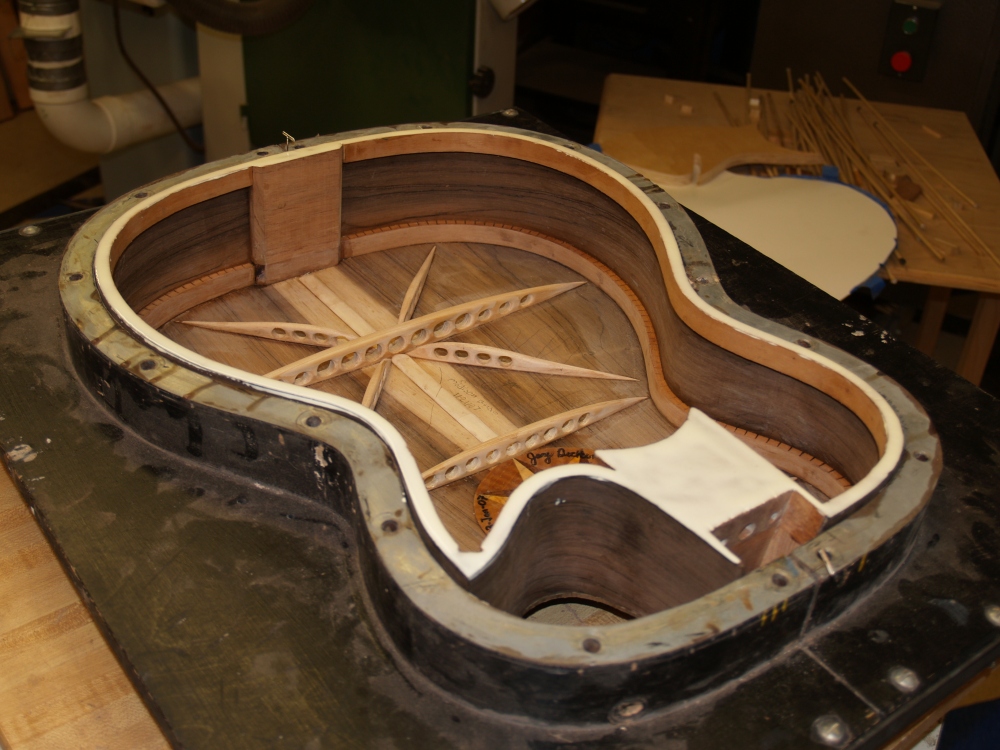
Now I start working on the sides. Here I have one of the
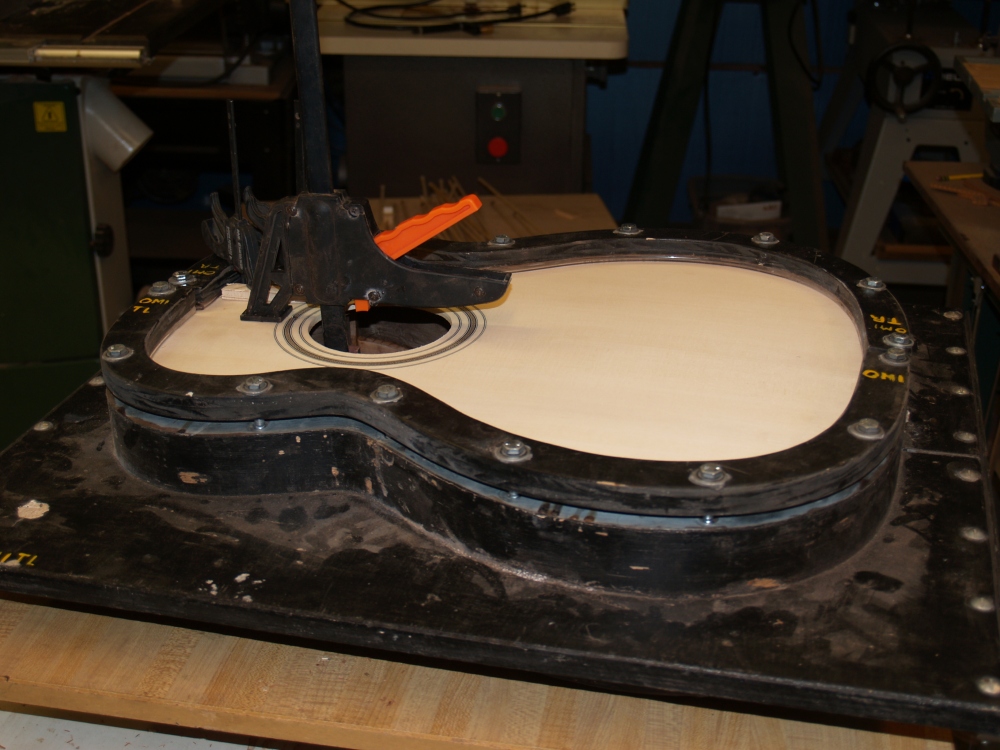
sides in
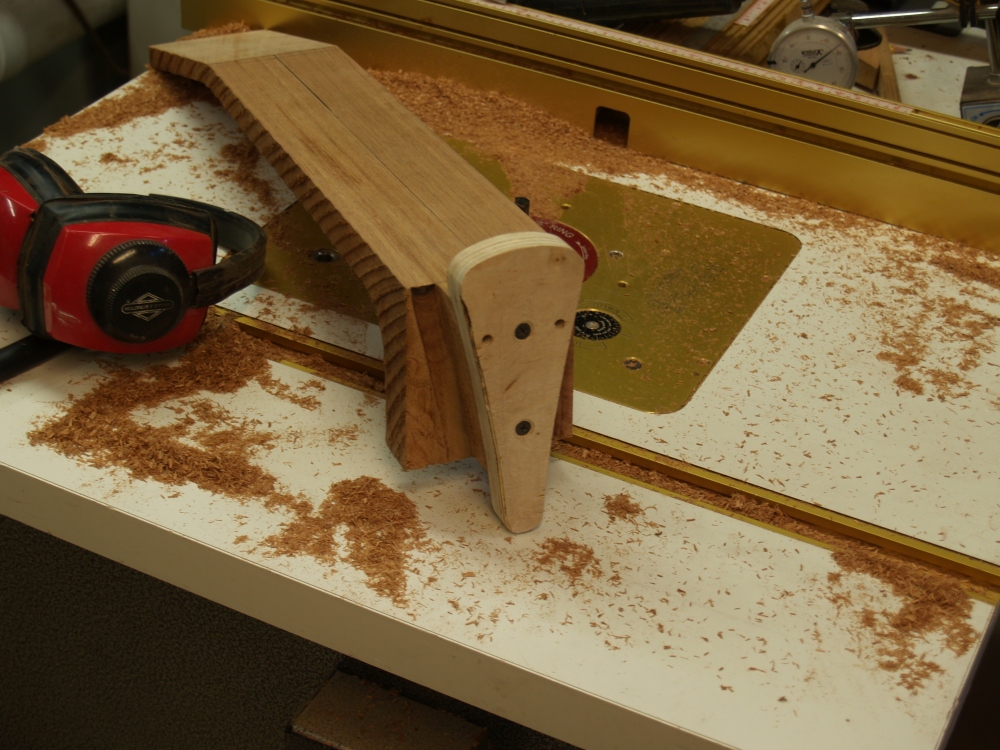
the Universal Bendalator. The piece of wood, dimensioned to
90
mils is placed between two sheets of aluminum flashing and is pressed
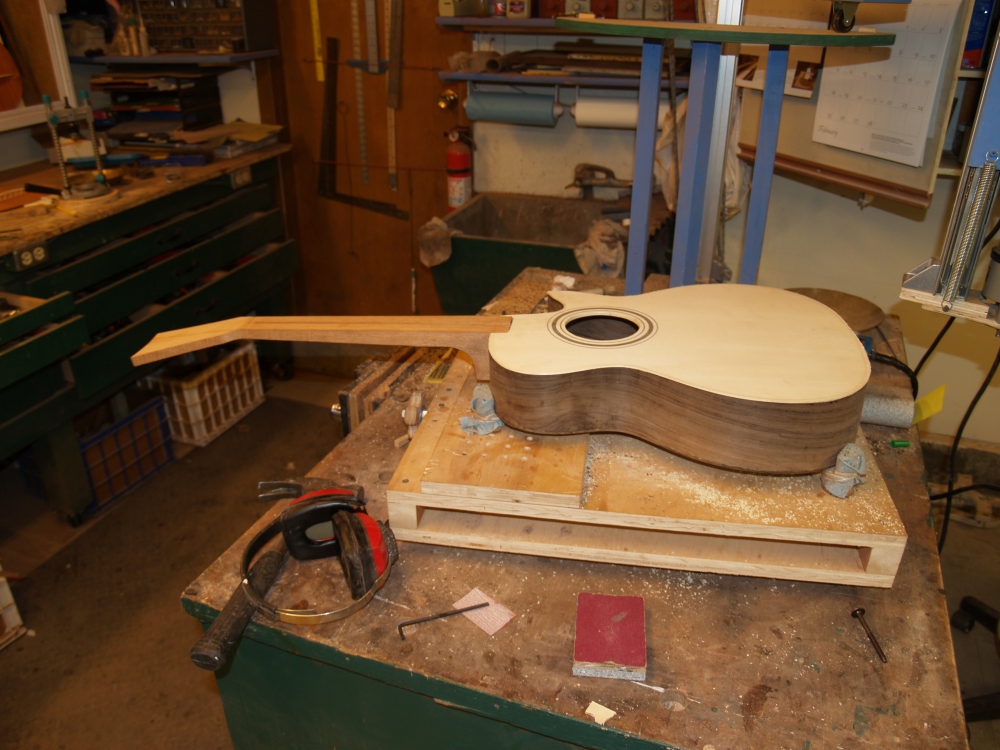
against a heating blanket with another sheet of flashing on the back.
All of the pieces are held together with clothes pins that
allow
everything to slip and slide as the wood is bent. |
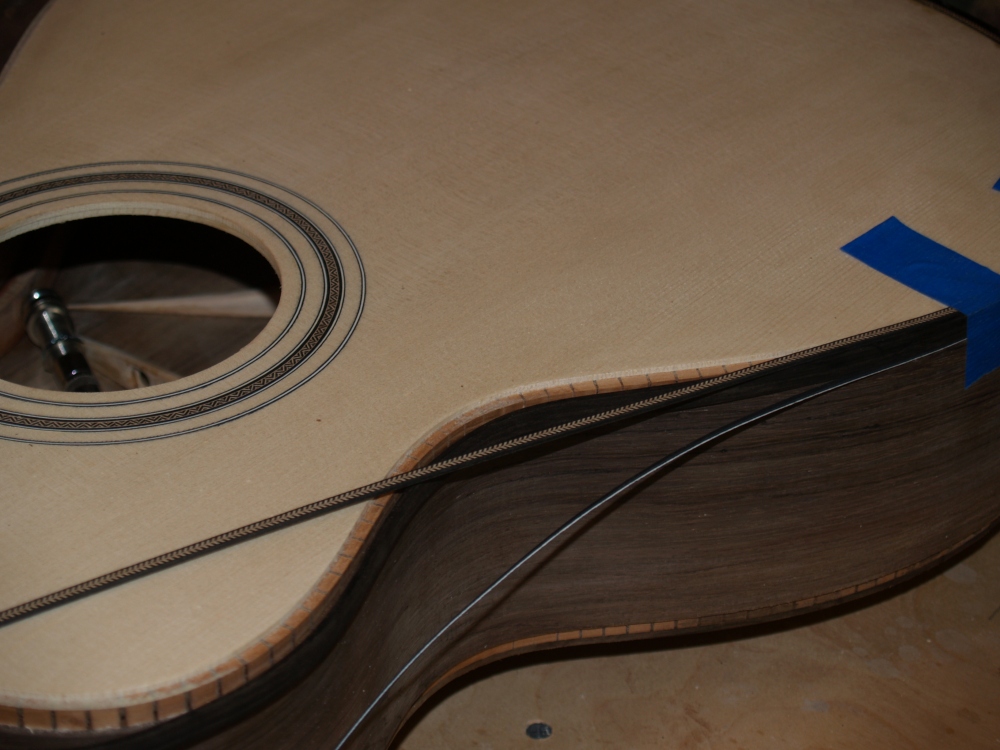
 |
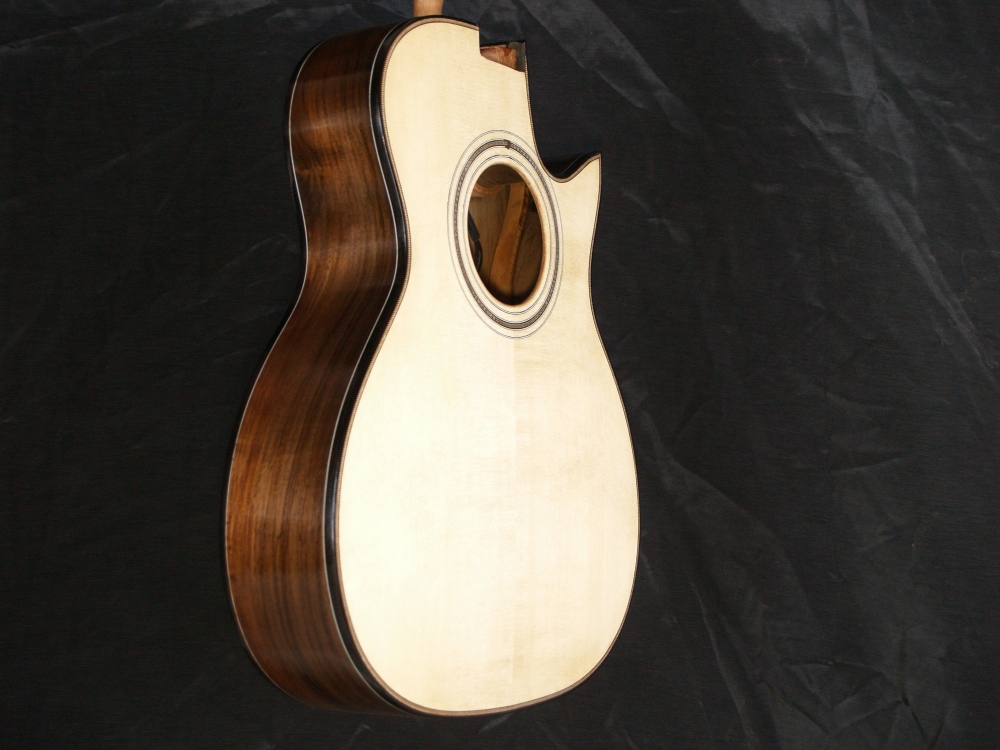
(10) 29-Dec-06
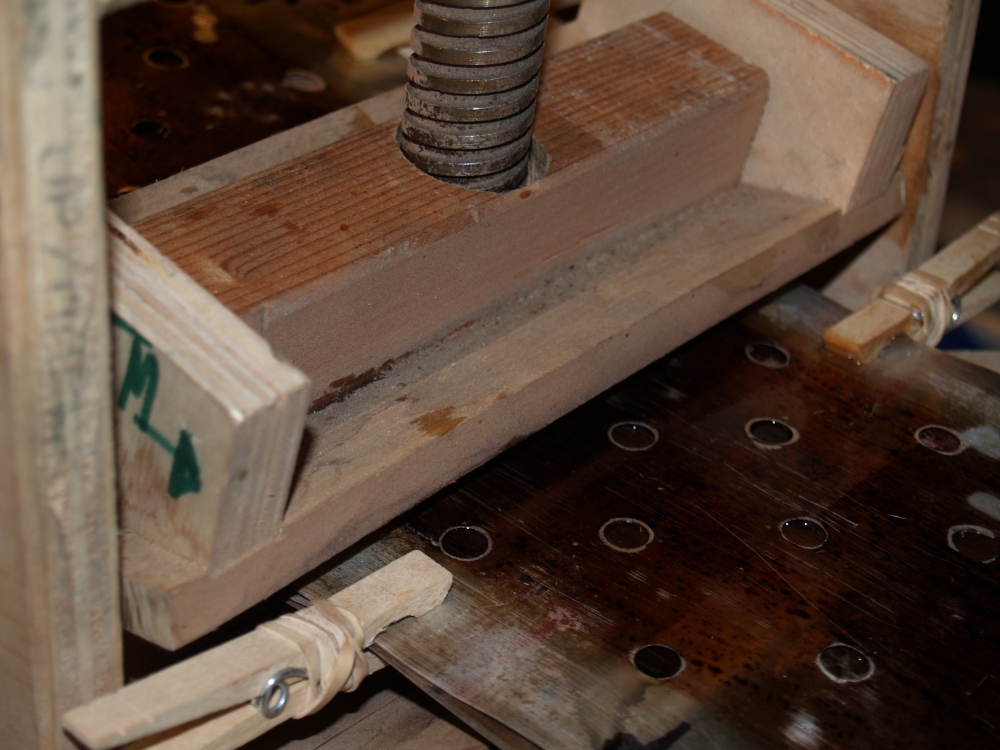
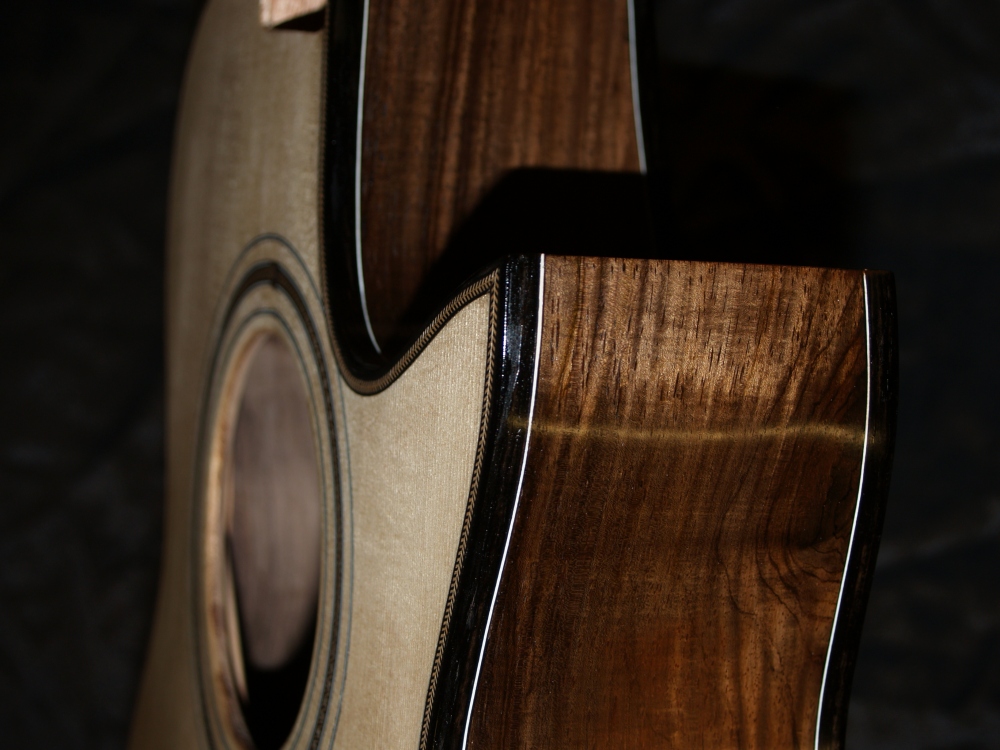
The top piece of flashing has a matrix of holes that allows water to be
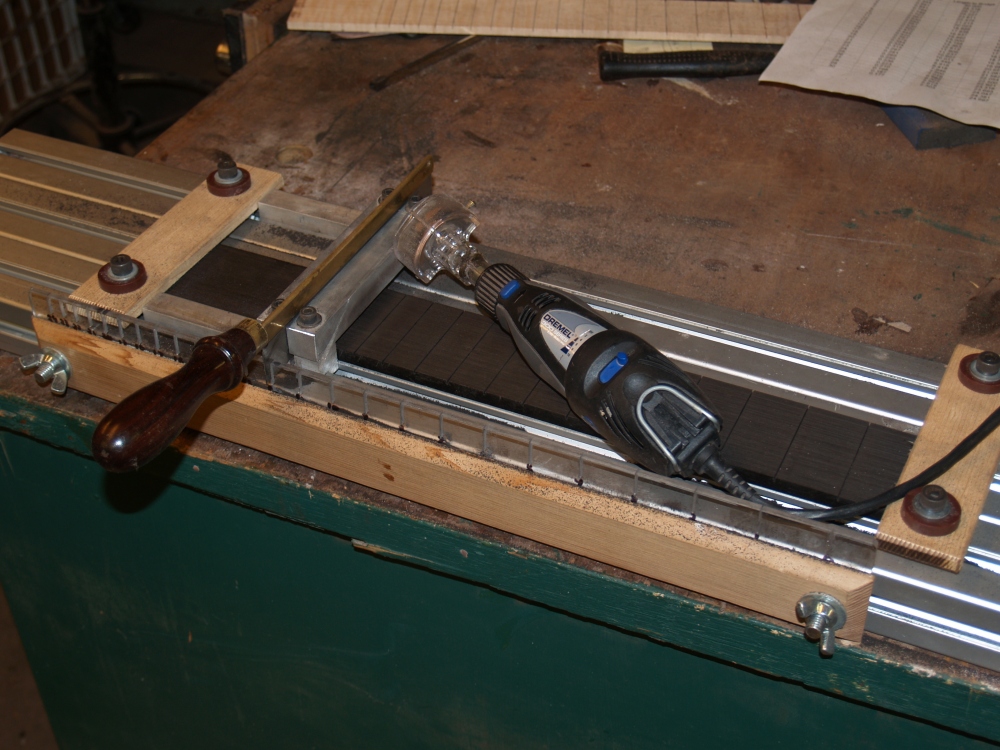
squirted onto it as it is being bent. Wood is made up of a
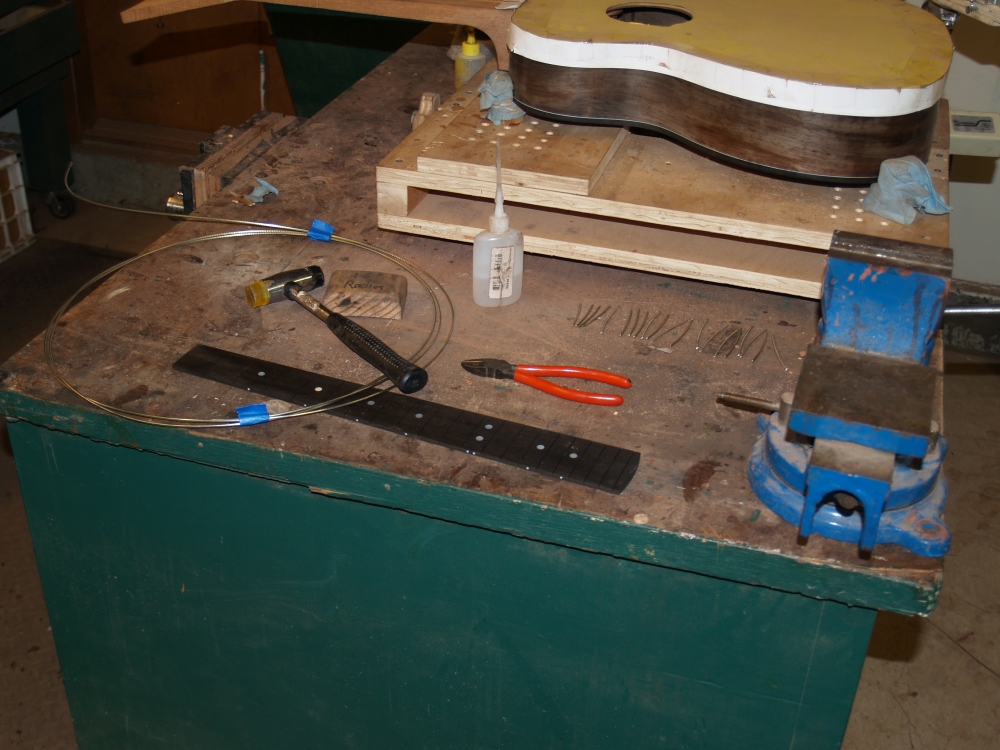
matrix
of long cells that are essentially glued together. The
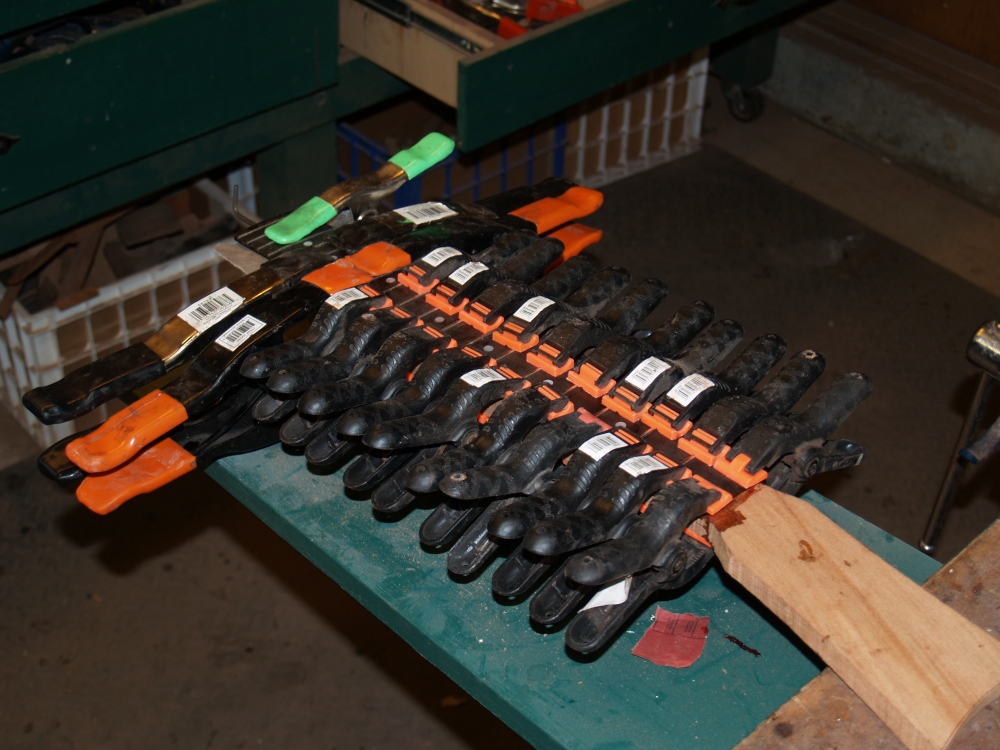
cement that holds the wood cells together is the lignin. It is
concentrated toward the outside of the cells in the cell walls and
between the cells. As the lingnin is heated it gets soft like a
thermoplastic. In the bending process the water helps to
transfer
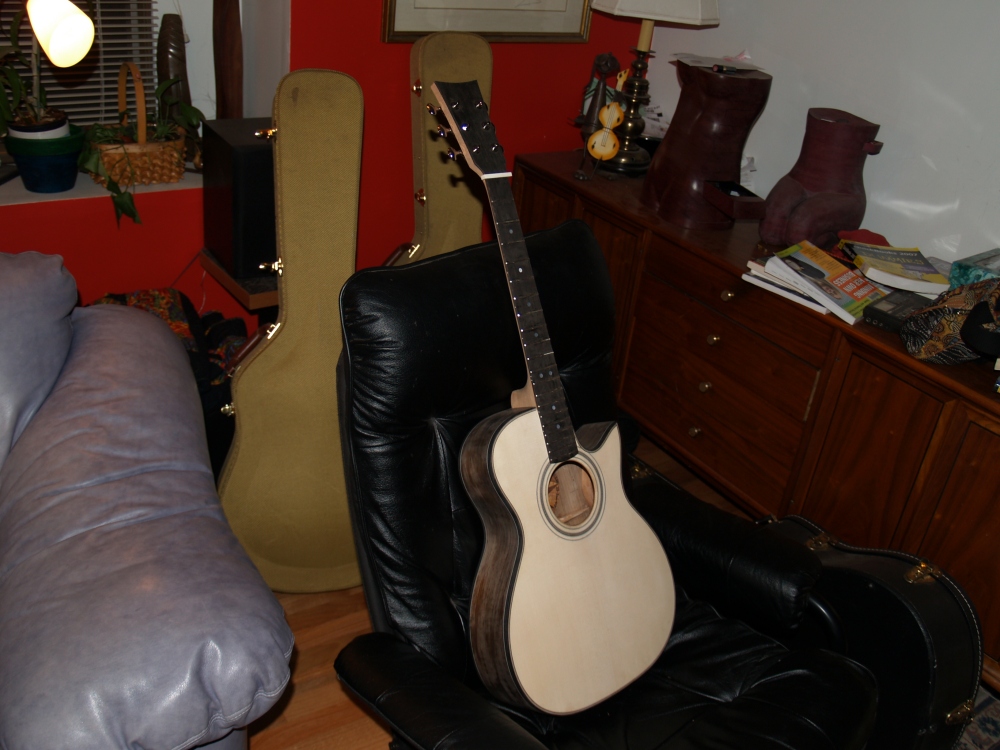
the heat evenly and efficiently. It is the heat that makes
wood
pliable, not the water. |
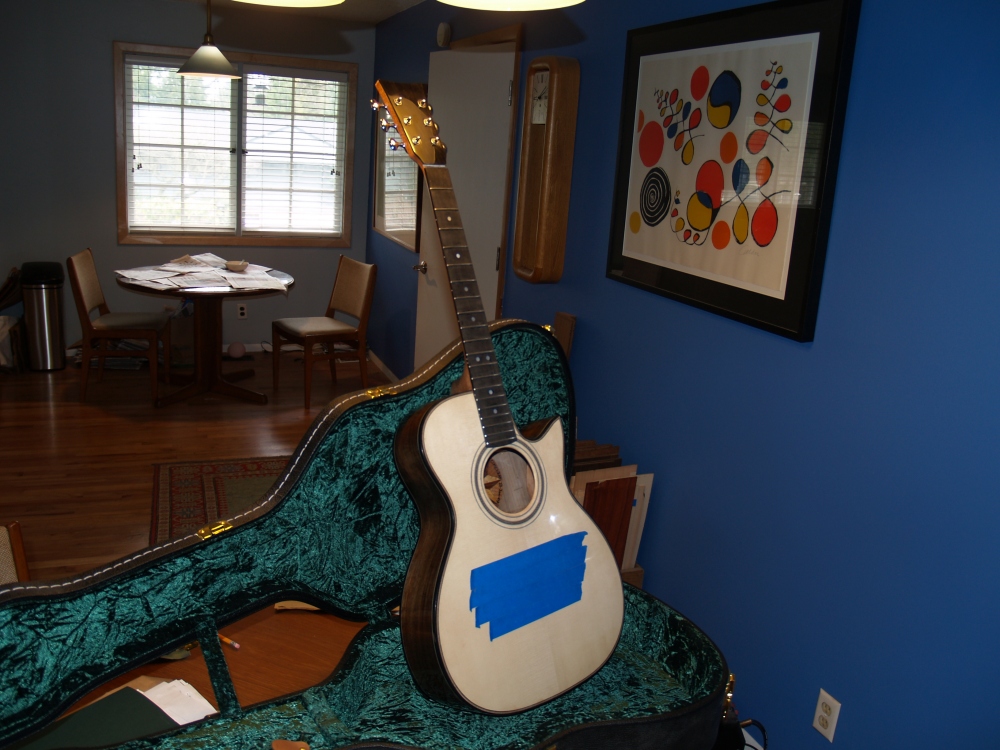
 |
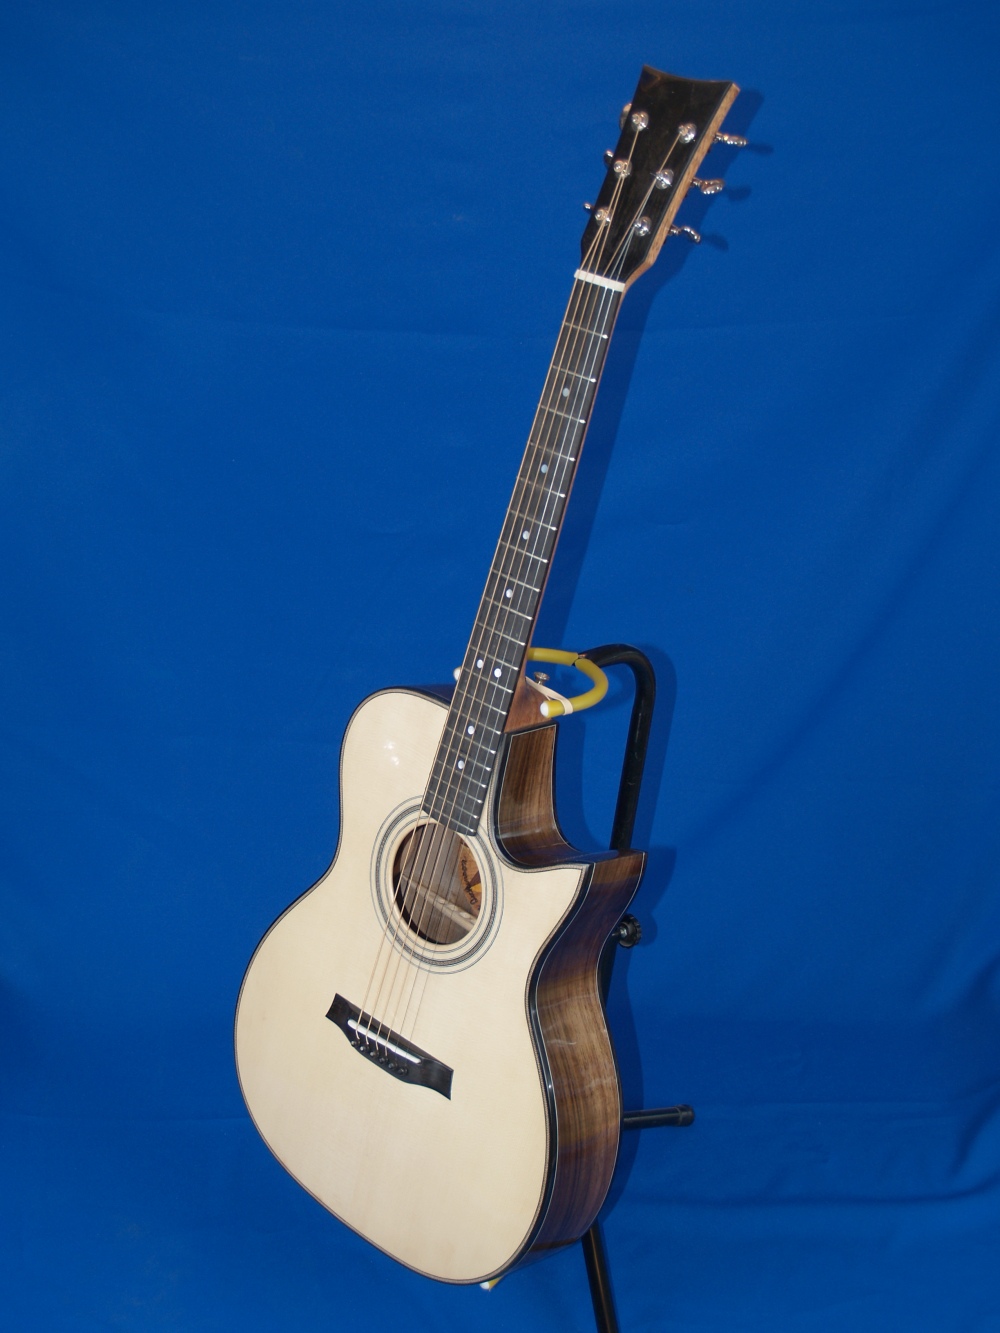
(11) 29-Dec-06
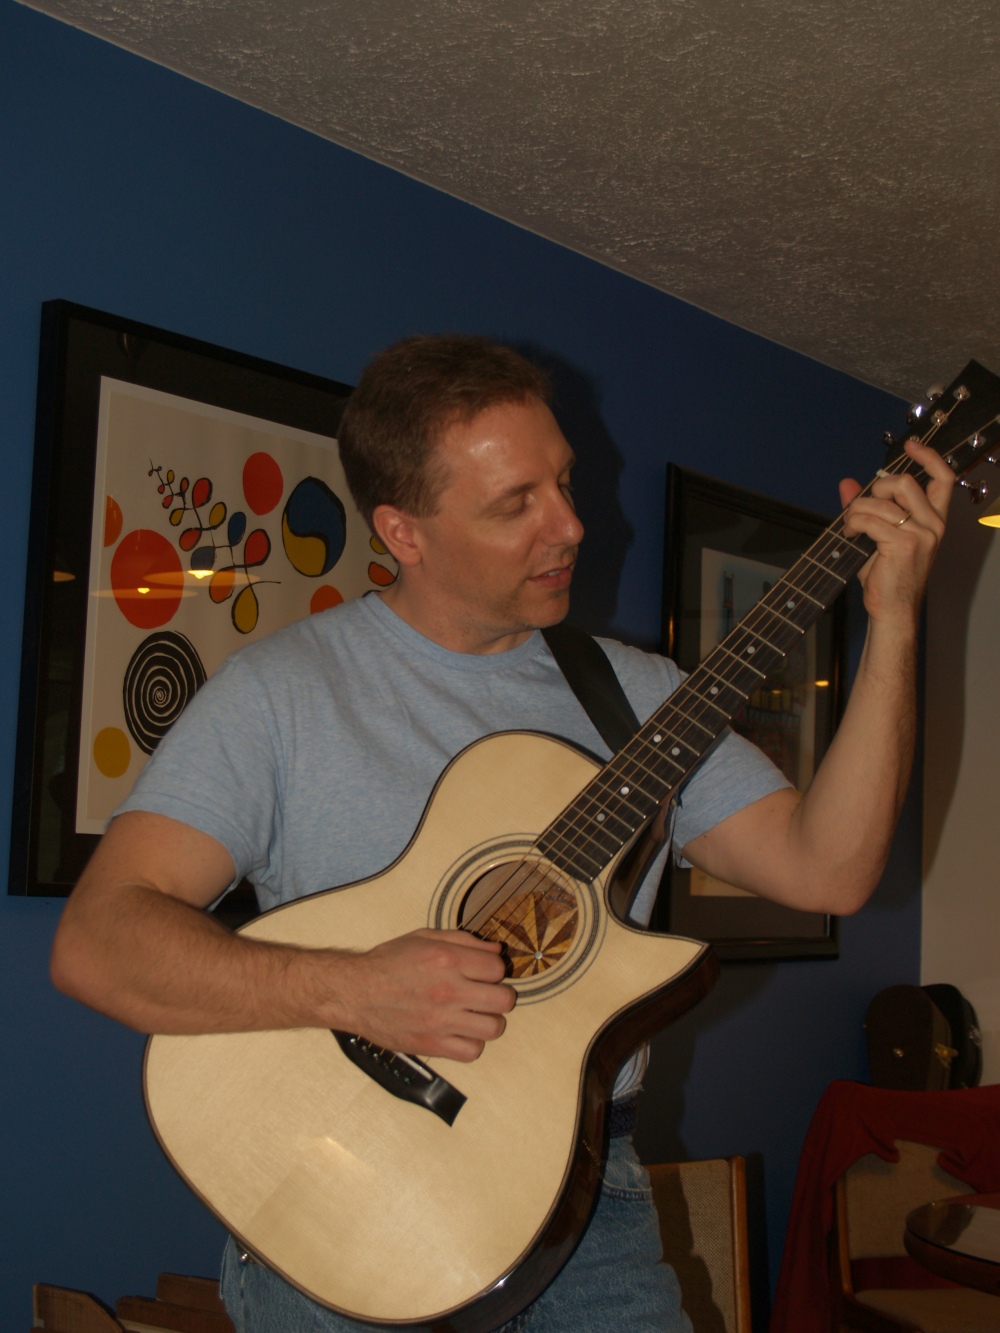
The side bending takes place in a three step process. First
the
waist is pressed down in a vice like operation. Next the
upper
bout is formed by pulling a roller over the wood and finally the lower
bout is formed in the same way as the upper bout. |
 |
(12) 29-Dec-06
Once the wood has cooled down it is placed into a form where it will
hold its shape and is safe. |
 |
(13) 29-Dec-06
This guitar is a cutaway so the right side gets cut in two, (make sure
that cut is in the right place,) and the cutaway section gets pressed
into its own special form. |
 |
(14) 29-Dec-06
Here I am pressing the cutaway section. |
 |
(15) 29-Dec-06
When the sides are cut before they are bent I over size them to allow a
bit of wiggle room. Once they are in their form I trim off
much
of the excess with a very nasty circular saw blade attached to my high
speed grinder. |
 |
(16) 29-Dec-06
Here we have the two pieces of the cutaway side being glued together in
their form. |
 |
(17) 29-Dec-06
And in the end we have a very funny shaped piece of wood. |
 |
(18) 29-Dec-06
The right side of the cutaway guitar. |
 |
(19) 9-Jan-2007
Here we see the heel block and the right side of the guitar.
There are several compound curves on these pieces that must
be
matched up with some precision. |
 |
(20) 9-Jan-2007
The heel block and the right side being glued together. Big
Clamps everywhere. |
 |
(21) 9-Jan-2007
The right and left sides now go into the form and the two sides are
glued together. |
 |
(22) 9-Jan-2007
After the sides are glued together the top and bottom edges are sanded
to the correct profile. To sand the edges of the sides I use
sanding plates that I have formed into the shape that the top
and
back will ultimately take. With a little bit of elbow grease
and
care the edges are sanded to the correct width and the kerfing shelf
has the correct angle all the way around. |
 |
(23) 9-Jan-2007
Happy customer. |
 |
(24) 9-Jan-2007
Now I am setting the rosette. I first route out the channel
that
the purfling will sit in. I use this circle cutting routing
machine to make the cuts accurate and precise. |
 |
(25) 9-Jan-2007
When all of the pieces are glued in and sanded down we have a beautiful
rosette. The final steps will be to dimension the top to
about 90
mils and then cut out the hole. |
 |
(26) 16-Jan-2007
This guitar will have a user adjustable neck. The heel block
must
be routed out so that it accepts the neck into a channel where all of
the adjustment hardware is located. This is a precision cut,
so I
have built this routing jig that helps to eliminate as much variability
as possible. |
 |
(27) 16-Jan-2007
Here we see the results. |
 |
(28) 16-Jan-2007
Now I am trimming off the excess material from the back of the guitar.
I draw lots of lines and check my measurements way
more
than twice. I carefully save the mill ends for use elsewhere in the
guitar. |
 |
(29) 16-Jan-2007
I have roughed out the Sitka Spruce braces for the back and
artistically laid them out. |
 |
(30) 16-Jan-2007
Each of the braces is a little sculpture in itself. I have
developed what I call 'organic aircraft braces' for my design.
The objective is to retain the rigidity of the brace while
reducing the mass. To do this I maximize the moment of
inertia to
mass ratio by removing material from the middle of the braces.
The lighter the top and back, the more responsive
they will
be. |
 |
(31) 16-Jan-2007
All of the braces sculpted and laid out waiting to be glued on to the
back. |
 |
(32) 16-Jan-2007
To glue the braces onto the back I use a Go-Box. This is a
simple
box with lots of access that allows me to wedge sticks into place and
push down on the braces in all of the right places. |
 |
(33) 16-Jan-2007
Here is the result. A few more bits and pieces to be glued on
and the back is ready to be glued to the sides. |
 |
(34) 16-Jan-2007
The same process is used for the top braces. I am using a
traditional X-Brace pattern with a few modifications. This is
the
most important piece of wood in the guitar. A good guitar
finds
the ideal compromise between strength, stiffness, and mass. |
 |
(35) 16-Jan-2007
A closeup of the Go-Box at work. |
 |
(36) 16-Jan-2007
The top is now almost finished, glue in the bridge plate and clean it
up and it is ready. |
 |
(37) 1-Feb-2007
I glued in the contra-rosette and the back is finished and ready to be
signed by the family.
|
 |
(38) 1-Feb-2007
Once again back to the router table to route a channel for the end
graft.
|
 |
(39) 1-Feb-2007
The family putting their hand prints and signatures on the back.
|
 |
(40) 1-Feb-2007
The back being glued onto the sides in the guitar form.
|
 |
(41) 1-Feb-2007
Another view of the back being glued on to the sides. This
form
is a multipurpose device I have developed. In this case there
is a
flange that presses down on the outside edge of the back to insure
there is consistent contact between the side and the back.
The
bolts allow me to control how much pressure I apply. An
additional advantage of this system is that I can attach the top and
back to the sides without gluing them on so I can get an idea of how it
will sound. This lets me easily make adjustments to
the
braces and test the results before every thing is glued up.
Once
the top and back are glued on the only way to make adjustments is
through the sound hole. Small hands and arms are an advantage
at
that stage.
|
 |
(42) 1-Feb-2007
The back is glued on. |
 |
(43) 1-Feb-2007
The overhang is now trimmed off to be flush with the sides.
|
 |
(44) 1-Feb-2007
This guitar has K&K transducers mounted on the bridge plate.
I have included a bracket to provide strain relief
for the
cables.
|
 |
(45) 1-Feb-2007
Back into the guitar form and glue applied to the top side shelf.
|
 |
(46) 1-Feb-2007
The top being glued on to the sides.
|
 |
(47) 1-Feb-2007
Now on to the neck. After selecting a neck blank that I have
previously made I route off the heal block so that it will
fit
into heal block slot. I will also drill the holes for the
adjustment hardware.
|
 |
(48) 1-Feb-2007
The router table gets another workout making the slot for the dual
action truss rod.
|
 |
(49) 1-Feb-2007
Now the bandsaw is used to trim off everything that doesn't look like a
guitar neck.
|
 |
(50) 1-Feb-2007
With a little more work the neck will be ready to be finished.
|
 |
(51) 1-Feb-2007
A moment of truth... It is really starting to look like a guitar.
|
 |
(52) 24-Feb-2007
The universal bindalator is used again to route out the shelves for the binding. |
 |
(53) 24-Feb-2007
Here we see the shelves in the area of the cutaway. |
 |
(54) 24-Feb-2007
The binding , trim, and purfling is all installed in one fell swoop. |
 |
(55) 24-Feb-2007
Once the binding is installed, all of the surfaces are sanded flat and
smooth. I use a raking light to highlight any bumps. It
looks cool too. |
 |
(56) 24-Feb-2007
This is a picture of the body after the pours in the rosewood have been filled and sanded. |
 |
(57) 24-Feb-2007
A close up of the cutaway. |
 |
(58) 24-Feb-2007
Here we see the tools I use to cut the slots for the frets. The aluminum sled
is indexed to the proper position with the plastic template and the small
circular saw cuts the slots. |
 |
(59) 24-Feb-2007
And this is the collection of tools I use to install the frets. |
 |
(60) 24-Feb-2007
Because this guitar has an adjustable neck, i.e., the neck angle can be
changed on the fly, the fretboard will extend over the end of the neck
and will float freely above the soundboard on the guitar. This
means the fretboard must be reinforced. I use two carbon fiber
cantilevers to act as stiffeners. You can see that the heel block
has been routed out to allow the cantilevers to move around as the neck
is being adjusted. |
 |
(61) 24-Feb-2007
The fretboard being glued on. Lots of pressure to insure good contact. |
 |
(62) 24-Feb-2007
This part is fun. Shaping the neck is like carving a sculpture;
all I have to do is take away everything that doesn't look like a neck. |
 |
(63) 24-Feb-2007
More saw dust. |
 |
(64) 24-Feb-2007
And the headstock veneer being glued on. |
 |
(65) 24-Feb-2007
The tuning machines are installed. |
 |
(66) 24-Feb-2007
And it looks like a guitar. Sounds like one too. |
 |
(67) 15-Mar-2007
Here we see the guitar body in the paint booth getting lacquered up.
|
 |
(68) 15-Mar-2007
After the lacquer is applied the surface must be leveled and brought up
to a high polish. This is very time consuming, but when you see a
mirror finish it is very satisfying, |
 |
(69) 15-Mar-2007
Now that the finish is ready, all that is left to do is attach the bridge.
Soon, very soon. |
 |
(70) 20-Mar-2007
Finished! |
 |
(71) 20-Mar-2007
Marc and his guitar. |


