 ( 001 ) 7-March-2014
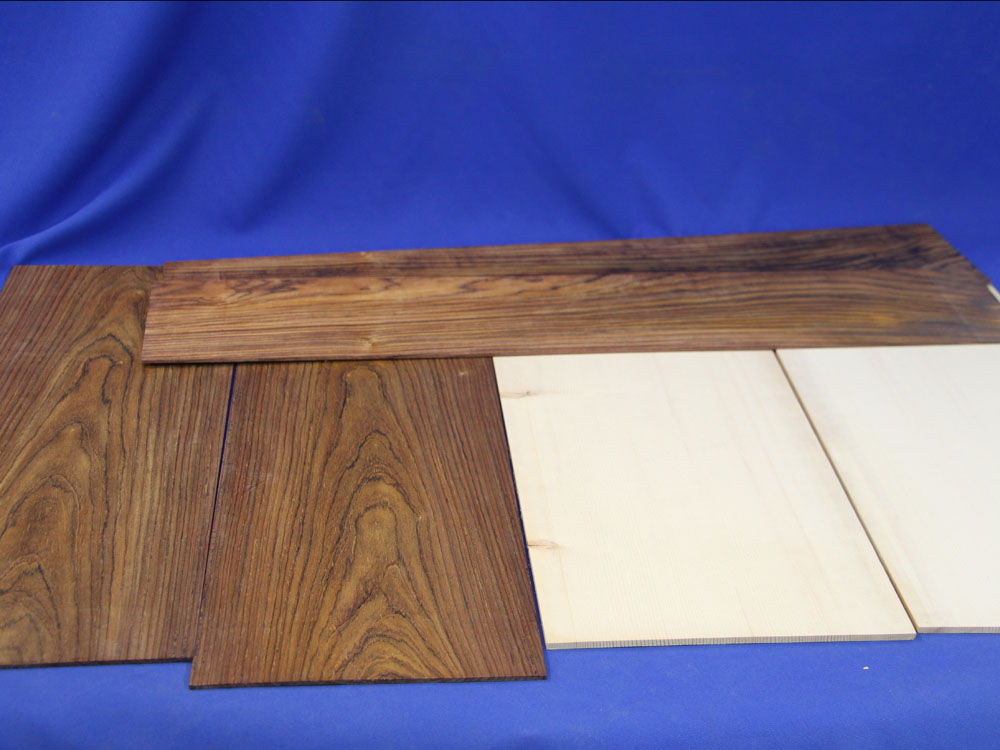
I start a new project by selecting a set of wood for the back, sides and top.
 ( 001 ) 7-March-2014
I start a new project by selecting a set of wood for the back, sides and top.
 ( 002 ) 7-March-2014
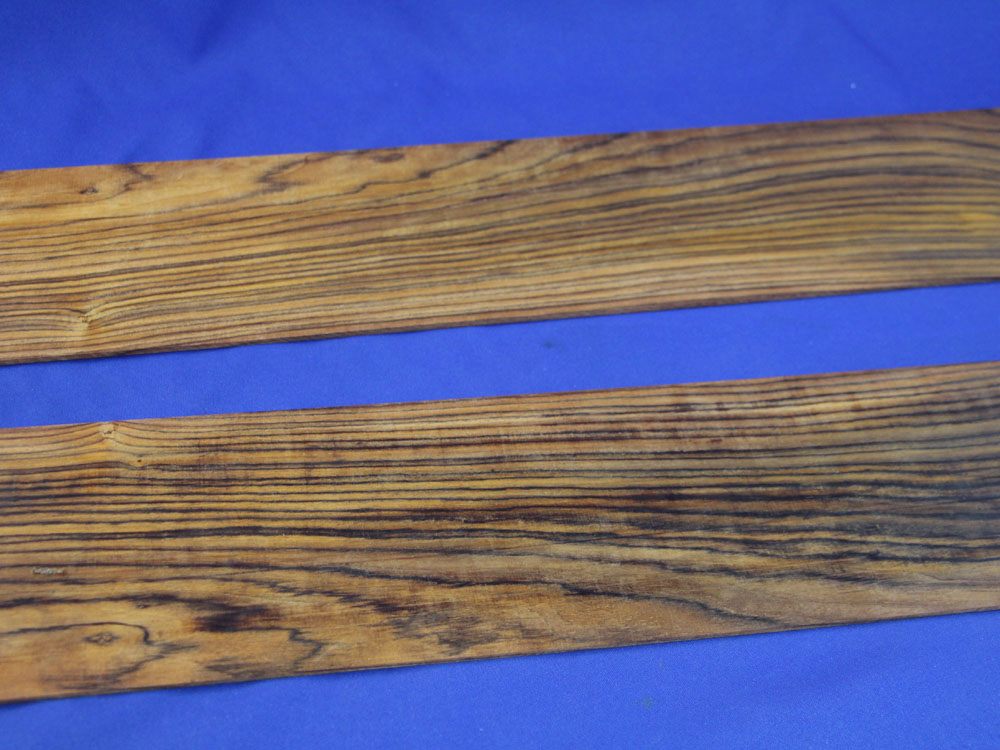
Sides
 ( 003 ) 7-March-2014
Sides
 ( 004 ) 7-March-2014
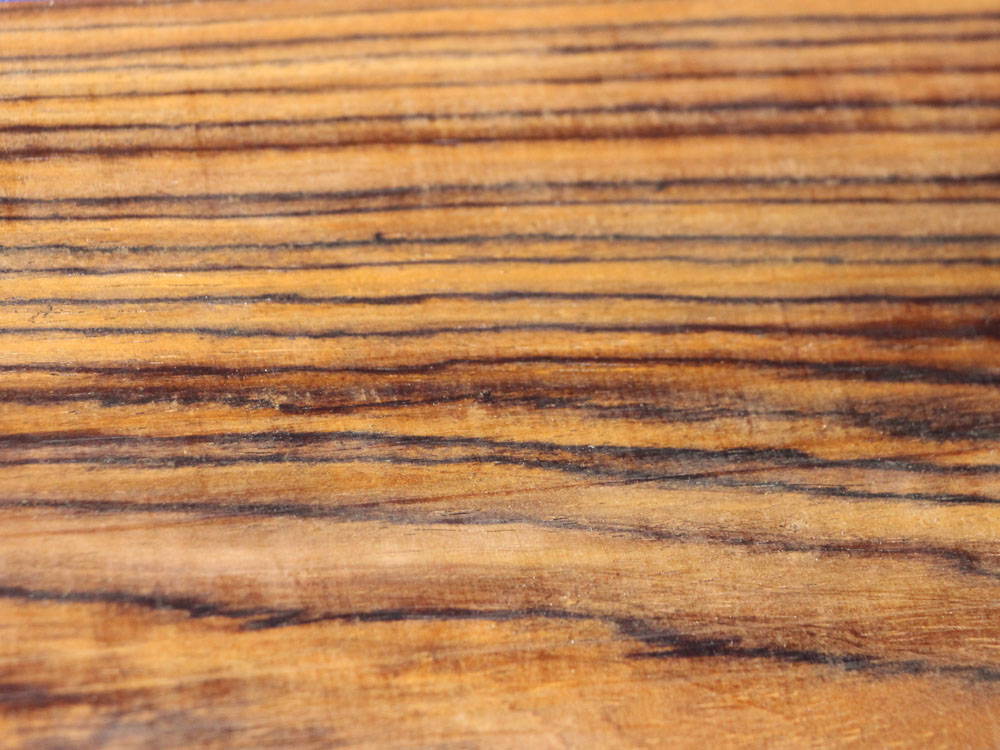
Sides
 ( 005 ) 7-March-2014
Back
 ( 006 ) 7-March-2014
Back
 ( 007 ) 7-March-2014
Back
 ( 008 ) 7-March-2014
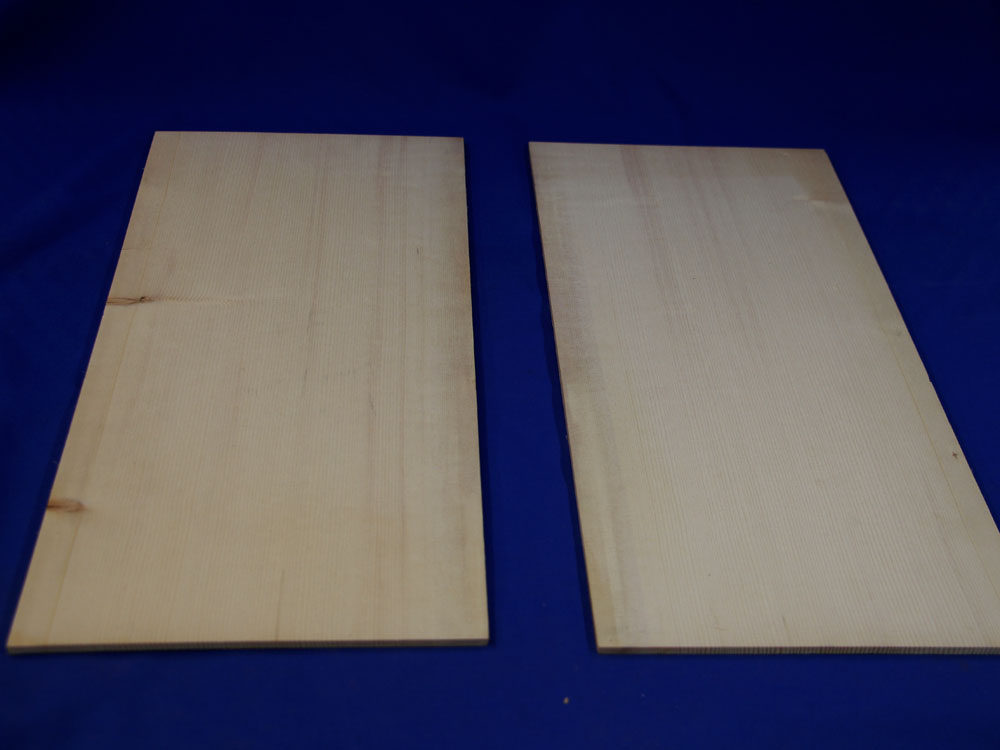
Top
 ( 009 ) 7-March-2014
Top
 ( 010 ) 7-March-2014
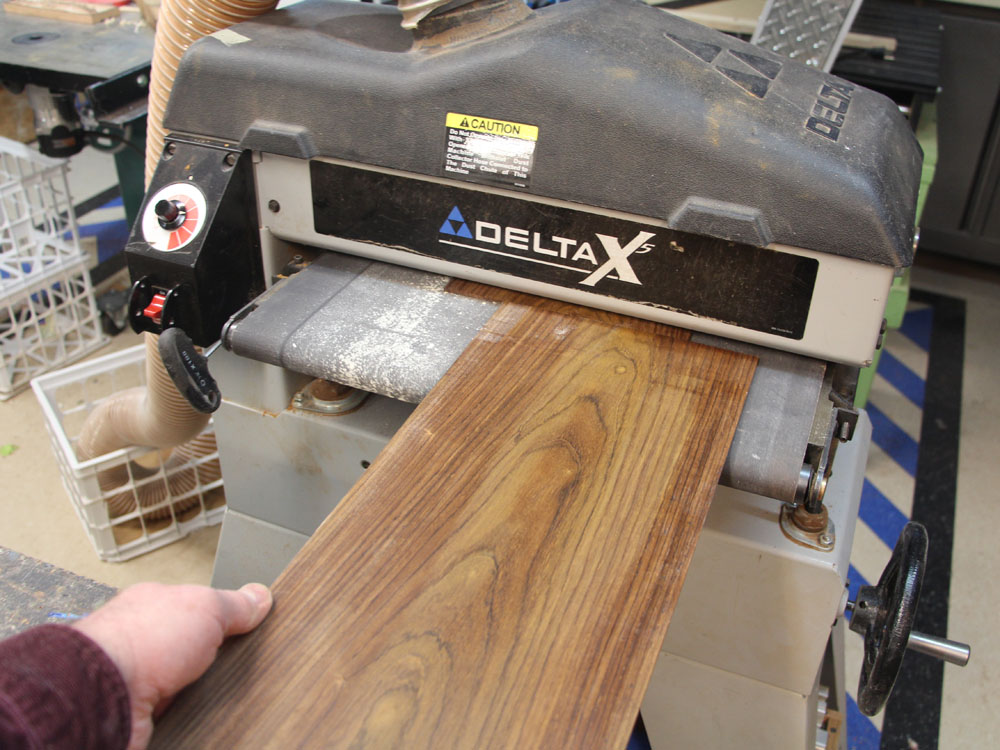
This is a picture of the drum sander with a side blank in it. This tool is used to gently and accurately sand the blanks to a prescribed thickness.
 ( 011 ) 7-March-2014
I reduce the thickness very slowly, passing the blanks through the machine several times.
 ( 012 ) 7-March-2014
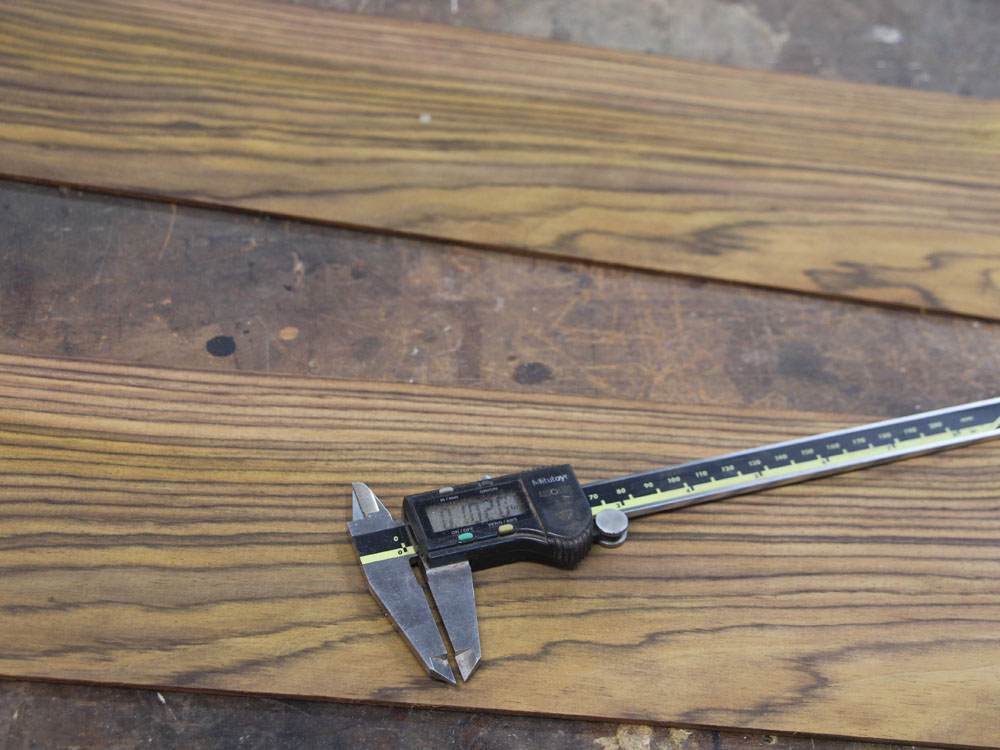
The sides end up about 100 mils thick. 1 mil = 1/1000 inch.
 ( 013 ) 7-March-2014
Here the top is getting sanded to about 150 mil to start. In the end the top will end up about 100 mils thick, but there is a lot of work to do before it gets there.
 ( 014 ) 7-March-2014
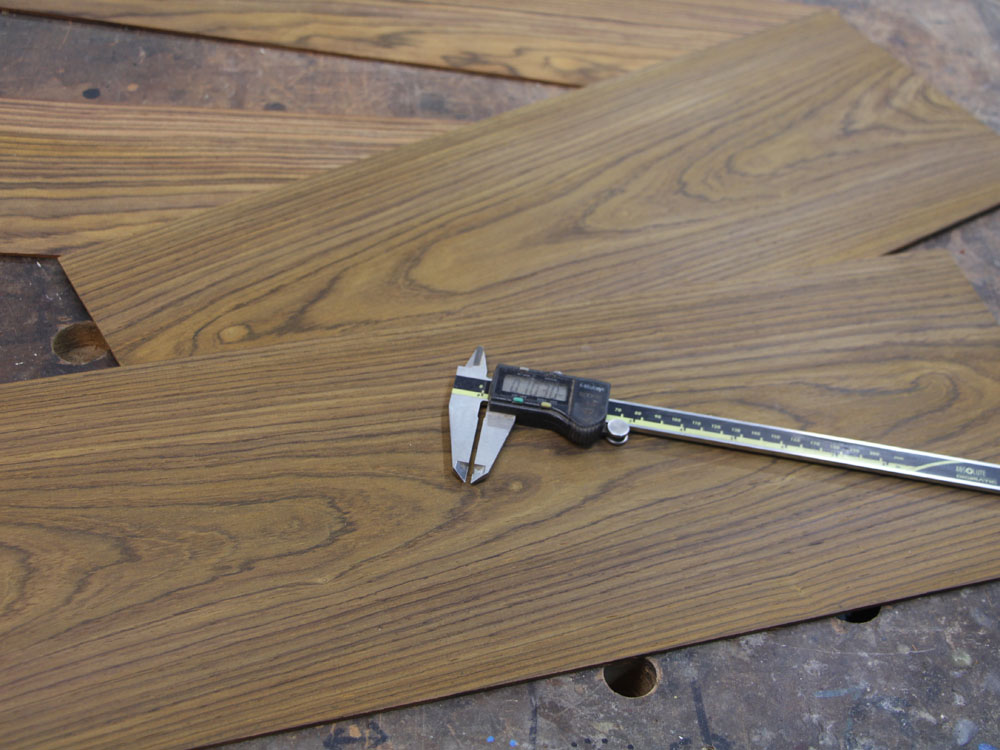
The back blanks get the same treatment as the sides.
 ( 015 ) 7-March-2014
These calipers are perhaps my most useful tool in the shop. I am a measurement fanatic. I am always looking for another tool that will help me make accurate and precise measurements.
 ( 016 ) 7-March-2014
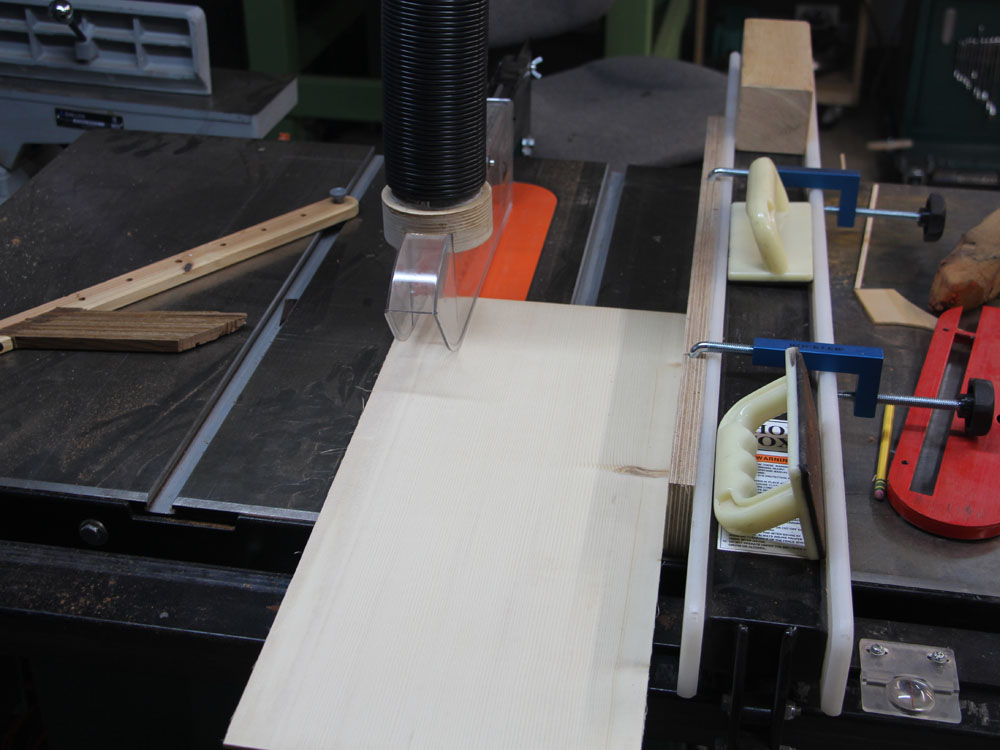
Here I am using the table saw to trim the edges of the top blanks. The sweet spot on these blanks are in the middle, so I need to remove the outside edges.
 ( 017 ) 7-March-2014
After prepping the edges so they will meet up perfectly, I use this joining table to press and glue the two halves together.
 ( 018 ) 7-March-2014
After the glue sets up overnight the top blank gets the guitars outline drawn on it.
 ( 019 ) 7-March-2014
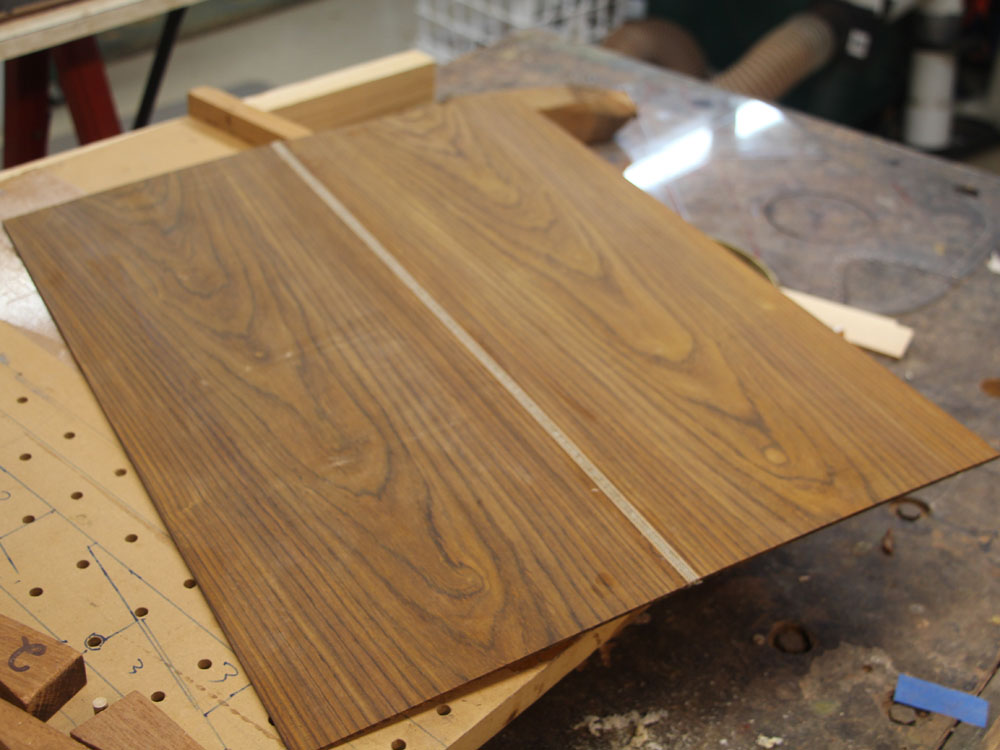
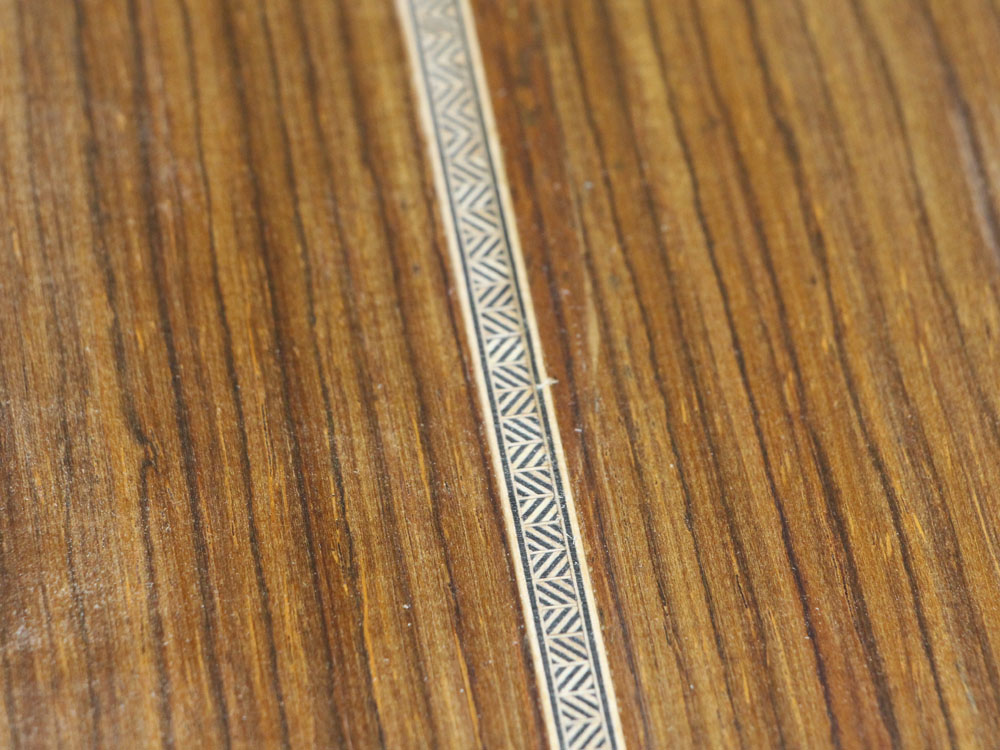
The back blanks get assembled on the joining table with a decorative center strip.
 ( 020 ) 7-March-2014
After the glue has set.
 ( 021 ) 7-March-2014
And a close up of the center strip.