 ( 192 ) 30-June-2013
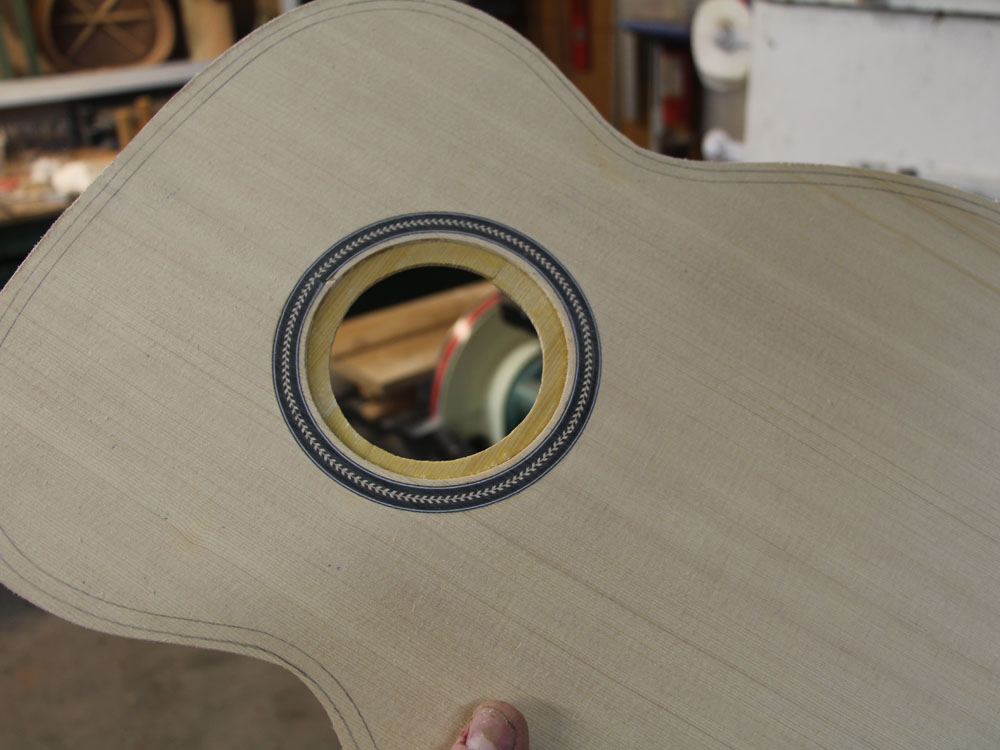
After the braces have been glued in place the guard ring around the sound hole needs to be reduced to size.
Walnut Body
Sitka Spruce Top
Mahogany Neck
Pistachio Fretboard, Bridge, and Headstock
Maple Binding
Herringbone Purfling
Gold Frets & Gotoh Tuners
25.4 Inch Scale Length
( 192 ) 30-June-2013
After the braces have been glued in place the guard ring around the sound hole needs to be reduced to size.
 ( 193 ) 30-June-2013
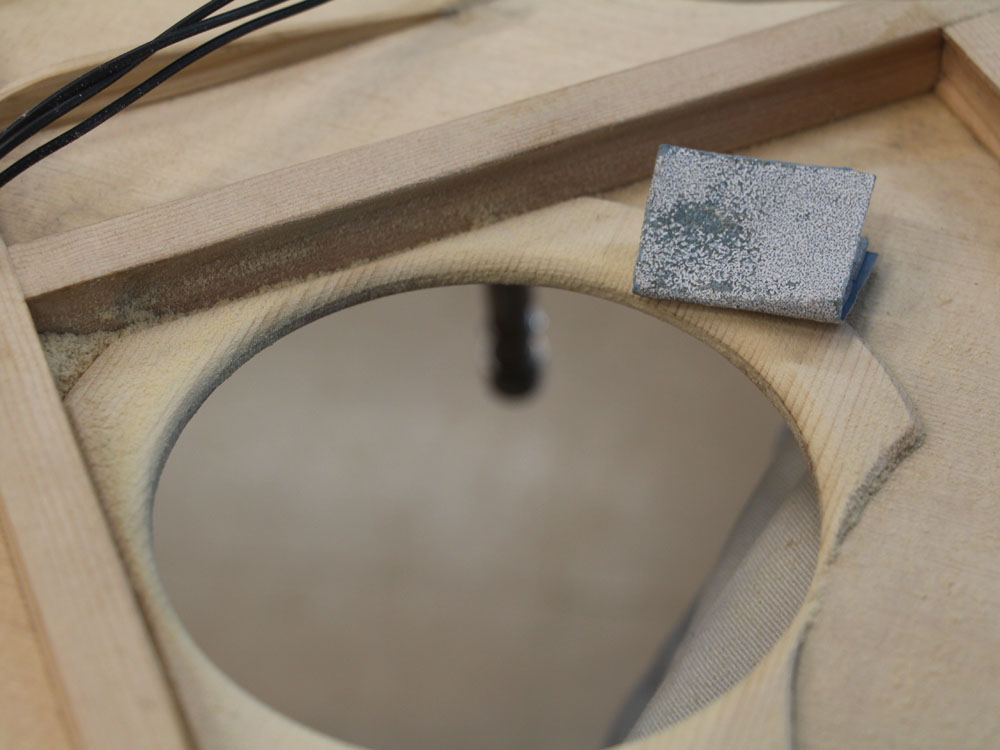
I use my oscillating sander for this job.
 ( 194 ) 30-June-2013
I sand the ring flush with the sound hole.
 ( 195 ) 30-June-2013
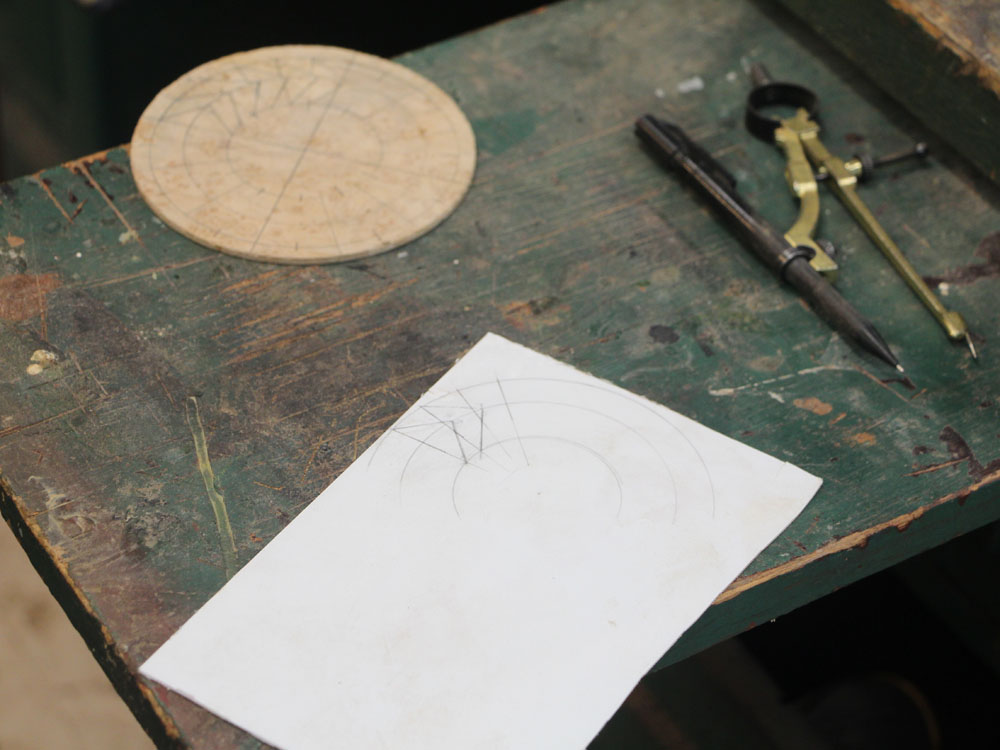
Now I am working on the contra-rosette.
 ( 196 ) 30-June-2013
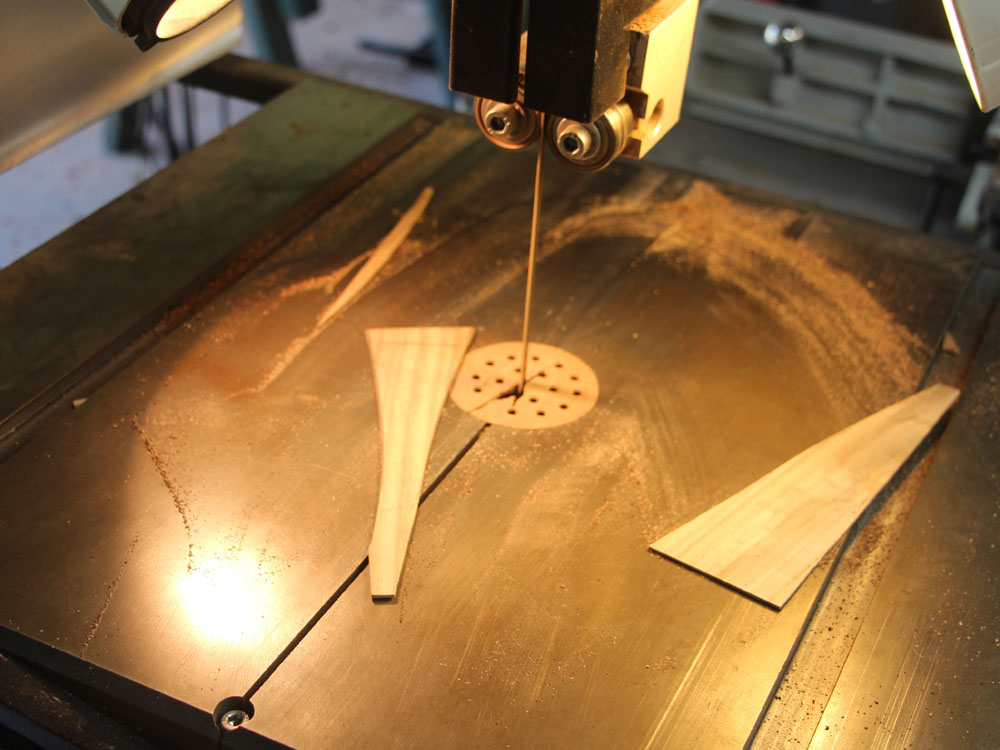
I have created a template out of clear plastic.
 ( 197 ) 30-June-2013
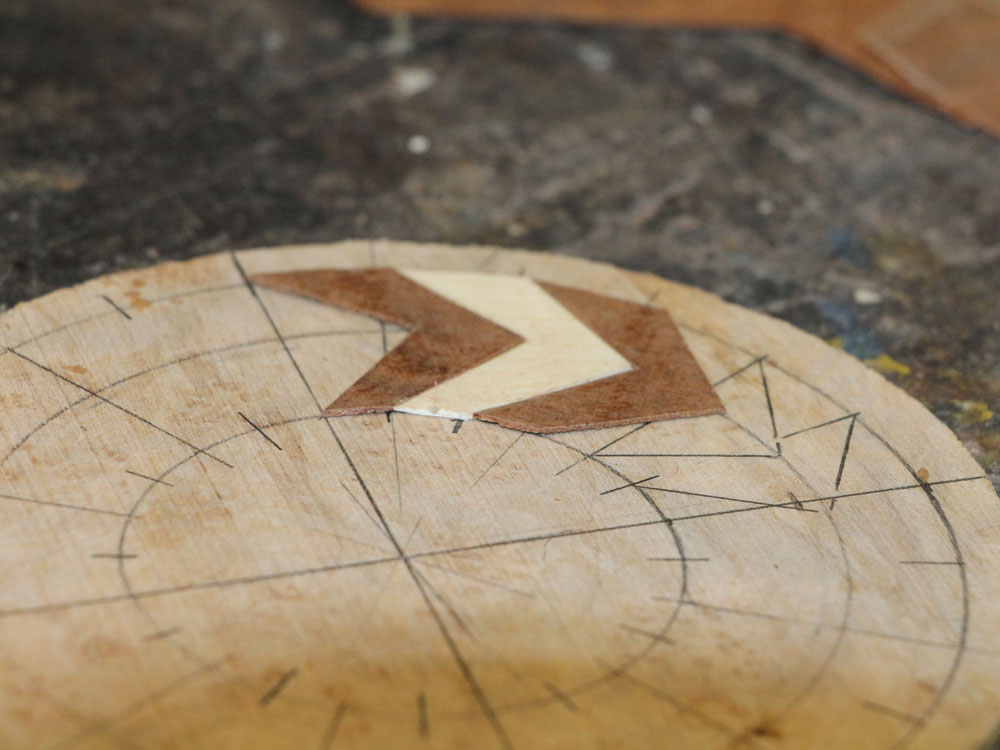
I carefully cut out each piece and arrange them in order.
 ( 198 ) 30-June-2013
I have to be very careful that each piece is identical. Here I am holding down the template over the veneer.
 ( 199 ) 30-June-2013
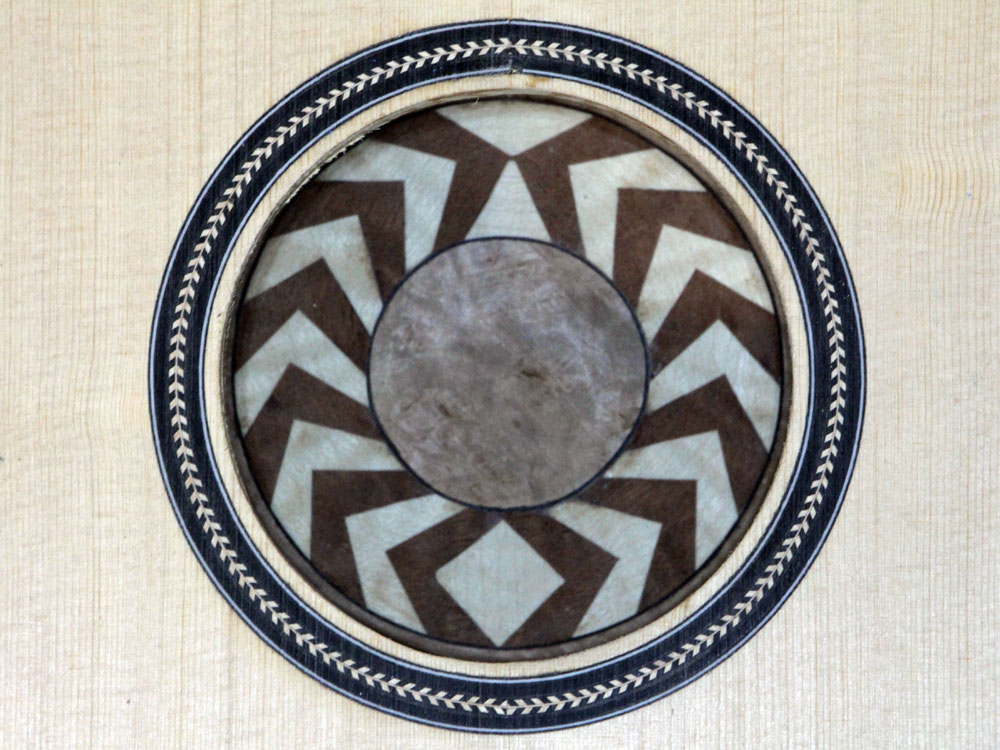
Here is a look at the assembled contra-rosette.
 ( 200 ) 30-June-2013
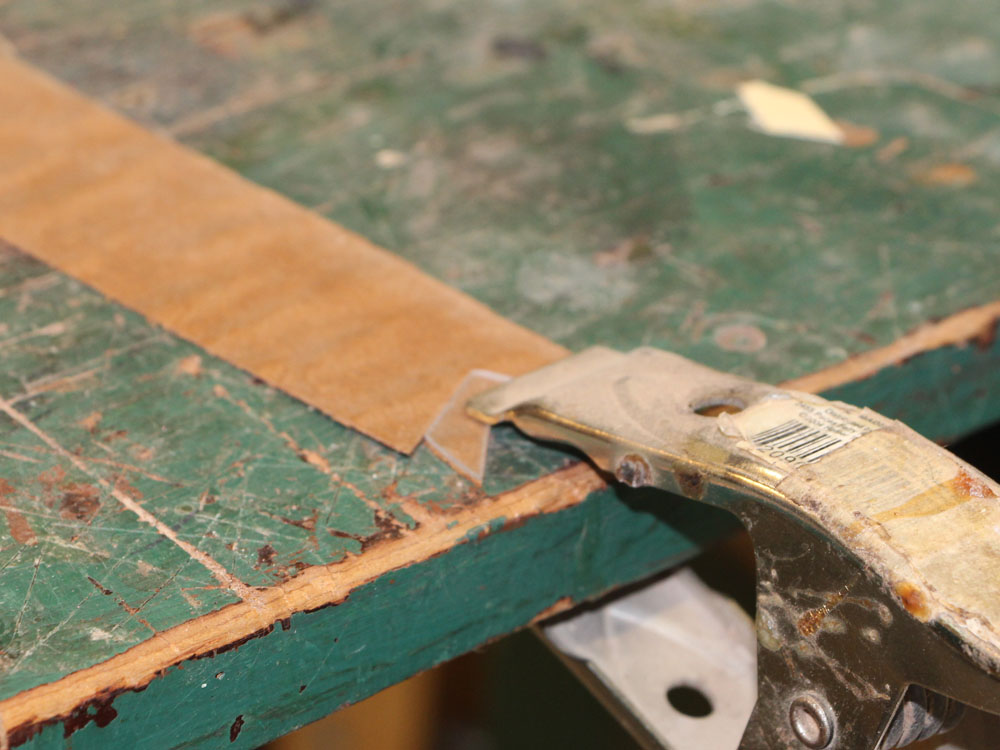
To finish it off I am installing black binding.
 ( 201 ) 30-June-2013
Here is how it will look through the sound hole.
 ( 202 ) 30-June-2013
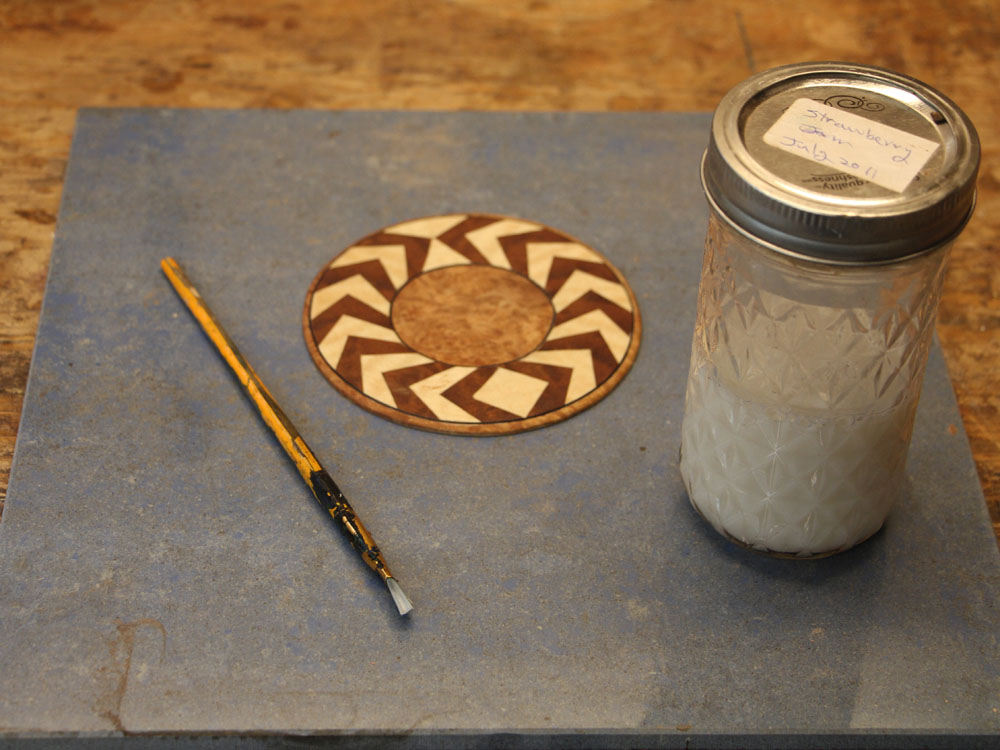
I put a layer of lacquer on the ring to bring out the pop.
 ( 203 ) 30-June-2013
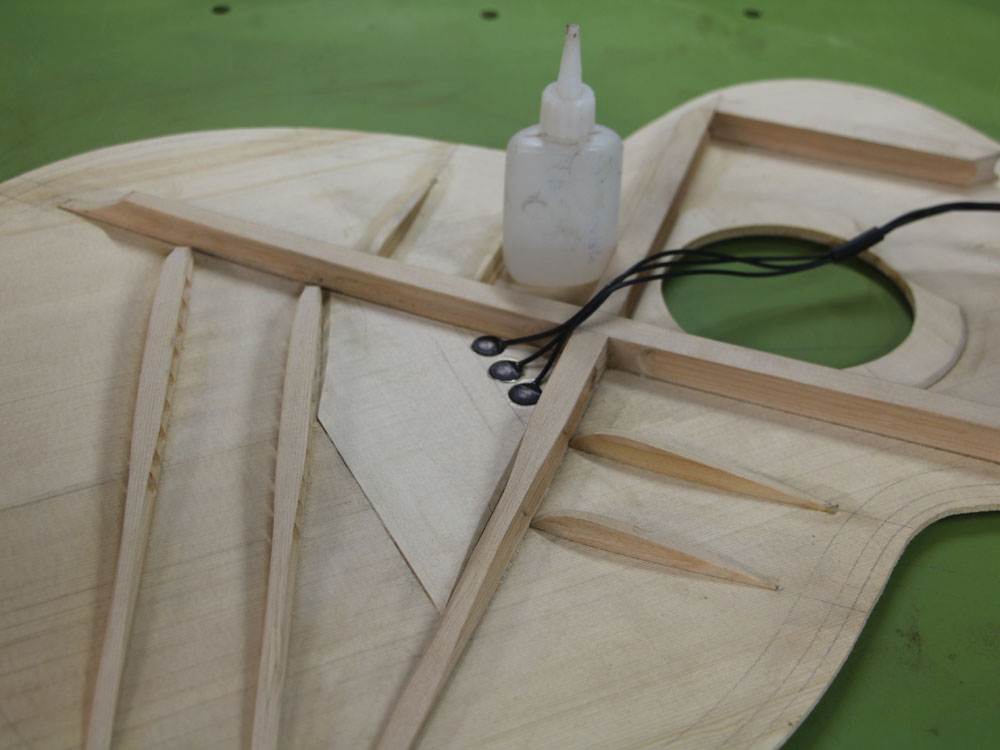
Here we are installing K&K pickups.
 ( 204 ) 30-June-2013
I like to include a brace to constrain the cables.
 ( 205 ) 30-June-2013
 ( 206 ) 30-June-2013
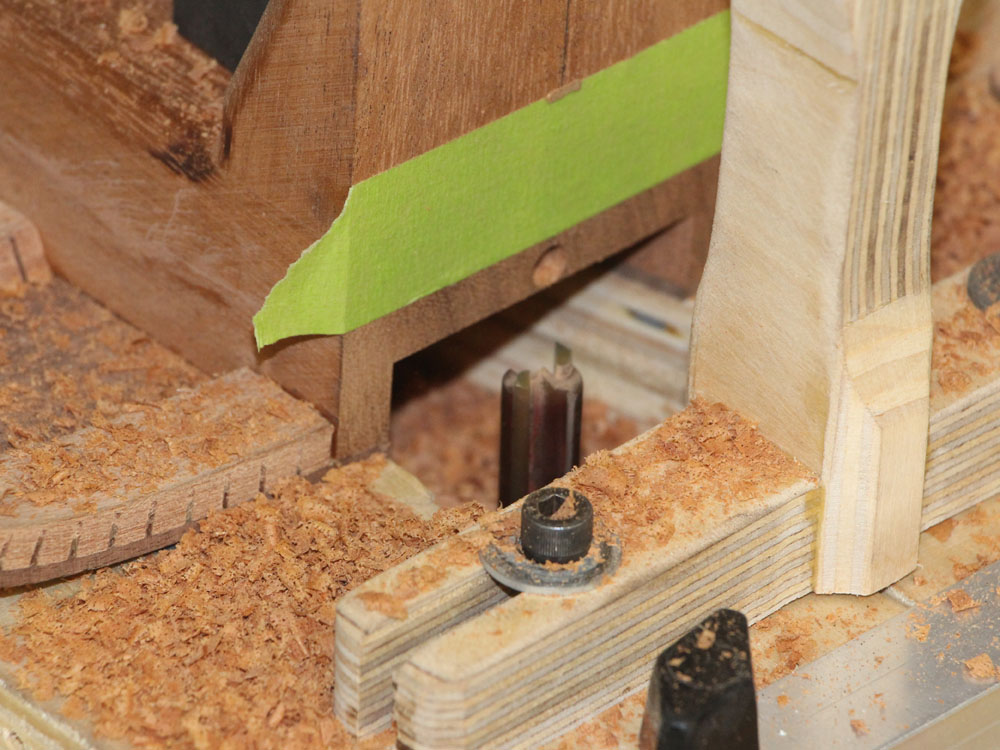
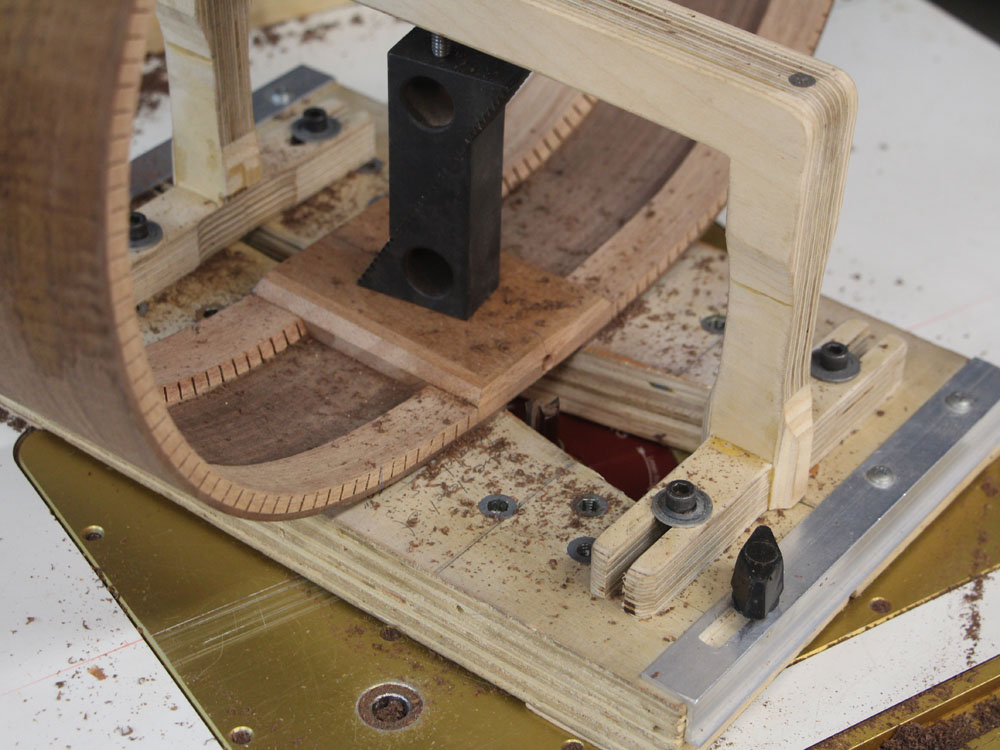
I use the router table and a special fixture to route out the heel channel in the heel block.
 ( 207 ) 30-June-2013
I route the channel with several passes.
 ( 208 ) 30-June-2013
The heel of the neck will fit in here along with the attachment hardware.
 ( 209 ) 30-June-2013
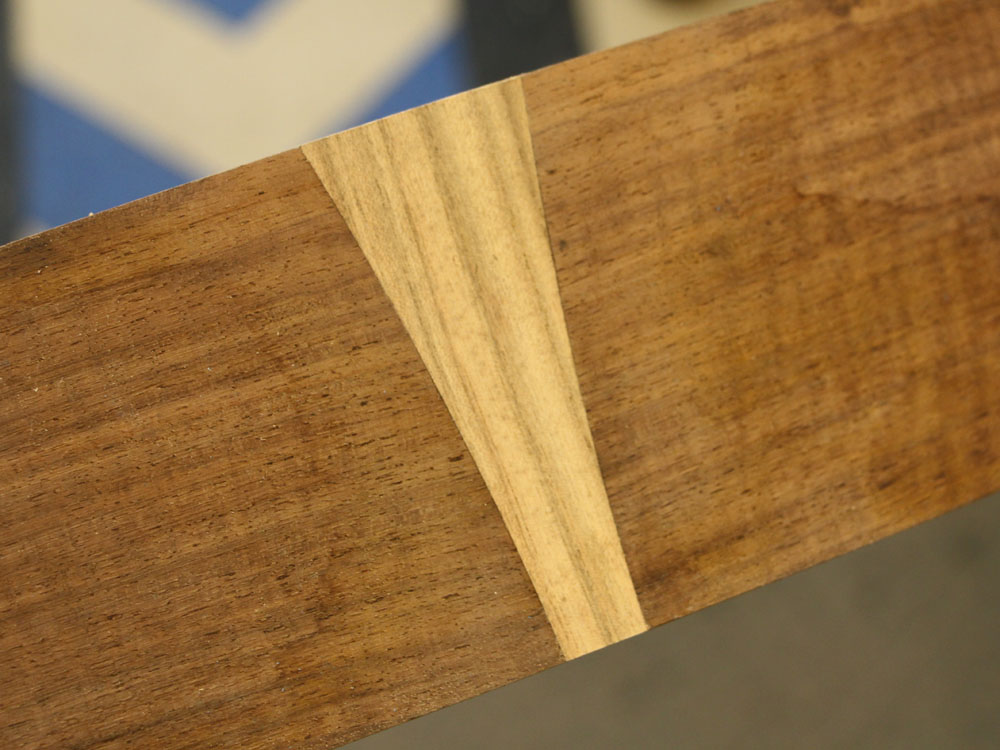
The tail graft channel get made with the same fixture.
 ( 210 ) 30-June-2013
The tail graft mirrors the shape of the heel.
 ( 211 ) 30-June-2013
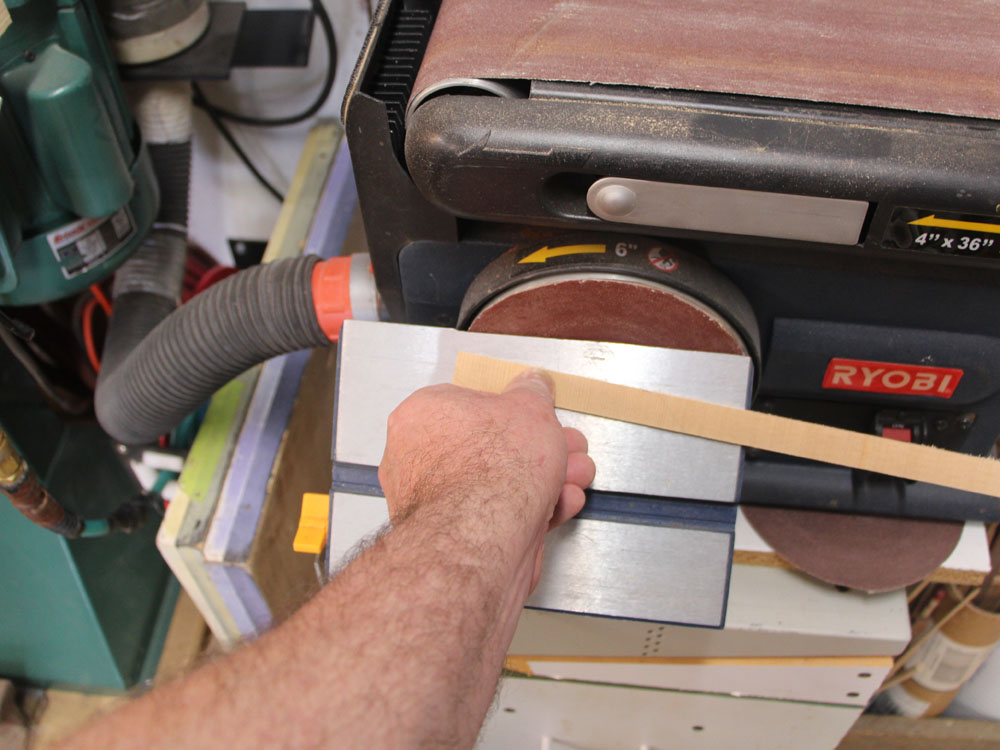
I use a disk sander to put a bevel on the reenforcing strip that will be used on the back.
 ( 212 ) 30-June-2013
Here I am using the go box to glue in the conta-rosette and the reinforcing strips.
 ( 213 ) 30-June-2013
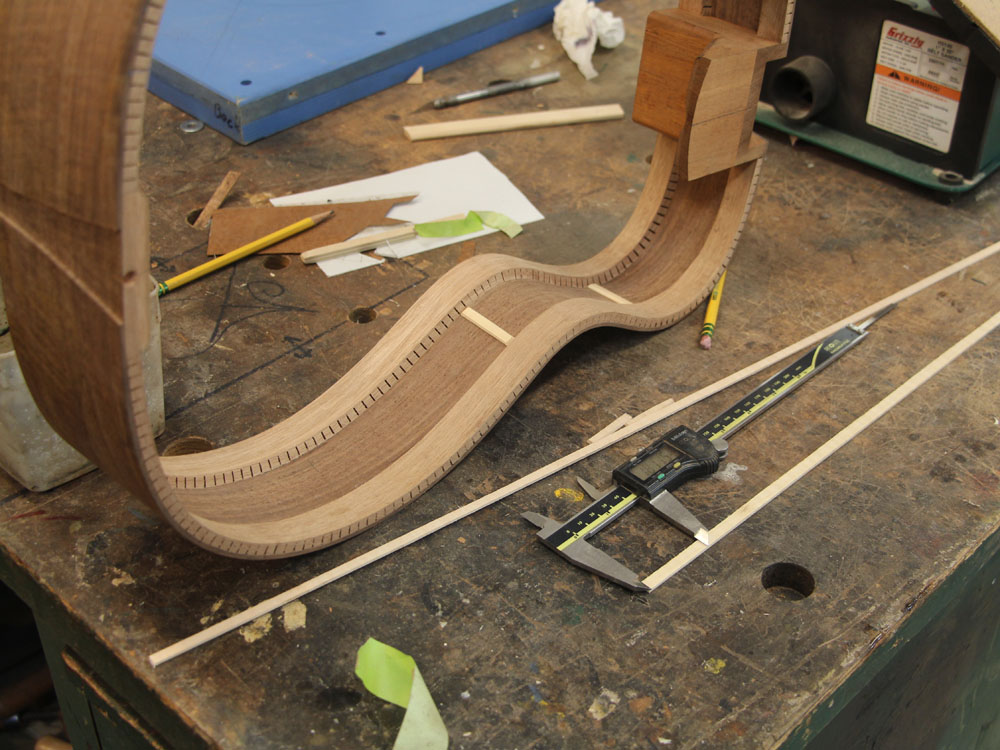
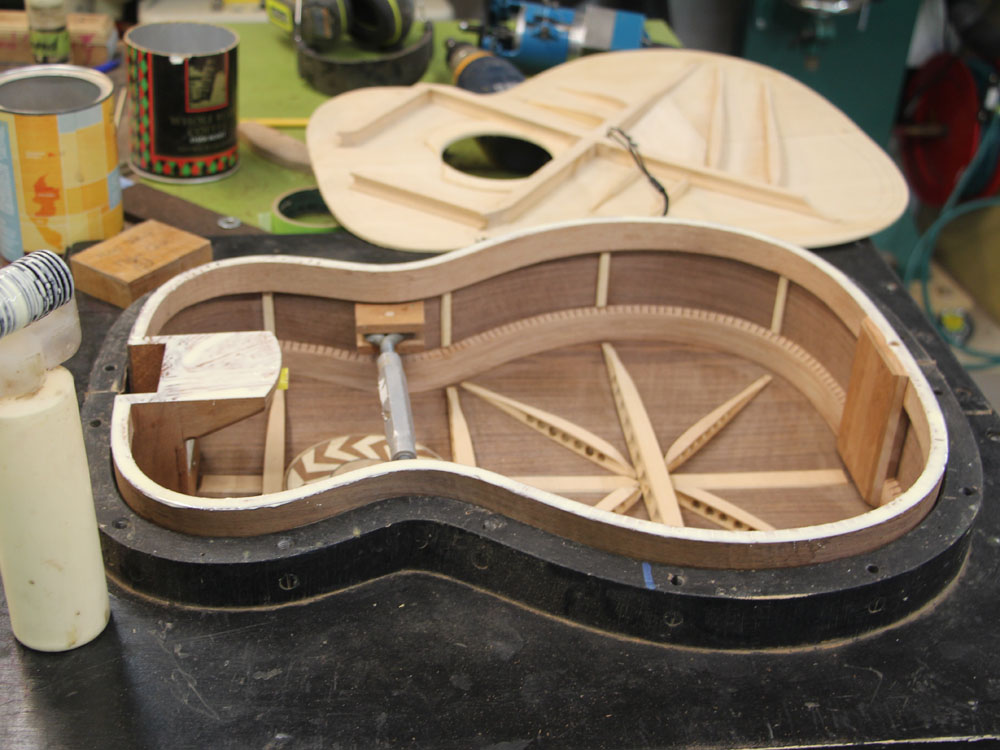
I measure the side braces to fit in between the kerfing.
 ( 214 ) 30-June-2013
A couple of clamps hold them in place as they are glued down.
 ( 215 ) 30-June-2013
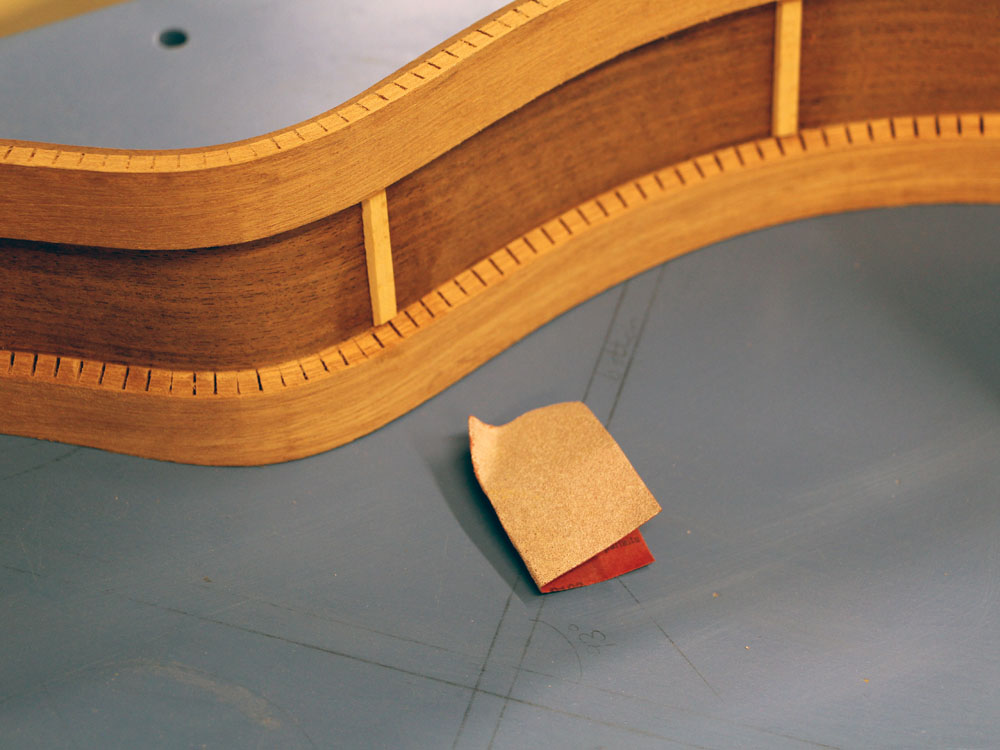
And a little hand sanding cleans up the glue marks.
 ( 216 ) 30-June-2013
Before gluing the back onto the sides I clean up and glue marks on the back.
 ( 217 ) 30-June-2013
And I install fiducial buttons to help align the back as it will be glued down.
 ( 218 ) 30-June-2013
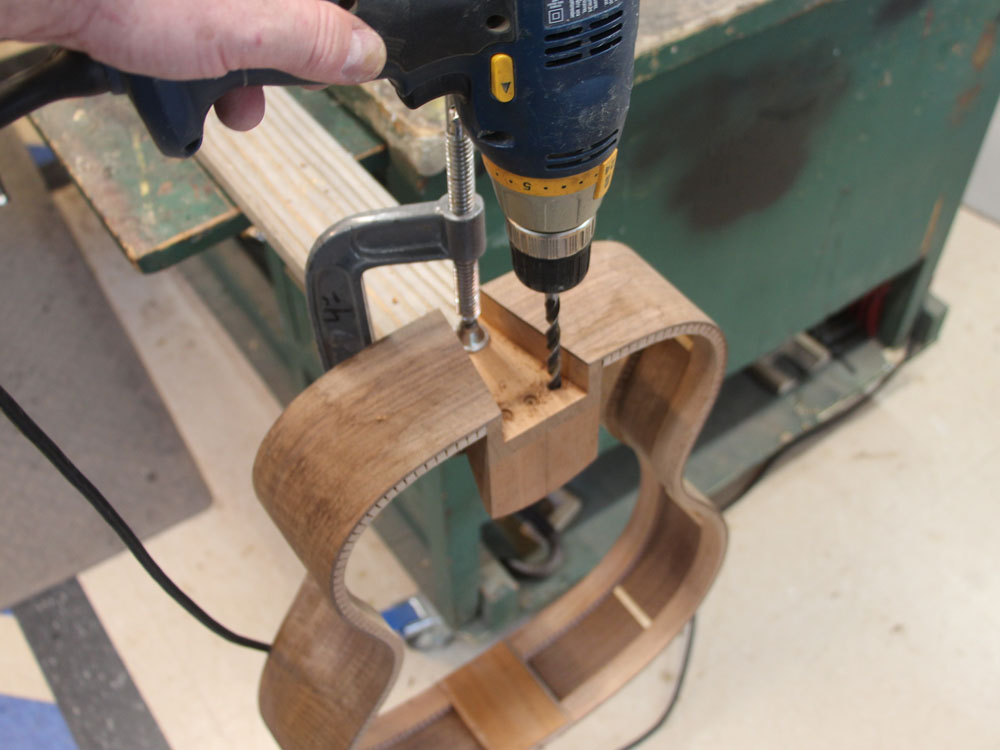
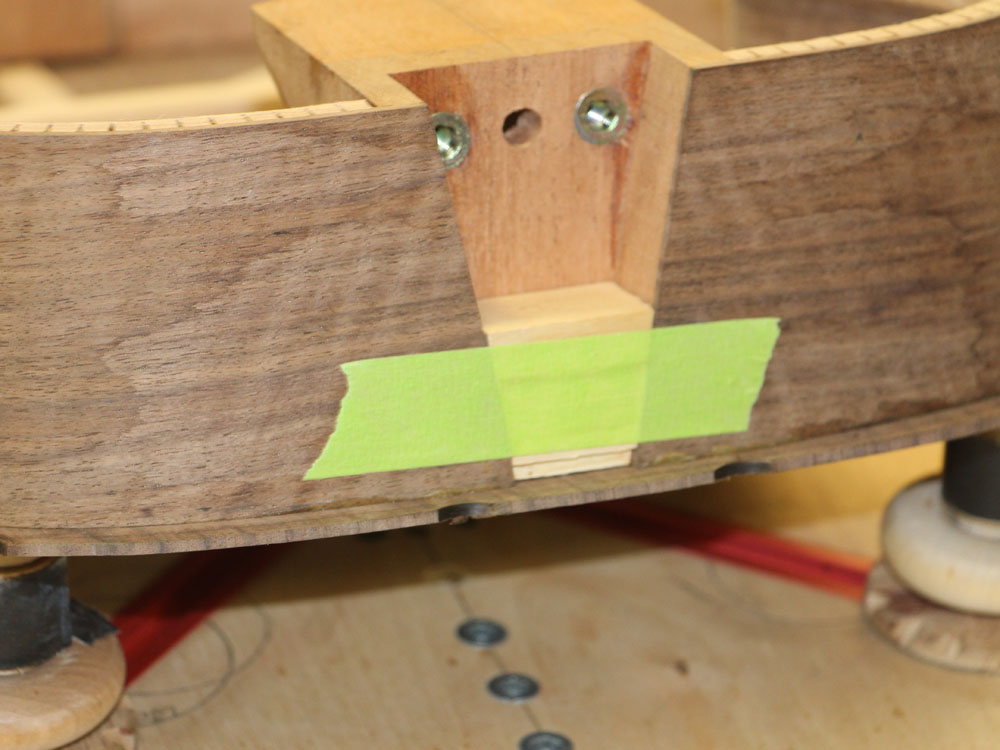
Here I am marking the position of the attachment hardware in the heel channel.
 ( 219 ) 30-June-2013
A few holes get drilled.
 ( 220 ) 30-June-2013
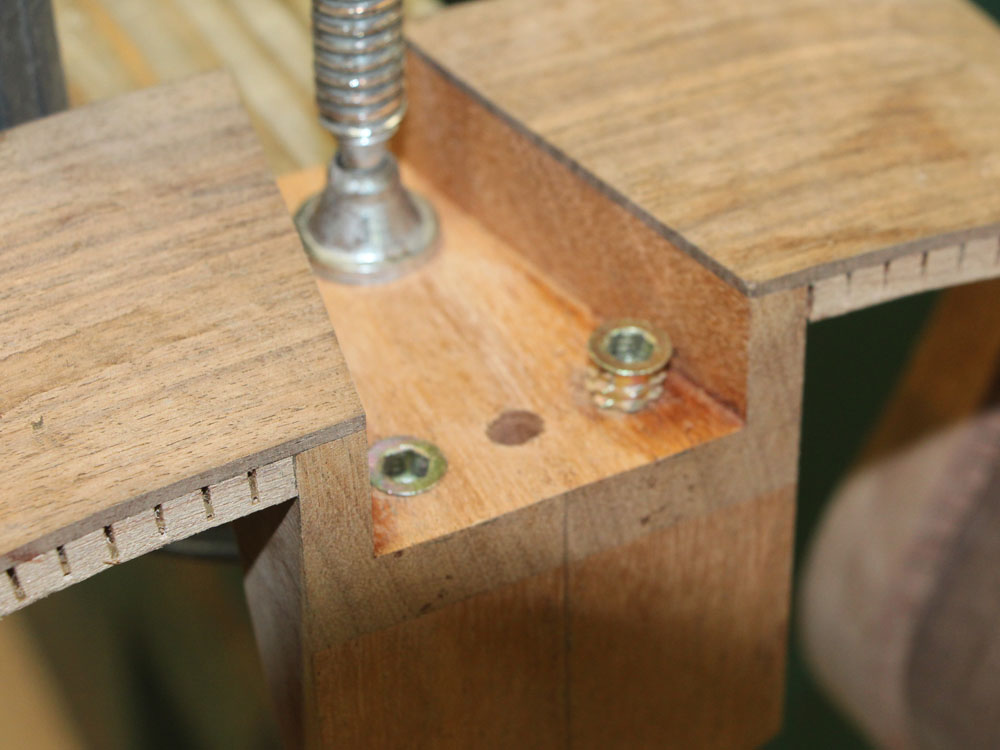
And the wood inserts get installed.
 ( 221 ) 30-June-2013
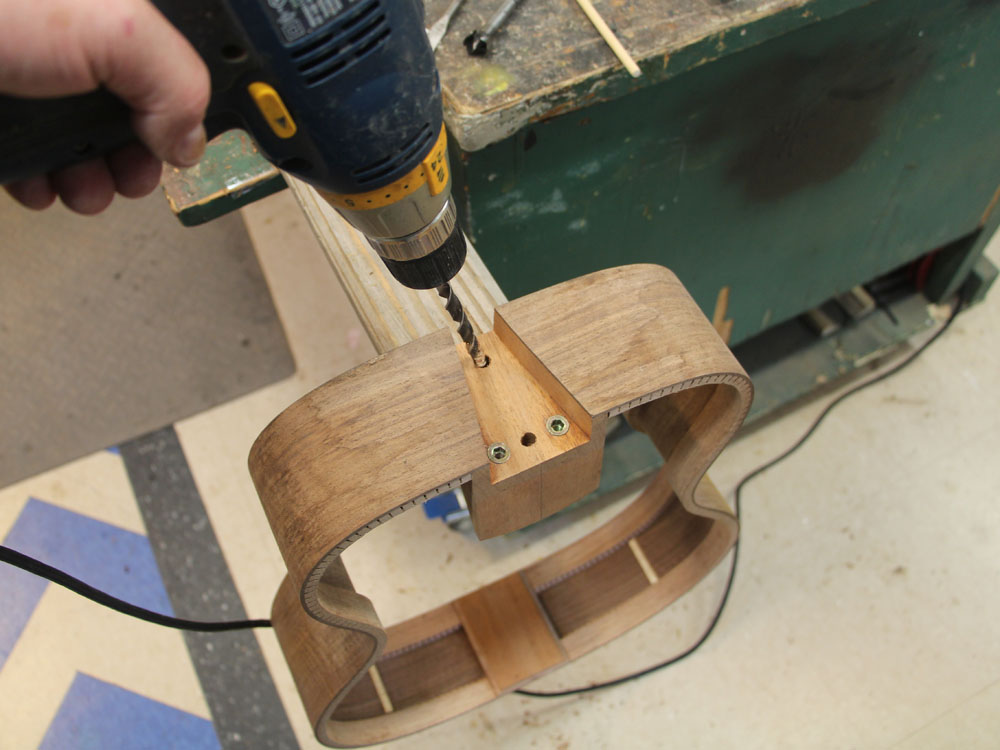
The neck adjustment hardware hole gets drilled.
 ( 222 ) 30-June-2013
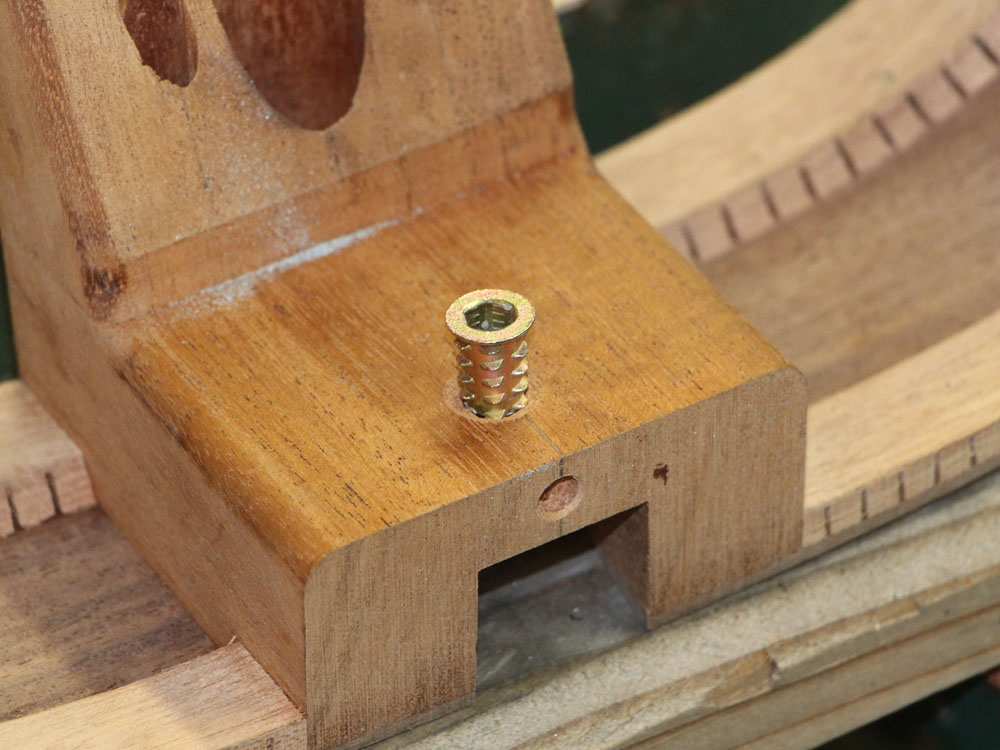
And a wood insert is screwed into place from the rear.
 ( 223 ) 30-June-2013
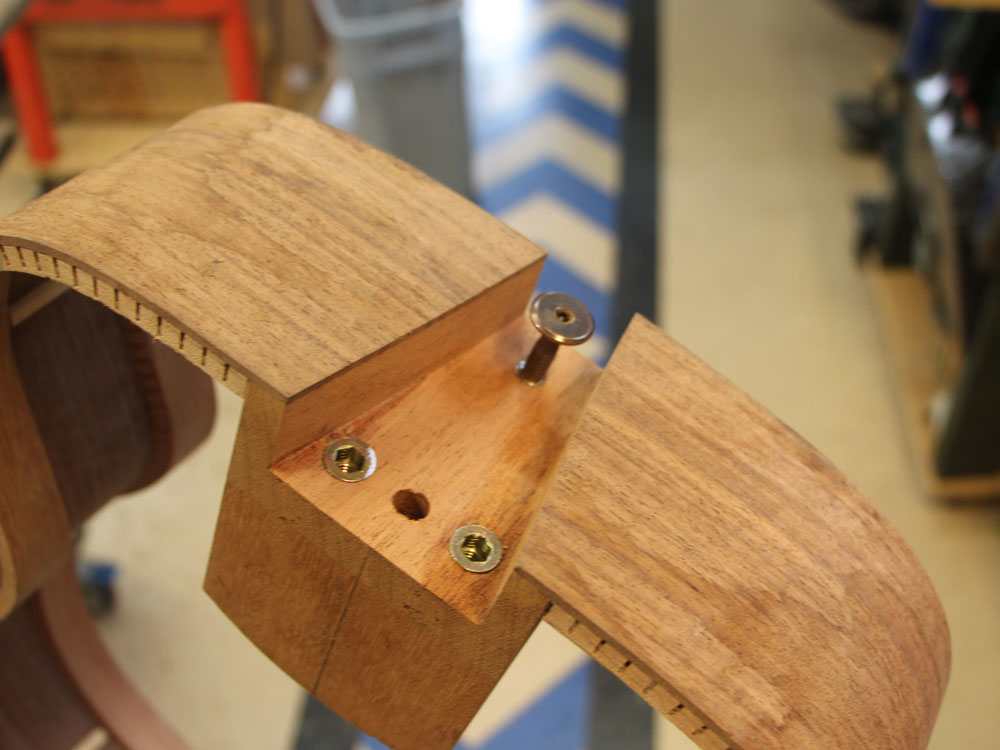
A look at the hardware.
 ( 224 ) 30-June-2013
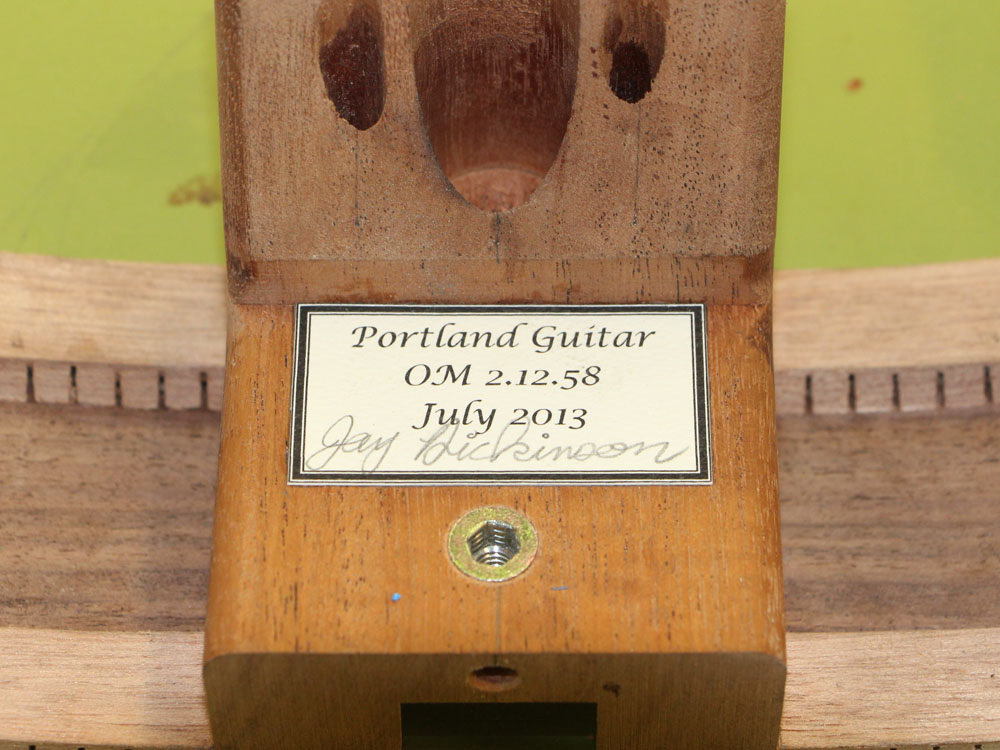
And the label gets glued in place.
 ( 225 ) 30-June-2013
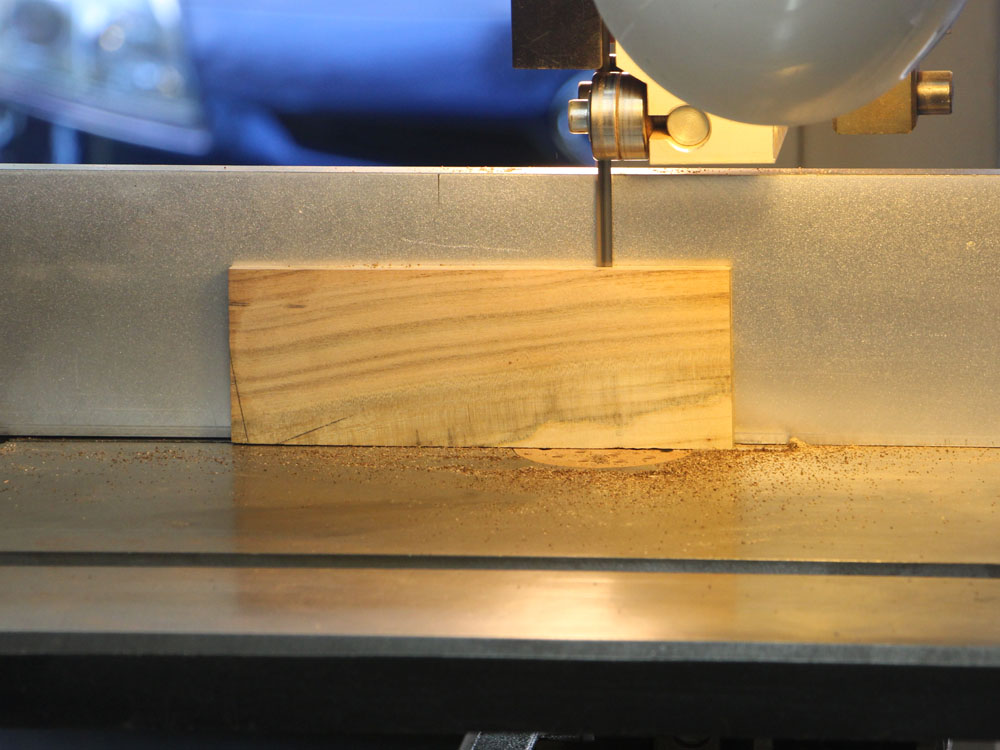
Here I am taking a slice of the pistachio to use for the heel tail graft.
 ( 226 ) 30-June-2013
The band saw is used to cut out the tail graft.
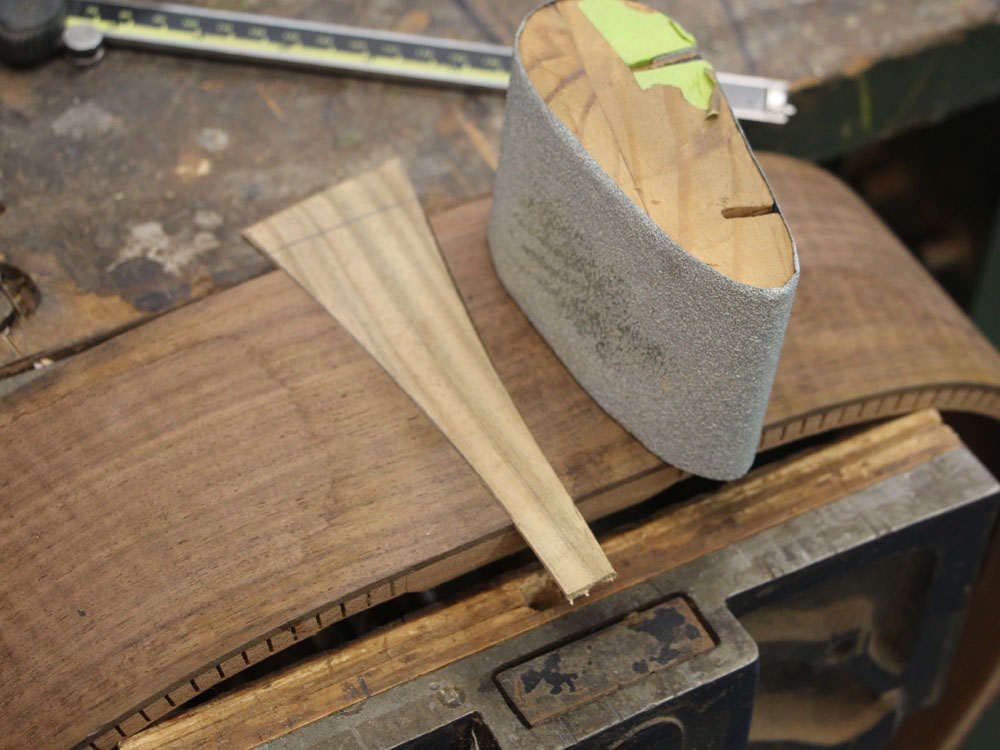 ( 227 ) 30-June-2013
I carefully hand shape the tail graft blank to fit into the channel.
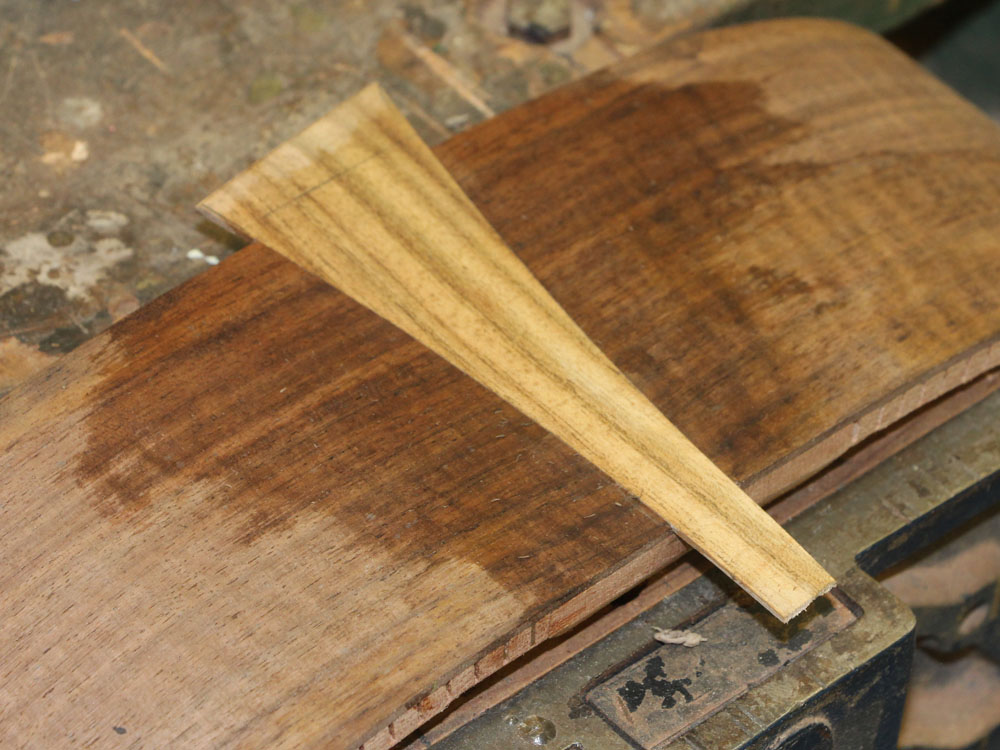 ( 228 ) 30-June-2013
A bit of glue secures it in place.
 ( 229 ) 30-June-2013
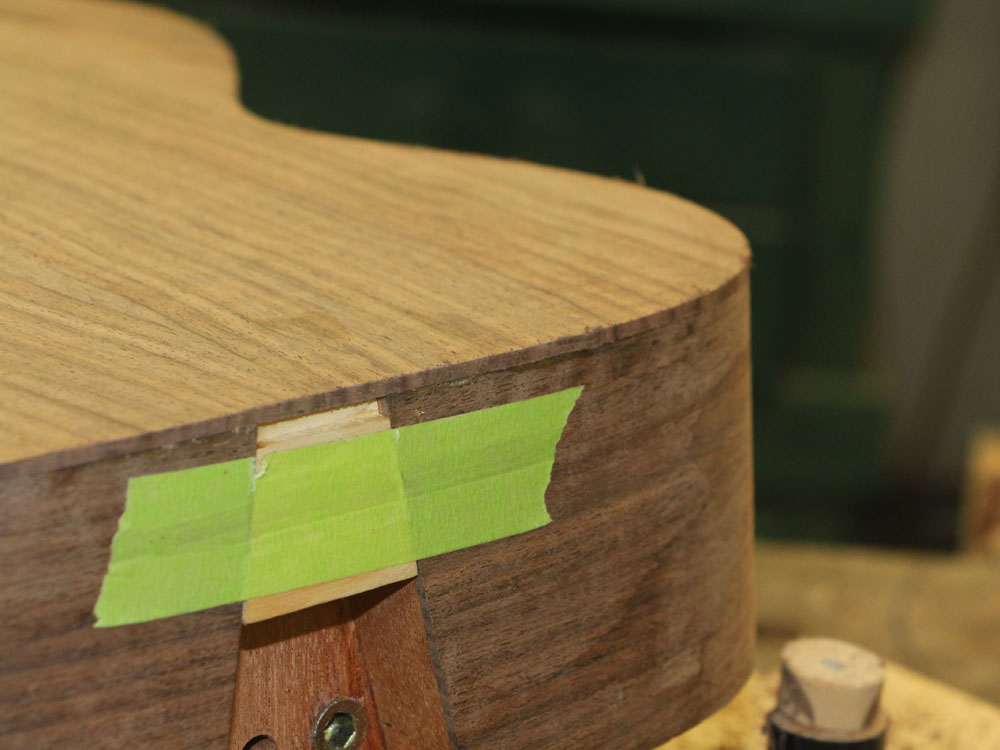
And after it is dry the overhang gets trimmed off.
 ( 230 ) 30-June-2013
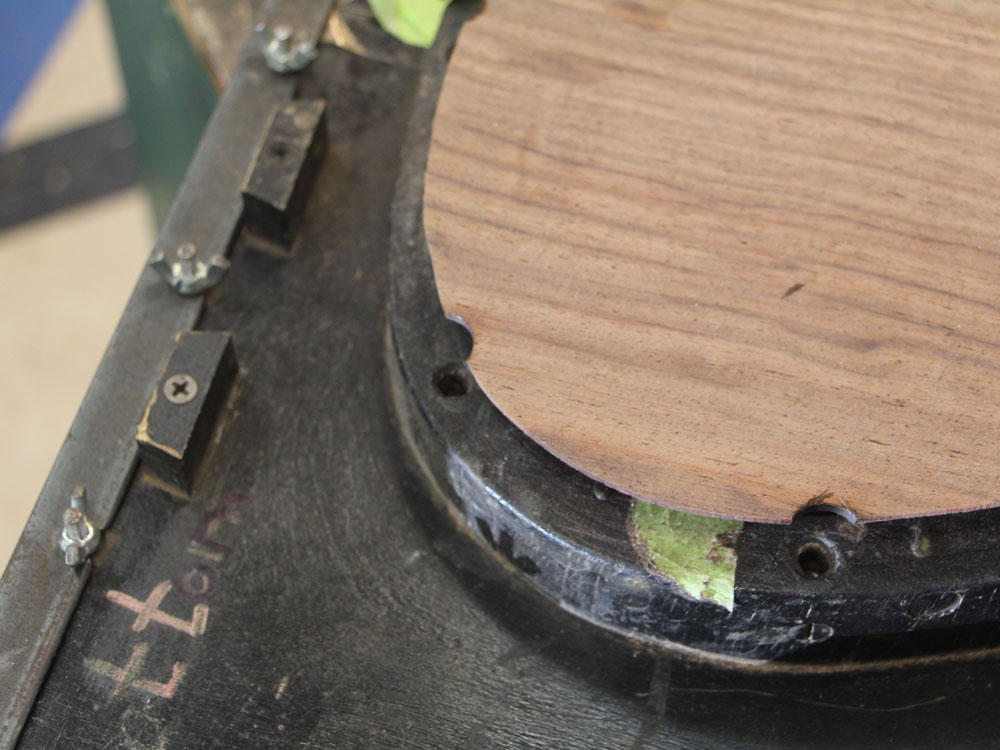
Getting ready to glue the back on to the sides I have sanded scallops into the over hang so the bolts will clear.
 ( 231 ) 30-June-2013
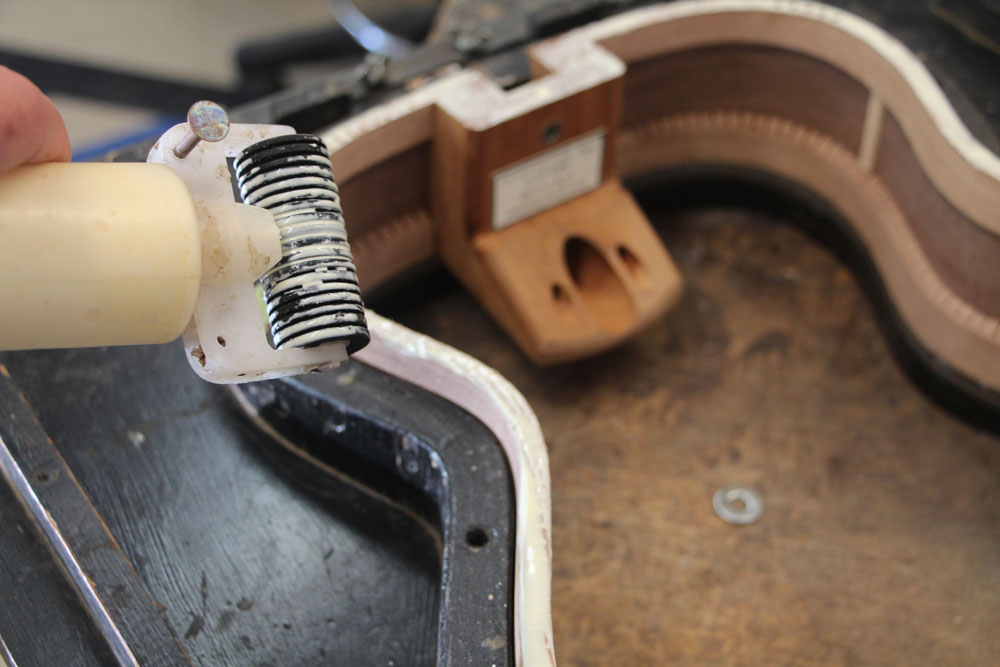
A bit of glue goes on the kerfing.
 ( 232 ) 30-June-2013
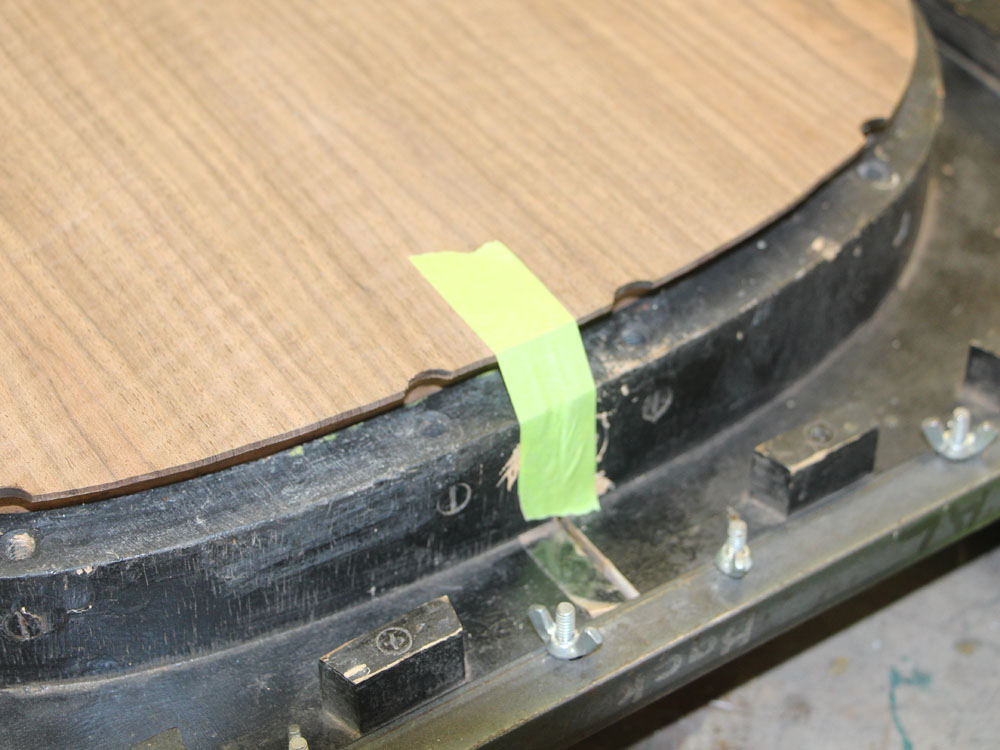
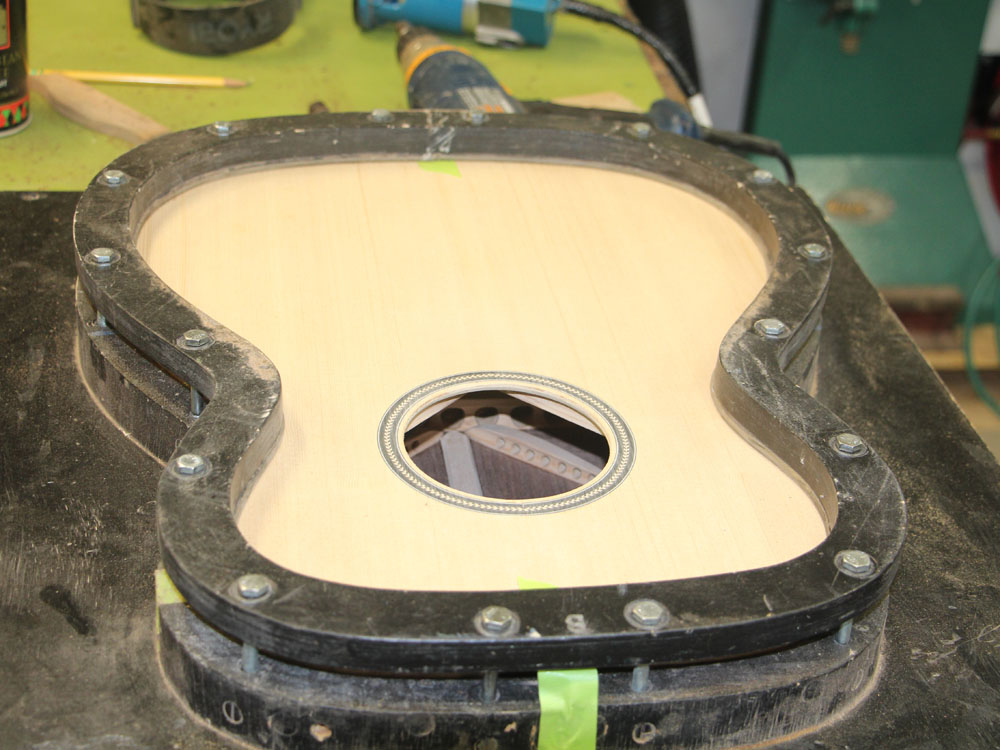
And tape to hold the back in place.
 ( 233 ) 30-June-2013
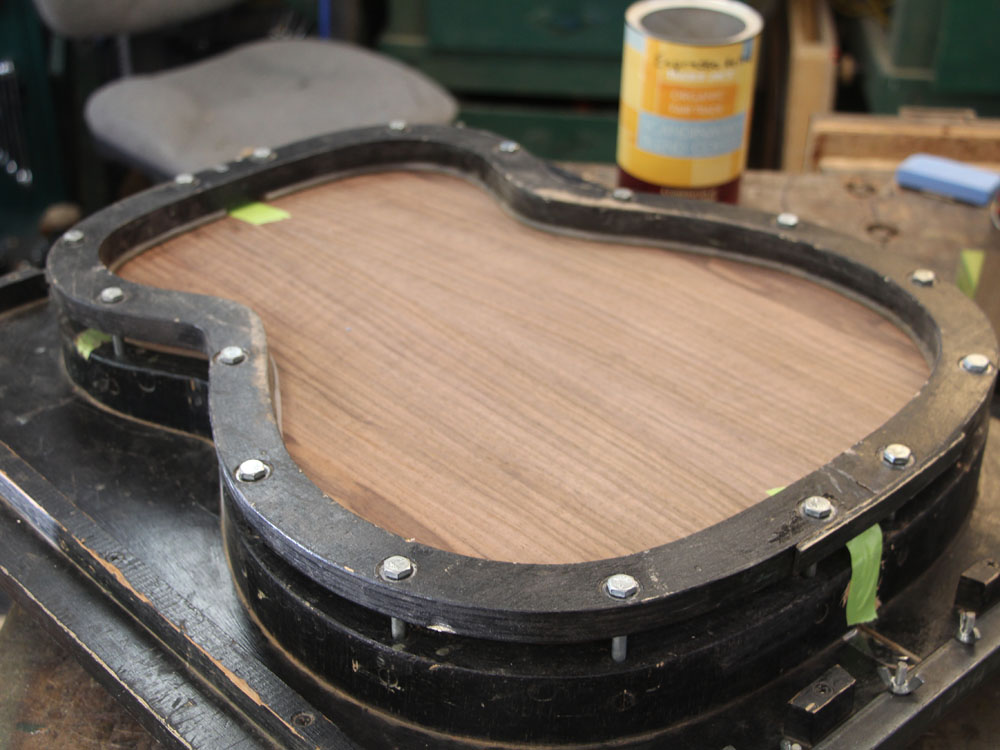
Then the bottom flange gets bolted down. This will apply even pressure all around the rim.
 ( 234 ) 30-June-2013
A little bit of squeeze out.
 ( 235 ) 30-June-2013
And I clean up the squeeze out before it dries.
 ( 236 ) 30-June-2013
After the glue dries the assembly comes out of the form.
 ( 237 ) 30-June-2013
Before I trim the overhang off I install a block in the bottom of the heel channel to guide the router through the heel channel.
 ( 238 ) 30-June-2013
I use a small router to trim off the over hang .
 ( 239 ) 30-June-2013
Everything is flush.
 ( 240 ) 30-June-2013
Before gluing the top on I round off the guard ring in the sound hole.
 ( 241 ) 30-June-2013
Then the kerfing gets a bit of glue.
 ( 242 ) 30-June-2013
The ends of the braces that will contact the sides also get glue.
 ( 243 ) 30-June-2013
And then the top is pressed into place in the form.
 ( 244 ) 30-June-2013
A c-clamp makes sure the fretboard shelf gets pressed into place.
 ( 245 ) 30-June-2013
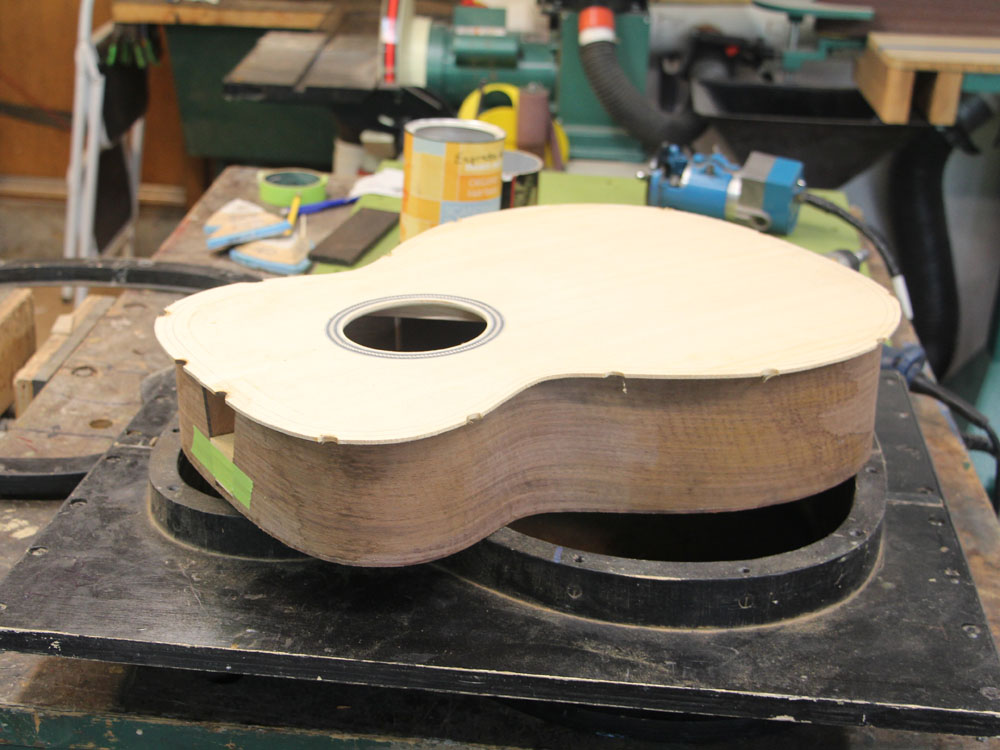
And after the glue dries it comes out of the form.
 ( 246 ) 30-June-2013
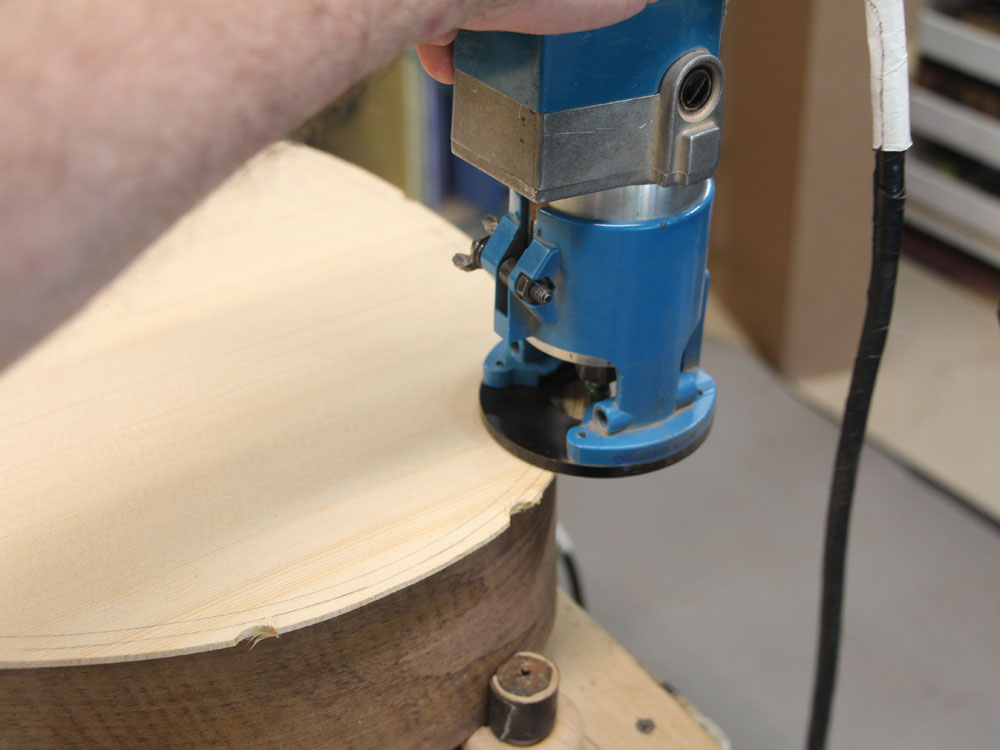
And the router is used again to remove the overhang.
 ( 247 ) 30-June-2013
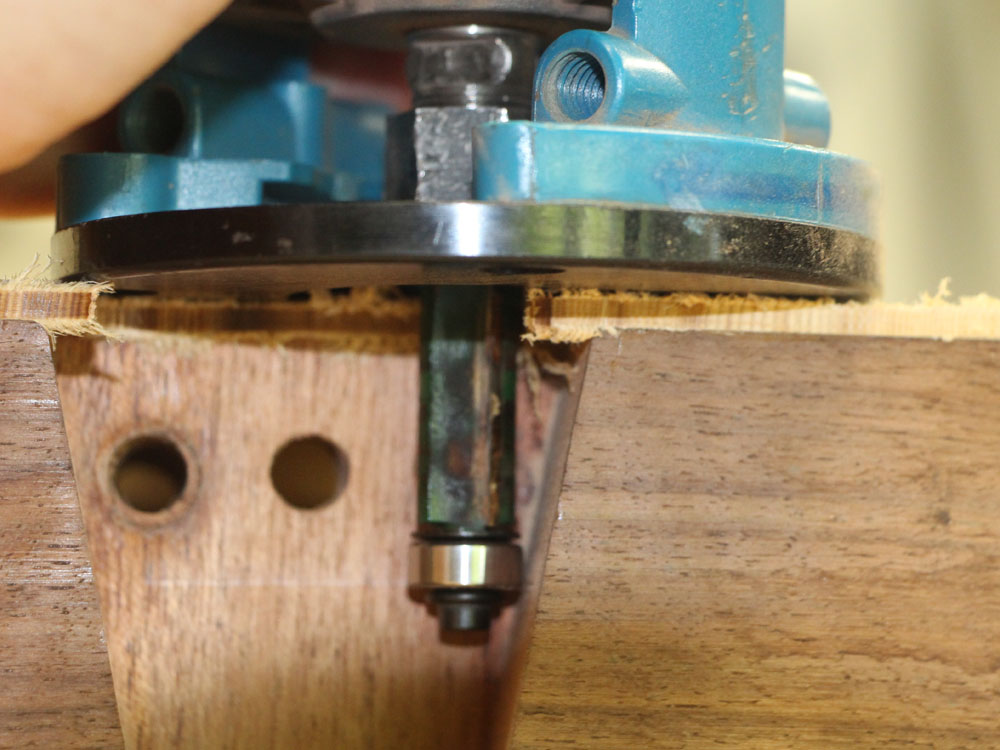
I take advantage of the angle of the heel channel to create the fretboard shelf wings. These will help hide the seams when the neck is attached to the body.
 ( 248 ) 30-June-2013
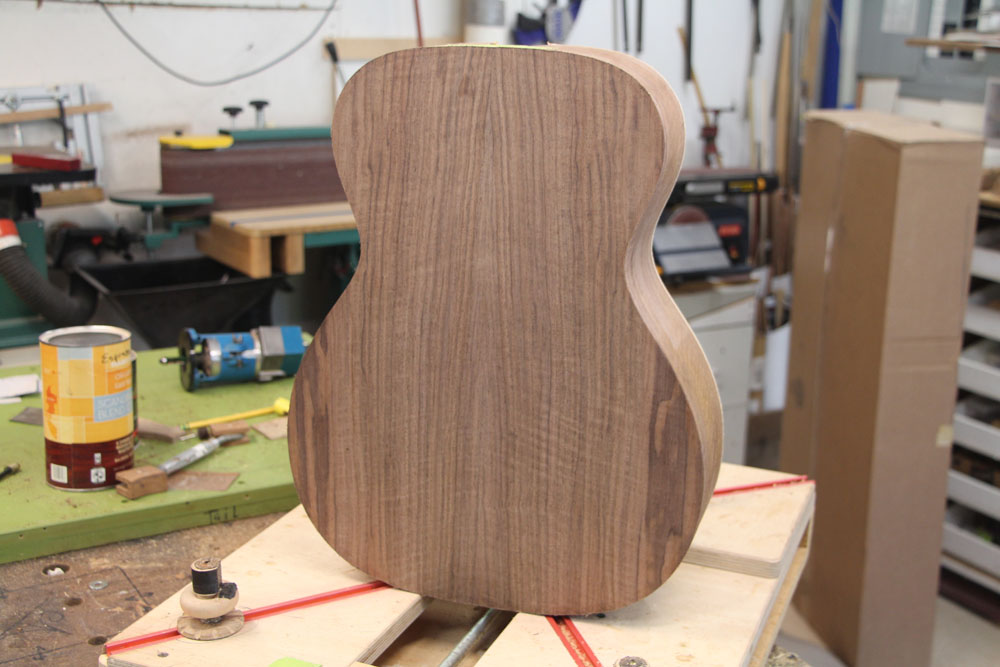
A look at the back.
 ( 249 ) 30-June-2013
And a look at the top.