 ( 308 ) March 31-2016
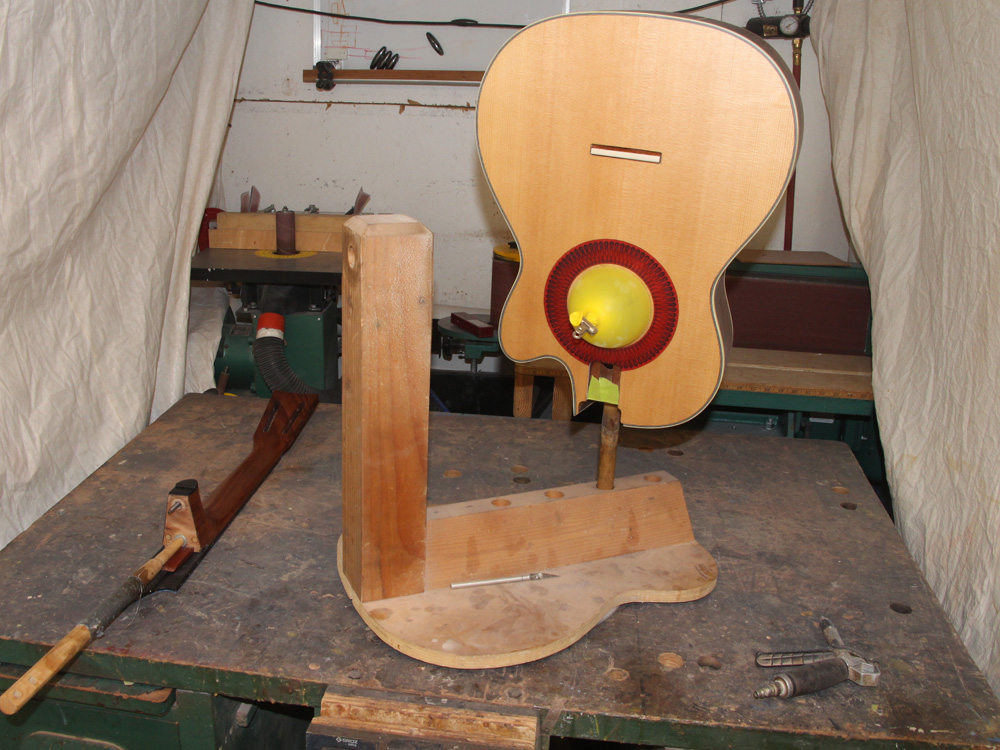
I set up my spray booth and use a special pedestal to hold and rotate the body while I spray it.
( 308 ) March 31-2016
I set up my spray booth and use a special pedestal to hold and rotate the body while I spray it.
 ( 309 ) March 31-2016
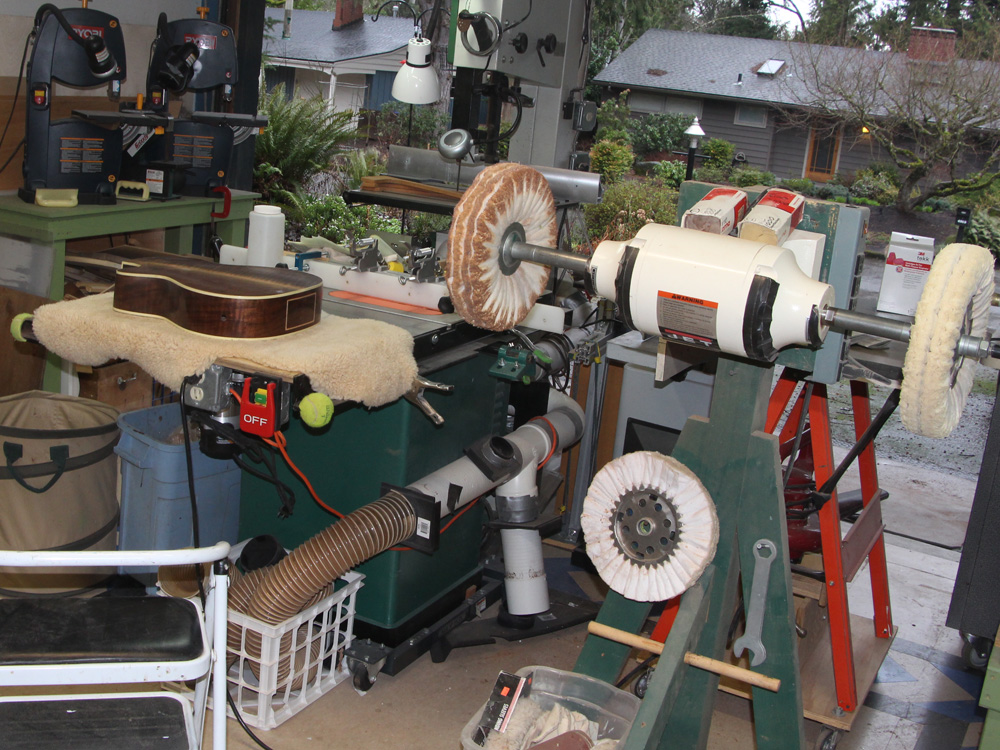
After the lacquer has set and cured to some degree I polish it to a high luster.
 ( 310 ) March 31-2016
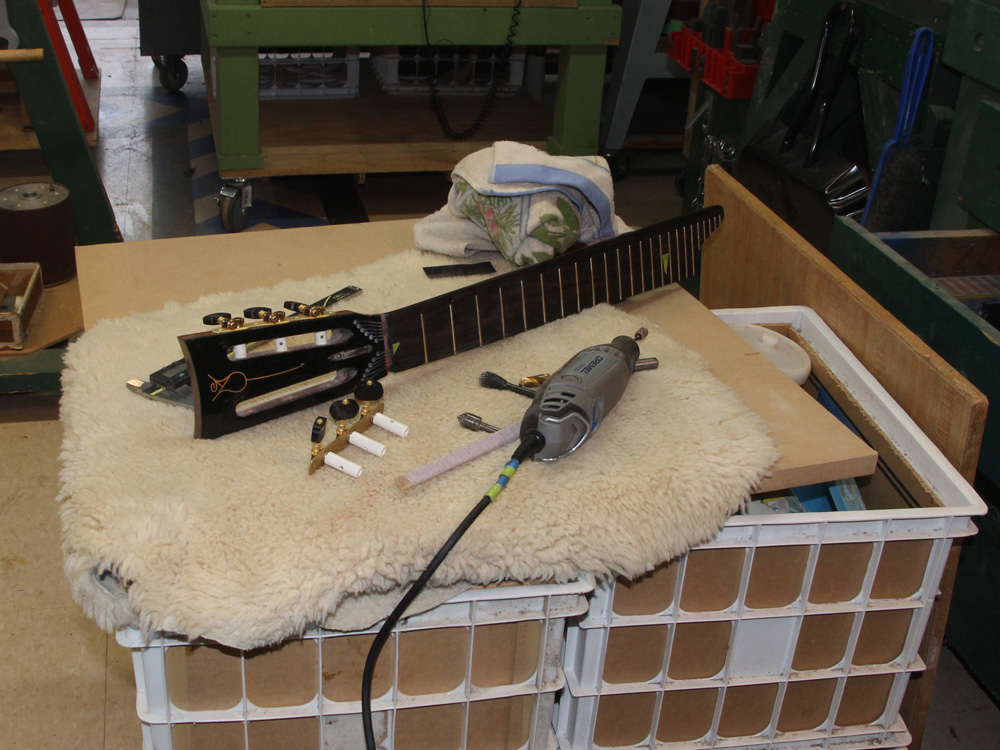
After cleaning out the holes I install the tuning machines.
 ( 311 ) March 31-2016
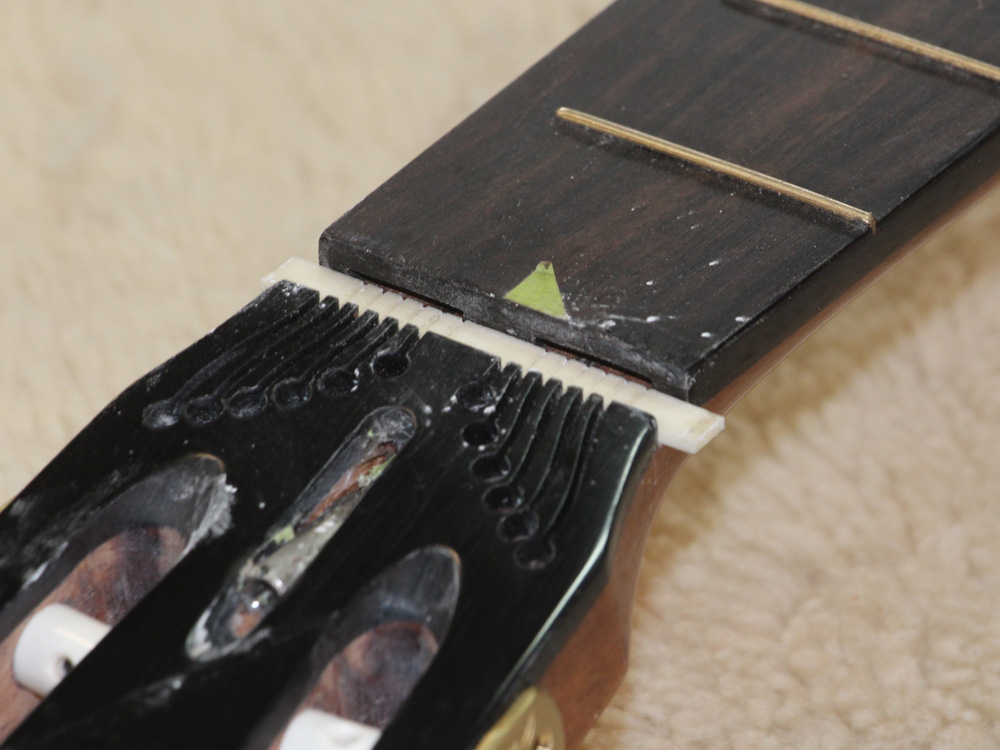
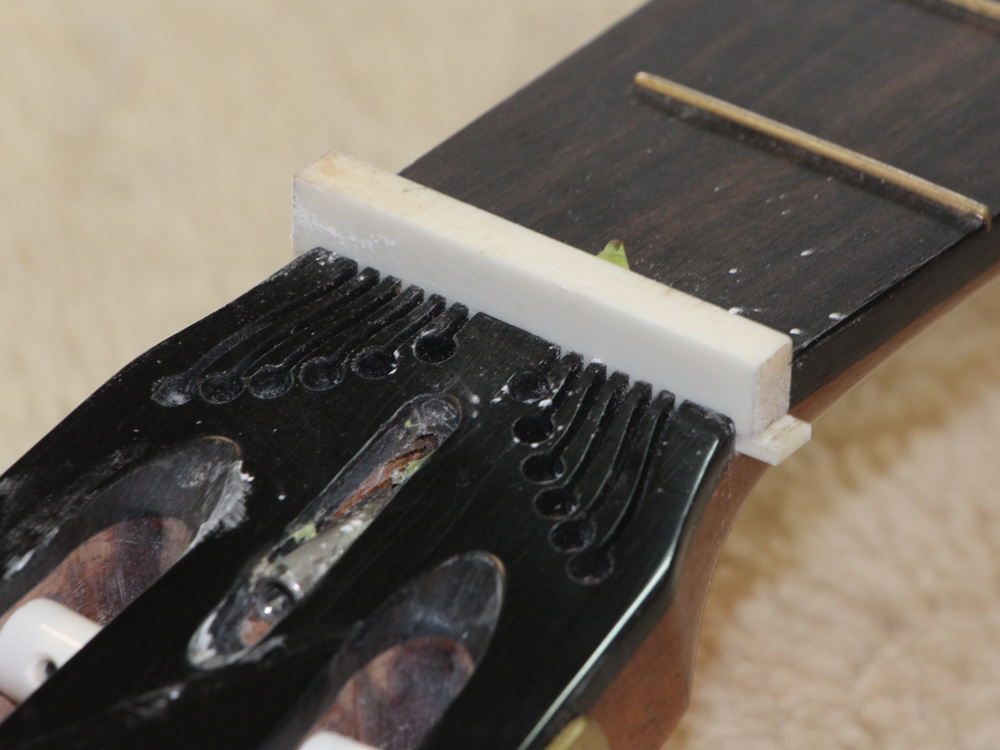
This is the sub-nut for the sympathetic strings.
 ( 312 ) March 31-2016
The standard nut sits on top of the sub-nut
 ( 313 ) March 31-2016
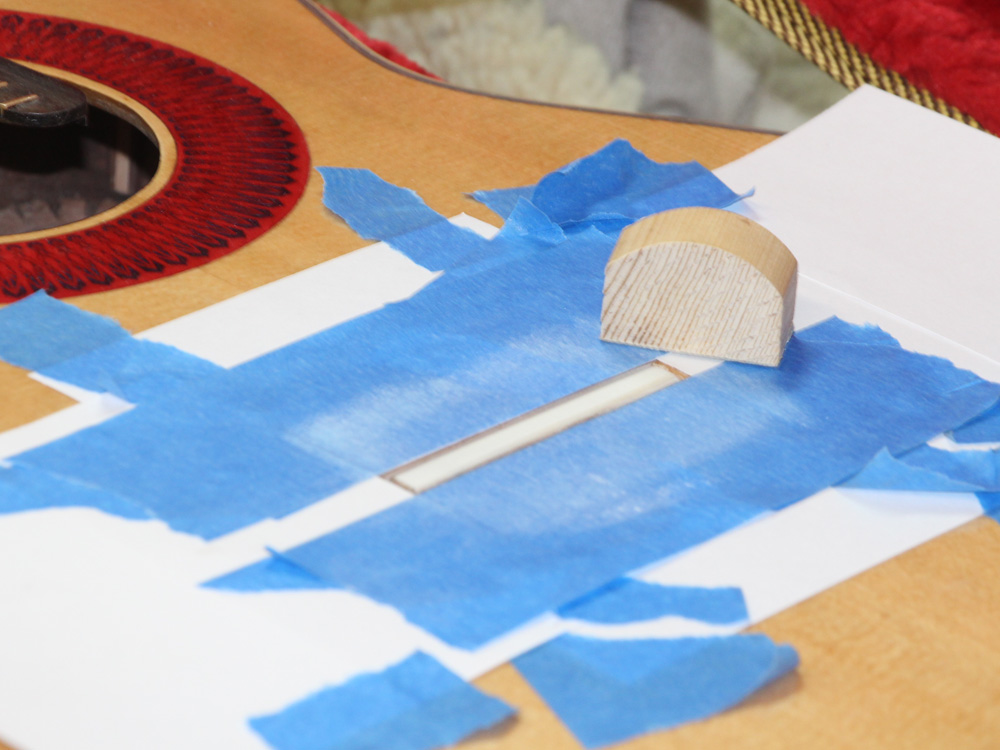
And at this point I sand the sub-bridge flush to the top.
 ( 314 ) March 31-2016
The underside of the bridge is hollowed out to accommodate the sym-strings. It is critical that the top of the guitar and the bridge for the sym-strings are completely isolated from each other. If they touch, the top will stop vibrating... don't want that.
 ( 315 ) March 31-2016
 ( 316 ) March 31-2016
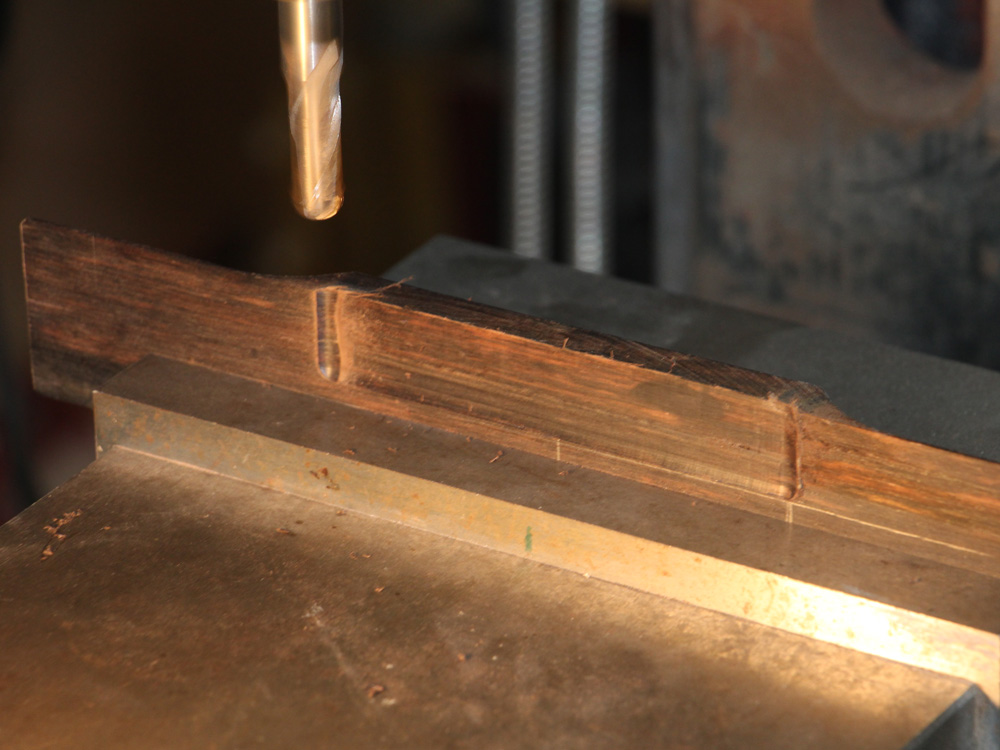
Eventuallly, we will have to open up this slot to accommodate the flex in the top when the strings are installed.
 ( 317 ) March 31-2016
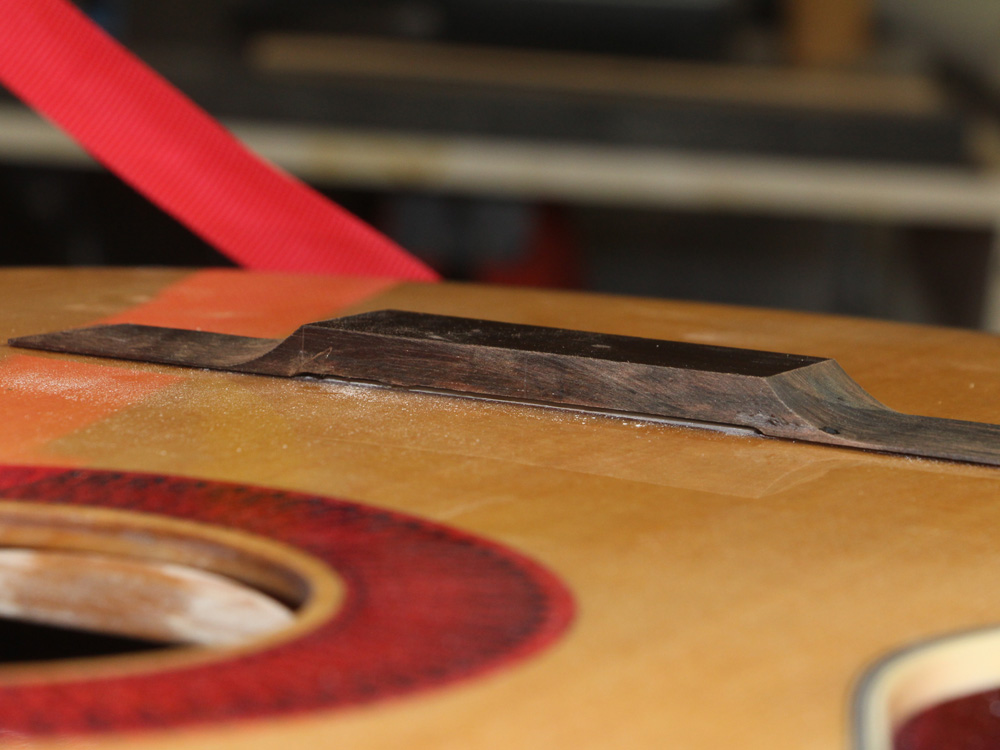
Now I can finish shaping the bridge.
 ( 318 ) March 31-2016
 ( 319 ) March 31-2016
After I finishing the bridge I test it for fit.
 ( 320 ) March 31-2016
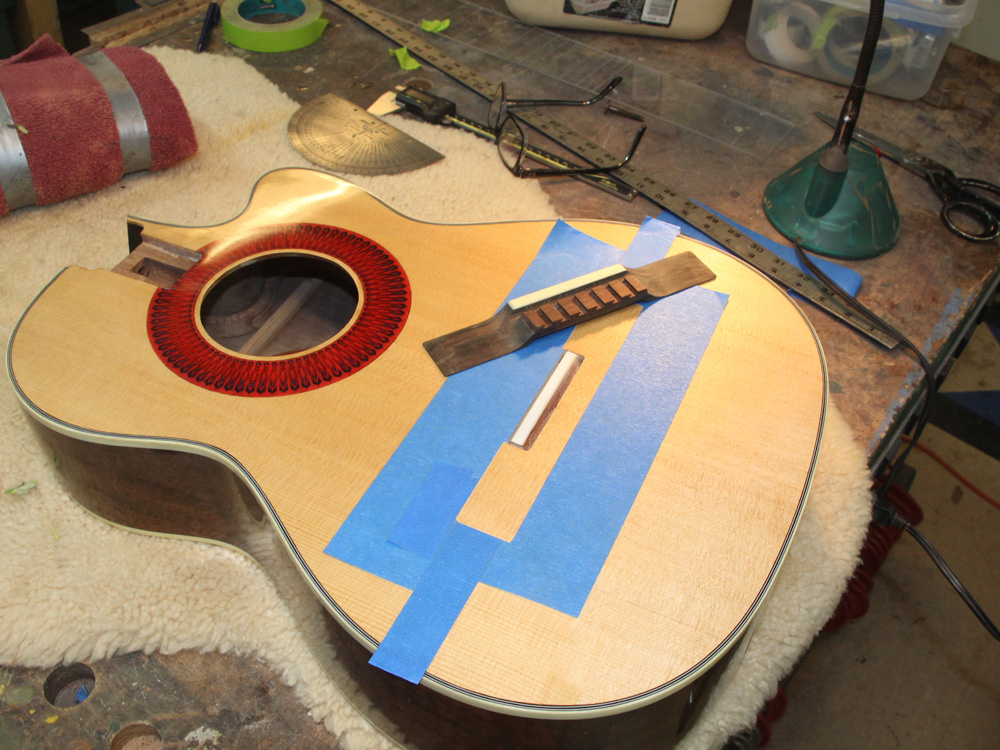
I tape off the bridge area and set the position of the bridge.
 ( 321 ) March 31-2016
And then I score the top around the perimeter of the bridge with an exacto knife.
 ( 322 ) March 31-2016
 ( 323 ) March 31-2016
Next I scrape away the finish inside the scored perimeter, leaving clean wood to glue the bridge to.
 ( 324 ) March 31-2016
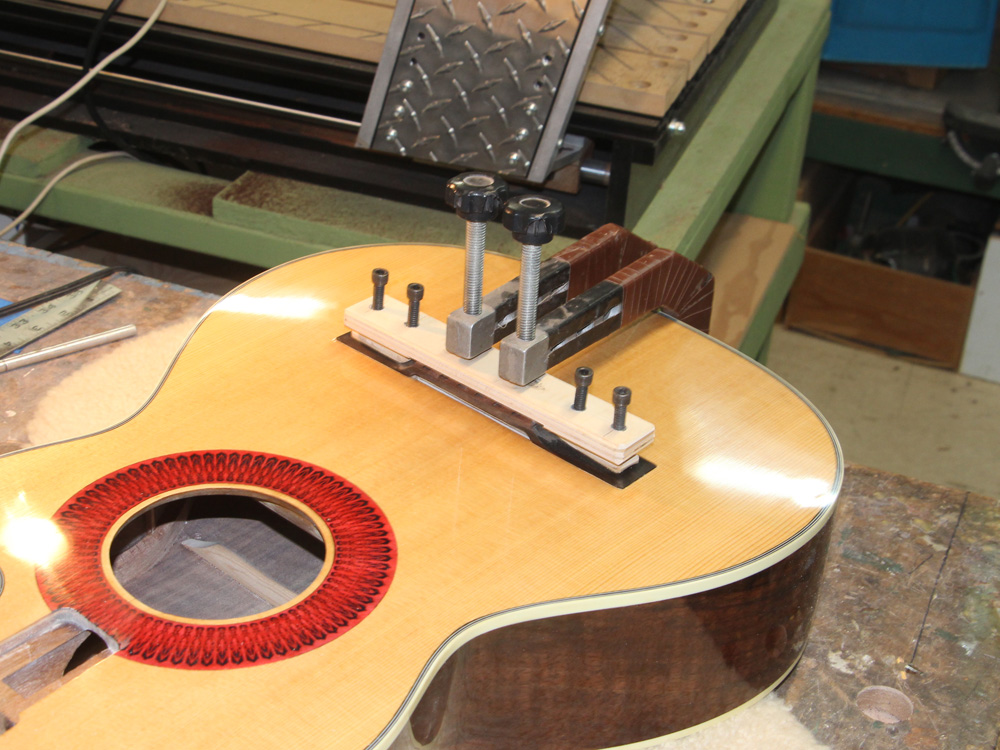
A bit of glue and a few special clamps sets the bridge in place.
 ( 325 ) March 31-2016
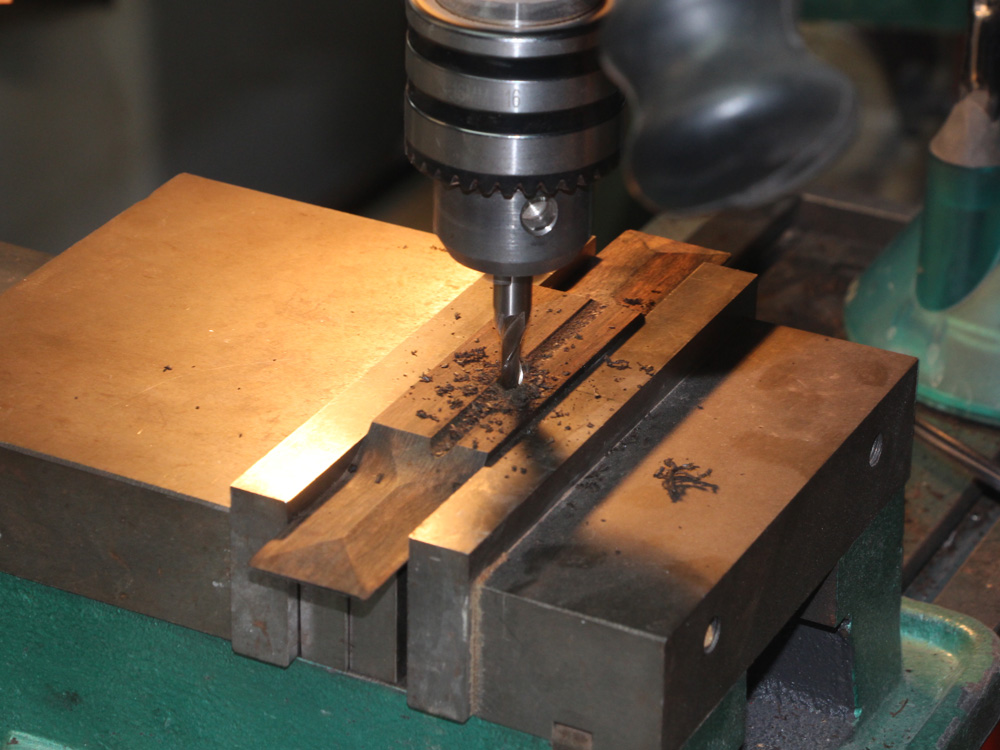
I use my milling machine and a diamond blade to score the position of the strings on the nut.
 ( 326 ) March 31-2016
And after a bit of work I have everything set up.
 ( 327 ) March 31-2016
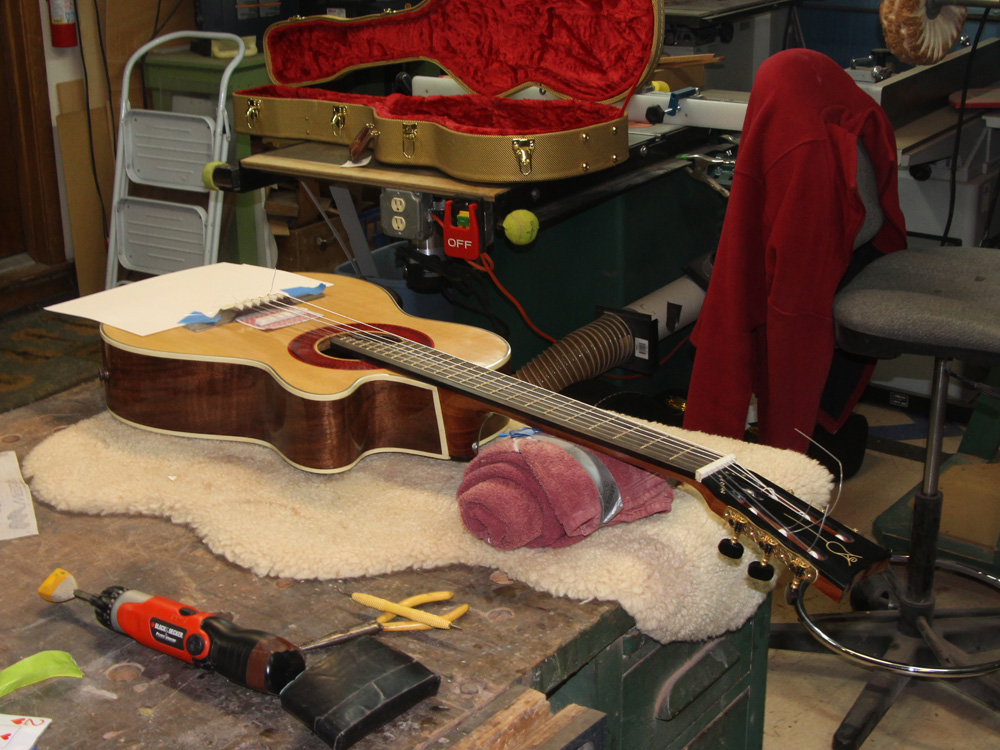
There will be a period of "dialing in the system" as this is a rather complex instrument.
 ( 328 ) March 31-2016
Ben giving it its first test ride.
 ( 329 ) March 31-2016