 ( 251 ) 4-Jan-15
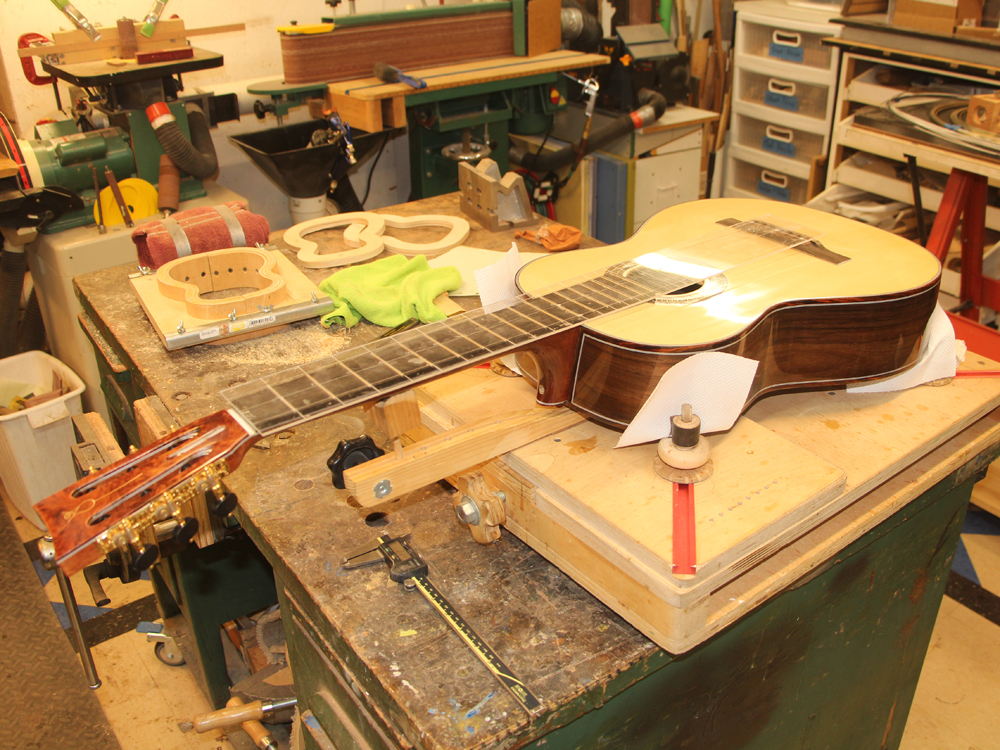
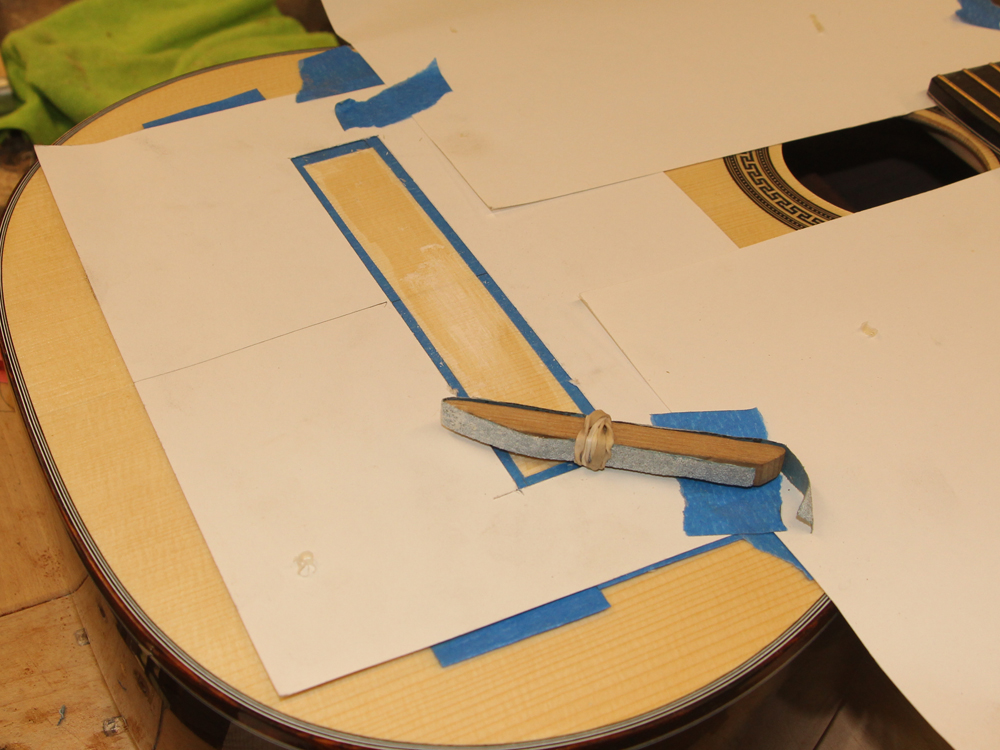
Now with finish more or less complete I have assembled the neck and body and use a template to position the bridge.
( 251 ) 4-Jan-15
Now with finish more or less complete I have assembled the neck and body and use a template to position the bridge.
 ( 252 ) 4-Jan-15
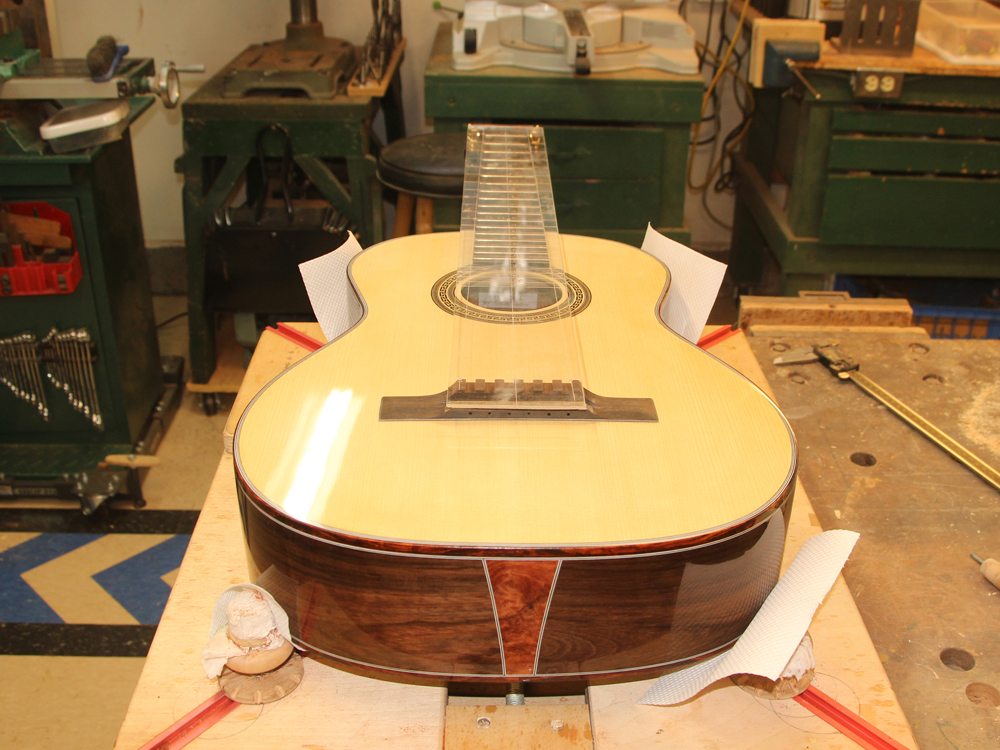
Fortunately with the split saddle adjustable bridge the position has a bit of latitude.
 ( 253 ) 4-Jan-15
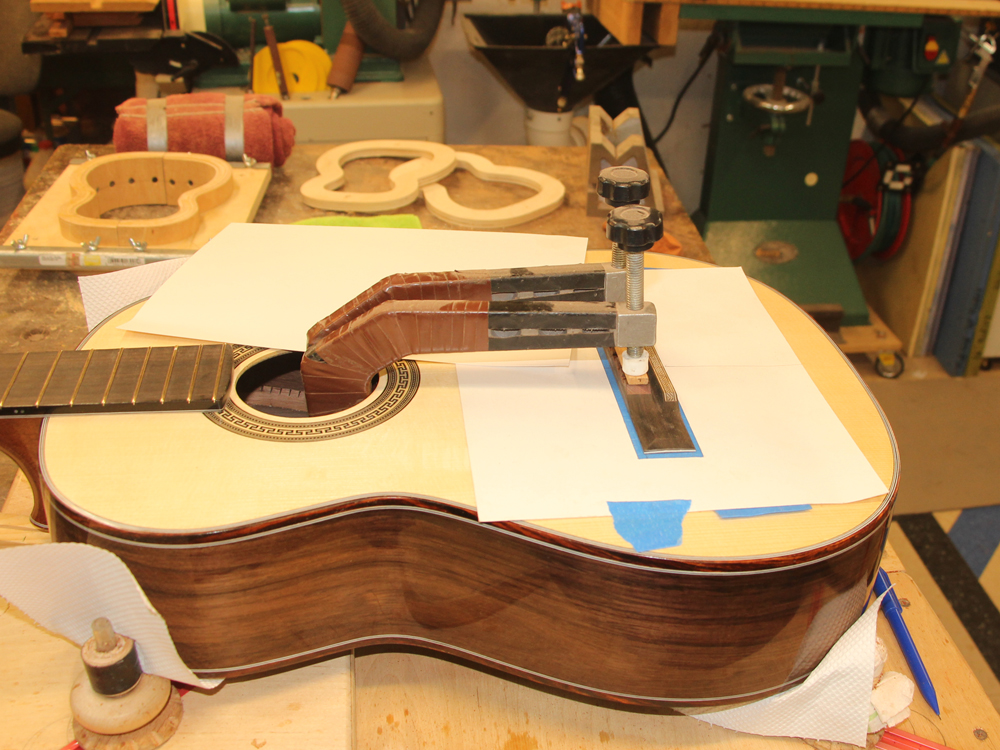
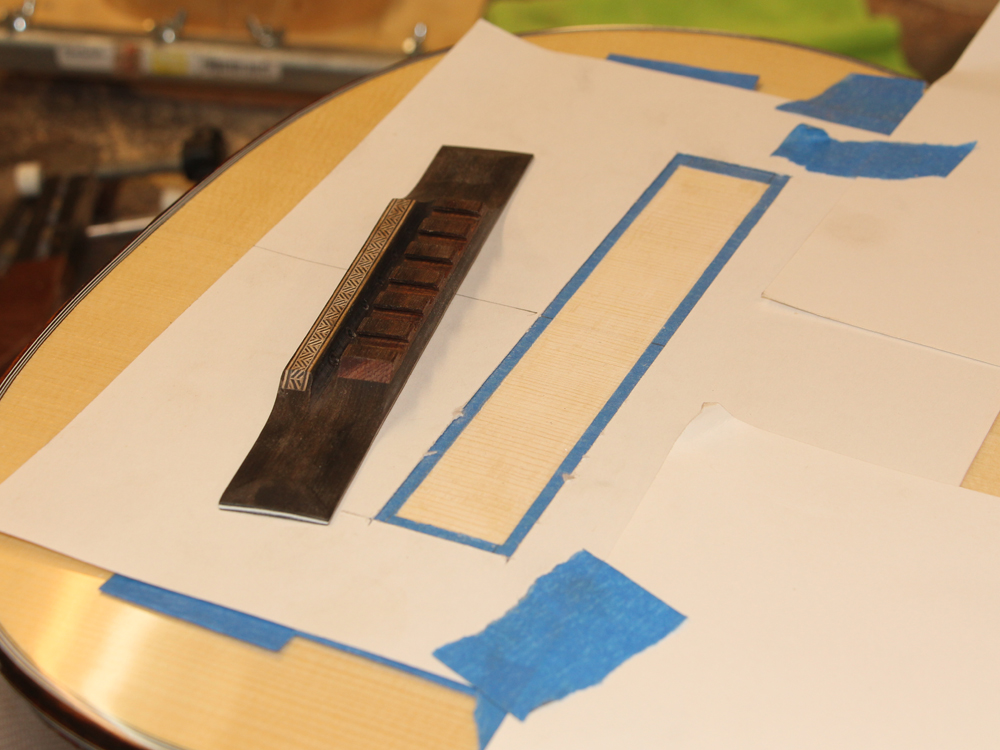
Once I am happy with the position I clamp the bridge in place on top of a piece of masking tape.
 ( 254 ) 4-Jan-15
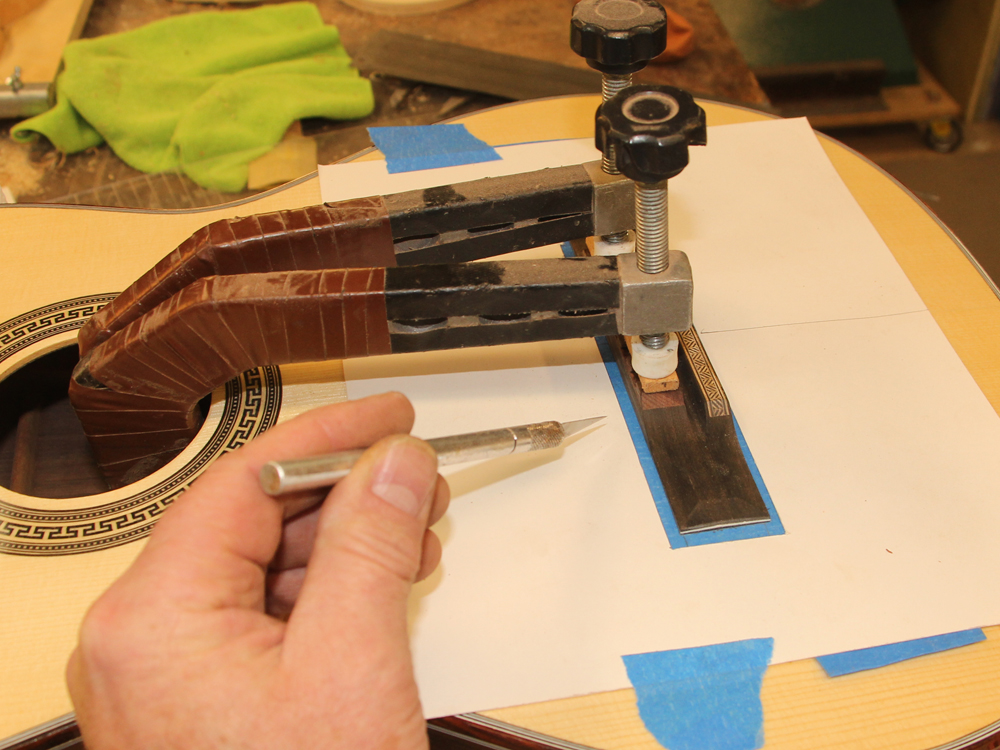
I use a sharp blade to cut around the perimeter.
 ( 255 ) 4-Jan-15
Now I carefully remove the finish where the bridge will be glued to the top.
 ( 256 ) 4-Jan-15
With a little care, the bridge will drop right into place.
 ( 257 ) 4-Jan-15
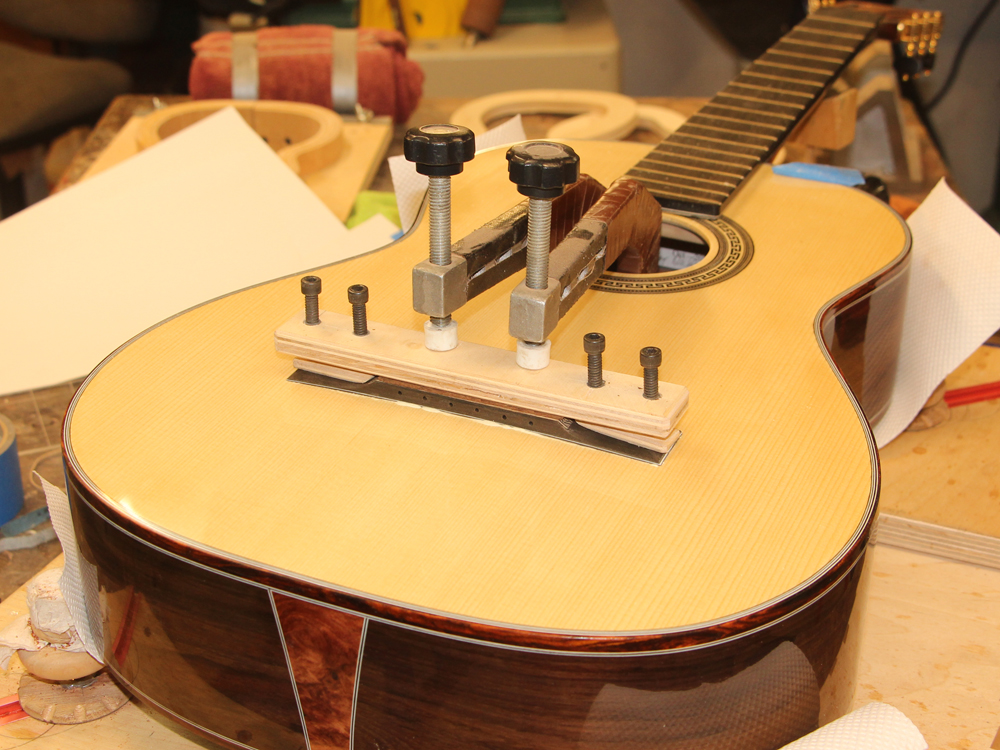
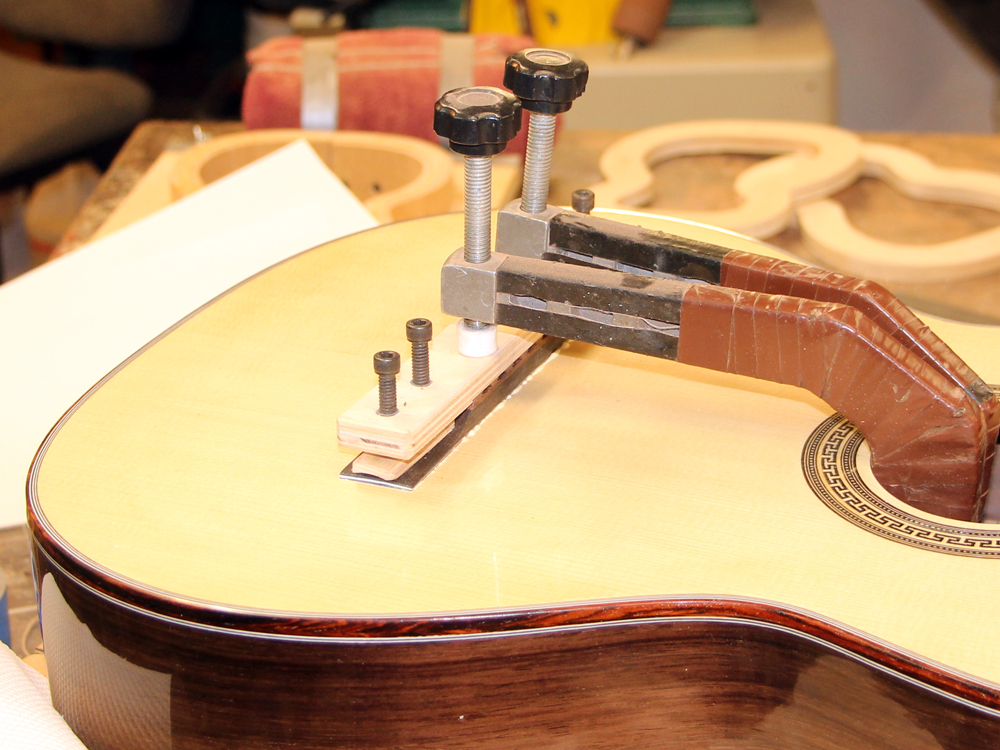
A bit of glue and with the use of a special set of clamps I attach the bridge to the top.
 ( 258 ) 4-Jan-15
After I tighten everything down I clean up the squeeze out with a bit of water and a sponge.
 ( 259 ) 4-Jan-15
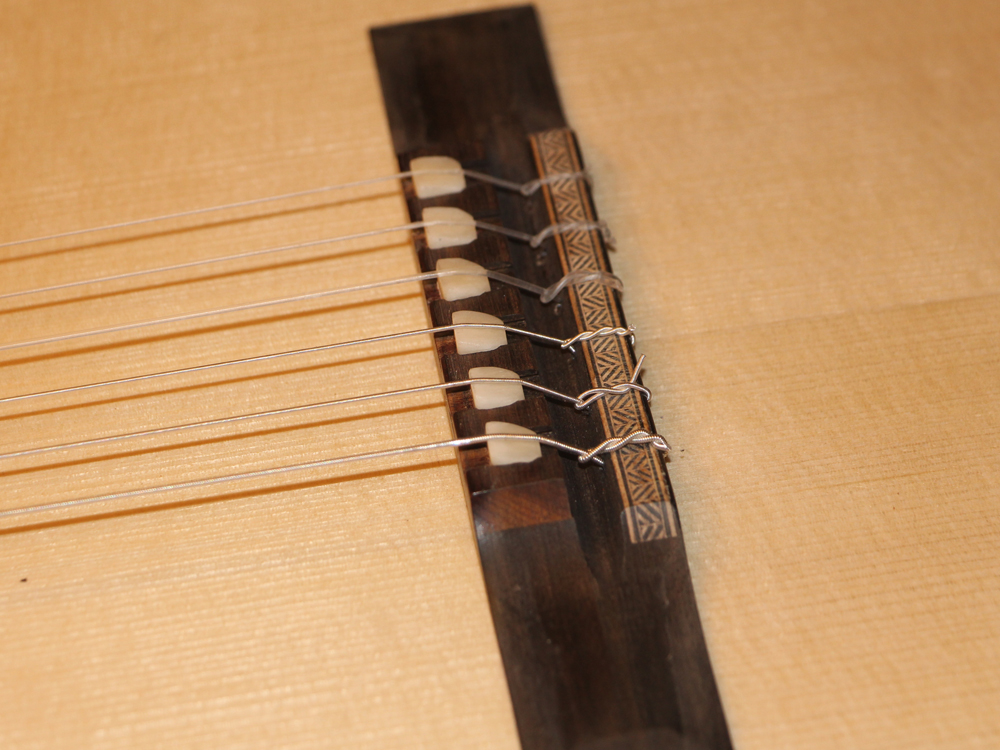
I carefully fashion the six individual saddles and the nut, install the strings and I get to hear the guitar for the first time.
 ( 260 ) 4-Jan-15
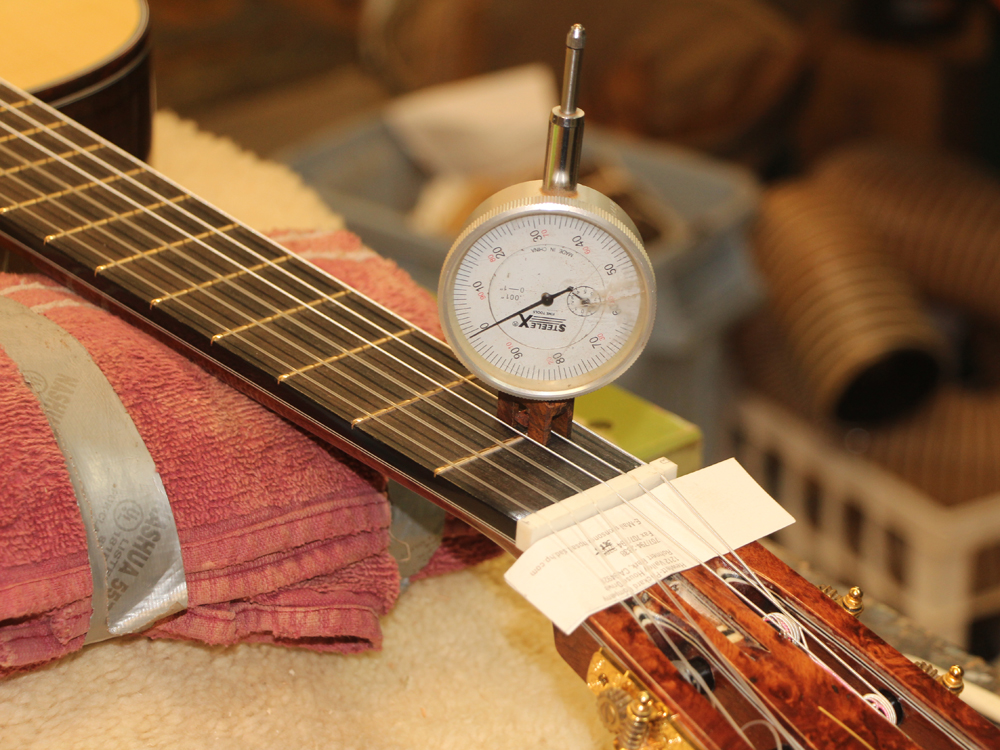
I use this modified dial caliper to measure the string height.
 ( 261 ) 4-Jan-15
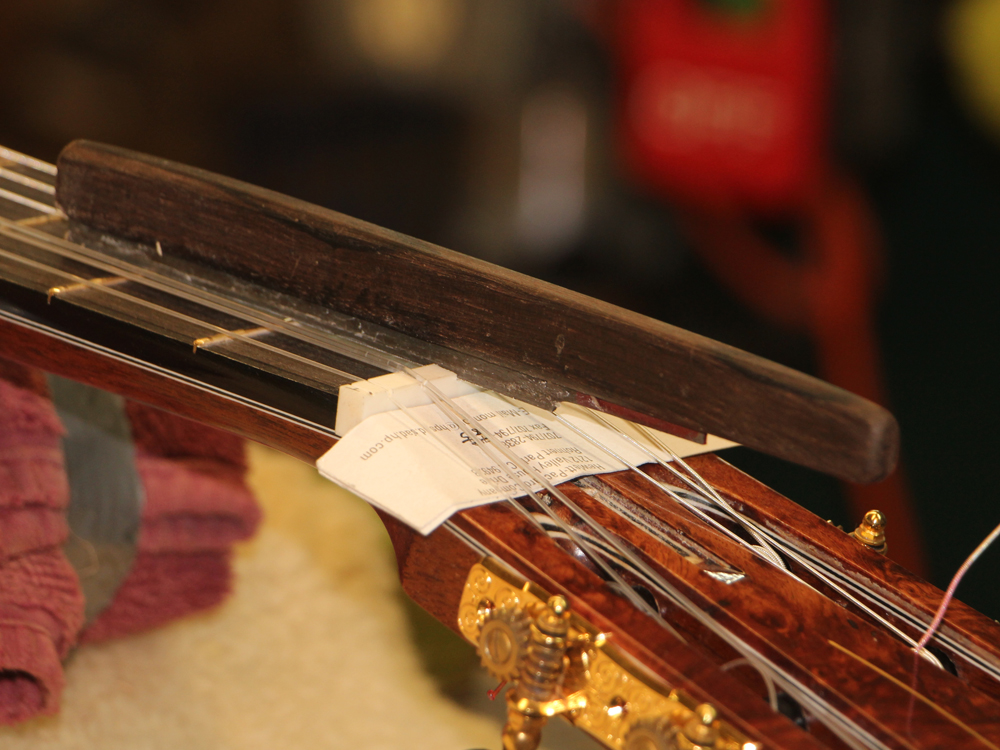
And I use a special set of files to lower the action when needed.
 ( 262 ) 4-Jan-15
I have a variety of files to help me shape the slots.
 ( 263 ) 4-Jan-15
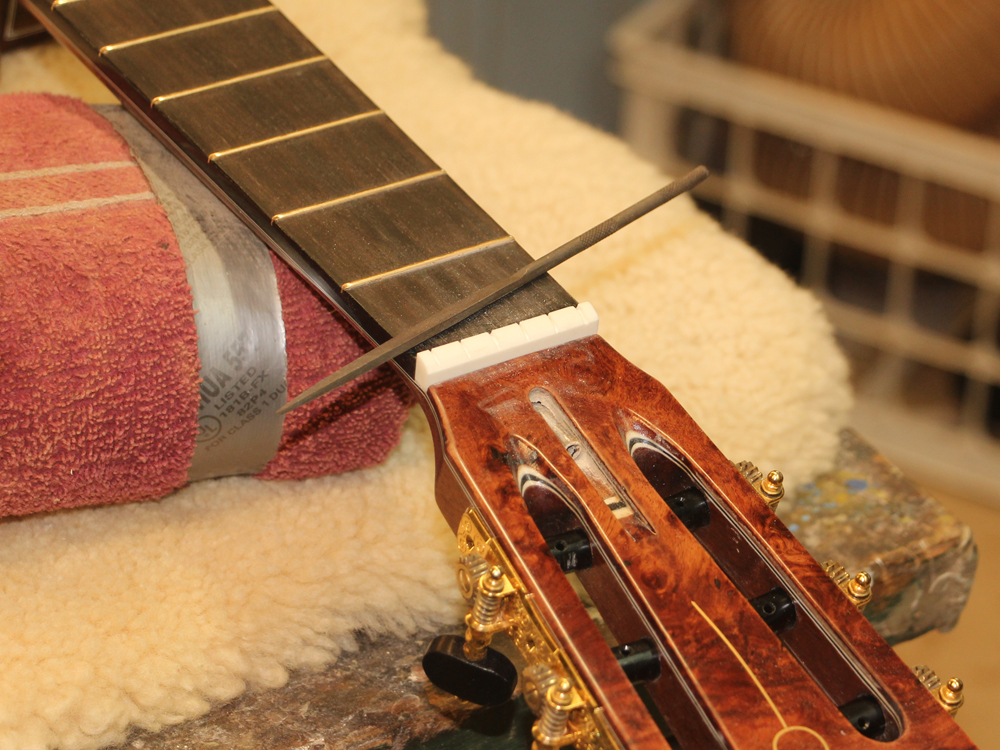
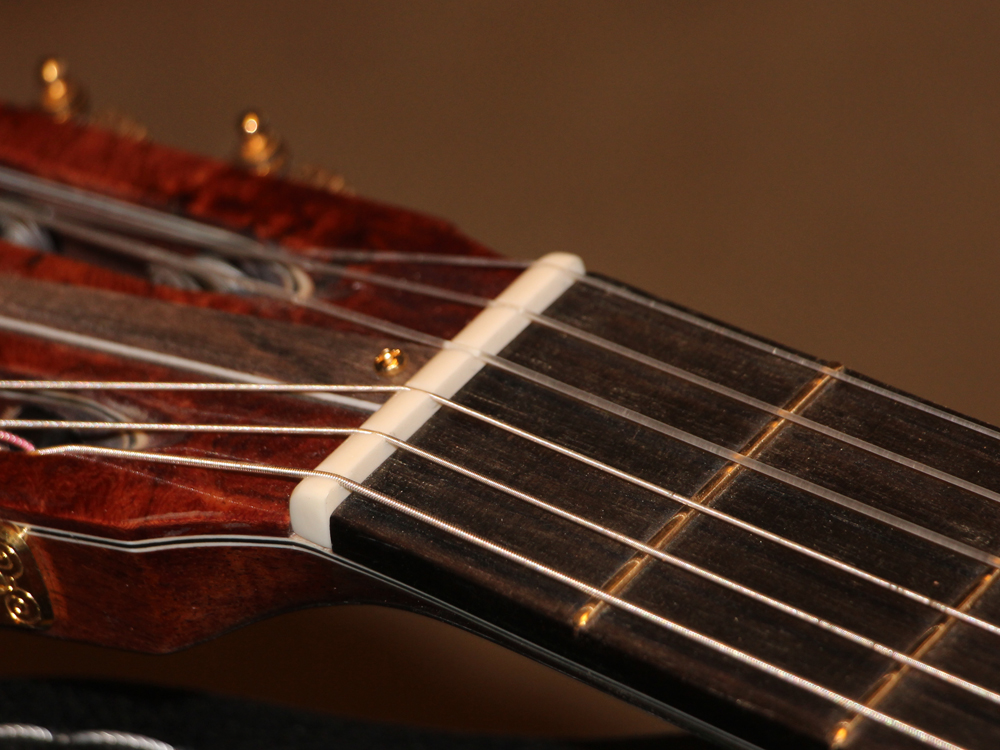
Here is the completed nut.
 ( 264 ) 4-Jan-15
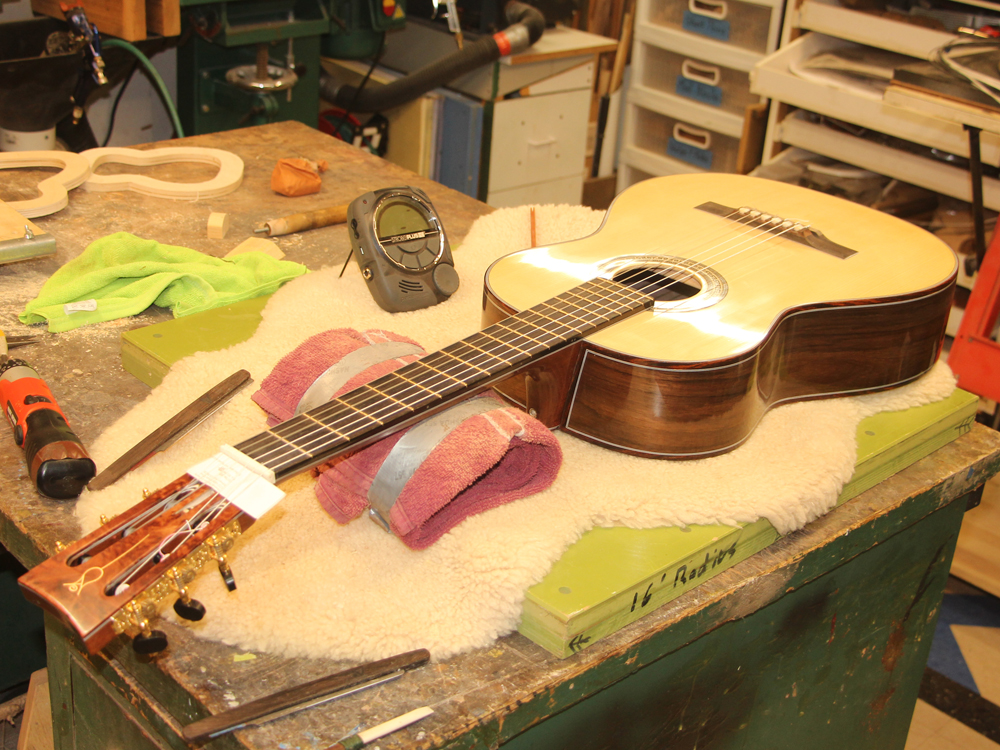
I use a strobe tuner to make adjustments to the saddles until I get the most accurate intonation for each string I can get.
 ( 265 ) 4-Jan-15
Ta Da!