 ( 001 ) 11-Oct-2013
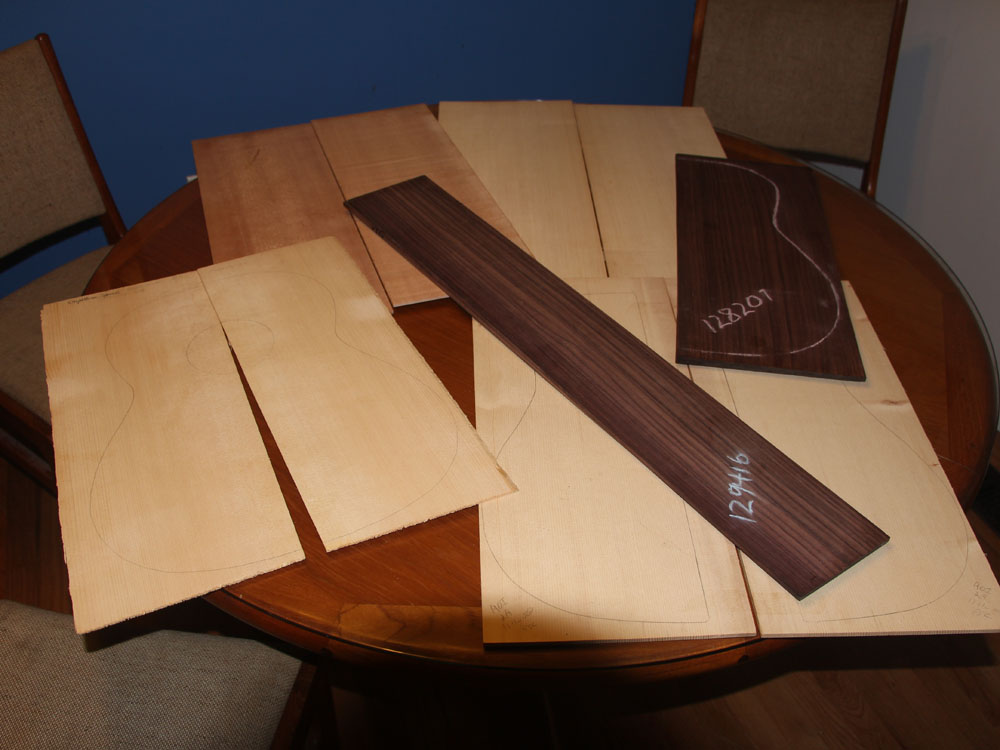
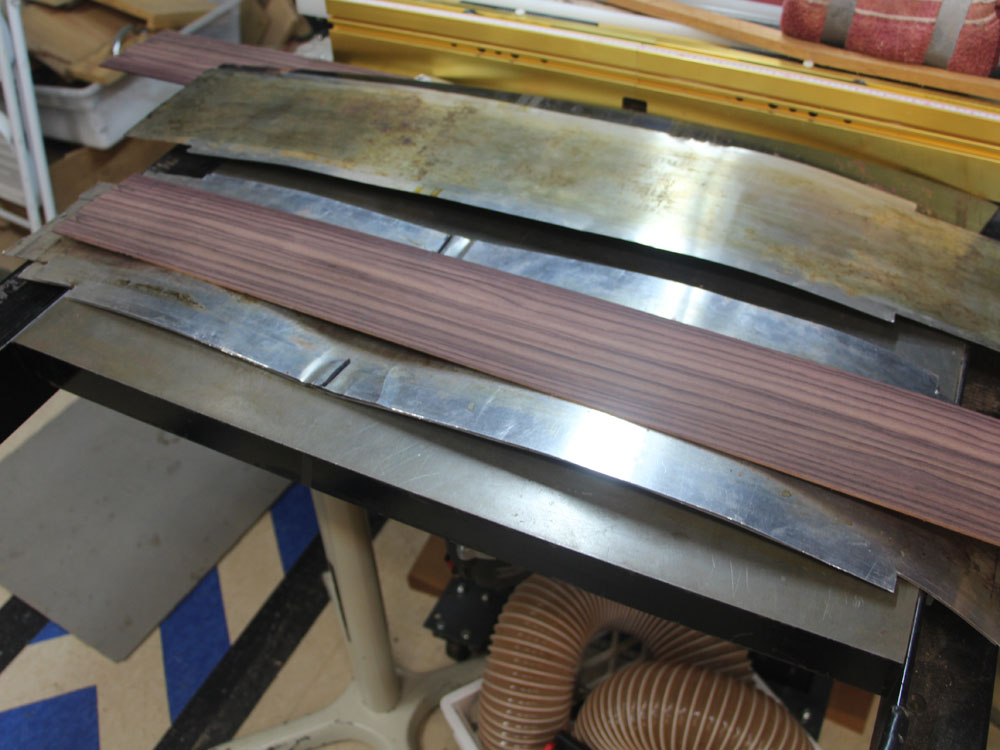
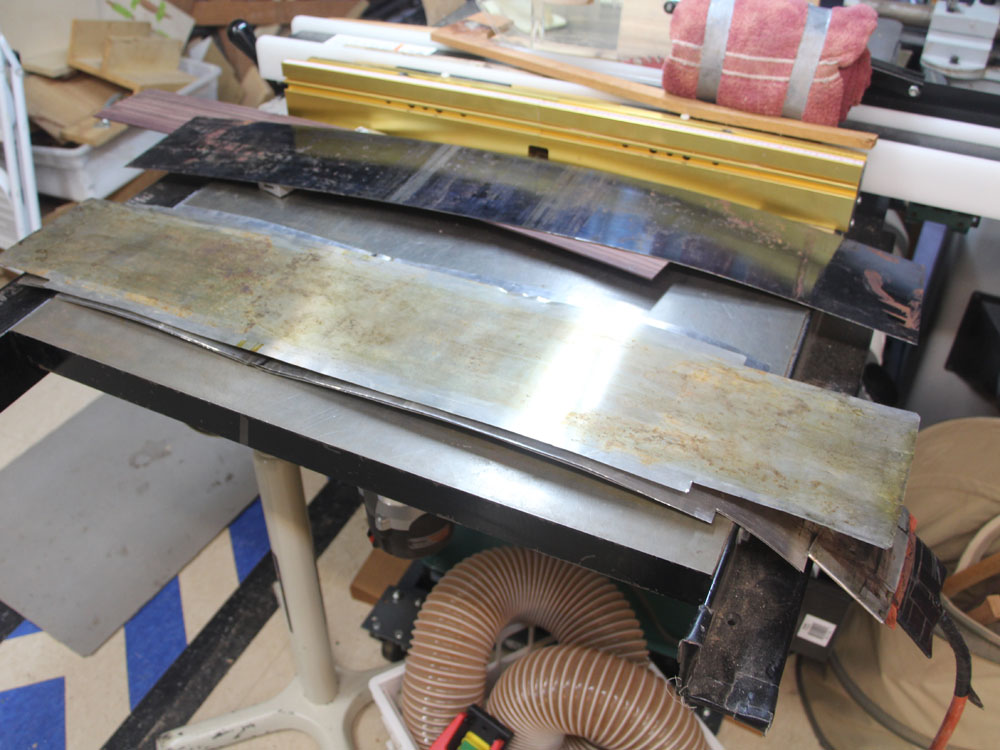
To start the build I have laid out a few options of top wood.
( 001 ) 11-Oct-2013
To start the build I have laid out a few options of top wood.
 ( 002 ) 11-Oct-2013
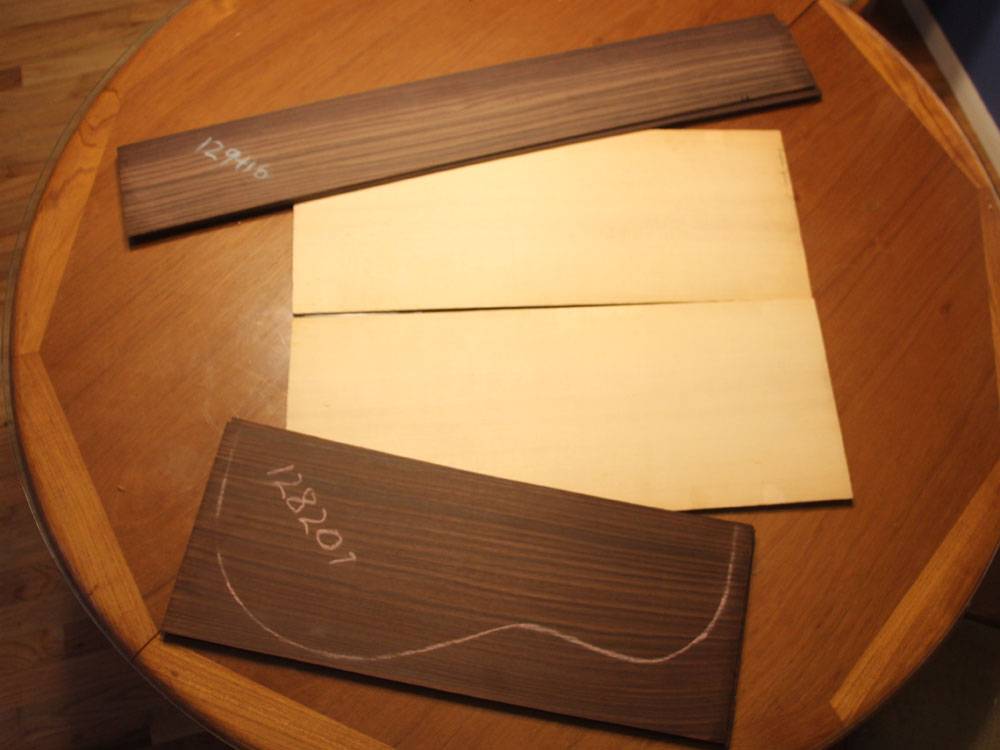
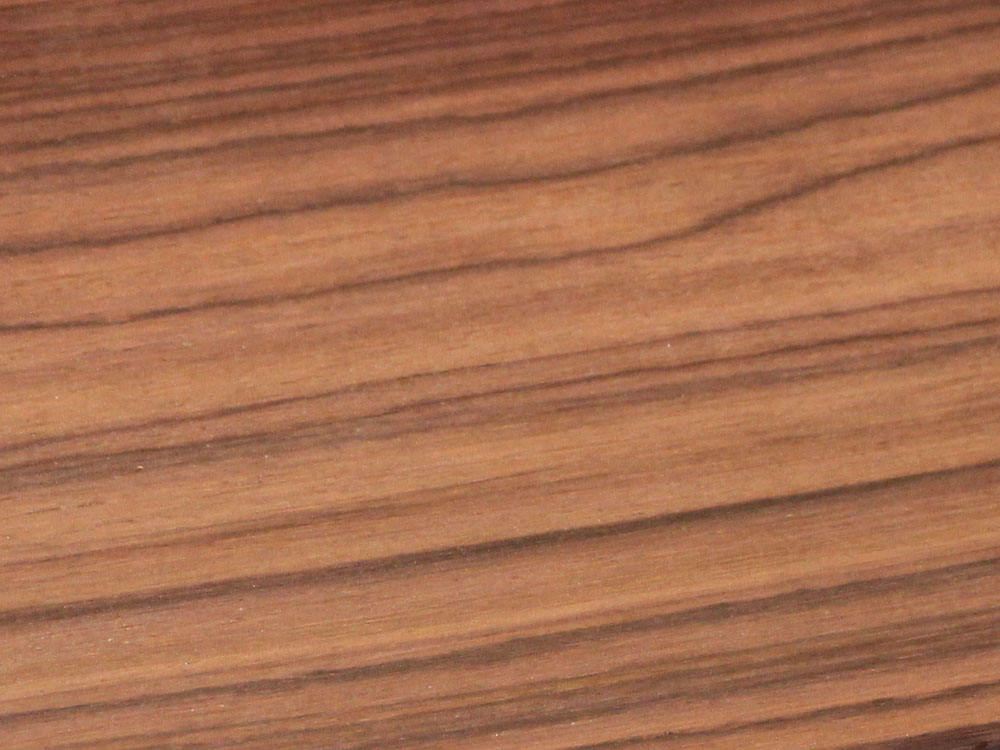
The back and sides will be made from Indian Rosewood and the top will be European Spruce.
 ( 003 ) 11-Oct-2013
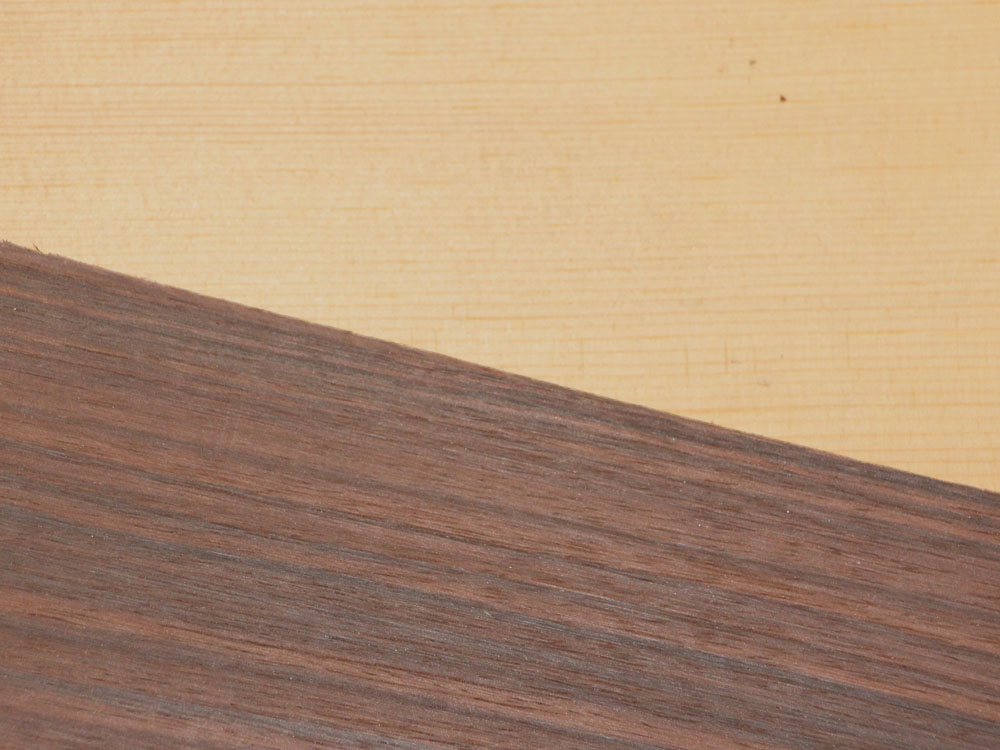
A close up of the top and back woods.
 ( 004 ) 11-Oct-2013
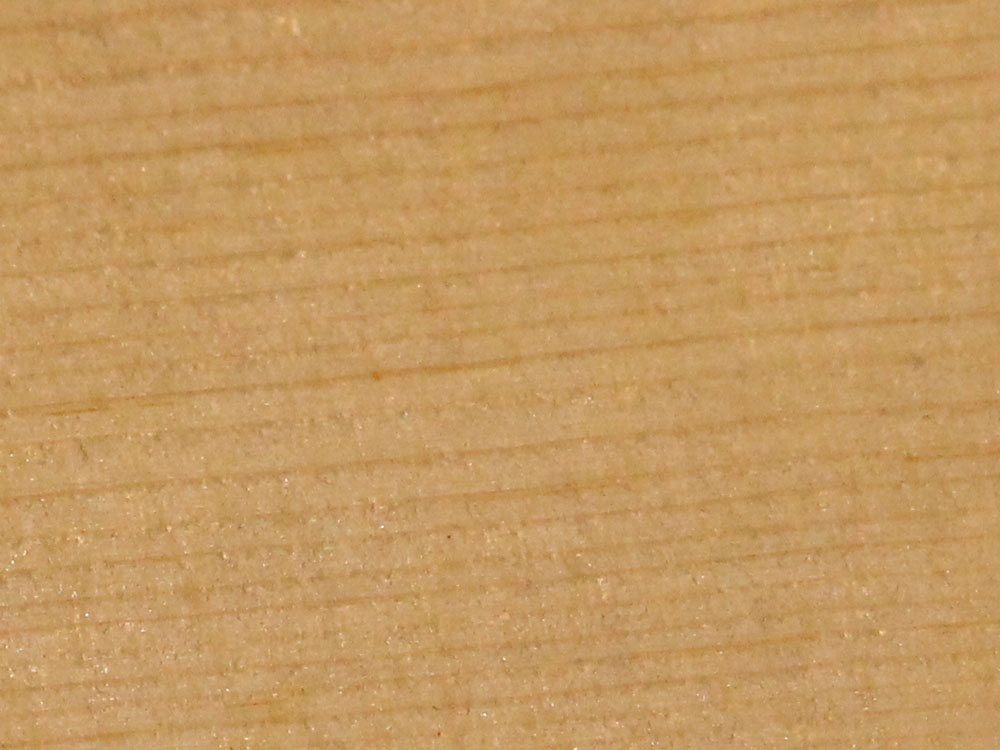
European Spruce.
 ( 005 ) 11-Oct-2013
Indian Rosewood.
 ( 006 ) 11-Oct-2013
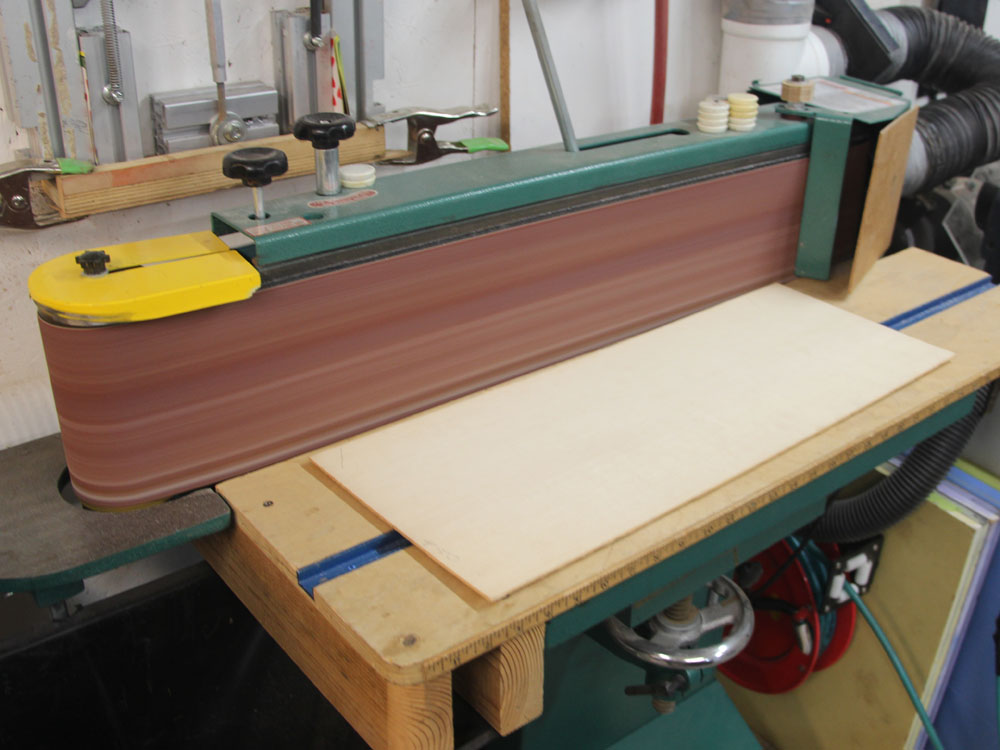
Getting ready to join them together I use the belt sander to trim the edges of the top blanks.
 ( 007 ) 11-Oct-2013
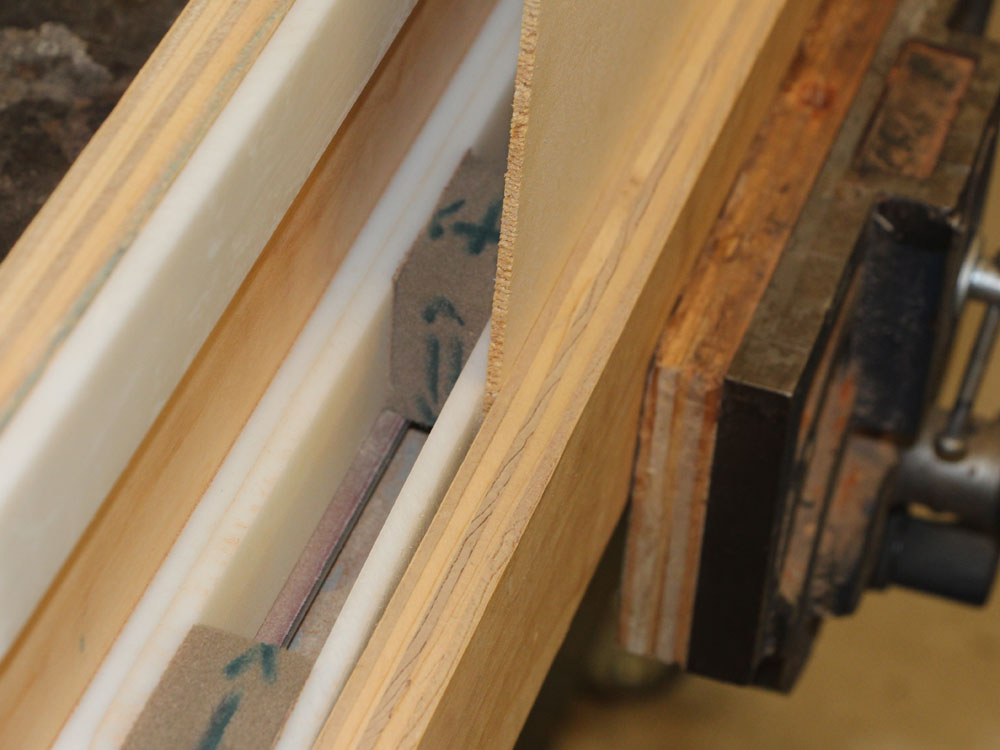
I am striving to join the top pieces together so that it is very difficult to see the joint. I use this tool to sand the edges to perfectly match each other.
 ( 008 ) 11-Oct-2013
The tool has two grits of abrasive to fine tune the edges.
 ( 009 ) 11-Oct-2013
The blanks are held perpendicular to the sanding surface.
 ( 010 ) 11-Oct-2013
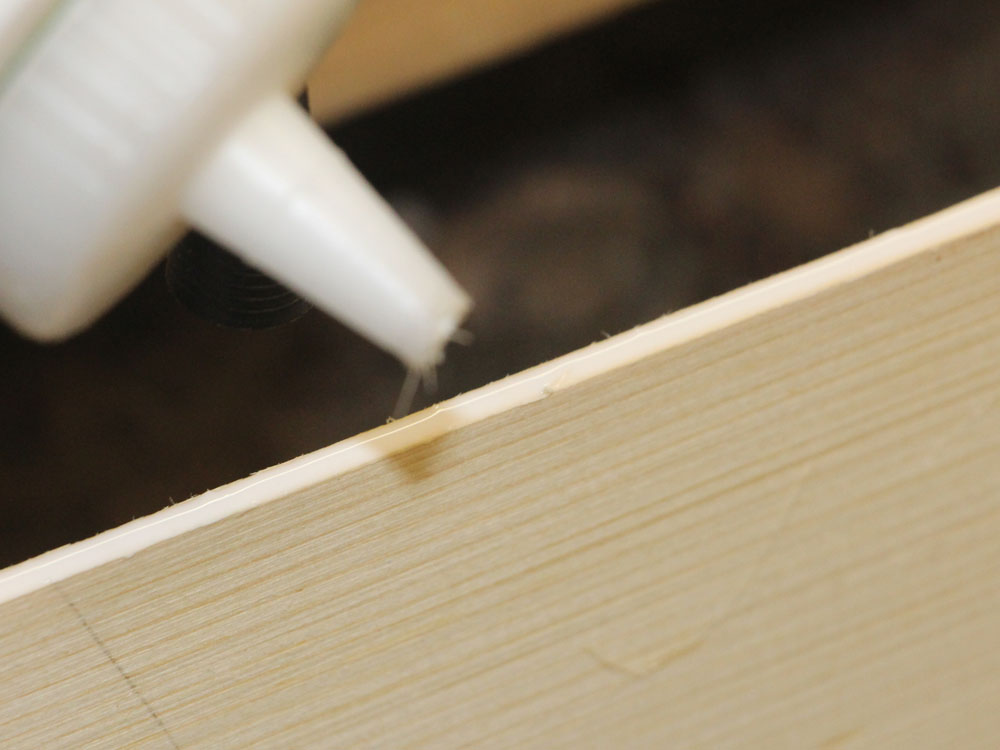
Once I am happy with the fit I apply a bead of glue.
 ( 011 ) 11-Oct-2013
I make sure I have a good even line of glue, not to much and not too little.
 ( 012 ) 11-Oct-2013
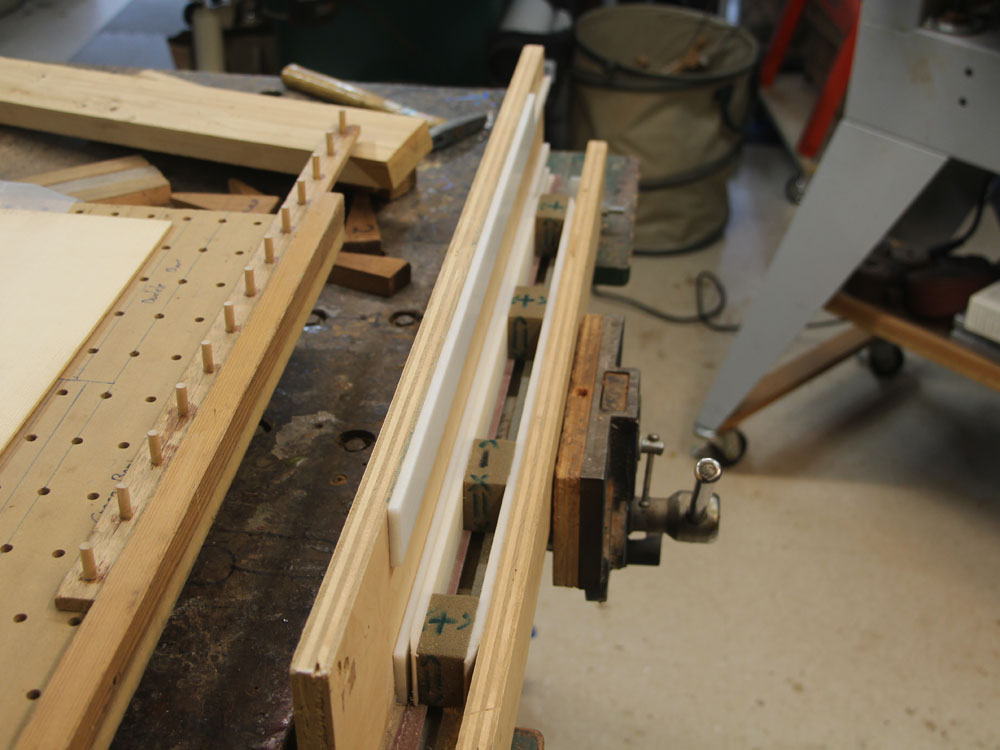
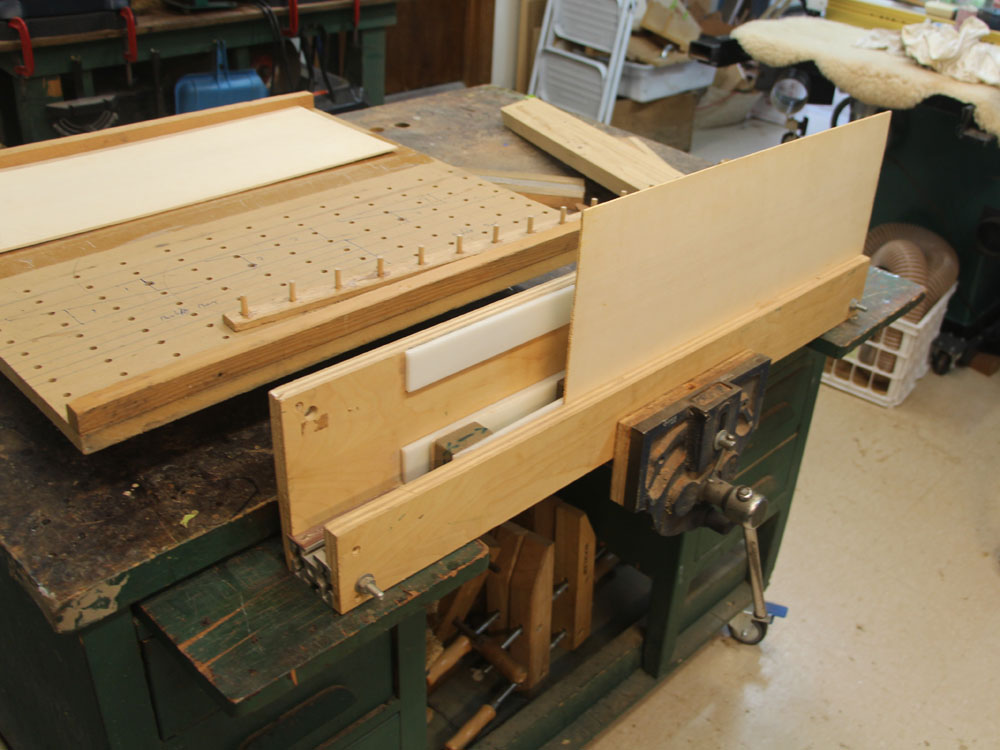
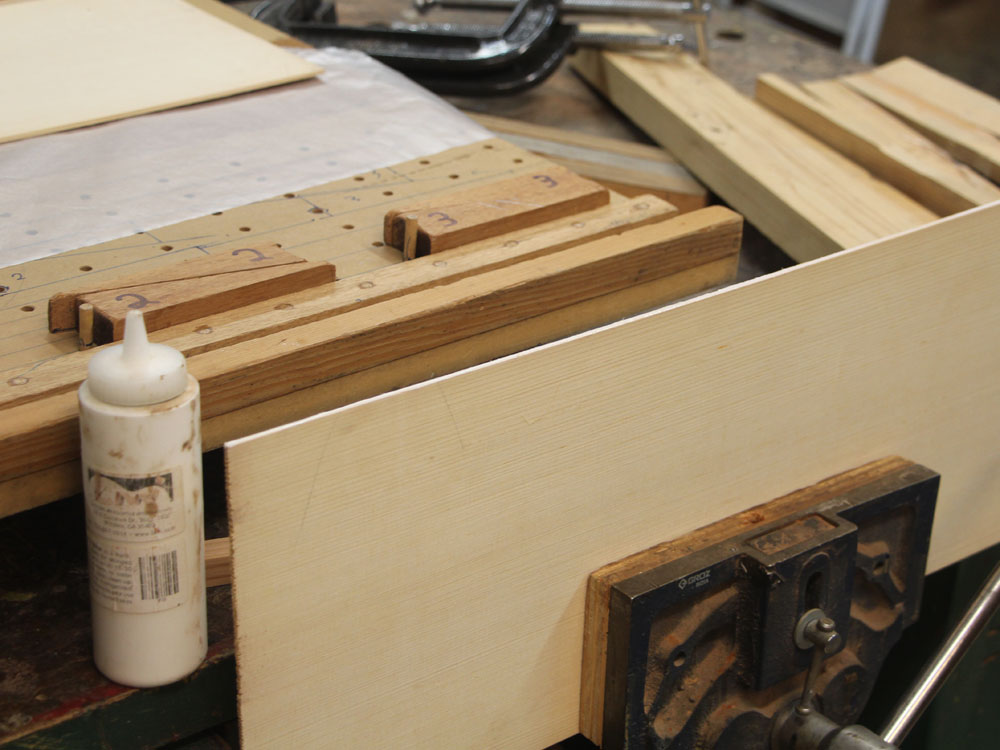
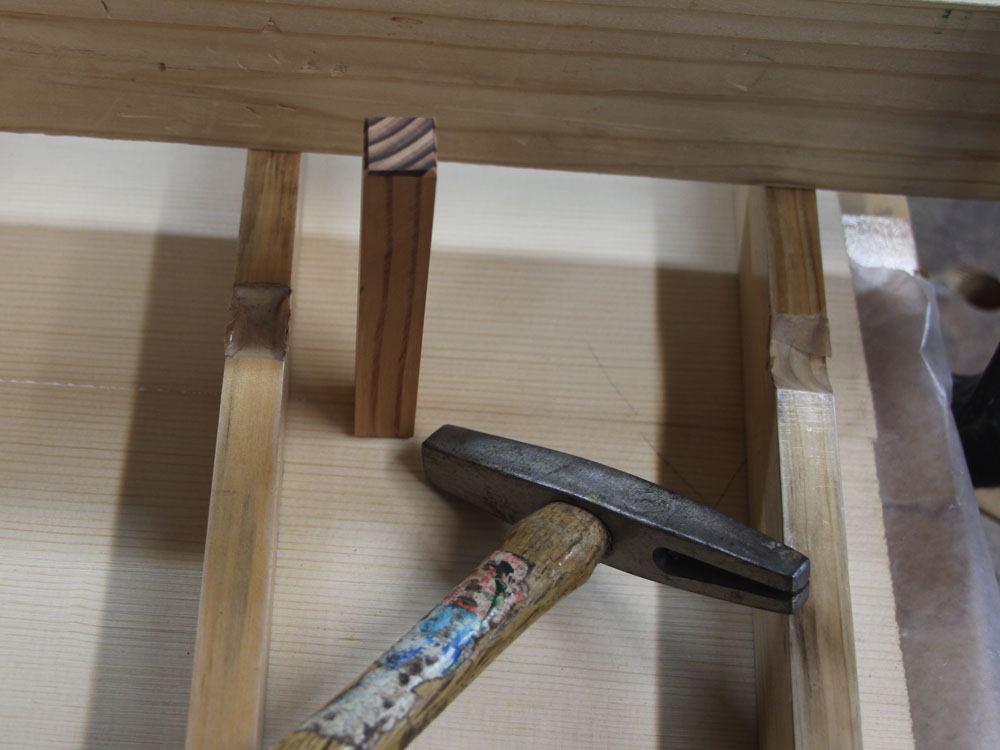
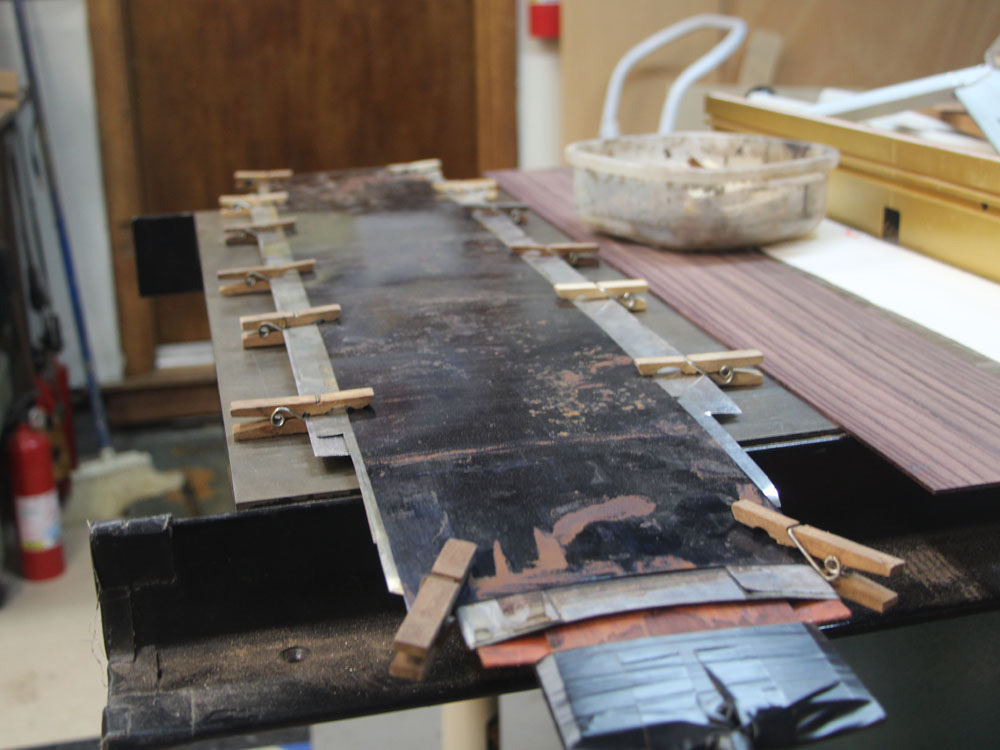
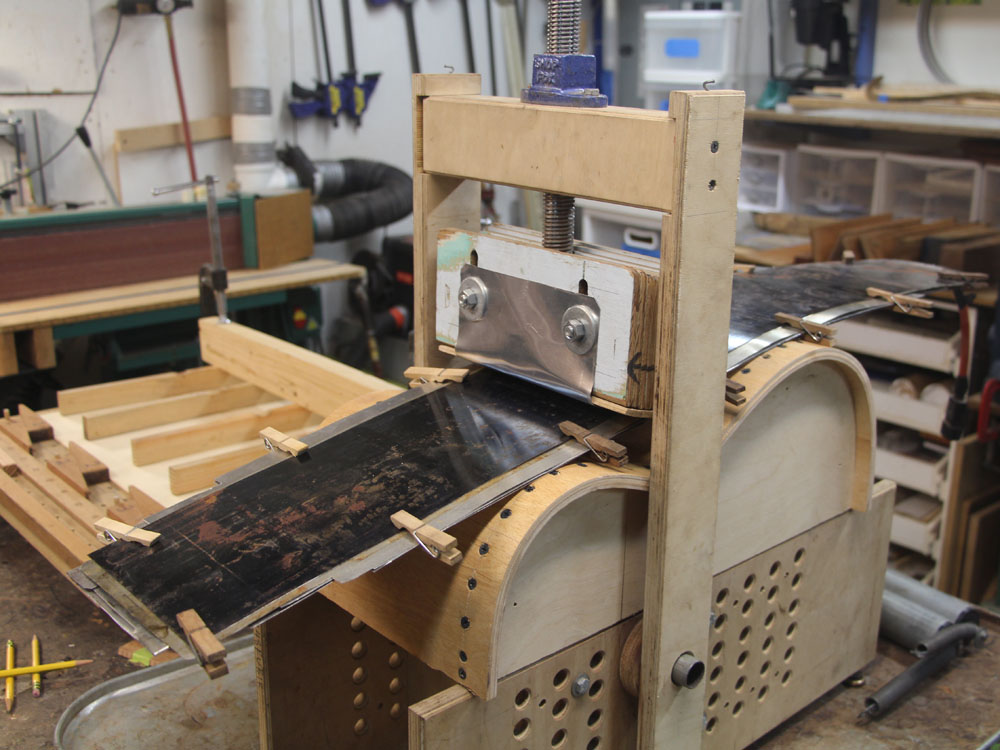
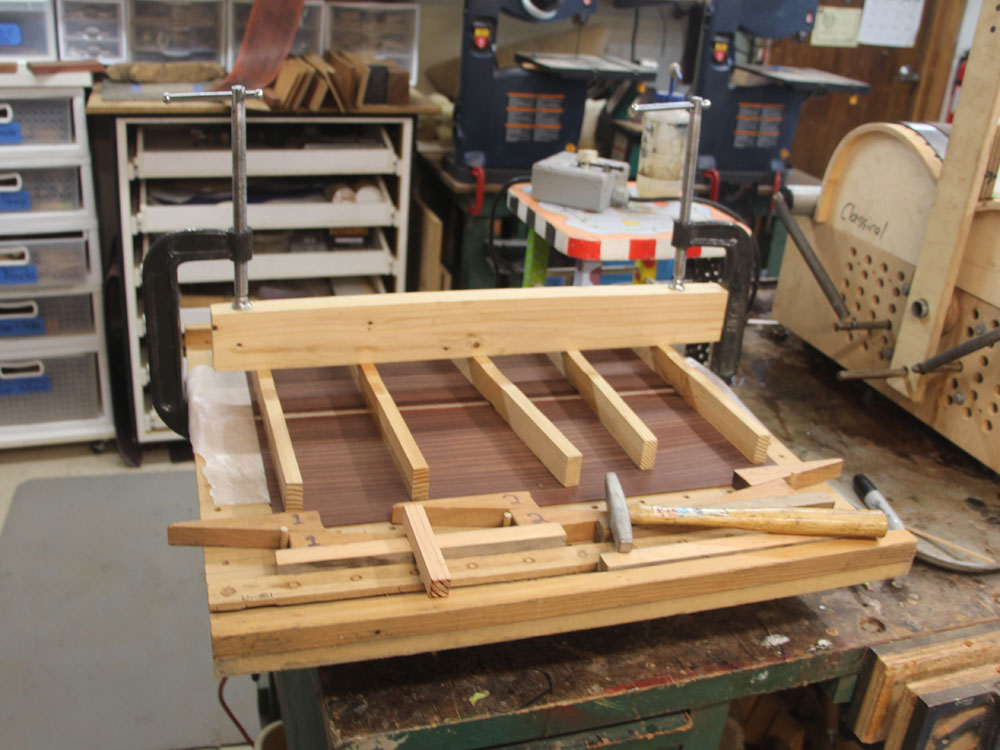
As the glue sets up I use this tool to hold the two pieces of the top flat while they are pressed together.
 ( 013 ) 11-Oct-2013
The wedges are simple and reliable means applying force.
 ( 014 ) 11-Oct-2013
Before I tighten everything up I make sure the two pieces are coplanar.
 ( 015 ) 11-Oct-2013
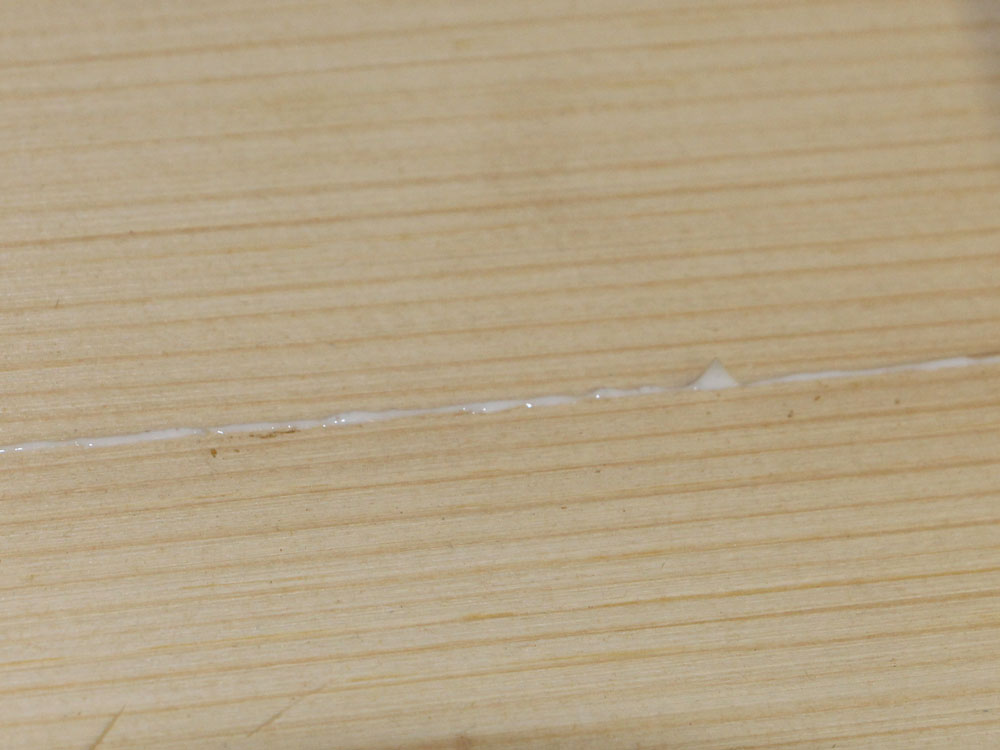
When pressed together I get a little bit of glue squeeze out.
 ( 016 ) 11-Oct-2013
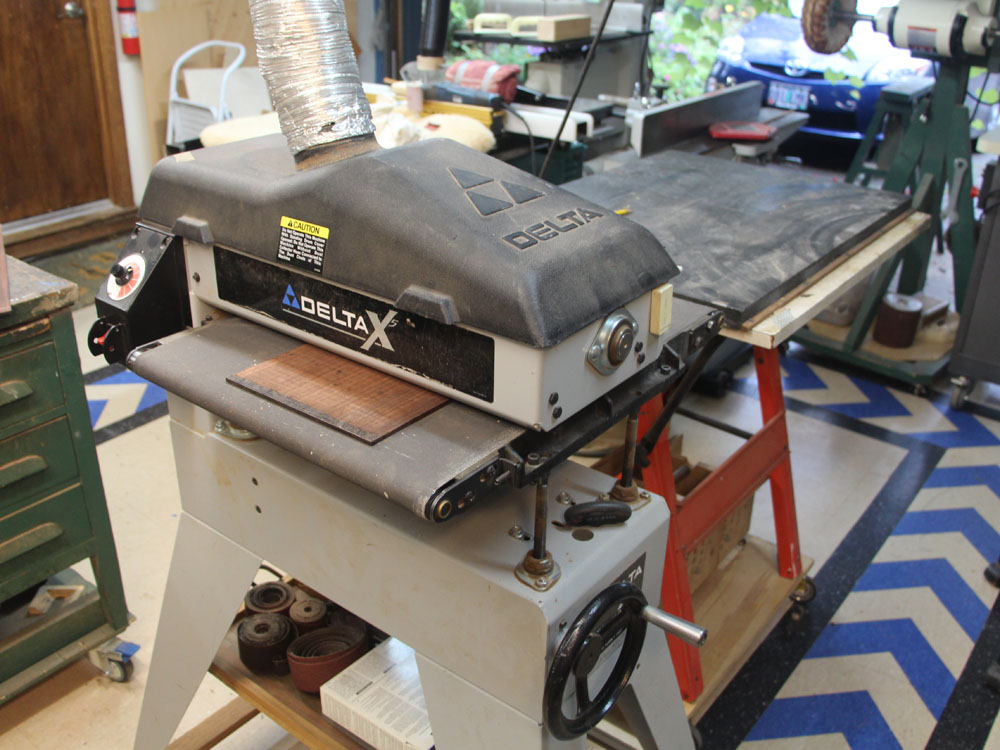
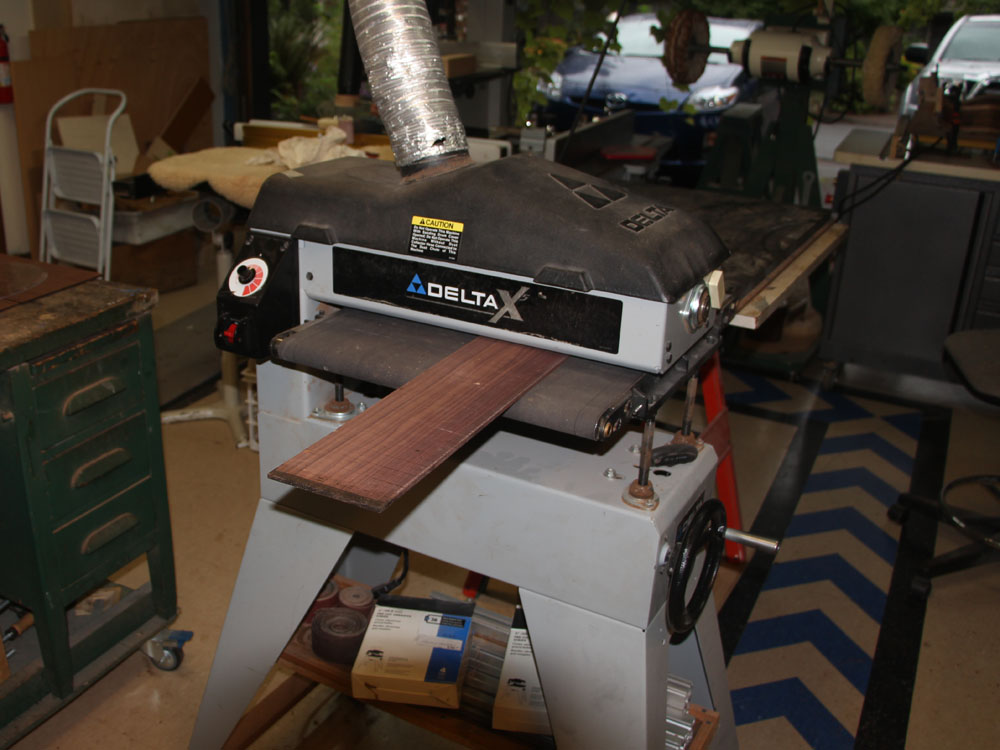
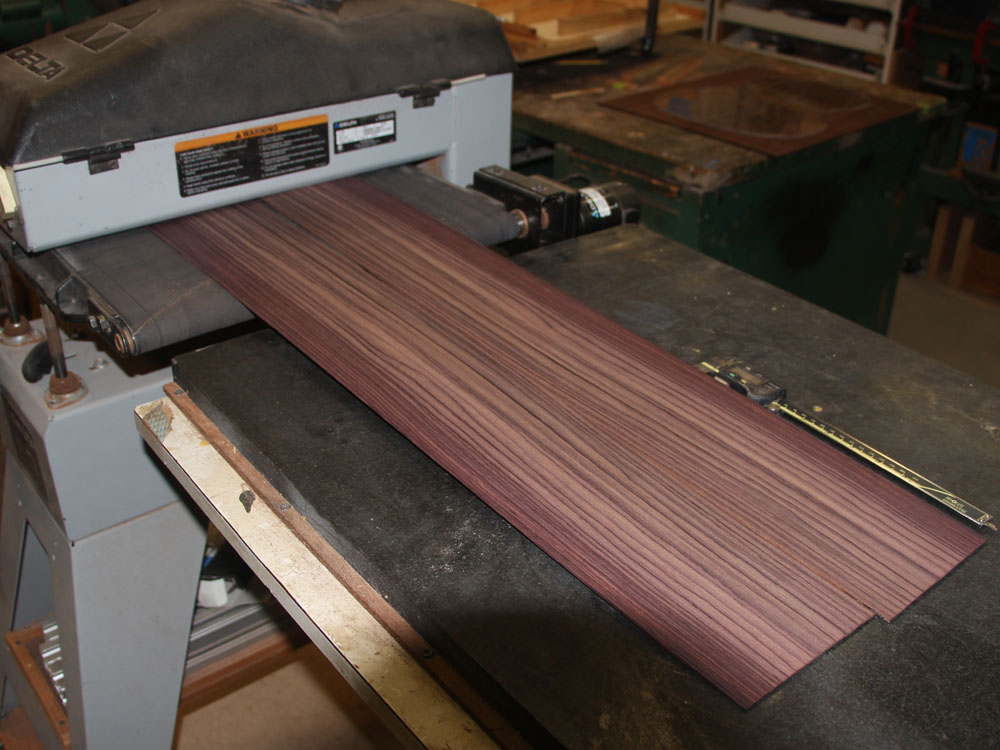
Now I turn my attention to the back pieces. Here I am using my drum sander to bring the pieces to a working thickness.
 ( 017 ) 11-Oct-2013
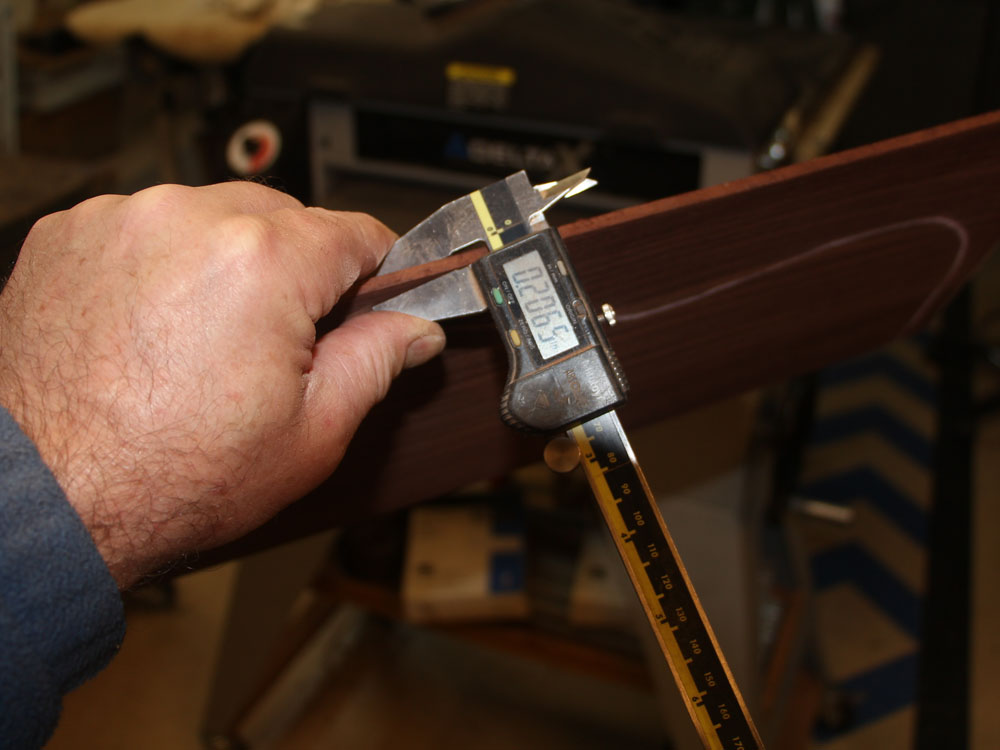
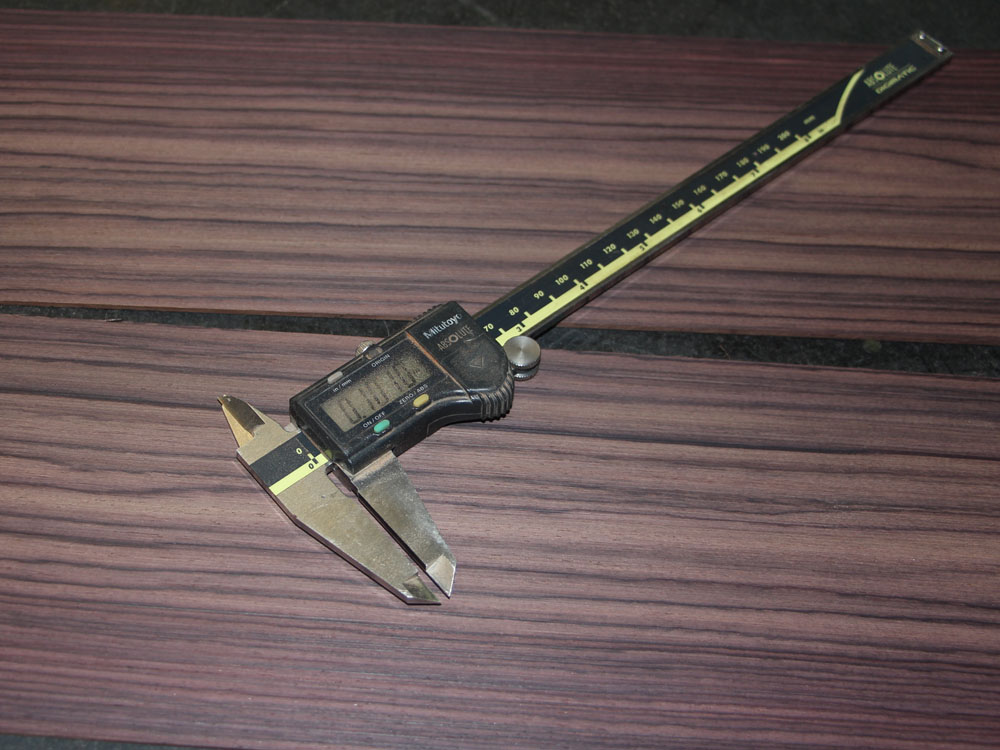
I use calipers to check the thickness.
 ( 018 ) 11-Oct-2013
The side pieces get sanded down to about 100 mils thick.
(1 mil = 0.001 inch)
 ( 019 ) 11-Oct-2013
 ( 020 ) 11-Oct-2013
I measure a lot and work very slowly with lots of passes through the sander.
 ( 021 ) 11-Oct-2013
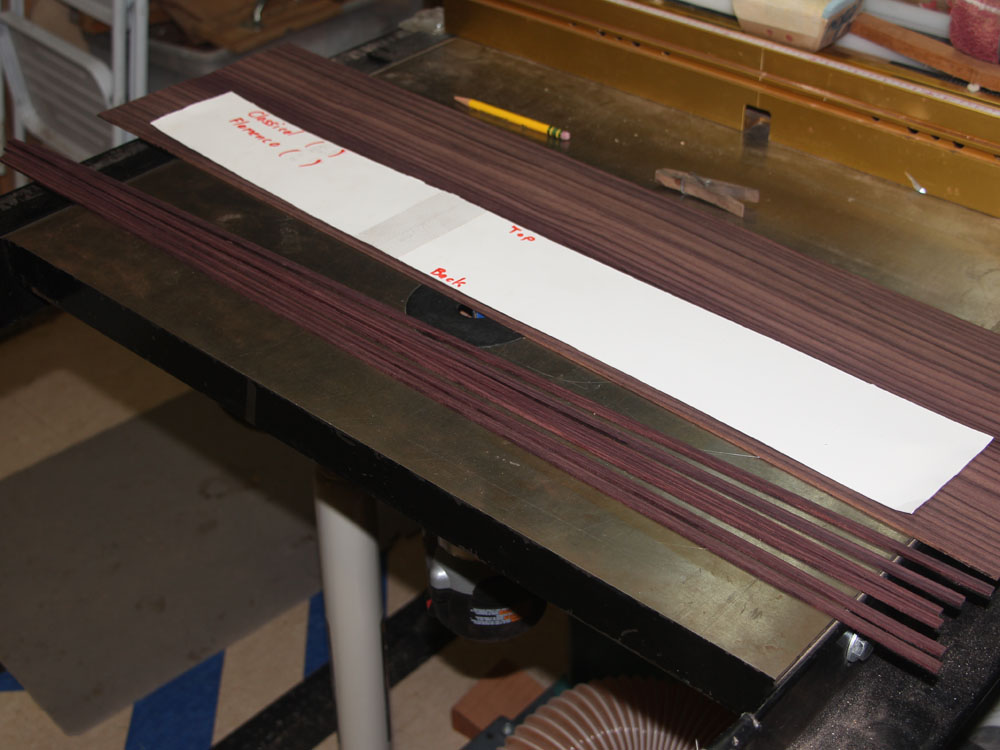
The sides are a bit wider than I need so I trim off the excess and will use the pieces as binding for another guitar.
 ( 022 ) 11-Oct-2013
Getting ready to bend the sides I place the side blank in the heating blanket.
 ( 023 ) 11-Oct-2013
A few pieces of flashing are used to provide a working chamber where the heat will be evenly distributed and I can easily introduce water to the process.
 ( 024 ) 11-Oct-2013
The final piece of the heating blanket is a piece of spring steel that will help prevent the wood from cracking as it is bent. The steel limits the maximum bend possible which helps prevents the wood from being over stressed.
 ( 025 ) 11-Oct-2013
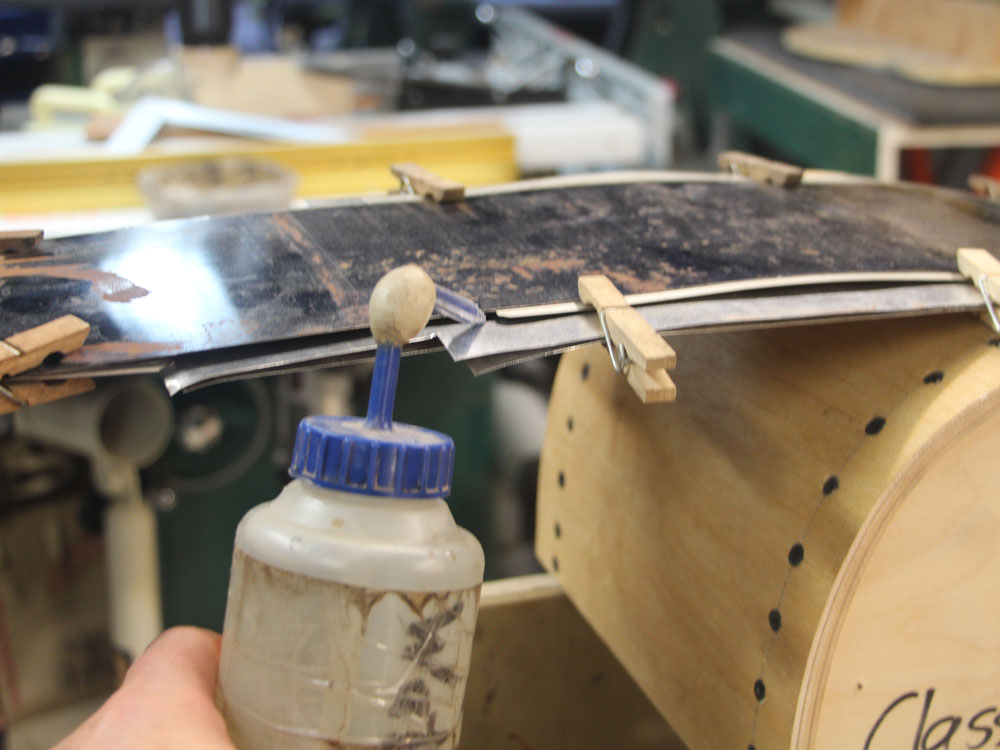
The assembly then goes into the bending machine.
 ( 026 ) 11-Oct-2013
And I squirt a bit of water between the layers of flashing.
 ( 027 ) 11-Oct-2013
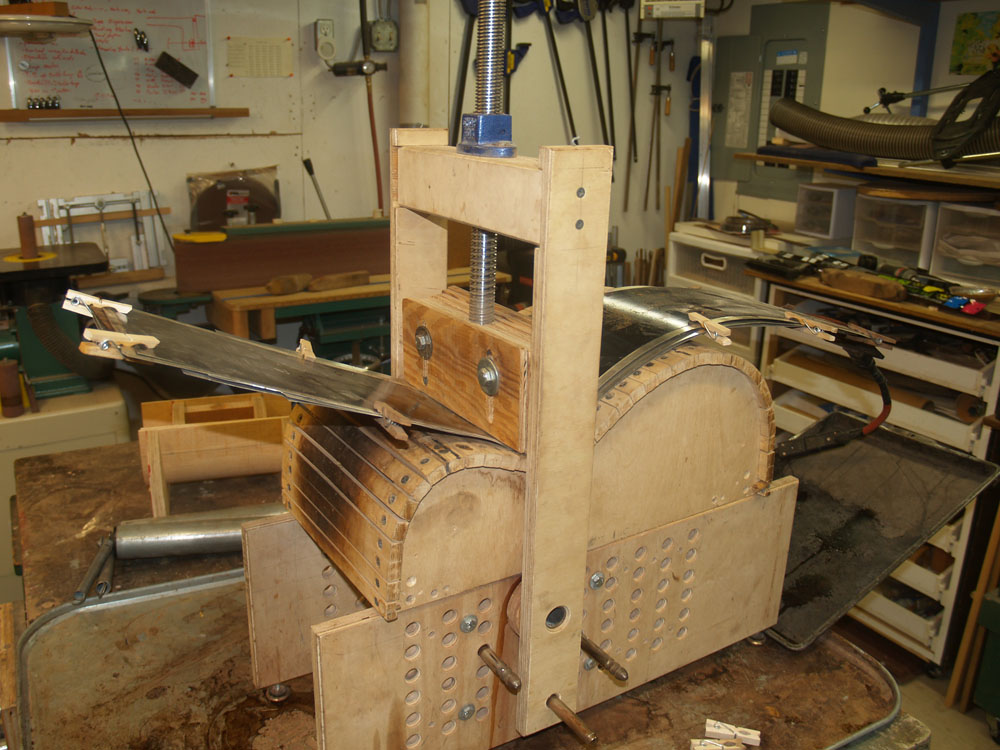
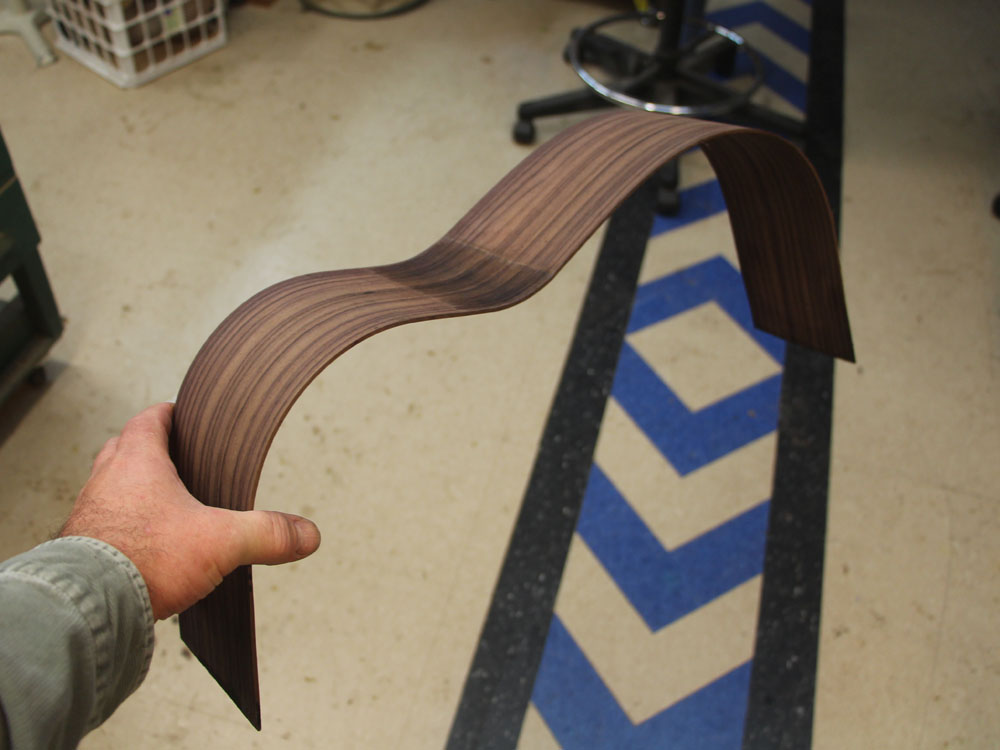
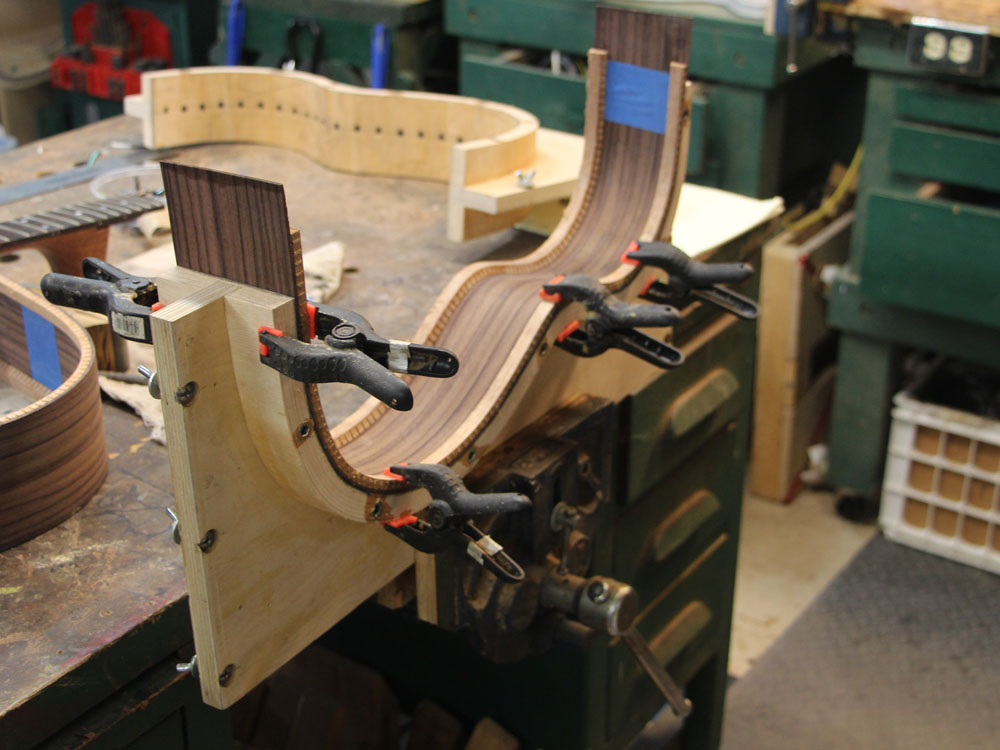
After heating up the wood I press the waist into place.
 ( 028 ) 11-Oct-2013
Then the lower bout gets rolled into place.
 ( 029 ) 11-Oct-2013
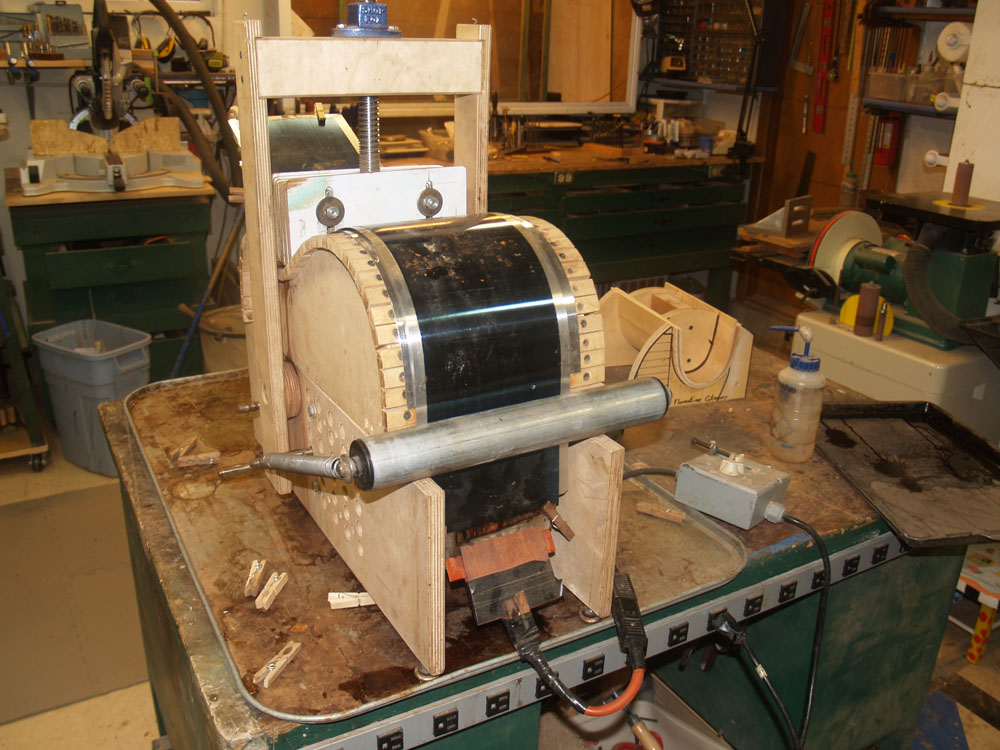
And the the upper bout gets rolled out.
 ( 030 ) 11-Oct-2013
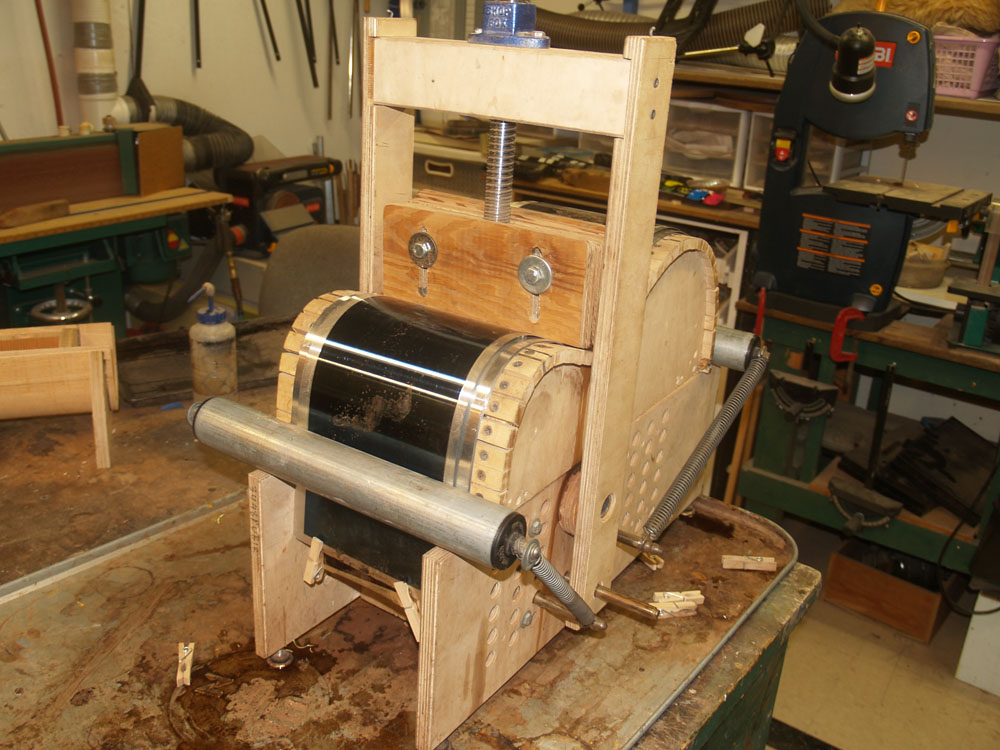
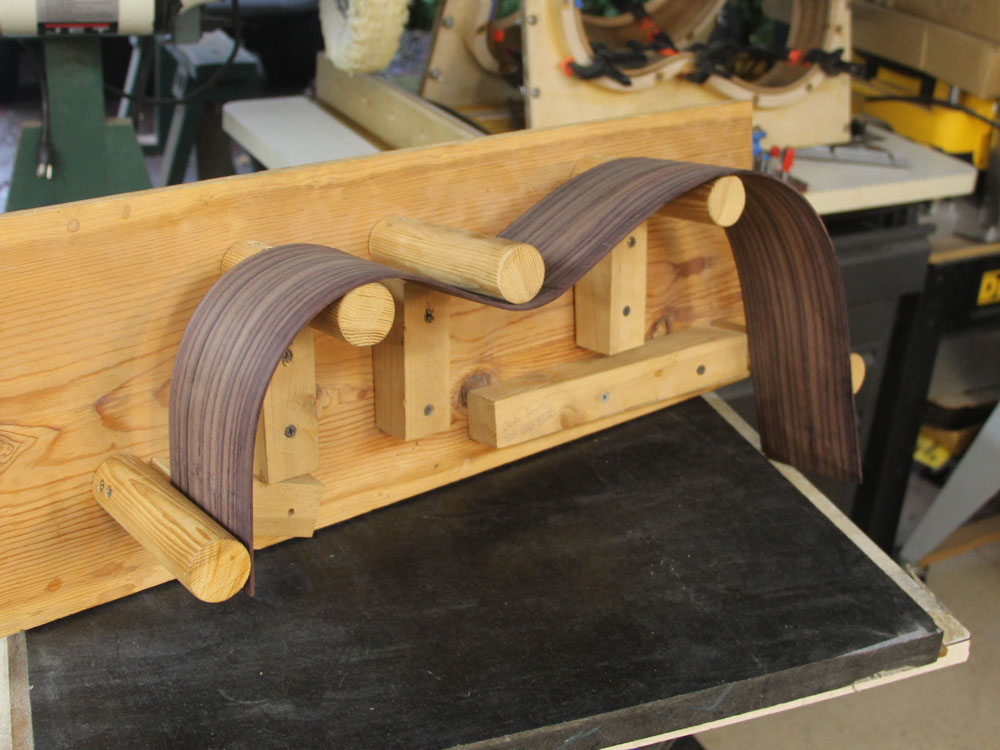
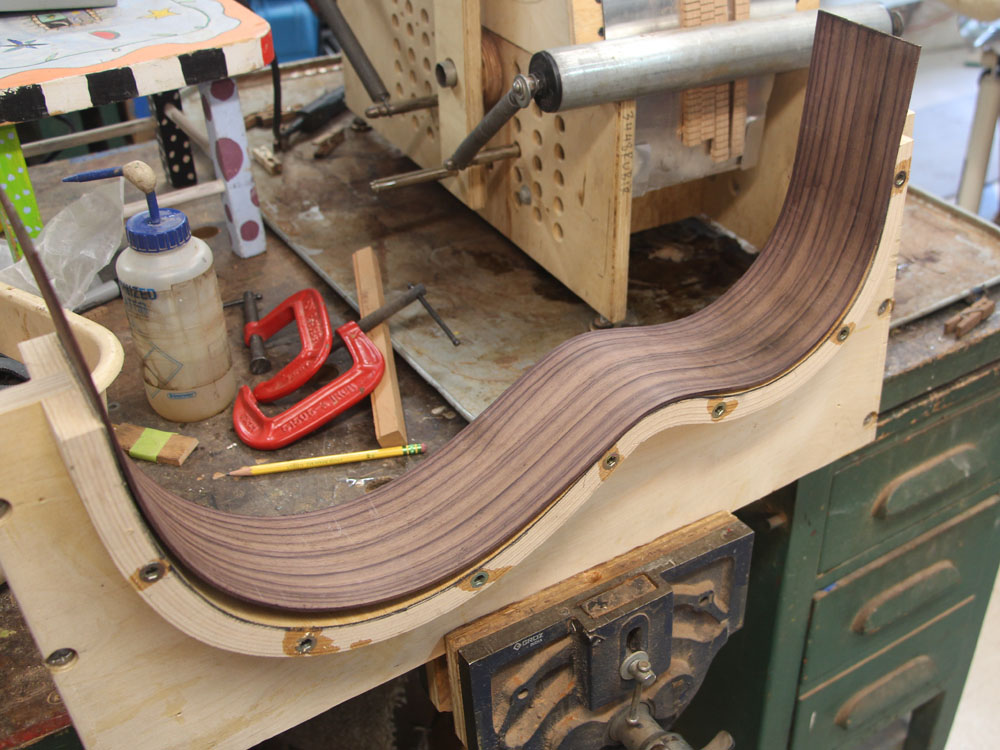
After the wood cooks for a while and it has taken a set I pull it out of the machine.
 ( 031 ) 11-Oct-2013
To help hold its shape I put it in this fixture until I am ready to use it.
 ( 032 ) 11-Oct-2013
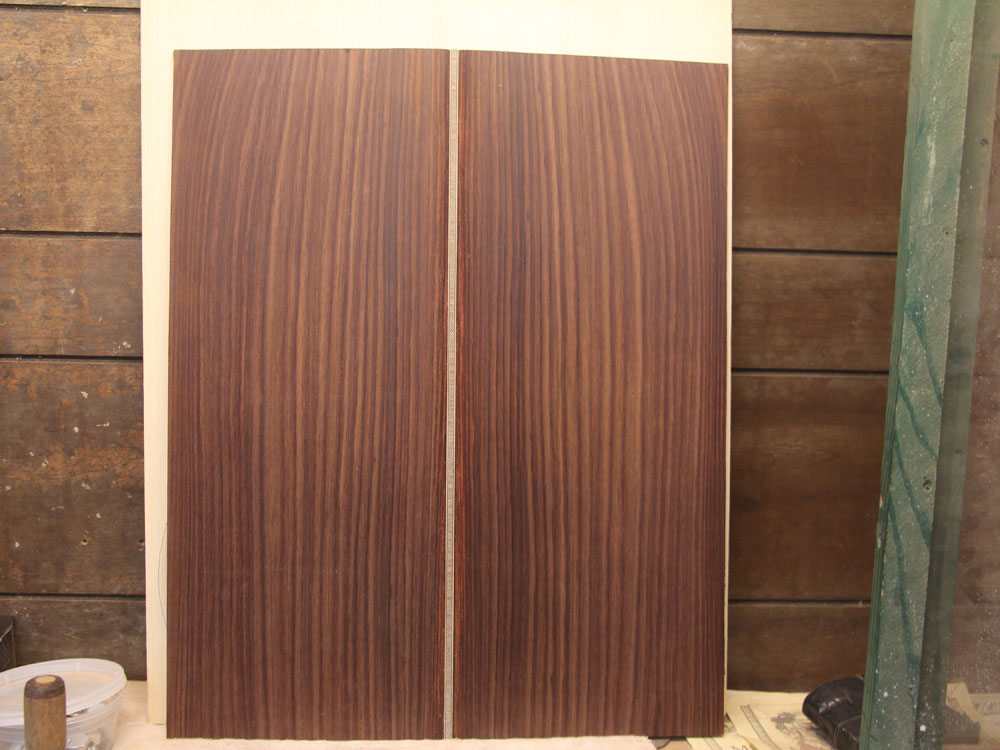
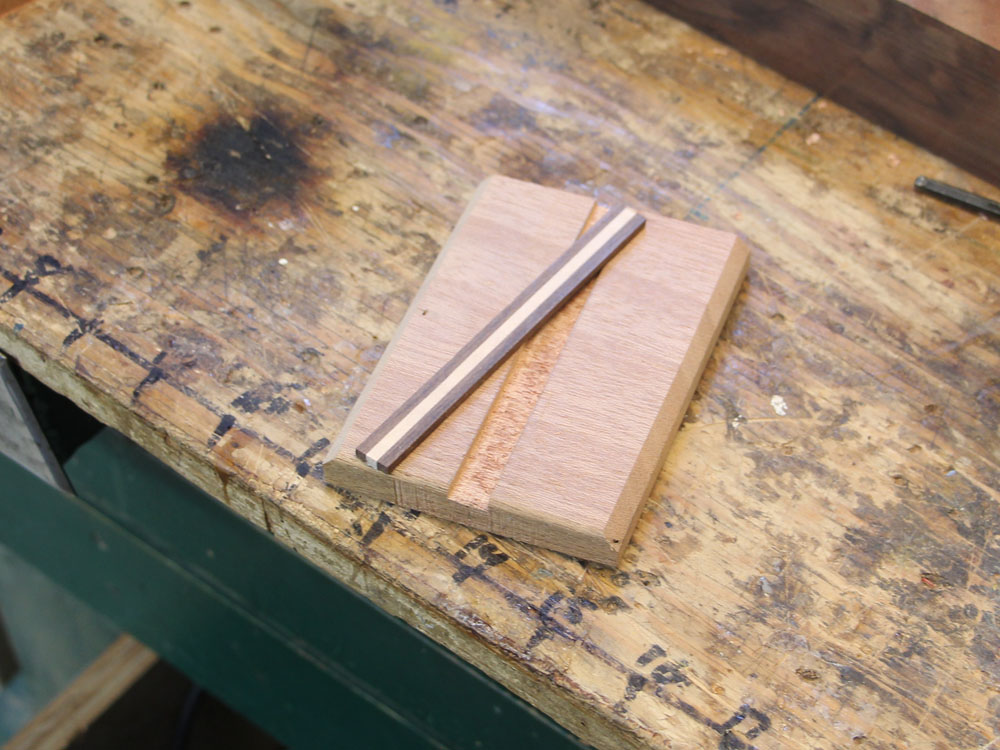
Working on the back again I have chosen a decorative center strip to go between the two pieces of the back.
 ( 033 ) 11-Oct-2013
And the pieces go into the joining tool.
 ( 034 ) 11-Oct-2013
The top and the back.
 ( 035 ) 11-Oct-2013
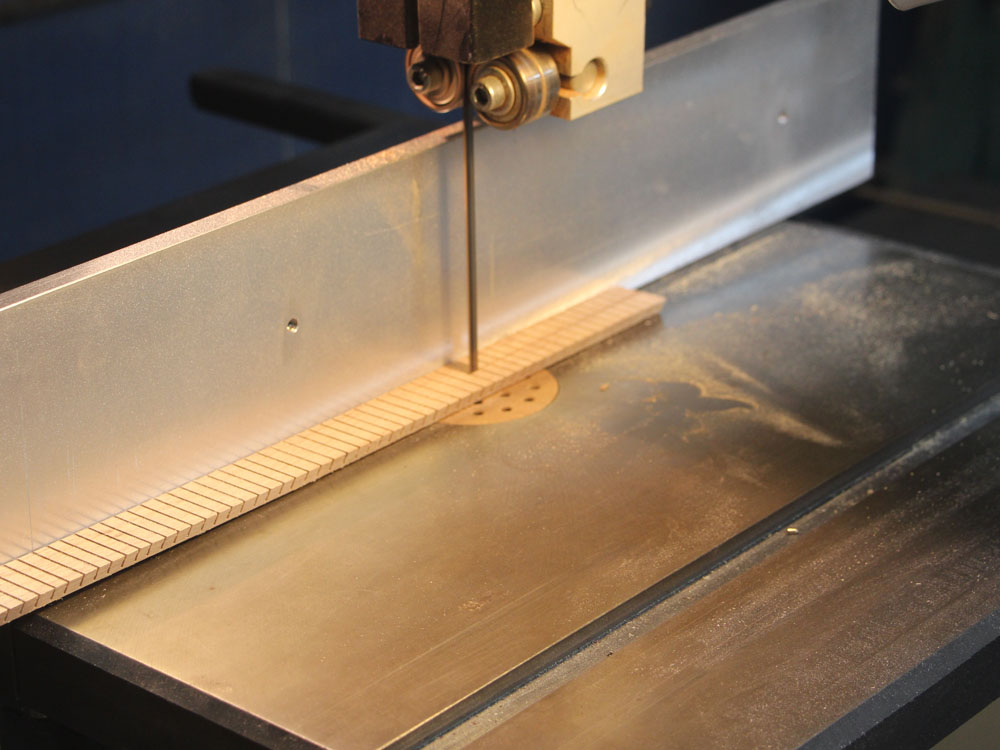
Here I am cutting a piece of kerfing with the band saw.
 ( 036 ) 11-Oct-2013
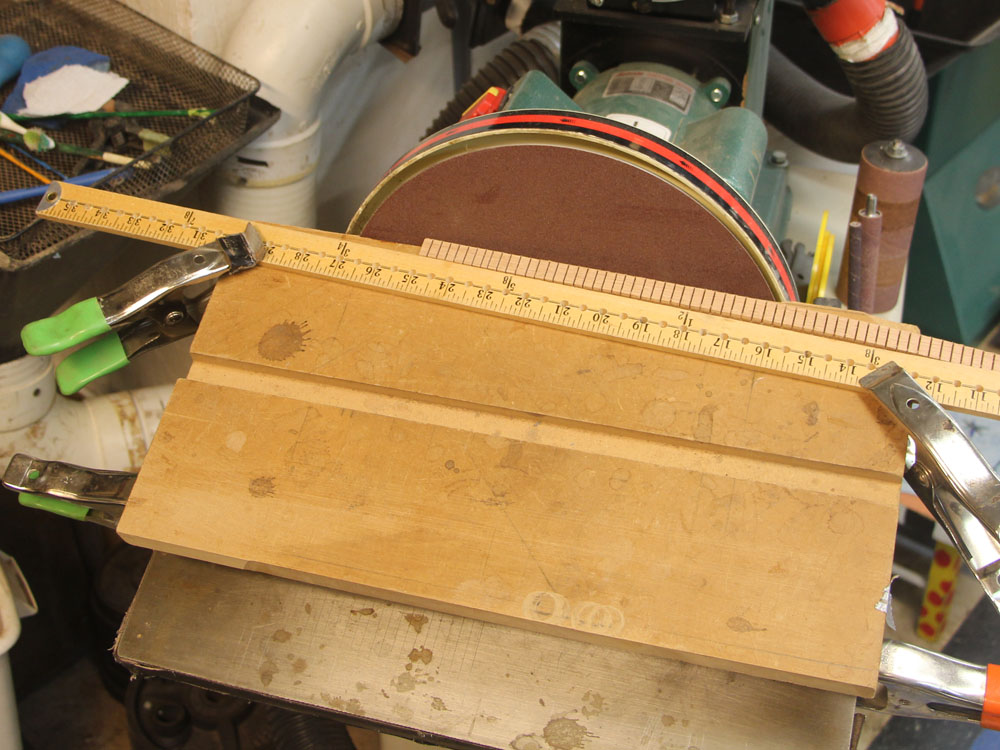
I sand a bevel on one edge.
 ( 037 ) 11-Oct-2013
I place the side piece in the form and draw the outline of the side onto it..
 ( 038 ) 11-Oct-2013
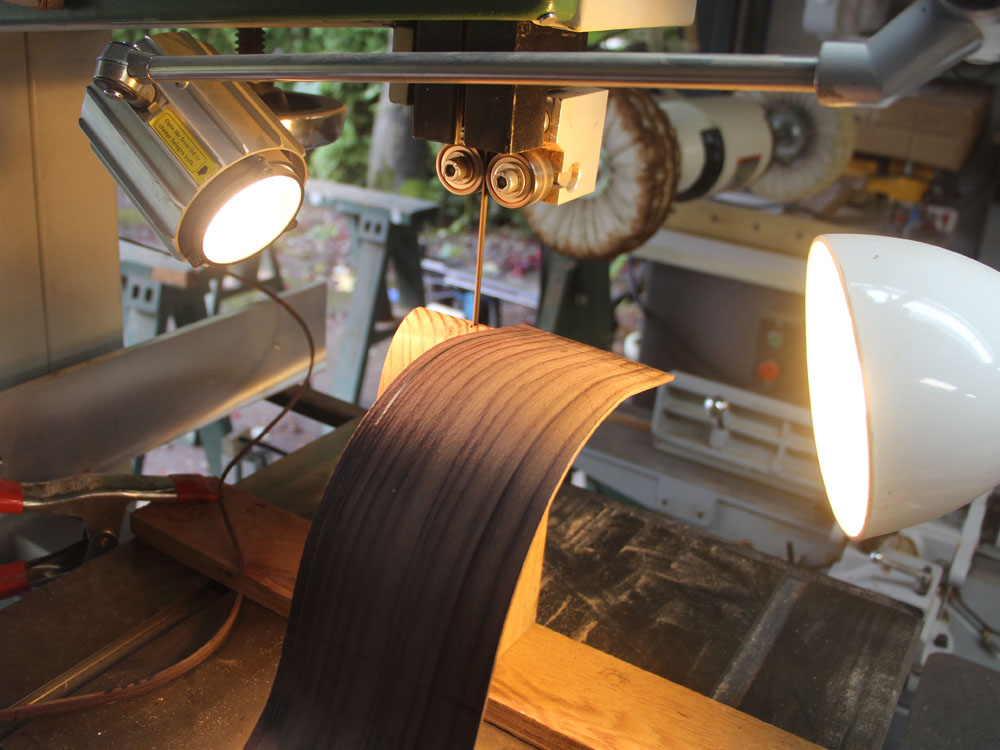
And then use the band saw to cut away the excess.
 ( 039 ) 11-Oct-2013
A bit of glue goes on one of the pieces of kerfing.
 ( 040 ) 11-Oct-2013
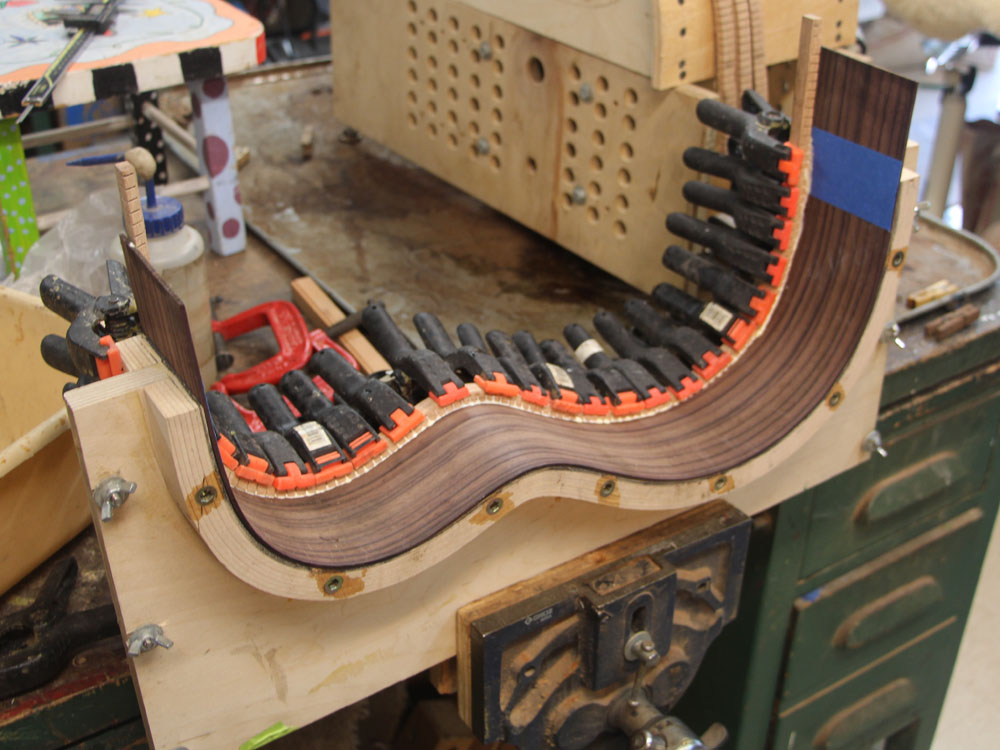
And it gets glued onto the inside surface of the side. The kerfing is used to provide a gluing surface between the sides and top and back. I use kerfing with a solid strip on the outside. This results in a gunnel like structure that provides a lot of stiffness to the side.
 ( 041 ) 11-Oct-2013
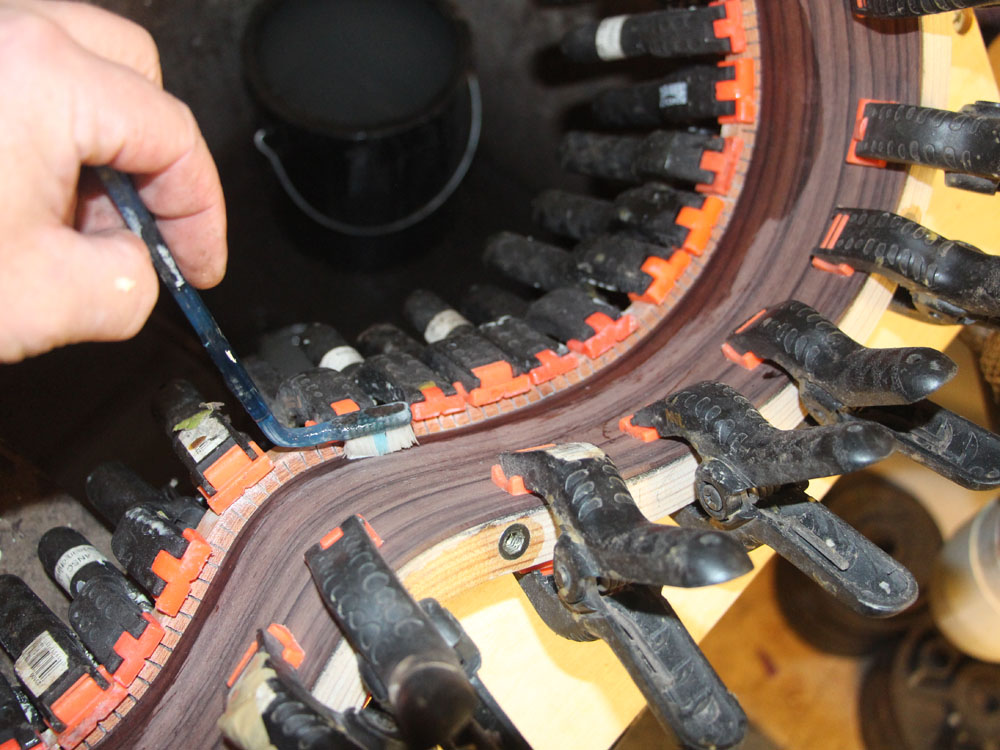
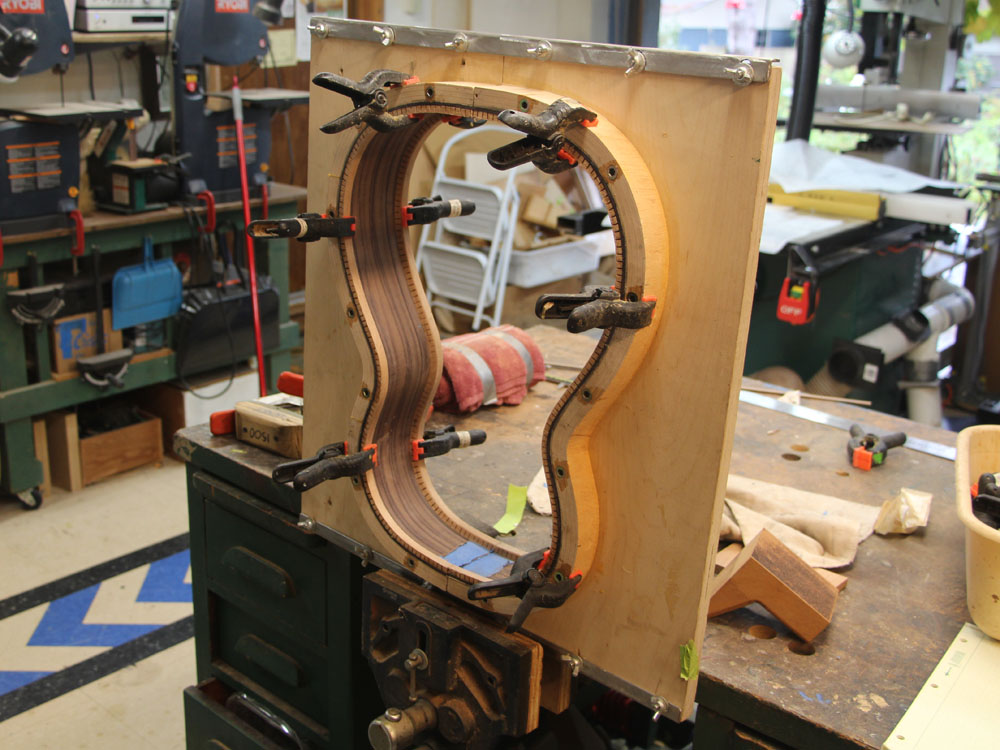
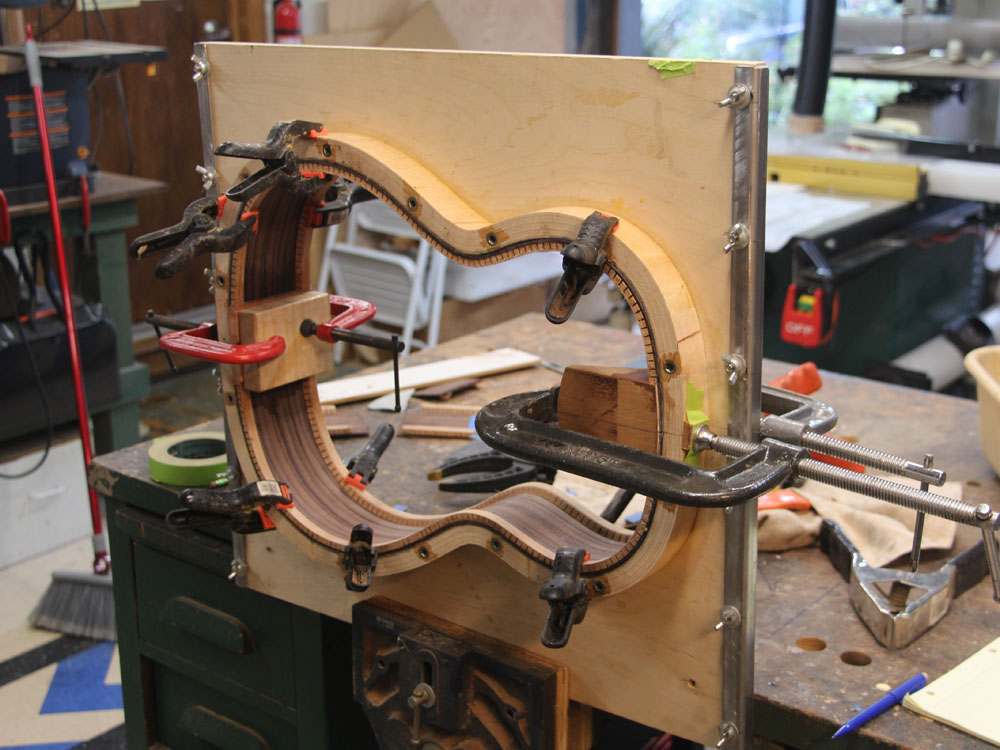
The clamps press the kerfing into the side and the side into the form. This method insures the sides take the shape of the form, and as long as the forms have the right shape I can be confident the the sides will have the right shape. I clean up the glue squeeze out with a brush and water.
 ( 042 ) 11-Oct-2013
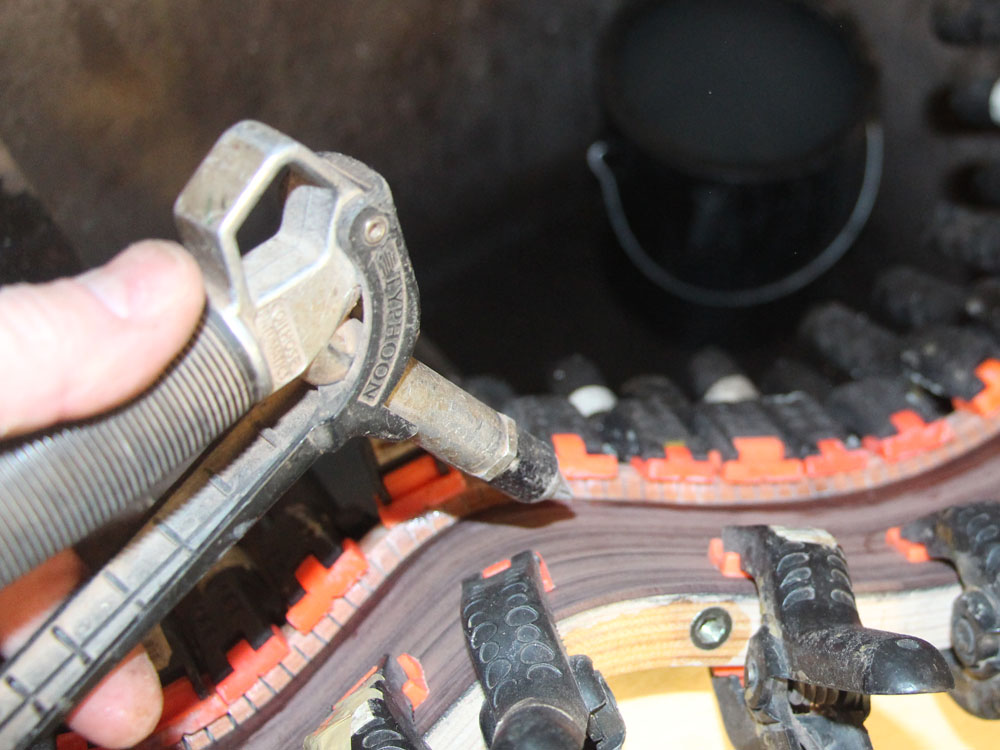
And then I blow the glue out of the spaces between the kerfs.
 ( 043 ) 11-Oct-2013
 ( 044 ) 11-Oct-2013
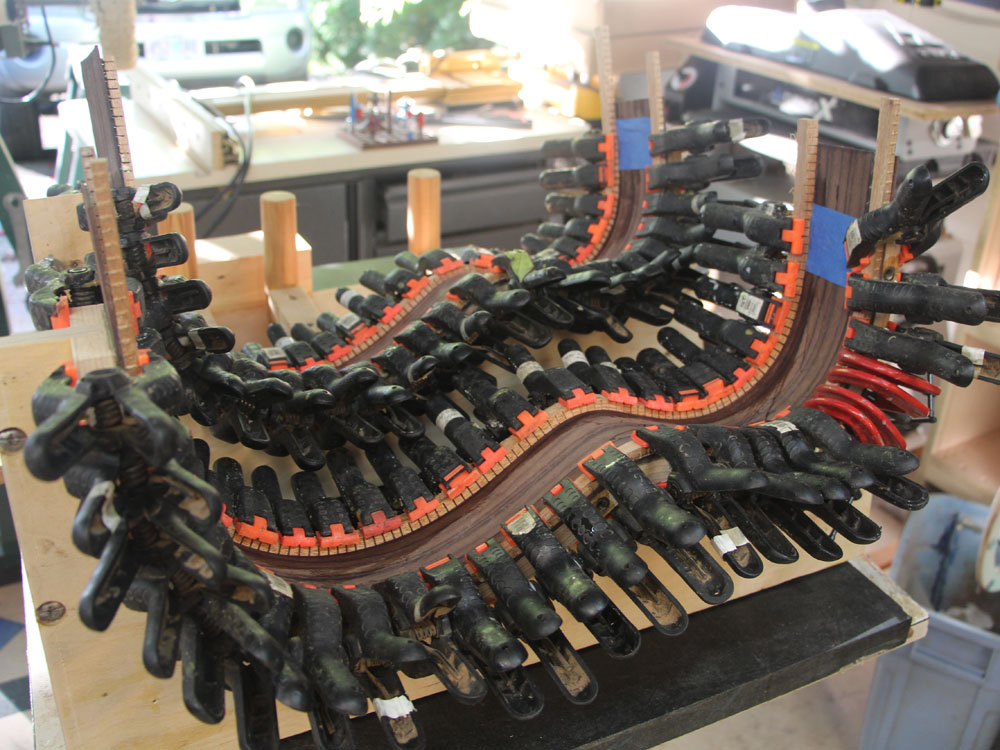
Lots of clamps.
 ( 045 ) 11-Oct-2013
After the glue is dry I mount the sides in the form.
 ( 046 ) 11-Oct-2013
And trim off the end excess.
 ( 047 ) 11-Oct-2013
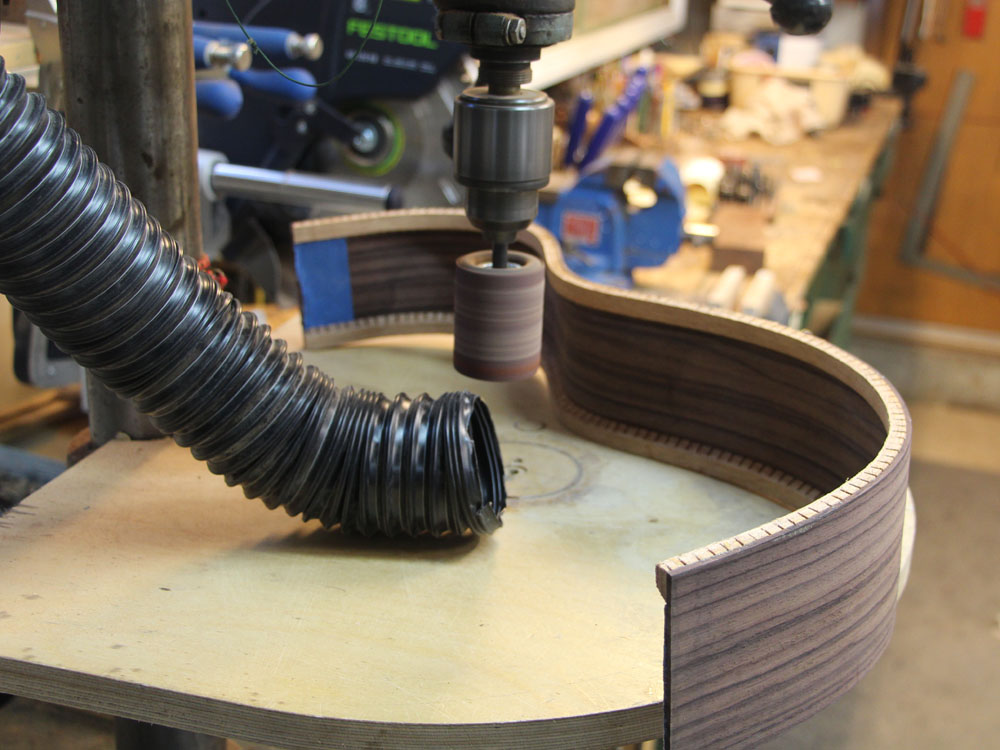
And then I use a drum sander to clean up the inside surface of the sides. No one will see this, but it makes me feel good to know that the inside of the guitar is as beautiful as the outside... it helps the notes get out better, or so I am told.
 ( 048 ) 11-Oct-2013
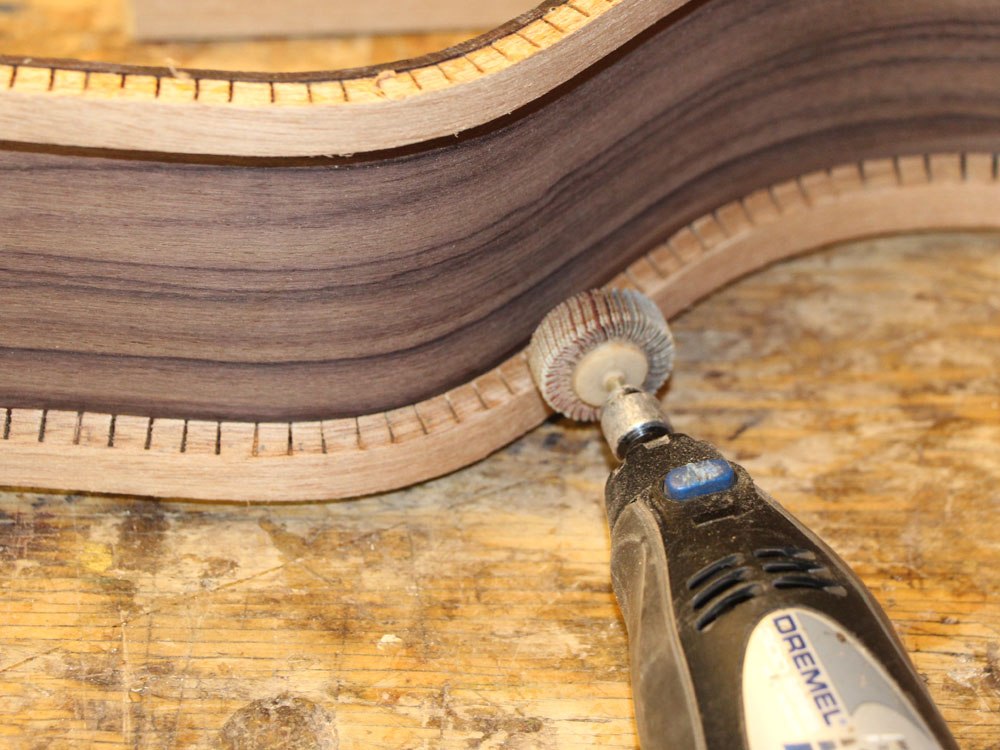
And a Dremel tool cleans up the beveled edge of the kerfing.
 ( 049 ) 11-Oct-2013
Back into the forms.
 ( 050 ) 11-Oct-2013
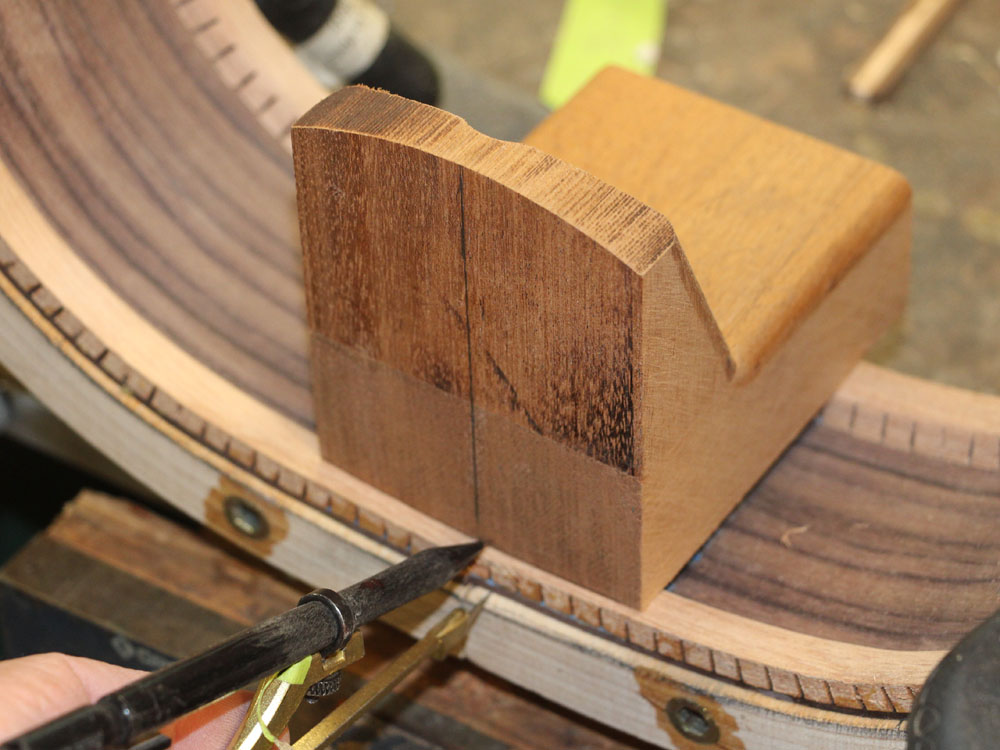
The front edge of the sides have a curve and the heel block needs to match the shape. I trace the shape from the form onto the heel block with a compass.
 ( 051 ) 11-Oct-2013
And the belt sander is used to shape the curve on the heel block.
 ( 052 ) 11-Oct-2013
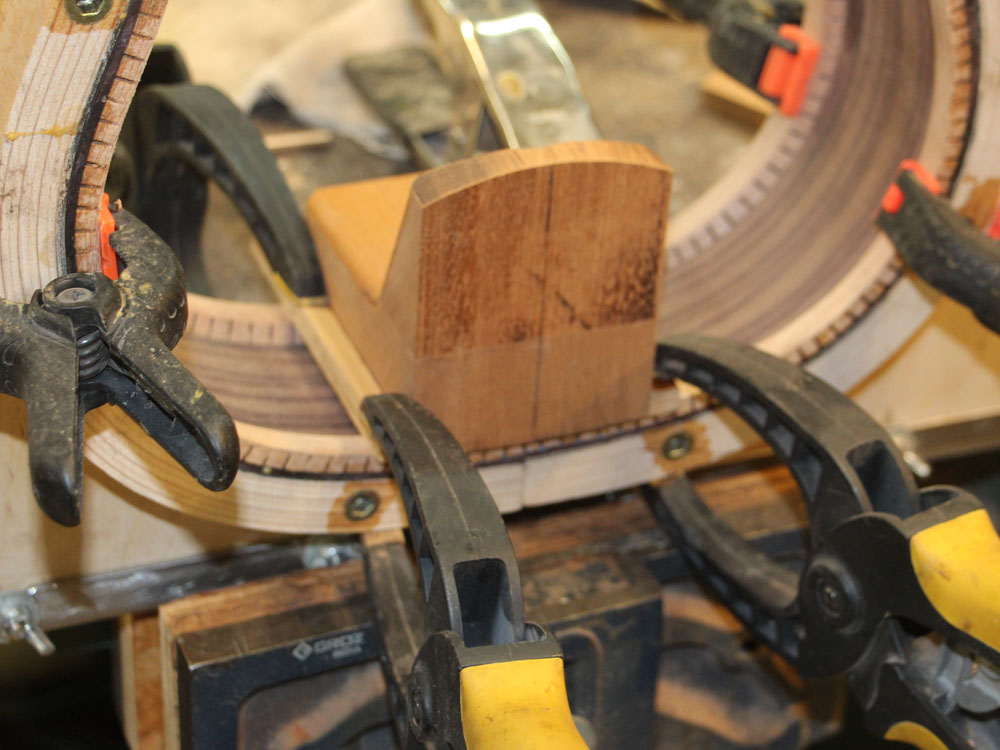
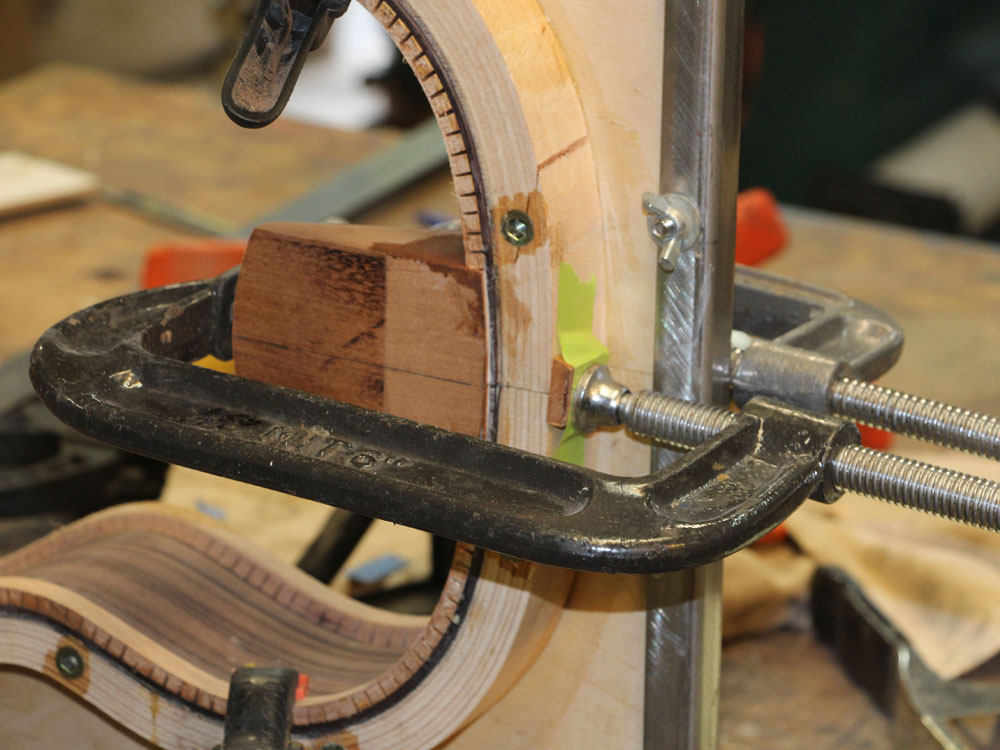
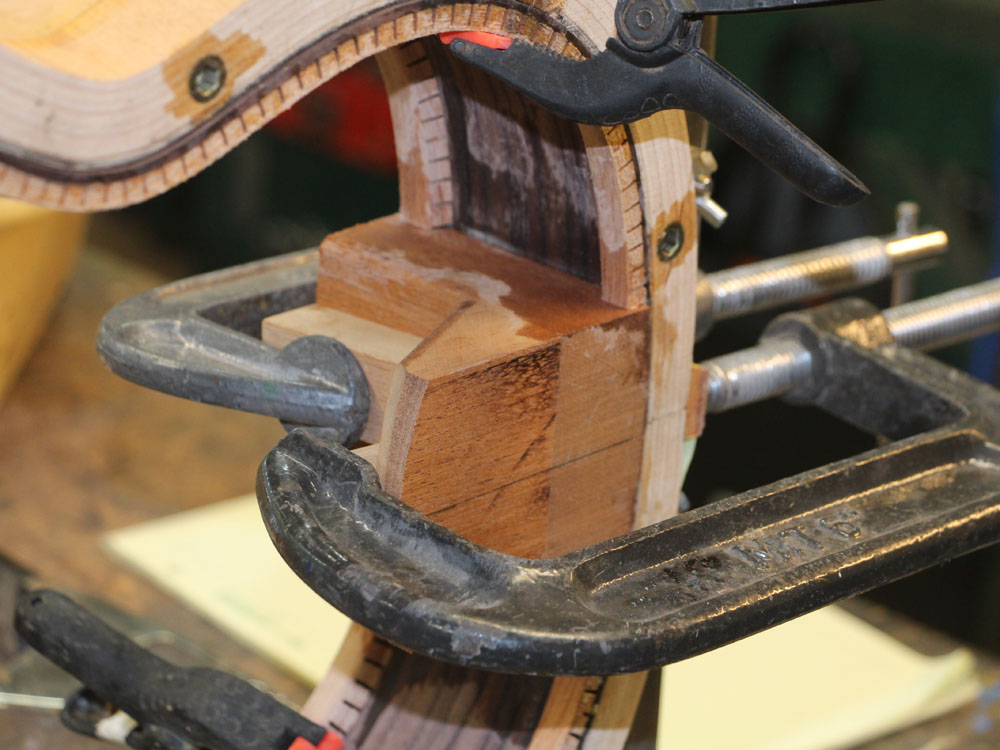
Now I carefully line up the heel block in the form and place a couple of blocks on the outside edges.
 ( 053 ) 11-Oct-2013
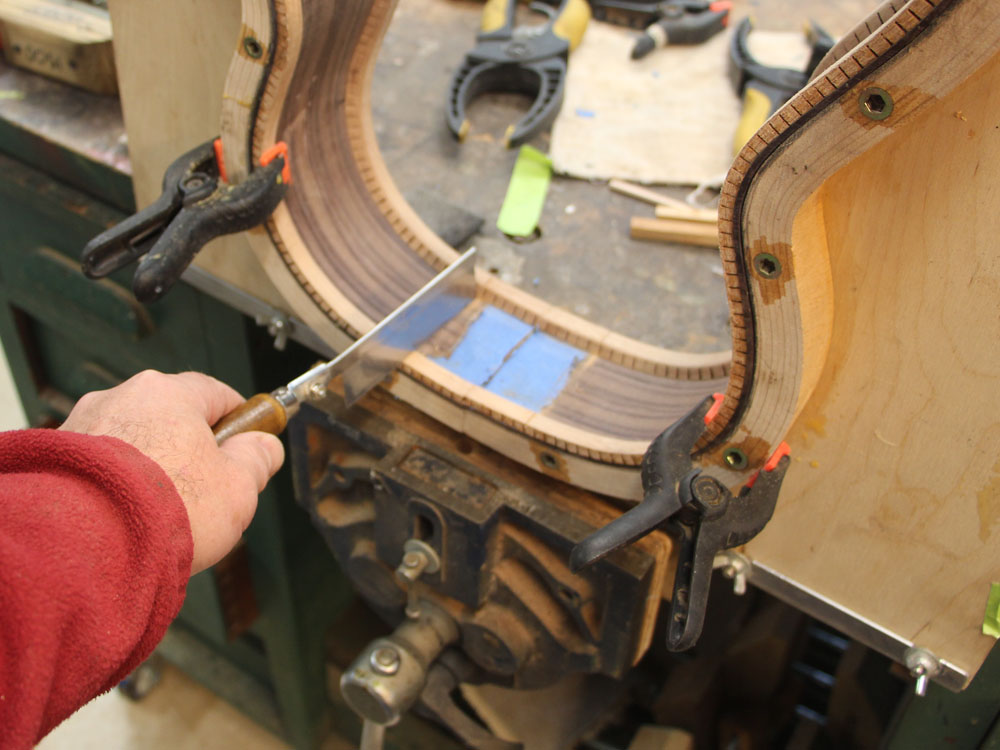
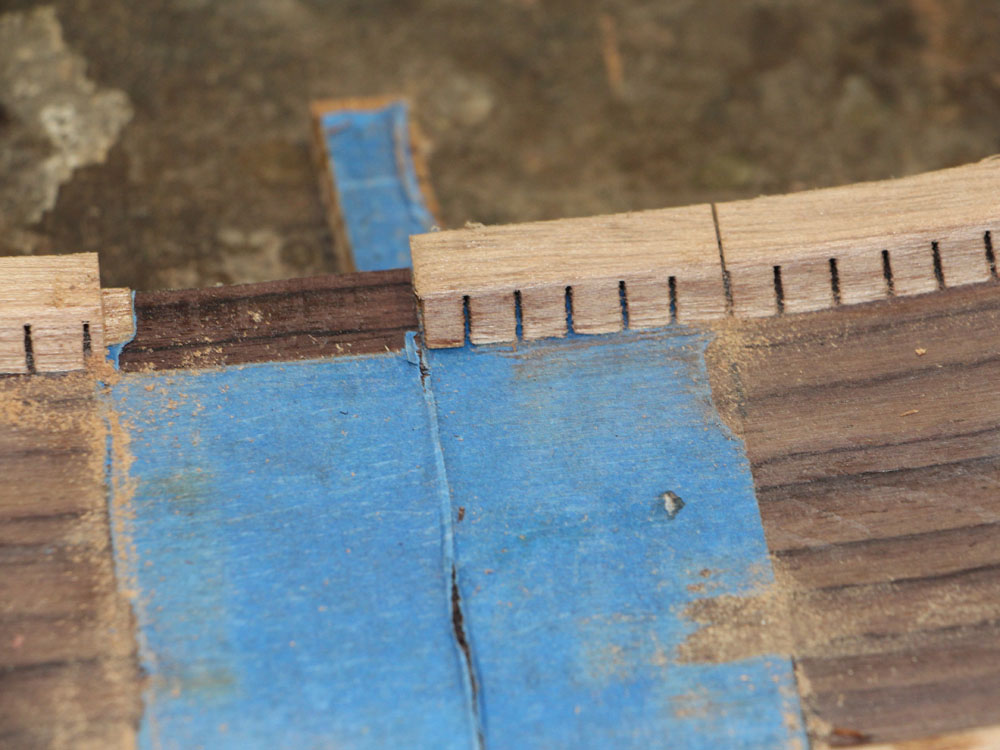
After removing the heel block I cut the kerfing on the inside edge of the guide blocks. The blue masking tape was used to prevent the kerfing from being glued to the sides where the heel will go. This makes it a bit easier to remove the kerfing.
 ( 054 ) 11-Oct-2013
 ( 055 ) 11-Oct-2013
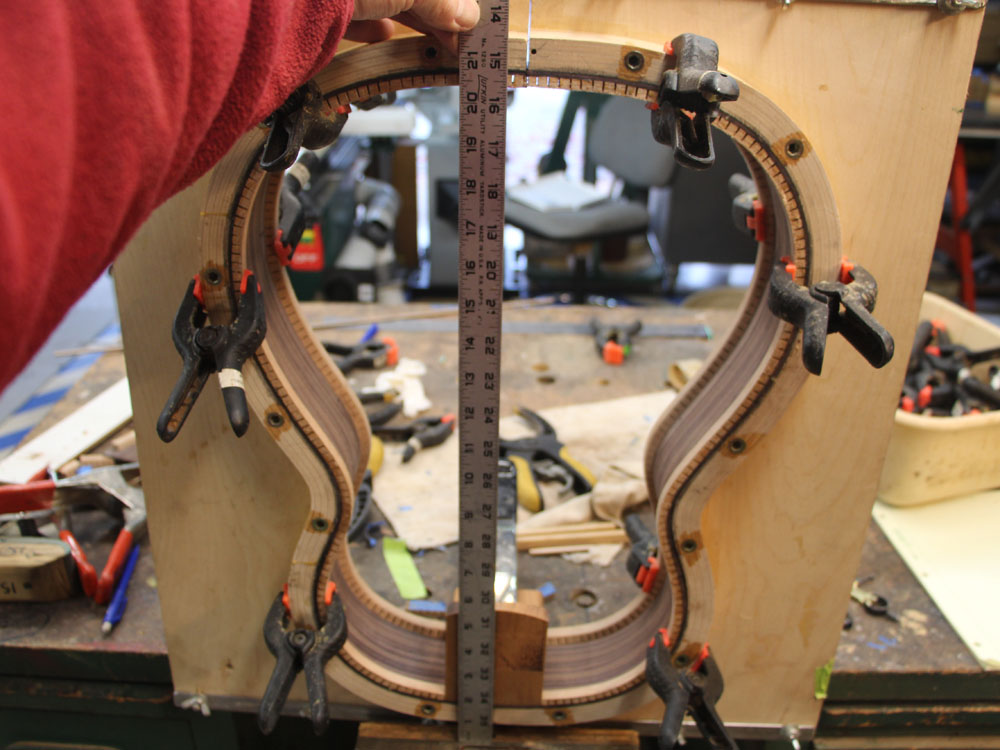
A little bit of fine tuning makes sure the heel block lines up correctly.
 ( 056 ) 11-Oct-2013
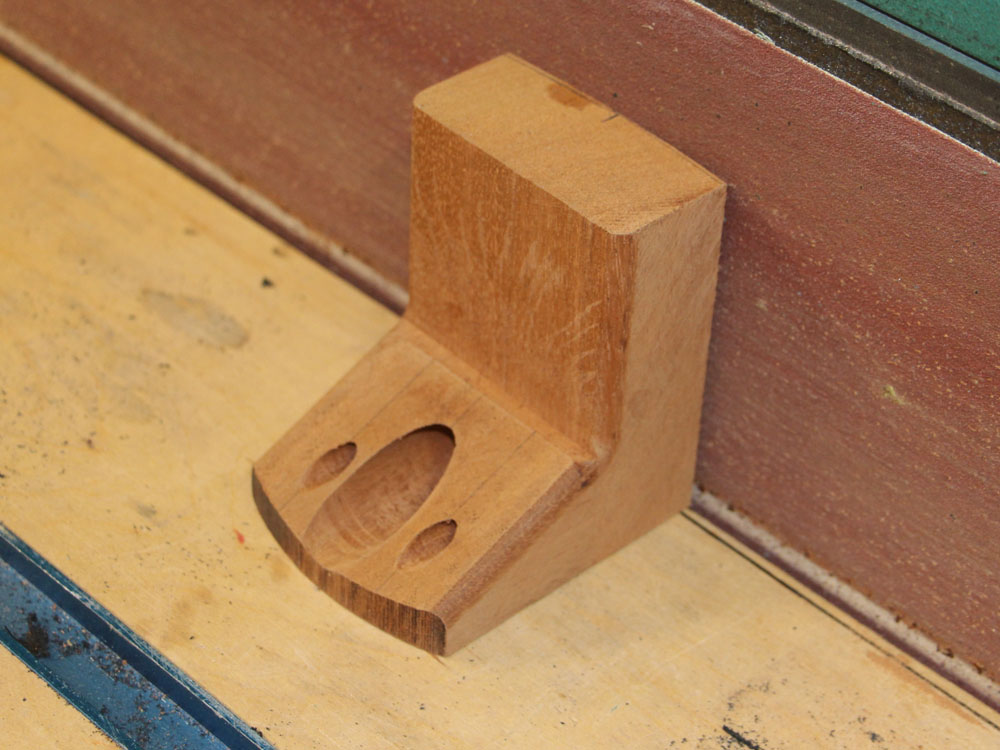
And before gluing it in place I trim the heel to close to the width of the sides.
 ( 057 ) 11-Oct-2013
The tail block gets the same treatment as the heel block.
 ( 058 ) 11-Oct-2013
 ( 059 ) 11-Oct-2013
 ( 060 ) 11-Oct-2013
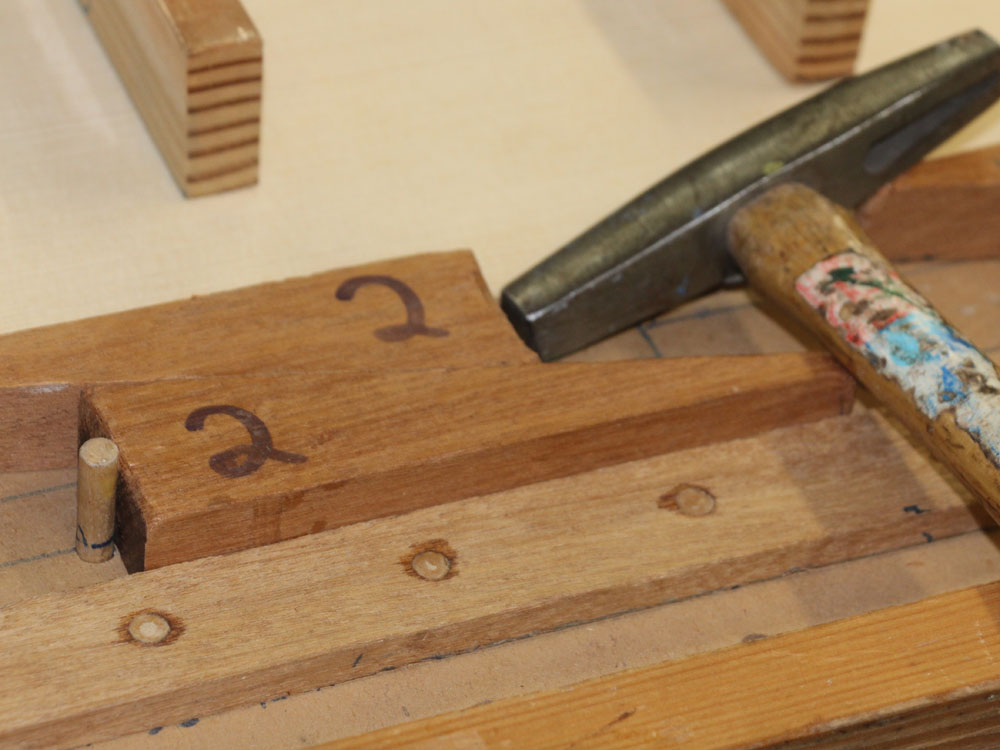
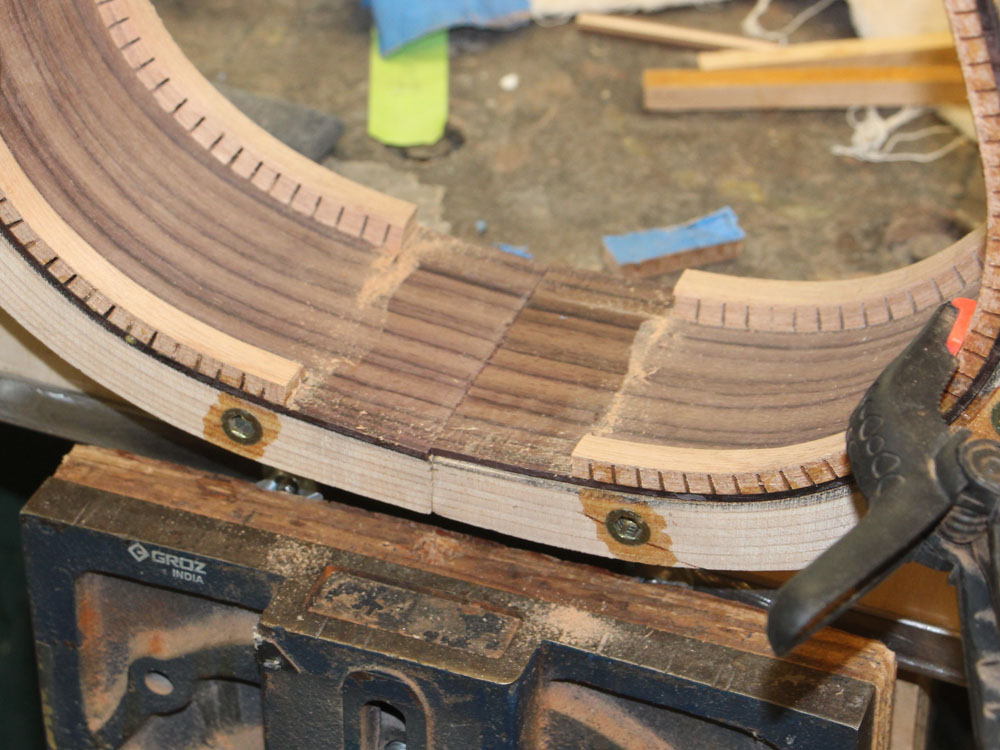
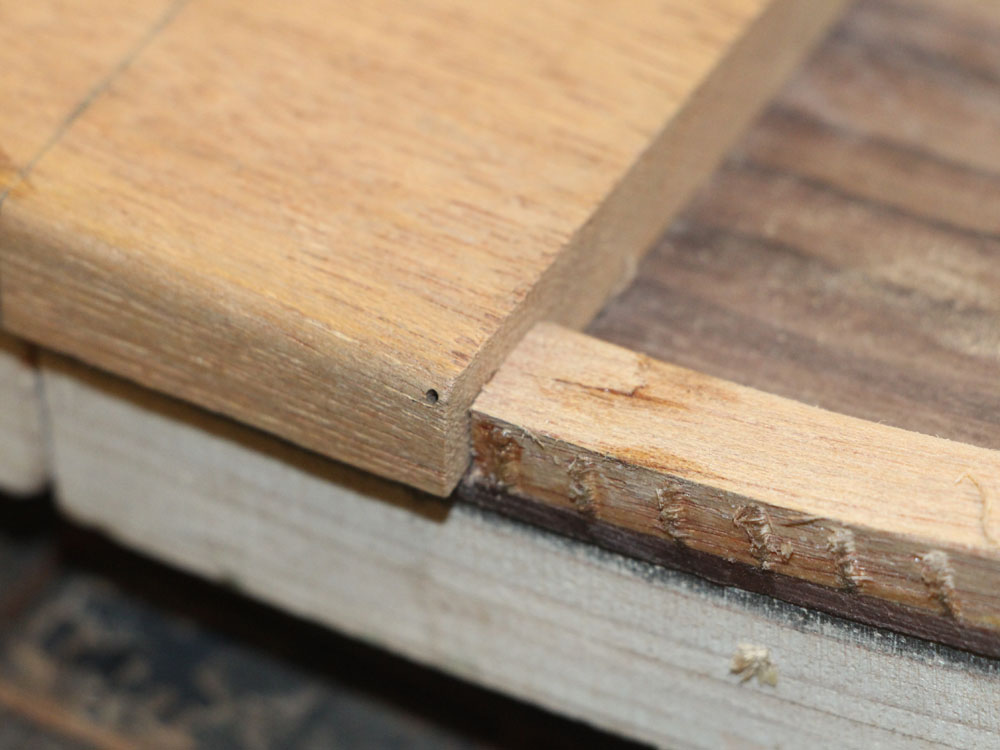
This technique results in a nice snug fit between the blocks and the kerfing.
 ( 061 ) 11-Oct-2013
The tail block gets beveled.
 ( 062 ) 11-Oct-2013
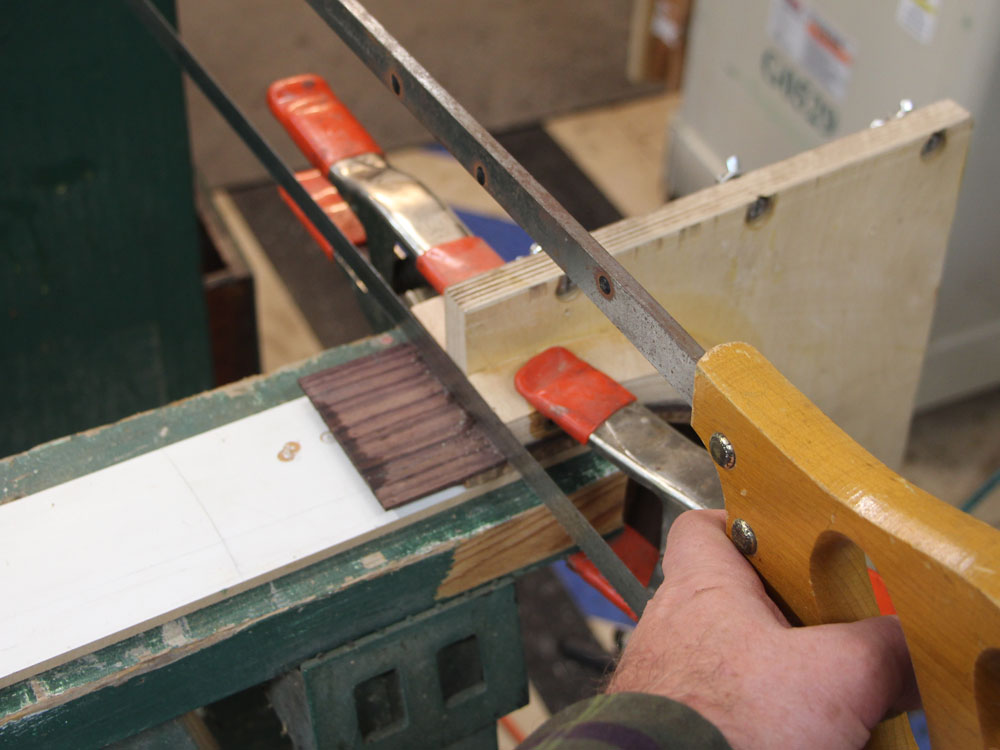
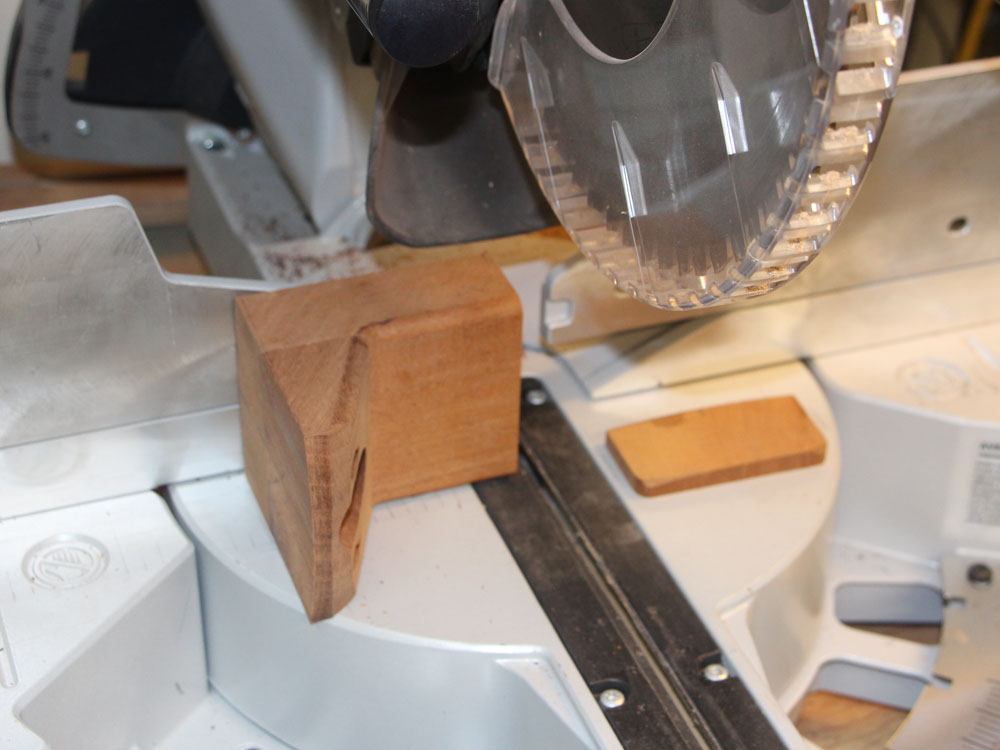
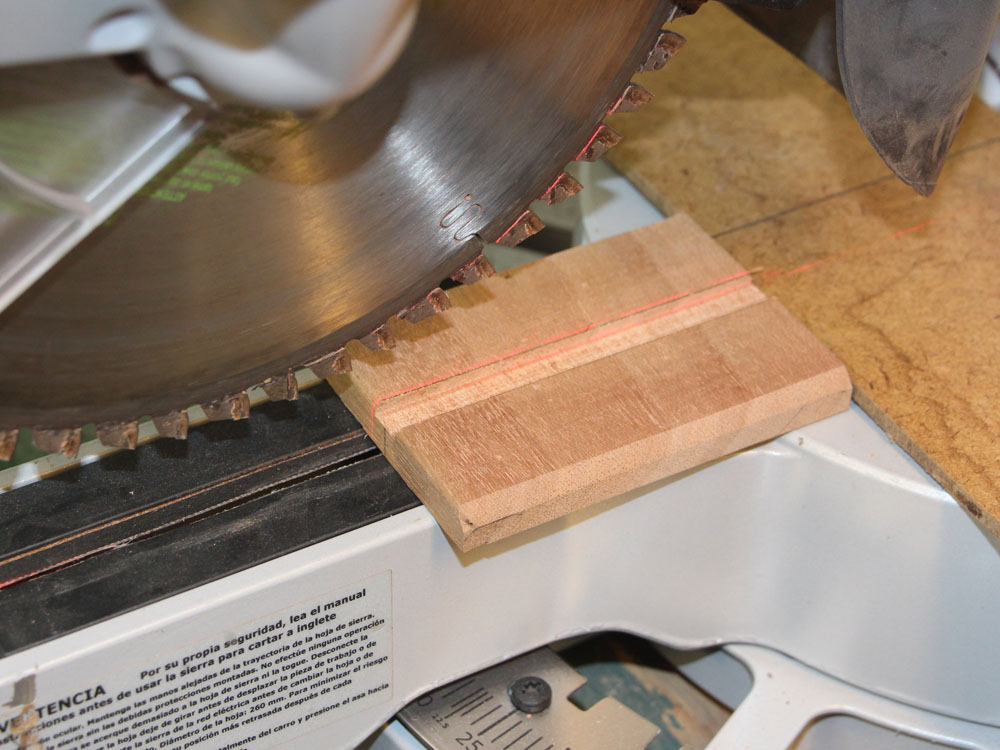
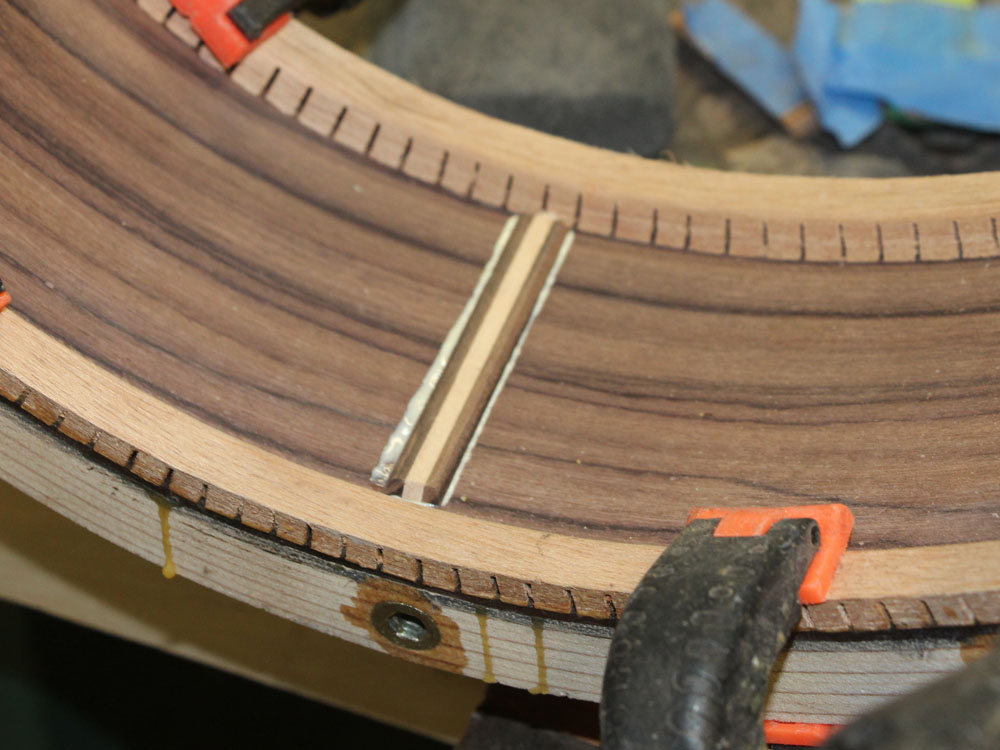
I use my miter saw to create a channel for a reinforcing strip.
 ( 063 ) 11-Oct-2013
 ( 064 ) 11-Oct-2013
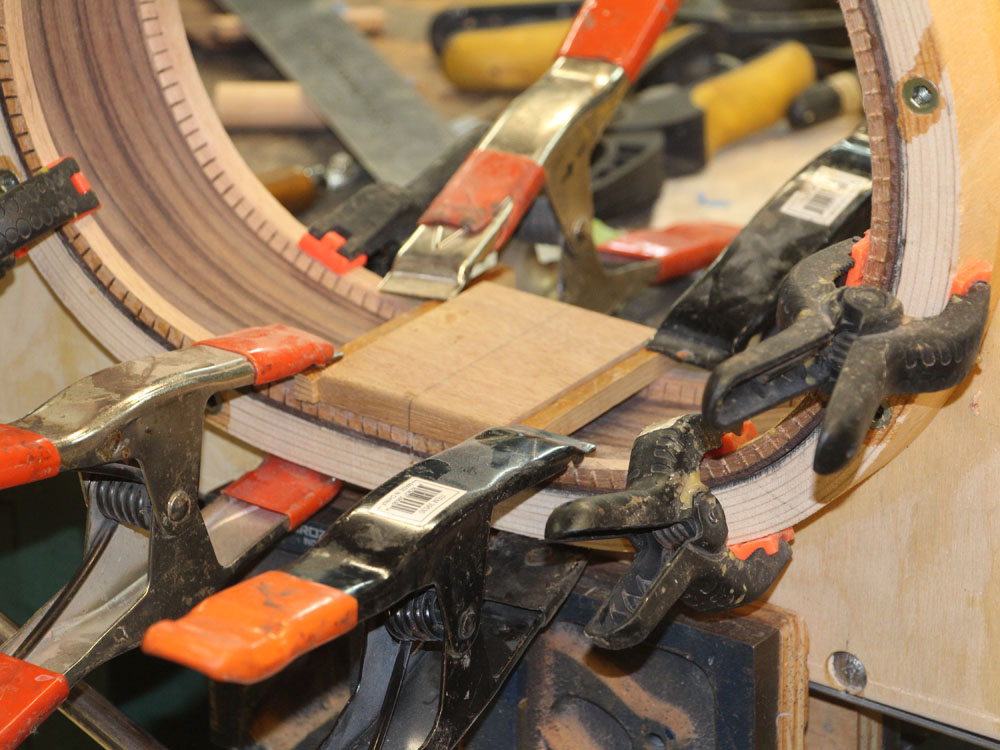
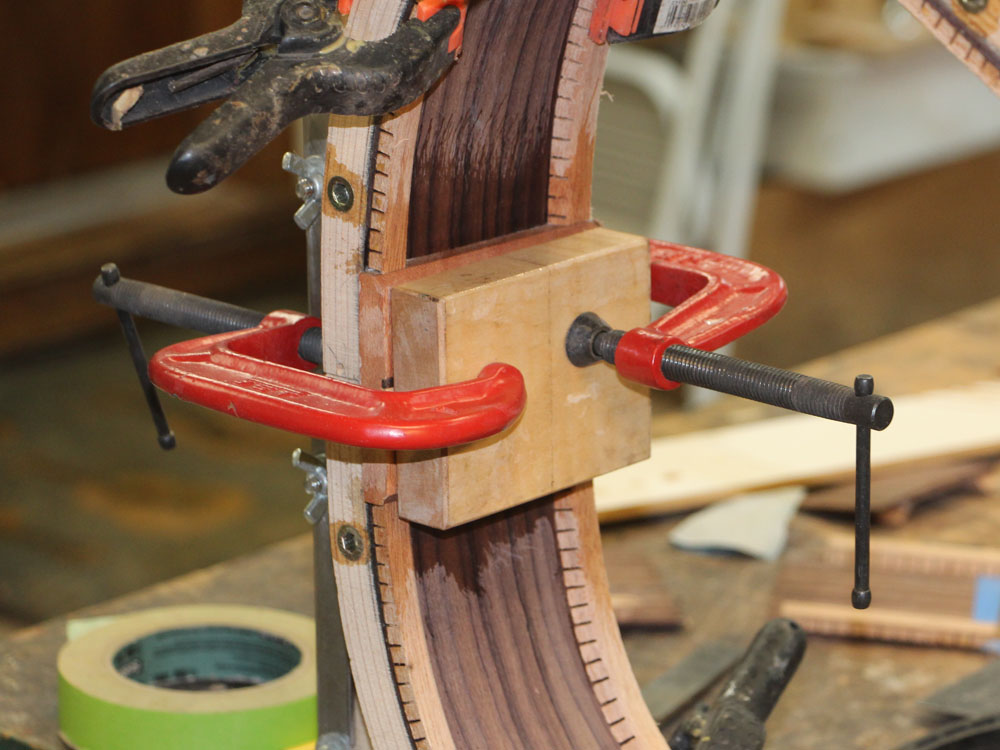
Now I glue everything together with "lots of clamps."
 ( 065 ) 11-Oct-2013
 ( 066 ) 11-Oct-2013
 ( 067 ) 11-Oct-2013
 ( 068 ) 11-Oct-2013
While the glue is drying I install these side reinforcing strips in place. This will help prevent the sides from splitting as the guitar goes through its life.
 ( 069 ) 11-Oct-2013
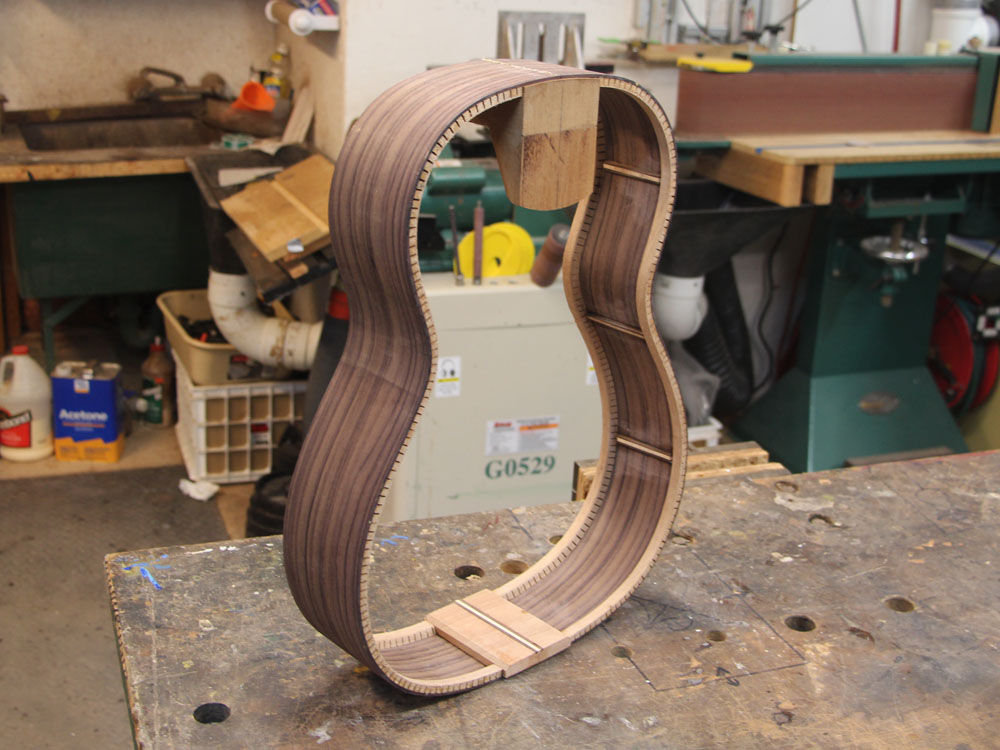
And finally after the glue has had a chance to dry the joined sides come out of the form.