Portland Guitar Co. | Portland Oregon | Contact Jay Dickinson-503.245.3276 | jay@portlandguitar.com
Portland Guitar Pretty Good Intonation (PGPG) System
In The Build Process
Atto Model
ATM 2.1.64
- Body: Padauk
- Top: Spanish Cedar
- Neck: Mahogany
- Binding: Cream PVC
- Fretboard, Headstock, Bridge: Indian Rosewood
Page 1
 ( 001 ) 28-Dec-2014
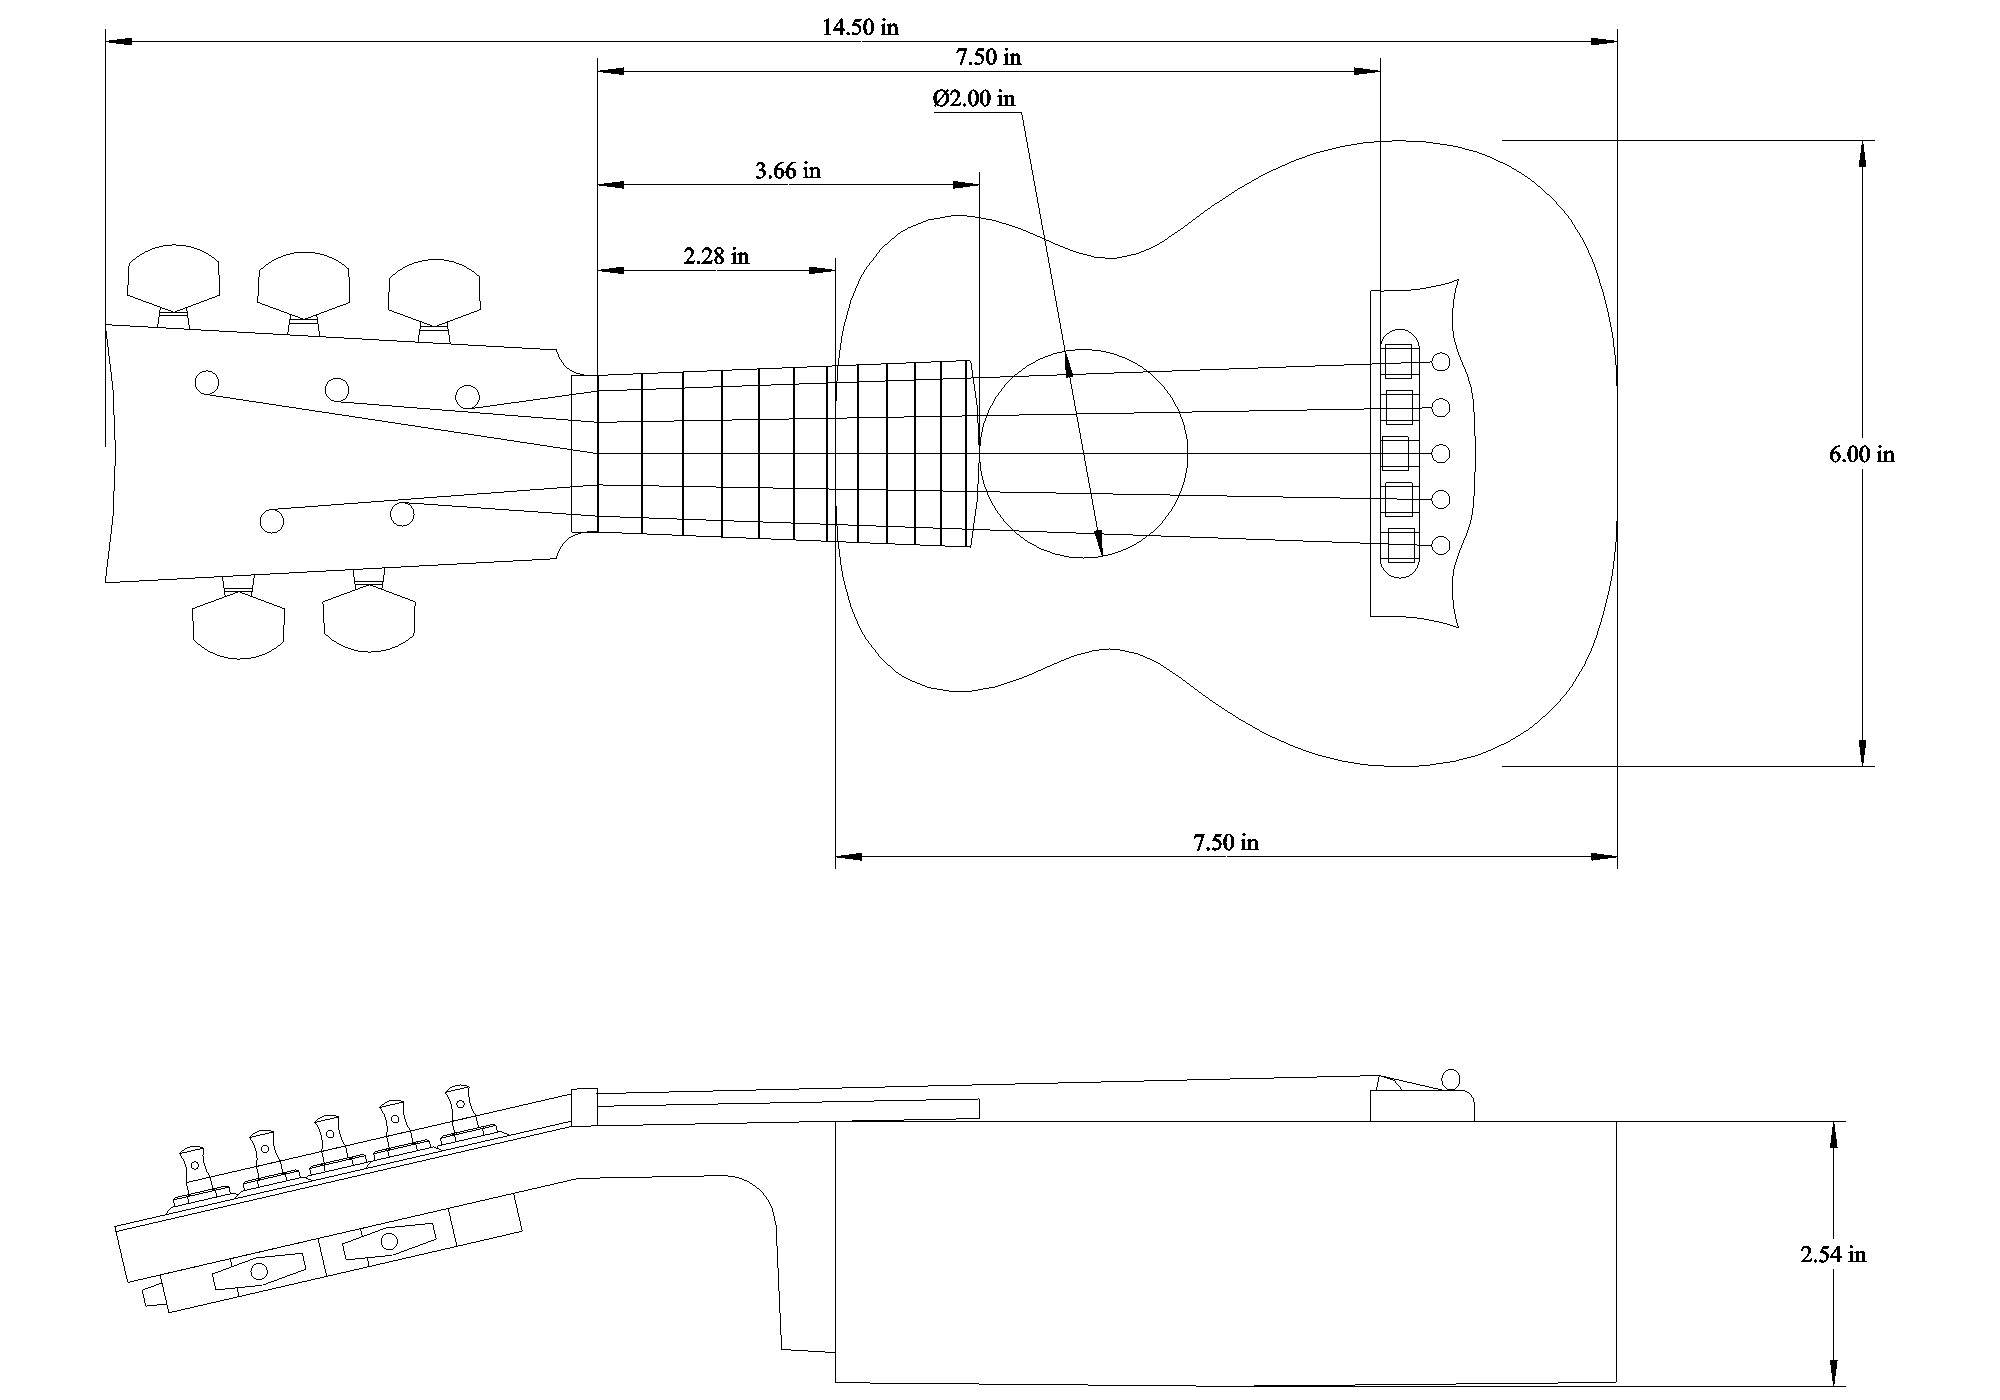
The picture to the left, which you will have to zoom in on to see the details, is a CAD drawing of this project. I have started to use a Computer Numerical Controlled (CNC) Router to take care of some of my tasks. I will use the vectors from this file to drive the CNC.
Since this is a new design for me I first have to build some tools. I am going to show the process of building the forms I will use to help me build this guitar.
 ( 002 ) 28-Dec-2014
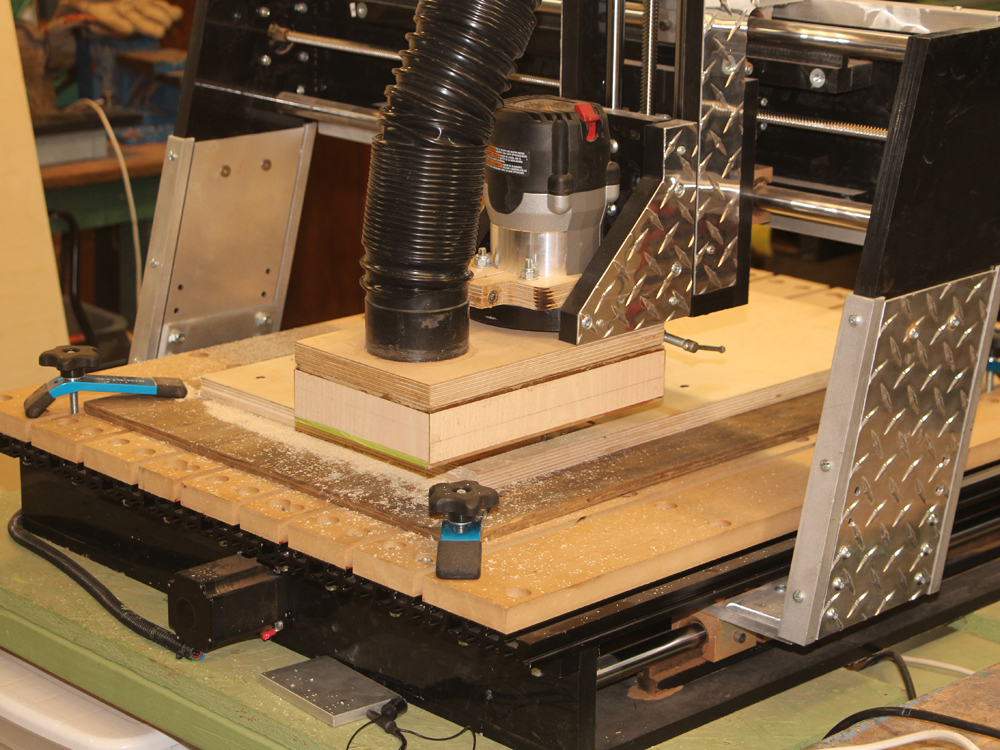
Here I have set up the CNC router and am cutting out pieces for the forms.
 ( 003 ) 28-Dec-2014
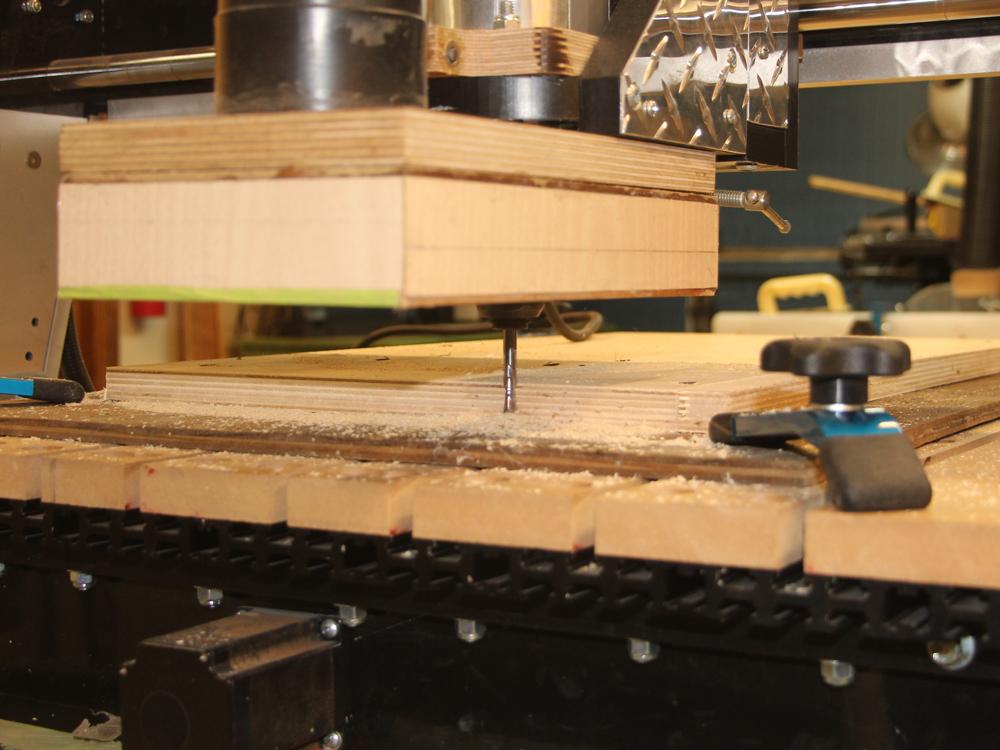
The business end of the router is a 1/4 inch milling tool.
 ( 004 ) 28-Dec-2014
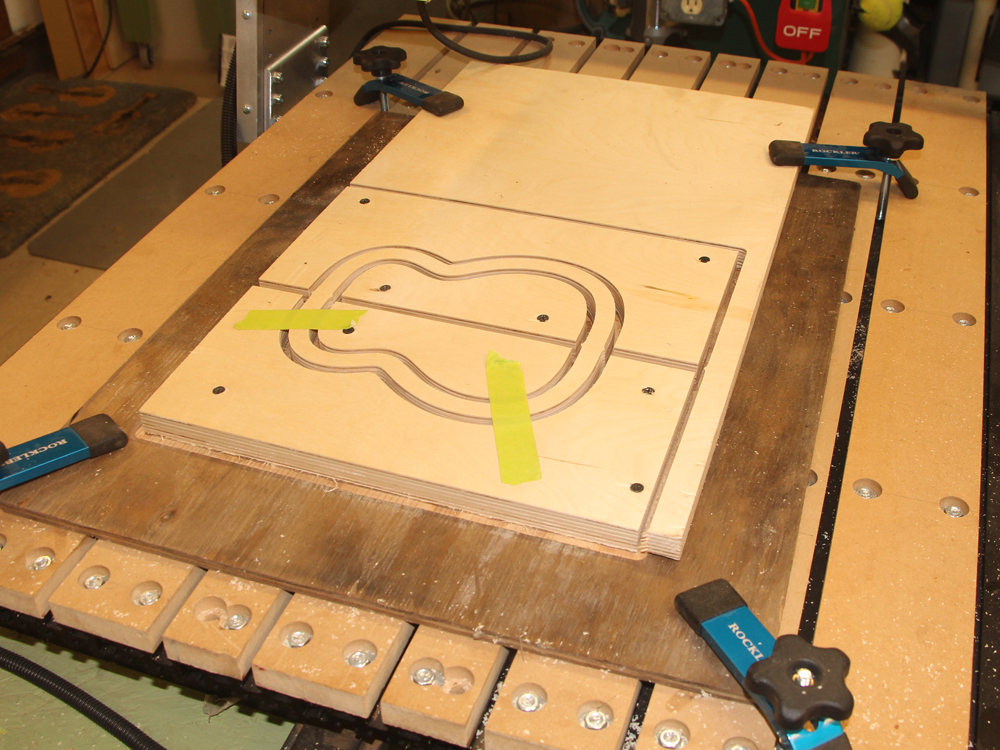
This tools cuts very precise and repeatable pieces.
 ( 005 ) 28-Dec-2014
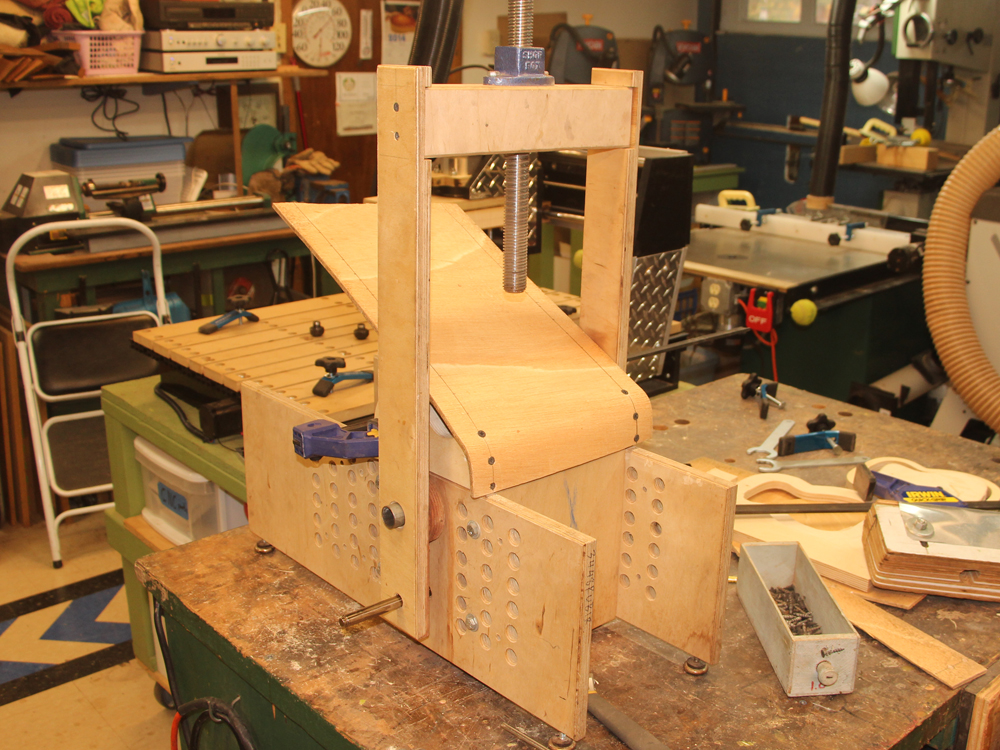
Assembling the pieces still requires a bit of ingenuity though. Here I am using my bending machine to help press the surface of the form into place. As I go along I screw the platen onto the side pieces that the CNC router cut for me.
 ( 006 ) 28-Dec-2014
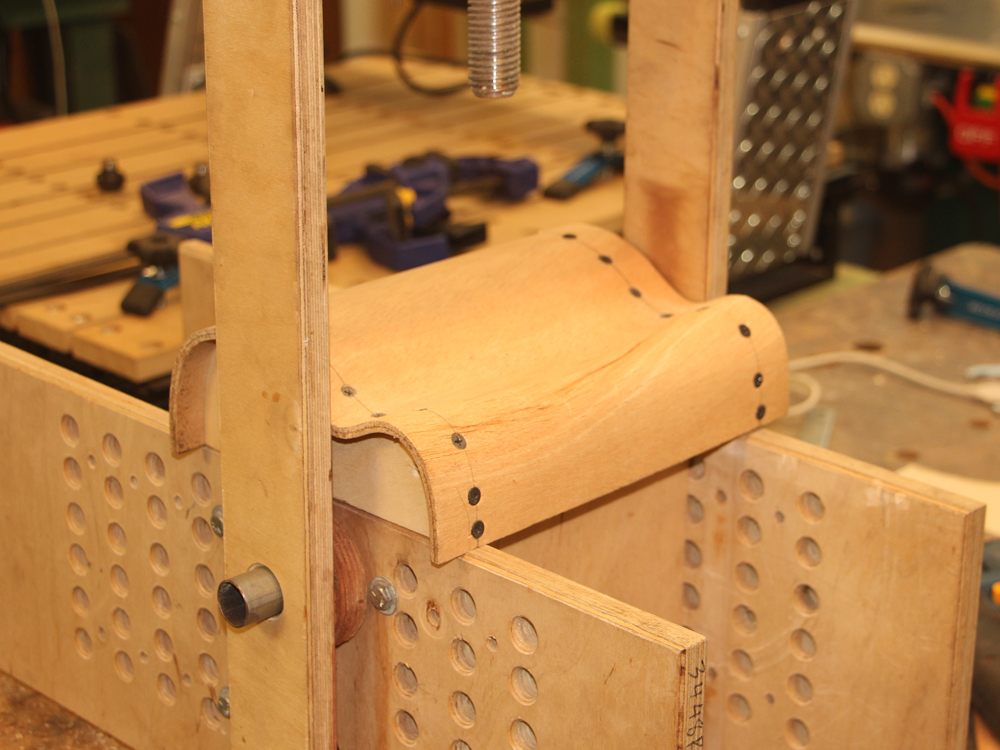
When I have finished I have a form that has the shape of the sides. As you can see this is a small guitar... a 6 inch lower bout.
 ( 007 ) 28-Dec-2014
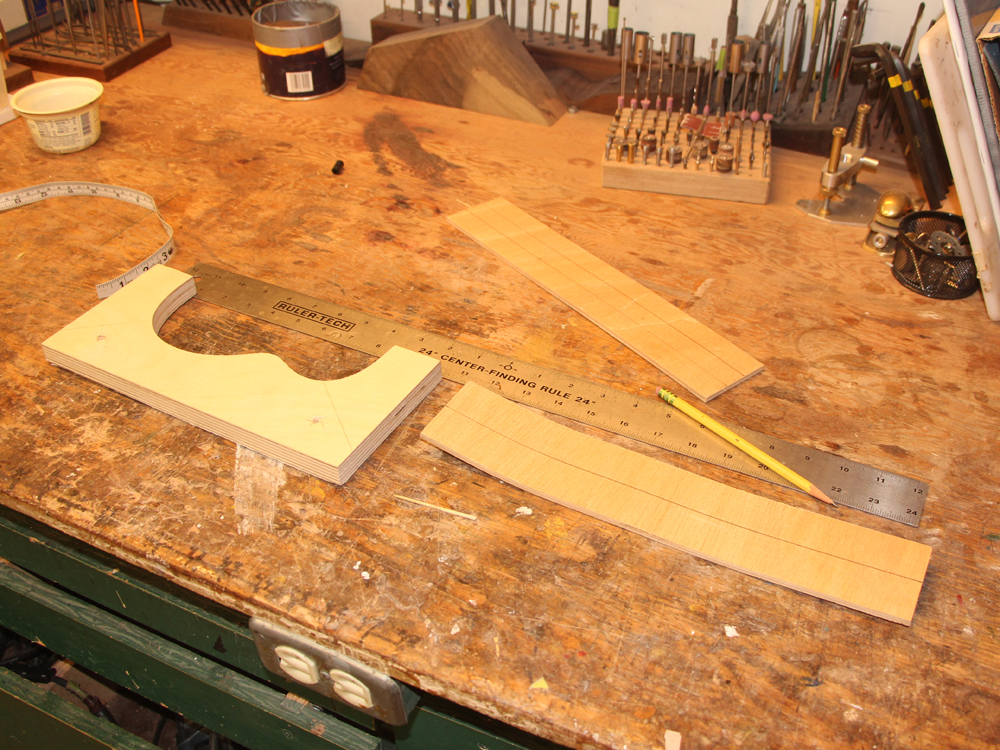
Now for the side forms.
 ( 008 ) 28-Dec-2014
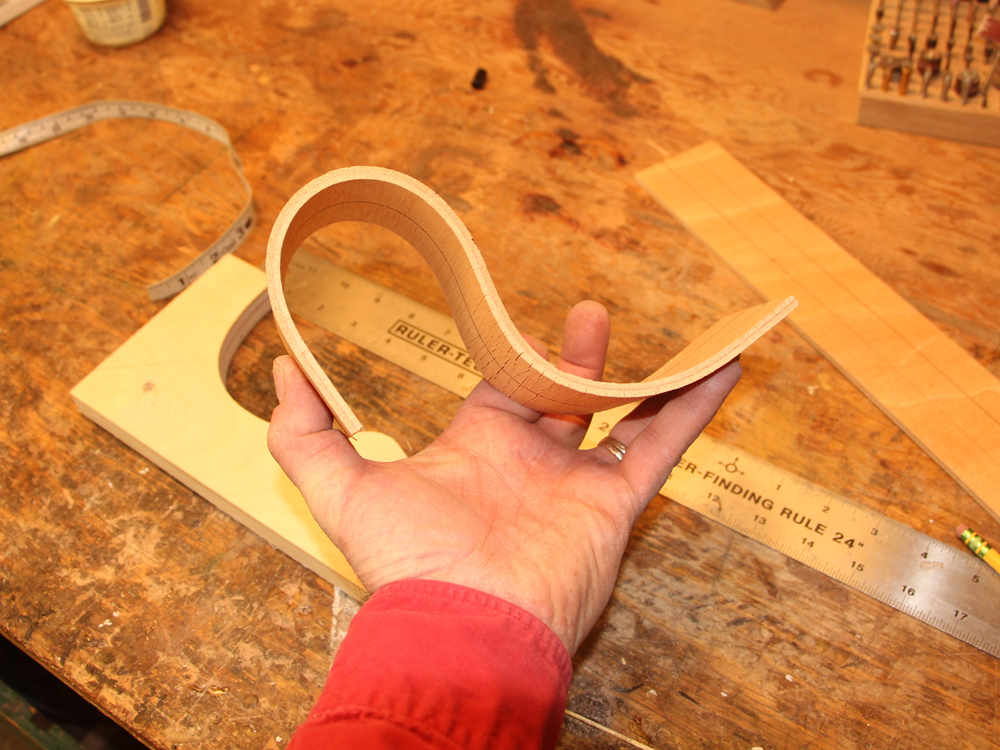
I use this special wood called "Wiggle Wood" ... no really, its called "Wiggle Wood", that bends very easily in one direction to build up the sides of the form.
I'll bet you won't believe that this wood comes from the elusive Wiggle Wood Tree will you?
 ( 009 ) 28-Dec-2014
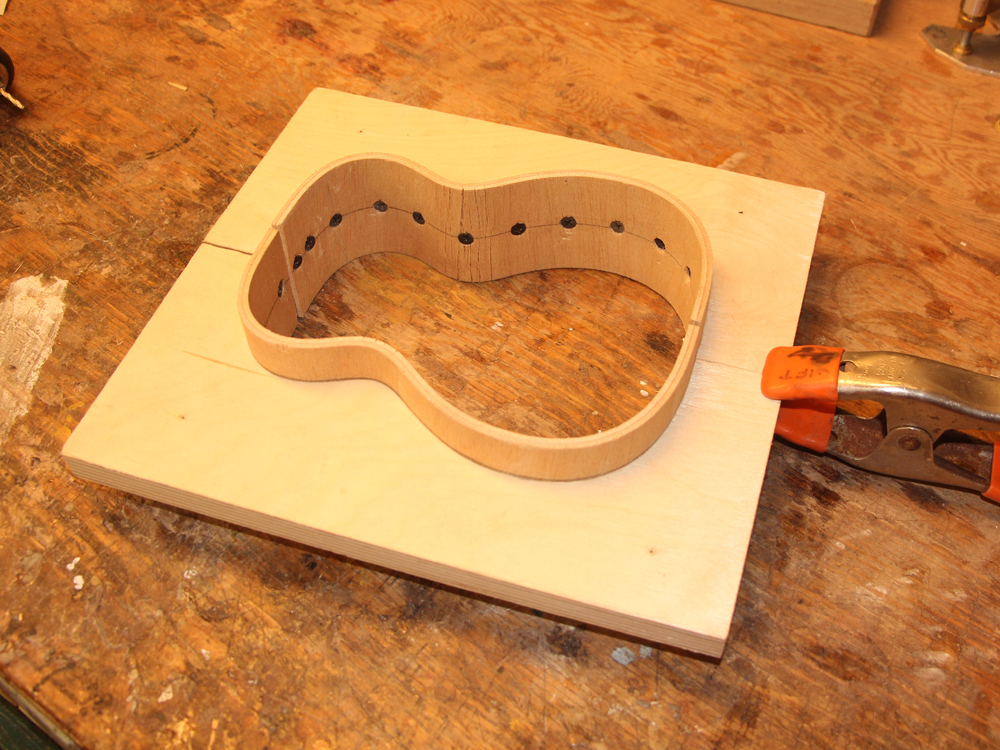
Here I have installed one layer of wiggle wood on the inside of the form.
 ( 010 ) 28-Dec-2014
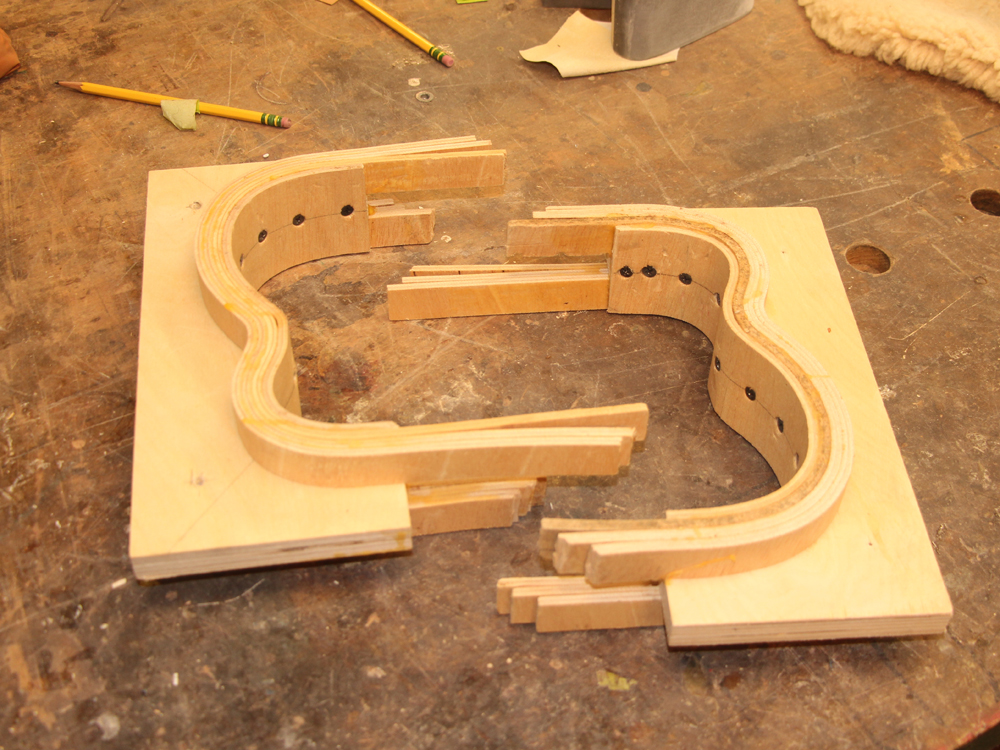
I then add 3 more layers on the outside.
 ( 011 ) 28-Dec-2014
 ( 012 ) 28-Dec-2014
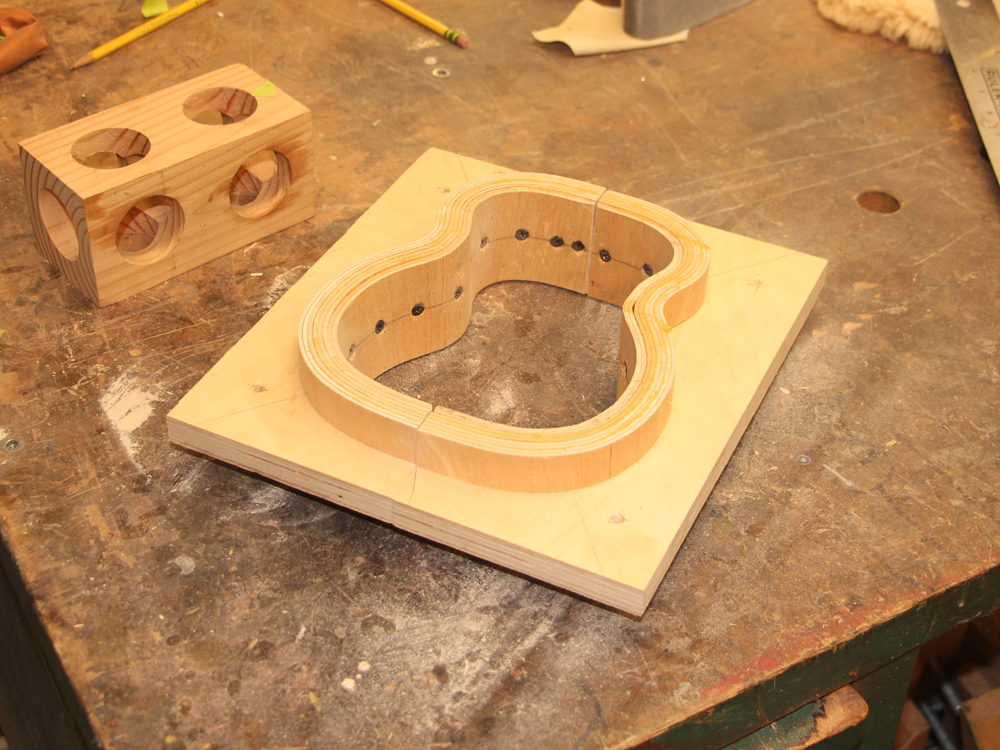
When I trim off the excess The forms fit together in the shape of the guitar.
 ( 013 ) 28-Dec-2014
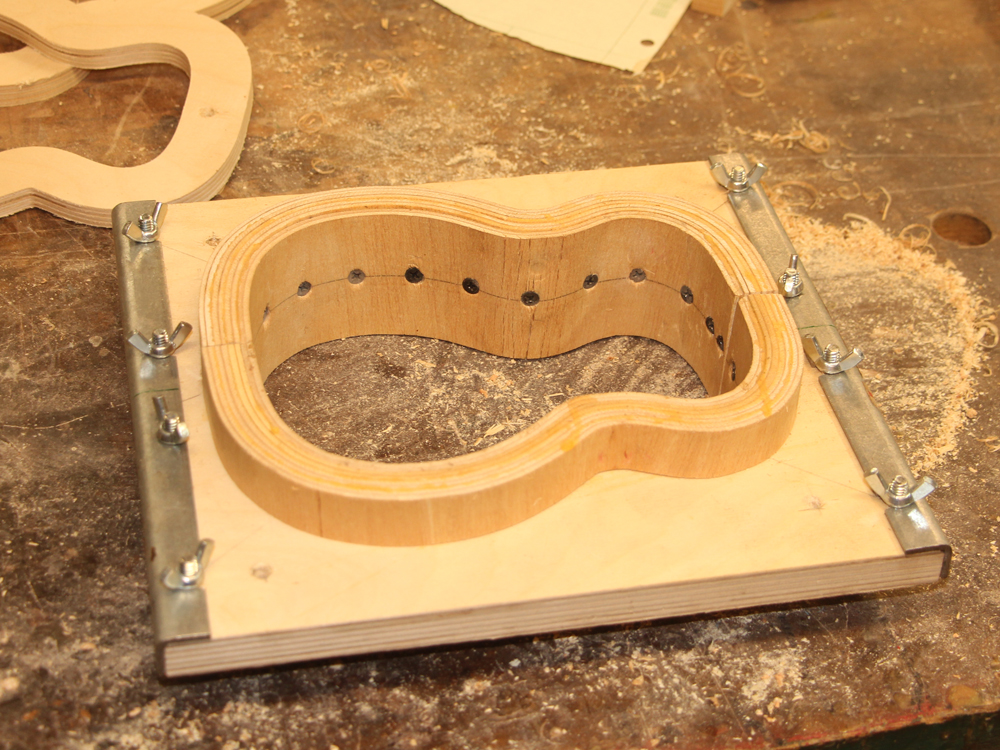
And then I add the angle iron to hold the two halves together. I will be using this form extensively during the construction of the guitar.
 ( 014 ) 28-Dec-2014
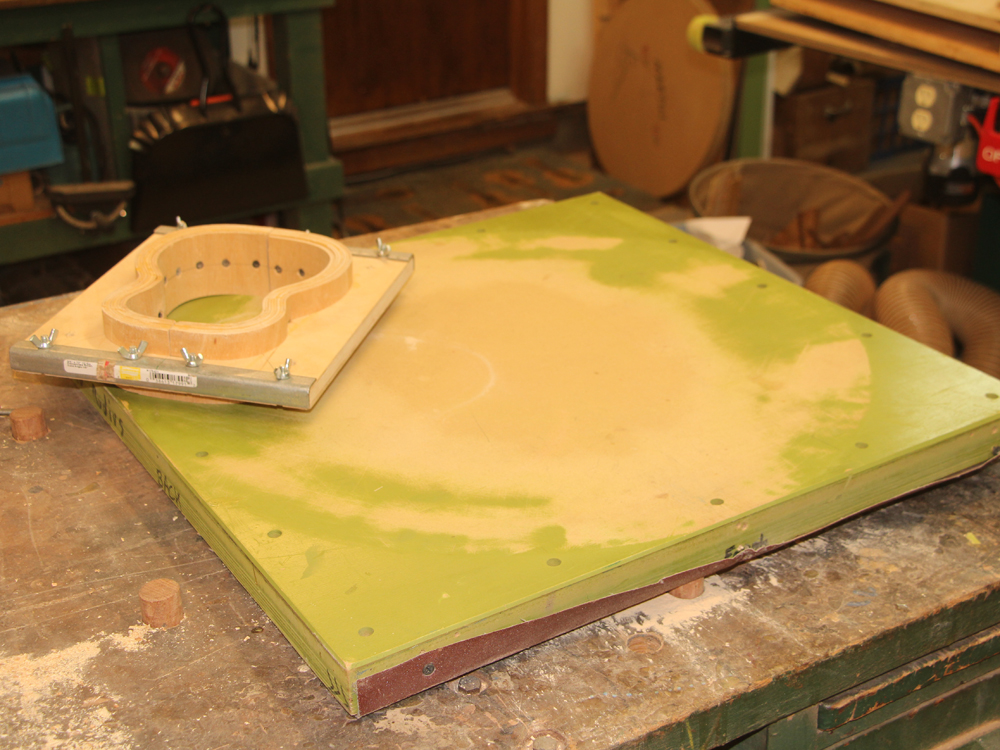
This sanding dish (square though it is) has the same shape as the back of the guitar. In this case it is a bowl with a 16 foot radius.
 ( 015 ) 28-Dec-2014
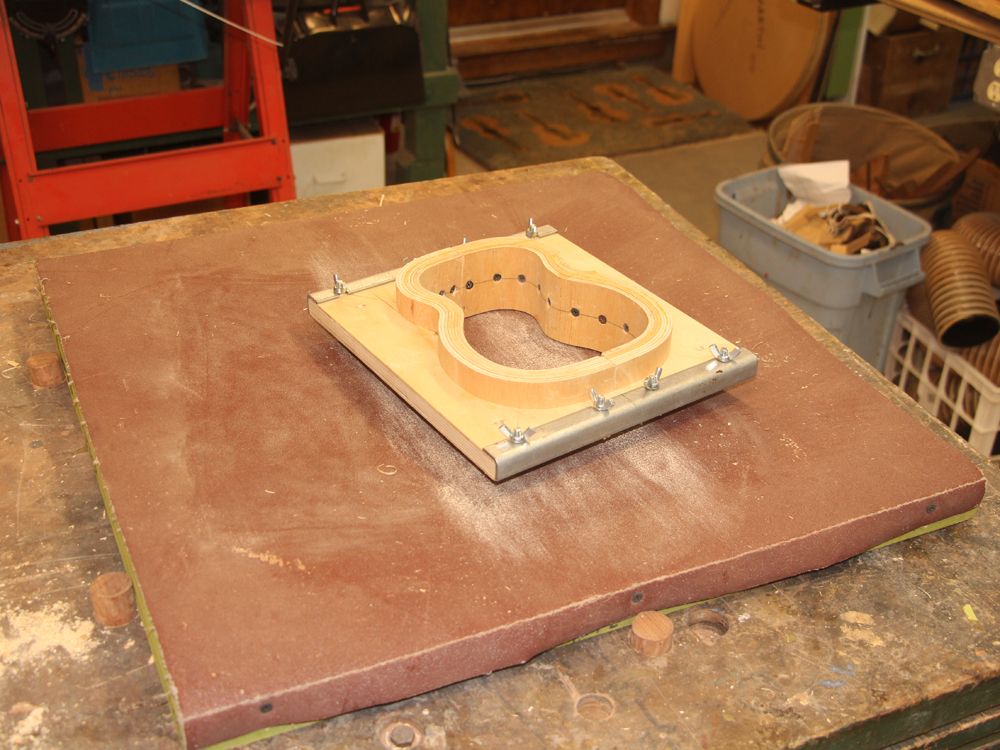
I put a piece of sandpaper on the dish and the sand the bottom edge of the form until it lays flat on the dish.
 ( 016 ) 28-Dec-2014
This takes a bit of effort (elbow grease that is) but in the end the bottom edge of the form has the profile I want the bottom of the guitar to have.
 ( 017 ) 28-Dec-2014
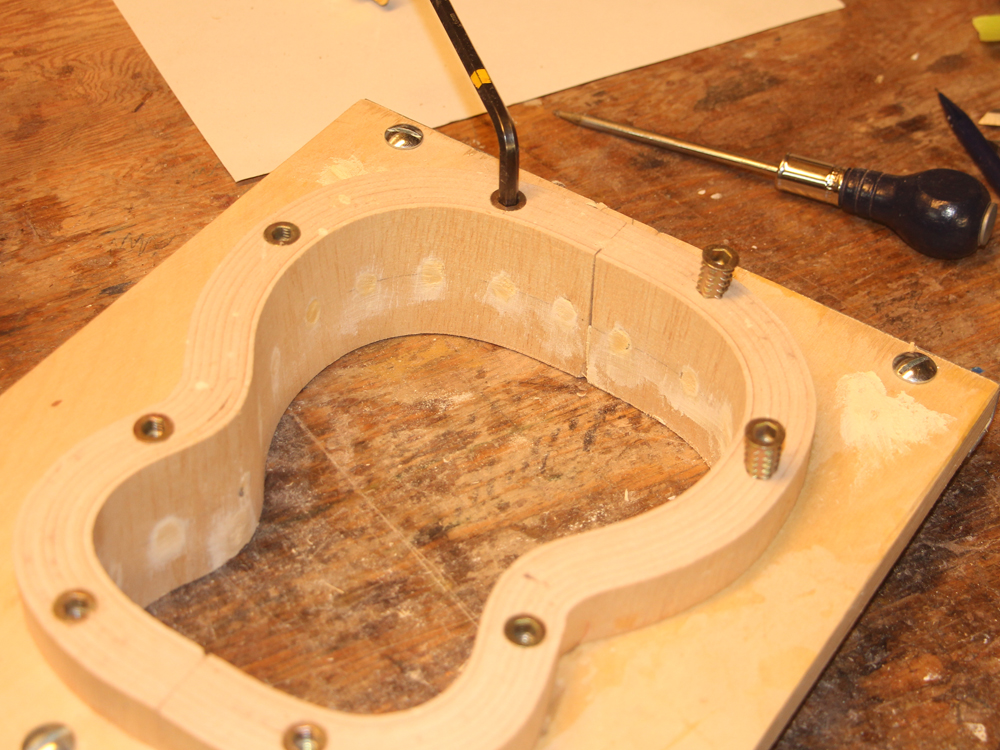
This form will be used to install the kerfing on the inside of the sides. In addition it will be used to glue the top and bottom on to the sides. Here I am installing bolt inserts into the edge of the form.
 ( 018 ) 28-Dec-2014
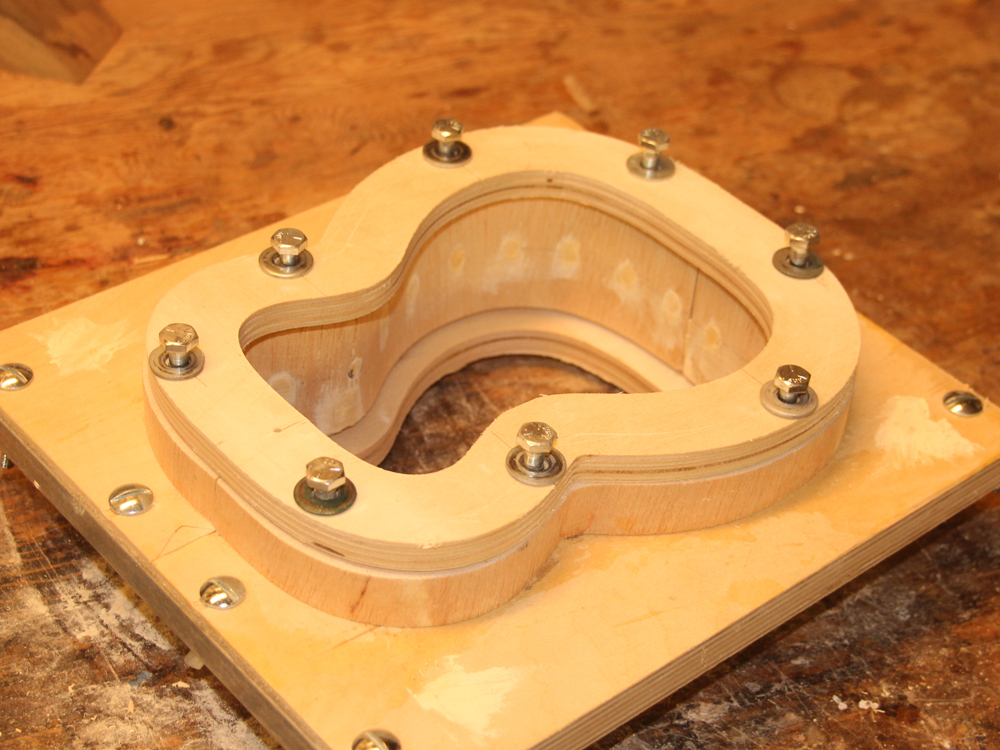
The flanges tat the CNC router cut out will be bolted down to the sides, pressing the top and bottom plates into place.
 ( 019 ) 28-Dec-2014
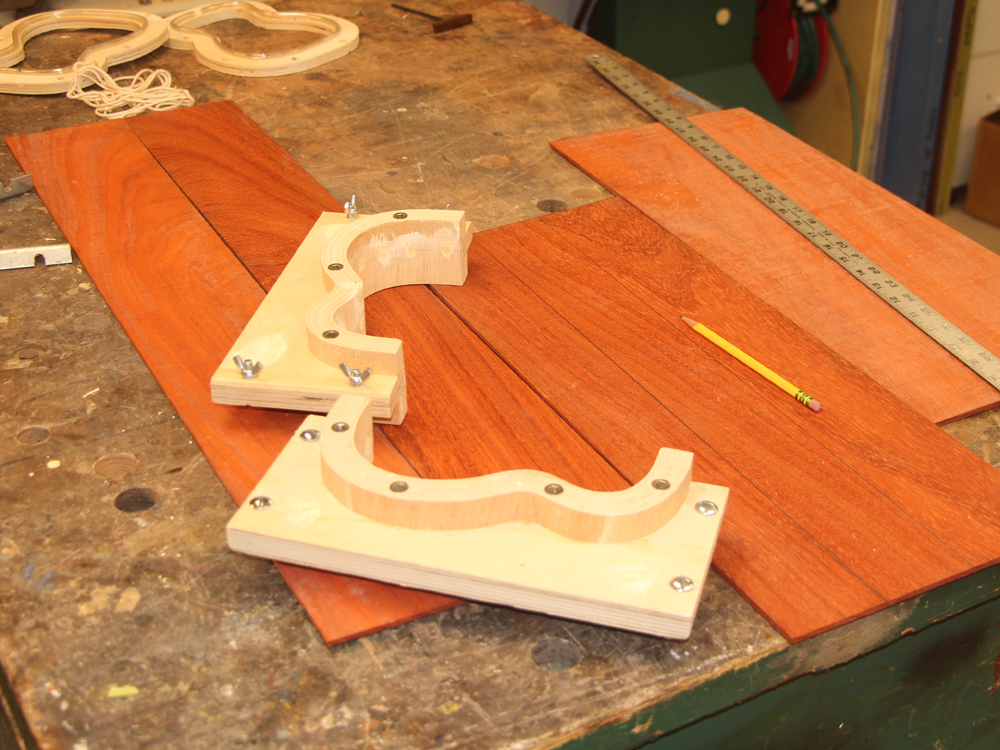
Now we get to start building the guitar. Here I have laid out the pieces for the back and sides.
 ( 020 ) 28-Dec-2014
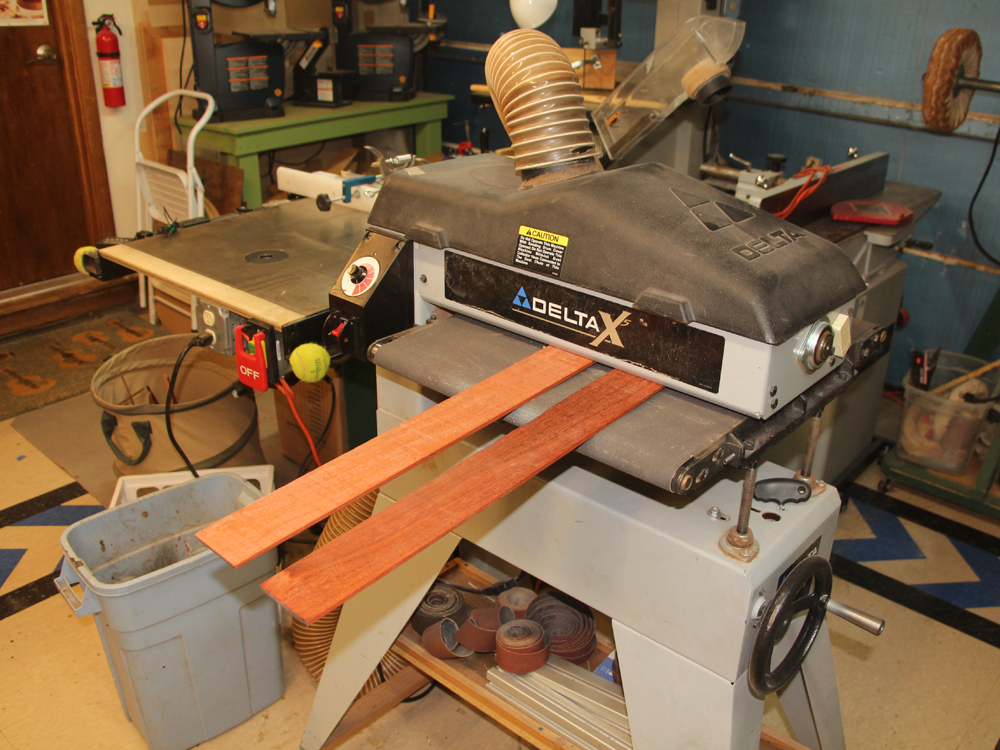
First I use my drum sander to reduce the thickness to about 70 mils (1 mil = 1/1000 of an inch). Since this is such a small instrument with some very tight curves, the sides need to be thin enough to bend.
 ( 021 ) 28-Dec-2014
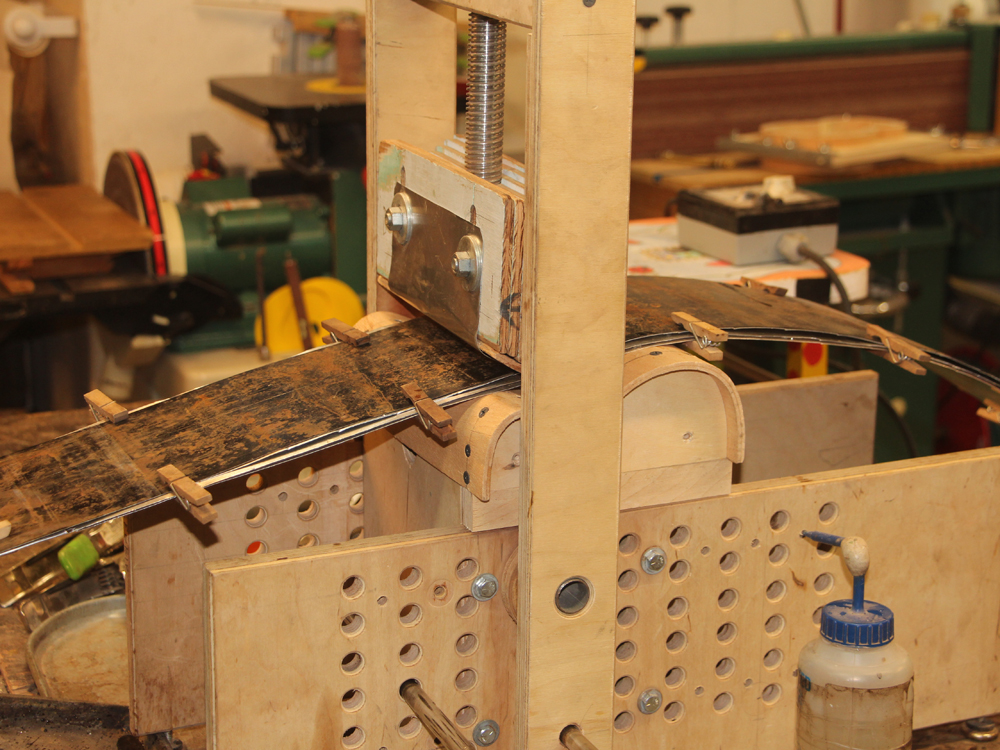
To bend the sides I use a heating blanket assembly and my bending press. One of the pieces of the side wood is sandwiched in between the aluminum flashing assembly and then placed in the press. The top piece of the assembly is a thin piece of spring steel that help prevent the wood from breaking while it is being bent.
I let this heat up while I keep the wood wet by squirting water in between the sheets of aluminum. When it is ready to bend the wood will steam and sputter and smell quite good.
 ( 022 ) 28-Dec-2014
I first press the waist into place with the vertical shoe.
 ( 023 ) 28-Dec-2014
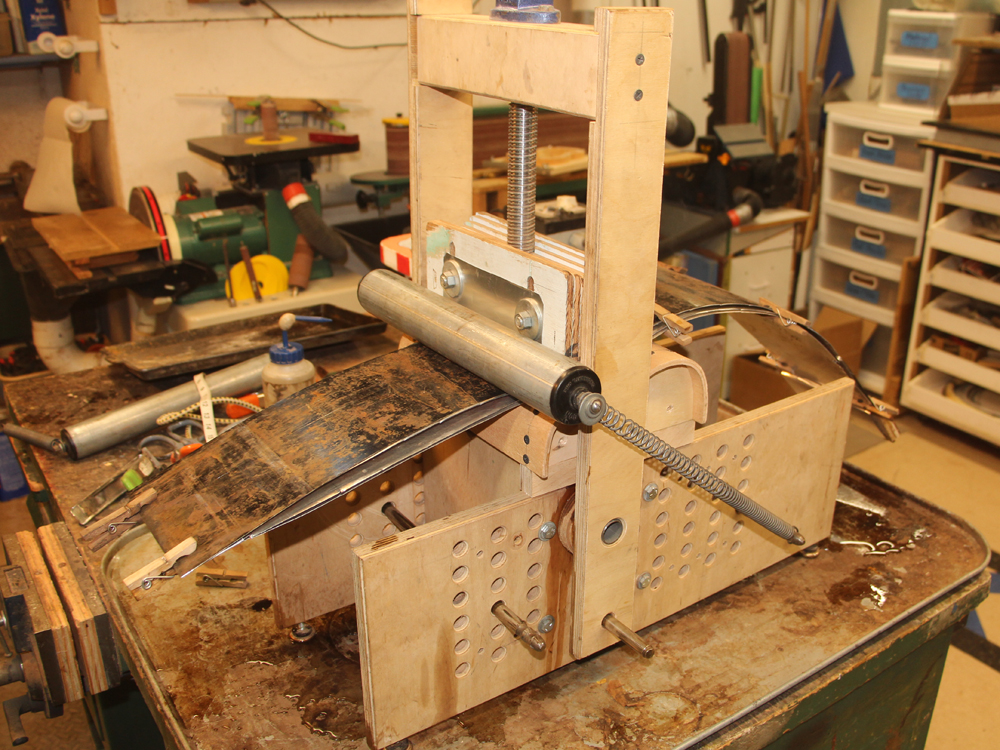
Then I attach the front spring roller.
 ( 024 ) 28-Dec-2014
And carefully roll the upper bout into place. There is the tight bend I was talking about.
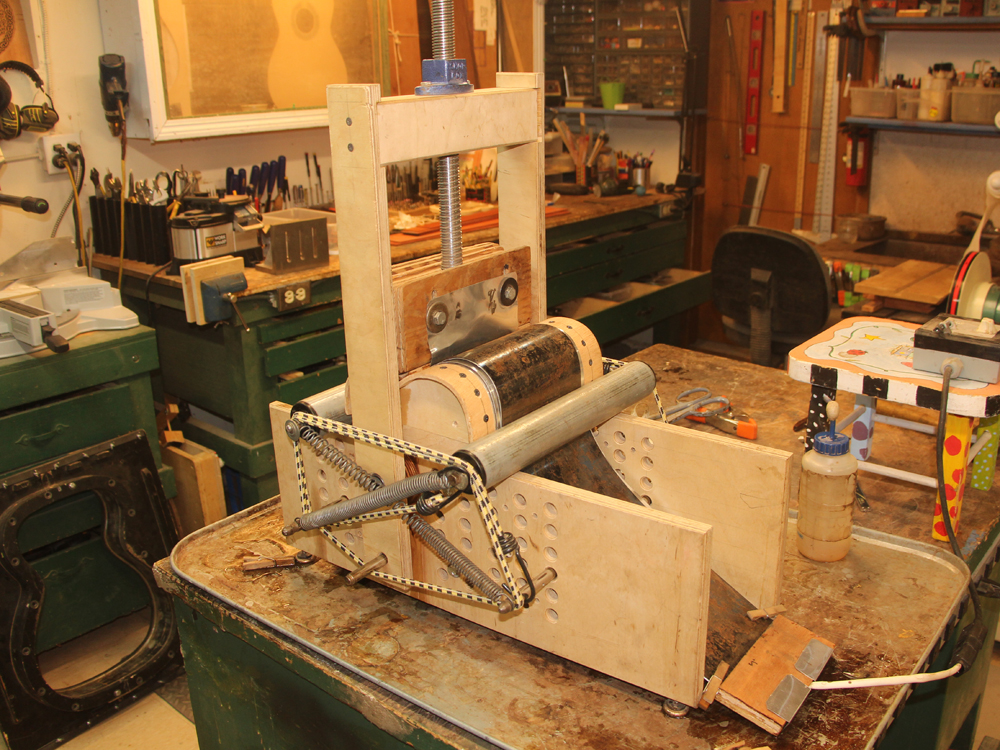 ( 025 ) 28-Dec-2014
And then I do the same thing for the lower bout.
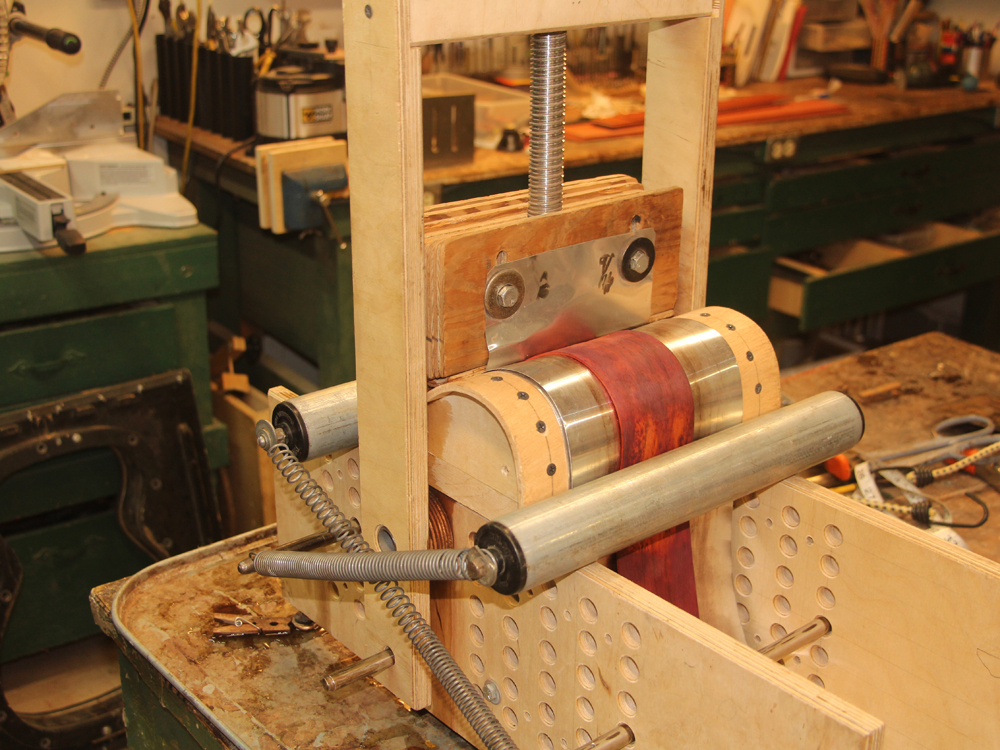 ( 026 ) 28-Dec-2014
I remove the top layers of the heating assembly so the wood can dry out effectively. Then I let the side blank cook for a while until it sets up.
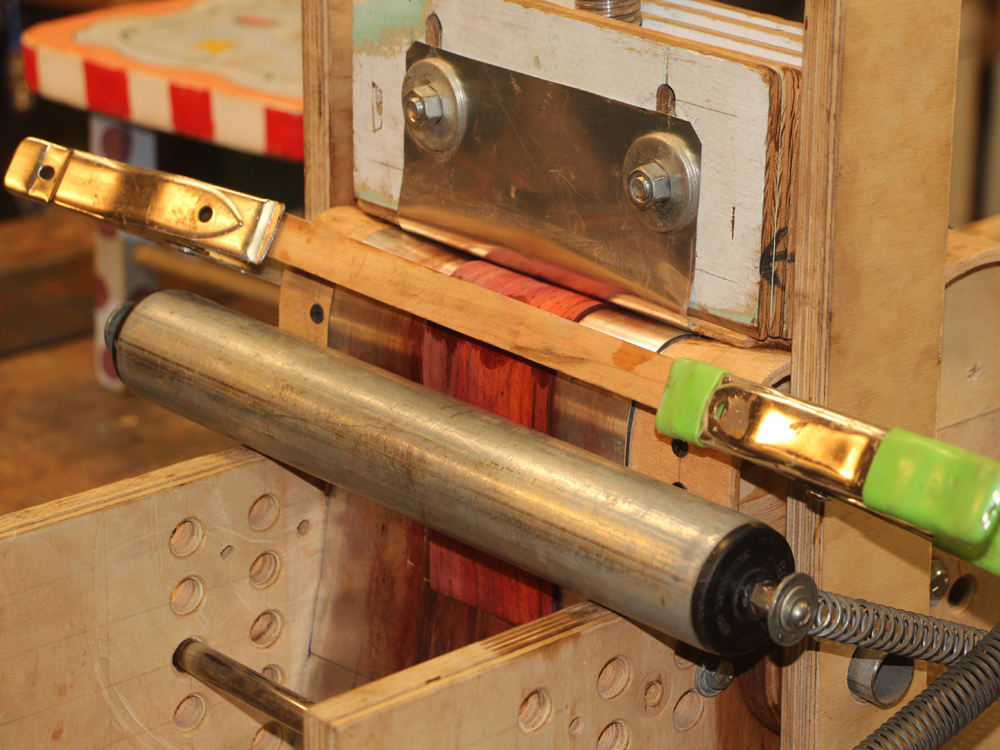 ( 027 ) 28-Dec-2014
Occasionally I need to add a little extra pressure.
 ( 028 ) 28-Dec-2014
And in the end, a funny shaped piece of wood.
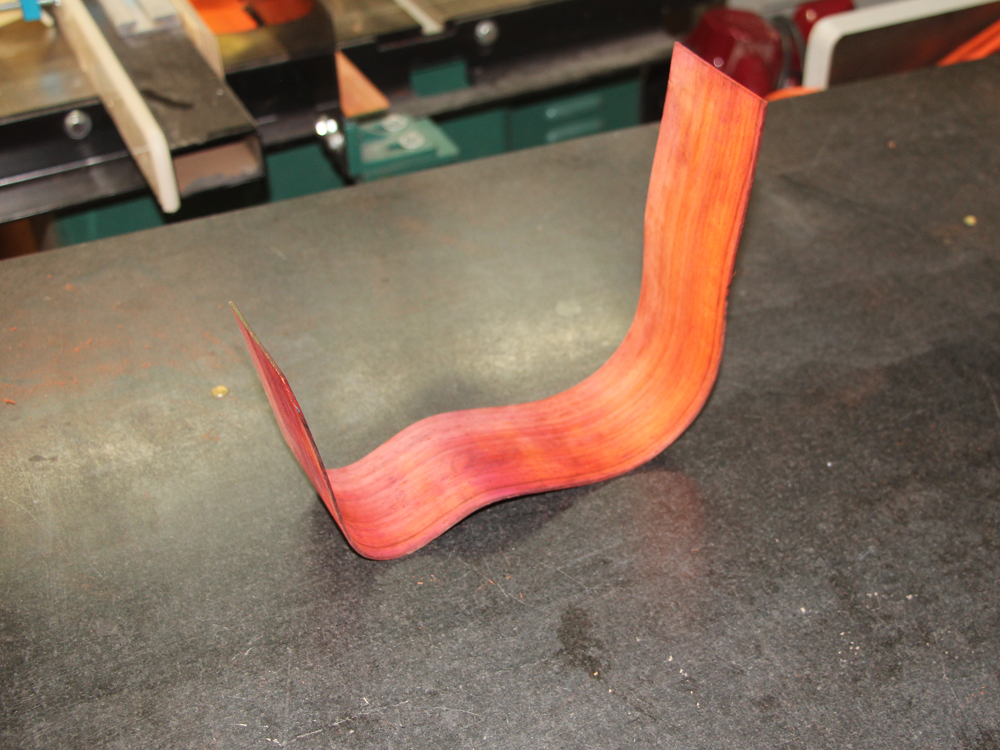 ( 029 ) 28-Dec-2014
Can you see the guitar?
 ( 001 ) 28-Dec-2014
 ( 002 ) 28-Dec-2014
 ( 003 ) 28-Dec-2014
 ( 004 ) 28-Dec-2014
 ( 005 ) 28-Dec-2014
 ( 006 ) 28-Dec-2014
 ( 007 ) 28-Dec-2014
 ( 008 ) 28-Dec-2014
 ( 009 ) 28-Dec-2014
 ( 010 ) 28-Dec-2014
 ( 011 ) 28-Dec-2014
 ( 012 ) 28-Dec-2014
 ( 013 ) 28-Dec-2014
 ( 014 ) 28-Dec-2014
 ( 015 ) 28-Dec-2014
 ( 016 ) 28-Dec-2014
 ( 017 ) 28-Dec-2014
 ( 018 ) 28-Dec-2014
 ( 019 ) 28-Dec-2014
 ( 020 ) 28-Dec-2014
 ( 021 ) 28-Dec-2014
 ( 022 ) 28-Dec-2014
 ( 023 ) 28-Dec-2014
 ( 024 ) 28-Dec-2014
 ( 025 ) 28-Dec-2014
 ( 026 ) 28-Dec-2014
 ( 027 ) 28-Dec-2014
 ( 028 ) 28-Dec-2014
 ( 029 ) 28-Dec-2014